
Embarking on a culinary journey into North African cuisine is an exciting adventure, and at its heart lies the tagine. Far more than just a cooking pot, a tagine represents a rich culinary tradition, a unique cooking method, and a symbol of hospitality. This comprehensive guide, “Tagine Basics: Your Essential Guide to Buying and Using a Tagine,” will cover everything you need to know to confidently select, prepare, and cook with your first tagine, unlocking a world of vibrant flavors and aromatic dishes.
Whether you’re an experienced chef looking to expand your repertoire or a curious home cook eager to explore new techniques, integrating a tagine into your kitchen promises delicious rewards. Its distinctive design fosters a slow, gentle cooking process that tenderizes meats and infuses ingredients with deep, complex flavors, making it an indispensable tool for anyone passionate about authentic and flavorful meals.
Tagine Fundamentals: Understanding This Unique Cooking Vessel
What Exactly is a Tagine?
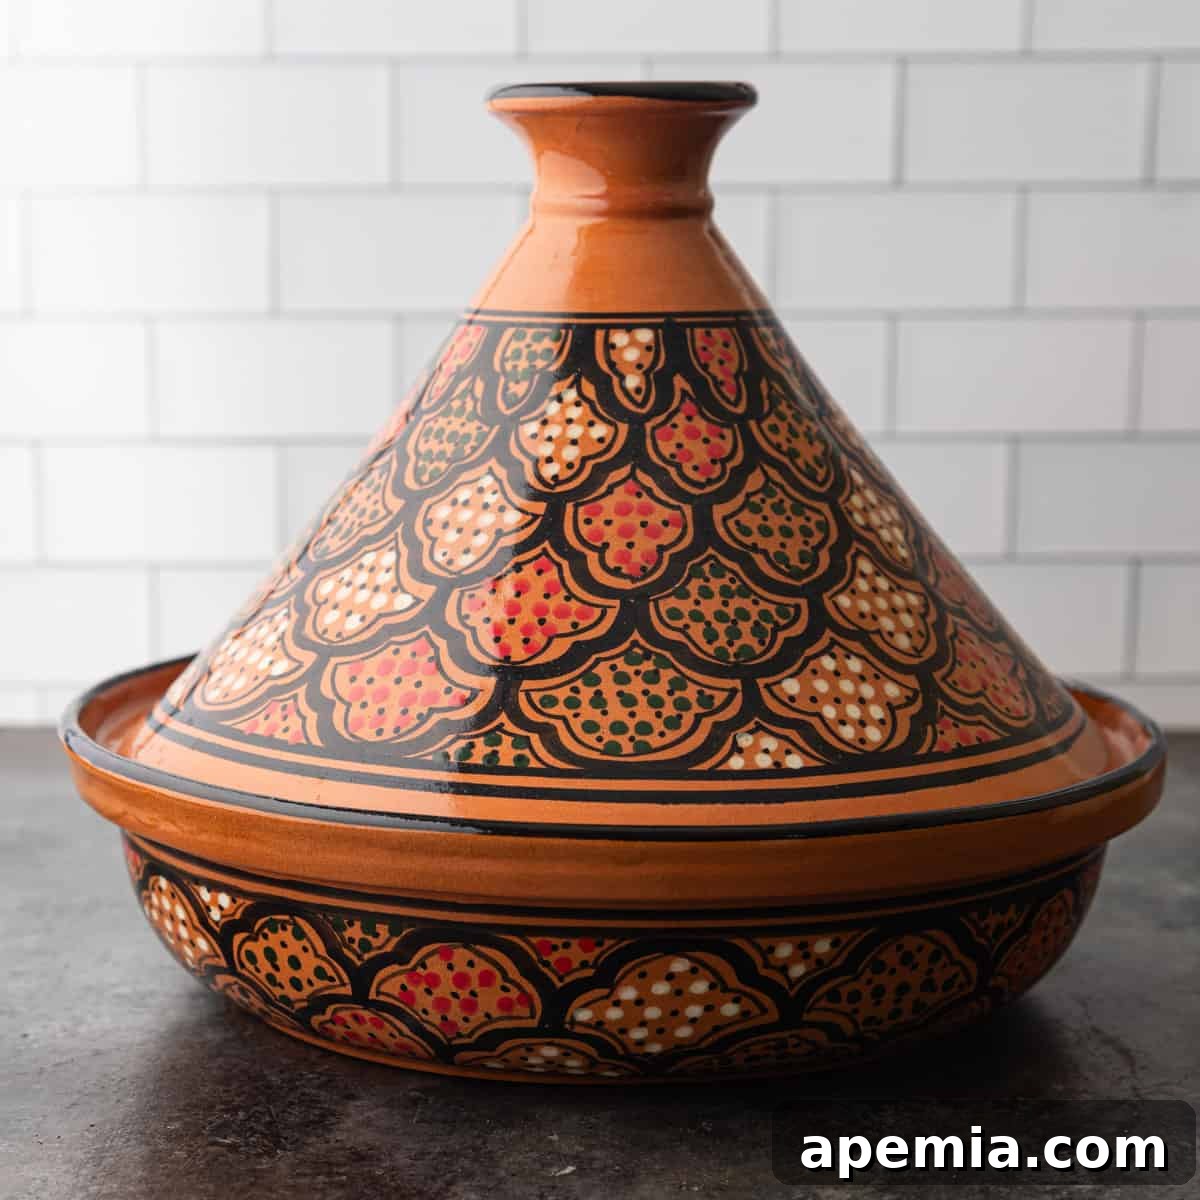
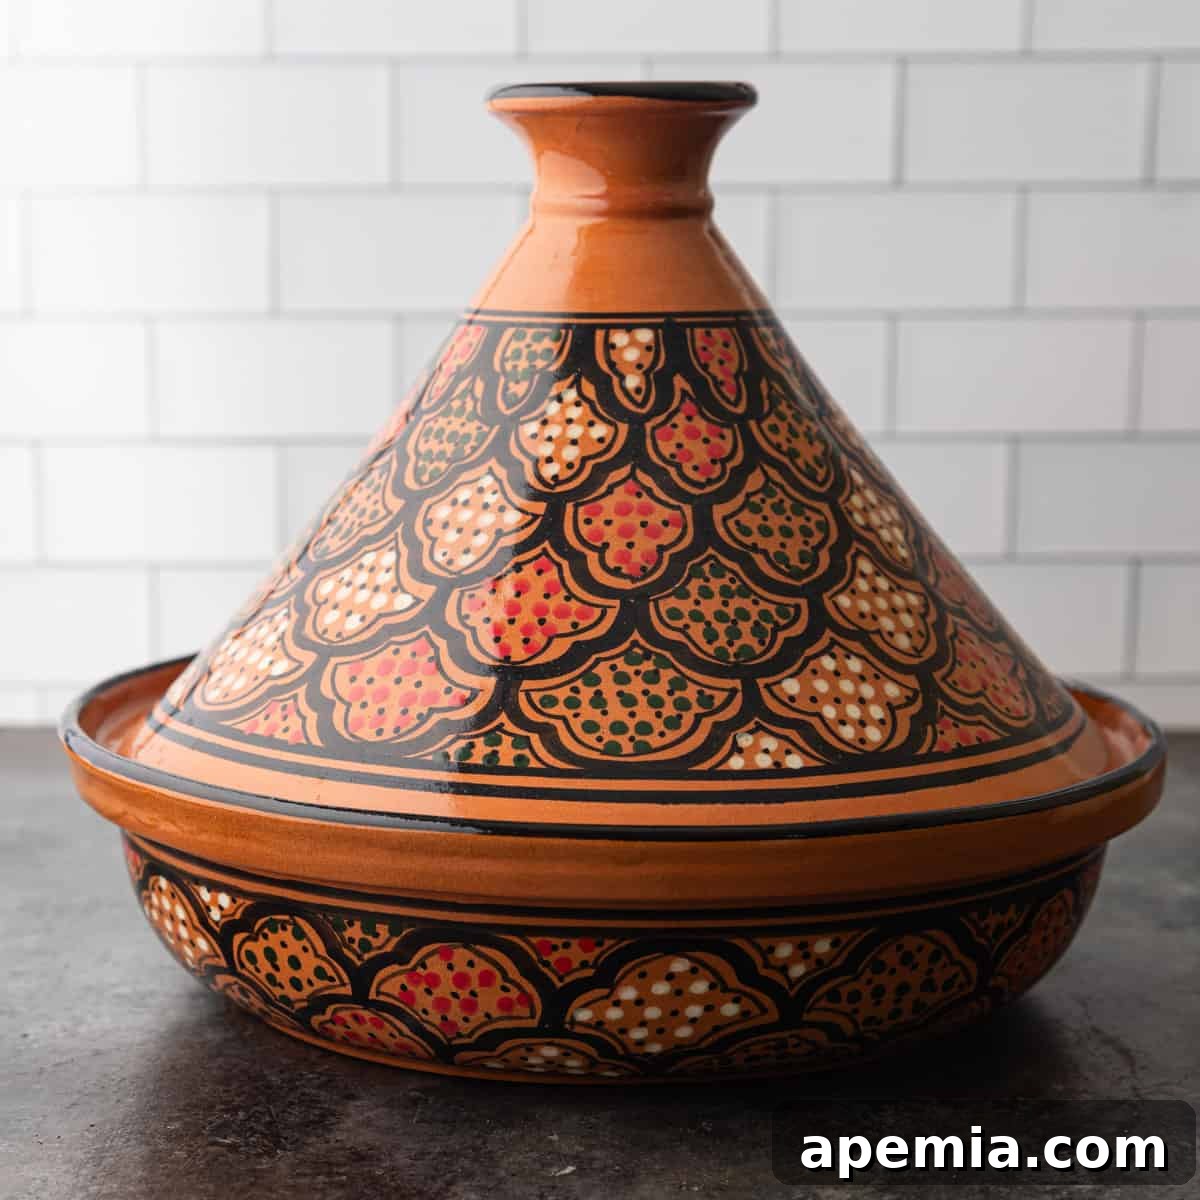
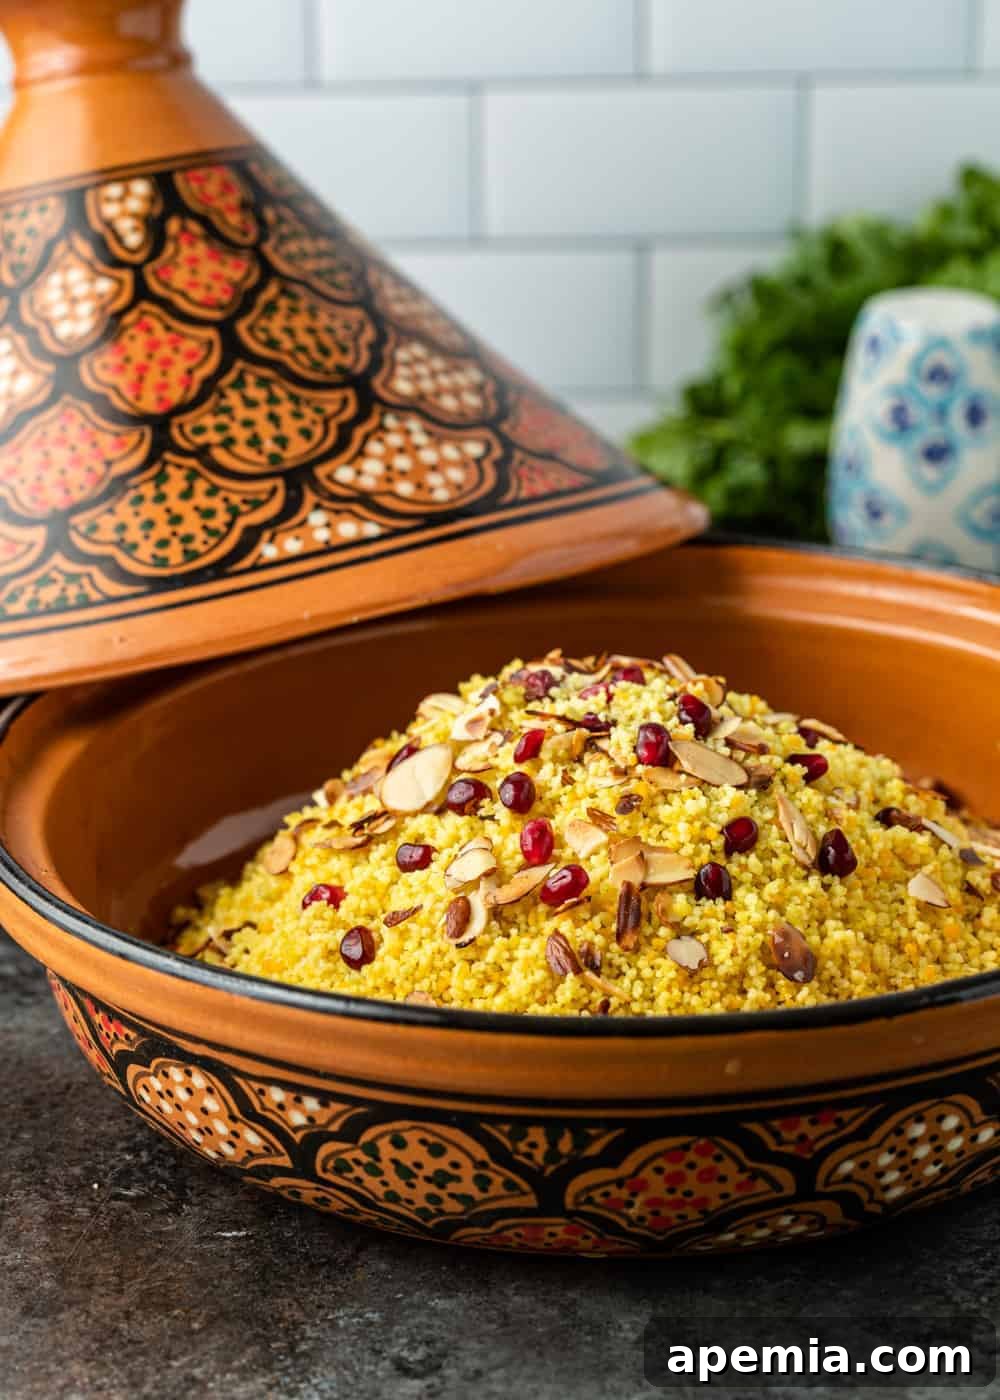
At its core, a tagine is a traditional North African cooking vessel, most famously associated with Morocco. Its defining characteristic is its unique two-part structure: a shallow, wide circular base and a tall, conical, or dome-shaped lid. This ingenious design is not merely aesthetic; it’s a functional masterpiece crafted for slow-cooking perfection.
The conical lid acts as a natural condenser. As steam rises from the simmering ingredients in the base, it collects on the cooler interior surfaces of the lid. This condensed moisture then trickles back down into the dish, creating a continuous basting cycle. This self-basting mechanism ensures that food remains exceptionally moist, tender, and infused with concentrated flavors, minimizing the need for additional liquids. This method is ideal for transforming tougher cuts of meat and various vegetables into incredibly succulent and aromatic stews, often referred to by the same name as the pot itself – a “tagine.”
Material Matters: Choosing the Right Tagine for You
Tagines are crafted from various materials, each offering distinct advantages and considerations for cooking and care. Understanding these differences is key to selecting the best tagine for your culinary needs.
- Clay or Ceramic Tagines: These are the epitome of traditional tagines and are often unglazed or partially glazed. They are prized for their exceptional heat distribution, which results in slow, even cooking and truly authentic flavors. Clay is porous, allowing moisture to circulate and infuse the food with earthy undertones. However, they are fragile and susceptible to thermal shock, meaning they can crack if exposed to sudden temperature changes. Proper seasoning and a heat diffuser are essential for their longevity and performance. Their maintenance requires careful handling and thorough drying.
- Cast Iron Tagines: Offering superior durability and excellent heat retention, cast iron tagines are a robust alternative. They are less prone to cracking than clay versions and are highly versatile, safe for use on stovetops, in ovens, and even over open flames. The heavy base provides consistent, radiant heat, making them ideal for searing ingredients before slow simmering. While they are easier to maintain, they still benefit from seasoning to create a non-stick surface and prevent rust. Cast iron tagines are heavier, which can be a consideration for some cooks.
- Aluminum Tagines: These are the lightest and most budget-friendly option. Aluminum tagines heat up very quickly, reducing cooking time, and are generally easier to handle and clean due to their non-stick coatings. However, they do not retain heat as effectively as clay or cast iron, which might impact the depth of flavor development over extended slow cooking. They are a good entry-level choice for those new to tagine cooking or looking for a more convenient option, though they may not deliver the same traditional results as their heavier counterparts.
Buying Your First Tagine: Key Considerations for a Smart Purchase
When you’re ready to purchase your first tagine, several factors should guide your decision to ensure you select a pot that perfectly suits your cooking style and needs.
Size and Capacity: Matching Your Tagine to Your Meals
The size of your tagine directly correlates with the number of servings you typically prepare. To avoid overcrowding or underfilling, choose a size that aligns with your household’s needs:
- Small Tagines (8-10 inches / 20-25 cm): Ideal for individual servings or meals for 2-3 people. Perfect for couples or small families, and also excellent for side dishes.
- Medium Tagines (10-12 inches / 25-30 cm): The most popular and versatile size, comfortably accommodating 4-6 servings. This is a great all-rounder for average family meals and small gatherings.
- Large Tagines (12-14+ inches / 30-35+ cm): Suited for larger families, entertaining guests, or batch cooking. These can serve 6-8 people or more, making them impressive centerpieces for communal dining.
Consider the space you have for storage and the size of your stovetop burners. A tagine that is too large for your burner might not heat evenly.
Design and Aesthetics: A Touch of North African Artistry
Tagines are not just functional; they are often beautiful works of art. Traditional Moroccan tagines frequently feature intricate hand-painted patterns, vibrant colors, and glazed finishes that reflect the rich artistic heritage of the region. While unglazed clay tagines offer the most authentic cooking experience, glazed tagines are easier to clean and come in a wider array of decorative styles.
When selecting your tagine, consider how its design and color will complement your kitchen decor and personal taste. Many cooks enjoy choosing a tagine that can double as a stunning serving dish, bringing an exotic touch to their dining table. Remember, if you opt for a glazed tagine, ensure the glaze is food-safe and free of lead or other harmful substances, especially if it’s imported.
Price Range: Investing in Quality and Longevity
The cost of tagines can vary significantly, typically ranging from $30 for basic aluminum or smaller ceramic models to $150 or more for large, handcrafted clay tagines or premium cast iron versions. Several factors influence the price:
- Material: Cast iron and high-quality handmade clay tagines are generally more expensive than aluminum or basic ceramic models due to their durability and production costs.
- Size: Larger tagines will naturally command a higher price.
- Craftsmanship: Hand-painted and artisan-made tagines, particularly those imported directly from Morocco, will reflect the skilled labor involved in their creation.
- Brand Reputation: Established brands known for quality cookware may have higher price points, but often come with guarantees of durability and performance.
Investing in a higher-quality tagine, particularly a well-made clay or cast iron model, can ensure better performance, greater longevity, and a more authentic cooking experience that you’ll cherish for years to come.
Seasoning and Curing Your Tagine: A Crucial First Step
Properly seasoning and curing your tagine is a critical step, especially for traditional unglazed clay or ceramic models. This process strengthens the clay, seals its pores, and helps prevent it from cracking due to thermal shock during cooking. It also creates a natural non-stick surface and prevents the pot from absorbing flavors from previous dishes.
Step-by-Step Guide to Seasoning a Clay or Ceramic Tagine
- Initial Soaking (The Foundation): Begin by placing both the base and the conical lid of your tagine in a large pot or a clean sink. Fill it completely with water, ensuring the entire tagine is submerged. Allow it to soak for a minimum of 2-4 hours, or ideally, overnight (up to 24 hours). This prolonged soaking allows the porous clay to fully absorb moisture, which is vital for stabilizing the material and preventing cracking during subsequent heating.
- Thorough Drying (Prepping the Surface): After soaking, remove the tagine components from the water. Pat them dry with a clean towel, then let them air dry completely for several hours, or even overnight. It’s crucial that no residual moisture remains on the surface before proceeding, as this could interfere with the oil absorption.
- Oil Application (Sealing the Pores): Once thoroughly dry, gently but firmly rub the interior and exterior of both the base and the lid with olive oil or another high-smoke point vegetable oil (like grapeseed or canola oil). Use a clean cloth or paper towel to ensure an even, generous coating over all surfaces, paying extra attention to the rim where the base and lid meet. This oil penetrates the clay’s pores, creating a protective barrier.
- Low-Heat Baking (Curing the Seal): For optimal seasoning, place the oiled tagine (base and lid, slightly separated or side-by-side) into a *cold* oven. Then, set the oven temperature to a low 300°F (150°C). Allow it to bake for 1-2 hours. This gradual, low heat allows the oil to fully penetrate and polymerize within the clay, further strengthening it and setting the seasoning. After baking, turn off the oven and let the tagine cool completely inside the oven. Avoid removing it while hot, as this could induce thermal shock. Once cool, your tagine is ready for its first culinary adventure!
For cast iron tagines, follow standard cast iron seasoning instructions, which typically involve applying a thin layer of oil and baking at a higher temperature, similar to seasoning a cast iron skillet. Aluminum tagines generally do not require seasoning.
The Indispensable Heat Diffuser: Protecting Your Tagine
A heat diffuser is an absolutely essential accessory when using a tagine on a stovetop, particularly for traditional clay or ceramic models. This simple yet crucial tool acts as a protective barrier between the direct heat of the burner and the delicate base of your tagine, ensuring even heat distribution and preventing potential damage.
Here’s why a heat diffuser is non-negotiable for stovetop tagine cooking:
- Prevents Thermal Shock: Clay and ceramic materials are highly susceptible to thermal shock, which occurs when they experience rapid and uneven temperature changes. Placing a tagine directly on a hot stovetop burner without a diffuser can expose its base to intense, localized heat, leading to stress fractures and ultimately cracking or breaking the pot. The diffuser slowly and evenly transfers heat, mitigating this risk.
- Ensures Even Heat Distribution: Tagines are designed for gentle, consistent heat. Direct flame or electric coil heat can create hot spots on the base, causing food to stick or burn in certain areas while other parts cook unevenly. A heat diffuser spreads the heat uniformly across the entire base of the tagine, promoting the slow, steady simmer essential for traditional tagine recipes. This even heating allows ingredients to meld flavors slowly and prevents scorching.
- Enables Controlled Cooking: The diffuser acts as a buffer, allowing for finer control over the cooking temperature. It helps maintain a gentle, consistent simmer, which is crucial for achieving the tender textures and rich, complex flavors characteristic of tagine dishes. Without it, even the lowest setting on a burner might be too aggressive for a clay tagine.
- Extends Tagine Lifespan: By protecting your tagine from direct, harsh heat, a diffuser significantly prolongs its life, allowing you to enjoy your authentic cooking vessel for many years.
Heat diffusers are typically flat metal plates made of cast iron or steel, sometimes with a handle, placed directly on the burner before setting the tagine on top. They are an inexpensive investment that safeguards your more valuable tagine.
Caring for Your Tagine: Maintenance for Longevity
Proper care is paramount to maintaining the performance and extending the life of your tagine, especially for clay and ceramic versions. Follow these essential tips:
- After Each Use: Allow the tagine to cool completely before cleaning. Wash it with warm water and a mild dish soap. Use a soft sponge or cloth; avoid abrasive scouring pads or harsh detergents, which can damage the seasoned surface or glaze. Gently scrub away any food residue.
- Avoid Thermal Shock: This cannot be stressed enough for clay and ceramic tagines. Never expose a hot tagine to cold water or a cold surface, and vice versa. Gradual temperature changes are key. For instance, if cooking is complete, let the tagine cool on a trivet at room temperature before washing.
- Thorough Drying is Essential: After washing, ensure the tagine is completely dry before storing it. Residual moisture can lead to mold growth or damage, particularly in unglazed clay. You can air dry it completely, or for unglazed tagines, place it in a low oven for a few minutes after washing to ensure all moisture has evaporated.
- Maintaining Seasoning: Over time, the seasoning on clay or unglazed ceramic tagines may wear off, especially with frequent washing. If you notice food sticking more, or if the clay appears dry, repeat the seasoning process (soaking, oiling, and low-heat baking) to refresh the protective layer. For cast iron tagines, re-season as needed, similar to a cast iron skillet.
- Storage: Store your tagine in a place where it won’t be easily knocked or chipped. Ensure the lid is not pressed too tightly onto the base if storing for long periods, allowing for some air circulation, especially for clay models.

Is a Tagine Pot Oven Safe? Navigating Oven Use
Yes, many tagines are oven-safe, especially those made from durable materials like cast iron, clay, or ceramic. However, it is absolutely critical to consult the manufacturer’s specific guidelines and instructions that accompany your tagine, as oven safety and temperature limits can vary significantly based on the type, quality, and construction of the pot. Never assume your tagine is oven-safe without verification.
Here are general tips for safely using your tagine in the oven:
- Material Compatibility:
- Cast Iron Tagines: Generally very oven-safe and can withstand high temperatures, often up to 500°F (260°C) or more. They are excellent for slow roasting.
- Clay and Ceramic Tagines: Most unglazed and glazed clay/ceramic tagines are oven-safe, but usually at moderate temperatures, typically up to 400-450°F (200-230°C). Always confirm the maximum temperature limit for your specific model.
- Aluminum Tagines: Less common for oven use. Due to their lower heat resistance and potential for non-stick coatings to degrade at high temperatures, aluminum tagines are generally not recommended for oven use unless explicitly stated by the manufacturer.
- Gradual Heating is Key (for Clay/Ceramic): To prevent thermal shock and potential cracking, always place a clay or ceramic tagine into a *cold* oven. Then, set the oven temperature to the desired level and allow both the oven and the tagine to heat up together gradually. Avoid placing a cold tagine into a preheated oven or removing a hot tagine directly onto a cold surface.
- Temperature Limits: Adhere strictly to the manufacturer’s maximum temperature recommendations. Exceeding these limits can damage the tagine or cause its glaze to crack.
- Lid Position: When cooking in the oven, keep the tagine’s conical lid in place. This design is crucial for trapping and circulating steam, ensuring your dish remains moist and flavorful through the self-basting process.
- Handle with Care: Both the base and the lid of the tagine will become extremely hot during oven use. Always use sturdy oven mitts or potholders when handling to prevent burns.
- Placement in Oven: Ensure the tagine is placed on a stable rack in the center of the oven for even heat exposure. Avoid placing it too close to heating elements.
Using your tagine in the oven can be a convenient way to achieve very slow, consistent cooking, freeing up stovetop space and providing hands-off meal preparation.
Tagine Cooking Basics: Mastering the Art of North African Stews
With your tagine properly seasoned and cared for, you’re now ready to delve into the delightful world of tagine cooking. The beauty of this method lies in its simplicity and the incredible depth of flavor it yields. Here are essential tips for preparing delicious, authentic tagine dishes:
- Always Use a Heat Diffuser (Stovetop): As discussed, this is non-negotiable for clay/ceramic tagines on a stovetop. Place the diffuser directly on the burner first, then set your tagine on top. This distributes heat evenly and prevents damage. If using a cast iron tagine, a diffuser is less critical but still beneficial for very gentle simmering.
- Choose the Right Burner: Select a stovetop burner that is roughly the same size as the base of your tagine. This ensures efficient and even heating without flames extending past the base, which could scorch the sides or handles.
- Layer Ingredients Strategically: The art of layering is crucial for even cooking and optimal flavor development. Start with a bed of aromatics like sliced onions and garlic at the bottom to prevent sticking and infuse the base with flavor. Next, place denser, slower-cooking ingredients (like meat or root vegetables) on top of the aromatics. Lighter, faster-cooking vegetables (like bell peppers or zucchini) and delicate herbs can be placed on top or added later in the cooking process.
- The Magical Conical Lid: Ensure the lid fits snugly on the base. The conical shape is designed to capture all rising steam, condense it, and return the flavorful moisture back into the dish. This self-basting action keeps food incredibly tender and moist, while intensifying the aromatic flavors without the need for frequent stirring or adding large amounts of liquid.
- Embrace “Low and Slow”: Tagine cooking is a testament to patience. The best results are achieved over very low, consistent heat. This allows flavors to meld, meat to become fork-tender, and vegetables to soften beautifully without breaking down too much. Avoid high heat, which can scorch ingredients or crack clay tagines.
- Master Flavorful Spices: Tagine dishes are renowned for their rich and aromatic spice profiles. Common spices include cumin, coriander, paprika (sweet or hot), turmeric, ginger, cinnamon, and saffron. Ras el Hanout, a complex North African spice blend, is also a popular choice. Don’t be afraid to experiment with these spices to create unique and personalized flavor combinations. Fresh herbs like cilantro and parsley are also vital for brightness.
- Minimal Liquid is Key: Unlike conventional stews, tagines require very little added liquid. The efficient condensation cycle of the lid naturally keeps the dish moist. Add just a small amount of broth, water, or crushed tomatoes at the beginning of cooking. Too much liquid will dilute the intense flavors and result in a watery dish, rather than the rich, concentrated sauce characteristic of a tagine.
- Time and Patience Reward: Allow ample cooking time. Most tagine dishes require at least an hour of simmering, and some meat-based recipes can take several hours (2-3 hours for tender lamb or beef). Resist the urge to lift the lid frequently, as this releases precious steam and heat. The wait is well worth it, as it transforms simple ingredients into a deeply flavorful, aromatic, and incredibly tender meal.
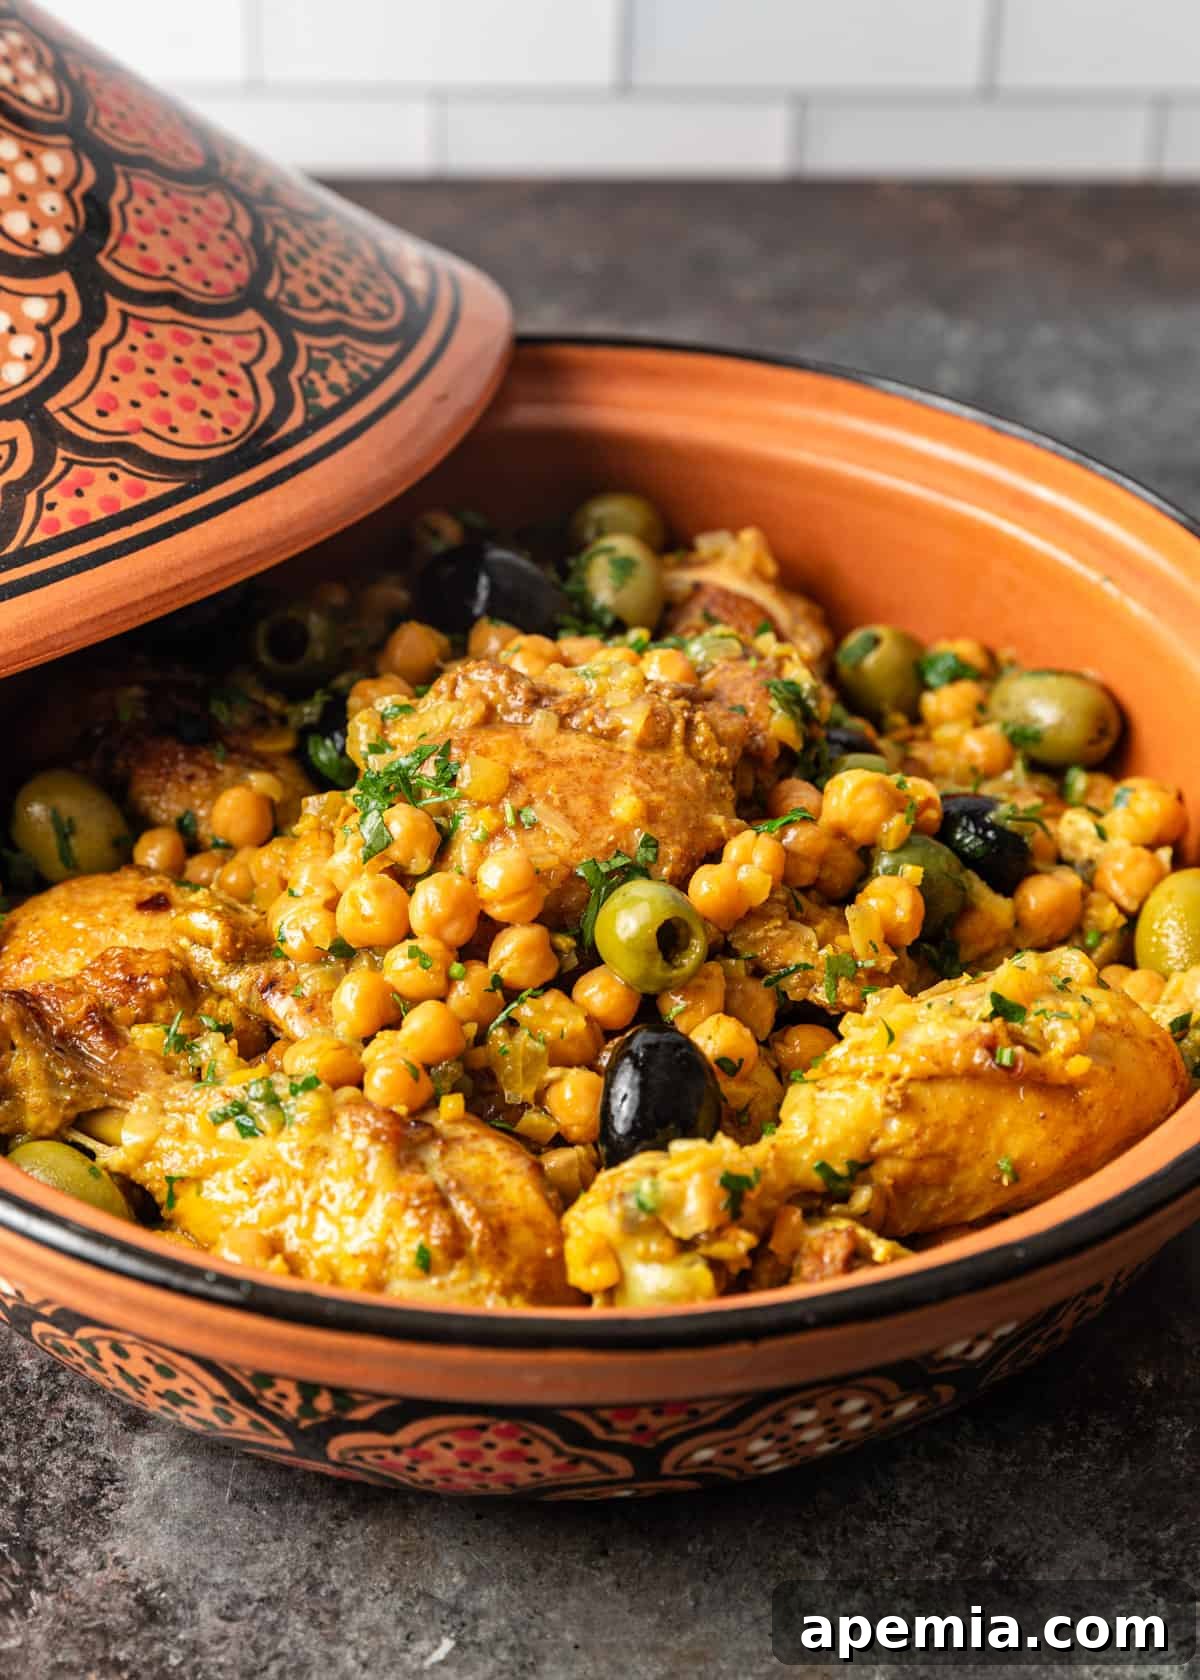
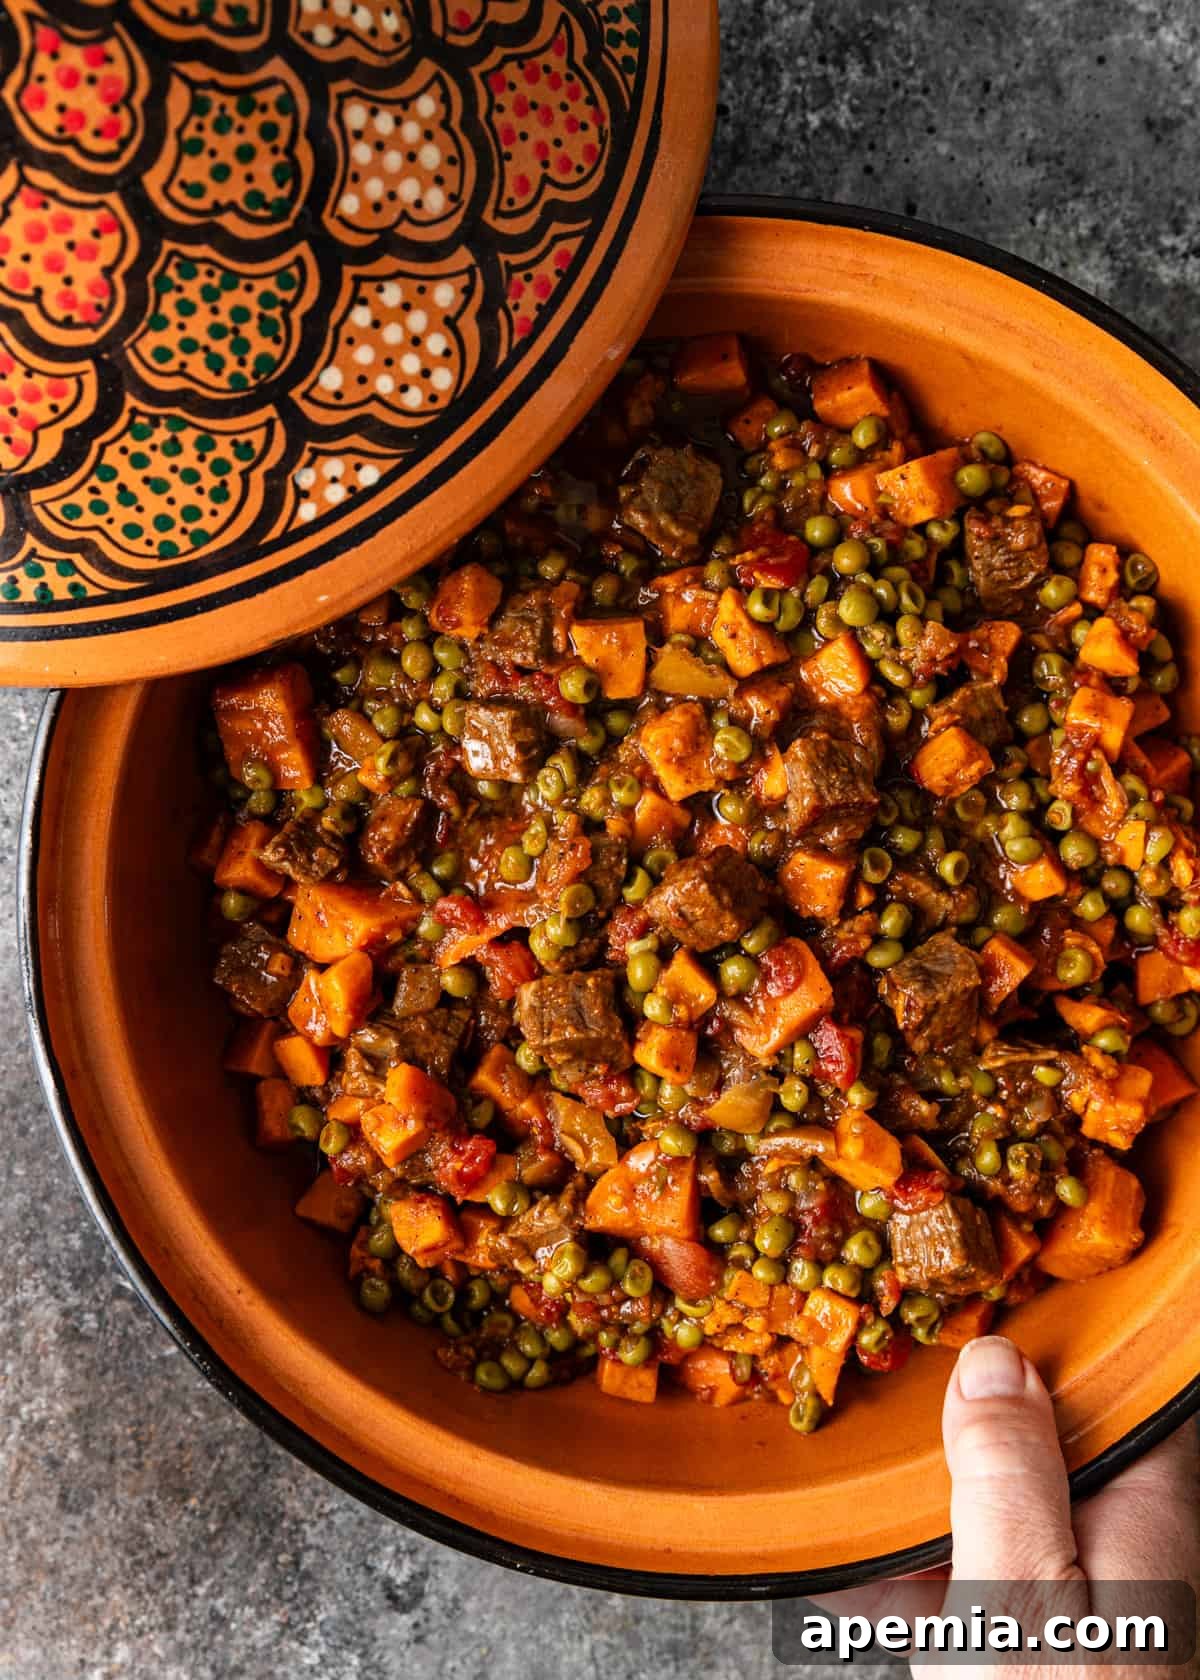
- Traditional Serving: Tagine dishes are traditionally served directly from the tagine pot itself, often placed at the center of the table as a communal dish. Guests scoop the food with bread (khobz) or spoons. This communal style of eating enhances the dining experience, making it a feast for both the palate and the eyes.
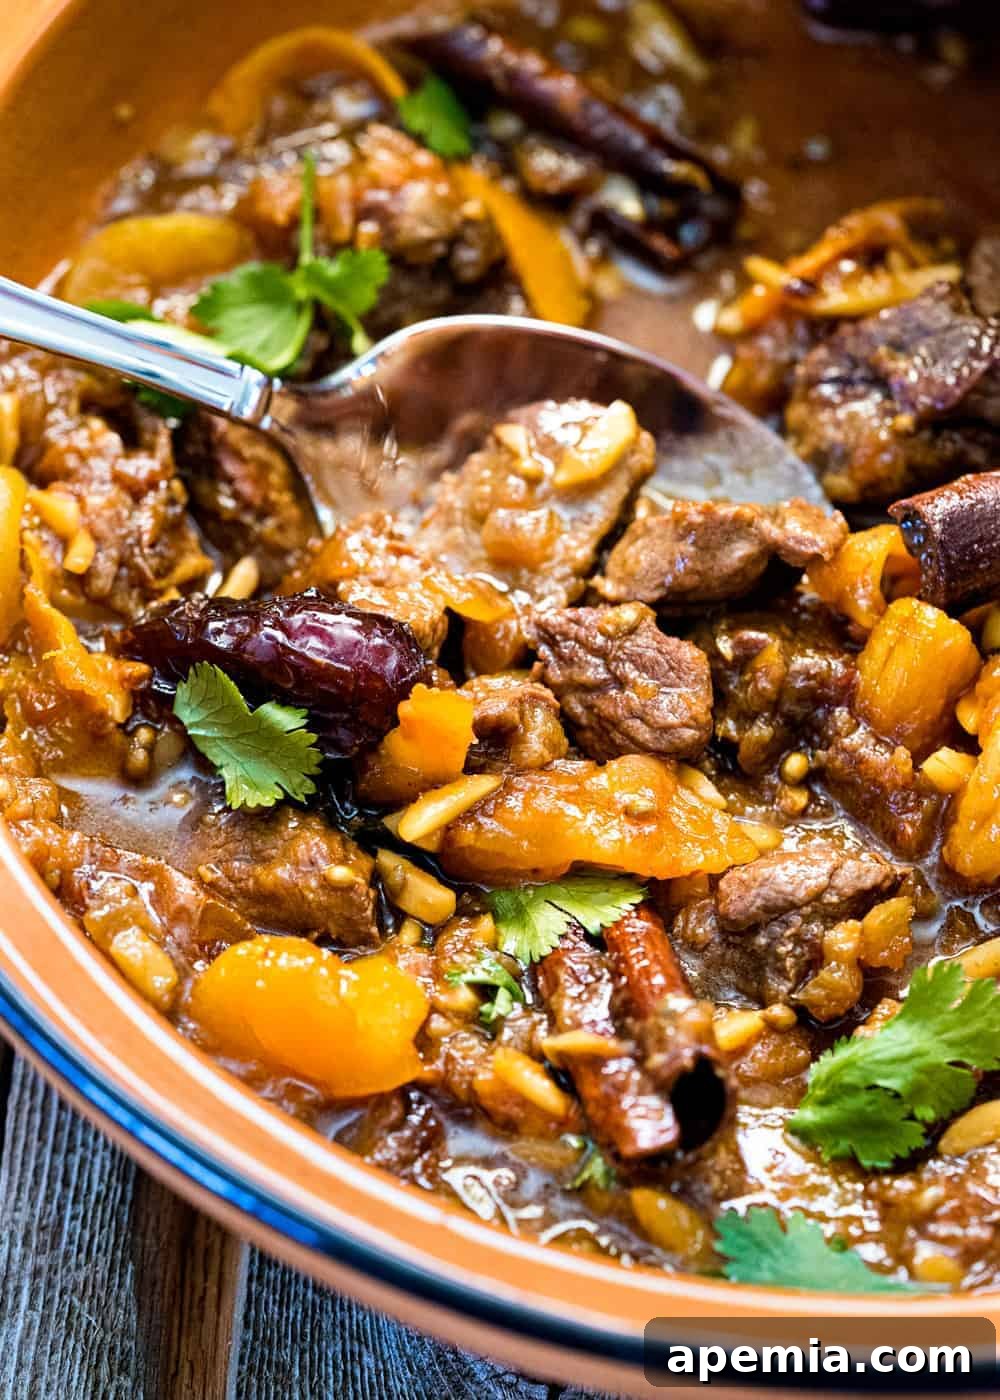
Embracing these basics will empower you to create fantastic tagine meals. For specific and authentic tagine recipes to kickstart your culinary journey, be sure to explore my popular dishes. Try my Lamb Tagine with Apricots and Dates, a savory-sweet delight; my hearty Beef Tagine with Sweet Potatoes Recipe; the flavorful vegetarian Cauliflower Carrot Vegetable Tagine; and the classic Chicken Tagine with Chickpeas and Olives! Each offers a unique taste of North African culinary tradition.