The Ultimate Homemade Hummus: Achieve Unmatched Creaminess and Flavor
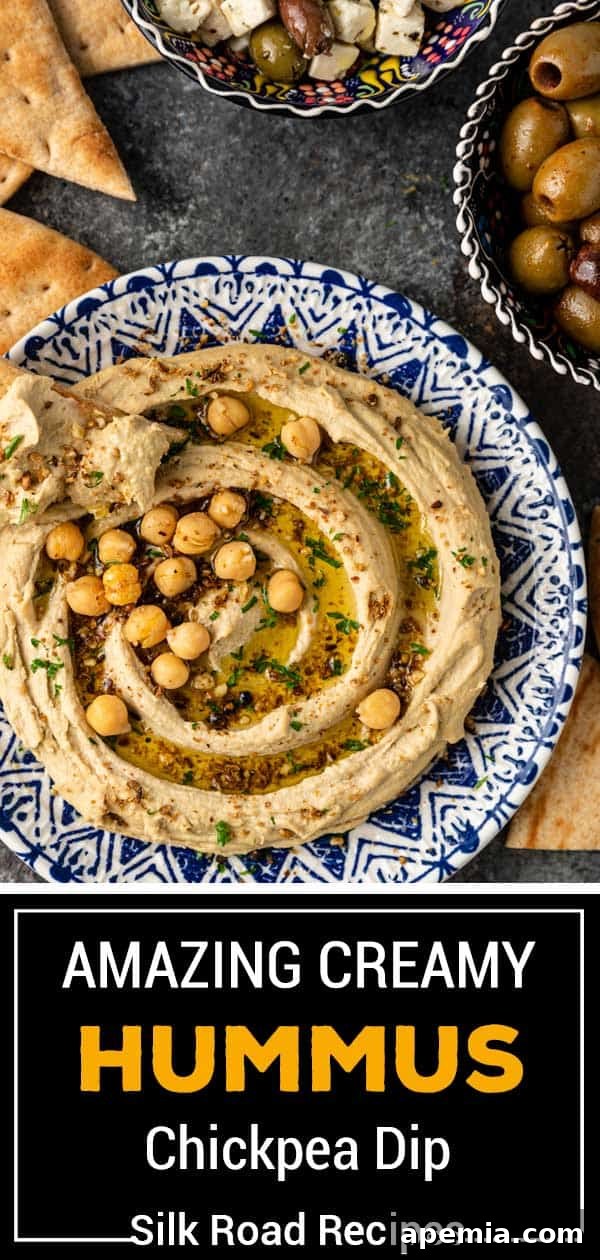
Forget everything you thought you knew about store-bought dips. This homemade hummus recipe is a revelation – a testament to how simple ingredients, when treated with care, can transform into something truly extraordinary. Wholesome, comforting, and bursting with bold, fresh flavors, this guide will walk you through every step of crafting the silkiest, most savory chickpea dip you’ve ever tasted. From meticulously preparing the chickpeas for optimal softness to serving this Mediterranean staple the traditional way, we’re unlocking the secrets to a dip you simply won’t want to put down.
The humble chickpea, or garbanzo bean, is a culinary marvel. This versatile, protein-rich legume forms the backbone of countless global cuisines, gracing tables from the Middle East to India. I’ve celebrated its incredible adaptability many times before in beloved recipes like Middle Eastern falafel, where it’s transformed into crispy patties, or the aromatic Indian chickpea curry, bursting with vibrant spices.
Today, however, we turn our spotlight to the undisputed classic: hummus. This creamy chickpea dip transcends cultural boundaries, having become wildly popular across the globe, and for exceptionally good reason! It’s not just packed with incredible flavor; its smooth, satisfying texture makes it the perfect accompaniment for virtually anything – from warm pita bread and crunchy vegetable sticks to savory grilled meats and crispy chips. Hummus elevates every meal and snack, offering a delightful and healthy addition to your culinary repertoire.
Table of Contents
- Why Homemade Hummus is Superior
- The Secret to Creamy Hummus, Unveiled!
- Chickpeas and Baking Soda: A Deep Dive
- Essential Ingredients for the Best Hummus
- Step-by-Step: How to Make Hummus
- Recommended Tools for Hummus Perfection
- Storing and Reheating Hummus
- Frequently Asked Questions About Hummus
- Homemade Hummus Recipe Card
Why Homemade Hummus is Superior: A Culinary Journey Beyond the Supermarket
Let’s be honest: I, like many others, used to rely on convenient tubs of hummus from the grocery store. They served their purpose. But I can confidently tell you this – once you experience the profound difference of truly homemade hummus, crafted with fresh ingredients and a touch of passion, you will forever change your perception. The store-bought variety, while passable, simply cannot compete with the luxurious smoothness, complex depth of flavor, and vibrant freshness that comes from making it yourself.
This particular homemade hummus recipe yields a dip that is not just smooth, but *ridiculously* silky and creamy, boasting layers of nuanced spice and bright acidity that are conspicuously absent in mass-produced versions. The humble chickpeas are elevated to new heights with the sharp tang of fresh lemon juice, the pungent bite of raw garlic, and the earthy warmth of aromatic cumin. The result is a hearty, deeply comforting, and utterly addictive flavor profile that dances on the palate. Imagine blending all these perfect elements, finishing with a glistening drizzle of extra virgin olive oil, and scooping it up with some warm, pillowy fresh pita bread. It’s not just food; it’s a moment of pure, unadulterated culinary heaven.
Beyond the superior taste, making hummus at home offers immense satisfaction. You control the quality of every ingredient, avoid unnecessary preservatives, and can customize the flavor profile to your exact liking. It’s a healthier, fresher, and ultimately more rewarding way to enjoy this ancient delight.
Expert Tip
The Secret to Creamy Hummus, Unveiled!
Achieving that coveted ultra-smooth, velvety texture in your hummus is easier than you think, with a few key tricks:
- Baking Soda Magic: My number one secret is incorporating baking soda during the chickpea cooking process. This incredible ingredient softens the chickpeas dramatically, not only significantly reducing their cooking time but, more importantly, ensuring they break down effortlessly into an exquisitely creamy consistency when blended.
- The Power of Extended Processing: While some recipes suggest meticulously removing every chickpea skin, I’ve found that a good quality food processor, allowed to run for a full 5 minutes (or even longer for ultimate creaminess), does an exceptional job. The sustained blending motion vigorously breaks down both the chickpeas and any remaining skins, resulting in a perfectly smooth texture without the tedious manual effort.
- Ice Cubes for Emulsification: This might sound unconventional, but adding ice cubes (or ice-cold water) while processing the chickpeas is a game-changer. The sudden cold temperature aids in creating a stable emulsion with the tahini, preventing the mixture from overheating during prolonged blending, and ultimately yielding a lighter, fluffier, and truly superior creamy hummus.
Expert Insight
Chickpeas and Baking Soda: A Deep Dive into Texture Perfection
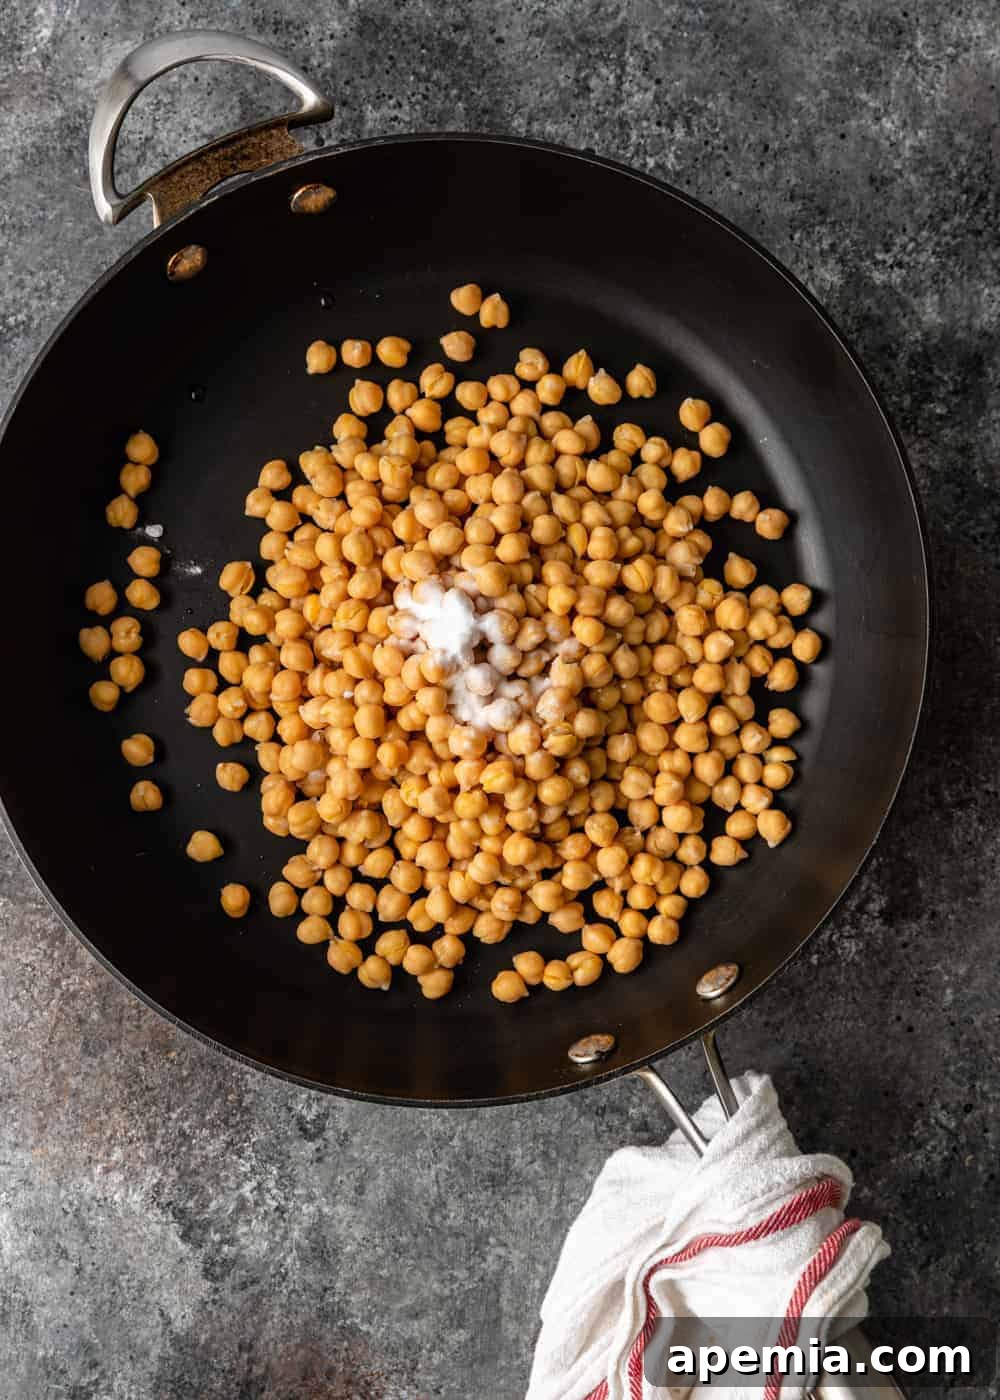
Understanding the interaction between chickpeas and baking soda is key to achieving that dreamily smooth hummus. Specifically, dry toasting soaked and dried chickpeas with baking soda in a skillet before boiling offers distinct advantages over simply adding baking soda to the cooking water:
- Accelerated Skin Breakdown, Earlier On: This dry-toasting method kickstarts the alkaline environment much earlier in the preparation process. The combination of direct heat and baking soda immediately begins to weaken the pectin structure in the chickpea skins. This pre-softening of the skins, before any significant moisture is reintroduced, leads to remarkably softer skins and creamier interiors—a critical factor for hummus and other ultra-tender chickpea preparations.
- Enhanced Surface Reaction and Flavor Development: The dry heat during toasting can encourage subtle Maillard reactions or other chemical changes on the chickpea’s surface. While often subtle, this can contribute to a slightly nuttier, more complex flavor profile. Concurrently, the baking soda reacts with any residual surface moisture and proteins, further facilitating the effective loosening and breakdown of the skins.
- Greater Control Over Texture: Initiating the process with dry toasting allows for a more controlled breakdown of the outer layer of the chickpea without overcooking the interior. This technique is particularly beneficial when the goal is chickpeas that readily yield to blending for a smooth consistency, yet avoid becoming entirely mushy before they even reach the food processor.
Compared to: Baking Soda in Cooking Water Only
- When baking soda is added directly to the boiling water, it effectively alkalizes the entire cooking environment, which certainly softens the skins and reduces cooking time. However, this action is applied uniformly throughout the boiling process.
- This can sometimes lead to excessive foaming during cooking, and if overdone, a slightly soapy flavor can develop. Furthermore, this method offers less granular control over the textural contrast between the skin and the interior of the chickpea, which can be optimized with the dry-toasting approach.
Essential Ingredients for the Best Hummus: Quality Matters
- Chickpeas (Garbanzo Beans): The undisputed hero of our hummus. For this recipe, we’re using dried chickpeas, which offer superior flavor and texture when cooked from scratch. However, if time is a constraint, two 15.5-ounce cans of drained chickpeas (rinsed thoroughly) can be substituted. Just note that the canned variety might not achieve quite the same level of ethereal creaminess, but it will still be delicious.
- Baking Soda: Our secret weapon for truly luxurious hummus. It works by breaking down the pectin in the chickpea skins, ensuring they become incredibly soft during cooking. This not only slashes cooking time but also guarantees they blend into an effortlessly smooth paste.
- Water & Ice Cubes: Essential for both cooking and blending. We’ll boil the dried chickpeas in water to tenderize them. Later, during blending, ice cubes play a crucial role. The cold helps emulsify the ingredients, prevents the food processor from overheating (which can degrade flavor and texture), and results in a lighter, fluffier consistency. If ice cubes aren’t available, about 6 ½ tablespoons of ice-cold water can be used as a pinch substitute.
- Tahini: This rich, nutty paste made from ground sesame seeds is non-negotiable for authentic hummus. It provides a creamy body, a distinct savory depth that beautifully balances the lemon and garlic, and contributes significantly to the characteristic smooth texture. Quality tahini, particularly from Ethiopian Humera sesame seeds, makes a noticeable difference.
- Fresh Lemon Juice: The bright, zesty counterpoint to the richness of tahini and chickpeas. Aim for freshly squeezed juice from about 2 lemons for optimal flavor. While concentrated juice works, fresh offers a superior, more vibrant tang without the sometimes sharper, less nuanced flavor of bottled options.
- Fresh Garlic: Raw garlic adds an essential pungent kick, providing a robust, aromatic backbone to the hummus. Its strong flavor is expertly balanced by the creamy tahini, bright lemon, and warm cumin, creating a harmonious blend.
- Salt: A fundamental flavor enhancer. It doesn’t just make the hummus salty; it amplifies and brings out the best in all the other ingredients, creating a well-rounded and seasoned dip.
- Ground Cumin: This earthy, warm, and slightly peppery spice is a hallmark of Middle Eastern cuisine. It imparts a gentle, aromatic warmth that ties all the flavors together, adding a layer of complexity to our chickpea dip.
How to Make Hummus: Your Guide to Perfection
Follow these detailed steps to create a truly exceptional homemade hummus:
- Soak the Chickpeas (If Using Dried): This crucial first step significantly reduces cooking time and helps achieve a tender texture. Pour 2 ½ cups of water into a large bowl, add the dried chickpeas, cover with a kitchen towel, and let them soak overnight (typically 8-12 hours) at room temperature. If you’re using canned chickpeas, you can happily skip this step!
- Cook the Chickpeas to Perfection: First, drain and thoroughly rinse your soaked chickpeas. Transfer them to a large saucepan or skillet. Add the baking soda and toss vigorously to ensure every chickpea is coated. Dry cook for 2-3 minutes over high heat, stirring constantly. This dry-toasting phase jumpstarts the softening process. Next, in a separate saucepan, bring 6 ½ cups of water to a rolling boil. Carefully add the toasted chickpeas to the boiling water. Reduce heat to medium and simmer for 30 to 40 minutes. The cooking time can vary based on the freshness of your chickpeas – fresher ones tend to cook faster. Throughout the cooking process, use a spoon to skim off any foam or loose skins that rise to the surface. The chickpeas are perfectly cooked when they are incredibly soft and easily mash between your thumb and forefinger.
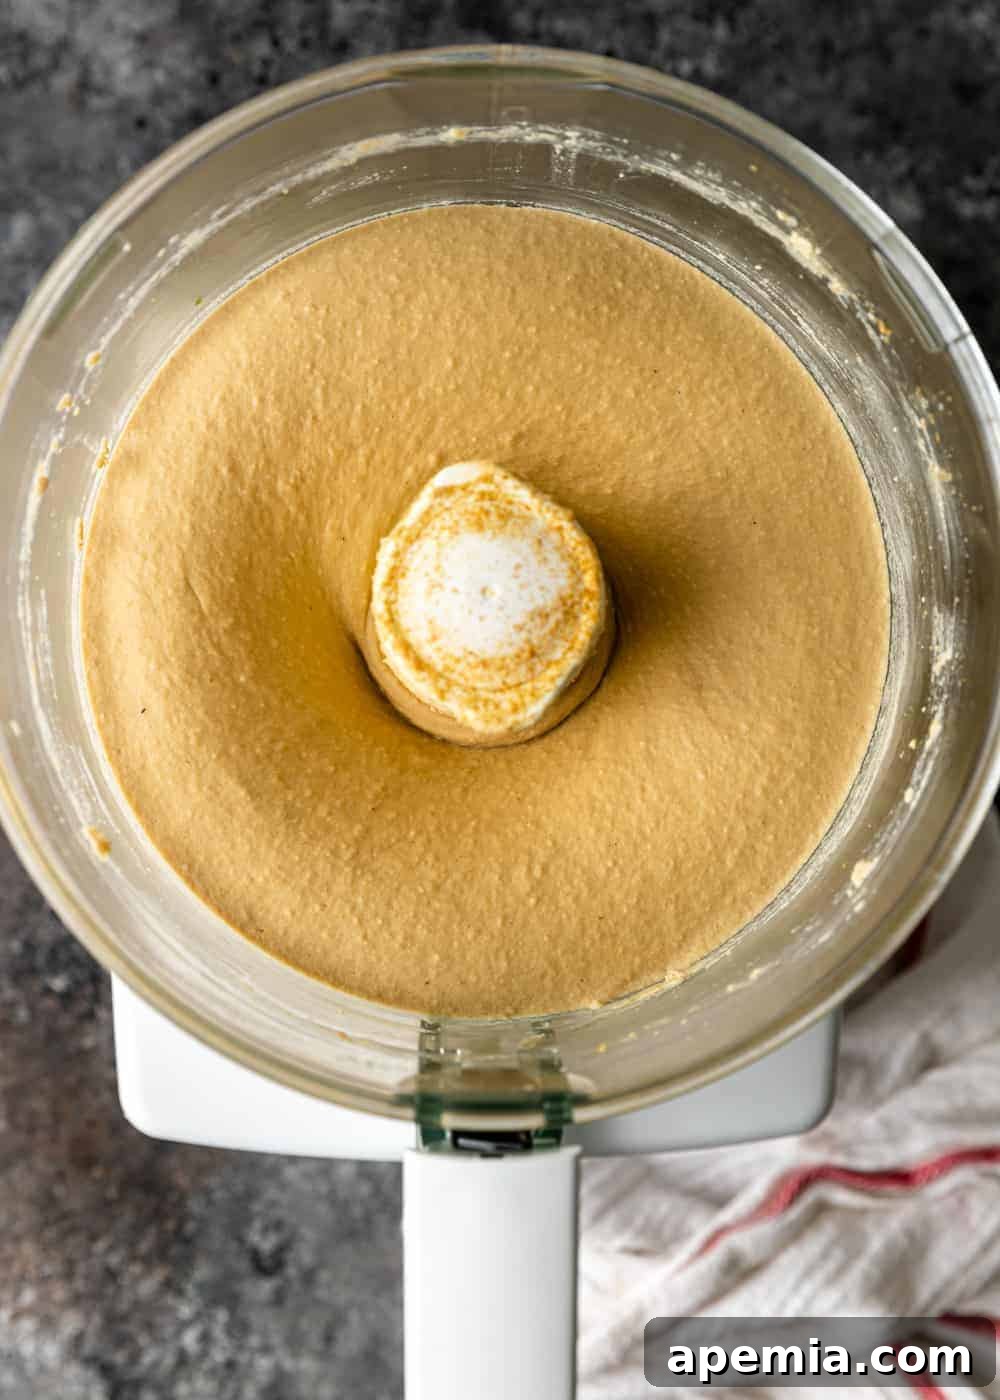
- Blend for Ultimate Creaminess: Once cooked, drain the chickpeas thoroughly and immediately transfer them to the bowl of a high-powered food processor. Begin processing them until they form a thick, somewhat granular paste. Stop the motor, scrape down the sides and bottom of the bowl to ensure everything is incorporated, then restart. With the motor running, add the tahini, fresh lemon juice, garlic, salt, and ground cumin. Continue blending. Now for the magic: with the motor still actively running, drop in the ice cubes one by one. Continue to process for a full 5 minutes, or even longer if you desire an even smoother, more ethereal consistency. You’re looking for a light, airy, and incredibly smooth paste.
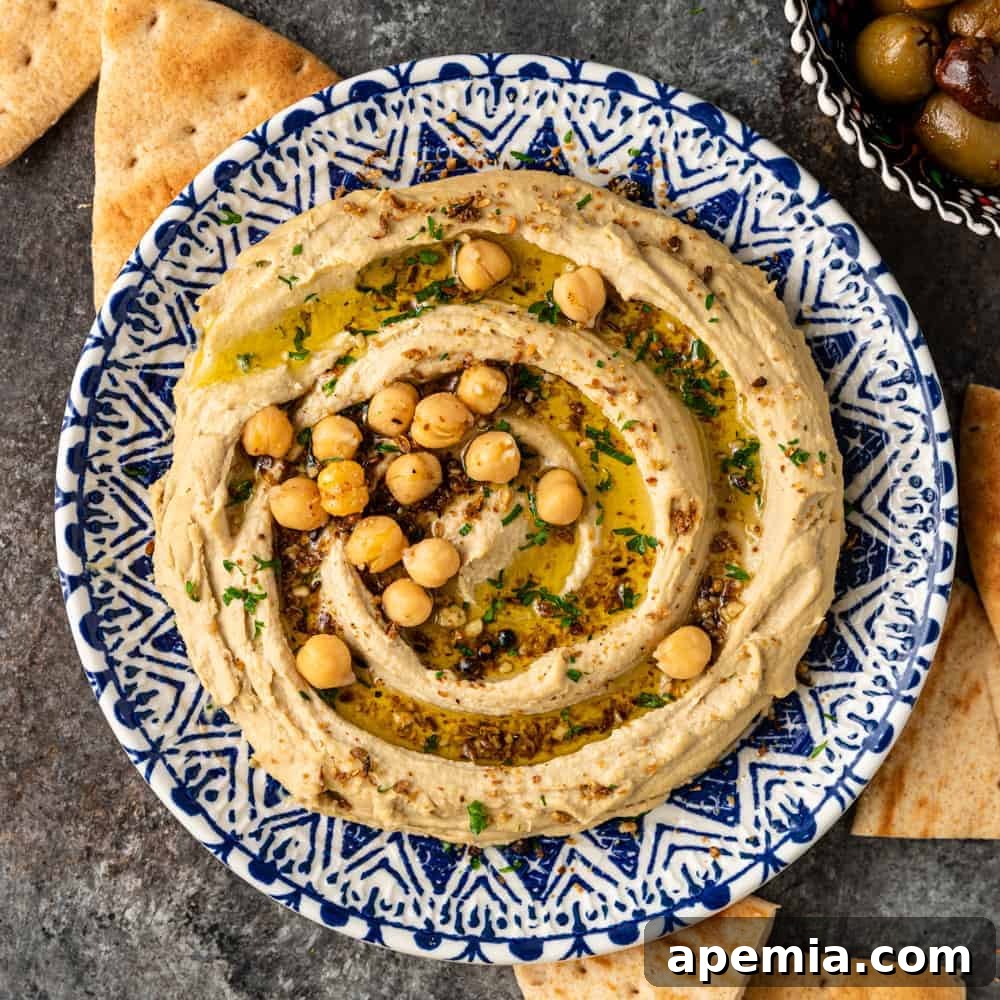
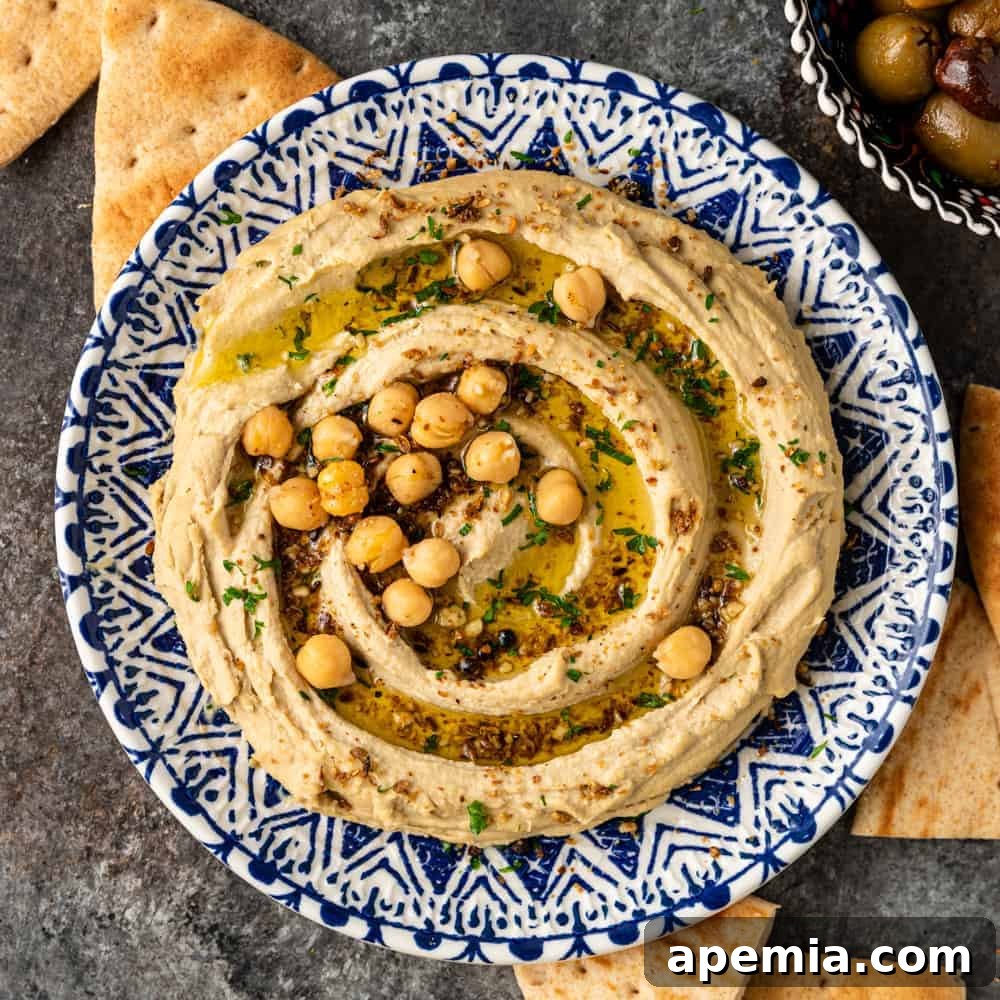
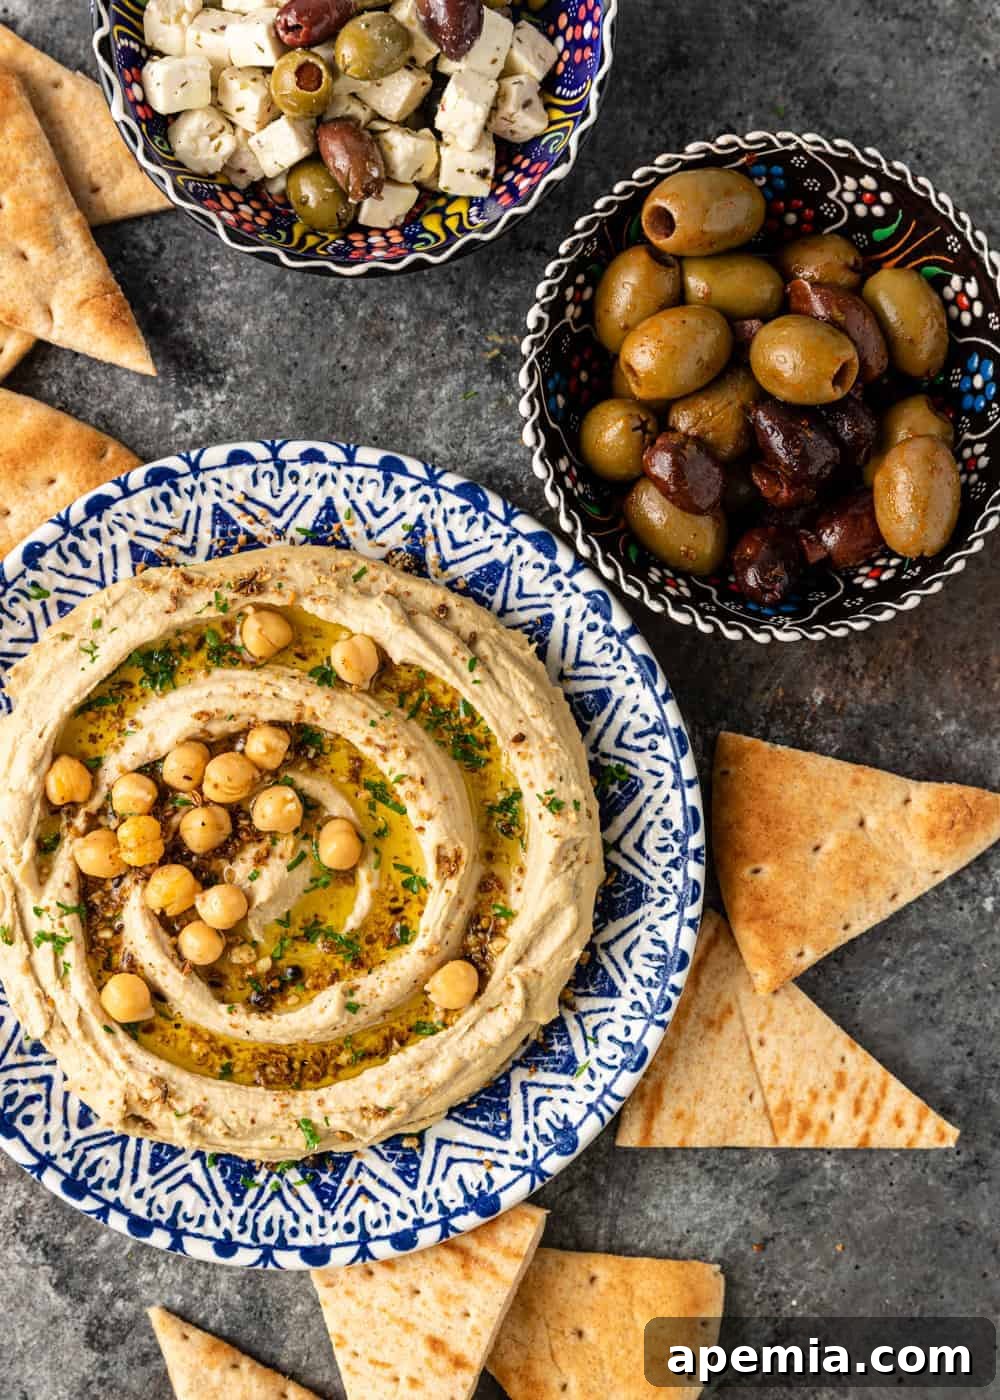
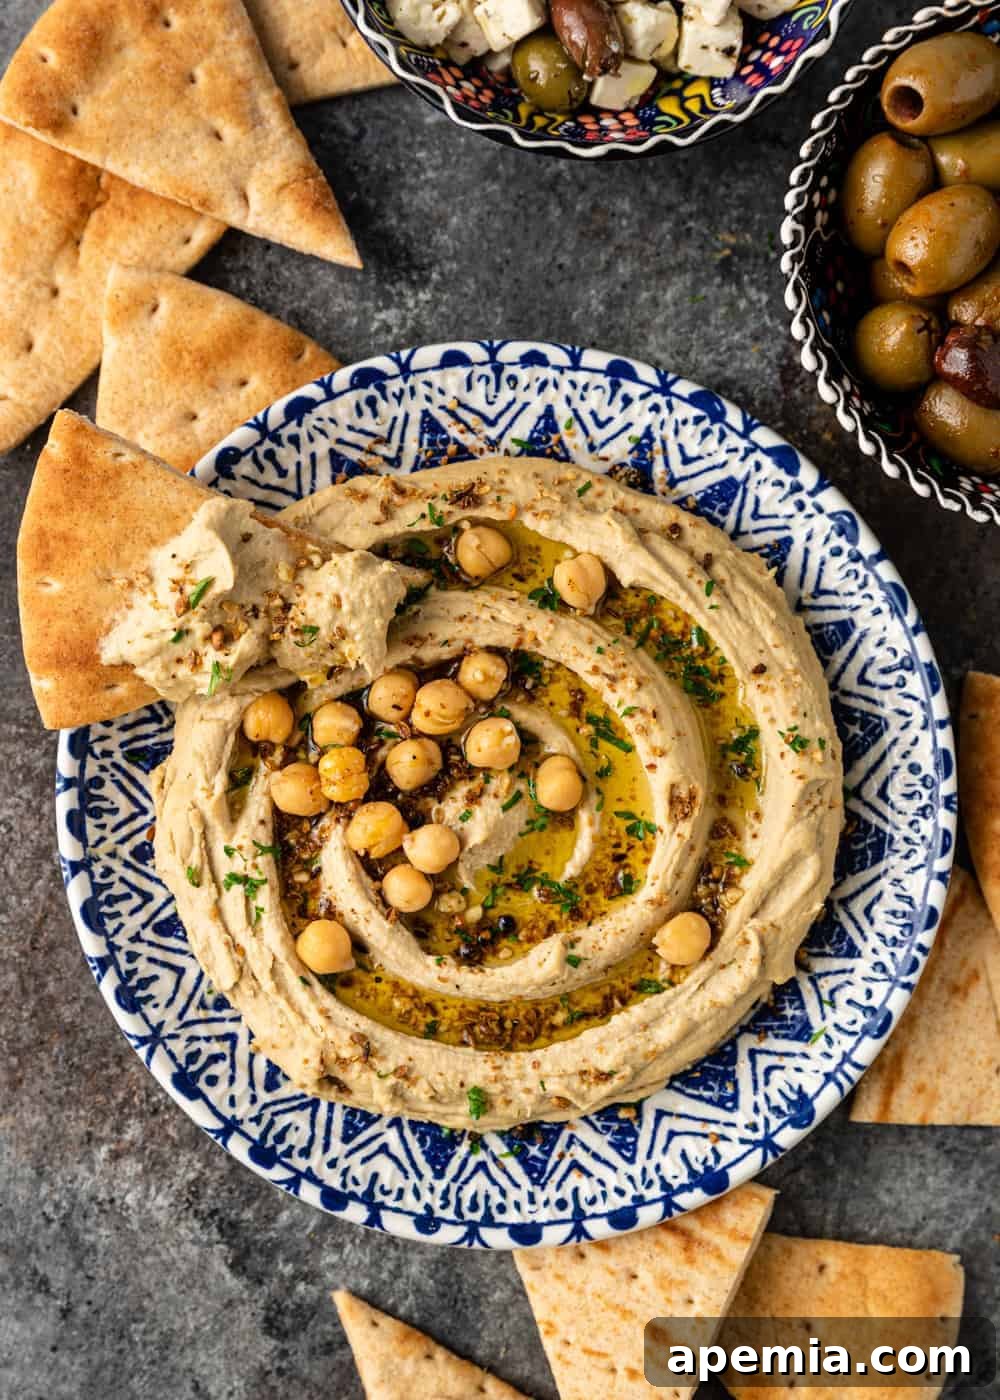
- Rest and Serve with Flair: Transfer your freshly blended hummus to a serving bowl. Cover it loosely and allow it to rest at room temperature for at least 30 minutes. This resting period allows the flavors to meld and deepen beautifully. If preparing in advance, refrigerate it, but always bring it back to room temperature before serving for the best flavor and texture. Spread the hummus generously onto a serving plate, creating a swirl with the back of a spoon. Finish with a luxurious drizzle of high-quality olive oil and a vibrant sprinkling of freshly chopped parsley. For an authentic flourish, consider adding a pinch of sumac, a textural sprinkle of dukkah, or the aromatic blend of za’atar.
Recommended Tools for Hummus Perfection
While making hummus is relatively straightforward, having the right equipment can make all the difference in achieving professional-level results:
- Food Processor: Absolutely indispensable for this hummus recipe. There is simply no other way to efficiently blend your cooked chickpeas into that signature smooth, creamy, and airy texture that defines truly great hummus. A powerful model will ensure the best results.
- Spatula: A flexible rubber or silicone spatula will become your best friend in the kitchen. It makes scraping down the sides of your food processor bowl quick and easy, ensuring all ingredients are thoroughly incorporated. It’s also perfect for transferring the finished hummus and creating those appealing swirls on your serving dish.
- Large Saucepan/Pot: Essential for soaking and cooking your chickpeas. Choose one with a heavy bottom for even heat distribution.
- Fine-Mesh Sieve/Colander: For draining and rinsing the chickpeas efficiently after soaking and cooking.
Storing and Reheating Hummus: Maximizing Freshness
Proper storage is key to extending the life and freshness of your delicious homemade hummus. In an airtight container, your hummus will keep beautifully in the refrigerator for 3 to 4 days. To maintain its vibrant flavor and prevent it from drying out, you can smooth the top surface and drizzle a thin layer of olive oil over it before sealing the container. This creates a protective barrier.
If you wish to preserve your hummus for a longer period, it freezes exceptionally well for up to 4 months. To freeze, transfer the hummus to an airtight, freezer-safe container, leaving a little headspace as it may expand slightly. You can also drizzle olive oil on top before sealing to help protect it. When you’re ready to enjoy it again, simply transfer the frozen hummus to the refrigerator overnight to thaw. Before serving, let it come to room temperature, stir it well, and if needed, add a touch more olive oil or lemon juice to revive its creamy texture and bright flavor.
Share this recipe on Pinterest!
Love this recipe? Help others discover it by sharing it with your friends on Pinterest.
Frequently Asked Questions About Hummus
Both spellings, and even “hommos,” are commonly accepted and widely used. Because the original word is Arabic, which uses a different alphabet, these variations are simply different attempts in Western languages to phonetically represent the sound of the Arabic word. So, use whichever you prefer!
Absolutely! Customizing your hummus with a spicy kick is a fantastic idea. A simple way to do this is to add about ¼ cup of pickled jalapeños directly into your food processor along with the other ingredients before blending. For an extra layer of freshness and flavor, I often toss in a generous bunch of fresh cilantro leaves as well. These additions won’t compromise the smooth texture one bit and will result in a deliciously vibrant and spicy hummus. Don’t forget that you can also add a pinch of cayenne pepper or red pepper flakes to the finished dip for a serving-time spice boost. For a dedicated spicy recipe, check out my Cilantro Jalapeño Hummus!
The quality of tahini can dramatically affect the final taste and texture of your hummus. Tahini available in the United States varies significantly in both flavor and consistency. For the creamiest, most authentic results, look for tahini made from Ethiopian Humera sesame seeds. These seeds are renowned for producing a buttery, complex, and less bitter tahini that is ideal for hummus. Many specialty grocery stores like Trader Joe’s and Whole Foods often stock high-quality tahini brands. Alternatively, the Soom brand is widely praised by chefs and home cooks alike and can be easily ordered online.
Hummus is incredibly versatile! Beyond the classic pita bread, try serving it with warm naan, crusty bread, or an assortment of fresh crudités like carrot sticks, cucumber slices, bell pepper strips, and celery. It also makes a fantastic spread for sandwiches and wraps, a creamy base for salad bowls, or even a flavorful dollop alongside grilled chicken, falafel, or kebabs. Don’t hesitate to get creative!
Homemade Hummus Recipe
8
8 hrs (soaking)
35 minutes
30 minutes
1 hour 5 minutes
PrintRecipe
Ingredients
Garnishes (Optional)
Instructions
-
Soak the dried chickpeas: In a large bowl, combine the 1 ¼ cup dried chickpeas with 2.5 cups of water. Cover the bowl with a kitchen towel and let them soak overnight (8-12 hours) at room temperature. If you are using canned chickpeas, you can skip this soaking step entirely and proceed directly to Step 2.
-
Prepare and Cook the Chickpeas: Drain and thoroughly rinse the soaked chickpeas. Transfer them to a large saucepan or skillet. Add the 1 teaspoon of baking soda and toss vigorously to ensure the chickpeas are evenly coated. Dry cook the chickpeas over high heat for 2-3 minutes, stirring frequently. This step helps to further tenderize the skins. In a separate saucepan, bring 6.5 cups of water to a boil. Add the dry-toasted chickpeas to the boiling water. Reduce the heat to medium and simmer for 30-40 minutes (see Note 4). During cooking, use a spoon to skim off any foam or loose skins that rise to the surface. The chickpeas are perfectly cooked when they are incredibly soft and easily mashed between your thumb and finger. Once cooked, drain them thoroughly and immediately transfer them to the bowl of a food processor.
While you can pick through to remove any remaining skins at this stage, I find that processing the hummus for a full 5 minutes does an excellent job of creating a perfectly creamy texture, making skin removal largely unnecessary. -
Blend for Ultimate Creaminess: Begin by processing the cooked chickpeas in the food processor until they form a thick, somewhat granular paste. Stop the motor and scrape down the sides and bottom of the bowl to ensure all chickpeas are incorporated. With the motor running, gradually add the tahini, lemon juice, garlic, salt, and cumin. Continue blending. Next, with the motor still running, carefully drop in the ice cubes one by one. Continue to mix for a total of 5 minutes. The goal is to achieve the creamiest, smoothest, and lightest paste possible. (For a spicier version, refer to Note 5 below).
-
Rest and Serve: Transfer the freshly blended hummus to a serving bowl. Cover it and allow it to rest at room temperature for at least 30 minutes; this allows the flavors to fully meld. If not serving immediately, refrigerate it. Before serving, ensure the hummus comes back to room temperature for optimal flavor and texture. Spoon the hummus onto a serving plate, creating a decorative swirl. Garnish generously with a drizzle of good quality extra virgin olive oil, a sprinkling of fresh chopped parsley, and your choice of either sumac, dukkah, or za’atar.
Notes
- Canned Chickpeas: If you prefer not to soak and cook chickpeas from scratch, you can certainly use canned chickpeas. You will need two 15.5-ounce cans, thoroughly drained and rinsed, for this recipe. Keep in mind that homemade from dried chickpeas often yields a superior, creamier texture.
- Choosing Tahini: For the best results, seek out tahini made from Ethiopian sesame seeds, particularly the buttery and complex Humera variety. This type of tahini produces a smoother, less bitter, and more flavorful hummus. Excellent brands can often be found at specialty grocery stores like Trader Joe’s and Whole Foods, or consider ordering the highly-regarded Soom brand online.
- Ice Cube Substitute: While ice cubes are ideal for achieving the perfect emulsification and texture, if you don’t have any on hand, you can substitute them with approximately 6 ½ tablespoons of ice-cold water during the blending process.
- Chickpea Cooking Time: The cooking time for dried chickpeas can vary based on their age and freshness. Fresher chickpeas tend to cook more quickly. Always cook until they are very tender and easily crushed between your fingers.
- Spicy Hummus Variation: For those who love a kick, consider making a spiced-up version! Simply add 1 bunch of fresh cilantro leaves and ¼ cup of pickled jalapeños to the food processor along with the other ingredients in Step 3. Blend until completely smooth for a vibrant and spicy twist.
Nutrition
Calories:
296kcal
|
Carbohydrates:
26g
|
Protein:
11g
|
Fat:
18g
|
Saturated Fat:
2g
|
Sodium:
601mg
|
Potassium:
425mg
|
Fiber:
7g
|
Sugar:
4g
|
Vitamin A:
41IU
|
Vitamin C:
6mg
|
Calcium:
84mg
|
Iron:
3mg
The information shown is an estimate provided by an online nutrition calculator. It should not be considered a substitute for a professional nutritionist’s advice.
Appetizer, Dip, Snack
Greek, Mediterranean, Middle Eastern
Kevin
Have You Made This Recipe? Let Me Know on Instagram!
Tag @keviniscooking or use the hashtag #keviniscooking!