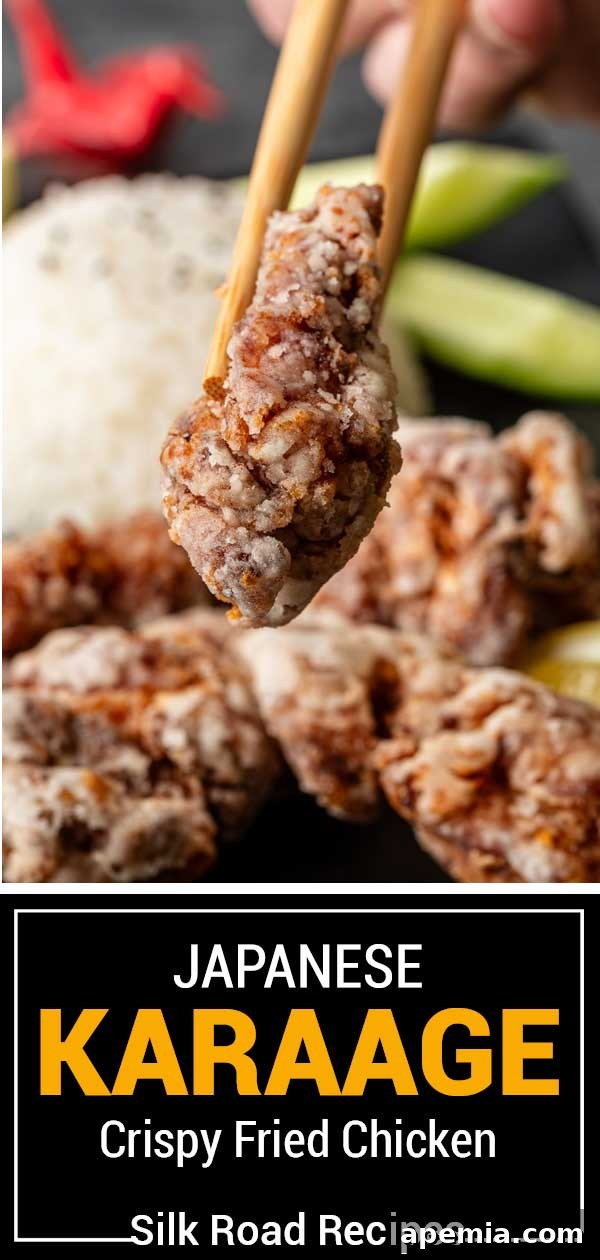
Crispy & Juicy Japanese Karaage Chicken: The Ultimate Homemade Recipe
Prepare to embark on a culinary journey to Japan with this exquisite recipe for Karaage Chicken. Renowned globally for its tantalizingly crispy exterior and incredibly juicy, tender interior, Japanese fried chicken is a dish that truly captivates the senses. Marinated in a harmonious blend of soy sauce, fresh ginger, sake, and a touch of white pepper, each bite promises a burst of authentic Japanese flavor. This comprehensive guide will reveal the secrets to achieving restaurant-quality Karaage right in your own kitchen, ensuring every piece is perfectly golden, audibly crunchy, and wonderfully moist.
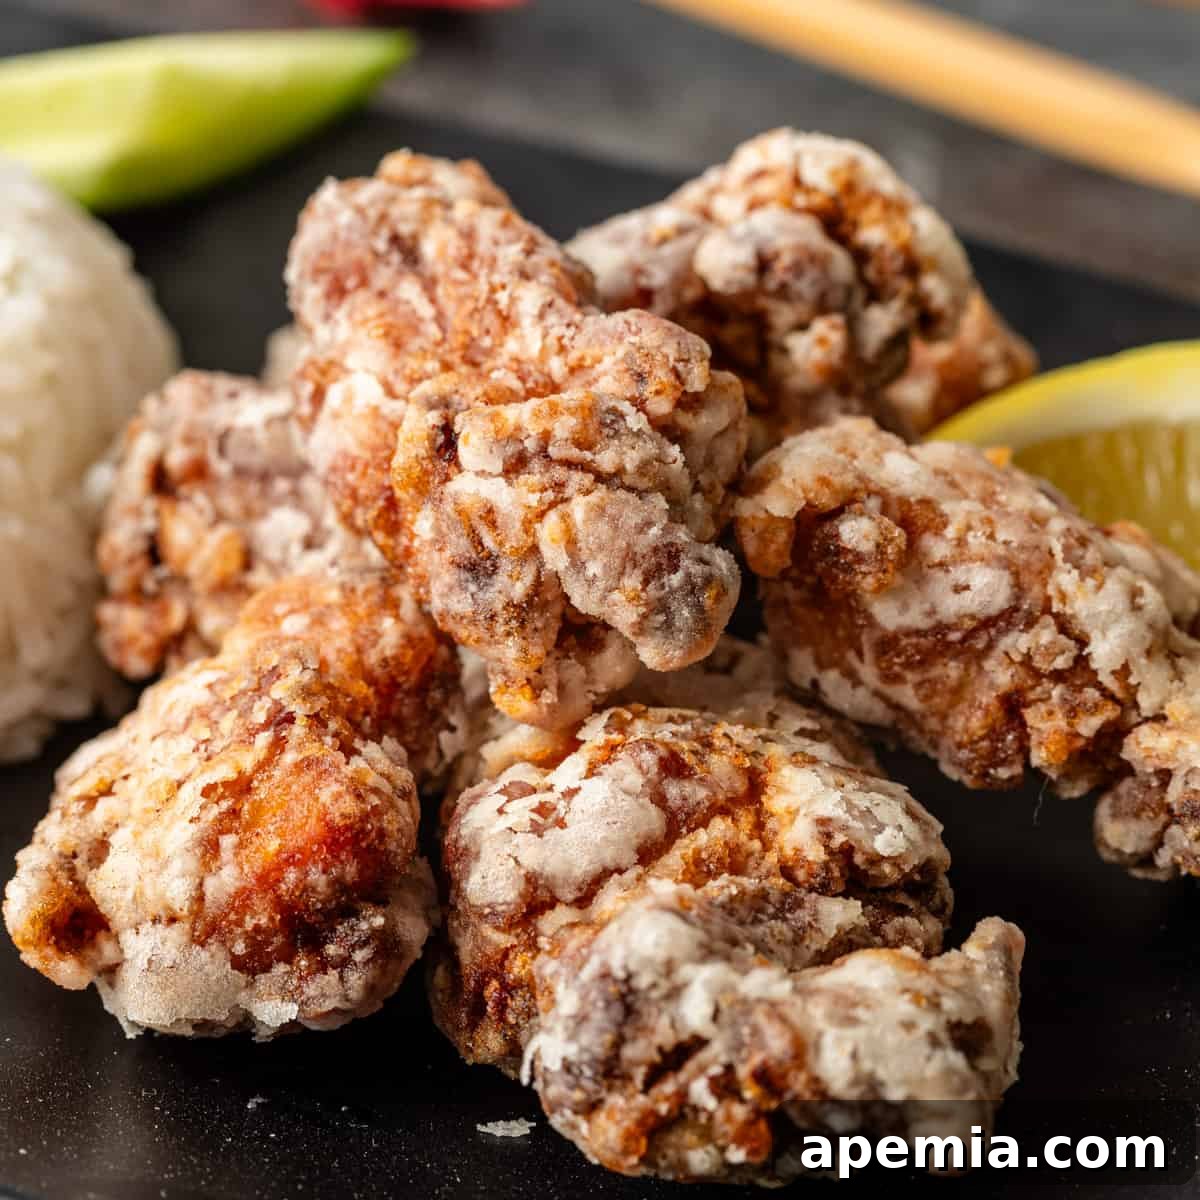
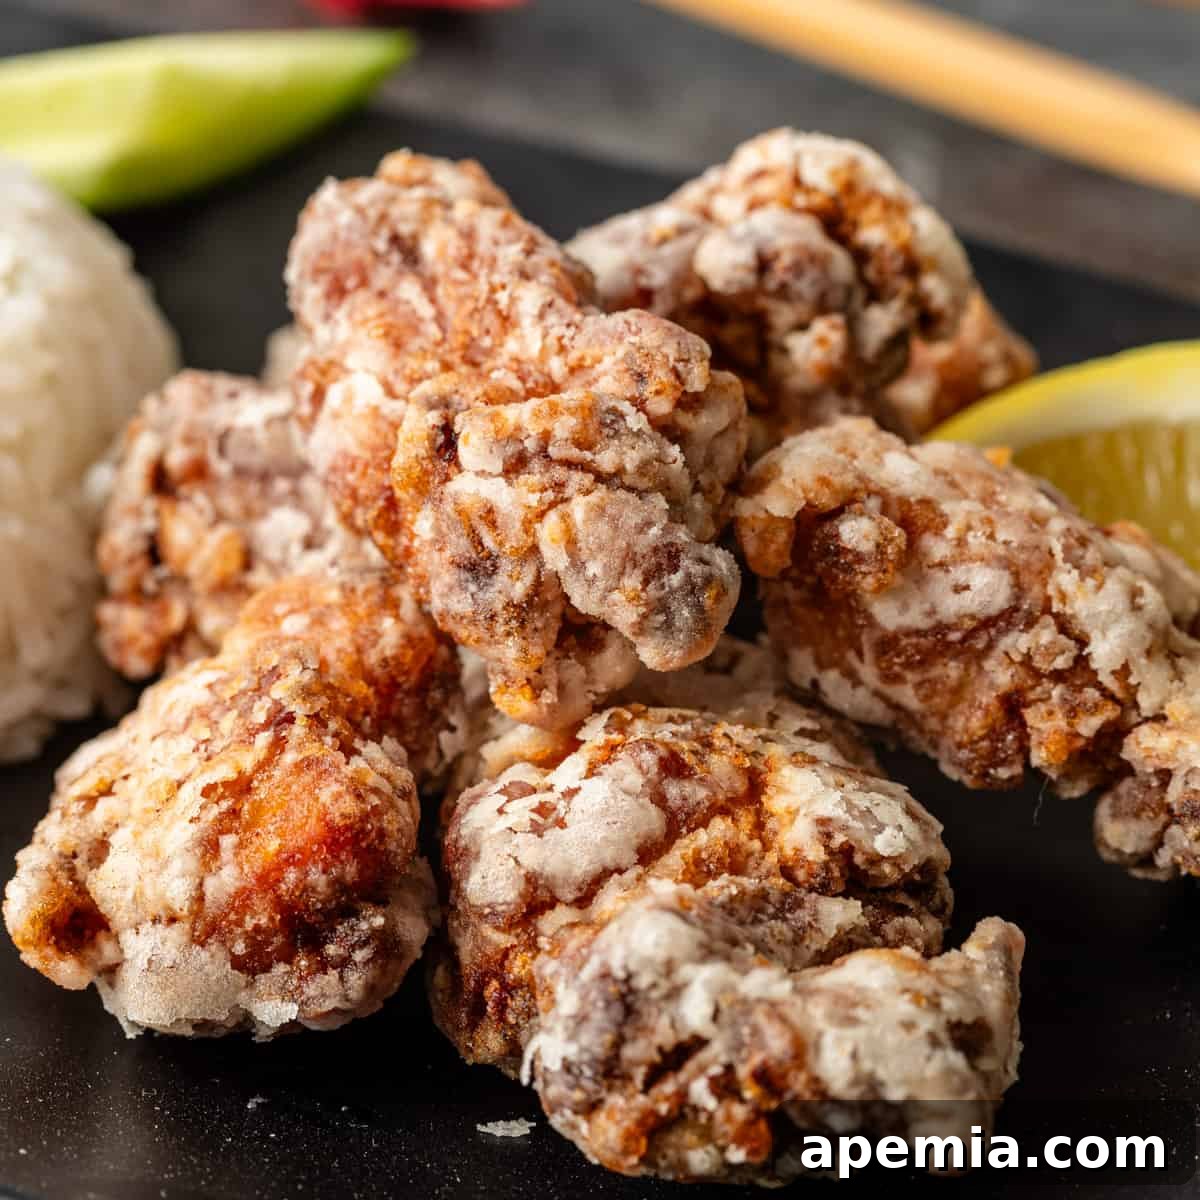
Karaage isn’t just fried chicken; it’s a cultural icon, a staple in izakayas (Japanese pubs), bento boxes, and family dinners across Japan and beyond. Its universal appeal stems from a unique preparation method that sets it apart. Unlike its Western counterparts or even other Japanese fried dishes like tonkatsu which typically rely on panko breadcrumbs for crispiness, Karaage achieves its signature light and airy texture through a distinctive double-frying technique and a simple coating of potato starch. This method expertly locks in the chicken’s natural moisture while creating an unbelievably light, non-greasy, and shatteringly crisp crust that’s often beautifully pale, almost white.
The beauty of Japanese fried chicken lies in its deceptive simplicity. With just a handful of aromatic marinade ingredients and a straightforward, yet precise, preparation process, you can create a dish that’s both deeply satisfying and surprisingly easy to master. The careful balance of flavors from the marinade, combined with the textural magic of the potato starch and double-fry, elevates humble chicken into an extraordinary culinary experience. Whether enjoyed plain with a simple squeeze of fresh lemon, dipped into creamy Japanese mayonnaise, or tossed in a spicy garlic sauce, Karaage is a versatile delight that’s sure to become a cherished favorite in your household.
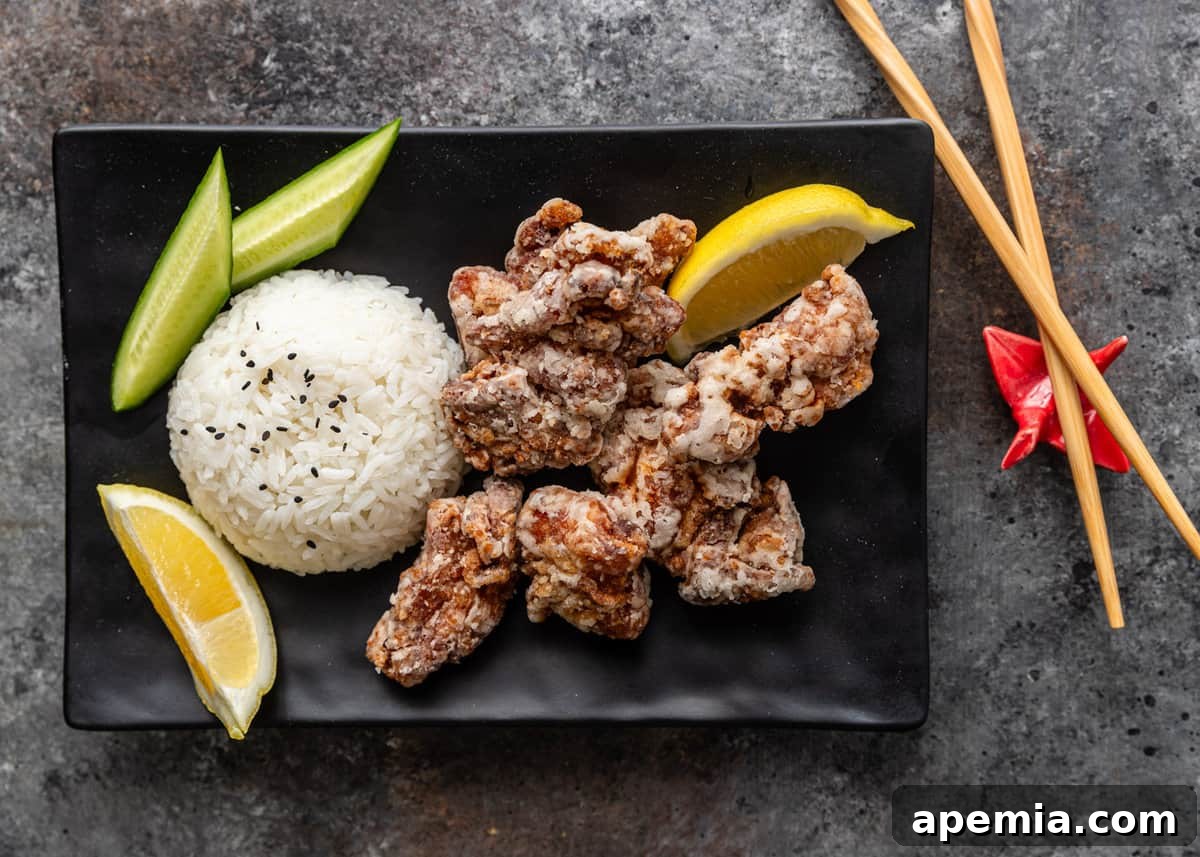
Table of Contents
- The Magic of Potato Starch (Katakuriko)
- Essential Ingredients and Clever Substitutions
- Step-by-Step: How to Make Karaage Chicken
- Recommended Kitchen Tools for Perfect Karaage
- Storing and Reheating Leftover Karaage
- Frequently Asked Questions About Karaage
- Japanese Fried Chicken (Karaage) Recipe
To transform your Karaage into a complete and balanced meal, consider pairing it with refreshing and palate-cleansing sides. A light and zesty cucumber salad (Sunomono) offers a crisp counterpoint to the richness of the fried chicken. Alternatively, tangy pickled vegetables, such as Middle Eastern pickled turnips, can provide a delightful acidity that cuts through the savory flavors. And of course, no Japanese meal is complete without a generous bowl of fluffy steamed jasmine rice or short-grain Japanese rice, which serves as the perfect canvas for the flavorful chicken. These accompaniments not only add nutritional value but also enhance the overall dining experience by creating a harmonious balance of tastes and textures.
The Magic of Potato Starch (Katakuriko)
The secret to Karaage’s signature light, airy, and exceptionally crispy crust lies in the use of potato starch, known as katakuriko in Japanese cuisine. While cornstarch is a common thickener and coating agent in Western cooking, potato starch offers unique advantages that make it superior for deep-frying, particularly for Karaage. Its granules are larger and coarser than those of cornstarch, which, when fried, expand and create a more delicate yet incredibly crisp texture. This texture remains wonderfully crunchy for longer periods, even after cooling, a key characteristic that elevates Karaage above many other fried chicken dishes.
Furthermore, potato starch helps maintain the characteristic pale, almost white color of the fried chicken, giving it an appetizing visual appeal that distinguishes it from darker, flour-based coatings. When dredging your marinated chicken, don’t be shy with the potato starch. A generous and thorough coating is absolutely crucial for developing that distinctive, irresistible crunch. The starch acts as a protective barrier, preventing the chicken from absorbing too much oil while creating a perfectly light, non-greasy crust that shatters with every bite.
You’ll find high-quality potato starch readily available in most well-stocked Asian grocery stores, often alongside other Japanese cooking essentials. Look for brands that specifically label it as “potato starch” or “katakuriko.” Some international sections of larger supermarkets may also carry it, and popular brands like Bob’s Red Mill offer a reliable option. If, in a rare instance, you absolutely cannot find potato starch, high-quality cornstarch or even rice flour can serve as acceptable substitutes. However, be aware that the results may vary slightly in texture and crispiness, as they don’t quite replicate the unique properties of katakuriko.
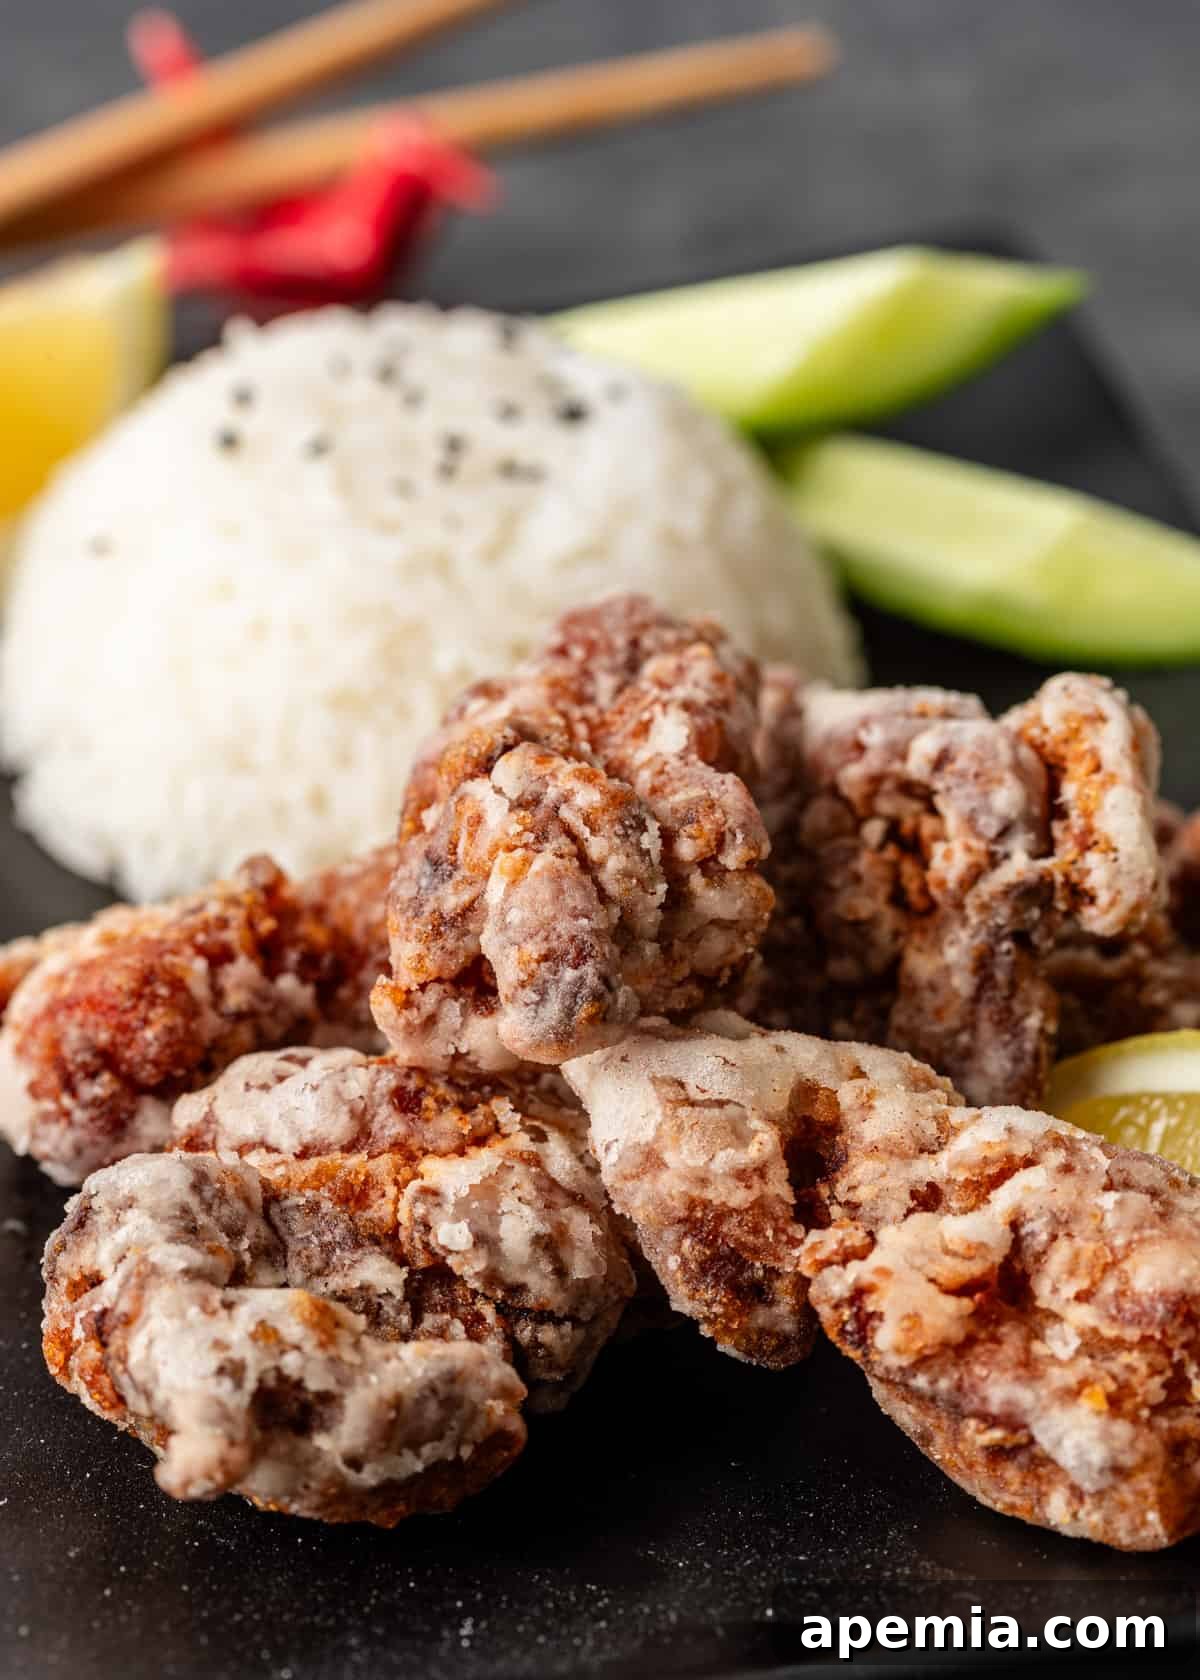
Essential Ingredients and Clever Substitutions
Crafting the perfect Karaage begins with selecting quality ingredients. Below, we delve into each component, offering insights, best practices, and potential substitutions to ensure your success in achieving an authentic and delicious result.
- Chicken Thighs: For the most succulent and flavorful Karaage, boneless, skin-on chicken thighs are unequivocally the best choice. The natural fat in the thighs keeps the meat incredibly juicy and tender during the high-heat frying process, making it more forgiving than leaner cuts. The skin, when rendered, also contributes significantly to the overall crispiness and rich flavor. Ensure you cut the thighs into uniform, bite-sized pieces (approximately 1.5 to 2 inches) to guarantee even cooking. While chicken breast can be used, it tends to dry out more easily and may require careful monitoring of cooking times to maintain moisture.
- Potato Starch (Katakuriko): As highlighted, this is the hero ingredient for the coating, creating that distinctively light, airy, and ultra-crispy crust that defines Karaage. Its unique properties ensure a non-greasy finish. If genuine potato starch is unavailable, high-quality cornstarch is the most suitable alternative, providing a decent crisp, though the texture might be slightly denser. Rice flour can also be used as a gluten-free option, yielding a similar, fine crispness. Avoid using all-purpose flour, as it tends to create a thicker, heavier, and less authentic crust.
- Frying Oil: A neutral-flavored oil with a high smoke point is absolutely crucial for deep-frying. Canola oil is an excellent choice due to its affordability, wide availability, and ability to withstand high temperatures without imparting unwanted flavors. It delivers consistently golden and crispy results. Other highly recommended alternatives include soybean oil, peanut oil, or grapeseed oil. The primary concern is selecting an oil that can handle the specific high temperatures required for the double-frying technique without breaking down, smoking excessively, or leaving a burnt taste. Ensure you have enough oil to fully submerge the chicken pieces for even cooking, typically 2-3 inches deep in your pot.
-
Karaage Marinade: The marinade for Karaage is remarkably simple yet incredibly potent, infusing the chicken with the savory, aromatic, and slightly sweet notes that are the hallmark of authentic Japanese cuisine. While some regional variations or personal preferences might include garlic, sesame oil, or other herbs, a classic Karaage marinade focuses on these core ingredients for the purest, most traditional flavor profile:
- Soy Sauce: Use a light soy sauce or your standard all-purpose soy sauce. This foundational ingredient provides the essential umami, depth of flavor, and saltiness that penetrates the chicken, tenderizing it and building a rich flavor base. Avoid dark soy sauce, which can make the chicken’s coating too dark during frying and alter the desired color.
- Sake (Japanese Rice Wine): Sake plays a multifaceted and vital role in the marinade. It helps tenderize the chicken, adds a subtle depth of flavor that is distinctively Japanese, and effectively helps to eliminate any gamey odor from the meat, resulting in cleaner-tasting chicken. For those who enjoy a touch more sweetness, a dash of mirin (sweet Japanese rice wine) can be added alongside or in place of a small portion of the sake. Always opt for cooking sake, as drinking sake often has a different flavor profile that may not be ideal for marinades.
- Grated Fresh Ginger: Freshly grated ginger is an indispensable component of the Karaage marinade. Its warm, spicy, and intensely fragrant notes are a cornerstone of Japanese cooking and perfectly complement the savory chicken, adding a vibrant aroma and a subtle kick. Always prioritize fresh ginger over ground ginger for the best, most authentic flavor. However, if fresh ginger is truly unavailable, a smaller amount of ground ginger (approximately 1/2 teaspoon for every tablespoon of fresh) can be used as a last resort, though the nuanced flavor will differ.
- White Pepper: White pepper offers a milder, more subtle heat than black pepper, allowing its peppery flavor to truly meld with the other marinade components without overpowering them. It provides a distinct warmth that permeates the chicken. Black pepper is a perfectly acceptable substitute if white pepper is difficult to find, but use it sparingly as its aroma is typically stronger and more pungent.
By understanding the function of each ingredient and being aware of suitable substitutions, you can confidently prepare a delicious batch of Karaage that caters to your pantry and personal preferences, ensuring a delightful culinary experience every time.
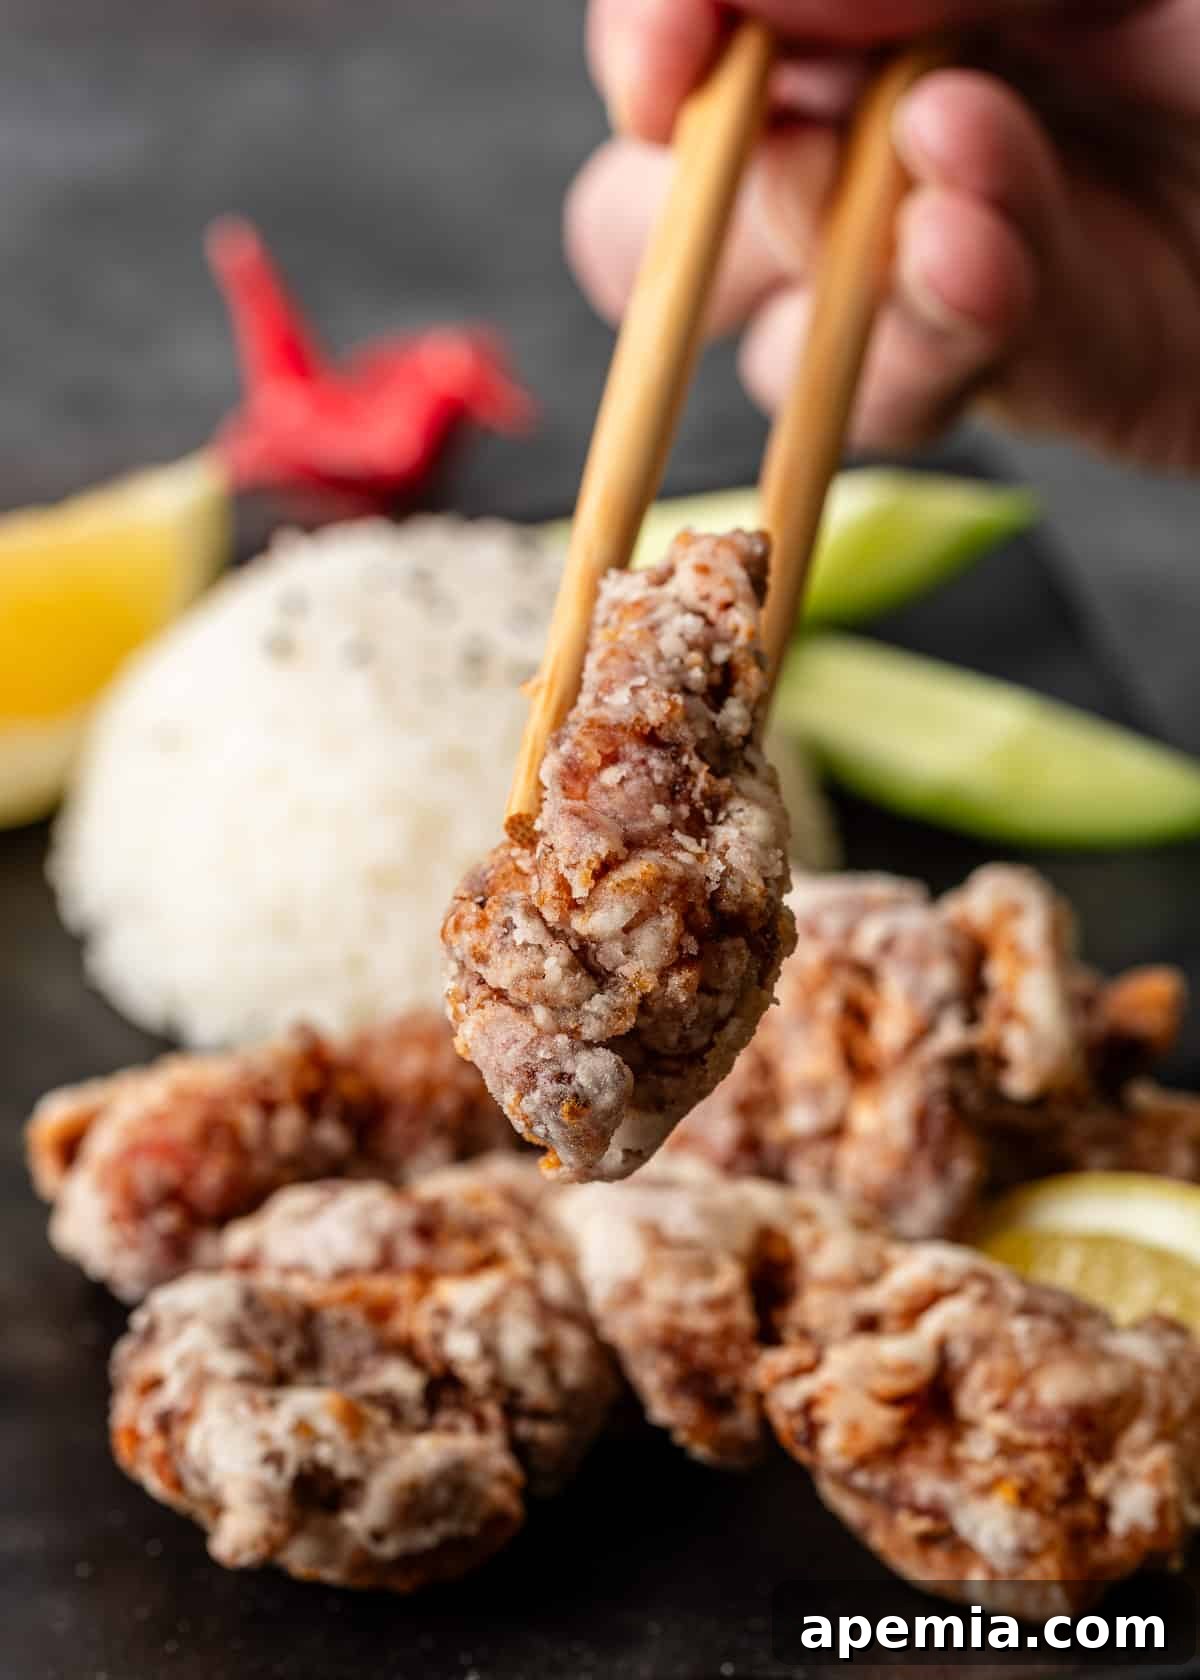
Step-by-Step: How to Make Karaage Chicken
Follow these detailed instructions to achieve irresistibly crispy, juicy, and flavorful Japanese fried chicken. Precision in each step is key to Karaage perfection.
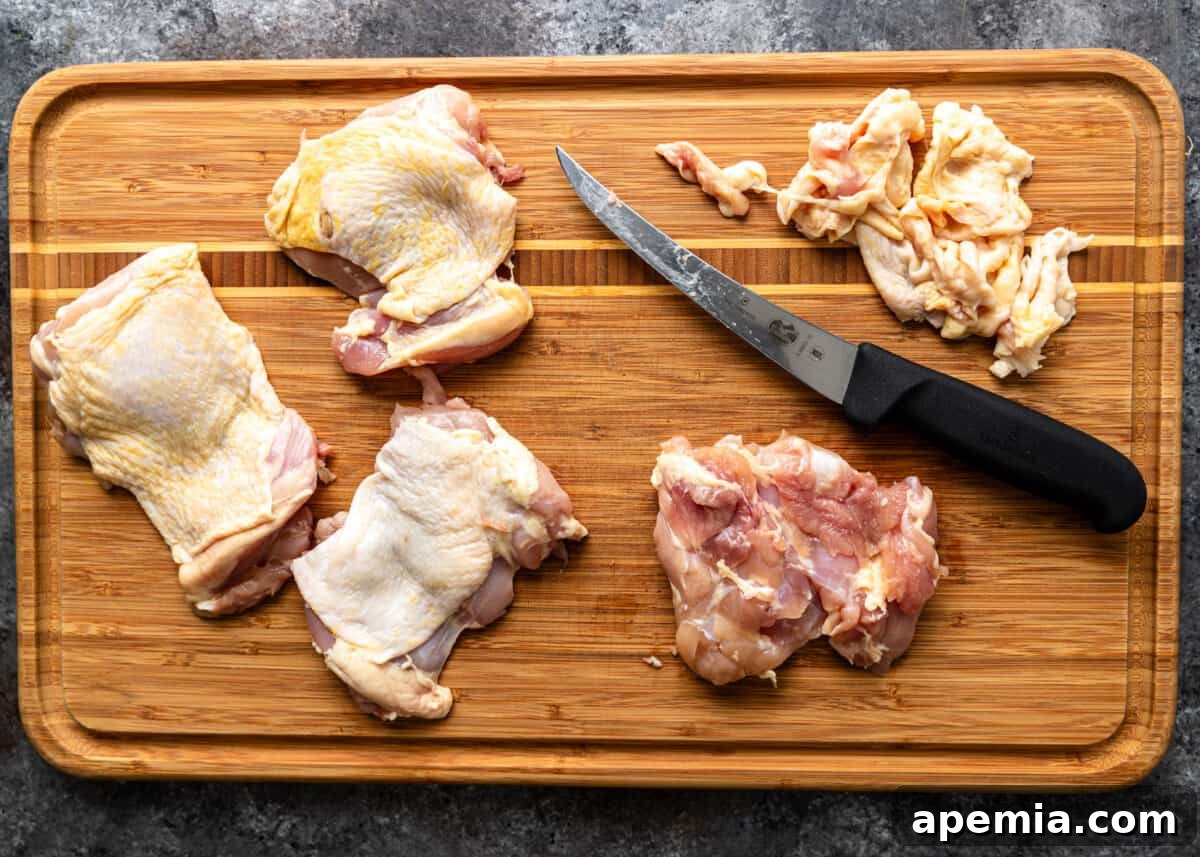
- Prepare the Chicken: Begin by cutting your boneless, skin-on chicken thighs into uniform, bite-sized pieces, roughly 1.5 to 2 inches (3.8 to 5 cm) in size. Uniformity is crucial for ensuring all pieces cook evenly. Pat the chicken dry thoroughly with paper towels; this helps the marinade adhere better and contributes to a crispier crust.
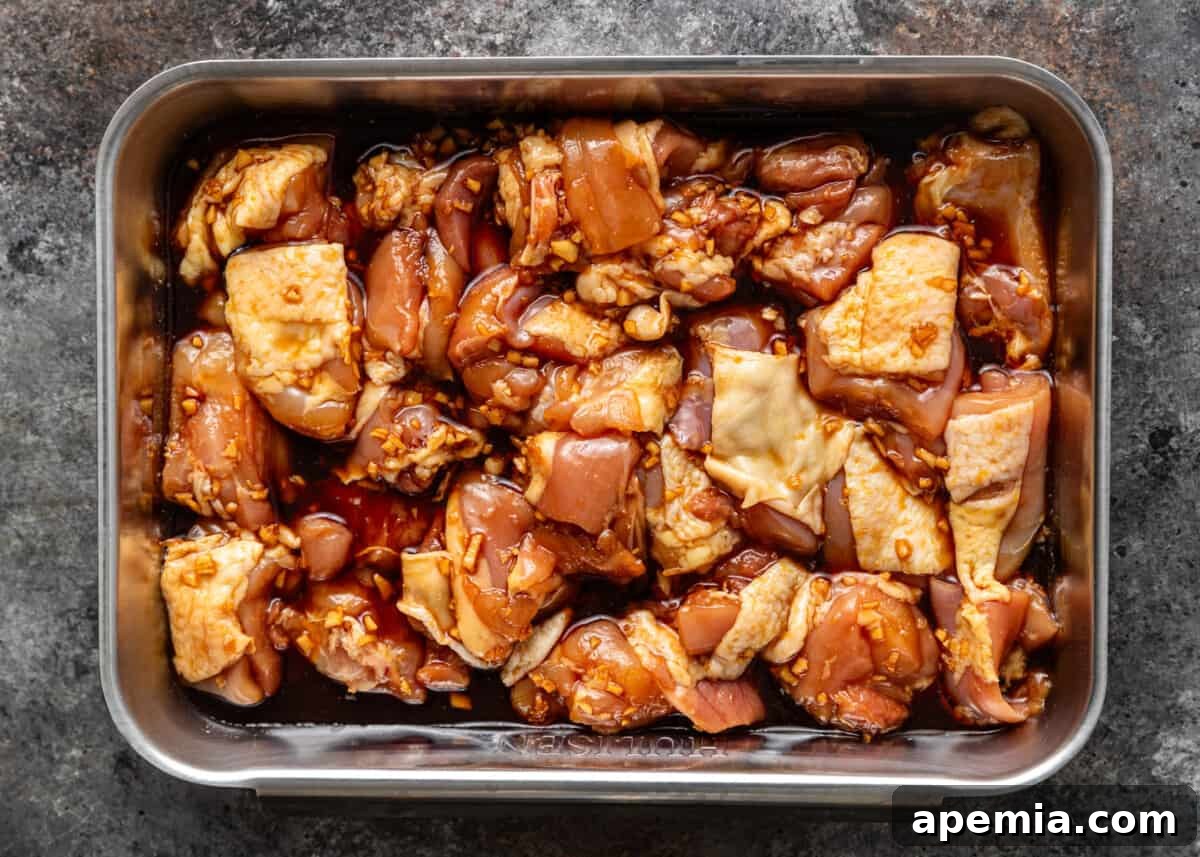
- Marinate for Flavor: In a medium-sized mixing bowl, combine the soy sauce, sake, freshly grated ginger, and ground white pepper. Whisk these ingredients together until they are well combined and the marinade is homogenous. Add the prepared chicken pieces to the bowl, ensuring each piece is thoroughly coated in the flavorful marinade. Cover the bowl tightly with plastic wrap and refrigerate for a minimum of 2 hours. For the deepest, most authentic flavor and optimal tenderization, marinating the chicken overnight (up to 24 hours) is highly recommended.
- Set Up for Frying: While your chicken marinates, prepare your frying station. Line a baking tray with a wire rack or several layers of paper towels; this setup will be used for draining the fried chicken and allowing excess oil to drip away, preventing sogginess. Pour a sufficient amount of a neutral, high smoke point oil (such as canola oil, soybean oil, or peanut oil) into a wok or heavy-bottomed pot. You’ll need enough oil to submerge the chicken pieces adequately, typically 2-3 inches (5-7.5 cm) deep. Heat the oil to precisely 325°F (160°C) using a digital thermometer. This initial lower temperature is critical for cooking the chicken through gently without burning the exterior. Once the oil is heating, remove the marinated chicken from the fridge and drain off any excess marinade.
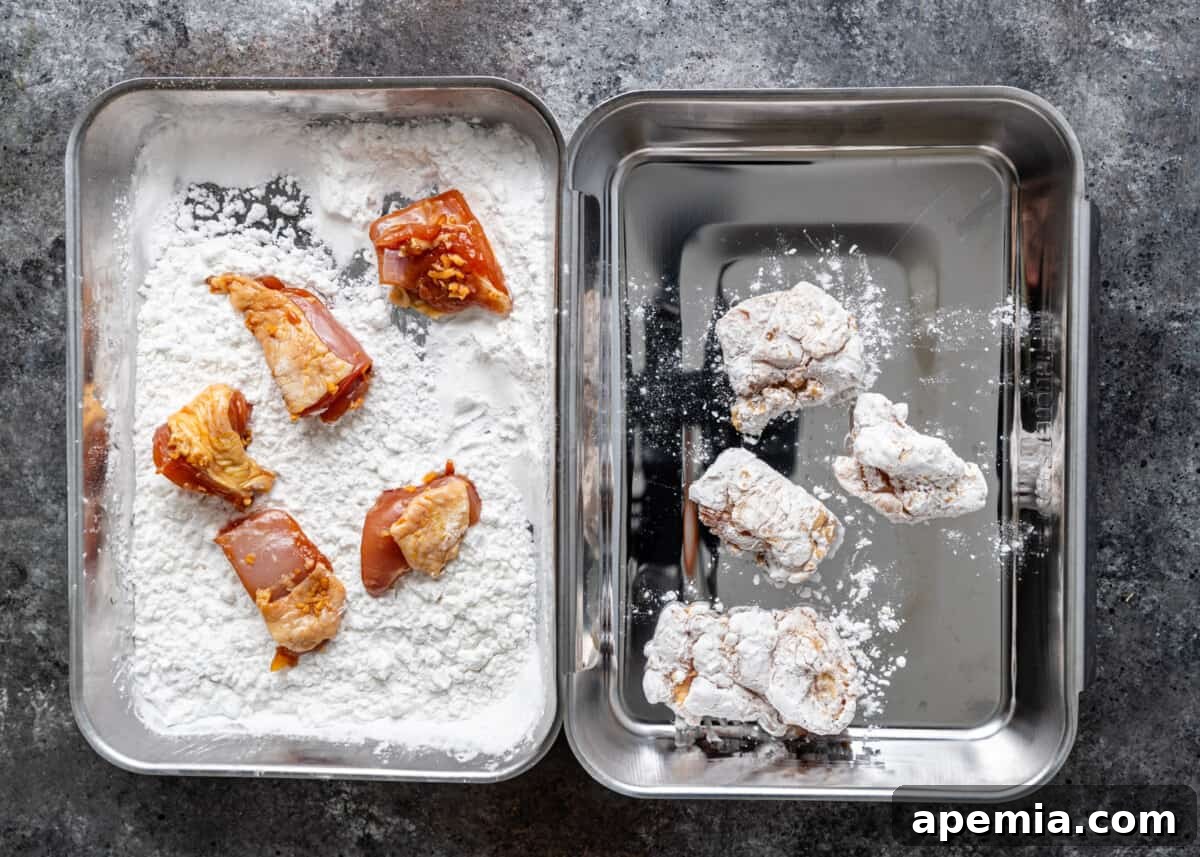
- Dredge and First Fry: Pour the potato starch into a shallow bowl or plate, creating a wide dredging surface. Working in small batches (no more than 4-5 pieces at a time) to avoid overcrowding the oil and dropping the temperature too much, dredge each marinated chicken piece thoroughly in the potato starch. Ensure it’s completely coated, then gently shake off any excess starch. Carefully lower the coated chicken into the preheated oil. Fry for approximately 3-4 minutes per side, or until the chicken turns a light golden brown. At this stage, the chicken should be mostly cooked through internally (an instant-read thermometer should register around 155-160°F or 68-71°C). Transfer the lightly fried chicken pieces to your prepared baking tray with the wire rack to drain any excess oil. Repeat this process with the remaining chicken, diligently monitoring the oil temperature between batches to maintain consistency.
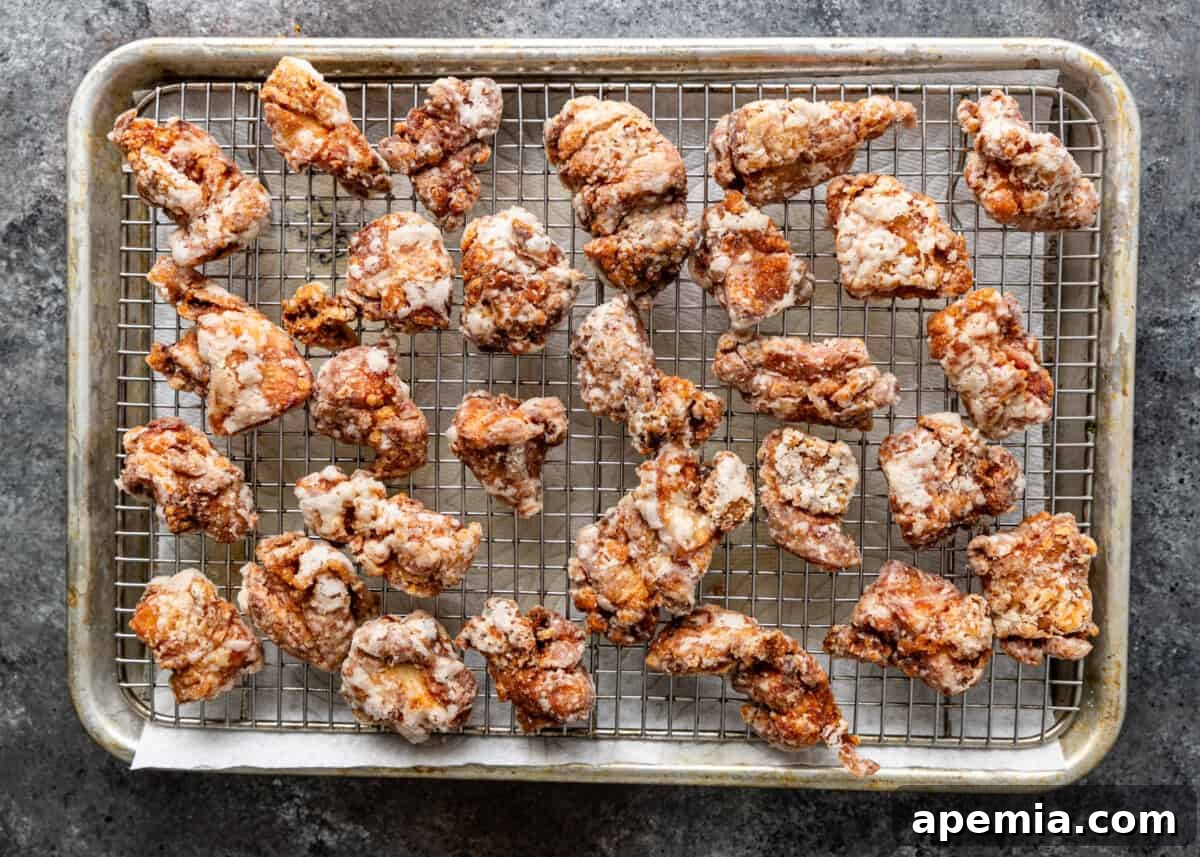
- Double Fry for Ultimate Crispiness: Allow the first-fried Karaage to rest on the wire rack for at least 3-4 minutes. This resting period is crucial; it allows the internal temperature to equalize and prevents the crust from becoming soggy during the second fry. Now, increase the oil temperature to a higher 375°F (190°C). This higher temperature is vital for achieving the signature ultra-crispy, shattering exterior without making the chicken greasy. Once the oil reaches the target temperature, add all of the first-fried chicken back into the hot oil at once. Fry for an additional 1.5-2 minutes, stirring gently but constantly to ensure even browning and crisping. The chicken will deepen in color to a rich golden brown and become incredibly crunchy.
- Drain and Serve: Carefully remove the double-fried Karaage from the hot oil and return it to the wire rack on the baking tray to drain any final excess oil. Let it cool slightly for a minute or two before serving, as it will be extremely hot. Serve your piping hot, exquisitely crispy Japanese fried chicken immediately with plain steamed rice, fresh lemon wedges for a bright, acidic squeeze, and your choice of delicious side dishes or dipping sauces. Enjoy the unparalleled crunch and juicy tenderness!
Recommended Kitchen Tools for Perfect Karaage
Having the right kitchen equipment can significantly streamline the Karaage making process and ensure optimal results. Here are a few essential tools to consider:
- Baking Tray with Wire Rack: This setup is indispensable for draining excess oil from the fried chicken. The wire rack allows air to circulate around the chicken pieces, preventing the bottom from becoming soggy and maintaining its crispiness. Lining the tray with paper towels or a silpat mat under the rack can further assist in absorbing drips.
- Shallow Bowls or Trays: You’ll need at least two: one for mixing your marinade and submerging the chicken, and another, wider one for dredging the chicken in potato starch. Using separate, appropriately sized bowls minimizes mess and makes the coating process efficient and sanitary.
- Wok or Heavy-Bottomed Pot: Any deep, heavy pot suitable for deep-frying will work effectively. A wok is often preferred in Asian cooking because its sloped sides allow for even heating of the oil and make it easier to add, turn, and remove chicken pieces. Ensure the pot is large enough to safely hold the required amount of frying oil and the chicken without any risk of overflowing, even when the chicken is added.
- Digital Thermometer: This is arguably the most crucial tool for deep-frying success. A reliable digital thermometer, ideally an instant-read model, is absolutely essential for monitoring and maintaining precise oil temperatures. Incorrect oil temperatures are a common pitfall in frying: too low, and your chicken will absorb too much oil and become greasy; too high, and the exterior will burn before the interior is thoroughly cooked. An instant-read thermometer also comes in handy for verifying the chicken’s internal temperature (165°F or 74°C) to confirm doneness.
- Spider Skimmer or Slotted Spoon: These tools are vital for safely adding and removing chicken from hot oil. A spider skimmer, with its wide, mesh basket, is particularly effective for gently lifting fried items and straining out any small bits of coating that detach during frying, thus keeping your oil cleaner for subsequent batches.
- Tongs: A good pair of long-handled kitchen tongs is invaluable for maneuvering chicken pieces during the frying process, turning them to ensure even browning, and safely transferring them between the starch, oil, and draining rack.
Storing and Reheating Leftover Karaage
While Karaage is undoubtedly at its peak when enjoyed fresh out of the fryer, you can certainly savor delicious leftovers. Properly stored, Japanese fried chicken will keep for up to 4 days in an airtight container in the refrigerator. However, like most fried foods, its signature ultra-crispiness will naturally diminish over time.
To bring back as much of that delightful crunch as possible, avoid the microwave at all costs – it will only lead to soggy, unappetizing chicken. Instead, opt for these reheating methods:
- Oven Reheating: This is one of the best methods for restoring crispiness. Preheat your oven to 375°F (190°C). Arrange the leftover Karaage in a single layer on a wire rack set over a baking sheet (this allows air circulation for maximum crisping). Heat for approximately 10-15 minutes, or until the chicken is warmed through to the center and the exterior has regained its desired crispiness. For an extra boost of crunch, you can briefly broil it for 1-2 minutes at the very end, watching carefully to prevent burning.
- Air Fryer Reheating: The air fryer is another fantastic tool for reviving fried foods. Place the leftover Karaage in a single layer in the air fryer basket, ensuring not to overcrowd it. Air fry at 350°F (175°C) for 5-7 minutes. Make sure to shake the basket or flip the chicken halfway through the cooking time to ensure even heating and crisping. Continue until it is crispy and heated through.
- Pan-Frying: For smaller batches, a quick pan-fry can also work wonders. Heat a small amount of neutral oil (about 1-2 tablespoons) in a non-stick skillet over medium-high heat. Once hot, add the Karaage and fry for 2-3 minutes per side, or until it is crispy and thoroughly heated. This method is quick but requires close attention to prevent burning.
Whichever method you choose, the primary goal is to gently re-crisp the coating and heat the chicken without drying out the succulent interior. With these tips, you can enjoy delicious, re-crisped Karaage even days after it was first made!
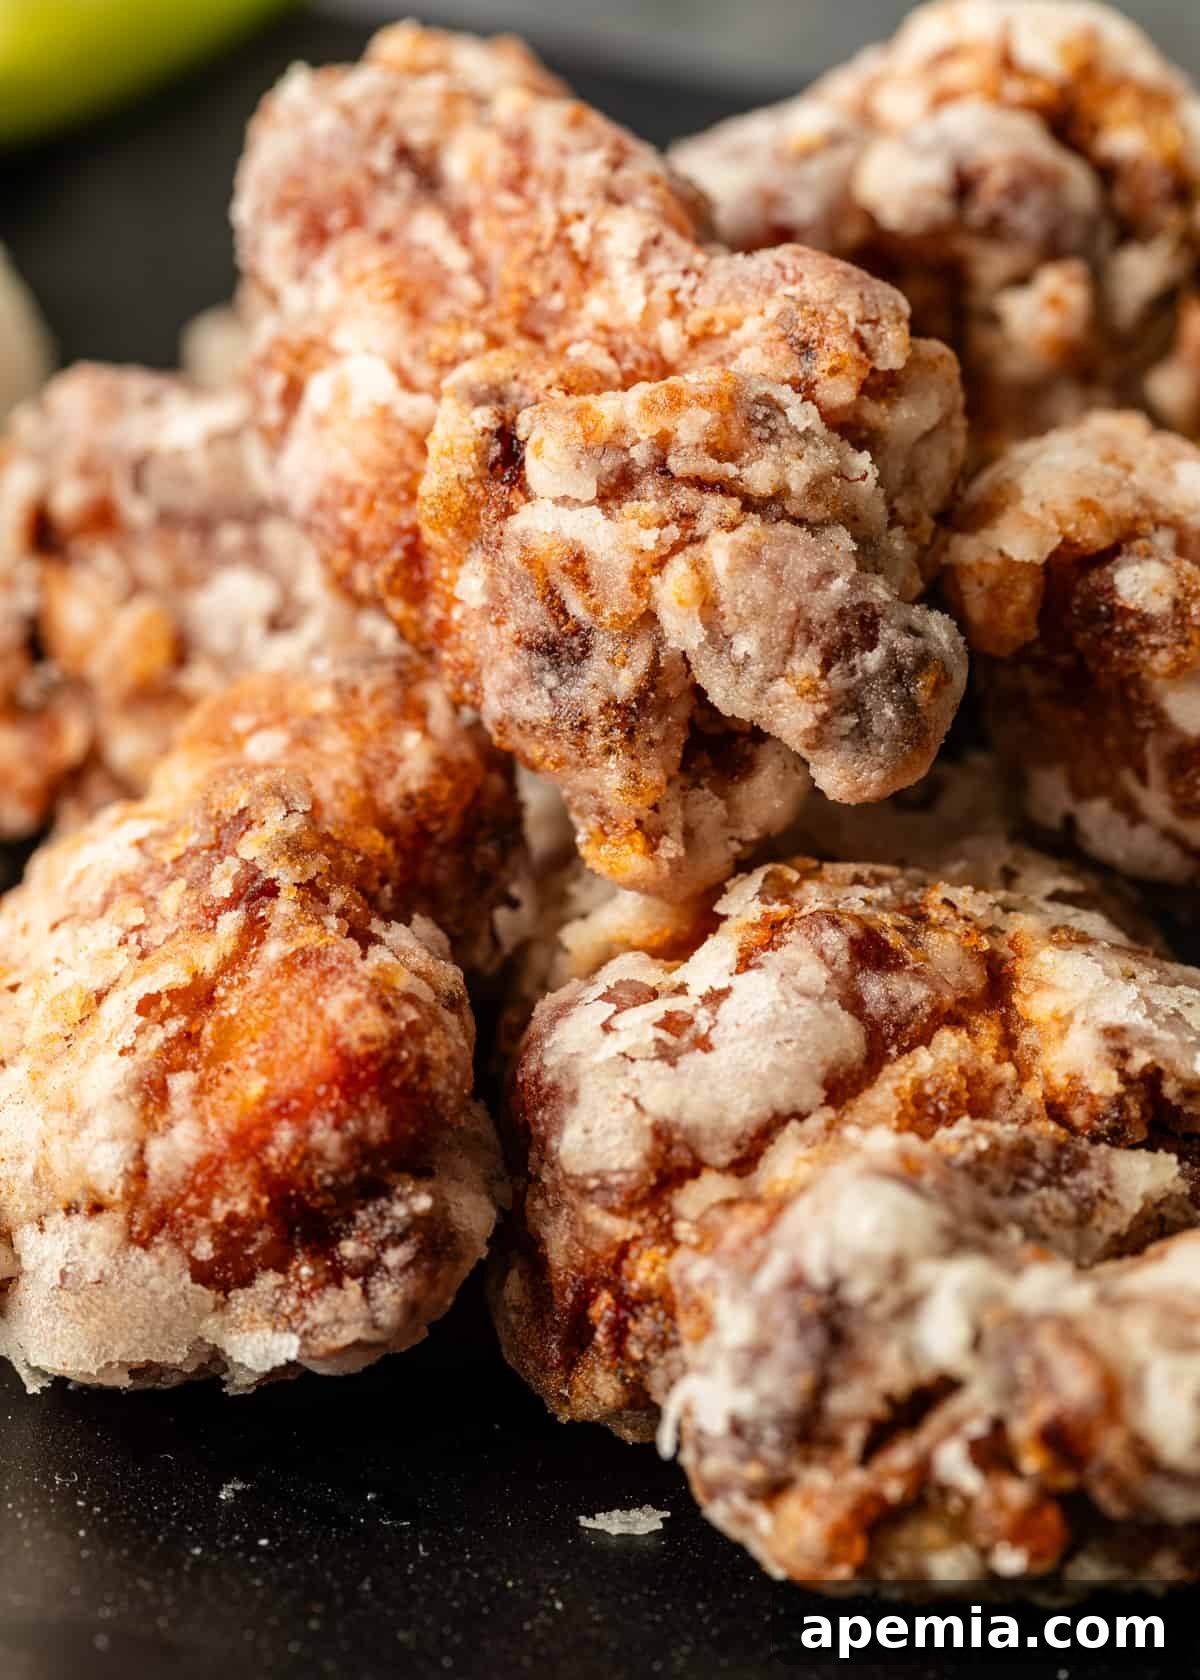
Share this recipe on Pinterest!
Love this recipe? Help others discover it by sharing on Pinterest.
Frequently Asked Questions About Karaage
Karaage stands out from typical Western fried chicken primarily due to its coating and distinct flavor profile. Instead of a thick flour and egg batter, Karaage uses a light coating of potato starch (katakuriko), which creates an exceptionally thin, shatteringly crispy, and subtly white exterior. This results in a delicate crunch rather than a heavy, breaded texture. Additionally, Karaage is deeply marinated in Japanese staples like soy sauce, sake, and fresh ginger, imparting a unique umami-rich and aromatic flavor that is distinctly different from the savory, often spicy, seasonings found in other fried chicken styles. The double-frying technique further ensures its unparalleled crispiness and juicy interior, making it a textural and flavorful experience all its own.
Visually, perfectly cooked Karaage will have a beautiful golden-brown color after its second fry, and the coating will appear incredibly crisp and airy. When you bite into it, it should be audibly crunchy on the outside and tender, moist, and juicy on the inside, with no pinkness. For absolute certainty, especially when cooking chicken, using a digital meat thermometer is the most reliable method. Insert the thermometer into the thickest part of a chicken piece (avoiding the bone if present) after it has been removed from the oil. The internal temperature should register 165°F (74°C). If it’s below this, return it to the hot oil for a short period, checking again until the safe temperature is reached.
Karaage is incredibly versatile when it comes to pairings and dipping sauces. A simple squeeze of fresh lemon juice is often all that’s needed to brighten its rich, savory flavors and add a refreshing zest. Many enthusiasts love to dip it in Japanese mayonnaise, particularly Kewpie mayo, which is renowned for its richer, smoother texture and unique tangy-sweet flavor, thanks to its use of egg yolks and a blend of vinegars. A sprinkle of Shichimi Togarashi (Japanese Seven Spice) on top of the mayo adds a delightful spicy kick and complex aroma. If you’re craving more heat, a spicy Korean gochujang sauce can provide a fantastic, fiery contrast. Beyond sauces, it pairs wonderfully with plain steamed rice, light salads like Sunomono (cucumber salad), or traditional Japanese pickles to balance the richness and cleanse the palate.
Yes, you can absolutely make delicious gluten-free Karaage without compromising on flavor or crispiness! The key modifications involve the soy sauce and the starch. For the marinade, ensure you use tamari, which is a gluten-free alternative to traditional soy sauce, widely available in most supermarkets. For the coating, genuine potato starch (katakuriko) is naturally gluten-free and is the ideal choice. If you’re using a substitute, ensure it’s also certified gluten-free, such as pure rice flour. Always check ingredient labels carefully to confirm they are indeed gluten-free, especially for packaged starches, sauces, and any other seasonings you might add. The cooking method, including the essential double-fry, remains the same, delivering that incredible crispiness and juicy interior without any gluten.
To achieve perfect Karaage, be mindful of these common pitfalls. Firstly, **not marinating long enough** will result in bland chicken; aim for at least 2 hours, but preferably overnight, to allow flavors to fully penetrate. Secondly, **overcrowding the pot** during frying is a major culprit for soggy, greasy chicken, as it drastically drops the oil temperature. Always fry in small batches. Thirdly, **not maintaining correct oil temperatures** is critical; use a thermometer religiously. Too low, and the chicken gets oily; too high, and the outside burns while the inside remains raw. Fourthly, **skipping the double-fry** will result in less crispy chicken; the second fry is essential for achieving that characteristic light and shattering crunch. Lastly, **not draining the chicken properly** after frying can also make it greasy; always use a wire rack over a baking sheet.
While deep-frying is the traditional and highly recommended method for Karaage to achieve its unique airy texture, you can adapt the recipe for baking or air frying for a lighter alternative. For **air frying**, coat the marinated chicken liberally in potato starch, then spray each piece lightly with cooking oil or brush with a thin layer. Air fry at 375°F (190°C) for approximately 15-20 minutes, flipping the chicken halfway through, until it is golden brown and cooked through. For **baking**, coat the chicken as usual, spray with oil, and bake at 400°F (200°C) for 20-25 minutes, flipping once for even crisping. Be aware that while these alternative methods will yield tasty chicken with a decent crisp, they may not entirely replicate the exact airy, shatteringly crisp, and light texture of traditionally deep-fried Karaage. However, the internal juiciness should still be preserved with proper cooking.
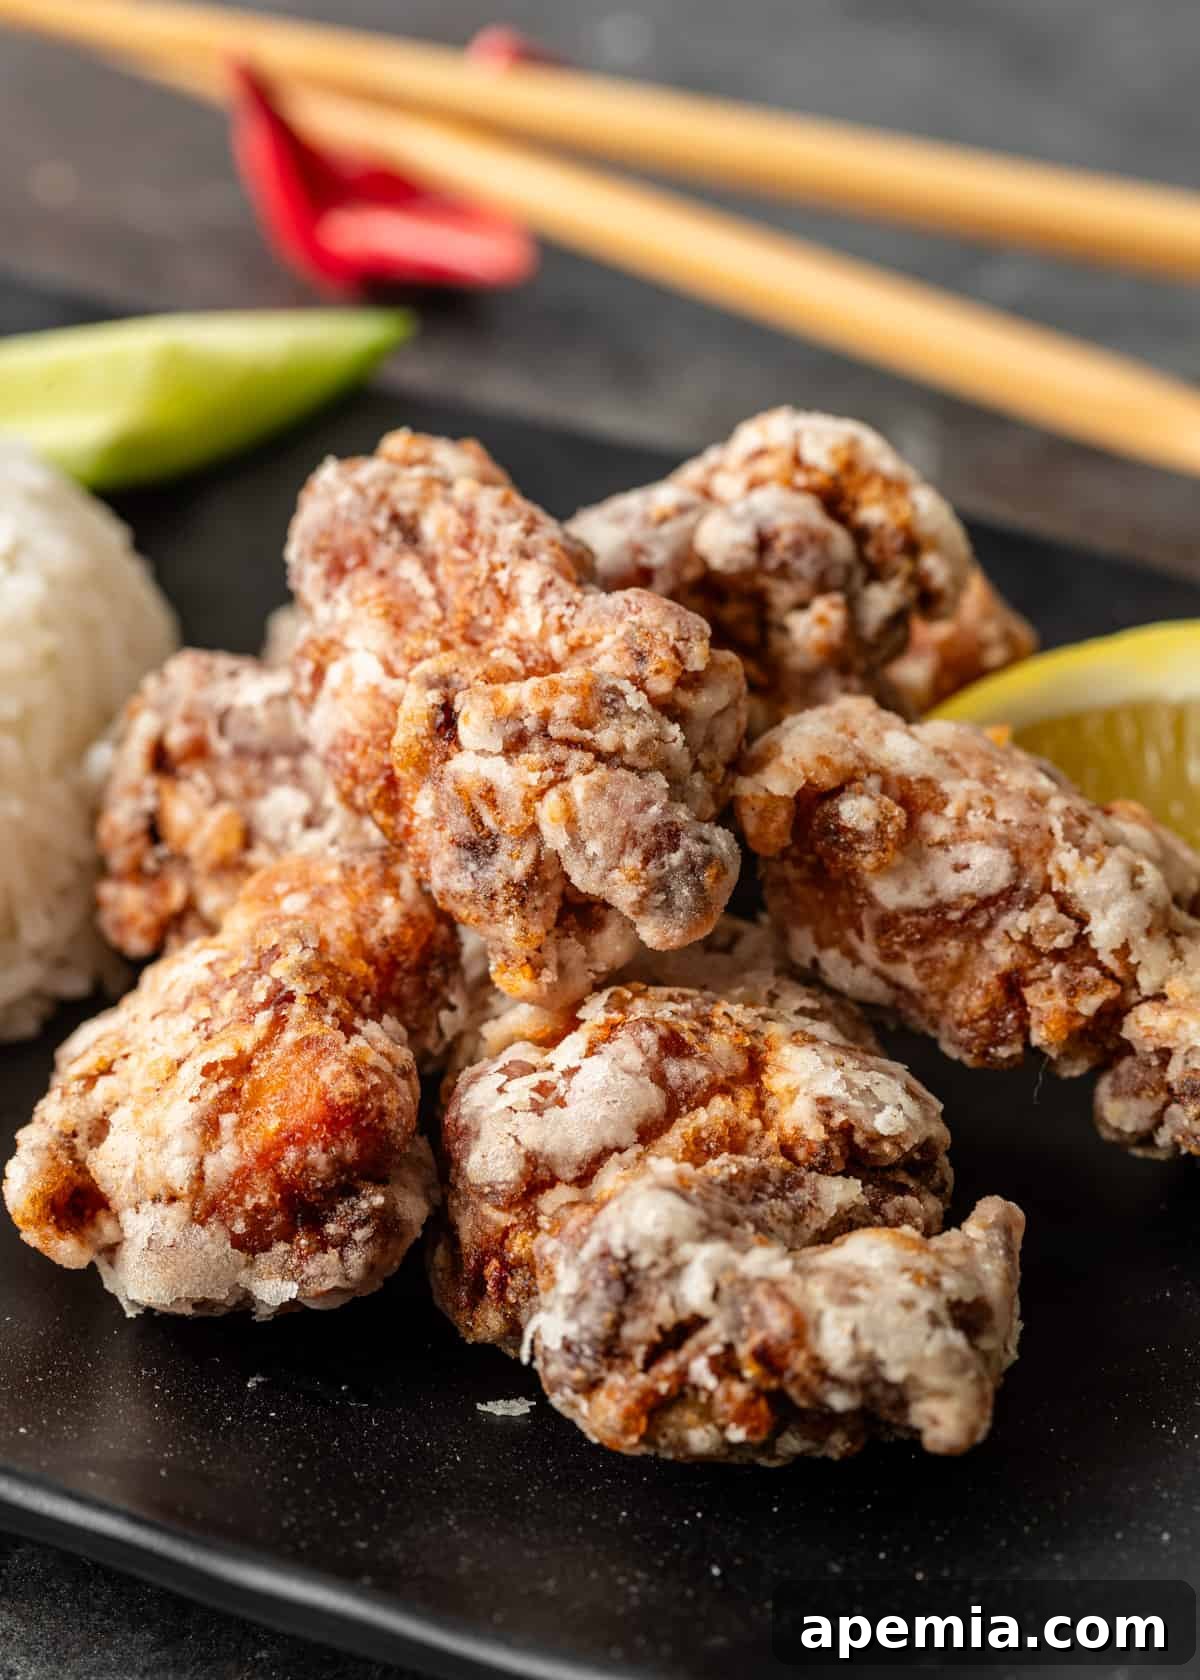
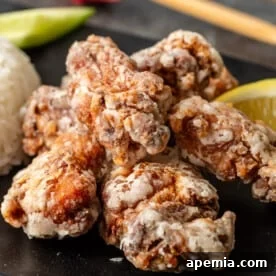
Japanese Fried Chicken (Karaage)
This Japanese fried Karaage chicken recipe delivers an ultra-crispy exterior thanks to potato starch and an insanely juicy interior, all marinated in a savory blend of soy sauce, sake, fresh ginger, and white pepper. It’s truly a delight for any meal!
- Servings: 6
- Prep Time: 15 mins
- Cook Time: 10 mins
- Marinate Time: 2 hrs (up to 24 hrs)
- Total Time: 2 hrs 25 mins
Pin Recipe
Print Recipe
Video Guide
Watch our step-by-step video tutorial to perfect your Karaage technique!
Ingredients
- 2 lbs boneless, skin-on chicken thighs, cut into uniform bite-sized pieces
- 1 cup potato starch (katakuriko)
- 2 cups canola oil, for deep-frying (or other neutral, high smoke point oil like soybean or peanut oil)
- 1 lemon, sliced into wedges, for serving
Marinade
- 1/3 cup light soy sauce
- 3 tbsp sake (Japanese cooking rice wine)
- 2 tbsp fresh ginger, finely grated
- 1/8 tsp ground white pepper
Note: For precise measurements, you can convert between US Customary and Metric units as needed for this recipe.
Instructions
- Prepare Chicken: Cut the chicken thighs into equal, bite-size pieces (approximately 1.5-2 inches). Ensure the skin is left intact for maximum flavor and crispiness. Pat the chicken thoroughly dry with paper towels.
- Marinate: In a medium bowl, whisk together the soy sauce, sake, grated fresh ginger, and white pepper. Add the prepared chicken pieces to the marinade, tossing to ensure all pieces are well coated. Cover the bowl with plastic wrap and refrigerate for at least 2 hours, or ideally, overnight (up to 24 hours) for deeper flavor development and tenderization.
- Setup Frying Station: Line a baking tray with a wire rack or several layers of paper towels and set it aside for draining. Pour canola oil into a wok or heavy-bottomed pot to a depth of about 2-3 inches. Heat the oil to 325°F (160°C) using a digital thermometer. Remove the marinated chicken from the fridge and drain any excess liquid from the marinade.
- First Fry: Place the potato starch in a shallow tray or bowl. Dredge the chicken pieces in 2-3 batches, ensuring each piece is fully coated with starch and gently shaking off any excess. Carefully lower the coated chicken into the hot oil (avoid overcrowding the pot). Fry for several minutes on each side until the chicken reaches a light golden color and is cooked through internally (around 155-160°F or 68-71°C). Remove the first-fried chicken to the prepared tray with the wire rack to drain. Repeat with all remaining chicken pieces, closely monitoring oil temperature.
- Double Fry: Once all chicken has been fried once, allow it to rest on the wire rack for 3-4 minutes. Increase the oil temperature to 375°F (190°C). Return all of the first-fried chicken to the hot oil for the second fry. Fry for an additional 1.5-2 minutes, stirring gently, until the chicken is deeply golden brown and achieves an extra-crispy, shattering texture.
- Serve: Carefully remove the double-fried Karaage from the oil and drain again on the wire rack. Let it cool slightly for a minute or two. Serve immediately with fluffy steamed rice, fresh lemon slices for a squeeze of acidity, and your choice of vegetables or dipping sauces like Japanese mayonnaise.
Nutrition (Estimated Per Serving)
- Calories: 960 kcal
- Carbohydrates: 25 g
- Protein: 33 g
- Fat: 25 g
- Saturated Fat: 9 g
- Trans Fat: 0.3 g
- Cholesterol: 144 mg
- Sodium: 870 mg
- Potassium: 701 mg
- Fiber: 2 g
- Sugar: 2 g
- Vitamin A: 40 IU
- Vitamin C: 11 mg
- Calcium: 39 mg
- Iron: 2 mg
The information shown is an estimate provided by an online nutrition calculator. It should not be considered a substitute for a professional nutritionist’s advice.
- Course: Main Dishes
- Cuisine: Japanese
- Author: Kevin
📸 Have You Made This Recipe? Let Me Know on Instagram!
Tag @keviniscooking or use hashtag #keviniscooking!