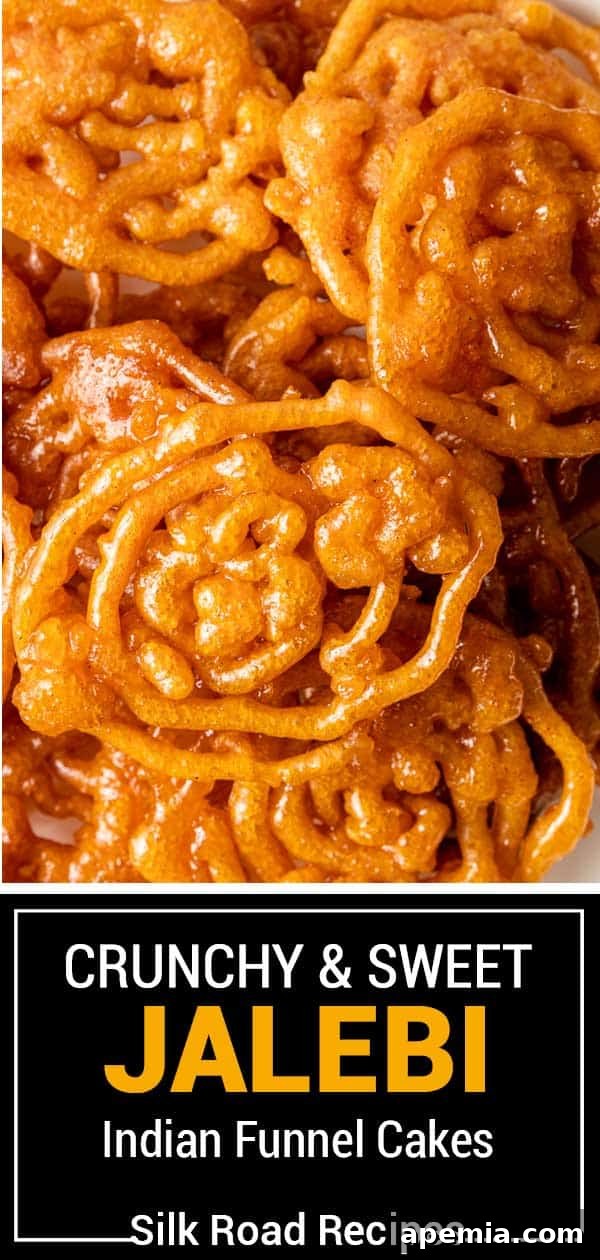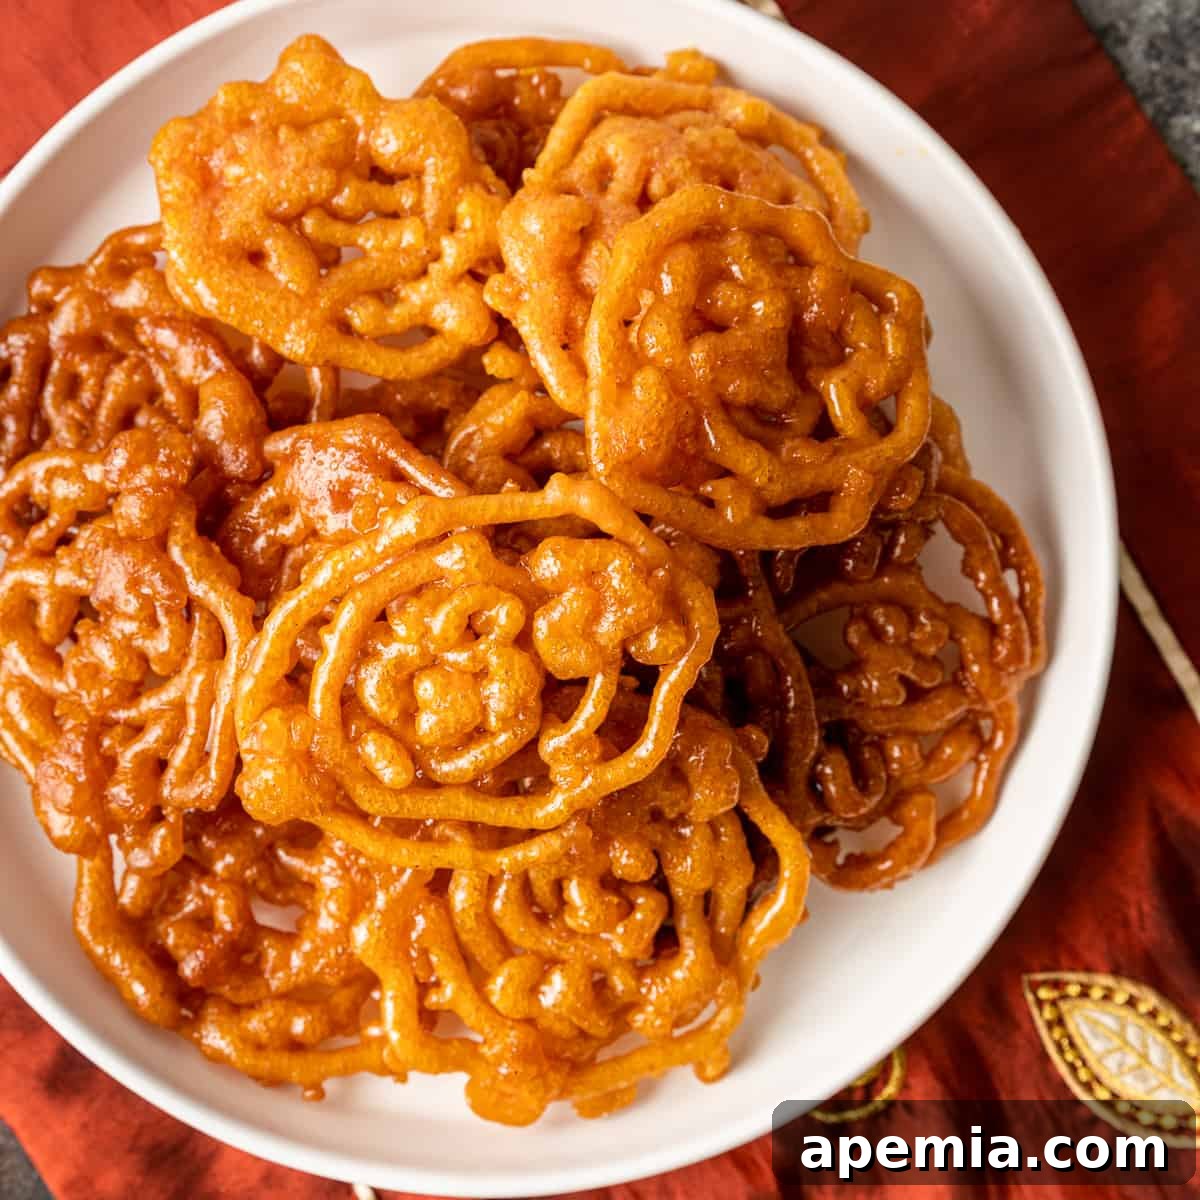
Authentic Jalebi Recipe: Crispy, Syrupy Indian Funnel Cakes Made Easy
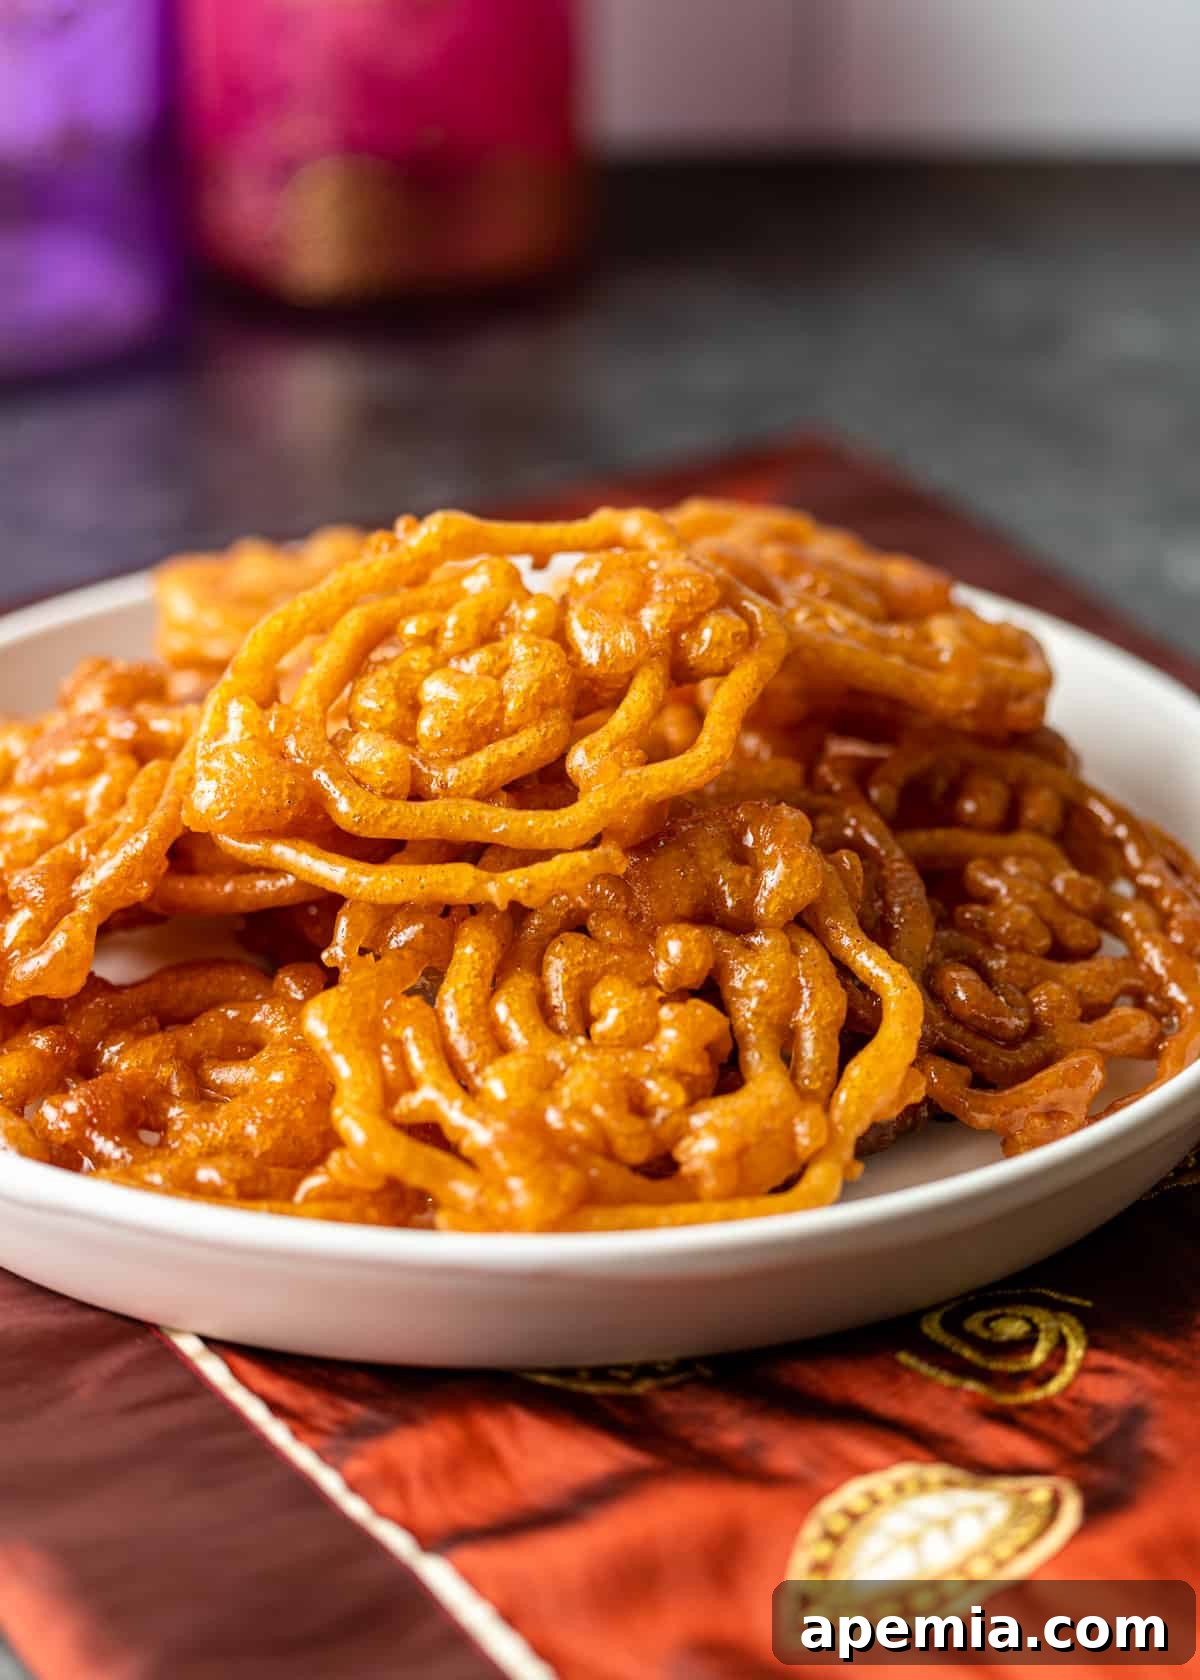
Transport your taste buds straight to the vibrant, bustling streets of India with this incredible Jalebi recipe. In less than 30 minutes, you can craft a batch of these iconic, bright orange, syrupy spirals that are perfectly crispy on the outside and wonderfully chewy within. Each bite of this beloved Indian street food offers an intoxicating blend of floral and citrusy sweetness, creating a truly addictive experience that will leave you craving more than just one!
The Irresistible Charm of Jalebi: A Unique Indian Sweet
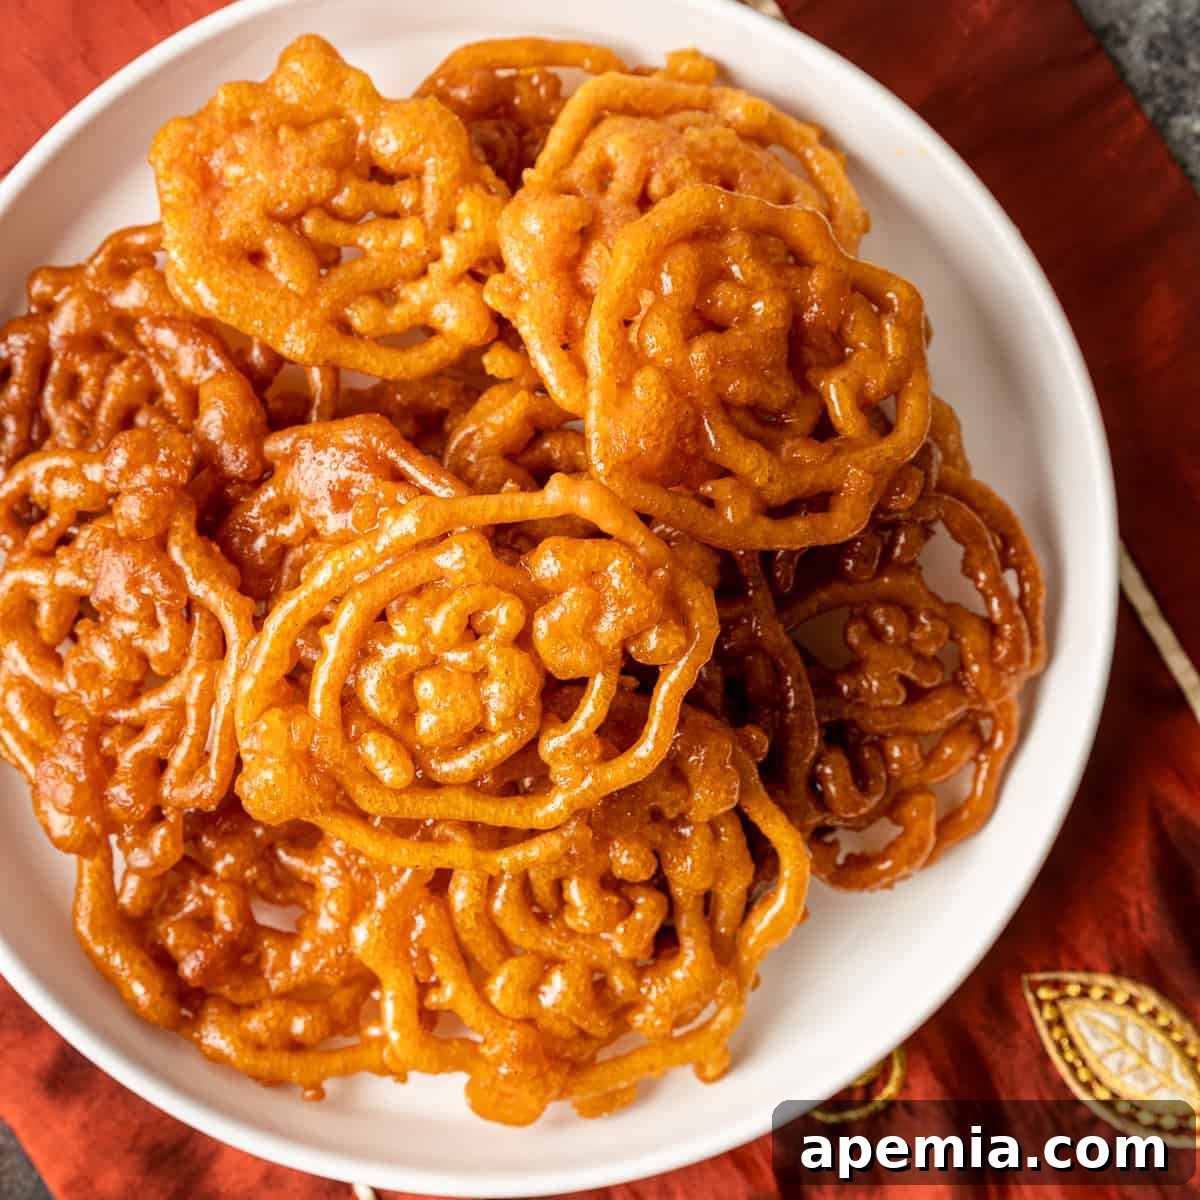
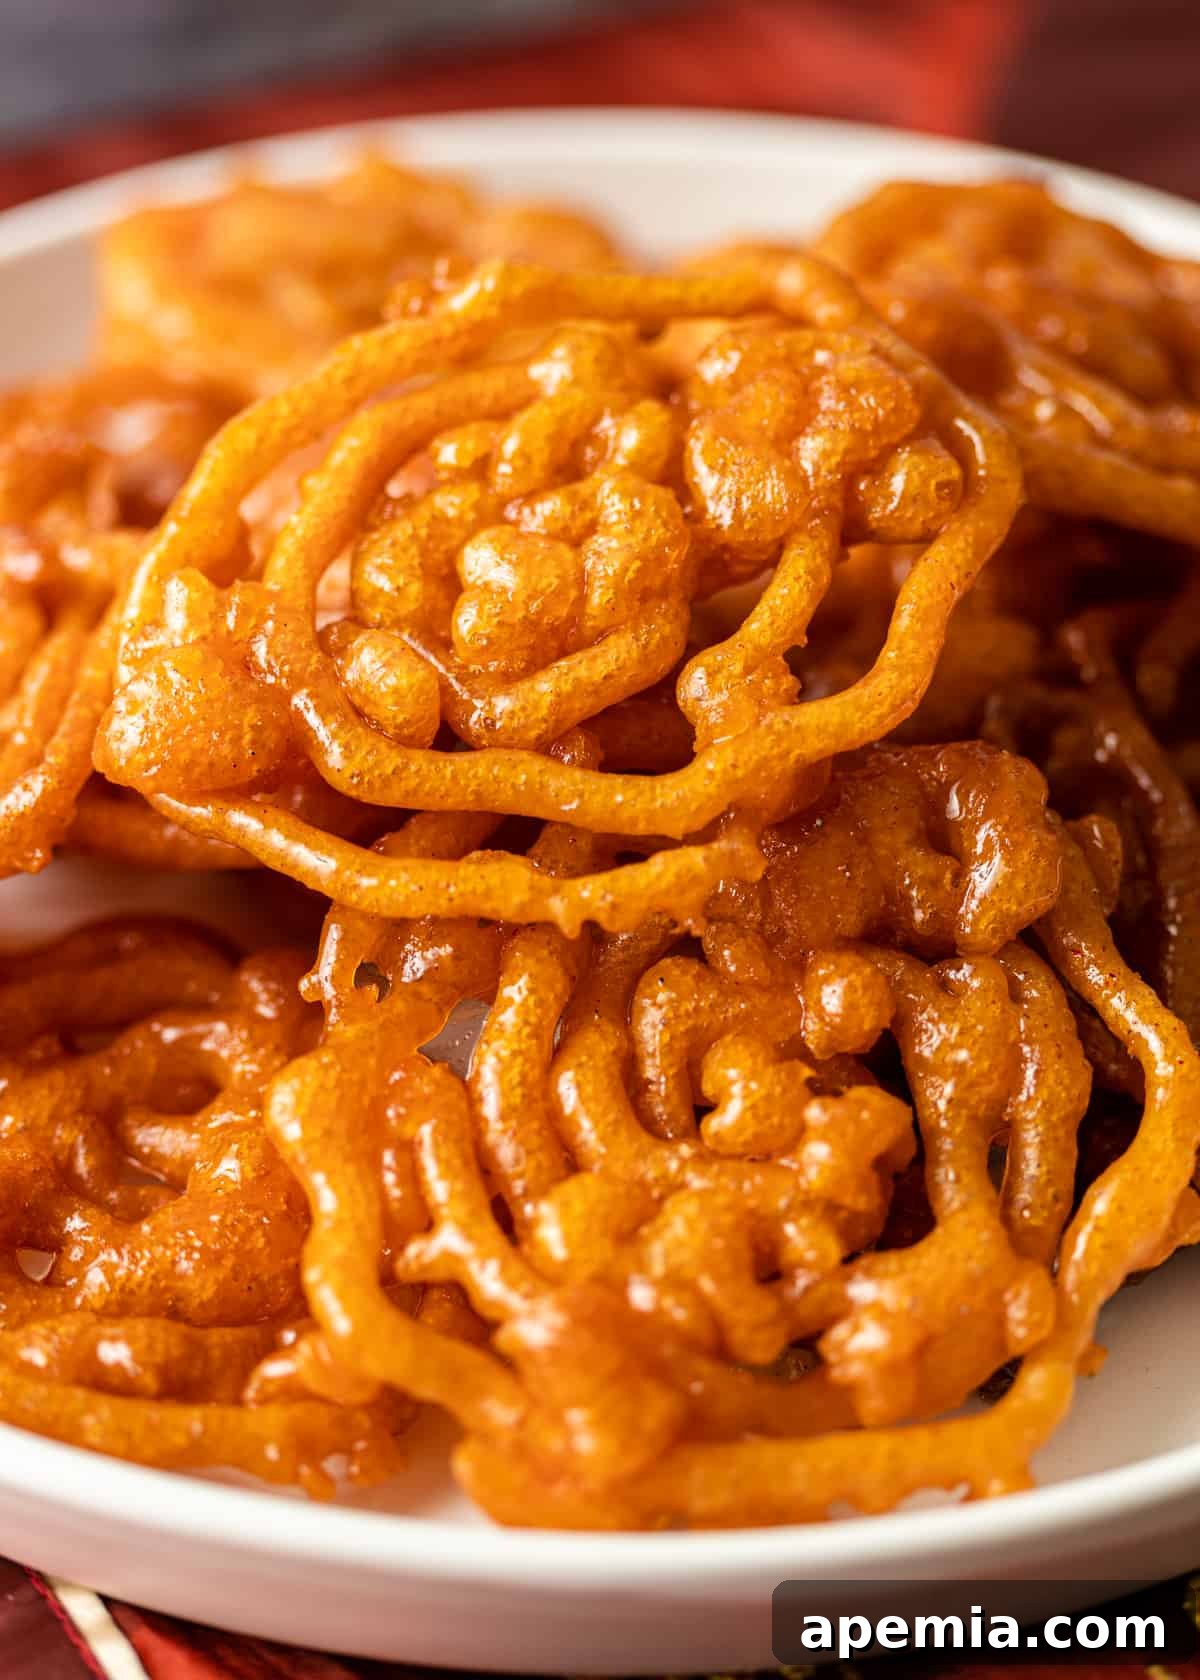
When you take your first bite of Jalebi, you’ll quickly realize it’s a distinctively different experience from a fluffy American funnel cake. Instead, you’ll be greeted by a delightful crunch—a crisp, sugar-coated exterior that gives way to a wonderfully chewy and subtly tangy interior. This unique textural contrast is precisely what makes Jalebi a standout delicacy in Indian cuisine, offering a complex sensory pleasure that keeps enthusiasts coming back for more.
While the batter itself holds a mild sweetness, the true essence of Jalebi lies in its luxurious, not-so-simple syrup. This thick, sweet coating is infused with an enchanting bouquet of traditional Indian spices. Fragrant saffron lends its signature golden-orange hue and a delicate, honey-like sweetness. Earthy cardamom contributes a warm, minty, and deeply floral note, while a touch of turmeric adds a subtle peppery-citrus undertone. A hint of fresh lemon juice brightens the entire profile, balancing the rich sweetness with a vibrant tang.
These harmonious flavor combinations are not unique to Indian desserts; they are celebrated across many sweet and savory dishes in Asian and Middle Eastern culinary traditions. You can find similar aromatic profiles in dishes like the iconic Persian layered rice, Tahchin, or the fragrant Saffron and Apricot Rice, and even in robust main courses such as Lamb Tagine with Dates and Apricots. Jalebi beautifully embodies this ancient tradition of spice-infused sweetness.
Table of Contents
- No Need for Fermenting: A Quick Jalebi Method
- Jalebi Ingredient Notes and Smart Substitutions
- How to Make This Jalebi Recipe: Step-by-Step Guide
- Recommended Tools for Jalebi Making
- Storing Your Delicious Jalebi
- Frequently Asked Questions About Jalebi
- Full Jalebi Recipe Card: Indian Funnel Cake
Beyond its mouthwatering flavor, preparing this Jalebi recipe at home is an incredibly rewarding and fun experience – perfect for involving the whole family! Don’t be discouraged if your first few spirals aren’t perfectly symmetrical or as intricate as those crafted by seasoned street vendors in bustling cities like Agra or New Delhi. The beauty of homemade Jalebi lies in its rustic charm, and rest assured, the authentic taste will be just as delightful, regardless of the shape. Embrace the process, and enjoy the delicious results!
No Need for Fermenting: A Time-Saving Jalebi Method
A traditional Jalebi recipe often involves a fermentation period, sometimes up to 12 hours, to develop its characteristic sour tang. This specific recipe offers a fantastic and convenient shortcut: we incorporate plain yogurt directly into the batter. This clever substitution eliminates the lengthy fermentation process while still imparting that desirable, authentic tartness. If you’re a purist and prefer the deep, complex flavor that only traditional fermentation can achieve, you can certainly opt to omit the yogurt and allow your batter to ferment naturally for 12 hours in a warm environment. This recipe provides the flexibility for both approaches, ensuring delicious results either way.
Jalebi Ingredient Notes and Smart Substitutions
Crafting the perfect Jalebi begins with understanding each ingredient’s unique contribution. Here’s a detailed look at what you’ll need and some helpful tips for successful results:
(For a full list of exact quantities, please refer to the recipe card below.)
- For the Crispy Batter: This foundational part of our Jalebi recipe is surprisingly straightforward, primarily consisting of common pantry staples:
- All-Purpose Flour: Forms the primary structure of your Jalebi. Ensure you’re using fresh flour for optimal results and a light texture.
- Cornstarch & Baking Soda: These two are your key players in achieving that signature crispy yet fluffy texture. Cornstarch contributes significantly to the exterior crispness, while baking soda creates the airy pockets that make Jalebi so delightful and absorbent to the syrup.
- Turmeric: Beyond providing a beautiful, subtle orange hue that hints at the vibrant color of Jalebi, turmeric also adds a unique, slightly peppery-citrus undertone to the batter, subtly enhancing the overall flavor profile without overpowering it.
- Plain Yogurt: In this accelerated recipe, plain yogurt introduces the crucial tanginess that is typically developed through a longer fermentation process. Opt for whole milk plain yogurt for a richer flavor and a smoother batter consistency. As noted above, if you desire the traditional, deeper fermented flavor, simply omit the yogurt and allow your batter to ferment for approximately 12 hours.
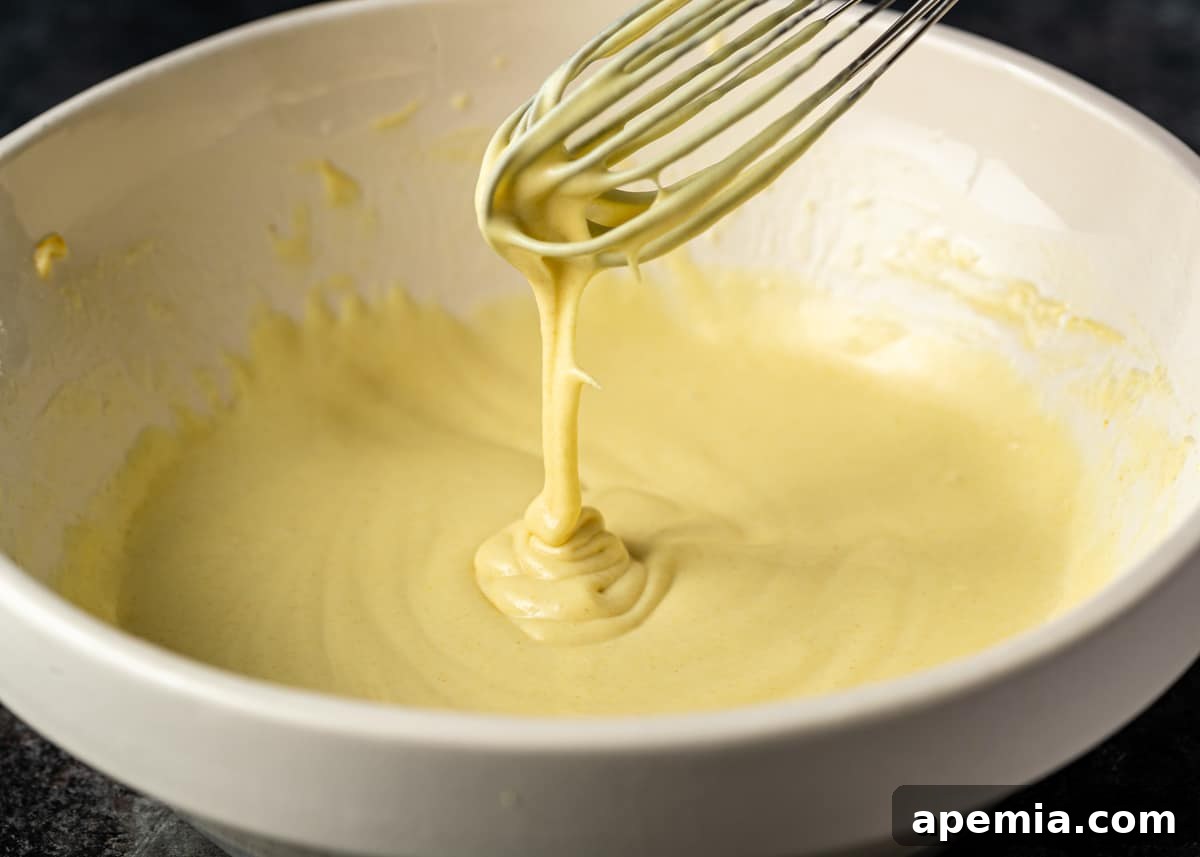
- Water: Used to adjust the batter to the ideal consistency – it should be thick enough to hold its shape when squeezed but still flow smoothly.
- Lemon Juice: A splash of fresh lemon juice not only adds a bright, slightly sour note to the dough, complementing the sweetness, but also crucially helps to activate the baking soda. This activation ensures your Jalebi expands beautifully and achieves its desired lightness when fried.
- For the Aromatic Syrup: This thick, sweet, and sticky coating is where much of Jalebi’s iconic flavor and visual appeal reside:
- Granulated Sugar & Water: The foundation of our luscious syrup. Achieving the correct “one-string” consistency is paramount; it ensures the Jalebi are perfectly coated, absorb just the right amount of sweetness, and retain their crispness without becoming overly soggy.
- Cardamom: An absolutely essential Indian spice, ground cardamom infuses the syrup with an intensely earthy, minty, and wonderfully floral aroma. This fragrance is a hallmark of many traditional Indian sweets and contributes significantly to Jalebi’s authentic taste.
- Saffron: Often called the “king of spices,” saffron imparts a luxurious, delicate, and almost honey-like sweetness. More noticeably, it gives the syrup its vibrant, characteristic orange hue, making the Jalebi visually stunning. For maximum color and flavor release, it’s vital to crush the saffron threads slightly before incorporating them into the warm syrup. If saffron is unavailable or you prefer a more intensely vivid color, a tiny amount of orange food coloring can be used as an alternative.
- Lemon Juice: Just a touch of lemon juice in the syrup performs a dual role: it cuts through the sweetness with a bright, tangy citrus note, balancing the rich flavors, and it also helps prevent the sugar syrup from crystallizing, keeping it smooth and pourable.
- For Frying:
- Vegetable Oil: While vegetable oil is a convenient and widely used choice for frying due to its neutral flavor and high smoke point, traditional Jalebi is often fried in ghee (clarified butter). Ghee provides a distinct, rich, and nutty flavor that many find adds an extra layer of authenticity. For a delightful compromise that offers some of that authentic taste without requiring large quantities of ghee, consider adding a tablespoon or two of ghee to your vegetable oil before heating it.
How to Make This Jalebi Recipe: A Step-by-Step Guide to Perfection
Follow these simple, detailed steps to create delicious homemade Jalebi that rival your favorite Indian street food:
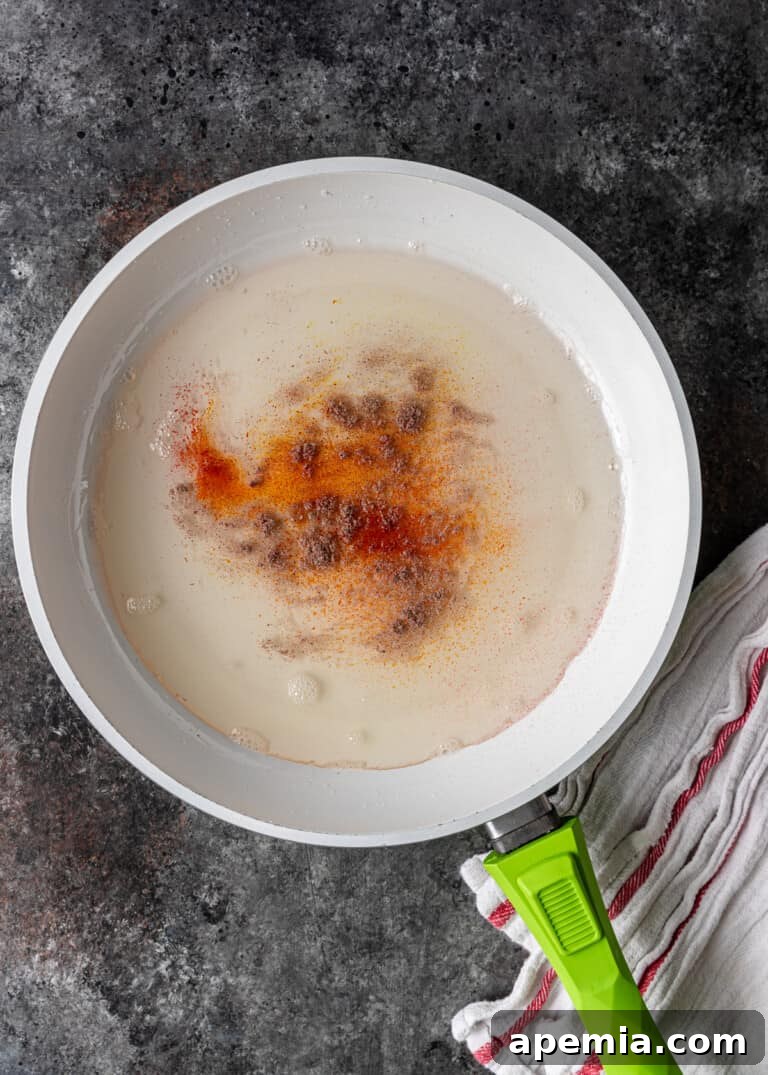
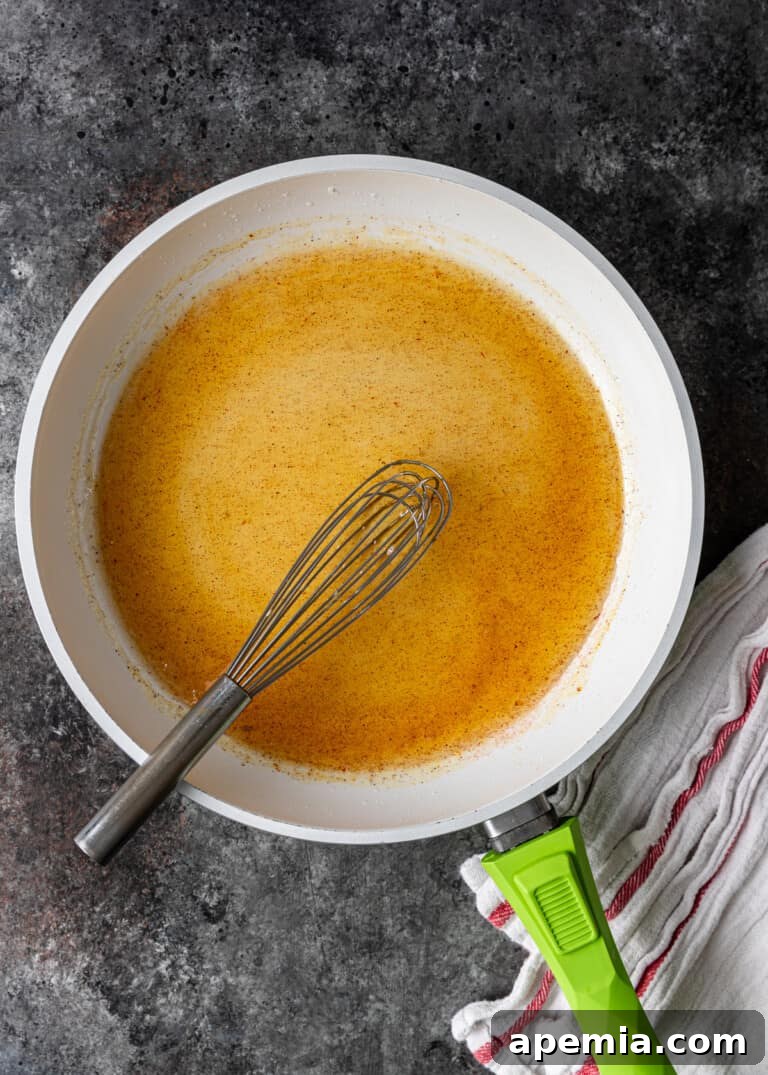
- Prepare the Aromatic Syrup: In a medium skillet, combine ½ cup of water and the granulated sugar. Place the skillet over medium heat, stirring continuously until the sugar completely dissolves. Increase the heat to bring the syrup to a rolling boil. Continue to simmer until the syrup reaches a “1 string” consistency (this is absolutely crucial for perfectly coated Jalebi; aim for 220°F-222°F on a reliable candy thermometer). Once this consistency is achieved, remove the skillet from direct heat and stir in the fresh lemon juice, ground cardamom, and crushed saffron threads. Keep the skillet on a warm burner or very low heat to ensure the syrup remains warm and fluid for dipping.
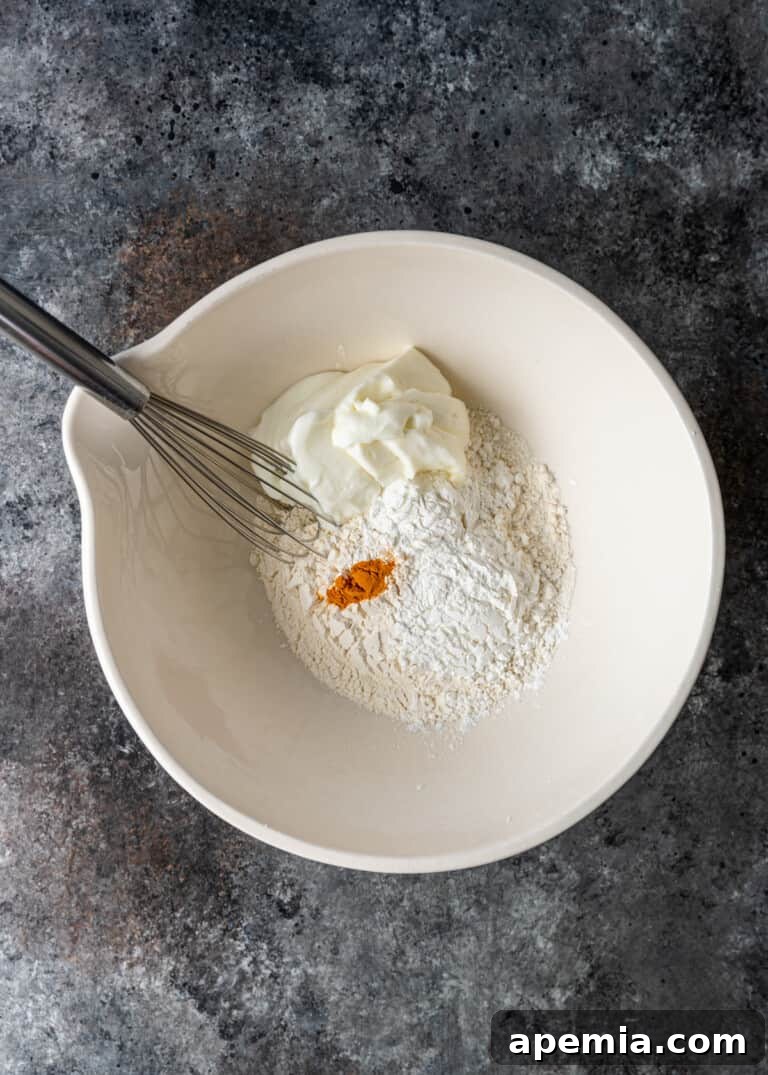
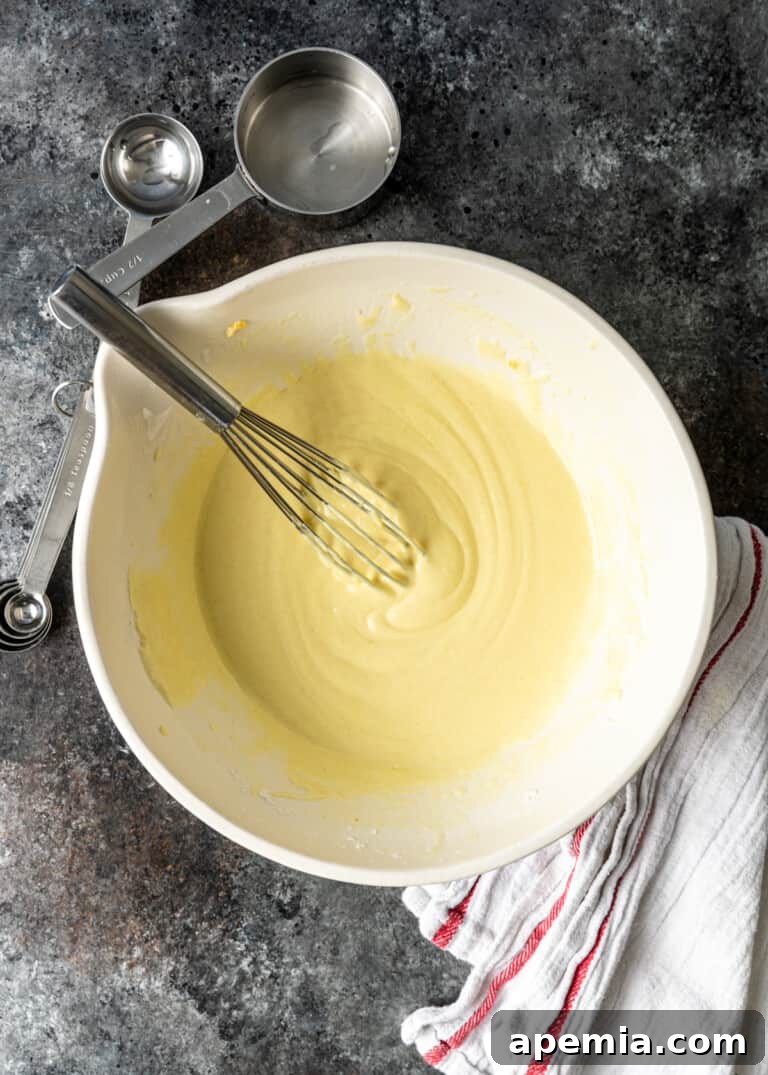
- Whisk the Jalebi Batter: In a separate, clean mixing bowl, add all the dry batter ingredients: all-purpose flour, cornstarch, and turmeric. Whisk them together thoroughly to ensure there are no lumps and the ingredients are well distributed. Gradually add the plain yogurt and the measured water, continuing to whisk vigorously until you achieve a smooth, thick batter consistency. It should resemble a good quality pancake batter – thick enough to hold its shape but still easily pourable. Ensure there are no dry pockets or unmixed flour.
- Heat Frying Oil & Finalize Batter: Pour the vegetable oil into a deep skillet or a traditional Indian kadai (a deep, wok-like frying pan). Ensure there’s enough oil depth for the Jalebi to float freely while frying. Heat the oil to precisely 350°F (175°C). While the oil is heating, prepare a baking sheet by lining it with parchment paper; this will be for draining the syrup-soaked Jalebi. Just before you’re ready to fry, add the remaining lemon juice and baking soda to your prepared batter. Whisk vigorously for about 30 seconds to fully activate the baking soda – you should notice the batter becoming slightly lighter and possibly showing small bubbles. Carefully transfer the batter into a squeeze bottle, leaving about an inch of space at the top, and secure the lid tightly.
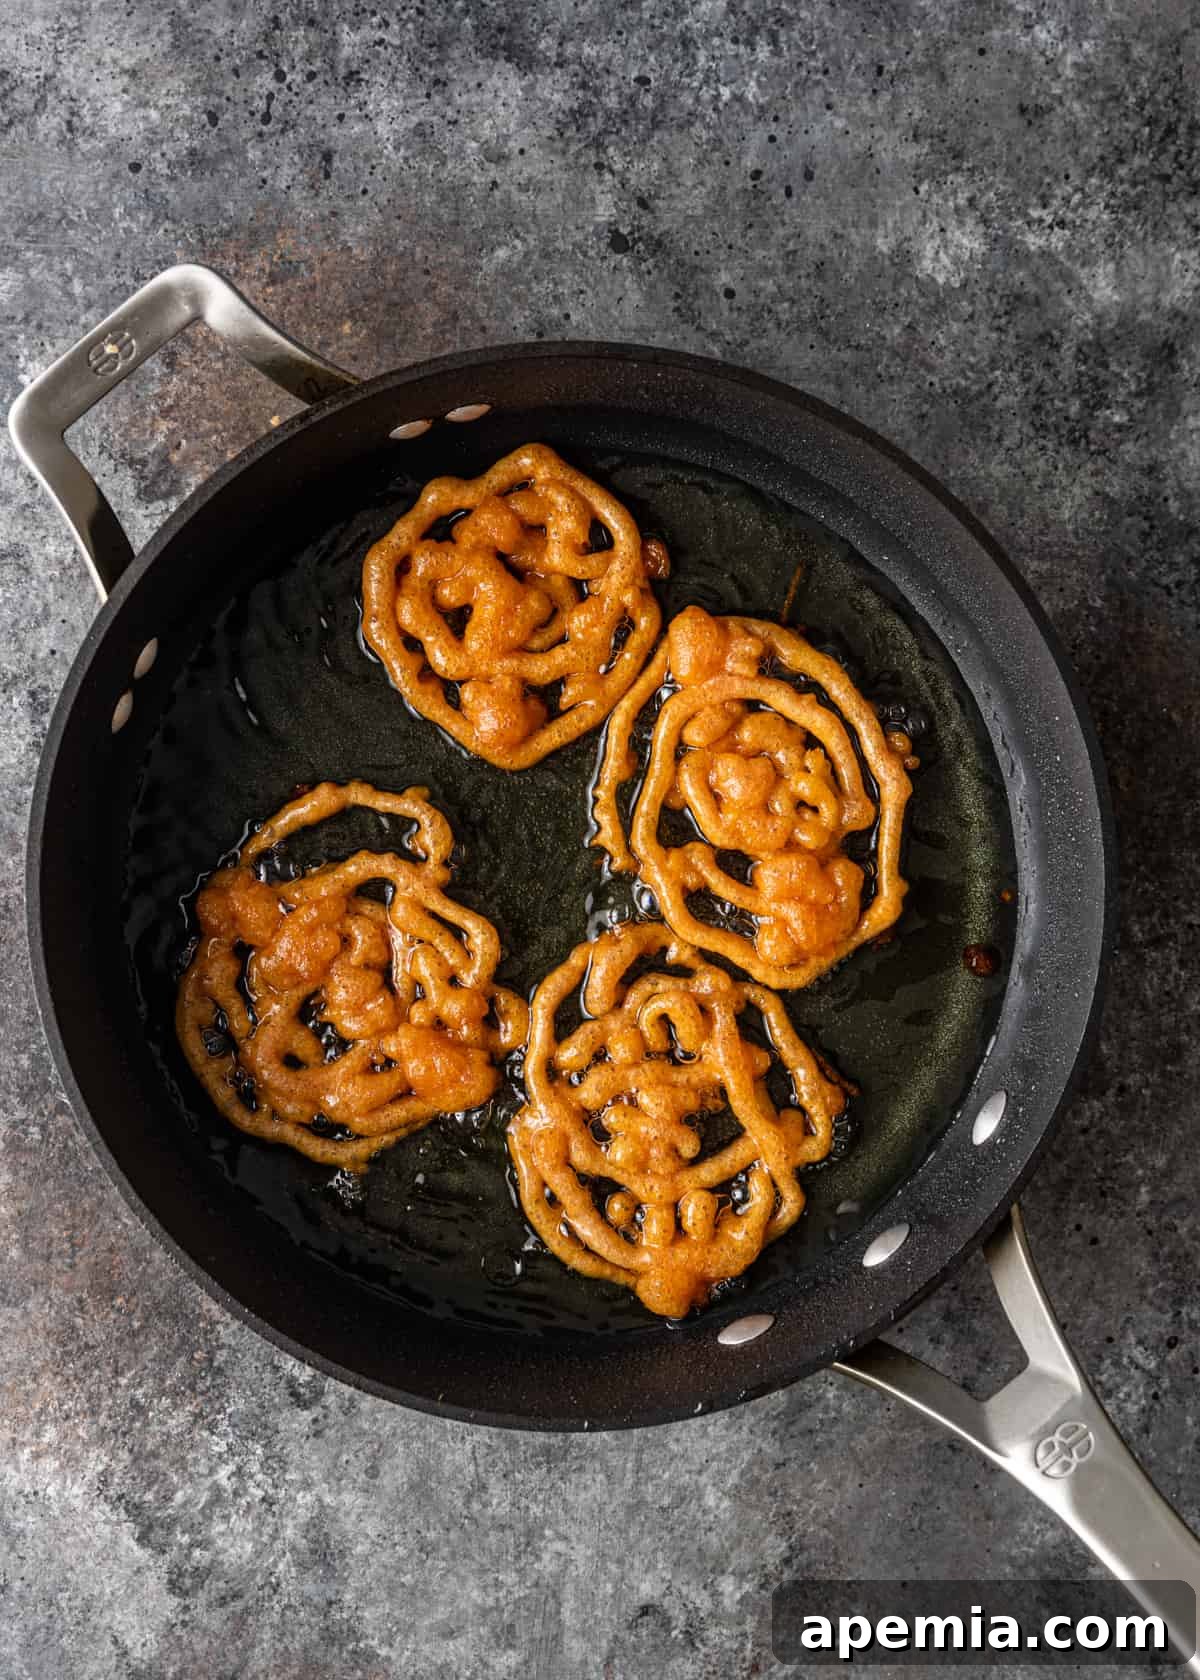
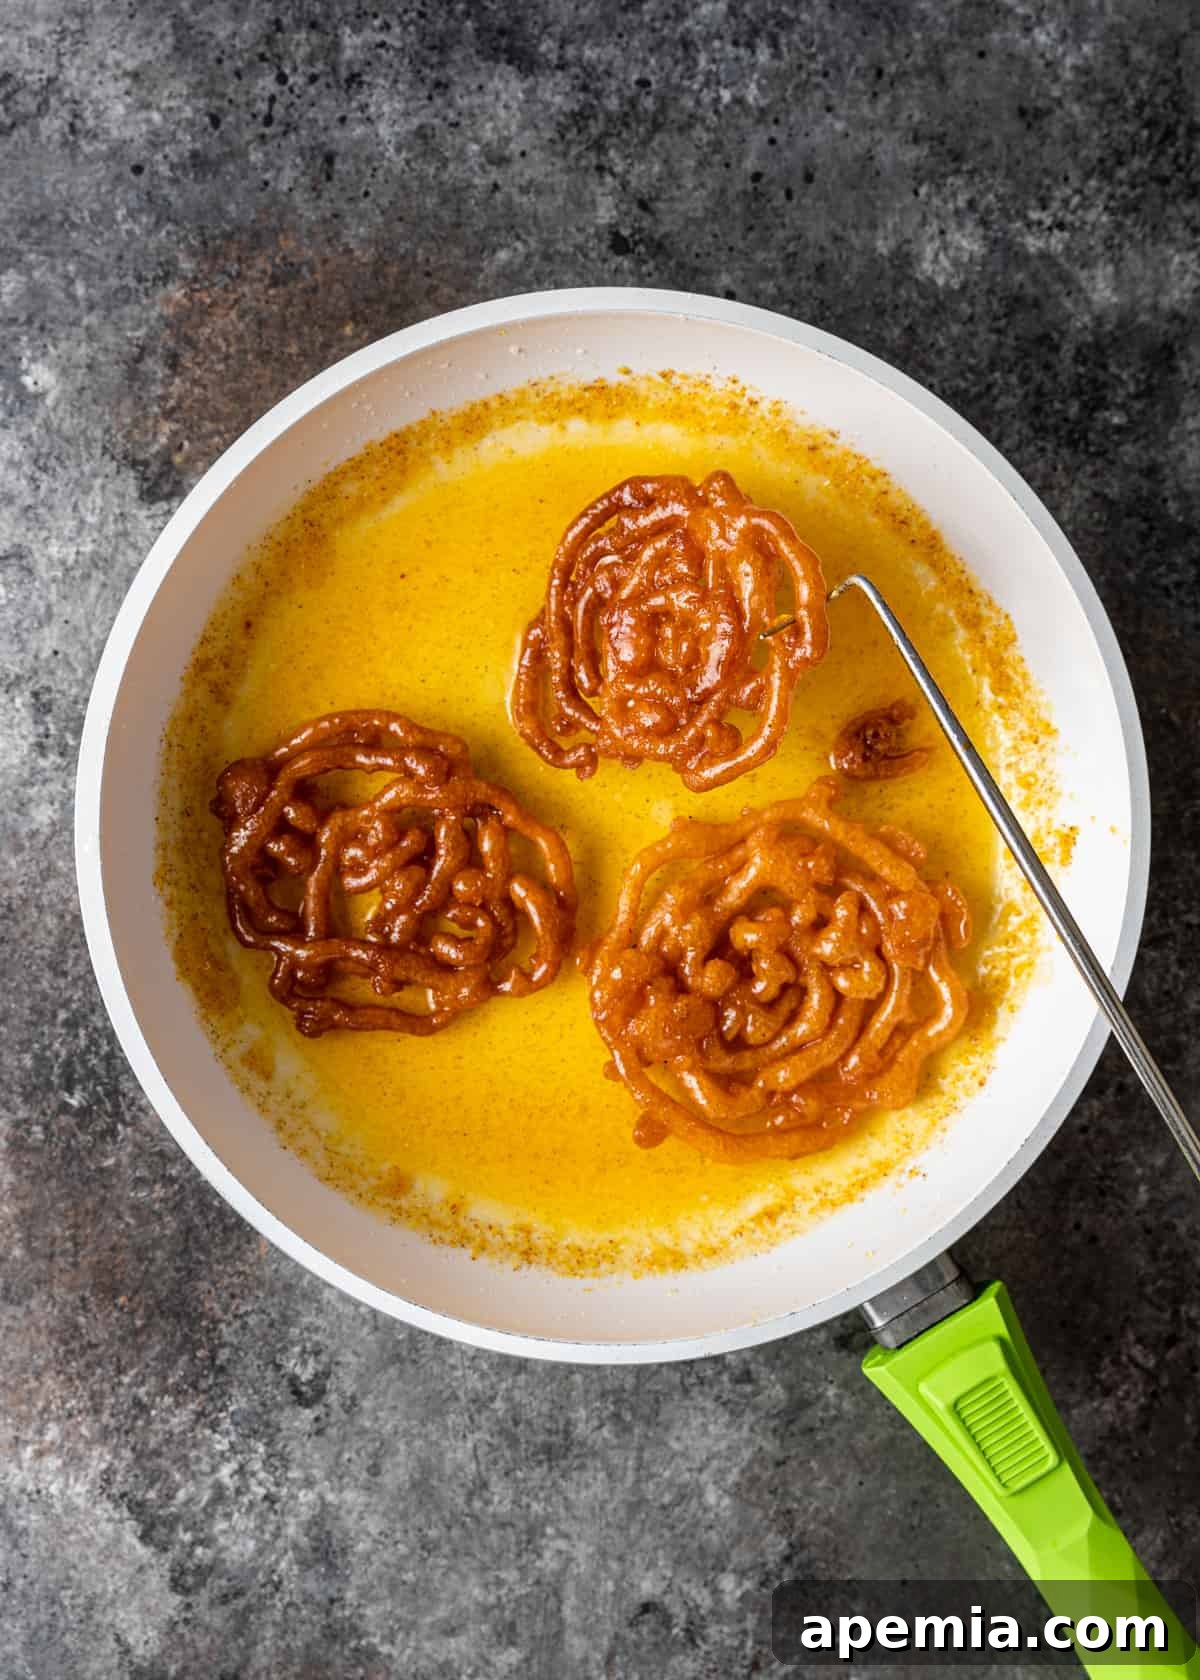
- Fry the Spirals to Perfection: Once your oil has reached the correct temperature, it’s time to fry. Hold the squeeze bottle steadily a few inches above the hot oil. Begin by squeezing the batter from a central point, then slowly spiral outwards in a continuous motion to form the characteristic Jalebi shape. You can then squeeze a straight line or two across the spiral to help it hold its form during frying. Fry each side for one to two minutes, or until the Jalebi turns a beautiful golden-brown and becomes delightfully crisp. Using tongs or a slotted spoon, carefully transfer the hot, freshly fried Jalebi directly into the still-warm sugar syrup. Gently turn them to ensure they are fully coated on all sides, allowing them to soak for about 20-30 seconds.
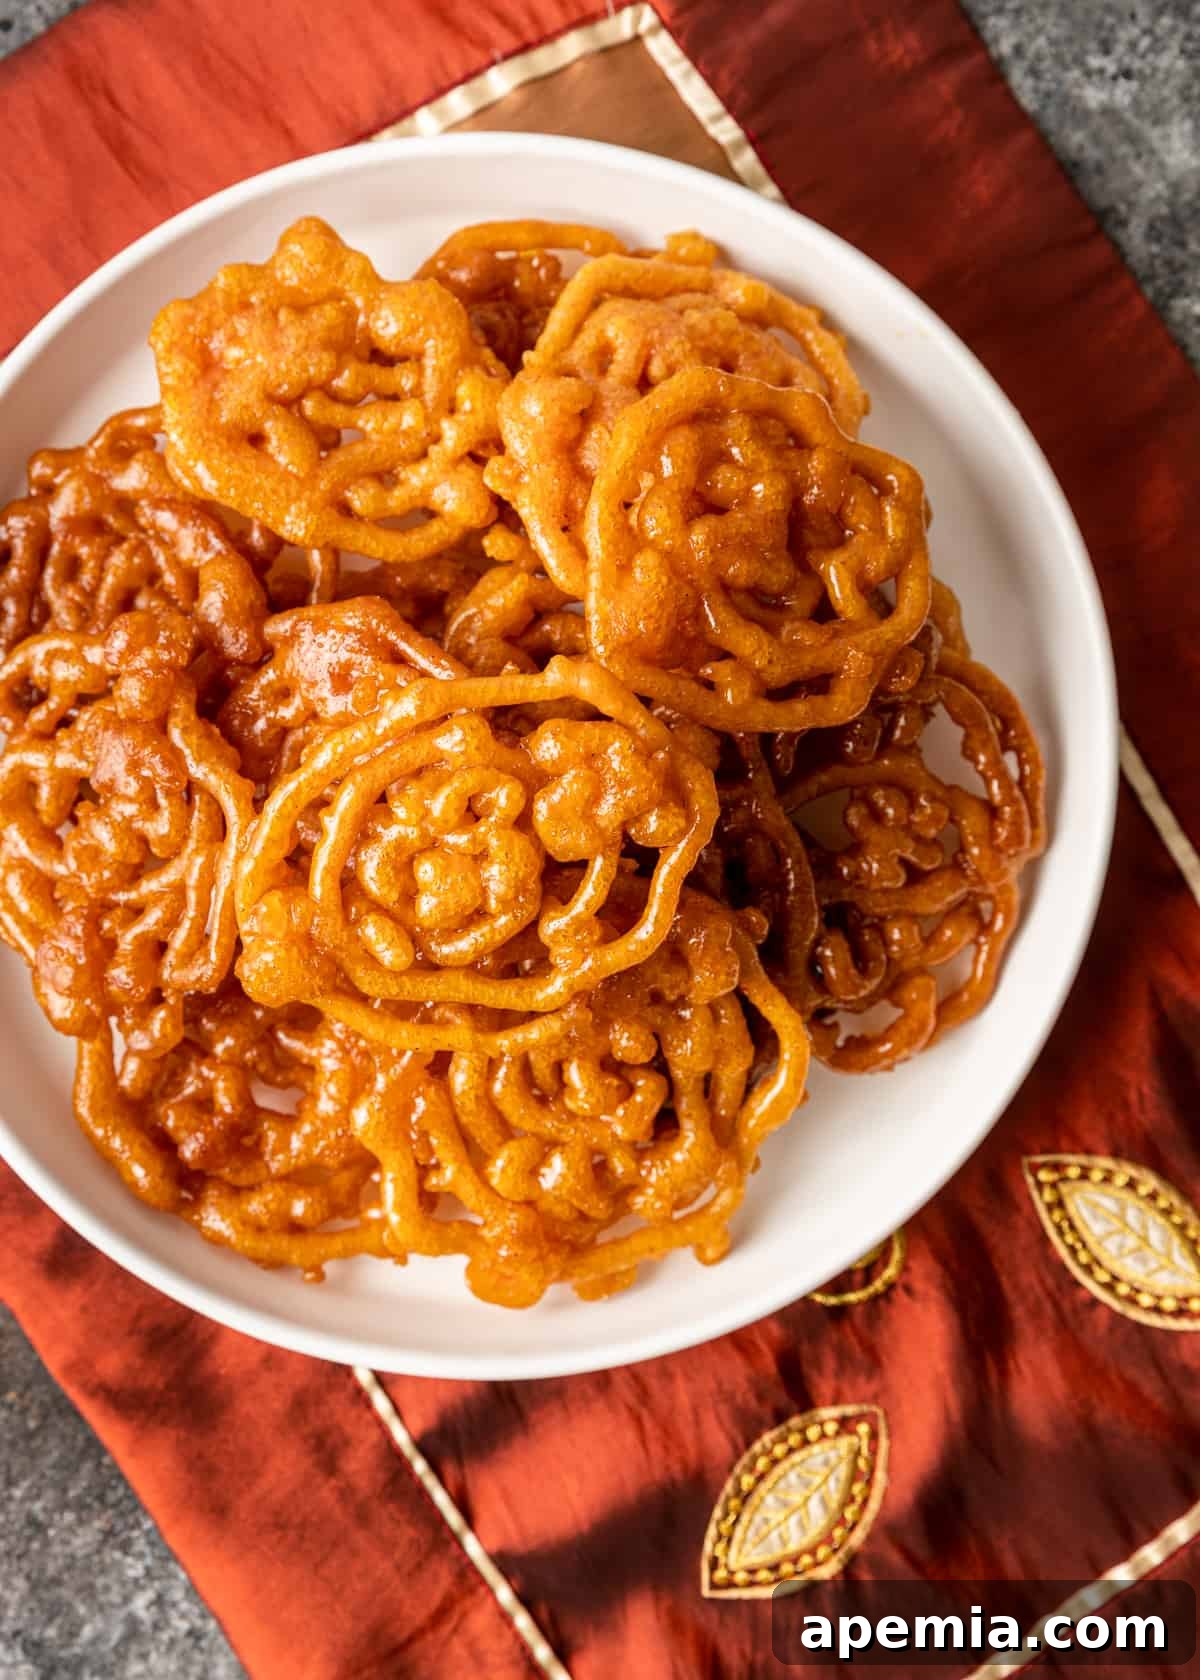
- Serve Immediately: Remove the syrup-soaked Jalebi from the skillet and place them on your prepared baking sheet lined with parchment paper to drain any excess syrup. Repeat the frying and soaking process with the remaining batter until all your Jalebi are made. Serve your homemade Jalebi warm, as this is when they are at their absolute crispiest and most flavorful! They make an excellent dessert or a delightful snack.
Recommended Tools for Effortless Jalebi Making
Having the right kitchen equipment can significantly enhance your Jalebi-making experience, making it smoother and more enjoyable:
- Two Skillets: You’ll need one medium-sized skillet, preferably non-stick, for gently preparing the sugar syrup. The second, and perhaps most crucial, is a deep, heavy-bottomed skillet or a traditional Indian kadai for frying. The depth of this pan is vital to ensure the Jalebi can float freely and cook evenly, achieving that perfect, consistent crispy exterior.
- Squeeze Bottle: This tool is absolutely essential for forming the classic, intricate spiral shape of Indian funnel cake. A squeeze bottle with a medium-sized opening is ideal. If the opening is too small, your Jalebi will be thin and potentially fragile; if it’s too large, it might be difficult to control the precise shape. Don’t worry if your first few attempts aren’t perfect – practice makes perfect when it comes to the swirls!
- Baking Sheet Lined with Parchment Paper: After dipping the fried Jalebi in syrup, they become incredibly sticky. Instead of traditional paper towels, which the syrup can cling to, parchment paper provides a non-stick surface. This allows any excess syrup to drip off cleanly while preventing your beautifully coated Jalebi from sticking, making transfer easy.
- Candy Thermometer: While not strictly required, a candy thermometer is highly recommended for precision. It ensures you achieve the exact “one-string” consistency of the sugar syrup (220°F-222°F), which is critical for proper absorption and texture. It’s also invaluable for maintaining the optimal oil frying temperature (around 350°F), guaranteeing consistently crispy and perfectly cooked Jalebi.
- Slotted Spoon or Tongs: Essential for safely and easily transferring the hot Jalebi from the oil to the warm syrup, and then from the syrup bath to the parchment paper-lined tray. A slotted spoon helps drain excess oil or syrup efficiently.
Storing Your Delicious Homemade Jalebi
Jalebi is undeniably at its peak when enjoyed warm and fresh, ideally straight out of the oil and syrup bath. The crispness and melt-in-your-mouth texture are unparalleled at this stage. However, if you find yourself with a few delightful leftovers, don’t despair! You can store them in an airtight container at room temperature. They will remain fresh and flavorful for up to 3 days. It’s important to note that while the taste will endure, Jalebi will gradually lose some of its initial crispiness and become softer over time. A quick reheat in a dry pan for a few seconds or a brief warming in the microwave can refresh them, but won’t fully restore that initial crunch.
Share This Recipe on Pinterest!
Love this authentic Jalebi recipe? Help us spread the word and share it with your friends and followers on Pinterest!
Pin This Recipe
Frequently Asked Questions About Jalebi
Maintaining the correct oil temperature is absolutely paramount for crafting perfect, crispy Jalebi. The ideal temperature for frying Jalebi batter is precisely around 350°F (175°C). If the oil is too cool, the batter will unfortunately absorb excessive oil, resulting in greasy, heavy, and soggy Jalebi that lack the desired crispness. Conversely, if the oil is too hot, the Jalebi will burn rapidly on the outside, turning from a beautiful golden hue to a dark, unappetizing brown almost instantly, without cooking thoroughly in the center. It is highly recommended to use a digital thermometer and consistently check the oil temperature between batches. This practice ensures uniformity in your Jalebi, guaranteeing that each one tastes as good as the last – perfectly golden and delightfully crispy.
A slight tanginess is actually an inherent and highly desirable characteristic of authentic Jalebi! This specific Jalebi recipe, which cleverly substitutes the traditional long fermentation process with the direct inclusion of plain yogurt, produces a mildly tart flavor that is both authentic and pleasing. This subtle sour note beautifully complements the intense sweetness of the syrup, creating a balanced and complex taste. If you find your Jalebi exceptionally sour, it might be due to a longer fermentation period if you opted for that method, or simply the natural acidity and freshness of the yogurt used. Embrace this unique aspect, as it is part of Jalebi’s traditional charm.
If your Jalebi turns out thin and fragile, breaking apart easily, it’s typically due to one of two main reasons related to the batter or the application method. Firstly, thoroughly check the consistency of your batter. It should be relatively thick, akin to a good pancake batter – thick enough to hold its shape when squeezed from the bottle but still flowable. A runny, watery batter will naturally create thin Jalebi that lack body and may disintegrate in the oil or during soaking. Secondly, examine the opening of your squeeze bottle. A small, narrow cut hole will inevitably produce a very thin stream of batter. For a thicker, more substantial Jalebi ribbon that crisps up beautifully and maintains its structure, ensure the opening of your squeeze bottle is adequately sized. You can always start with a smaller hole and gradually widen it slightly if needed to achieve the desired thickness.
Jalebi Recipe: The Ultimate Indian Funnel Cake
This Jalebi recipe brings the iconic sticky orange treat, known as Indian funnel cake, right to your kitchen. Sweet, syrupy, and delightfully chewy, it’s an incredibly fun and rewarding dessert to make!
Recipe Details
- Yields: 16 servings
- Prep Time: 10 mins
- Cook Time: 18 mins
- Total Time: 28 mins
Ingredients
For the Syrup:
- 1 cup granulated sugar
- 1/2 cup water
- 1/4 teaspoon ground cardamom
- 1/8 teaspoon saffron (crushed)
- 1 teaspoon lemon juice
For the Batter:
- 1 cup all-purpose flour
- 2 tablespoons cornstarch
- 1/8 teaspoon turmeric
- 1/2 cup plain yogurt (See Note 1 below)
- 1/2 cup water plus 2 tablespoons
- 1/2 teaspoon baking soda
- 1 teaspoon lemon juice
For Frying:
- 1 1/2 cups vegetable oil (or a blend with ghee)
Instructions
Syrup Preparation:
- Add the sugar and 1/2 cup water to a skillet over medium heat, stirring until the sugar completely dissolves. Bring the mixture to a boil and continue to simmer until the syrup reaches a “1 string” consistency (approximately 220°F-222°F on a candy thermometer).
- Turn off the heat. Stir in the lemon juice, ground cardamom, and crushed saffron. Leave the pan on the burner or a very low heat setting to keep the syrup warm.
Batter Preparation:
- In a mixing bowl, combine the all-purpose flour, cornstarch, and turmeric. Whisk thoroughly.
- Gradually whisk in the plain yogurt and 1/2 cup water plus 2 tablespoons until the batter is smooth and thick, resembling pancake batter. Continue whisking for several minutes to ensure a silky consistency.
Frying Jalebi:
- Heat 1 1/2 cups of vegetable oil in a deep skillet to 350°F (175°C). Line a baking tray with parchment paper and set it aside for the finished Jalebi.
- When you are ready to fry, add the remaining 1 teaspoon of lemon juice and 1/2 teaspoon of baking soda to the prepared batter. Whisk vigorously for about 30 seconds to fully incorporate and activate the baking soda.
- Pour the batter into a squeeze bottle, leaving approximately 1 inch of space from the top, and securely fasten the lid.
- Test the oil temperature by dropping a tiny bit of batter into the hot oil; it should immediately sizzle, float to the top, and start bubbling.
- Carefully squeeze the batter into the hot oil in a continuous circular motion, starting from the center and spiraling outwards to form the characteristic Jalebi shape. You can then draw a straight line or two across the circles to help hold them together. Remember, practice makes perfect; your Jalebi don’t have to be perfectly shaped!
- Fry for about one to two minutes on each side, until they turn a beautiful golden-brown and become wonderfully crisp.
- Using tongs or a slotted spoon, carefully transfer the hot, fried Jalebi directly into the warm syrup. Turn them gently to ensure both sides are thoroughly coated.
- Remove the syrup-soaked Jalebi and place them on the lined baking tray to cool slightly and drain any excess syrup. Continue with the remaining batter until all your Jalebi are made. Serve warm for the best taste and texture.
Notes
- Yogurt for Fermentation: The plain yogurt is added in this recipe as a shortcut to achieve a slightly sour flavor, mimicking the taste typically developed by traditionally fermenting the batter for 12 hours. If you prefer to use the traditional fermentation method, simply omit the yogurt from the batter and allow it to ferment for 12 hours in a warm place.
- Syrup Consistency: Achieving the “1 string” stage for the syrup (heating it to 220°F-222°F) is critical. If the syrup is too thin, the fried Jalebi will absorb too much liquid, becoming soggy and falling apart easily. If it’s too thick, it won’t properly coat the Jalebi. A candy thermometer is highly recommended for accuracy.
Nutrition Information (Estimated Per Serving)
Serving Size: 2g | Calories: 86kcal | Carbohydrates: 20g | Protein: 1g | Fat: 1g | Saturated Fat: 1g | Cholesterol: 1mg | Sodium: 38mg | Potassium: 22mg | Fiber: 1g | Sugar: 13g | Vitamin A: 8IU | Vitamin C: 1mg | Calcium: 11mg | Iron: 1mg
The information shown is an estimate provided by an online nutrition calculator. It should not be considered a substitute for a professional nutritionist’s advice.
Recipe Attributes
- Course: Desserts
- Cuisine: Indian
- Author: Kevin
Have You Made This Jalebi Recipe? Let Us Know on Instagram!
We love seeing your culinary creations! Share your beautiful homemade Jalebi on Instagram.
Tag @keviniscooking or use the hashtag #keviniscooking so we can see your delicious results!