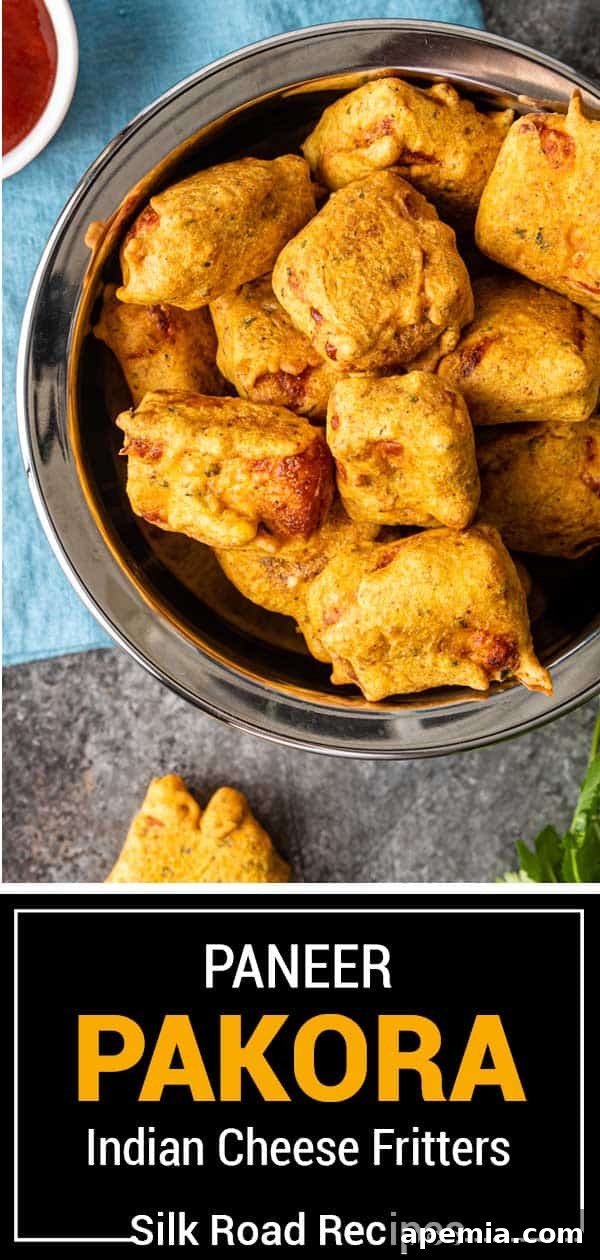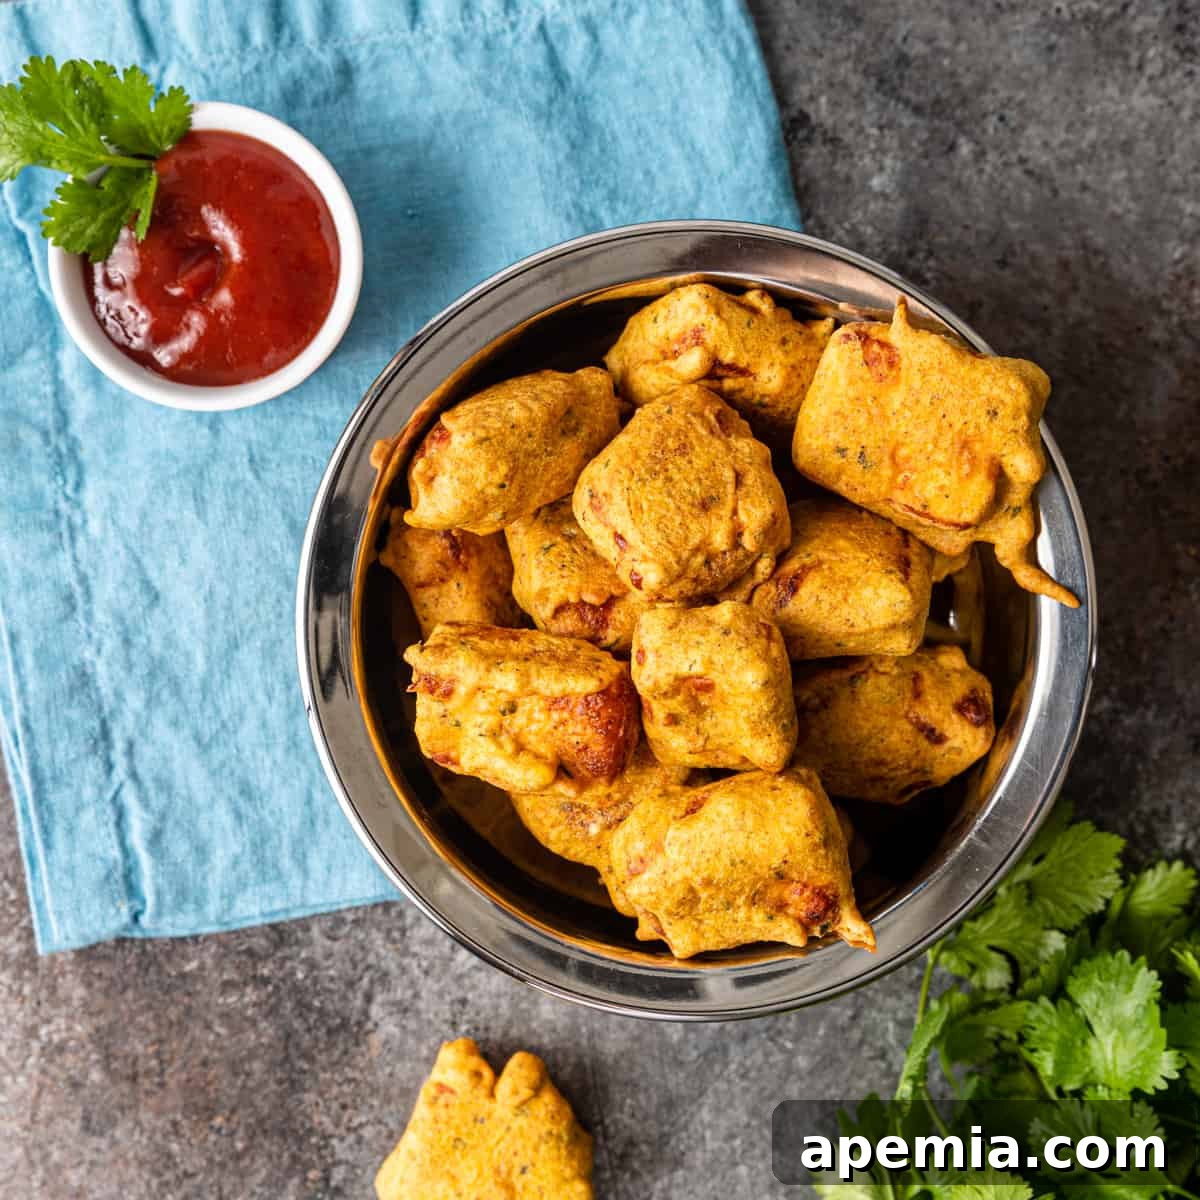
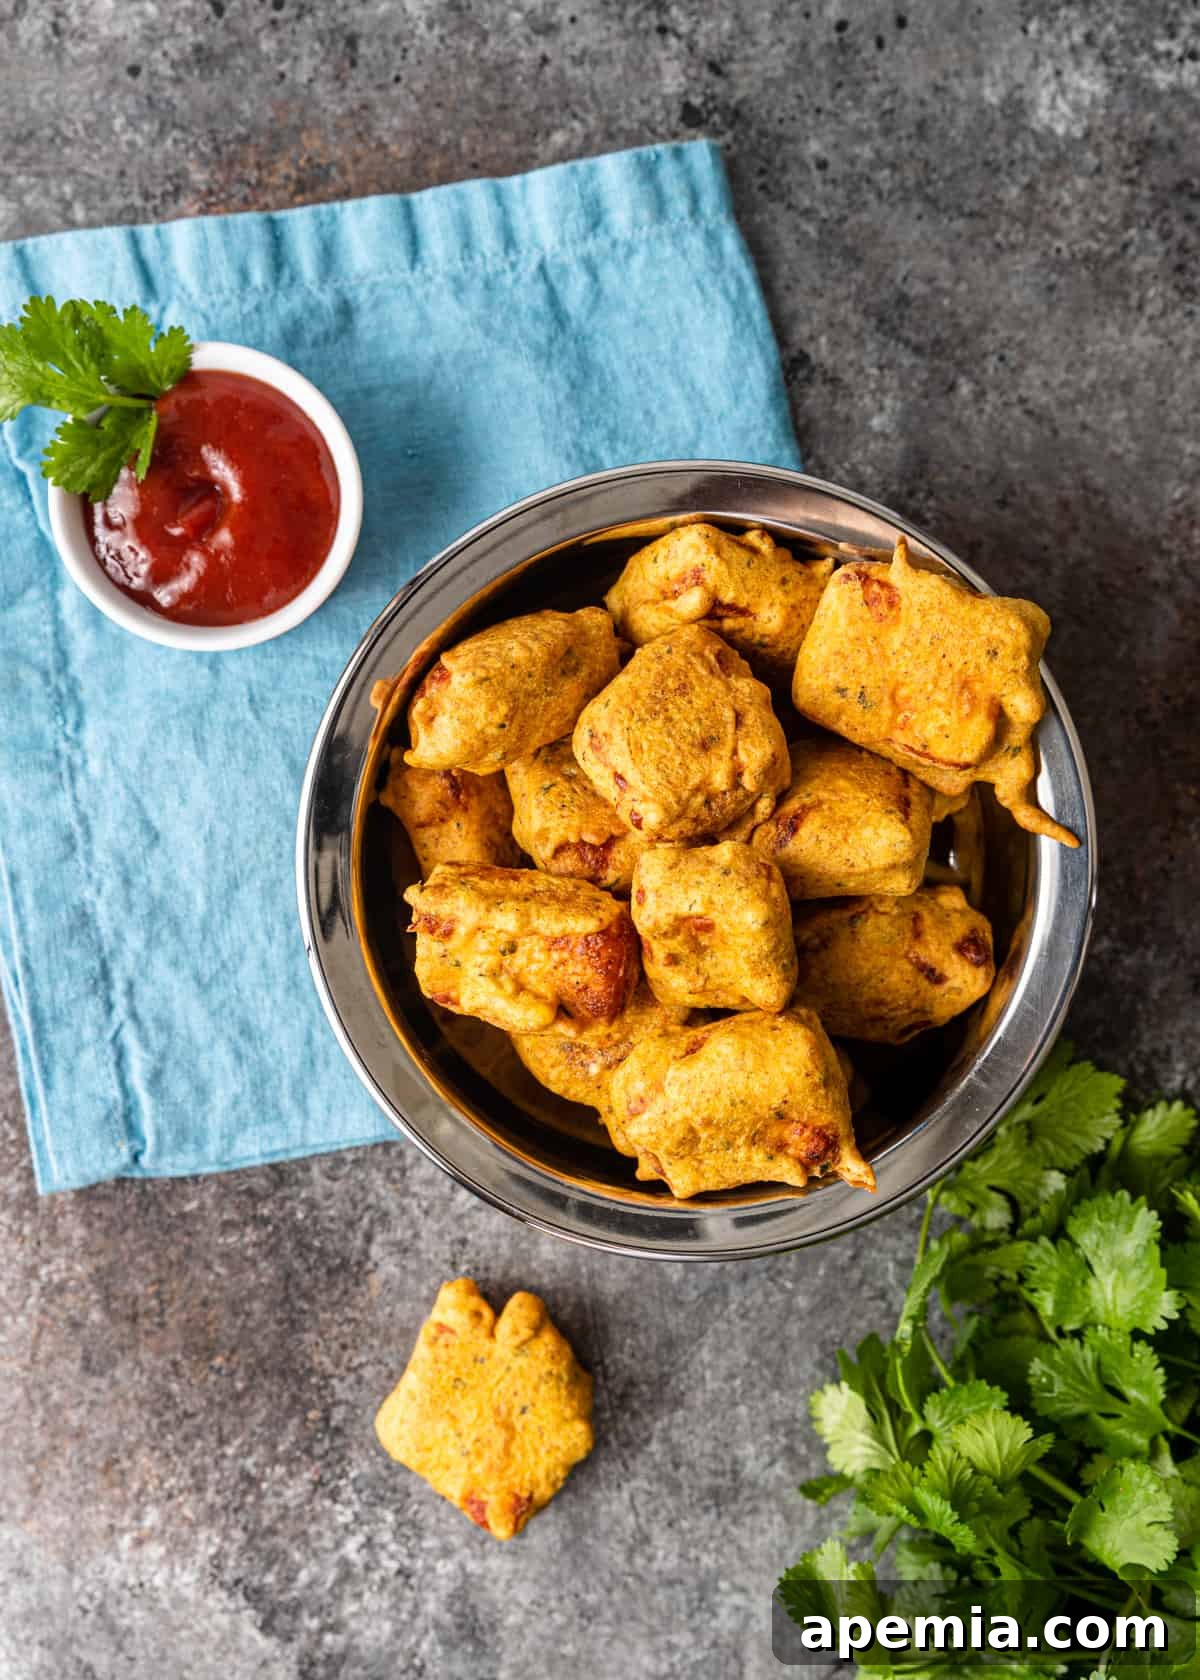
Paneer pakora is more than just a quick appetizer; it’s a celebration of flavors, a comforting snack, and a beloved staple in Indian cuisine. Imagine soft, milky cubes of paneer, enveloped in a golden-crisp batter seasoned with an exquisite blend of Indian spices like aromatic garam masala and vibrant Kashmiri chili powder. This irresistible Indian cheese fritter can be on your table in 30 minutes or less, making it an ideal choice for last-minute guests or an spontaneous craving. Prepare to make this easy paneer pakora recipe a regular in your culinary repertoire!
The Heart of Indian Snacking: A World of Pakoras
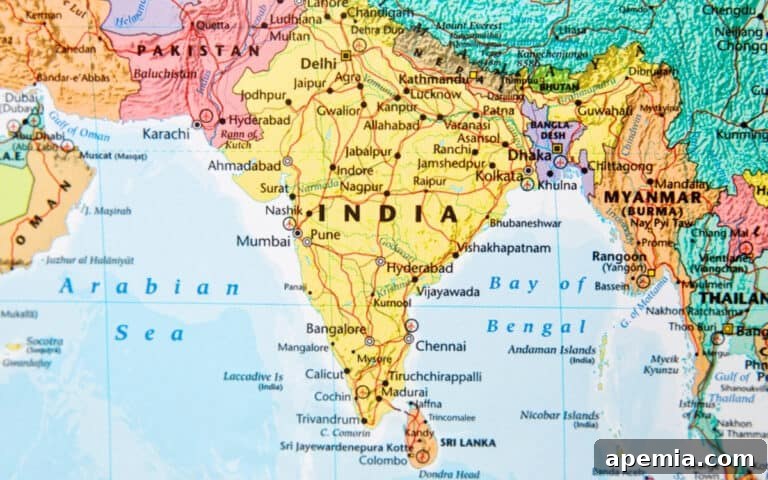
Indian cuisine boasts an incredible variety of pakoras, each offering a unique textural and flavor experience. From the humble onion pakora with its delicate crunch to the satisfyingly starchy potato pakora, or even the surprising sweetness of corn pakora, the possibilities are truly endless. Anything from vegetables to bread, and even meat, can be transformed into a delectable fritter. However, for those who cherish cheese, paneer pakora holds a particularly special place. Its rich, creamy texture, encased in a perfectly spiced and crunchy shell, elevates it to one of the most drool-worthy Indian snacks available.
Understanding Paneer: The Non-Melting Wonder Cheese
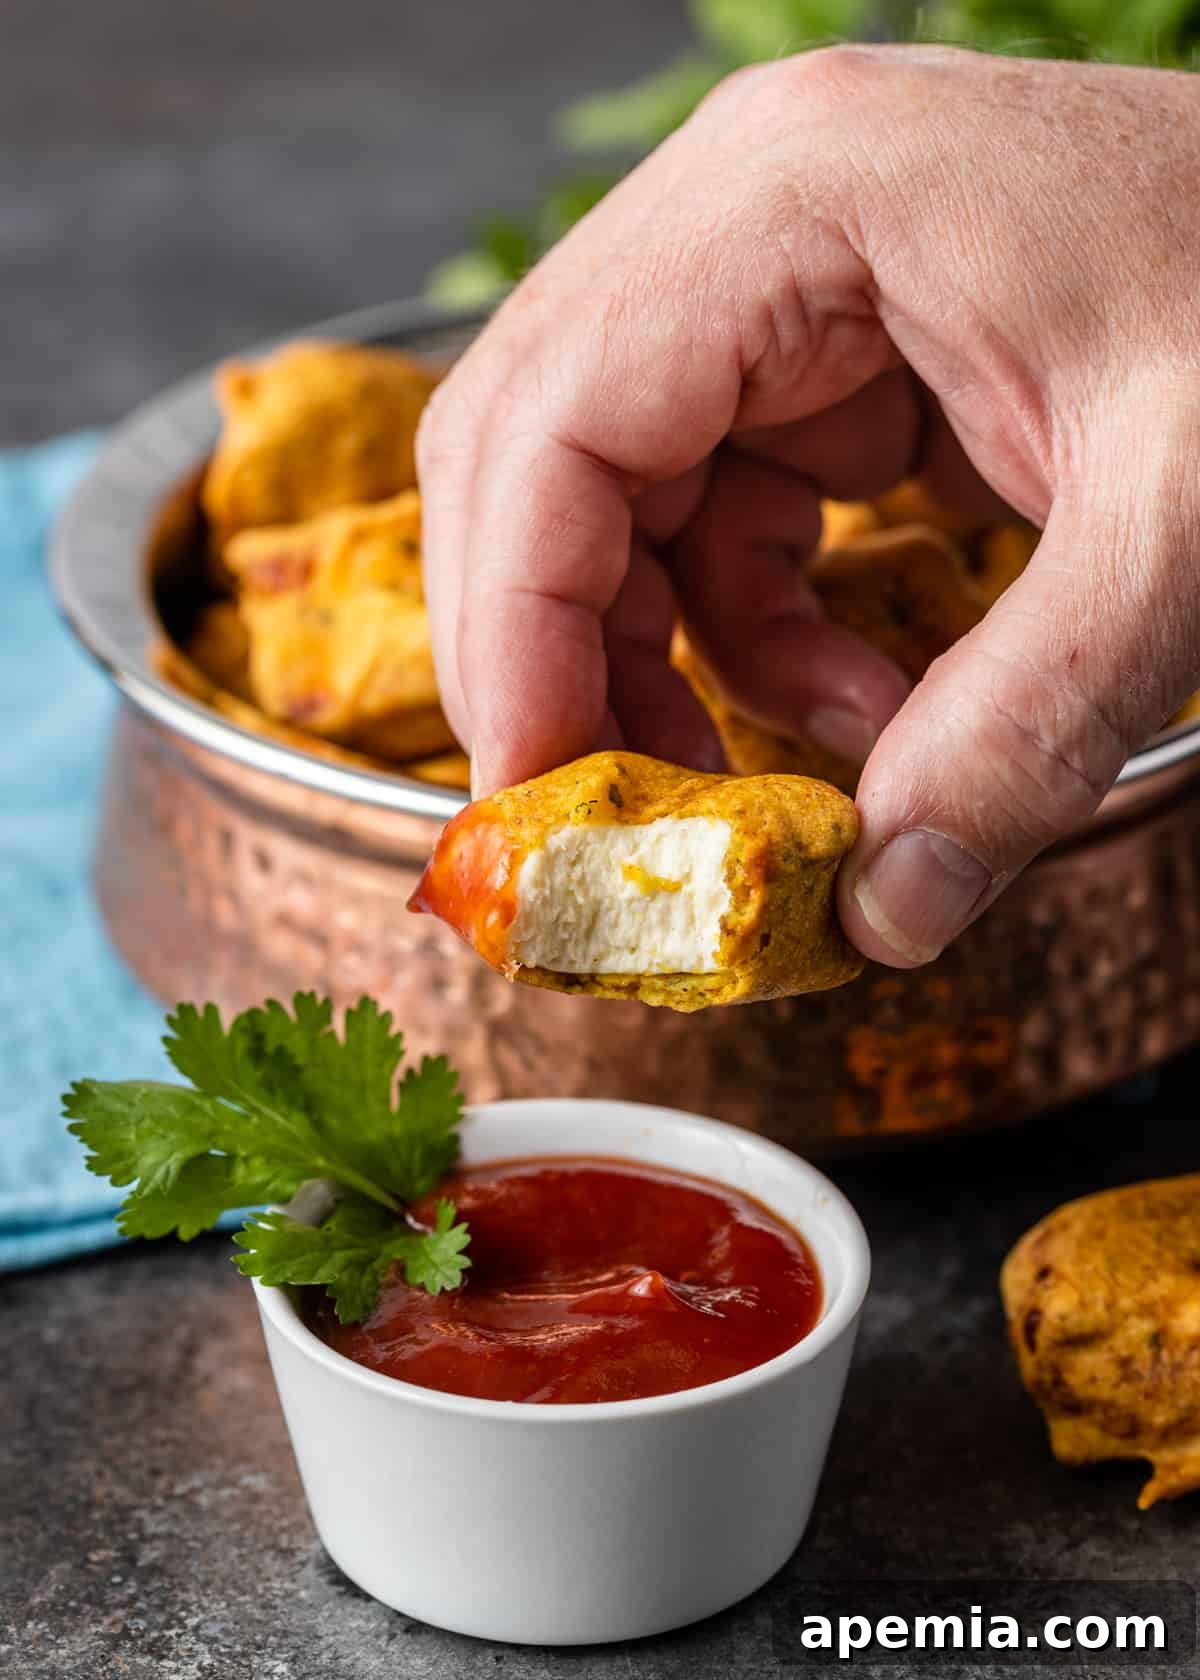
Paneer, often referred to as “Indian squeaky cheese” due to its distinctive texture, is an unsalted, non-melting fresh cheese made from curdled milk. Unlike many Western cheeses that become gooey when heated, paneer maintains its structural integrity, offering a delightful chewiness even after frying. This unique characteristic makes it an exceptional ingredient for various Indian dishes. It readily absorbs the rich flavors of gravies and curries, such as the creamy Paneer Butter Masala or a robust Tikka Masala, serving as a fantastic vegetarian alternative to meat. Its firm yet soft nature ensures that when transformed into these crispy Indian cheese fritters, each bite delivers a satisfying combination of tender cheese and crunchy coating.
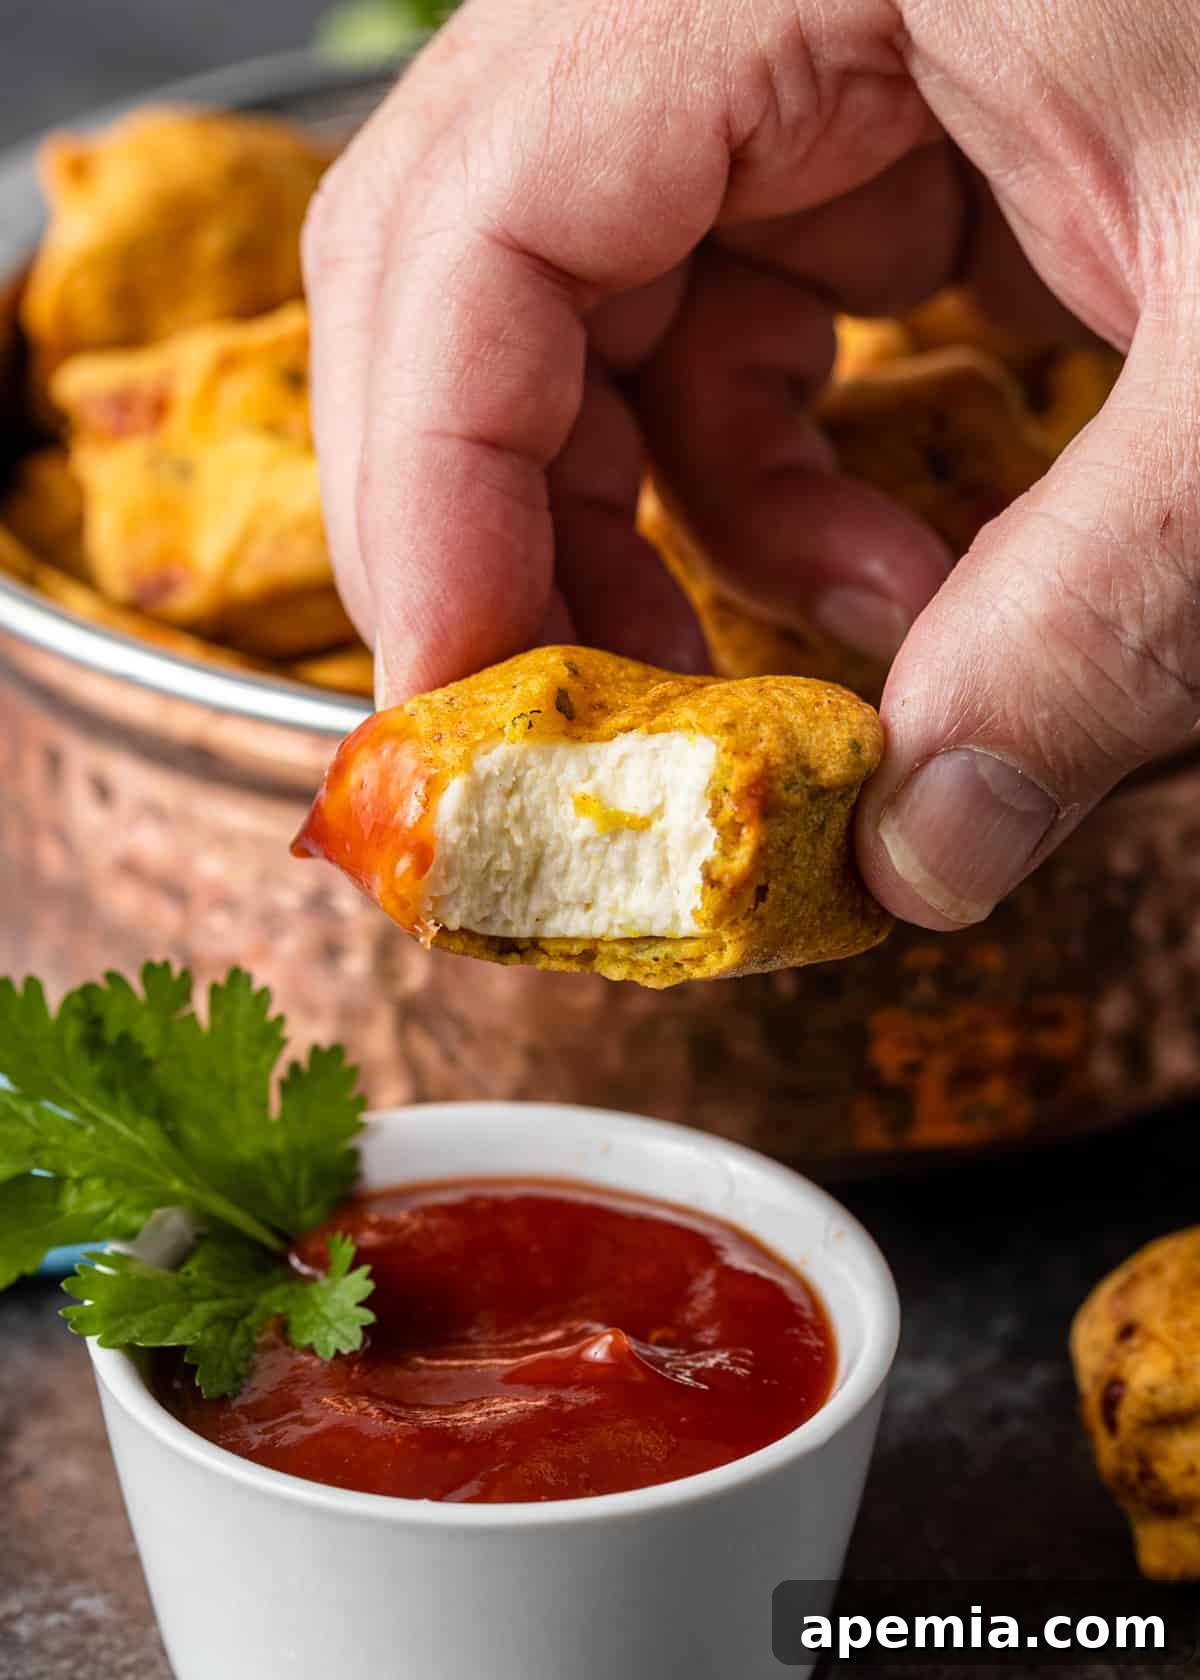
Table of Contents
- The Secret to Extra Crispy Paneer Pakora: Rice Flour
- Essential Ingredients & Expert Substitutions
- How to Make Paneer Pakora: A Step-by-Step Guide
- Recommended Tools for Perfect Frying
- Serving and Pairing Suggestions
- Storing and Reheating Your Paneer Fritters
- Frequently Asked Questions About Paneer Pakora
- Crispy Paneer Pakora (Indian Cheese Fritters) Recipe
Enhance the experience of these fried cheese delights by serving them with fresh, vibrant chutneys. A tangy tomato chutney offers a sweet and savory counterpoint, while a refreshing pudina chutney (mint chutney) provides a burst of coolness to balance the richness of the fried paneer pakora. These pairings elevate a simple snack into a gourmet experience.
Chef’s Tip for Unmatched Crispiness
The Secret to Extra Crispy Paneer Pakora: Rice Flour
While the spiced batter is designed to be bursting with authentic Indian flavors and just the right amount of heat, my special touch for achieving unparalleled crunchiness in these Indian cheese fritters is a clever addition: rice flour. It might not be a traditional ingredient in every paneer pakora recipe, but I’ve found it makes all the difference, contributing to an incredibly light and crispy exterior that truly sets this recipe apart. This simple trick ensures your paneer pakoras are never soggy, always delivering that satisfying crunch!
Essential Ingredients & Expert Substitutions
(A complete list of ingredients and precise quantities can be found in the recipe card below.)
- Paneer – The star of our crispy Indian cheese fritters! This mild, soft, and springy cheese is crucial for the authentic texture. If paneer is unavailable, Halloumi cheese (another non-melting variety) is an excellent substitute, offering a similar chew. For a vegan alternative, firm or extra-firm tofu, pressed and cut, can also work, though the flavor profile will differ.
- Kashmiri Chili Powder – This vibrant spice is renowned for its beautiful red color and milder heat compared to other chili powders. It imparts a delightful warmth without overpowering the delicate flavor of the paneer. Feel free to use your preferred chili powder if Kashmiri isn’t on hand, adjusting the quantity to your heat preference.
- Garam Masala – An indispensable spice blend in Indian cooking, “garam masala” literally means “hot spice mixture.” It’s a foundational flavor for these paneer pakoras, adding complex layers of sweet, earthy, and warm notes. While many commercial blends are available, my homemade garam masala blend offers a perfectly balanced aroma and depth.
- Chaat Masala – This tangy, zesty spice blend is often sprinkled over snacks and fruits in India. Including it in your paneer pakora batter (or sprinkling it fresh after frying) adds a wonderful brightness and a unique savory-sour punch that truly elevates the flavor profile. It’s optional but highly recommended for an authentic street-food flair.
- The Crispy Batter Components:
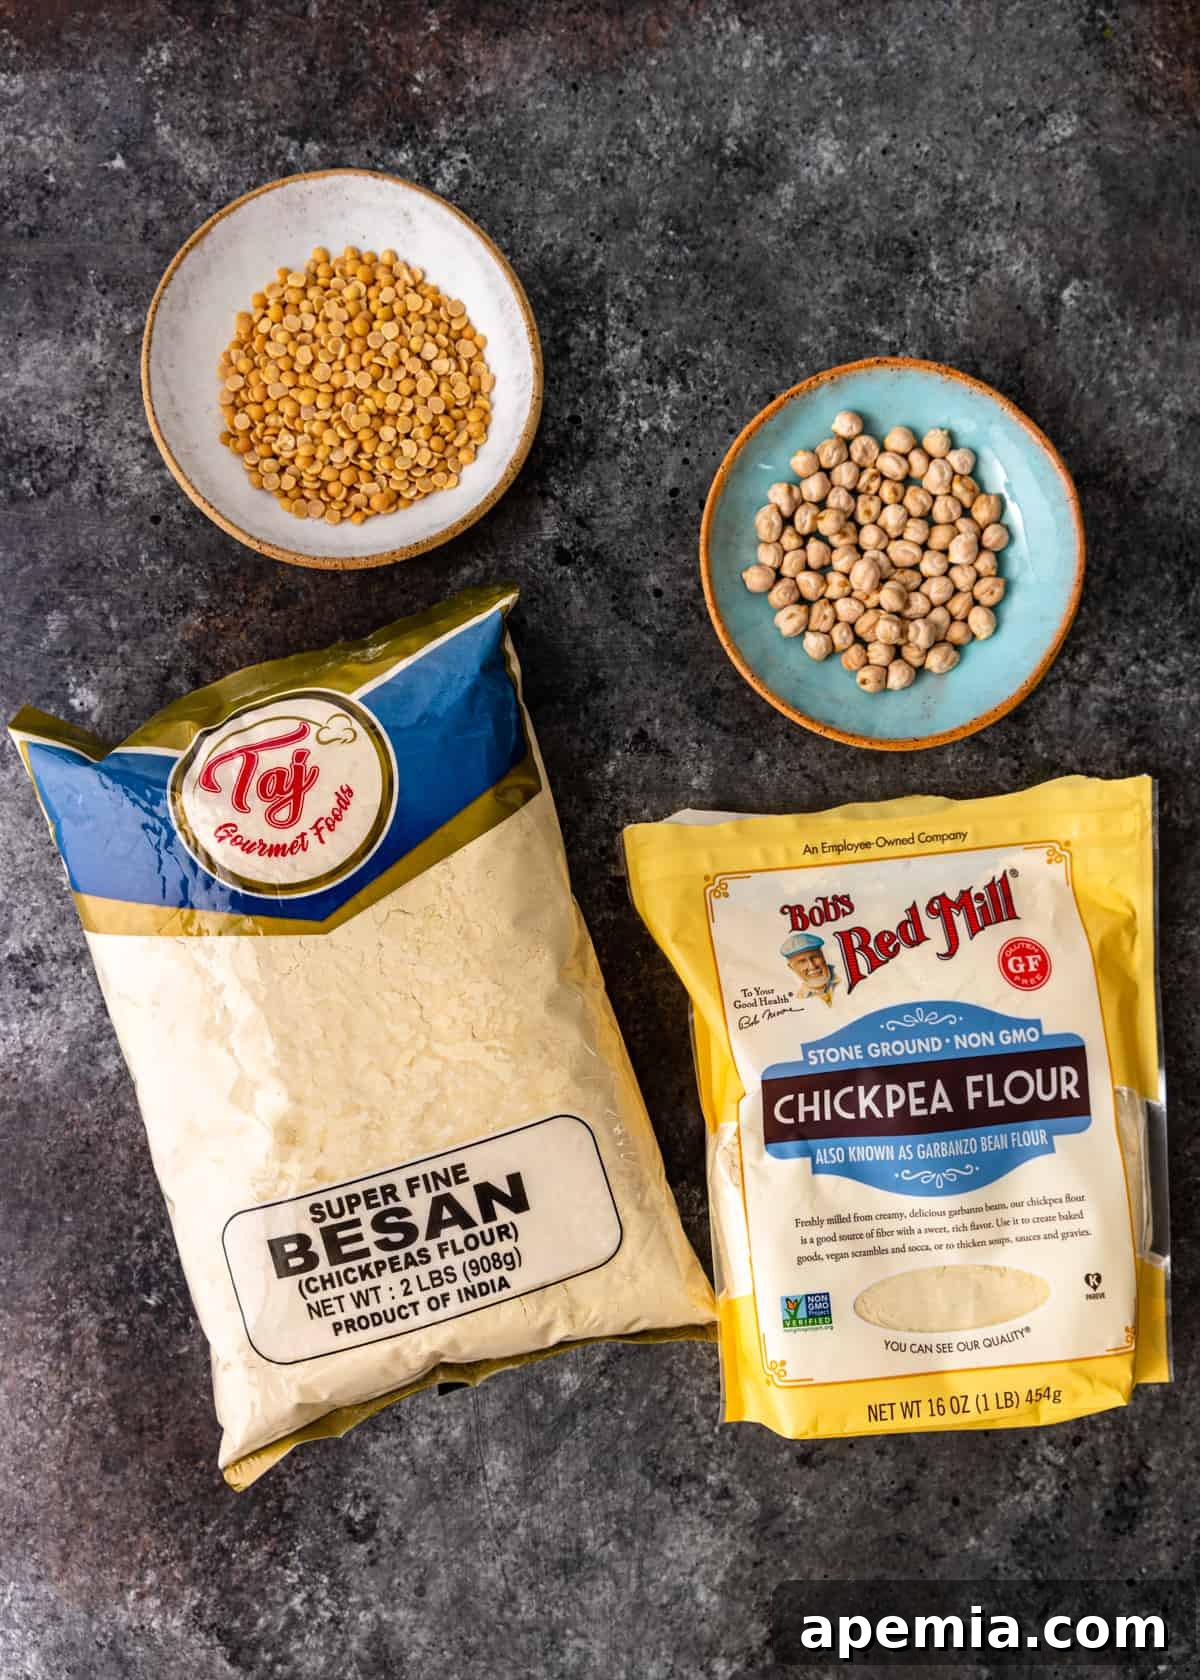
- Besan Flour (Chickpea Flour) – This finely ground flour, made from split yellow chickpeas, is the traditional base for almost all pakoras. It provides a distinct nutty flavor and a desirable crisp texture. It’s also naturally gluten-free. If besan flour is difficult to find, other legume flours like lentil or soybean flour can be used as a close substitute for texture and binding properties.
- Rice Flour – My secret weapon for the ultimate crispy paneer pakora! This gluten-free flour, when combined with besan, helps to create an incredibly light and crunchy exterior that resists sogginess, ensuring each Indian cheese fritter is a textural delight.
- Fenugreek Leaves (Kasuri Methi) – Dried fenugreek leaves are a magical herb in Indian cooking, imparting a distinctive, slightly bitter, and aromatic flavor profile often described as having notes of celery and maple. They add an incredible depth and a signature “curry-like” aroma to the batter, making these crispy paneer pakoras truly special.
- Turmeric – Beyond its beautiful golden hue, turmeric offers earthy, slightly peppery, and subtly sweet undertones. It’s a powerful antioxidant and a staple in Indian cooking. If you happen to be out, a tiny pinch of cumin powder or even a dash of curry powder can offer a different but complementary warmth.
- Chili Powder – A little extra heat in the batter never hurts! Again, Kashmiri chili powder is preferred for its color and mildness, but any chili powder you have will work. Adjust to your personal spice tolerance.
How to Make Paneer Pakora: A Step-by-Step Guide to Crispy Perfection
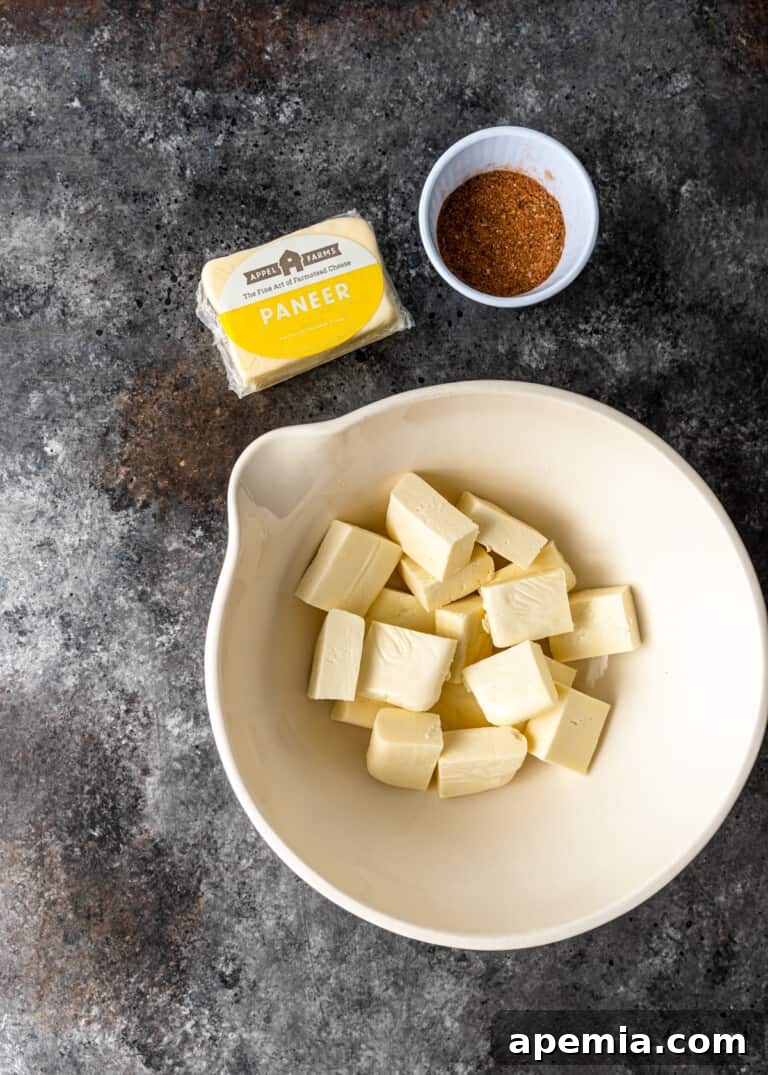
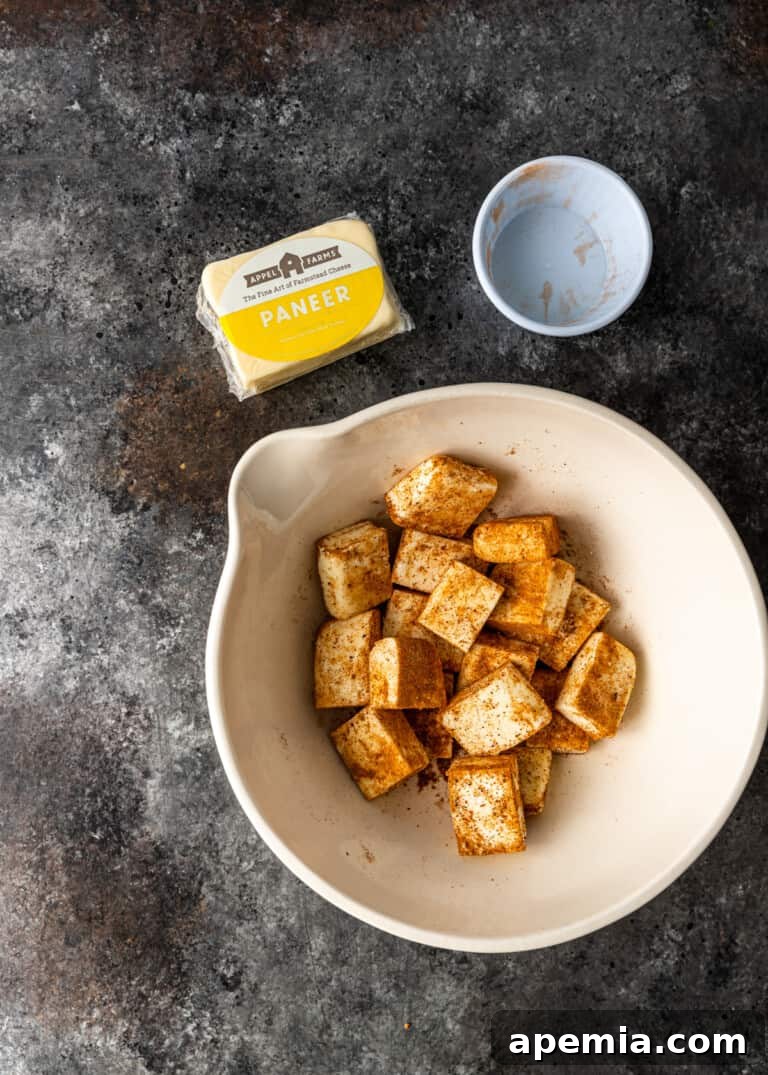
- Prepare Your Paneer Seasoning: In a small mixing bowl, combine your Kashmiri chili powder, garam masala, optional chaat masala, and salt. Whisk these spices together until thoroughly blended. This initial seasoning ensures every bite of your paneer pakora is flavorful.
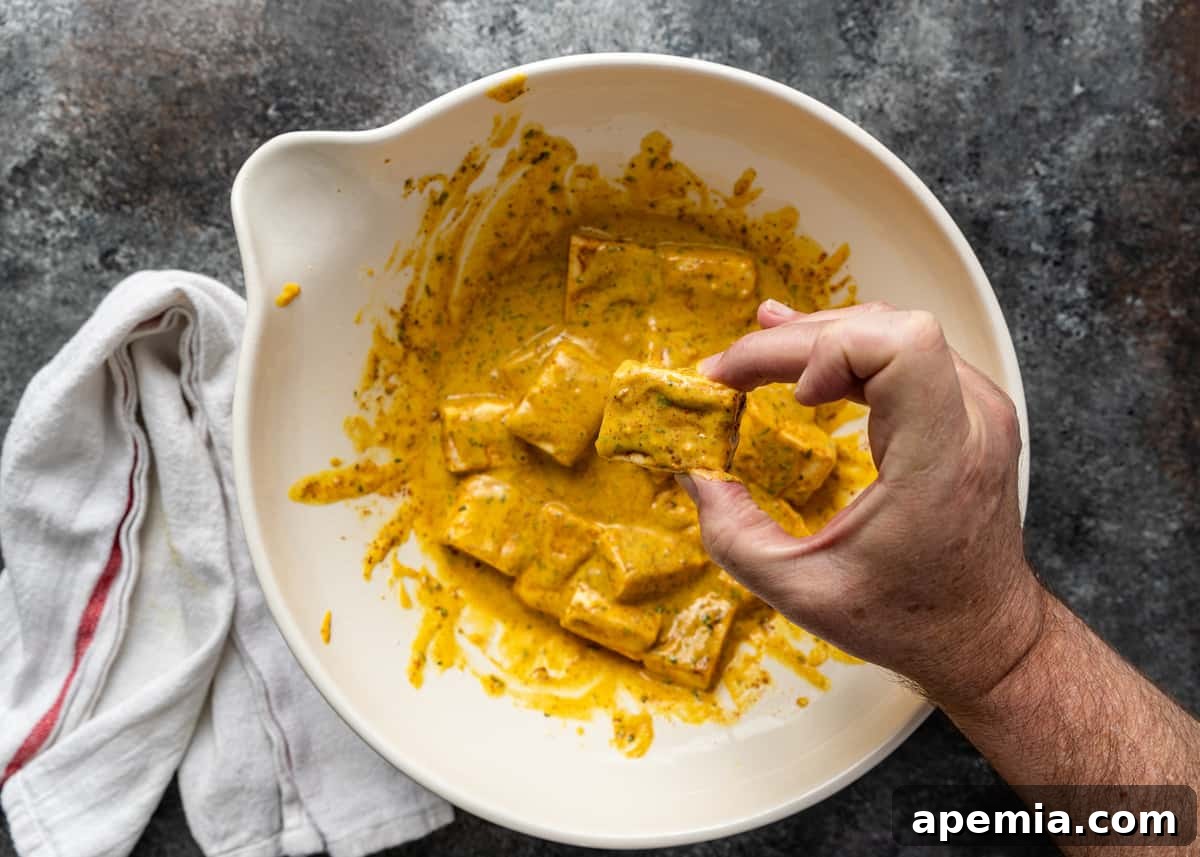
- Coat the Paneer: Carefully cut your paneer into uniform, bite-sized cubes, typically about 1-inch squares. Transfer these paneer cubes into the bowl with your prepared spice mixture. Gently toss the paneer until each piece is evenly coated. Be delicate to avoid breaking the paneer.
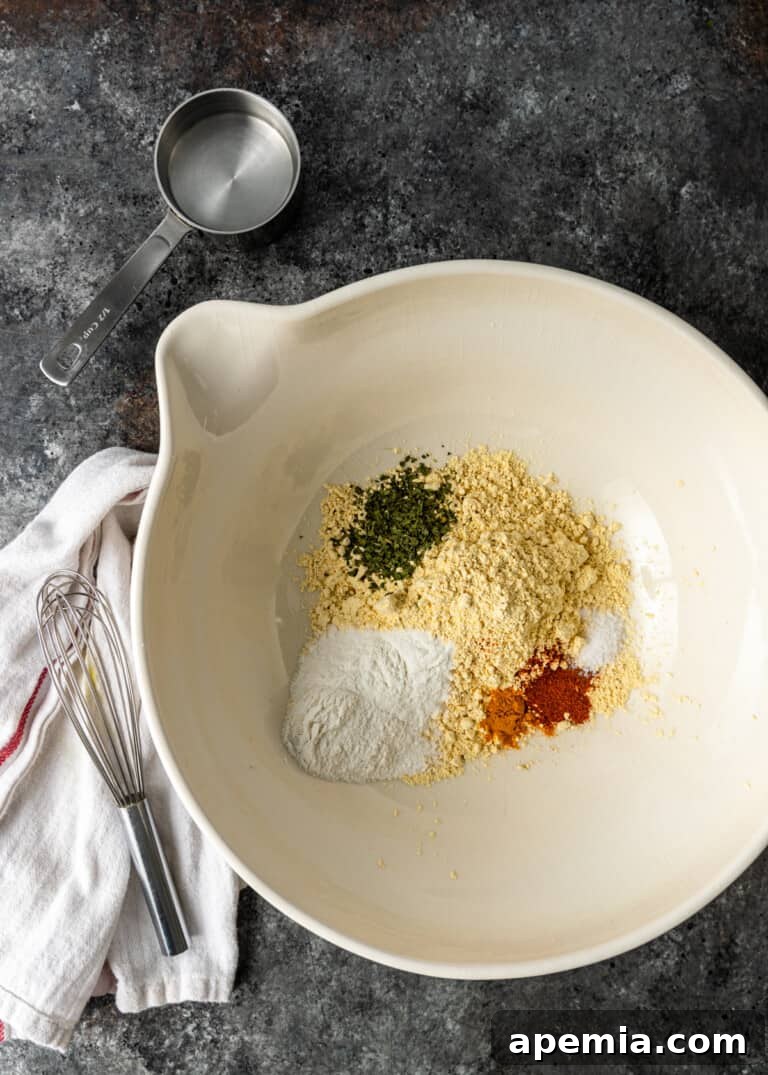
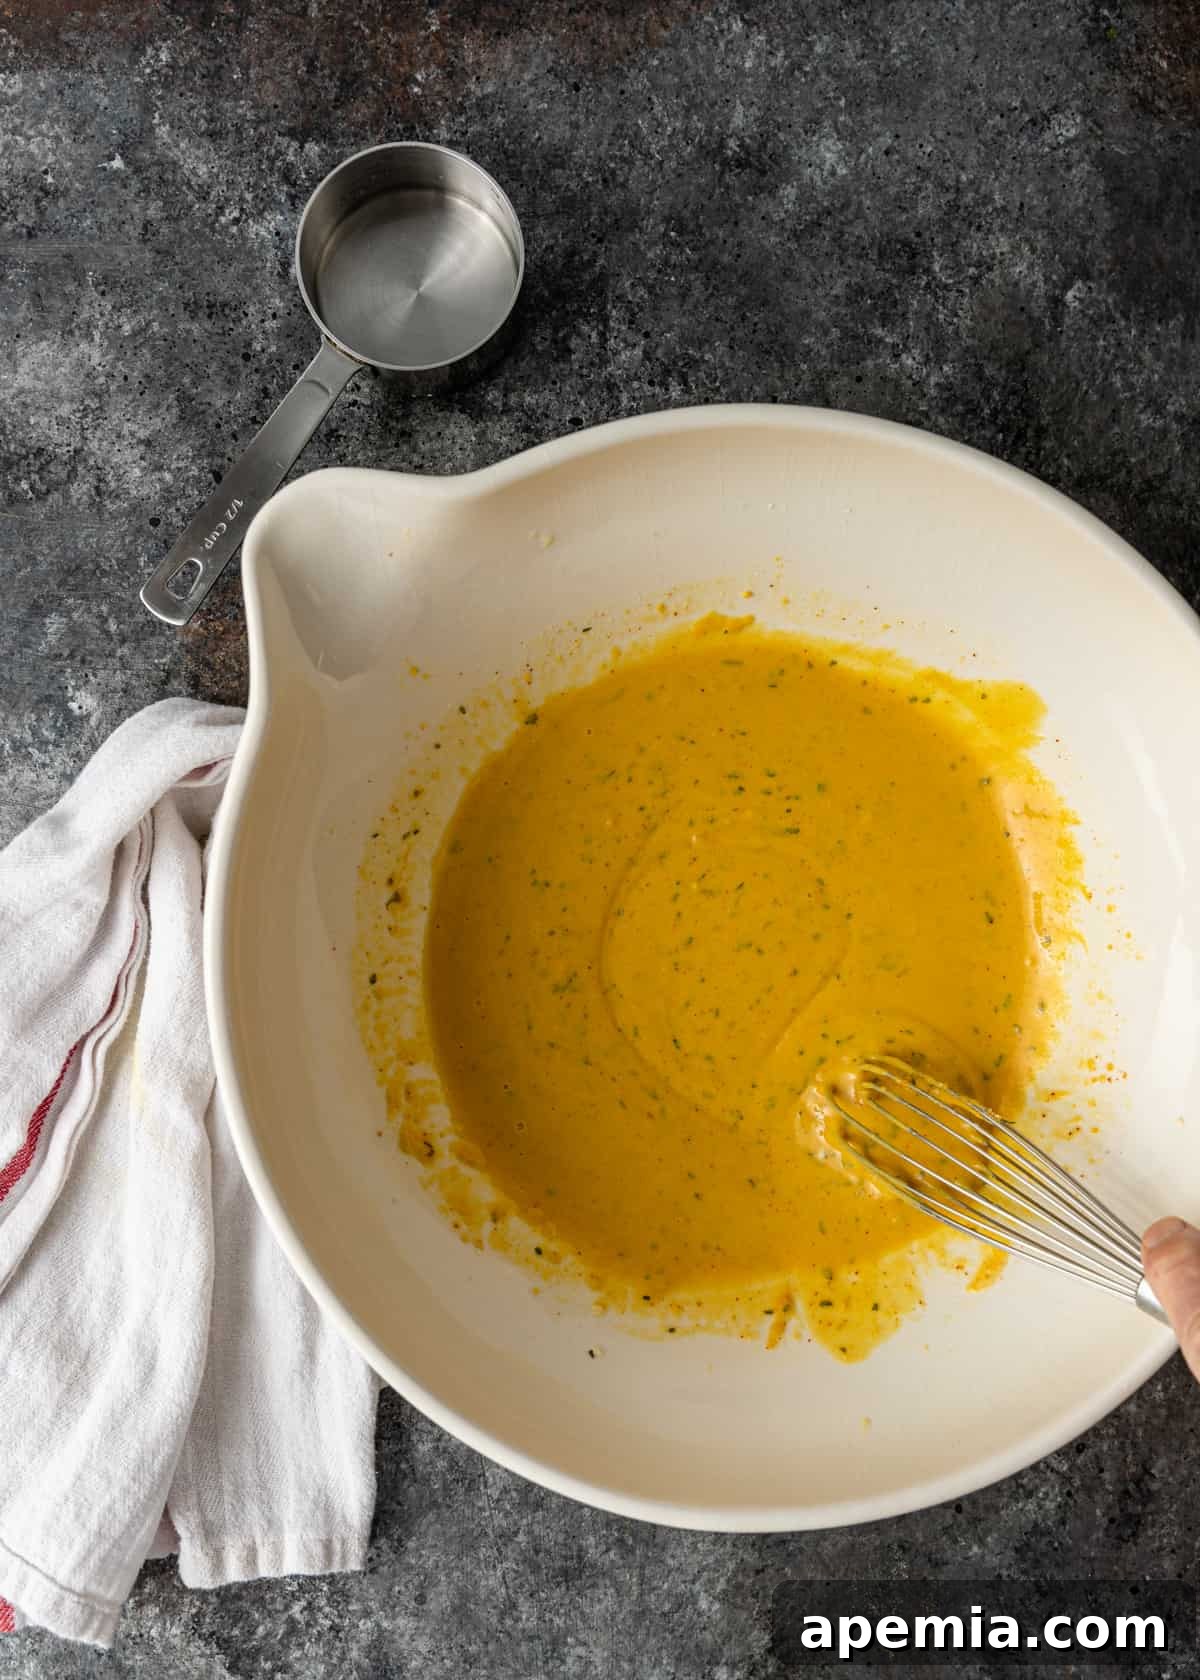
- Whisk Up the Batter: In a separate, larger mixing bowl, add all the dry ingredients for your batter: besan flour, rice flour, fenugreek leaves, turmeric, chili powder, and sea salt. Give them a good whisk to ensure they’re well combined. Then, gradually pour in approximately ⅔ cup of warm water, stirring continuously with your whisk. The goal is to achieve a smooth, lump-free batter with a consistency similar to pancake batter – thick enough to cling to the paneer but thin enough to drip off slowly. Adjust water as needed.
- Heat the Oil for Frying: Pour your chosen vegetable oil into a shallow frying pan. Heat the oil over medium-high heat until it reaches a precise temperature of 350°F (175°C). Using a digital thermometer is highly recommended here, as correct oil temperature is paramount for crispy, non-oily paneer pakora.
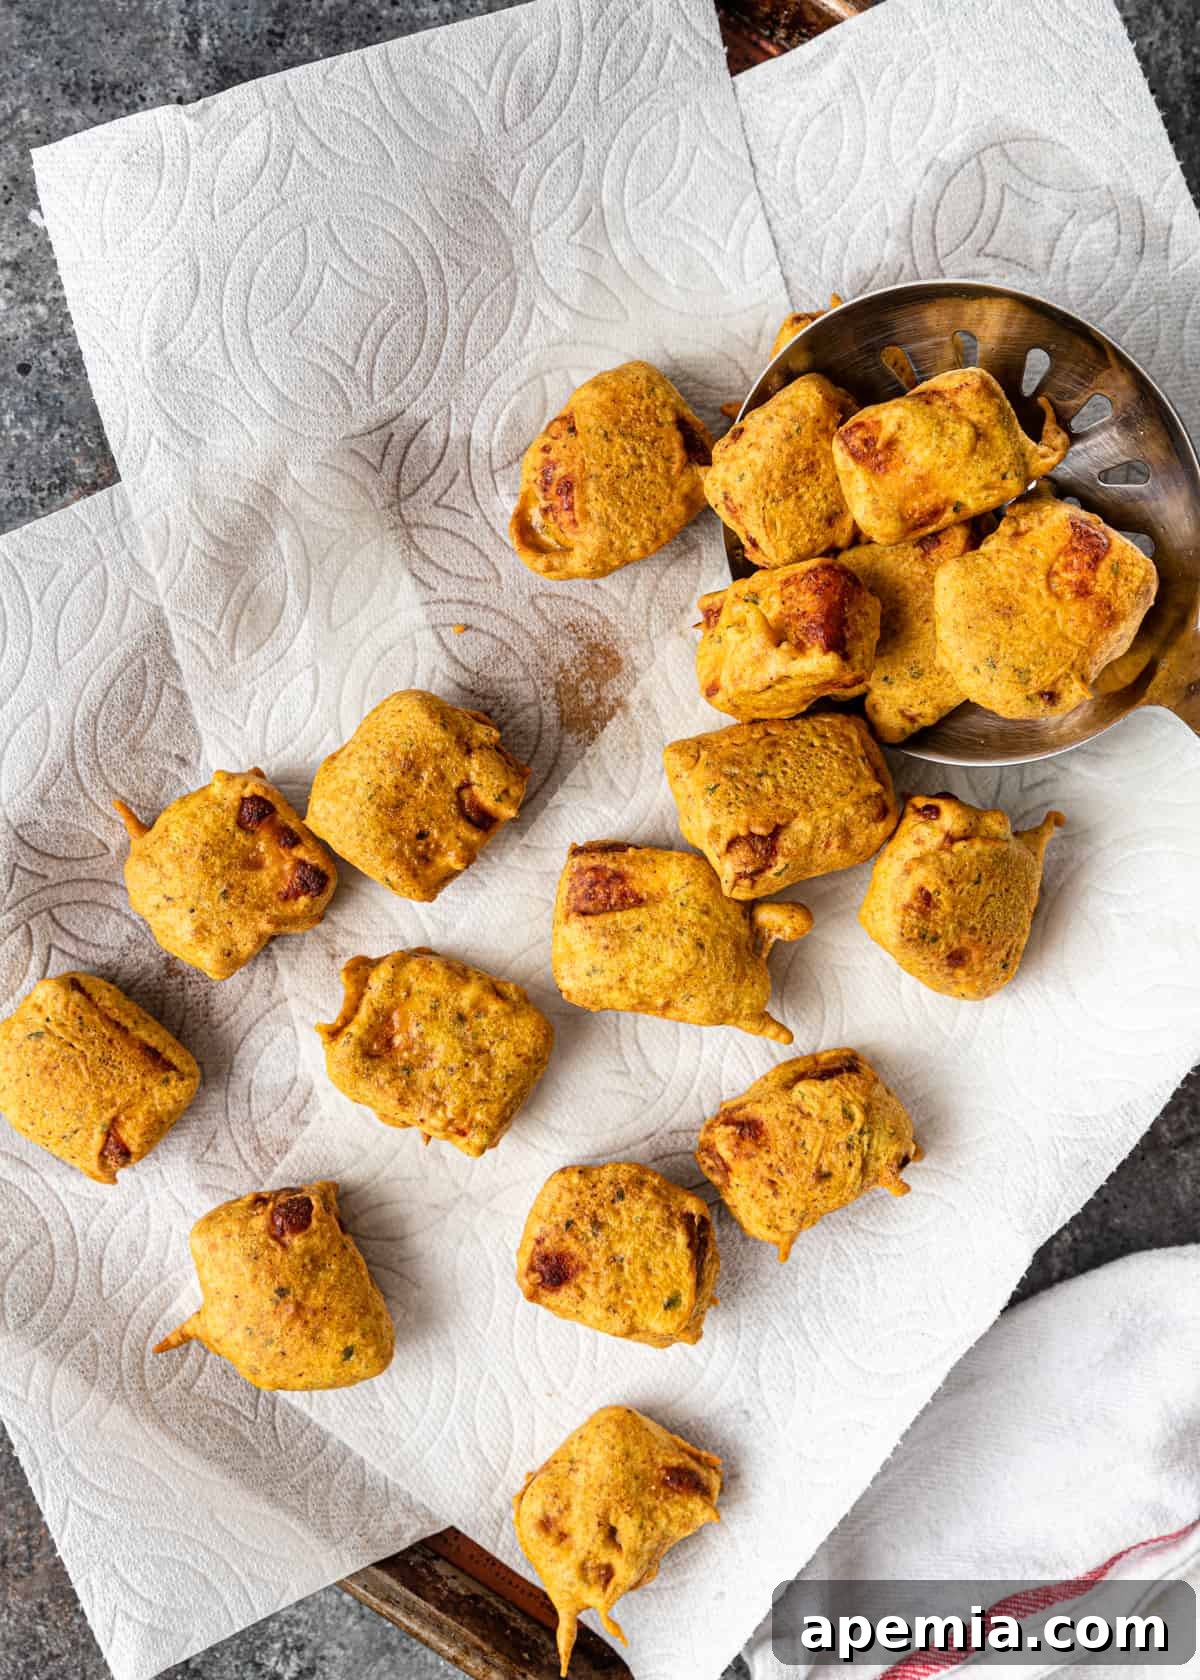
- Batter, Fry, and Keep Warm: Once the oil is at the correct temperature, take a few seasoned paneer cubes and dip them fully into the prepared batter. Allow any excess batter to drip off before carefully lowering them into the hot oil. Fry only a few pieces at a time to avoid overcrowding the pan, which can lower the oil temperature and lead to soggy pakoras. Fry each batch until they are beautifully golden brown and crispy on all sides, usually 3-4 minutes. As each batch finishes, transfer the cooked paneer pakoras to a baking tray lined with paper towels (or ideally, a wire rack set over paper towels) to drain any excess oil. Keep them warm in a preheated oven (around 200°F/95°C) while you fry the remaining cubes.
- Serve Immediately: Arrange your hot and crispy paneer pakora on a serving platter. Serve them right away, accompanied by your favorite chutneys or dipping sauces. The best paneer pakora is enjoyed fresh out of the fryer!
Recommended Tools for Perfect Frying
Achieving perfectly crispy and evenly cooked paneer pakora is made easier with the right kitchen tools:
- Shallow Frying Pan – A wide, heavy-bottomed frying pan or a Dutch oven is ideal. Its broad surface allows you to fry a good number of pakoras without overcrowding, while the heavy bottom ensures even heat distribution, crucial for consistent results.
- Digital Thermometer – This is arguably the most important tool for frying. The oil temperature is critical; too low, and your pakoras will be greasy and soggy; too high, and they’ll burn on the outside before cooking through. A digital thermometer ensures your oil reaches and maintains the optimal 350°F (175°C) for that perfect golden crisp.
- Slotted Spoon or Spider Skimmer – Essential for safely lowering the battered paneer into the hot oil and for retrieving the cooked pakoras. A spider skimmer is particularly useful as it drains oil quickly.
- Wire Rack – While paper towels absorb oil, placing fried pakoras on a wire rack allows air to circulate, preventing steam from building up and making them soggy. This ensures maximum crispness.
Serving and Pairing Suggestions
Paneer Pakora is a versatile snack that can be served in many delightful ways. Traditionally, it’s enjoyed with a variety of chutneys. Beyond the tangy tomato chutney and refreshing mint (pudina) chutney, consider a sweet and sour tamarind chutney for another layer of flavor. For an extra kick, a spicy green chili chutney can be a fantastic addition. These crispy fritters also pair wonderfully with a hot cup of masala chai, a cool glass of lassi, or simply a refreshing lime soda, creating a truly authentic Indian snack experience.
Storing and Reheating Your Paneer Fritters
While paneer pakora is best enjoyed fresh, warm, and crispy, you can store any leftovers. Allow them to cool completely before transferring them to an airtight container. Properly refrigerated, they will maintain their quality for up to three days.
To bring back their glorious crispiness, avoid the microwave! The best way to reheat these Indian cheese fritters is to lay them in a preheated, lightly oiled pan or on a baking sheet in a hot oven (around 350°F/175°C). Cook for a few minutes on each side in the pan, or about 10-15 minutes in the oven, until they are heated through and regain their desirable crunch. This method ensures your paneer pakora tastes almost as good as freshly made.
Share this delicious Paneer Pakora recipe on Pinterest!
Love this homemade Indian cheese fritter recipe? Share the joy with your friends and followers on Pinterest.
Frequently Asked Questions About Paneer Pakora
While you could technically fry mozzarella, the result would be significantly different from a traditional paneer pakora. Paneer is a unique non-melting cheese, meaning it retains its shape and firm, chewy texture even when fried. Mozzarella, on the other hand, would melt into a gooey, stretchy mess, which might be delicious in its own right but won’t give you the characteristic bite and appearance of an Indian cheese fritter. For an authentic experience, stick to paneer or a non-melting substitute like halloumi.
The most common culprit for oily or soggy pakoras is incorrect oil temperature. It is absolutely crucial that your frying oil reaches and maintains 350°F (175°C) before you add the battered paneer. If the oil isn’t hot enough, the batter will absorb the oil rather than cooking quickly and crisping up. Overcrowding the pan can also drop the oil temperature, leading to similar issues. Additionally, ensure you shake off any excess batter from the paneer cubes before frying, and drain them on a wire rack after frying, not just flat on paper towels, to prevent steaming.
Yes, paneer can be frozen to extend its shelf life, though its texture might become slightly crumbly after thawing. For best results, cube the paneer before freezing. Place the cubes in an airtight freezer bag, removing as much air as possible, and freeze for up to two months. When ready to use, thaw it overnight in the refrigerator or at room temperature. It’s still excellent for pakoras, curries, or tikkas after freezing, although it might require a little extra care when handling.
The batter consistency is key to crispy paneer pakora. It should be smooth, thick enough to coat the paneer cubes evenly, but still thin enough to drip off slowly. Think of a thick pancake batter or a thin tempura batter. If the batter is too thick, your pakoras will be doughy; if it’s too thin, it won’t adhere properly and won’t give that satisfying crispy coating. Refer to the process images in this paneer pakora recipe – you’ll see how the batter should just cling to the cheese. Always remember to gently shake off any excess batter before frying. Also, ensure you don’t stack the fried pakoras on top of each other while they are draining, as this traps steam and can make them lose their crunch.
While an air fryer can give you a healthier, less oily version, it typically won’t achieve the same deep-fried crispiness and golden-brown color as traditional pan-frying. If using an air fryer, spray the battered paneer generously with oil before cooking at around 375°F (190°C) for 10-15 minutes, flipping halfway, until golden and cooked through. The texture will be more akin to a baked fritter, which is still delicious, but different from the authentic deep-fried experience.
Crispy Paneer Pakora (Indian Cheese Fritters) Recipe
4
10 mins
20 mins
30 mins
PrintRecipe
Ingredients
- 8 oz. paneer cheese
- 1/2 tsp kashmiri chili powder or chili powder of choice
- 1/2 tsp garam masala
- 1/2 tsp chaat masala (optional, for extra tang)
- 1/4 tsp kosher salt
- 3 cups vegetable oil for frying
Batter
- 1 cup besan flour (chickpea flour) (See Note 1 below for substitutions)
- 3 tbsp rice flour
- 1 tsp fenugreek leaves (kasuri methi)
- 1/4 tsp turmeric
- 1/4 tsp kashmiri chili powder or chili powder of choice
- 1/4 tsp sea salt or kosher salt
- ⅔ cup warm water (adjust as needed for batter consistency)
Optional Dips, for Serving
- tomato chutney
- pudina chutney (mint chutney)
- Tamarind Chutney
Instructions
- Season Paneer: In a small mixing bowl, combine 1/2 tsp Kashmiri chili powder, 1/2 tsp garam masala, 1/2 tsp optional chaat masala, and 1/4 tsp kosher salt. Whisk these seasonings well. Cut paneer into bite-sized cubes, then add them to the spice mixture and toss gently to ensure each cube is evenly coated.
- Prepare Batter: In a large mixing bowl, combine 1 cup besan flour, 3 tbsp rice flour, 1 tsp fenugreek leaves, 1/4 tsp turmeric, 1/4 tsp Kashmiri chili powder, and 1/4 tsp sea salt. Whisk the dry ingredients together. Slowly pour in ⅔ cup warm water, whisking continuously, until you achieve a smooth, lump-free batter with a thick, pancake-like consistency. Adjust water slightly if needed.
- Heat Oil: Add 3 cups vegetable oil to a shallow frying pan or Dutch oven. Heat the oil over medium-high heat until it reaches 350°F (175°C). Use a digital thermometer to confirm the temperature.
- Fry Pakoras: Dip each seasoned paneer cube into the prepared batter, allowing any excess to drip off. Carefully lower a few battered paneer cubes into the hot oil. Fry in batches, turning occasionally, until golden brown and crispy on all sides (approximately 3-4 minutes per batch).
- Drain & Serve: Using a slotted spoon or spider skimmer, transfer the fried paneer pakoras to a wire rack set over paper towels to drain excess oil. Keep them warm in a low oven (around 200°F/95°C) while you fry the remaining batches. Serve immediately with your choice of pudina chutney, tomato chutney, or tamarind chutney.
Notes
- Besan Flour vs. Chickpea Flour: Besan flour is made from finely ground, split yellow chickpeas (chana dal). While often referred to as chickpea flour, traditional chickpea flour (garbanzo bean flour) is made from a different type of chickpea and tends to be coarser. For a flavor and texture most similar to besan, use other finely ground legume flours such as lentil, fava bean, or soybean flour as substitutes.
Nutrition Facts (Estimated per serving)
Carbohydrates: 23g |
Protein: 15g |
Fat: 16g |
Saturated Fat: 9g |
Cholesterol: 37mg |
Sodium: 330mg |
Potassium: 269mg |
Fiber: 4g |
Sugar: 3g |
Vitamin A: 123IU |
Vitamin C: 1mg |
Calcium: 288mg |
Iron: 2mg
The information shown is an estimate provided by an online nutrition calculator. It should not be considered a substitute for a professional nutritionist’s advice.
Have You Made This Recipe? Share Your Creation on Instagram!
Tag @keviniscooking or use the hashtag #keviniscooking to show off your delicious Paneer Pakora!