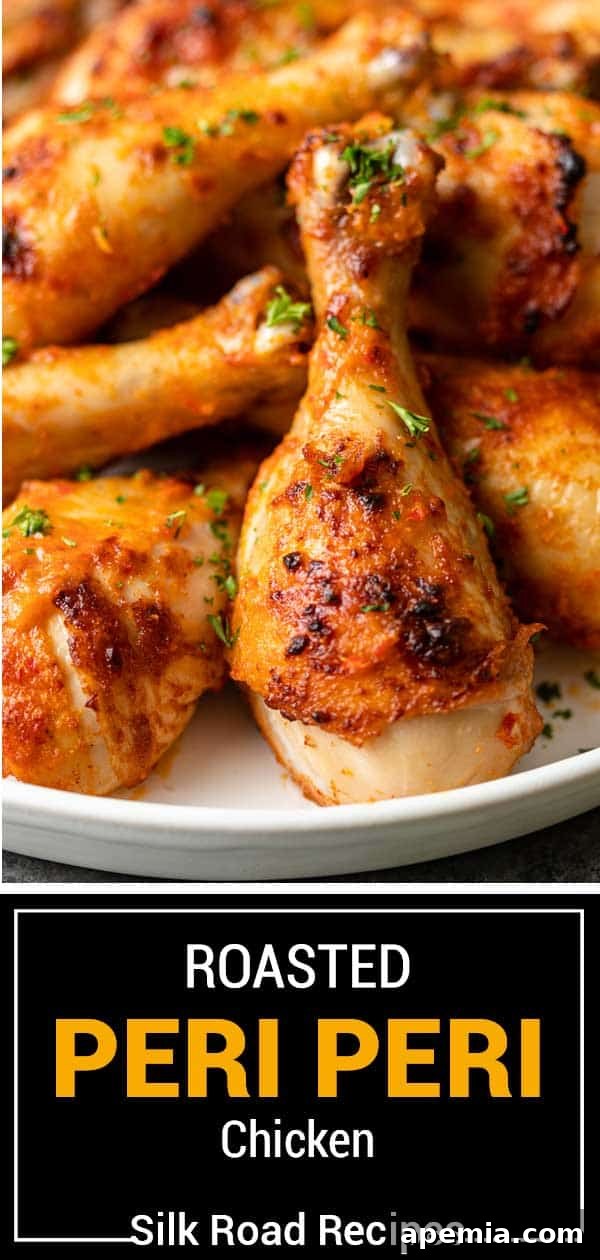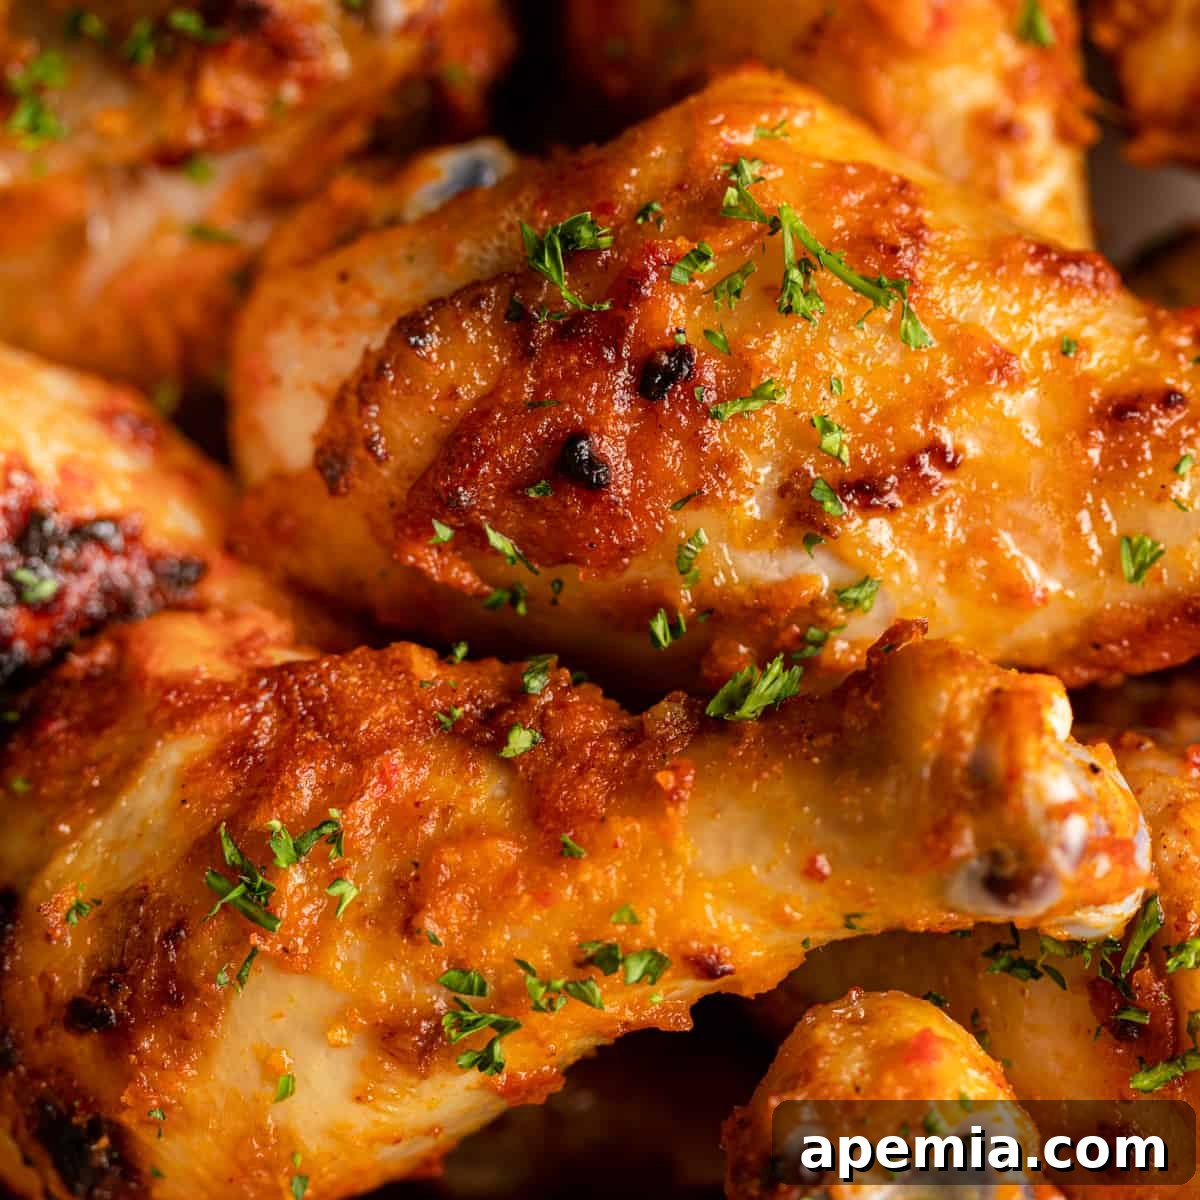
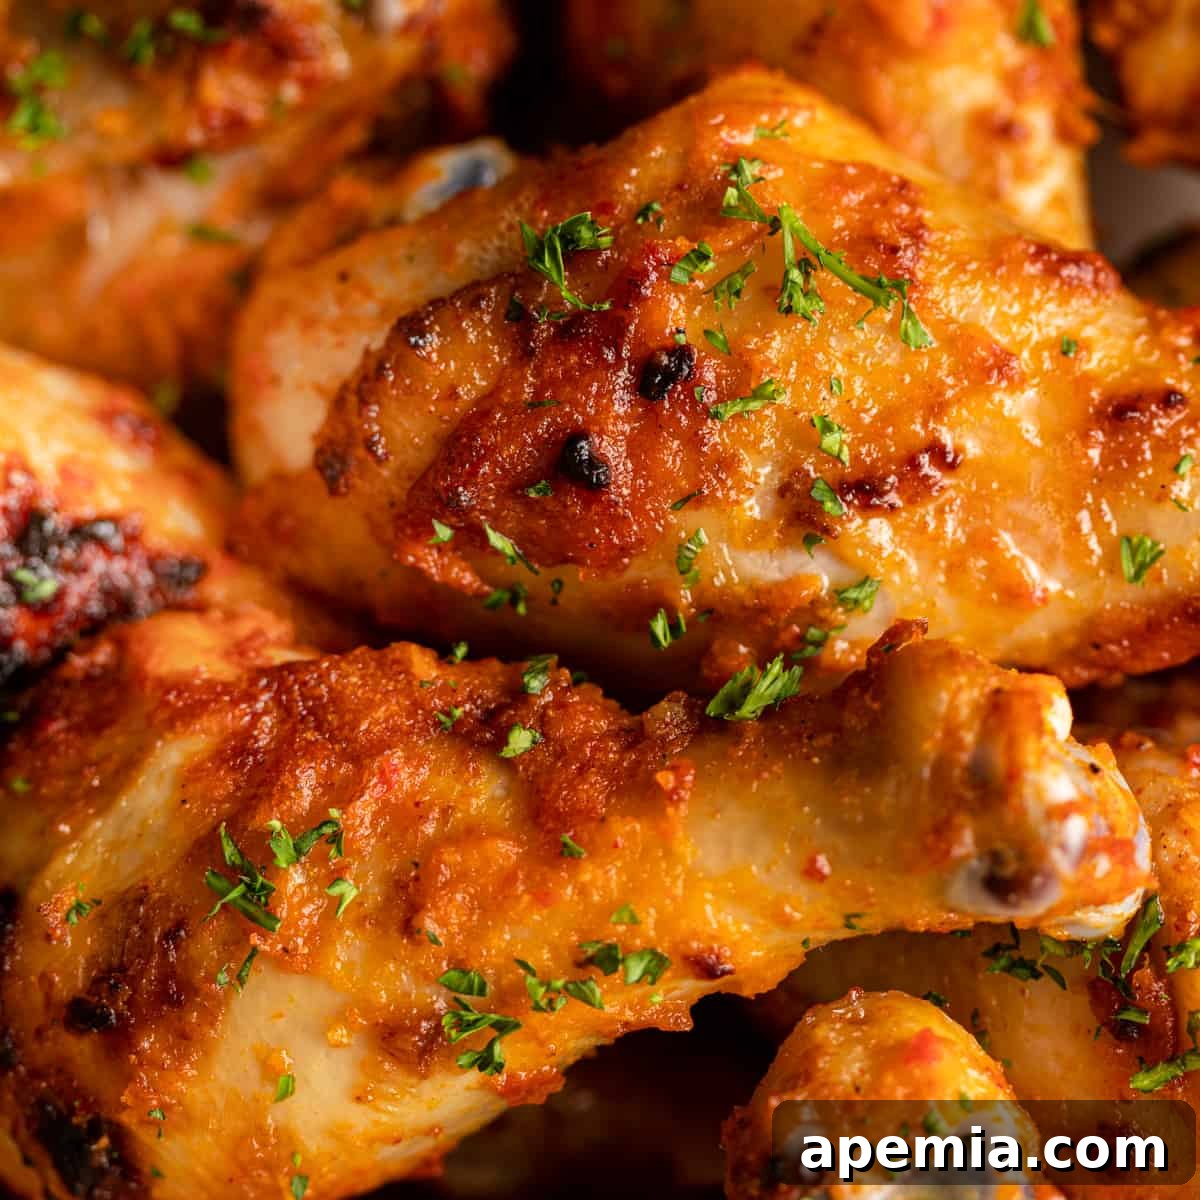
Embark on a culinary adventure with this definitive recipe for Peri Peri Chicken. This guide empowers you to create restaurant-quality chicken infused with the vibrant, bold flavors of Africa, all from the comfort of your kitchen. Our fiery and tangy marinade penetrates every succulent bite, delivering an irresistible taste experience. Whether you prefer to bake or grill, achieving perfectly tender and flavorful chicken has never been easier.
Have you ever been captivated by the legendary flavors of Nando’s? This globally celebrated South African chicken restaurant has won hearts worldwide, making its mark in the States in recent years. Their signature Peri Peri Chicken is renowned for its audacious spice, vibrant tang, and utterly irresistible flavor profile. It’s more than just a meal; it’s a phenomenon.
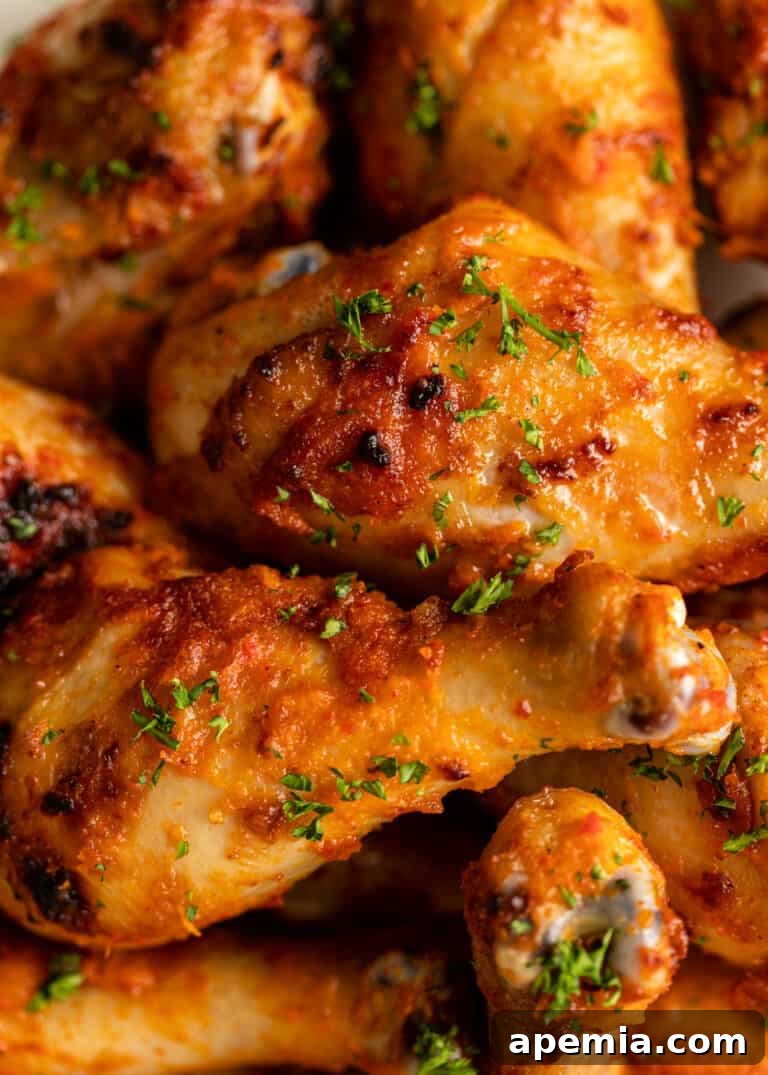
Today, we’re bringing that exceptional dining experience right into your own home. Our meticulously crafted recipe will guide you through making authentic, restaurant-quality Peri Peri (also known as Piri Piri) Chicken. The process is remarkably straightforward: succulent chicken drumsticks are bathed in a luscious, mouthwatering sauce, traditionally made from African piri-piri chilies. After marinating, simply bake or grill your chicken to perfection, and you’re ready to savor a truly spectacular dish. Recognizing that genuine piri-piri chilies can be challenging to source, we’ve provided excellent, readily available substitutes to ensure you can recreate this iconic flavor with ease.
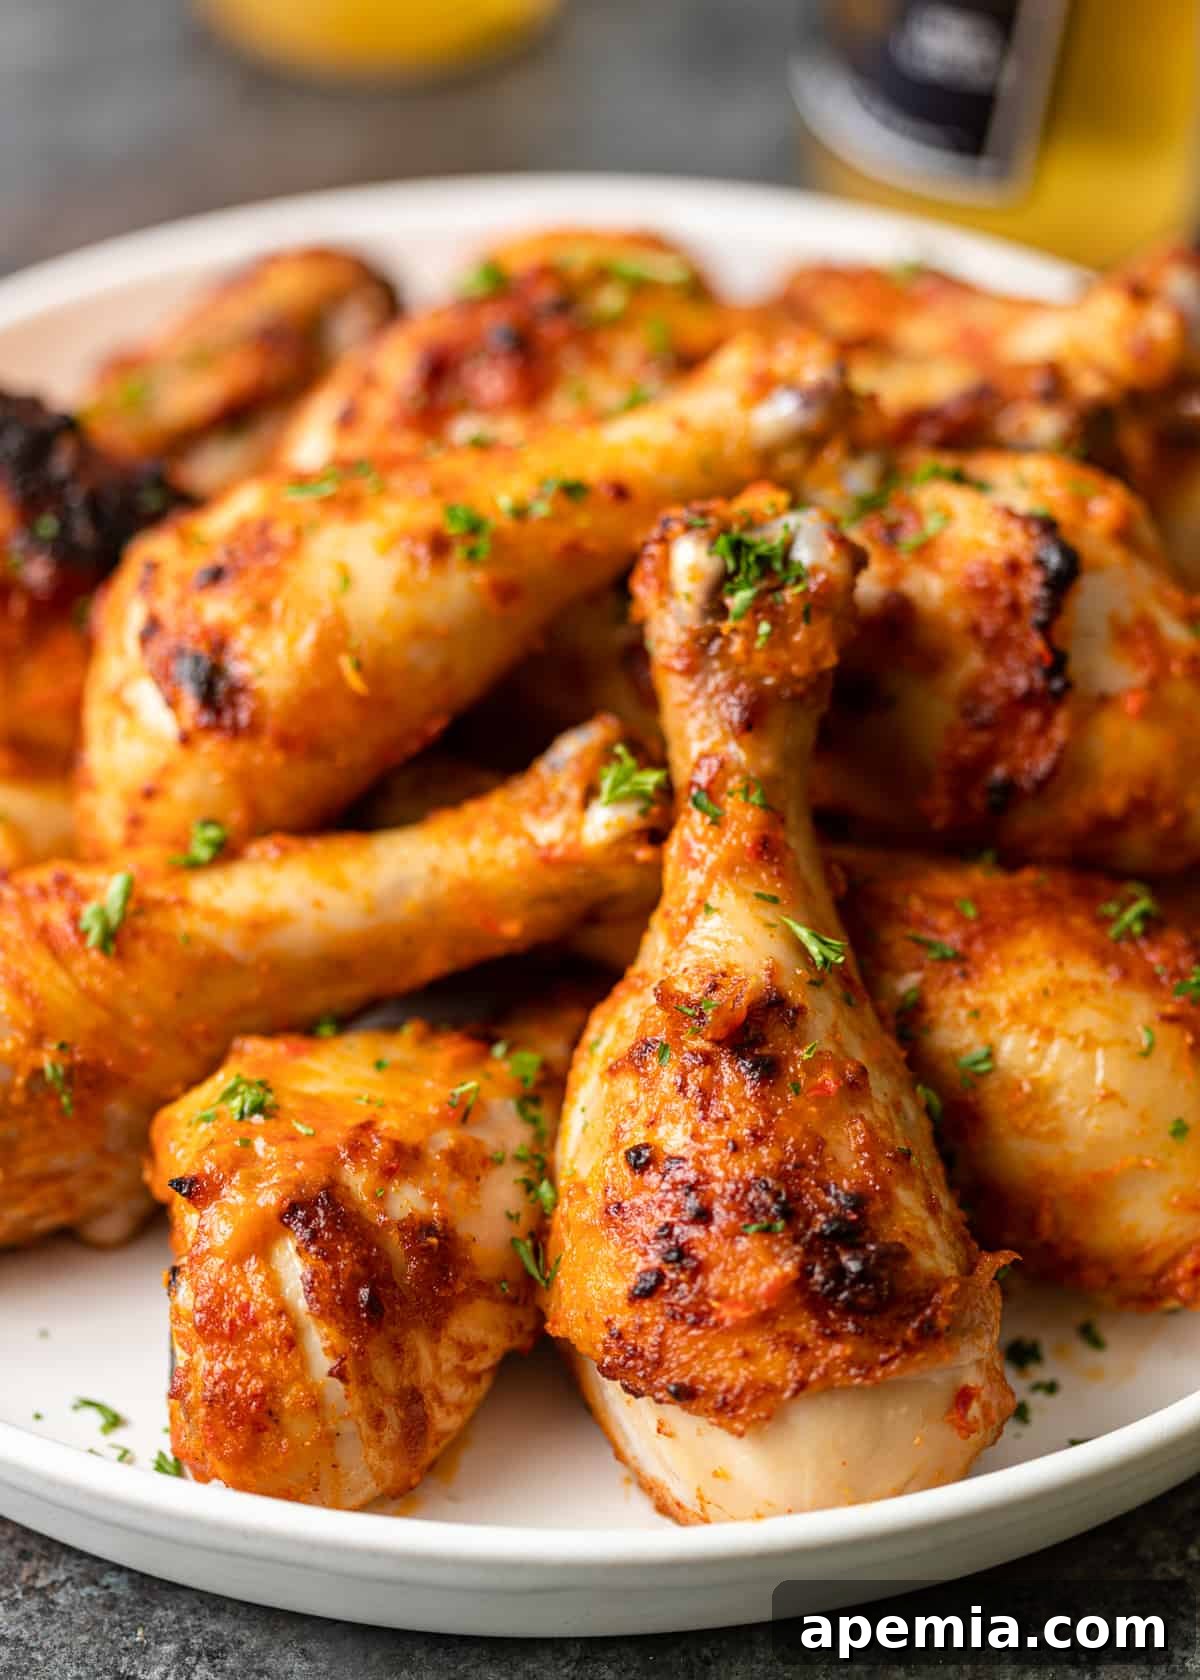
What makes Peri Peri Chicken so extraordinarily addictive? It’s all in the sauce. This isn’t just any sauce; it’s a symphony of flavors meticulously balanced for maximum impact. Sweet red onion and bell pepper provide a gentle sweetness, while smoked paprika introduces a delightful smoky tang. Fresh lemon juice delivers essential acidity, cutting through the richness and brightening the overall taste. And, of course, the heart of the sauce lies in a generous blend of Fresno and piri-piri chilies, providing that unmistakable signature heat. This Peri Peri Chicken recipe is a testament to flavor – low on effort, yet incredibly high on taste!
Table of Contents
- The Legacy of Peri Peri Chilies
- Ingredient Essentials and Clever Substitutions
- Mastering the Art of Peri Peri Chicken
- Recommended Kitchen Tools
- Storing and Reheating for Maximum Flavor
- Frequently Asked Questions About Peri Peri Chicken
- Authentic Peri Peri Chicken Recipe
Expert Tip
The Legacy of Peri Peri Chilies
The term “Peri Peri” is derived from “Piri Piri,” which means “pepper-pepper” in Swahili. These small, fiery African bird’s eye peppers are the cornerstone of authentic Peri Peri sauce. Renowned for their bright heat and subtle citrusy undertones, they deliver a clean, sharp burn that is truly unmistakable. Historically, Portuguese explorers introduced these chilies from Africa to various parts of the world, leading to the development of the iconic Peri Peri sauce in regions like Portugal, Angola, and Mozambique.
While sourcing authentic piri-piri chilies can be a delightful quest for the adventurous cook, rest assured that equally delicious results can be achieved with accessible substitutes. For those in the U.S., excellent alternatives include Thai bird’s eye chilies, known for their similar heat and size, or cayenne peppers, which offer a reliable spiciness. Even crushed red pepper flakes can work in a pinch, providing a good level of heat and a vibrant, fruity note that closely mimics the complexity of true piri-piri in marinades and sauces. Don’t let the search for specific chilies deter you from making this incredible dish!
Remember to handle fresh chilies with care, as their capsaicin can irritate skin and eyes. Wearing gloves is always a good idea, and be sure to wash your hands thoroughly afterward.
Ingredient Essentials and Clever Substitutions
(For a complete list of precise quantities, please refer to the recipe card below.)
- Chicken Drumsticks – These are our top choice for Peri Peri Chicken due to their rich flavor, juicy texture, and perfect bone-in structure that helps them cook evenly and stay moist. Chicken thighs are an excellent alternative, offering similar succulence. While chicken breasts can be used for a leaner option, they may yield a slightly less juicy dish, so consider brining them beforehand to maintain moisture.
- Smoked Paprika – Beyond contributing to the iconic vibrant orange-red color of Peri Peri, smoked paprika infuses the chicken with a wonderfully rich, deep, and slightly earthy smoky flavor. This complexity is crucial for the authentic taste.
- Garlic Powder – This kitchen staple provides a pungent, aromatic, and umami depth that brilliantly complements the vibrant chili flavors, enhancing the overall savory profile of the chicken.
- Kosher Salt – Essential for seasoning the chicken and bringing all the flavors together in the sauce. Adjust to your personal taste, but two teaspoons for the sauce typically provides a balanced foundation.
- For the Peri Peri Sauce – The heart and soul of this dish:
- Red Onion – Offers a subtle sweetness that masterfully balances the intense heat of the chilies, preventing the sauce from being overly aggressive. Yellow onion can be used, but its sharper flavor profile might alter the sauce slightly.
- Red & Yellow Bell Pepper – These sweet, juicy peppers are not just for color; they add significant body, natural sweetness, and a lovely creamy texture to the blended sauce, making it more substantial and well-rounded.
- Fresno Chili – Known for their moderate heat and bright red color, Fresno chilies deepen the sauce’s hue and provide a delightful smoky, fruity heat that harmonizes beautifully with the sharper piri-piri (or substitute) chilies.
- Piri-Piri Chilies – The star ingredient! These deliver the signature, clean, and sharp burn crucial for an authentic Peri Peri sauce. If unavailable, Thai bird’s eye chilies are an excellent and widely accessible substitute, offering a very similar heat and flavor profile.
- Garlic – Fresh garlic cloves are indispensable, adding a robust pungency and a foundational depth that underpins all the other flavors in the sauce.
- Paprika Powder – Contributes to the vibrant red color of the sauce and offers a mild, sweet warmth. For an extra layer of flavor and a deeper, more complex note, consider using smoked paprika here as well.
- Lemon Zest – Don’t skip this! The zest adds a bright, aromatic top note that elevates the sauce’s richness and provides a fresh counterpoint to the heat.
- Lemon Juice – Provides a crucial hint of acidity that cuts through the richness and heat of the chilies, creating a wonderfully balanced and dynamic flavor profile. Freshly squeezed is always best. Lime juice also makes a fantastic substitute if lemons are not available.
- White Vinegar – Adds another layer of sharp acidity, complementing the lemon juice and perfectly balancing the fiery elements of the sauce.
- Vegetable Oil – When blended into the sauce, vegetable oil is crucial for creating a stable emulsion, ensuring the sauce remains smooth, creamy, and beautifully consistent in texture. Any neutral-tasting oil, such as canola or grapeseed oil, will work equally well.
Mastering the Art of Peri Peri Chicken
- Craft the Irresistible Sauce. Begin by combining all sauce ingredients, *except the vegetable oil*, in a robust food processor. Pulse and blend thoroughly until a coarse mixture forms and all ingredients are well combined. While the processor is running on low speed, slowly drizzle in the vegetable oil in a steady stream. Continue blending until the mixture transforms into a remarkably smooth, emulsified, and vibrant sauce. The oil is key here to achieve that creamy consistency. Once blended, transfer this flavorful sauce to a medium pot and place it over high heat. Bring the mixture to a rolling boil, then reduce the heat to low and allow it to gently simmer for approximately 20 minutes, or until the sauce has visibly reduced by half and thickened. This simmering process deepens the flavors beautifully. Remove the pot from the heat and let the sauce cool significantly, ideally for at least 15 minutes. A final purée in the food processor ensures the sauce is silky smooth and perfectly consistent.
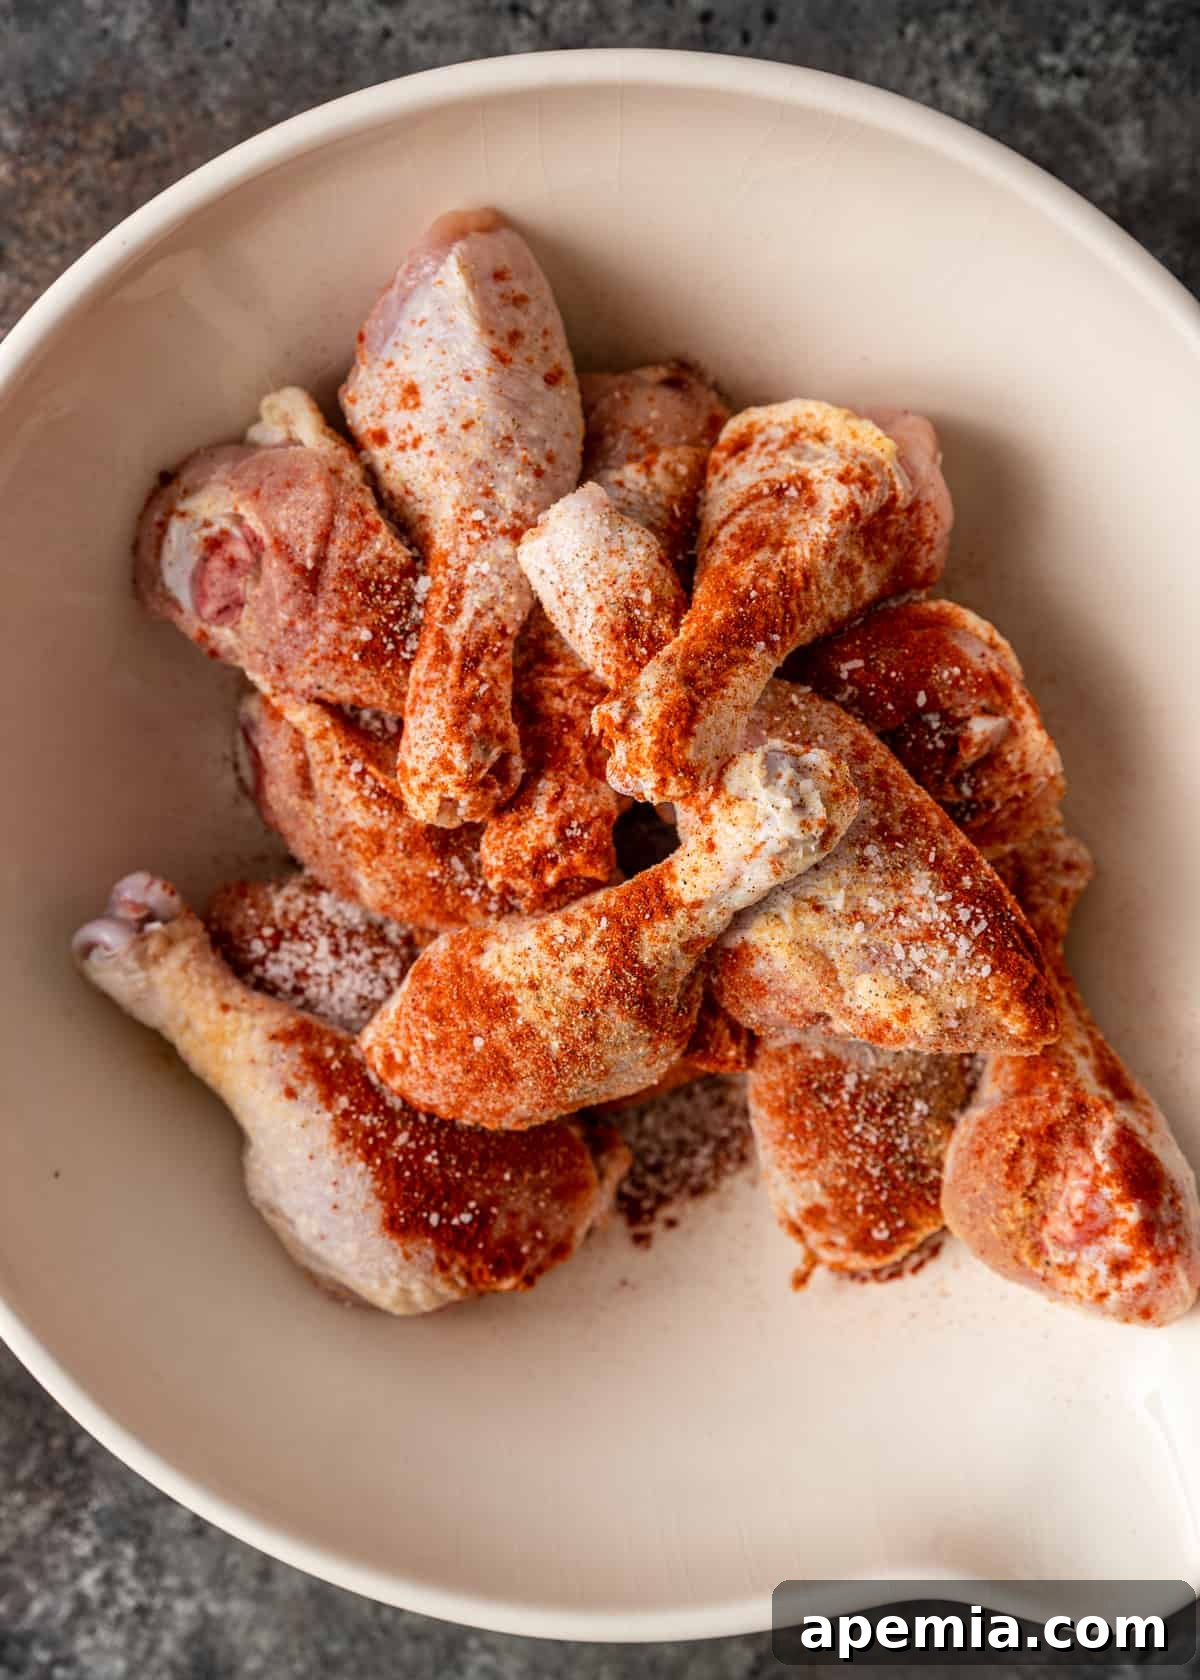
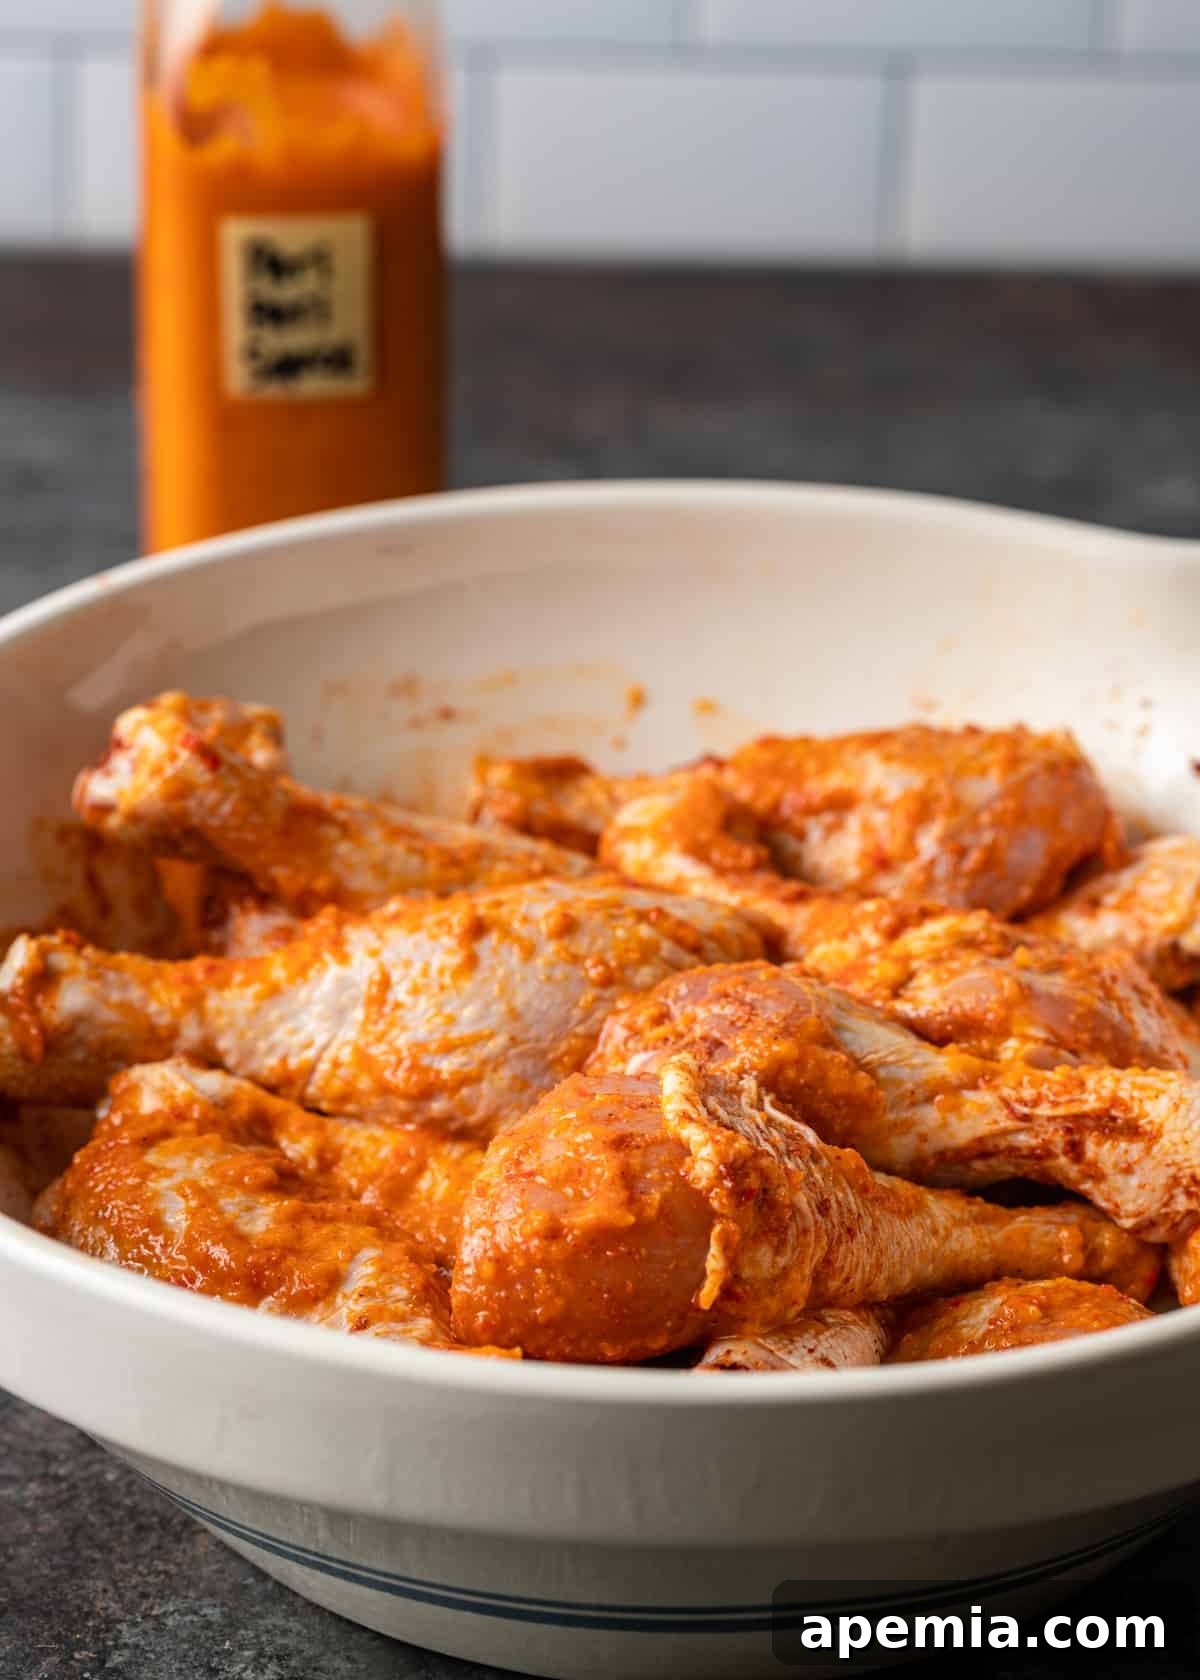
- Prepare and Marinate the Chicken. In a large mixing bowl, combine your chicken pieces with smoked paprika, garlic powder, and kosher salt. Toss everything together vigorously until each piece of chicken is evenly coated. Cover the bowl and let the chicken marinate at room temperature for a minimum of 15 minutes. This initial seasoning helps build a foundational flavor. Next, pour half of your freshly made Peri Peri sauce over the chicken, reserving the other half for basting and serving later. Toss again to ensure every nook and cranny of the chicken is generously coated with the sauce. Cover the bowl once more and refrigerate for at least one hour. For an even more profound flavor penetration, you can marinate the chicken for up to 24 hours.
- Cook the Chicken to Perfection. You have two fantastic options for cooking your Peri Peri Chicken:
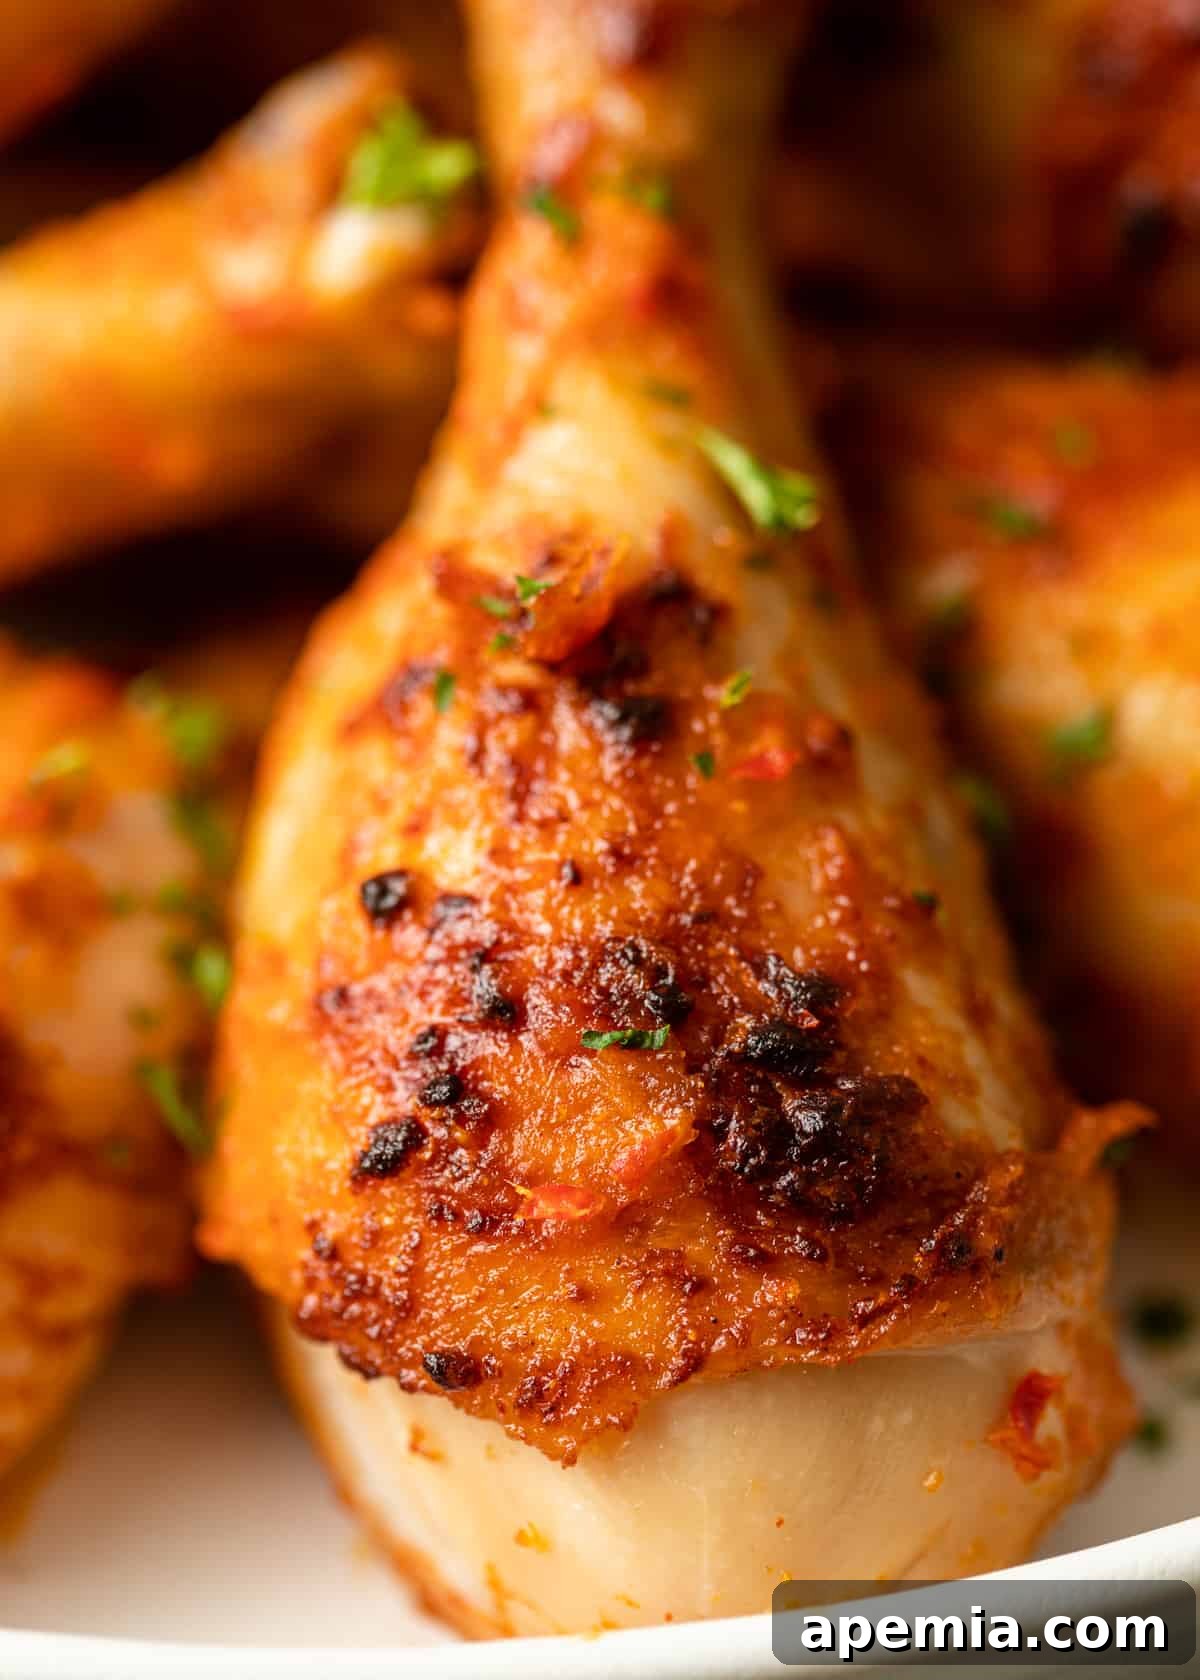
- Oven Method: Preheat your oven to 400 degrees F (200 degrees C). Arrange the marinated chicken pieces in a single layer on a baking sheet, ideally lined with parchment paper for easy cleanup. Bake for 35 to 40 minutes, or until the chicken reaches an internal temperature of 165 degrees F (74 degrees C) when checked with an instant-read thermometer. For extra flavor and a beautiful glaze, baste the chicken once or twice during the last 10-15 minutes of baking with a small amount of the reserved sauce.
- Grilling Method: Prepare your grill for medium-high heat (around 400 degrees F / 200 degrees C). Clean the grates thoroughly and lightly oil them to prevent sticking. Place the chicken drumsticks directly over medium-high heat and grill for about 5 minutes per side, just long enough to achieve a beautiful char and browning. Then, move the chicken to an area of indirect heat to finish cooking. Continue grilling for another 20-25 minutes, flipping the chicken every 5-10 minutes to ensure even cooking. During this indirect cooking phase, generously baste the chicken with the reserved Peri Peri sauce. The chicken is done when its internal temperature reaches 165 degrees F (74 degrees C).
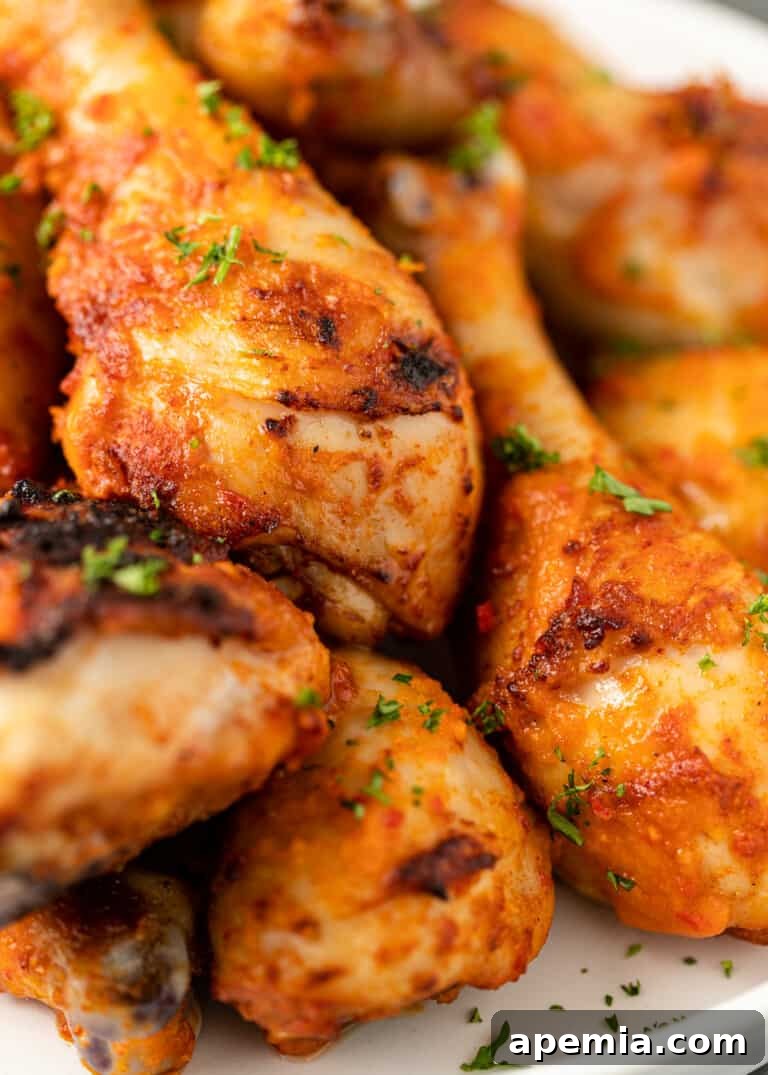
- Serve and Savor. Once your Peri Peri Chicken has reached the safe internal temperature of 165 degrees F, remove it from the oven or grill. Allow the chicken to rest for 5-10 minutes before serving. This resting period allows the juices to redistribute, ensuring incredibly tender and flavorful meat. Serve your magnificent Peri Peri Chicken hot, accompanied by the remaining reserved sauce for dipping and drizzling. Enjoy!
Recommended Kitchen Tools
Having the right tools can make all the difference in preparing this flavorful dish effortlessly.
- Food Processor – Absolutely essential for creating that perfectly smooth and emulsified Peri Peri sauce. A powerful food processor ensures all ingredients are finely blended, preventing a chunky texture and achieving the desired creamy consistency. Without it, the oil will struggle to emulsify, resulting in a less integrated sauce.
- Large Mixing Bowl – Necessary for easily tossing the chicken with seasonings and the marinade, ensuring every piece is thoroughly coated for maximum flavor absorption.
- Baking Dish or Sheet Pan – If you choose the oven method, a sturdy baking dish or sheet pan (lined with parchment paper for easy cleanup) is required for even cooking and convenient handling.
- Grill – For those who love the smoky char and outdoor cooking experience, a well-maintained grill (charcoal or gas) is perfect for achieving that authentic Peri Peri finish.
- Instant-Read Meat Thermometer – A crucial tool for food safety and ensuring your chicken is perfectly cooked, juicy, and never overcooked or undercooked. Aim for 165°F (74°C) internal temperature.
Storing and Reheating for Maximum Flavor
Peri Peri Chicken tastes just as delicious the next day! To store leftovers, first allow the cooked chicken to cool completely to room temperature. Once cooled, transfer the chicken pieces to an airtight container and refrigerate for up to 3 to 4 days. The flavors will continue to meld and deepen over time, often making it even more enjoyable.
For longer storage, Peri Peri Chicken freezes beautifully. Wrap each individual piece tightly in aluminum foil, then place the wrapped pieces into a freezer-safe bag or container. This helps prevent freezer burn and preserves flavor. Freeze for up to three months.
To reheat, ensure frozen chicken is defrosted in the refrigerator overnight. Place the (defrosted) chicken in an oven-safe dish. For an extra boost of flavor and moisture, brush the chicken lightly with a little more of the reserved Peri Peri sauce. Cover the dish loosely with aluminum foil to prevent drying, then warm in a preheated oven at 350 degrees F (175 degrees C) for 15 to 20 minutes, or until thoroughly heated through. You can also quickly reheat individual pieces in a microwave, but the oven method is preferred for maintaining texture and crispness.


Share this recipe on Pinterest!
Love this recipe? Help others discover it by sharing it with the world on Pinterest.
Frequently Asked Questions About Peri Peri Chicken
Absolutely! The beauty of homemade Peri Peri is that you can tailor the heat level to your preference. If you prefer a milder flavor, try reducing the number of Fresno and piri-piri (or Thai bird’s eye) chilies. For very mild heat, you can even swap them out entirely for milder sweet red peppers and use just a pinch of mild chili powder for a gentle warmth and color. Remember to remove the seeds and membranes from chilies for a significant reduction in heat.
For the best flavor absorption and tender chicken, we recommend marinating your chicken pieces for at least one hour. This allows the robust flavors of the Peri Peri sauce to begin penetrating the meat. For an even more intense and deeply infused flavor, you can extend the marination time up to 24 hours in the refrigerator. However, avoid marinating for longer than a day, as the acidity in the sauce (from lemon juice and vinegar) can start to break down the chicken fibers, potentially leading to a mushy texture.
Peri Peri Chicken is incredibly versatile and pairs wonderfully with a variety of sides. The classic pairing includes fluffy white rice (to soak up all that delicious sauce) and grilled or steamed vegetables like corn on the cob, broccoli, or asparagus. Creamy mashed potatoes or a crisp, refreshing coleslaw are also popular choices that offer a nice contrast to the spicy chicken. For an extra kick, consider making a little extra Peri Peri sauce and stirring it into your rice or even a potato salad. A simple green salad or roasted sweet potatoes also complement the flavors beautifully.
Absolutely! While drumsticks are fantastic for their juiciness and flavor, this Peri Peri marinade works well with various chicken cuts. Chicken thighs are an excellent alternative, offering similar tenderness and richness. You can also use whole chicken cut into pieces, or even boneless, skinless chicken breasts or tenders for a quicker cooking time. If using breasts, consider pounding them slightly to an even thickness for uniform cooking and to help absorb the marinade more effectively. Adjust cooking times accordingly for different cuts.
Peri Peri Chicken can be a relatively healthy meal, especially when compared to some other fried or heavily processed chicken dishes. Our recipe uses fresh ingredients, lean chicken drumsticks (you can remove skin for less fat), and healthy oils. The sauce is packed with fresh vegetables, chilies, and citrus, offering vitamins and antioxidants. To make it even healthier, opt for skinless chicken, grill instead of bake (which can reduce some fat), and serve it with a generous portion of steamed or roasted vegetables and a light carbohydrate source like quinoa or brown rice.

Authentic Peri Peri Chicken
4
40
40
1
20
PrintRecipe
Video
Ingredients
-
4
lbs
chicken drumsticks -
1
tbsp
smoked paprika -
1
tbsp
garlic powder -
2
teaspoons
kosher salt
Peri Peri Sauce
-
1
small red onion
chopped -
1
red bell pepper
chopped -
1
yellow bell pepper
chopped -
2
small red chili
Fresno -
2-3
piri-piri chilies or Thai bird’s eye chili
stems removed -
4
cloves
garlic -
2
tsp
kosher salt -
1
tbsp
paprika powder -
1
tbsp
lemon zest -
1/4
cup
lemon juice -
1/2
cup
white vinegar -
1/4
cup
vegetable oil
Metric
Instructions
Peri Peri Sauce
-
In a food processor, combine all sauce ingredients *except* the vegetable oil. Process thoroughly until everything is well combined and forms a coarse mixture.
-
With the food processor running on low speed, slowly drizzle in the vegetable oil in a steady stream. Continue processing until the sauce is completely smooth and emulsified, taking on a creamy texture.
-
Pour the blended sauce mixture into a pot. Heat over high heat until it begins to boil. Reduce the heat to low and let it simmer for approximately 20 minutes, or until the sauce has reduced by half and thickened. This step is crucial for developing deep flavors.
-
Remove the pot from the heat and allow the sauce to cool for at least 15 minutes. For an ultra-smooth consistency, purée the sauce one last time in the food processor.
Chicken Preparation & Marination
-
In a large bowl, toss the chicken drumsticks with the smoked paprika, garlic powder, and 2 teaspoons of kosher salt. Ensure all chicken pieces are evenly coated. Cover the bowl and let marinate at room temperature for 15 minutes.
-
Pour half of the prepared Peri Peri sauce over the seasoned chicken. Reserve the remaining sauce for basting during cooking and for serving. Toss the chicken and sauce together thoroughly to ensure every piece is coated. Cover the bowl and refrigerate for at least 1 hour, or preferably up to 24 hours, for the best flavor infusion.
Oven Method (Preheat oven to 400°F / 200°C)
-
Arrange the marinated chicken in a single layer on a baking sheet. Bake for 35-40 minutes, or until the internal temperature of the chicken reaches 165°F (74°C) using an instant-read thermometer. For extra flavor and a beautiful glaze, baste the chicken once or twice with the reserved marinade during the last 10-15 minutes of baking.
Grilling Method (Heat grill to 400°F / 200°C)
-
Clean and lightly oil your grill grates. Place the chicken directly over medium-high heat and grill for about 5 minutes per side, aiming for a nice char and browning. Then, move the chicken to an area of indirect heat to finish cooking for another 20-25 minutes. Flip the chicken every 5-10 minutes and baste with the reserved marinade. Continue cooking until the internal temperature reaches 165°F (74°C).
-
Once cooked, remove the chicken from the oven or grill and let it rest for a few minutes before serving. Present with the remaining Peri Peri sauce on the side for dipping or drizzling.
Nutrition
Calories:
550
kcal
|
Carbohydrates:
14
g
|
Protein:
56
g
|
Fat:
29
g
|
Saturated Fat:
8
g
|
Trans Fat:
1
g
|
Cholesterol:
280
mg
|
Sodium:
1652
mg
|
Potassium:
1056
mg
|
Fiber:
3
g
|
Sugar:
5
g
|
Vitamin A:
3089
IU
|
Vitamin C:
140
mg
|
Calcium:
67
mg
|
Iron:
3
mg
The information shown is an estimate provided by an online nutrition calculator. It should not be considered a substitute for a professional nutritionist’s advice.
Main Dish
Angolan, South African
Kevin
Have You Made This Recipe? Let Me Know on Instagram
Tag @keviniscooking or use the hashtag #keviniscooking!