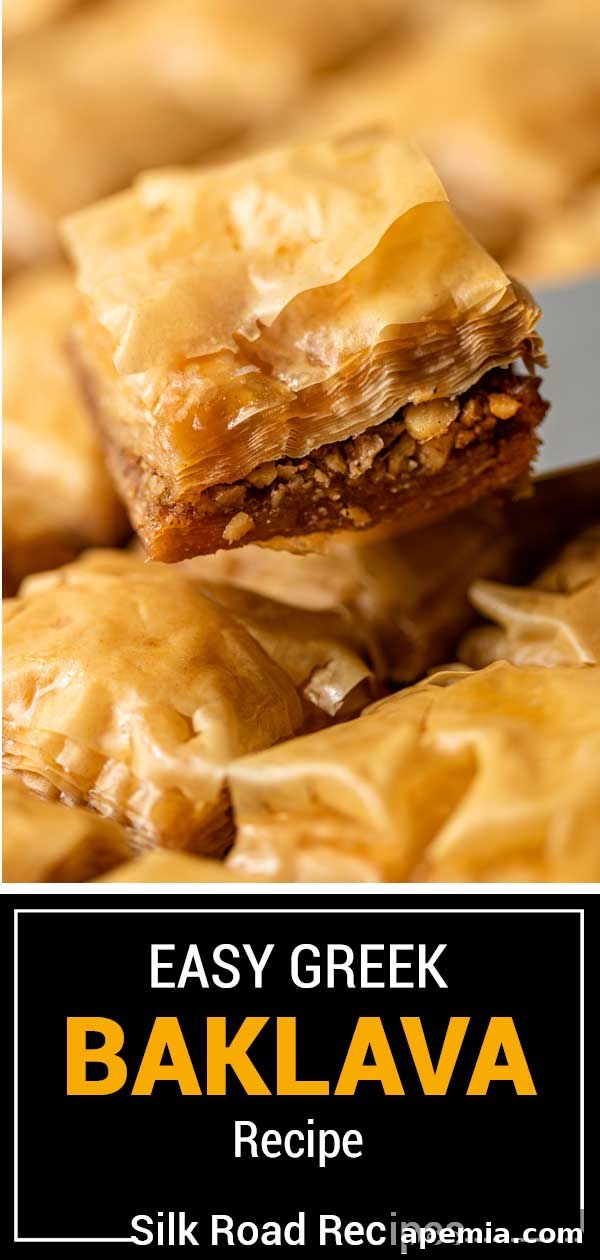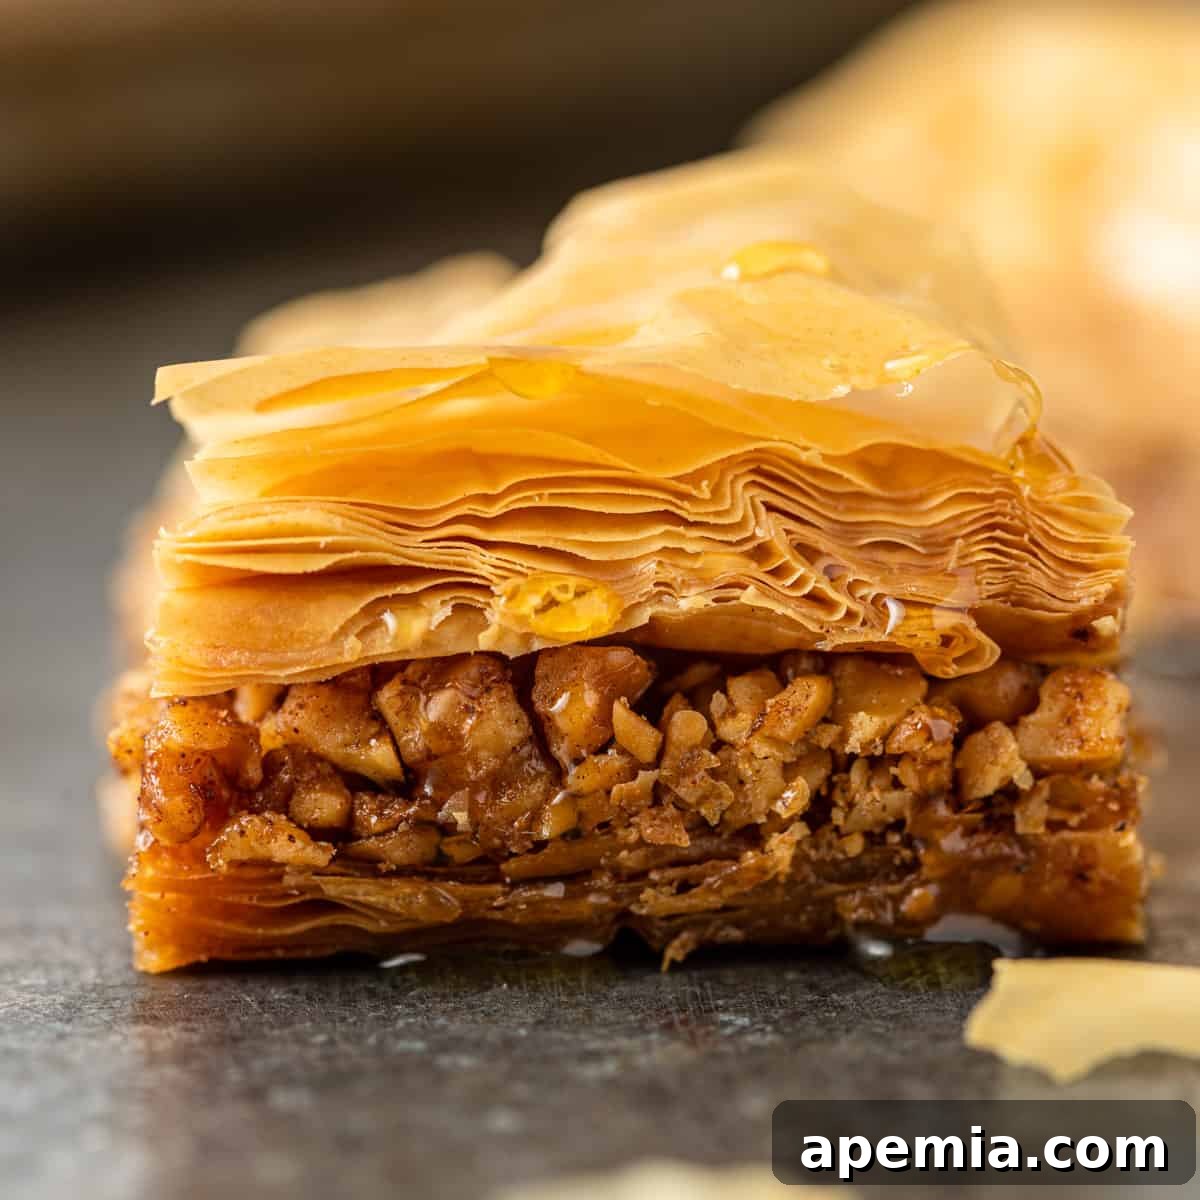
Indulge in the irresistible allure of authentic Greek Baklava with this remarkably easy recipe! Forget the lengthy traditional methods – our quick approach delivers the same incredibly flaky, buttery layers, brimming with a fragrant, spiced walnut filling and drenched in a luscious honey syrup. This decadent dessert is a true masterpiece of Mediterranean cuisine, now made accessible for every home baker. Prepare to be enchanted by a sweet treat that defines pure bliss with every crunchy, syrupy bite.
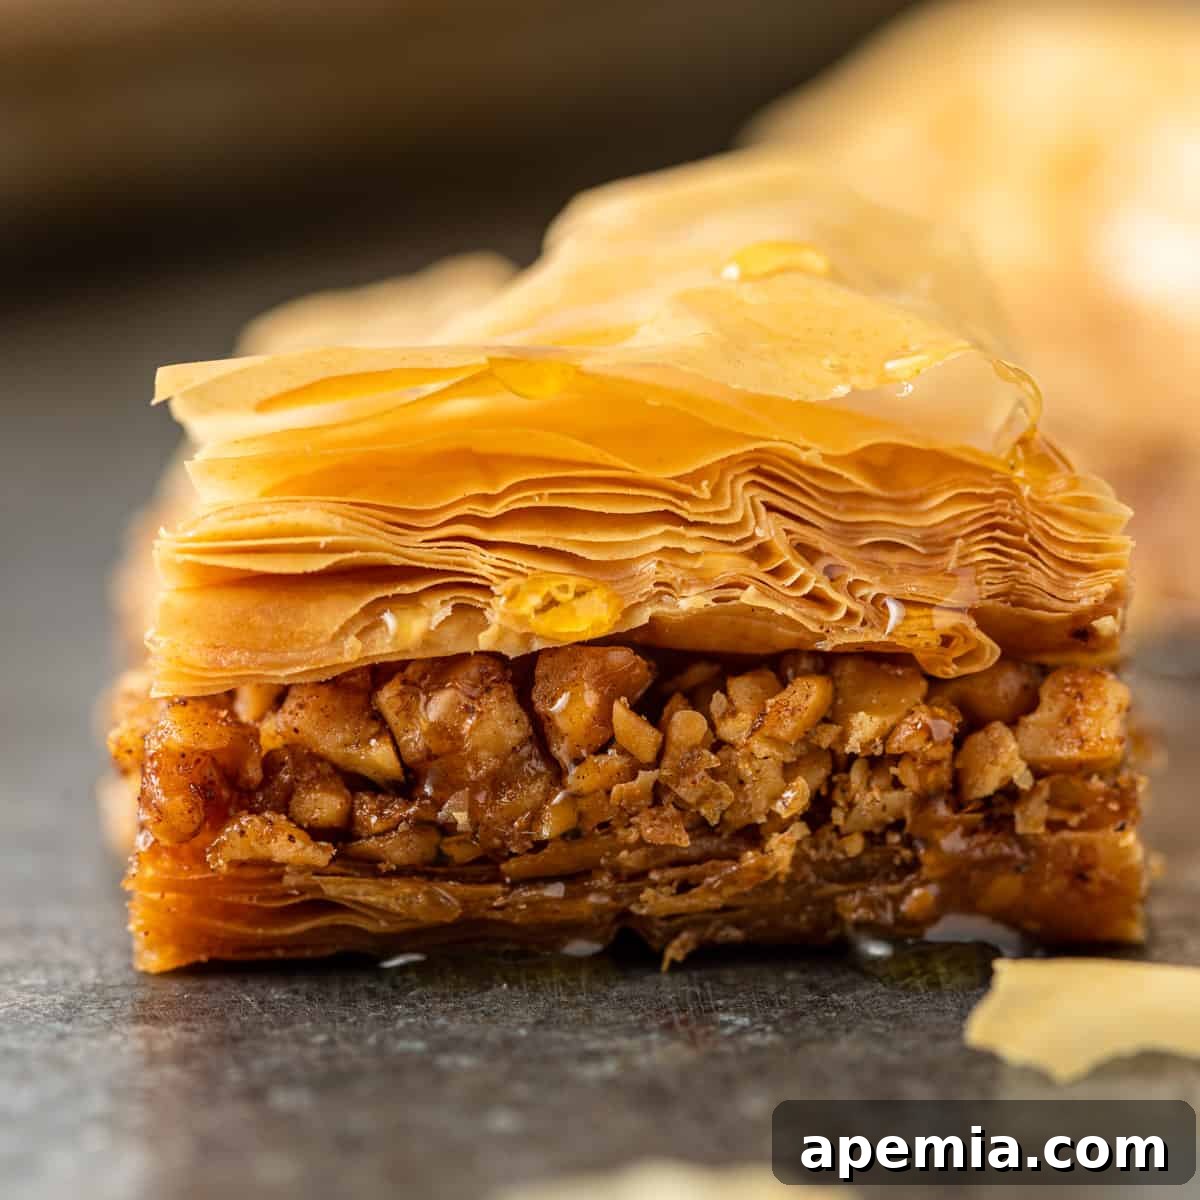
Have you ever dreamed of crafting your own baklava at home but felt intimidated by its reputation for complexity? Today, your culinary dreams come true! This ultimate easy baklava recipe demystifies the process, proving that this iconic dessert can be as straightforward to prepare as it is utterly delicious. There’s truly nothing quite like the delicate, crispy, butter-infused layers of a sticky-sweet Greek baklava.
For too long, the intricate appearance of this multi-layered pastry led many, myself included, to believe it was a dessert reserved only for seasoned pastry chefs. But fear not! Our streamlined method requires only about 15 minutes of active prep time and a handful of readily available ingredients. Learning how to make baklava has never been more achievable, promising impressive results without the fuss.
If you’re looking for more delightful dessert ideas, be sure to explore our Greek Baklava Rolls (Saragli), Tahini Chocolate Bark, and Halva (Middle Eastern Confection). Each offers a unique taste of the rich culinary traditions of the Mediterranean and Middle East.
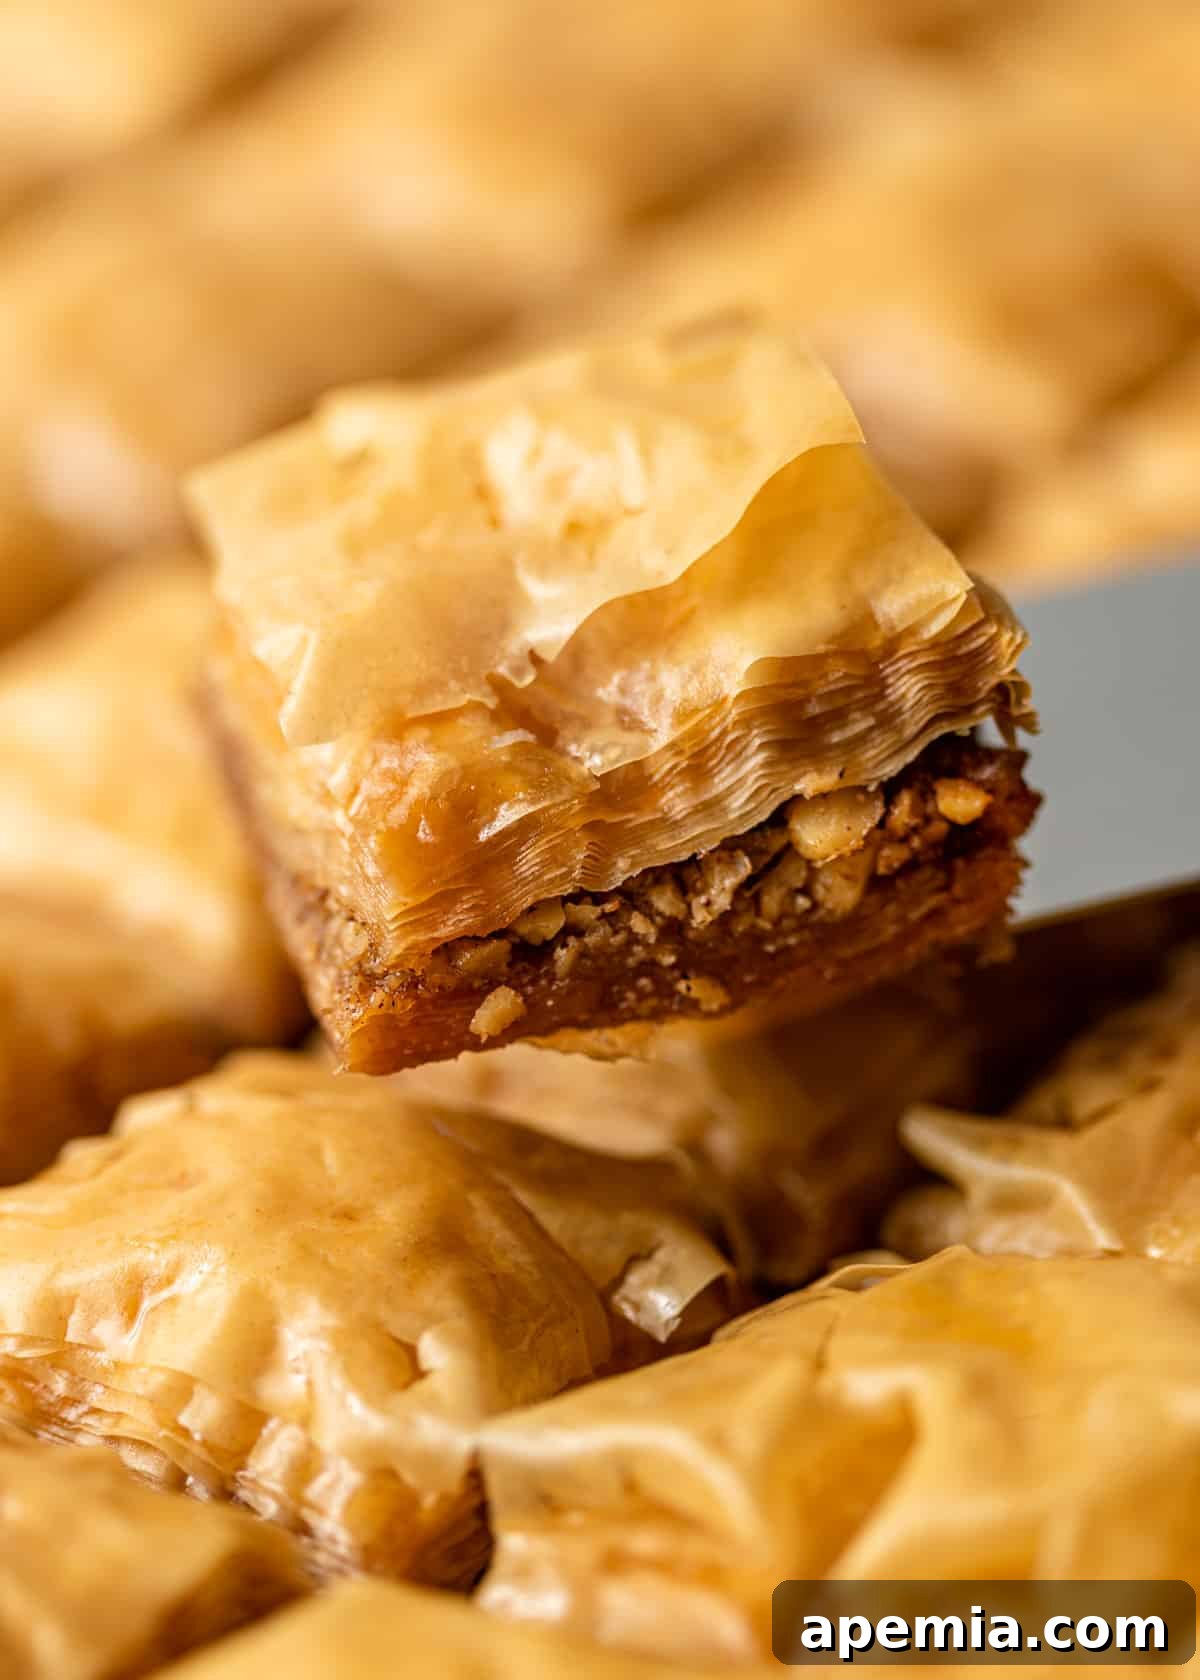
What Exactly is Baklava? A Culinary Journey
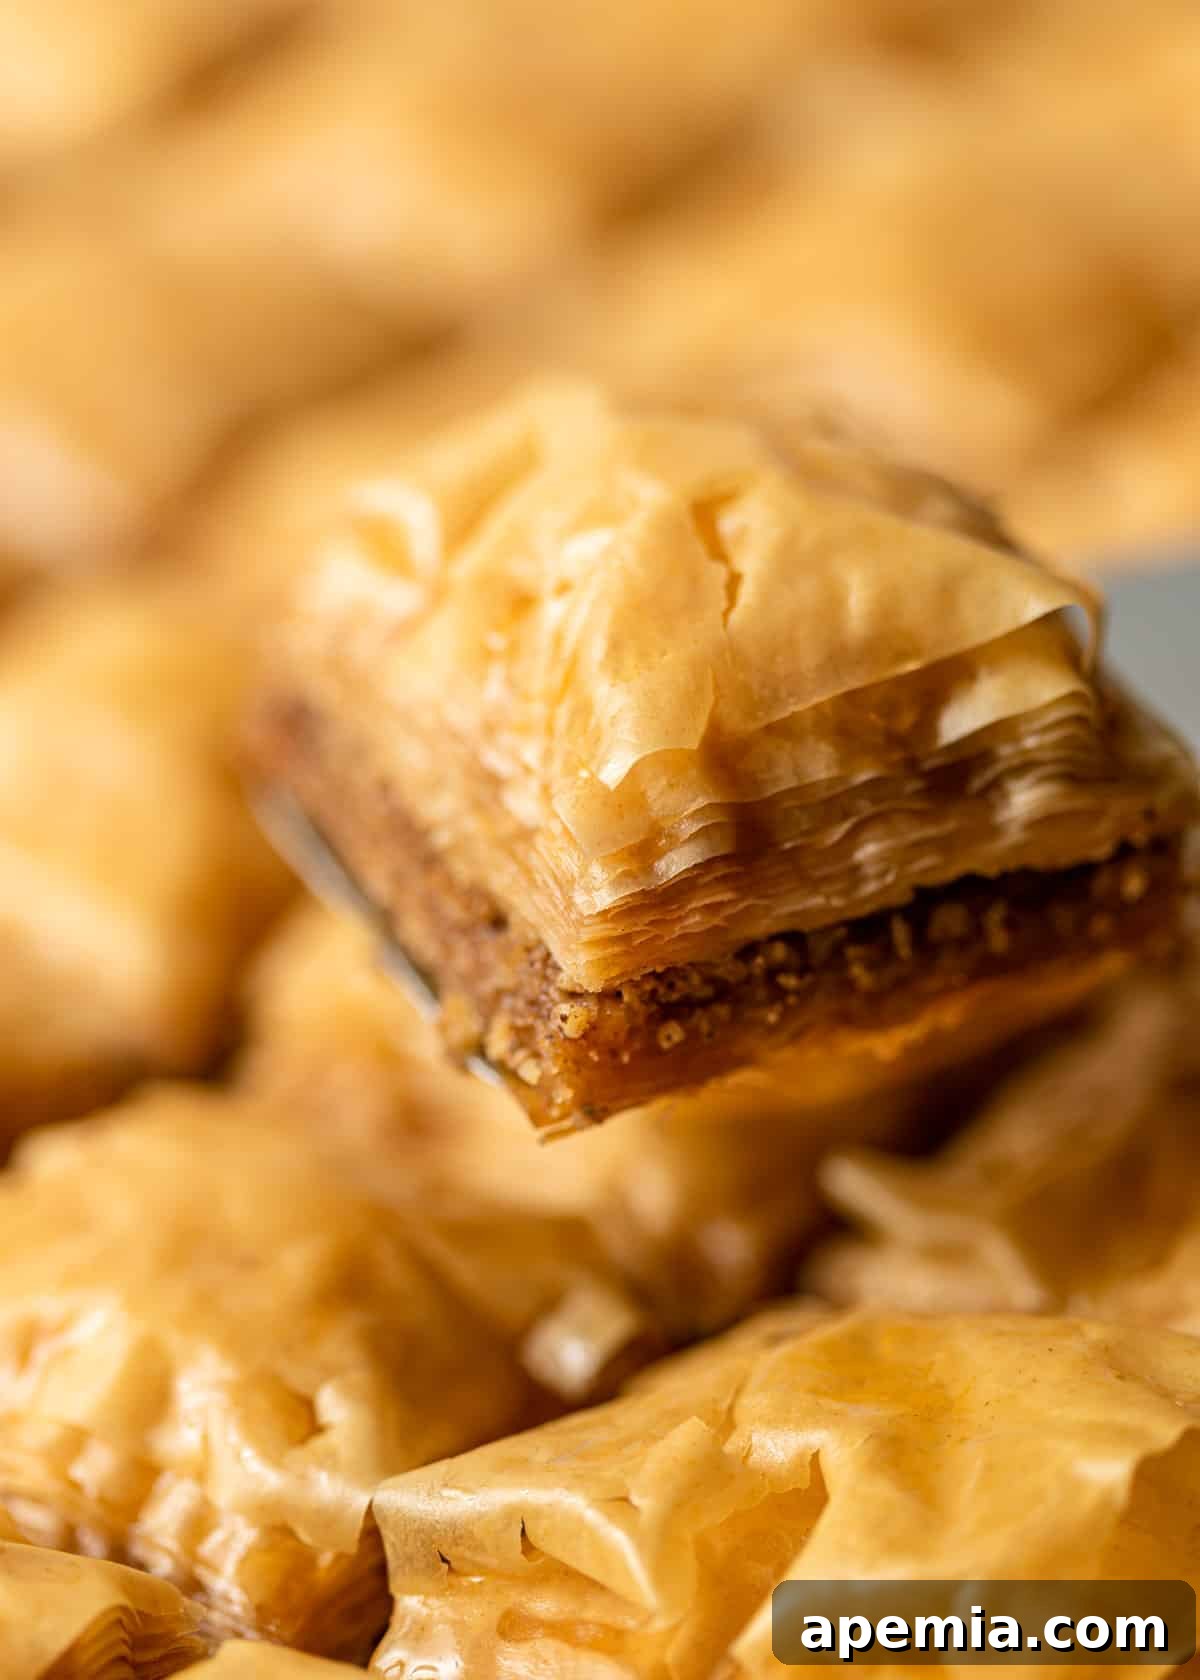
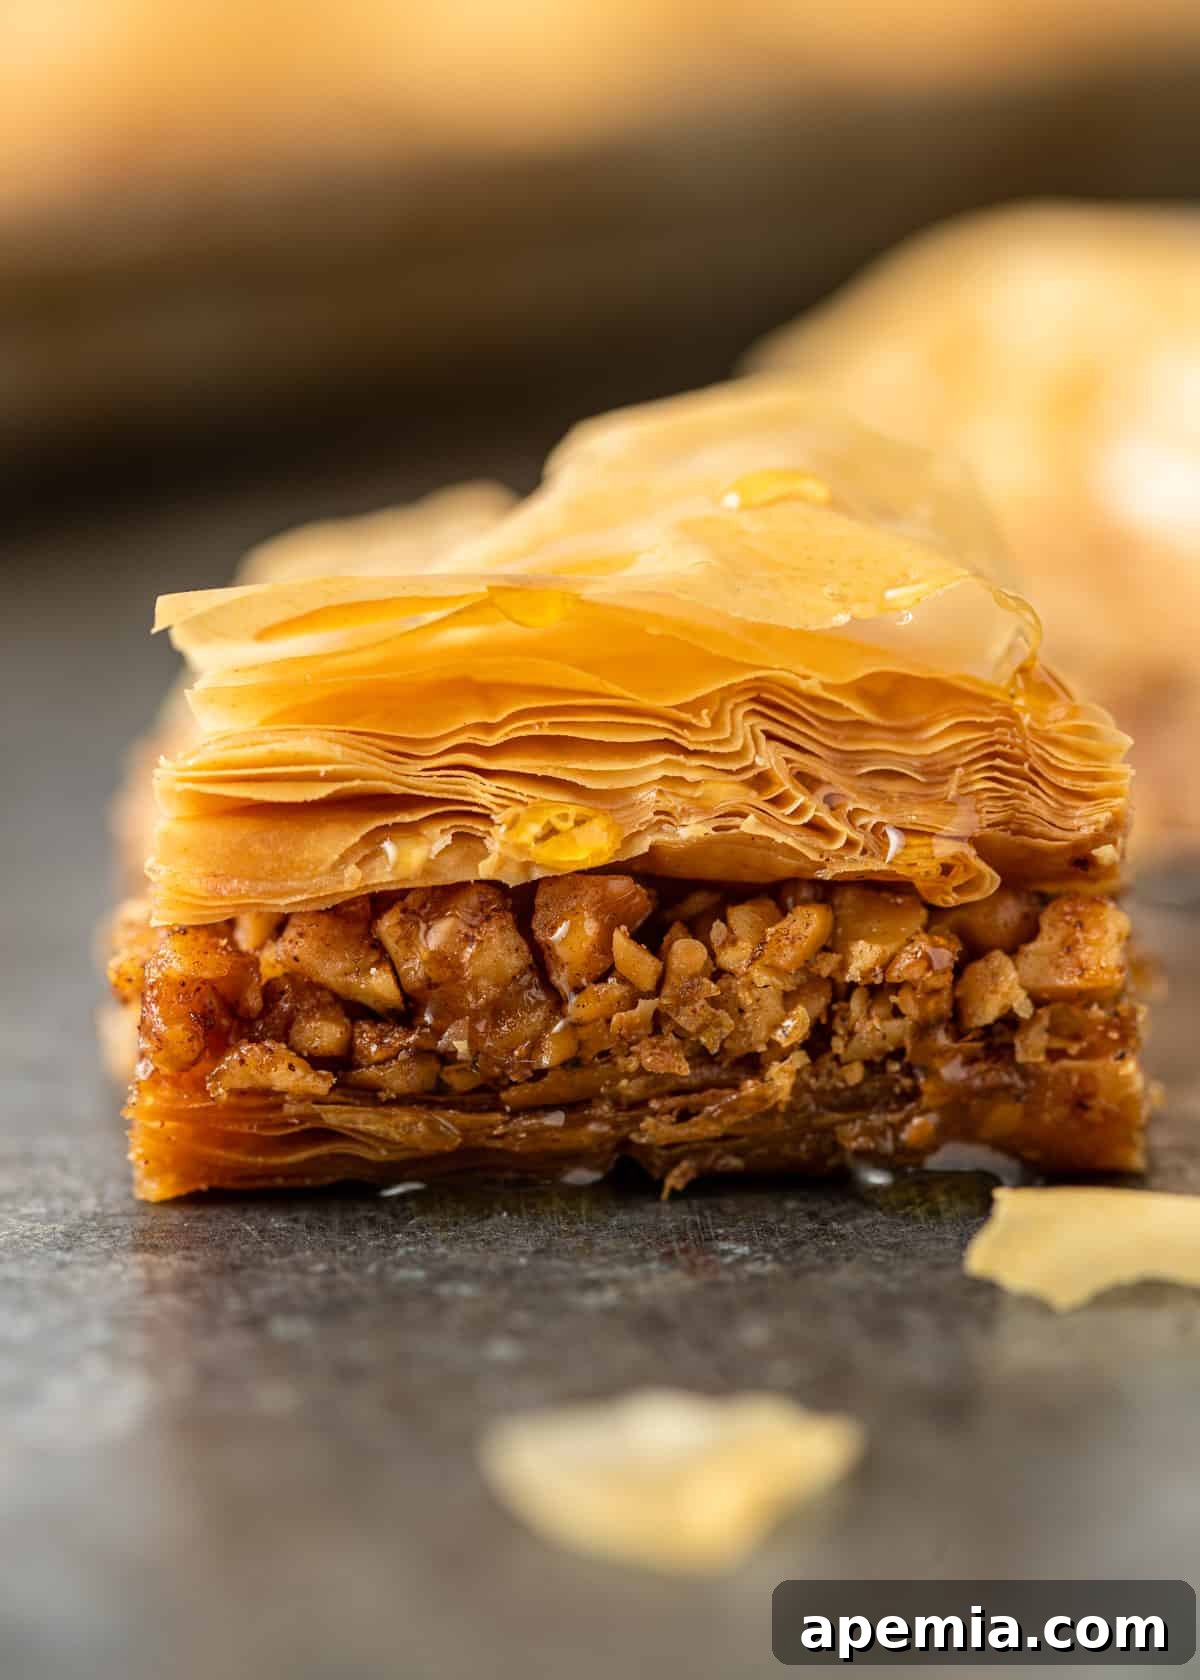
At its heart, baklava is a rich, sweet pastry made of layers of paper-thin dough, generously filled with chopped nuts and sweetened with syrup. While its precise origins are debated, with various cultures across the Middle East, the Balkans, and Central Asia claiming it, baklava has become a beloved staple in many cuisines, particularly Greek and Turkish. The magic lies in the contrast of textures and flavors: the crispness of the pastry, the crunch of the nuts, and the fragrant, sticky sweetness of the syrup.
Traditionally, baklava involves a painstaking process of meticulously brushing each delicate sheet of phyllo (also known as filo) dough with clarified butter or ghee before layering. This method, while yielding beautiful results, can be incredibly time-consuming and often deters home bakers. However, our innovative “quick method” revolutionizes this procedure, making that much-desired flaky texture achievable with significantly less effort.
Say goodbye to the tedious task of brushing individual phyllo sheets! We’ve discovered a brilliant shortcut that not only saves you precious time but delivers the identical, crave-worthy results as its more labor-intensive counterparts. Read on to discover this game-changing technique and unlock the secret to homemade baklava perfection.
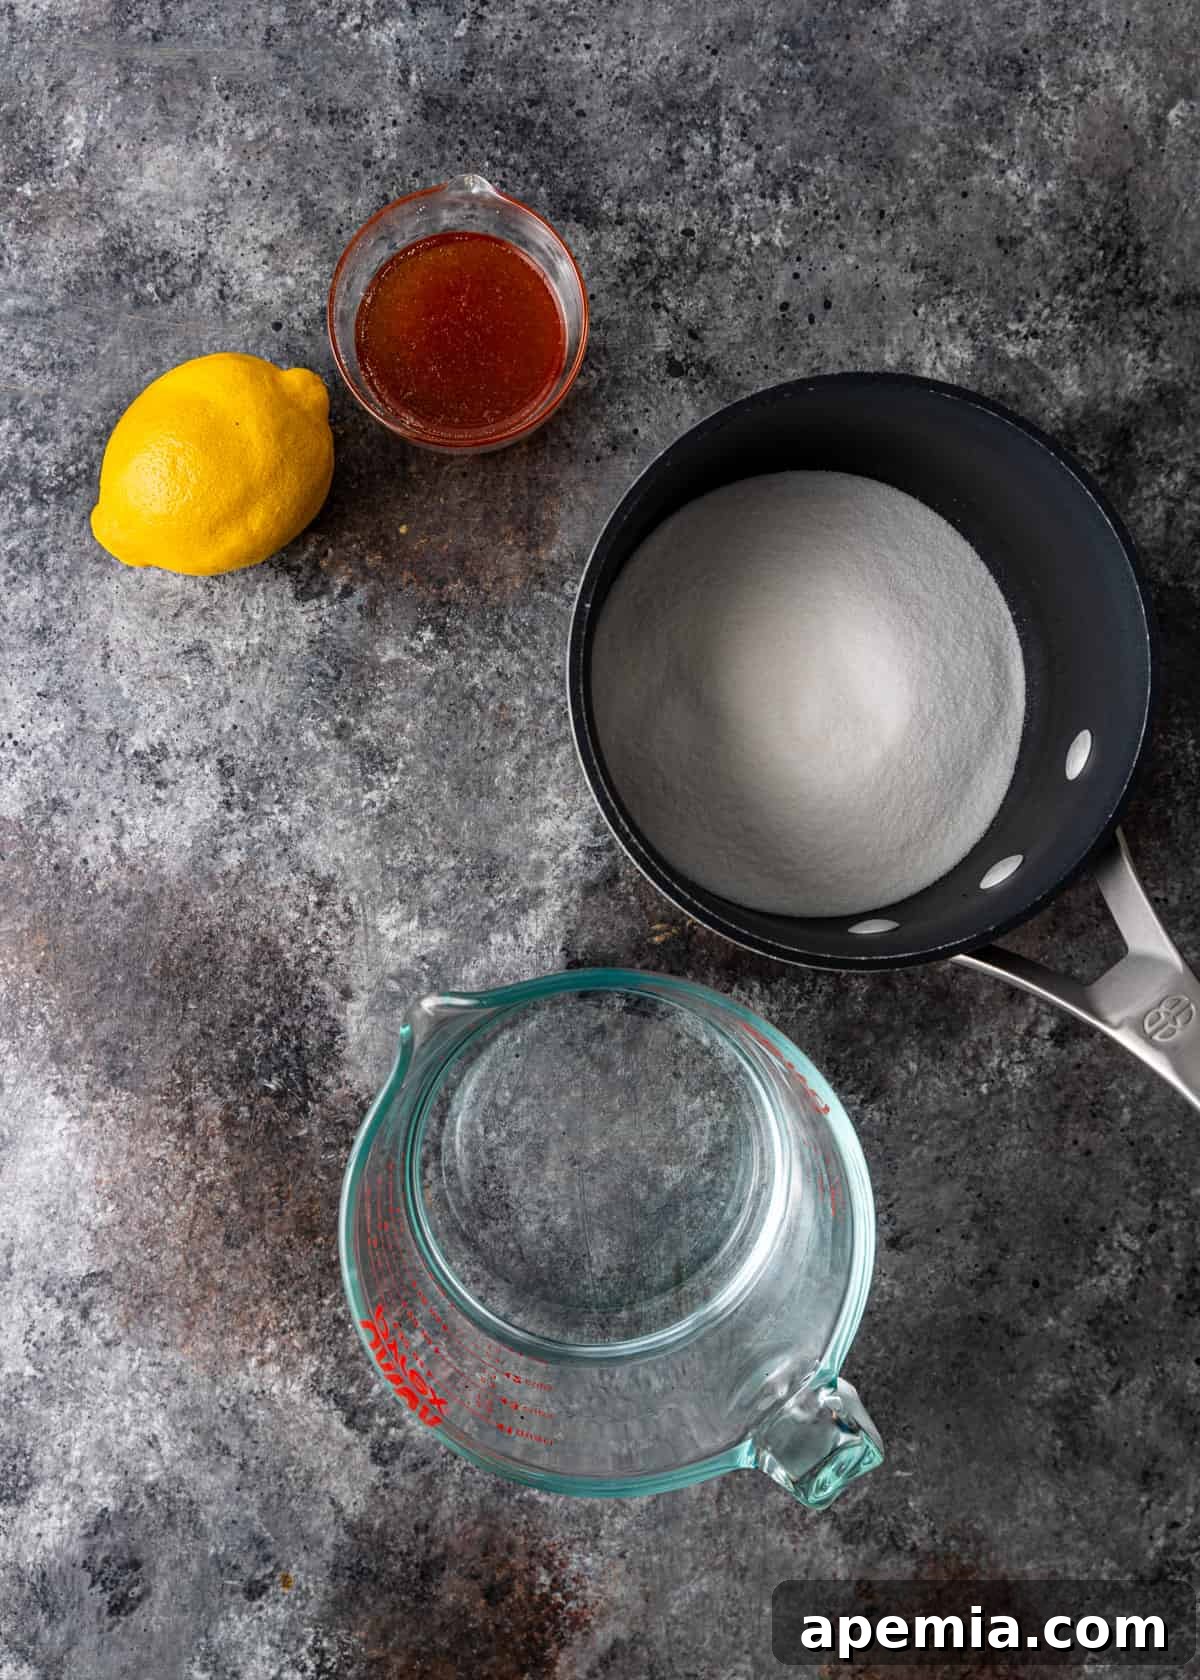
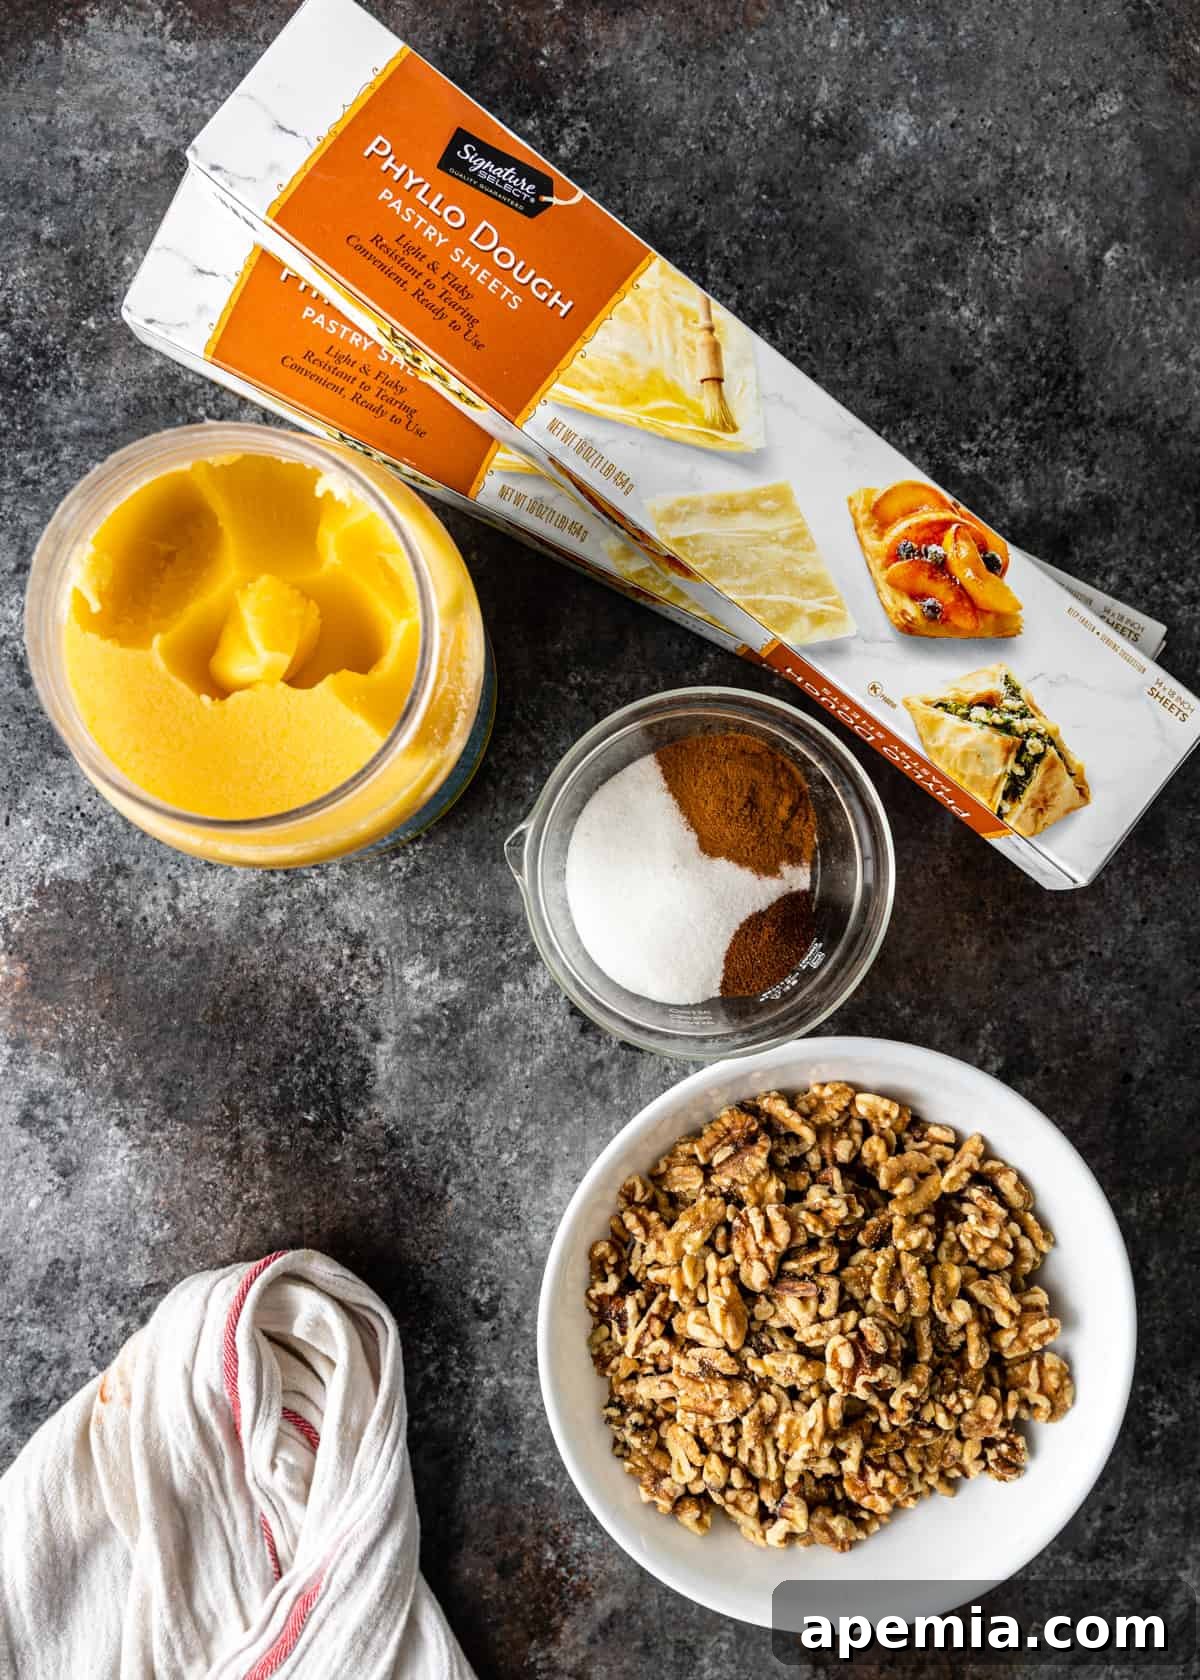
Essential Ingredients for Your Perfect Baklava
Crafting exceptional baklava starts with selecting quality ingredients. Here’s a closer look at what you’ll need and why each component is vital to our easy baklava recipe:
- Phyllo Dough: This is the backbone of baklava, giving it its characteristic ethereal flakiness and crispy texture. You’ll find it in the freezer section of most supermarkets, typically near pie crusts or puff pastry. Remember to store it in the refrigerator after purchasing so it’s ready to handle when you begin your baking adventure. For authentic Greek baklava, phyllo is non-negotiable; while puff pastry might create a tasty dessert, it won’t replicate the unique texture of traditional baklava.
- Butter (or Ghee): Butter provides unparalleled richness and a delicate savory-sweet undertone that is fundamental to baklava’s flavor profile. Clarified butter (ghee) is often preferred for its pure butter flavor and higher smoke point, preventing browning too quickly. Both options work beautifully, imparting that signature golden hue and delectable aroma.
- Sugar: A cornerstone for both the simple syrup and the spiced nut filling, sugar brings the necessary sweetness that balances the rich butter and earthy nuts. Its careful balance ensures a dessert that’s sweet but not cloyingly so.
- Honey: This golden, earthy, and aromatic sweetener is a hallmark ingredient in Greek baklava. Incorporating honey into the syrup elevates the entire dessert, imbuing it with a deeper, more complex sweetness and a wonderfully sticky, dense texture that is truly irresistible.
- Lemon Juice: A splash of fresh lemon juice in the syrup is more than just a flavor enhancer; it’s a critical balancing act. Its bright acidity cuts through the richness and intense sweetness of the baklava, preventing it from tasting overly heavy and adding a refreshing zest. It also helps prevent the syrup from crystallizing.
- Walnuts: These provide the primary nutty filling, offering a delightful earthy, slightly bitter flavor that perfectly contrasts the sweet syrup. Their satisfying crunch adds another layer of texture, making each bite a complex experience. While walnuts are traditional for Greek baklava, feel free to experiment with a mix of pistachios and almonds for different flavor profiles.
- Cinnamon: This warm, sweet, and comforting spice is a classic companion to walnuts in baklava. It harmonizes with the natural sweetness of the nuts and adds an inviting aroma that permeates the entire pastry.
- Clove: A small but mighty spice, ground clove introduces a wonderfully pungent, sweet, and subtly hot element to the nut filling. It adds depth and a touch of exotic warmth that truly makes the flavor pop.
Simplified Step-by-Step: How to Make Baklava Easily
Our innovative method makes homemade baklava achievable for everyone. Follow these clear steps to create a show-stopping dessert that tastes incredibly complex but is surprisingly simple to execute.
- Preheat and Prepare Your Baking Pan: Begin by preheating your oven to 350°F (175°C). Use a generous amount of melted butter or ghee to thoroughly grease the bottom and sides of a 13×17-inch (33×43 cm) rimmed baking pan. This ensures your baklava doesn’t stick and develops a beautiful golden crust.
- Craft the Aromatic Syrup: In a medium saucepan, combine the sugar, water, and lemon juice. Place over medium heat and bring the mixture to a rolling boil. Once boiling, reduce the heat to a simmer and gently stir in the honey until both the honey and sugar are completely dissolved. This should take approximately 5 minutes. Remove the syrup from the heat and set it aside to cool completely to room temperature. A crucial tip: the syrup must be cool when poured over the hot baklava to achieve the best absorption and prevent sogginess.
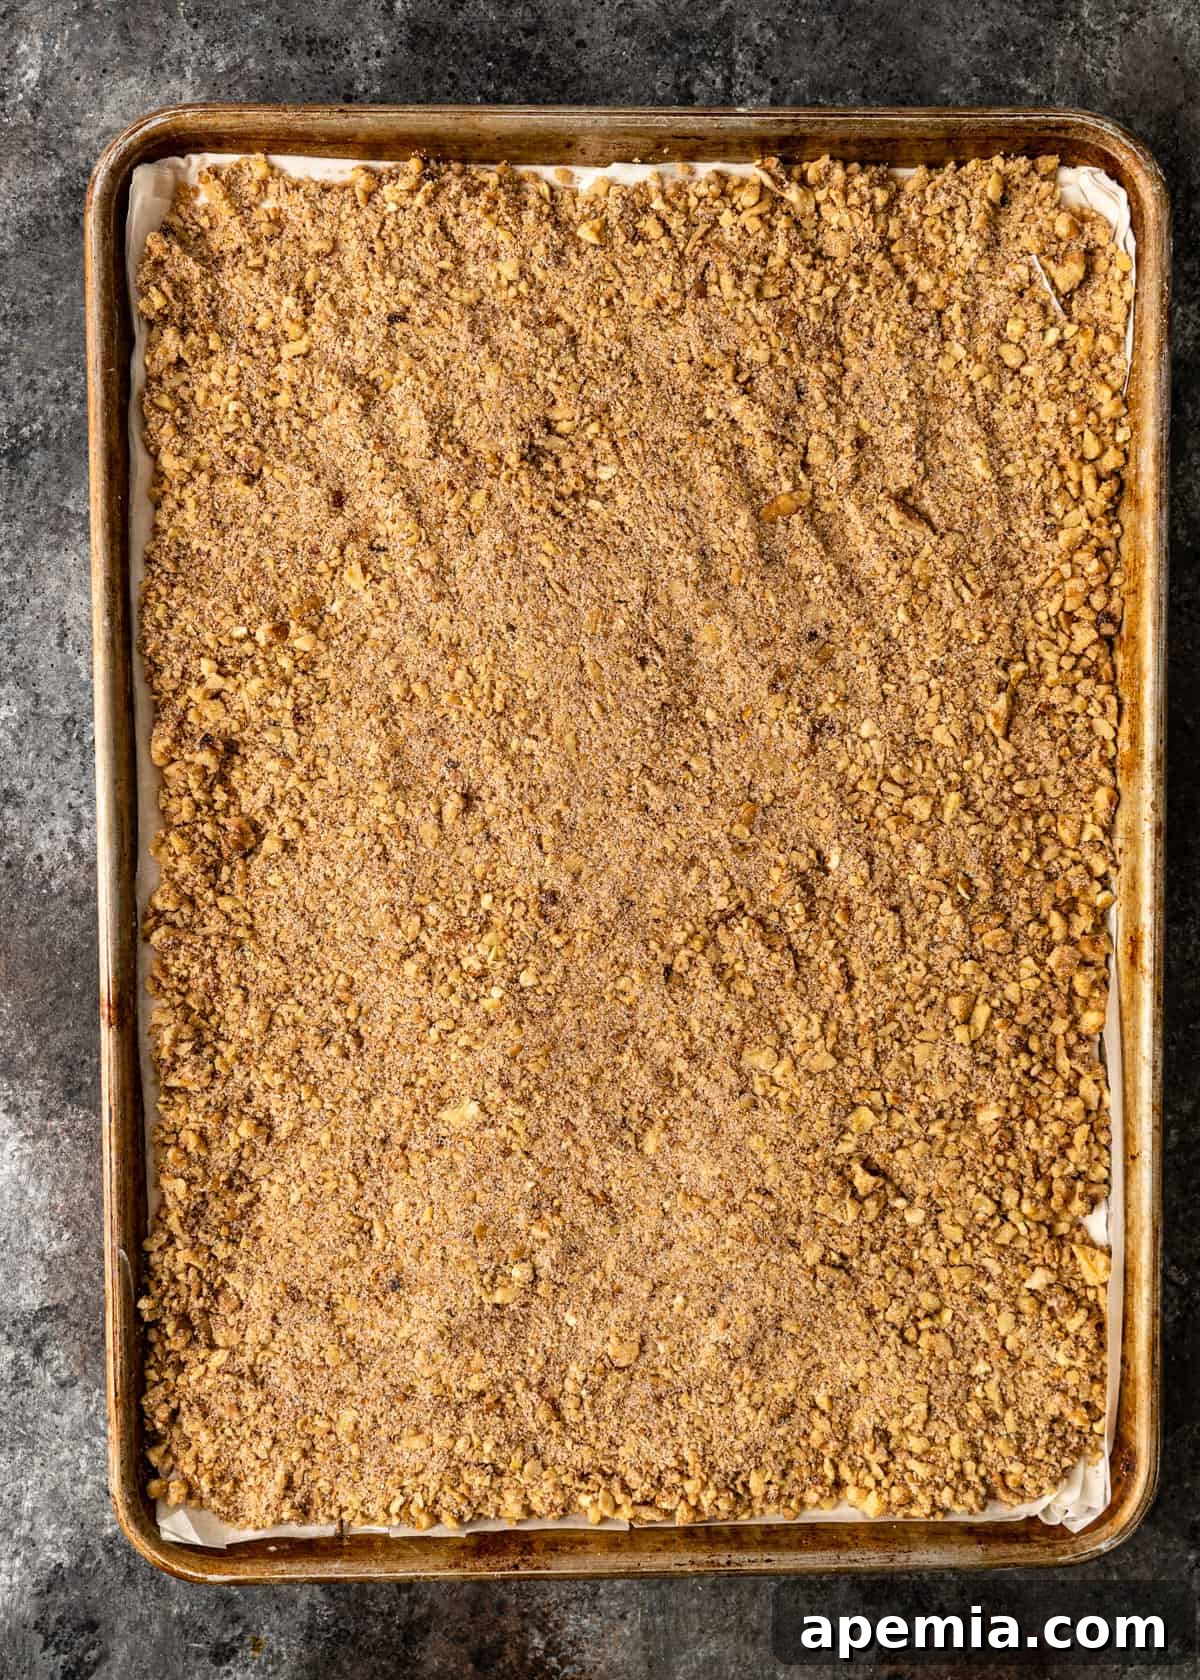
- Prepare the Flavorful Nut Filling: Finely chop the shelled walnuts. You can do this by hand with a sharp kitchen knife for a rustic texture, or use a food processor for a more uniform, finer chop. Transfer the chopped walnuts to a large bowl and add the sugar, ground cinnamon, and ground clove. Toss all the ingredients thoroughly until the nuts are evenly coated with the spices and sugar. This fragrant mixture is the heart of your baklava.
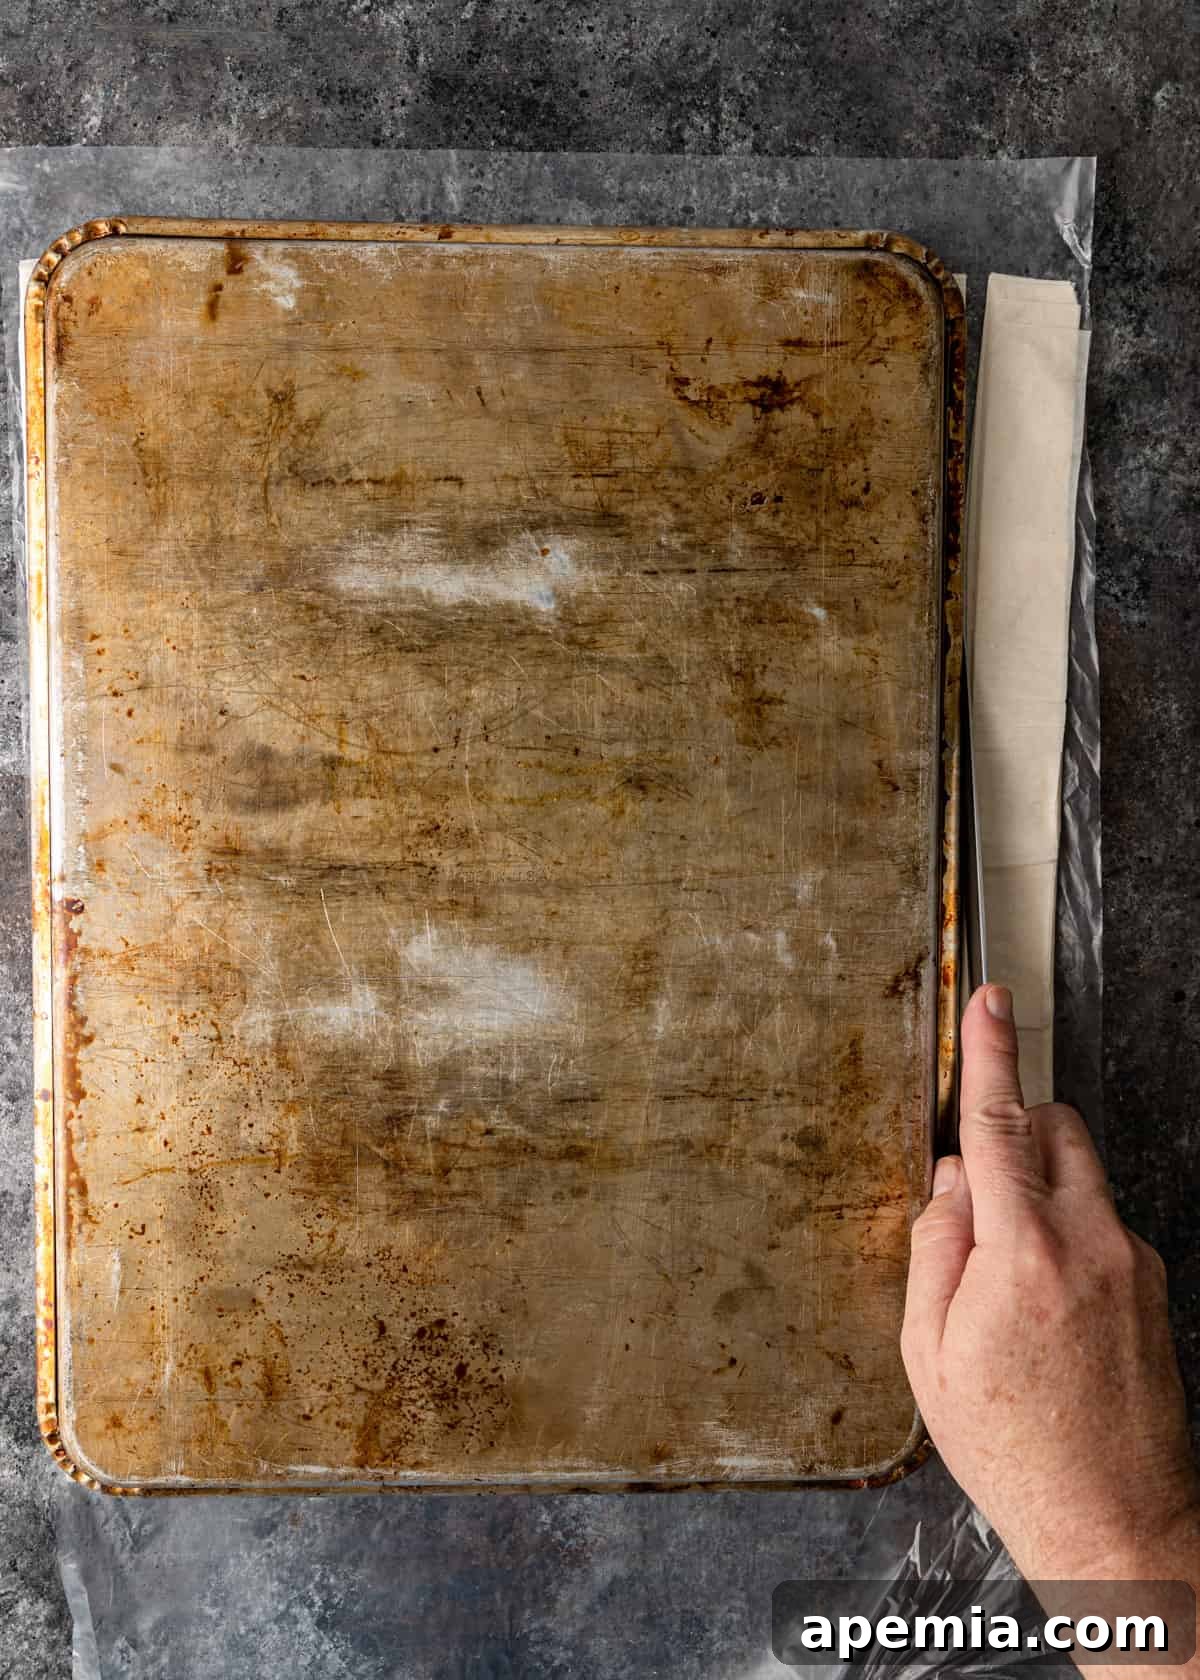
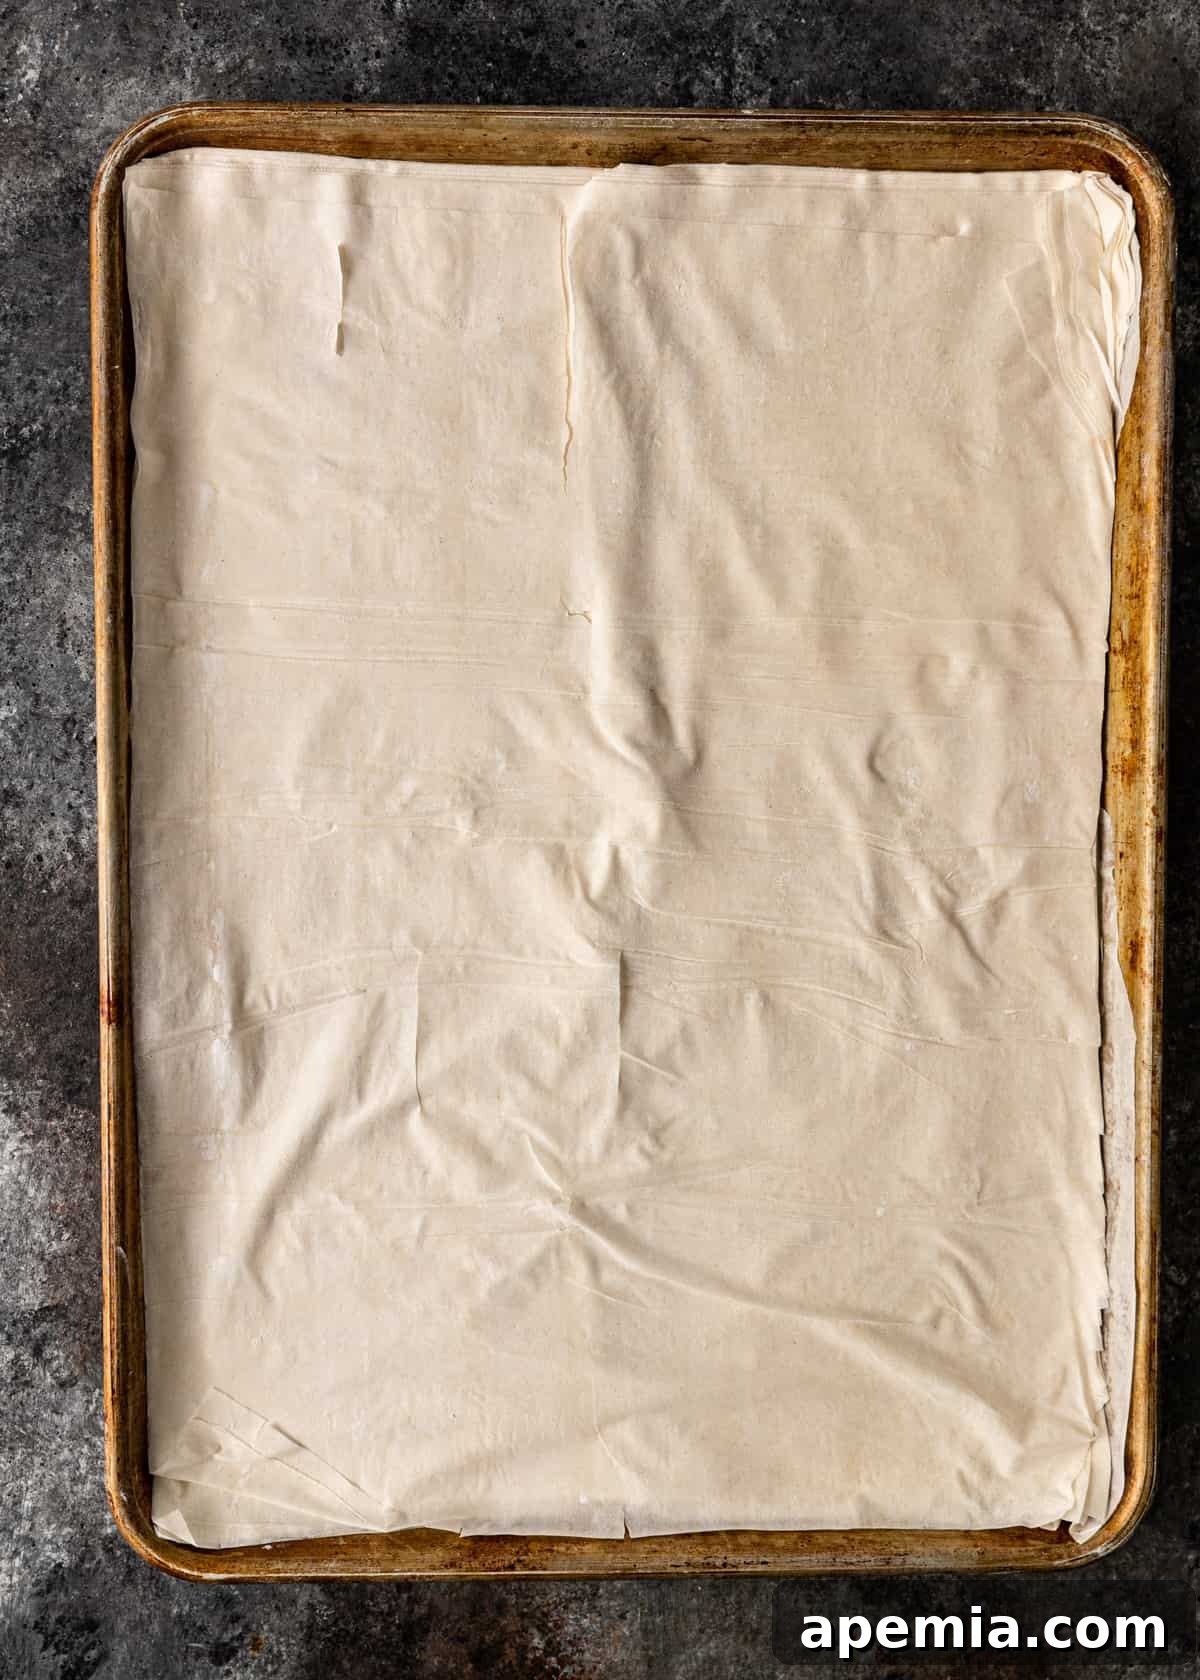
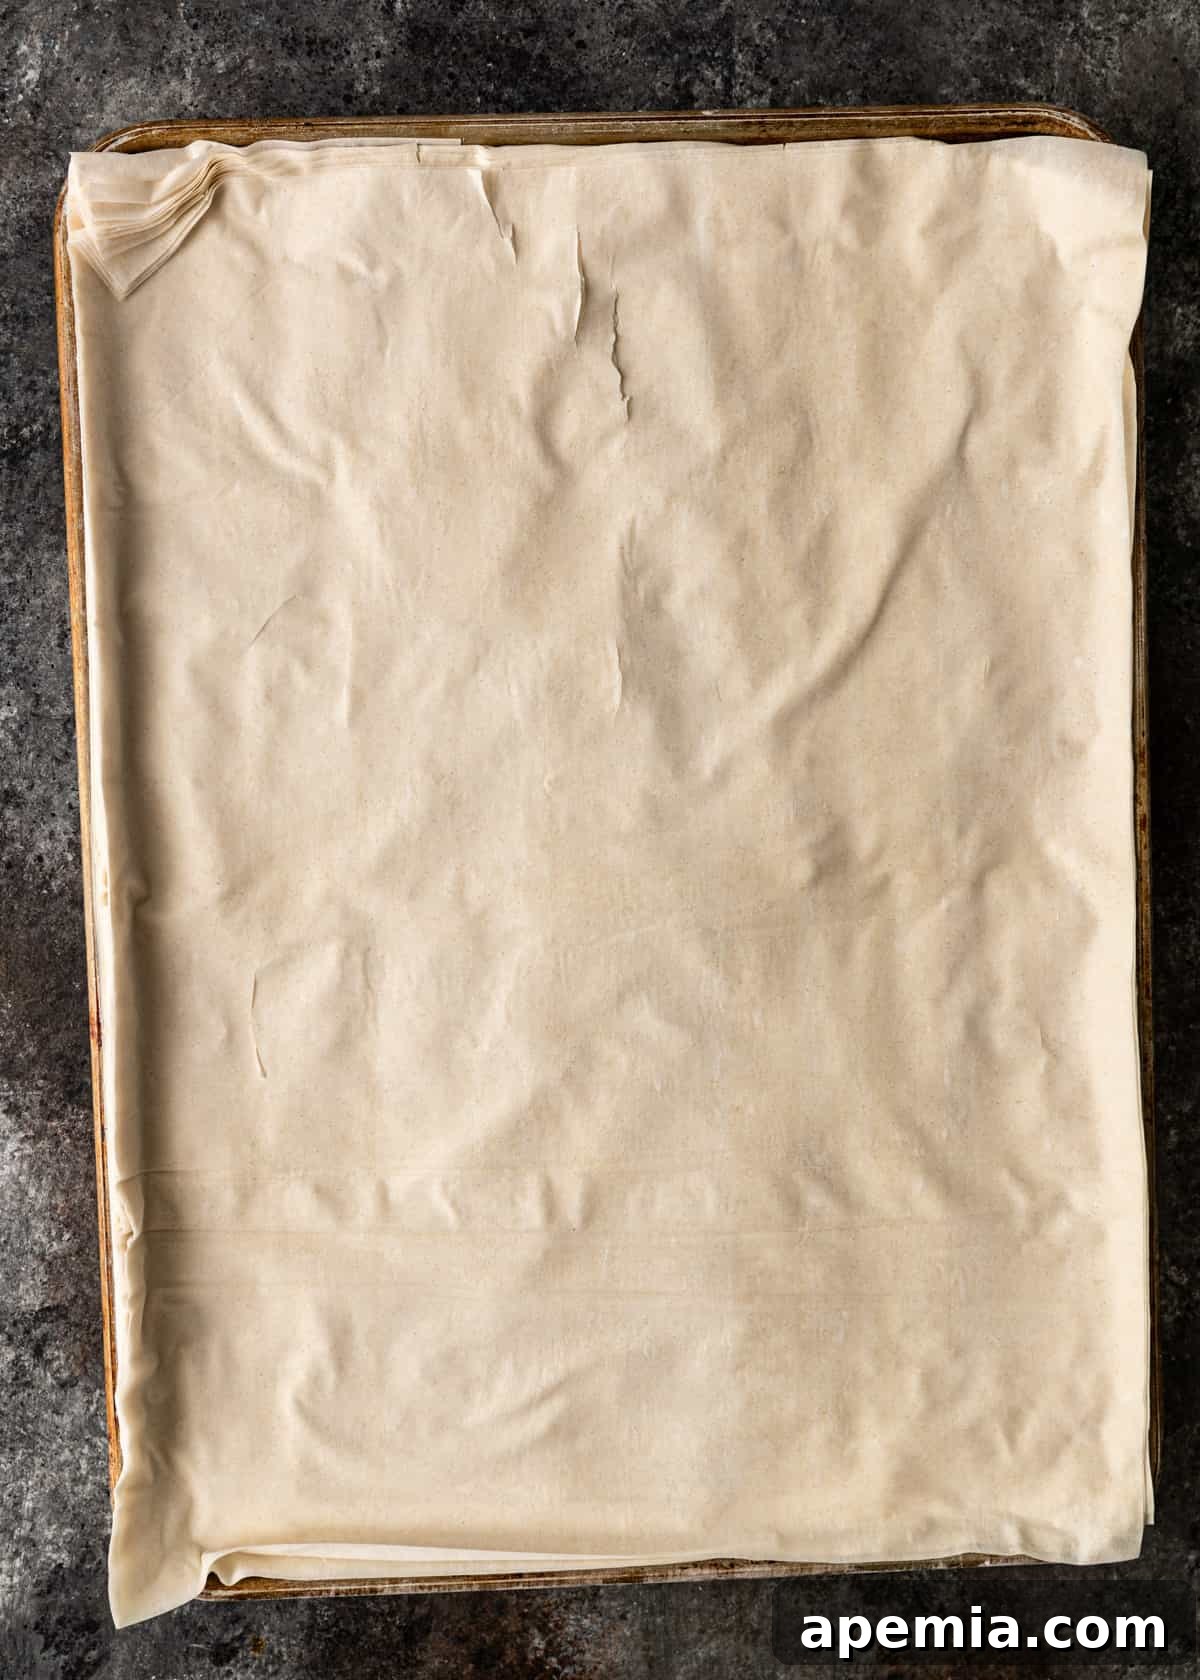
- Streamline Phyllo Preparation: Carefully unroll all of your phyllo dough sheets. Stack them neatly and place your 13×17-inch baking pan directly on top of the stack. Using the pan as a guide, trim around the edges of the phyllo dough to fit the pan perfectly. Discard any excess dough. This simple step saves immense time compared to cutting individual sheets.
- Layering Your Baklava Masterpiece: Lay 25 of the trimmed phyllo sheets directly into the bottom of your greased baking dish, pressing them gently to conform to the pan. Don’t worry about buttering each sheet individually yet – that’s our quick method secret! Next, evenly spread the entire sugar, spice, and nut mixture over the phyllo layers, ensuring it reaches all the way to the edges of the pan. Finally, top the nut layer with the remaining 15 phyllo sheets.
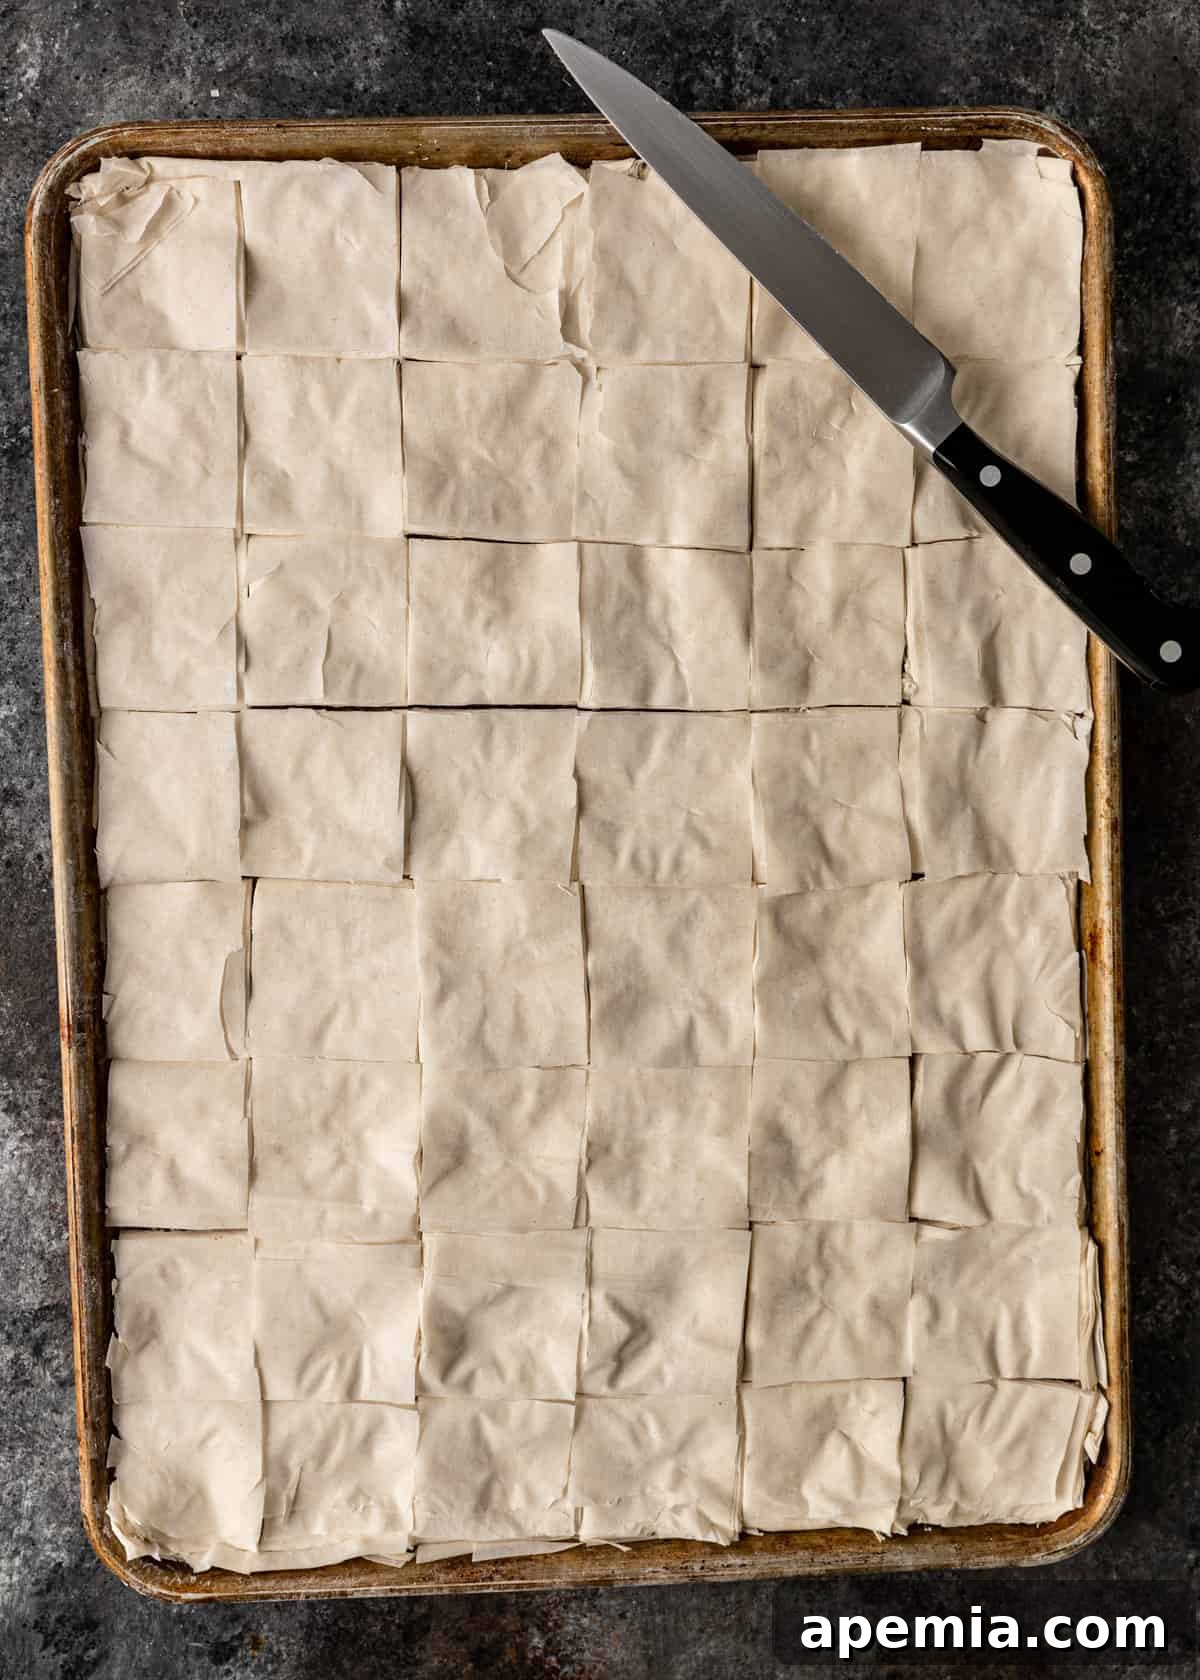
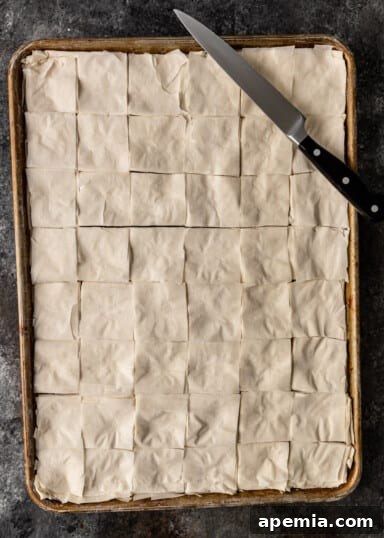
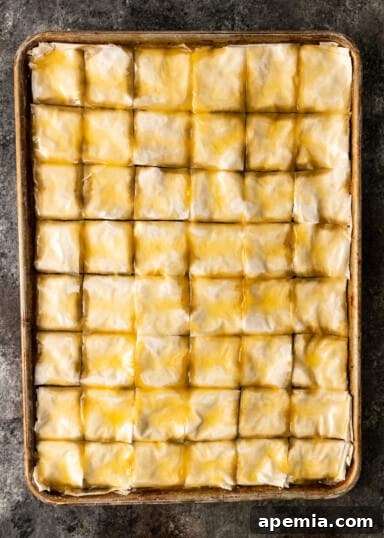
- Pre-cut for Perfection: Before baking, use a very sharp knife to carefully cut the baklava into your desired serving shapes. Classic Greek baklava is often cut into squares, but diamonds are also popular. Gently hold down the phyllo dough with one hand to keep it in place as you make about 6 lengthwise cuts and 8 crosswise cuts. This pre-cutting is essential for our quick method as it allows the butter to penetrate all layers evenly during the next step.
- The Revolutionary Butter Soak (Our Quick Method Secret!): This is where the magic happens! Evenly pour all of the melted butter or ghee over the entire pan of pre-cut baklava. Don’t be shy – the butter will seep into all the cuts and layers. Gently tilt the pan as needed to ensure every piece is thoroughly saturated with butter. This eliminates the laborious step of brushing each individual phyllo sheet, saving significant time without compromising on the buttery flakiness. Allow it to rest for about 5 minutes to let the butter fully absorb.
- Bake to Golden Perfection: Place the baking pan into your preheated oven. Bake for approximately 50-55 minutes, rotating the pan once halfway through to ensure even browning. The baklava should emerge a beautiful golden-brown color and sound crisp when lightly tapped.
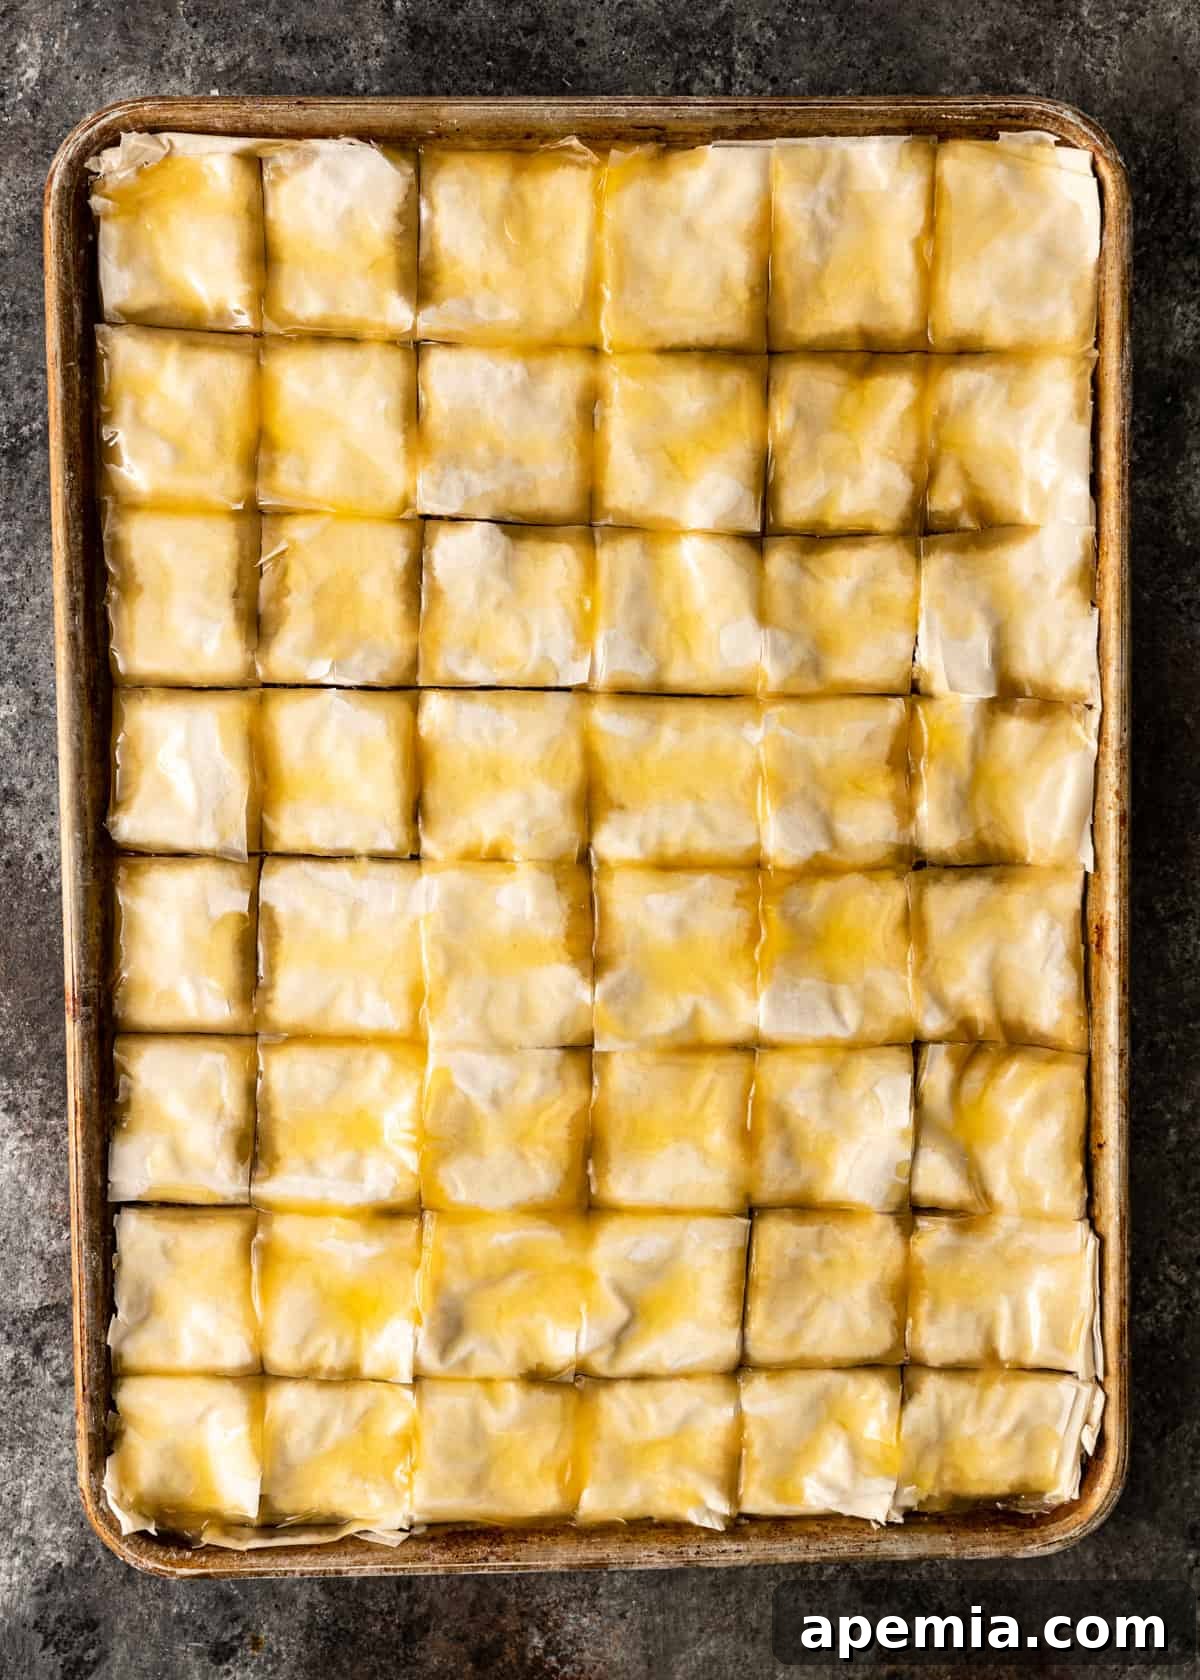
- Douse with Luscious Syrup: Immediately upon removing the hot baklava from the oven, carefully pour the cooled syrup evenly over the entire dessert. You’ll hear a satisfying sizzle as the hot pastry eagerly absorbs the cool, sweet syrup. Be cautious, as the syrup may sputter slightly. This step is crucial for achieving that signature sticky-sweet texture.
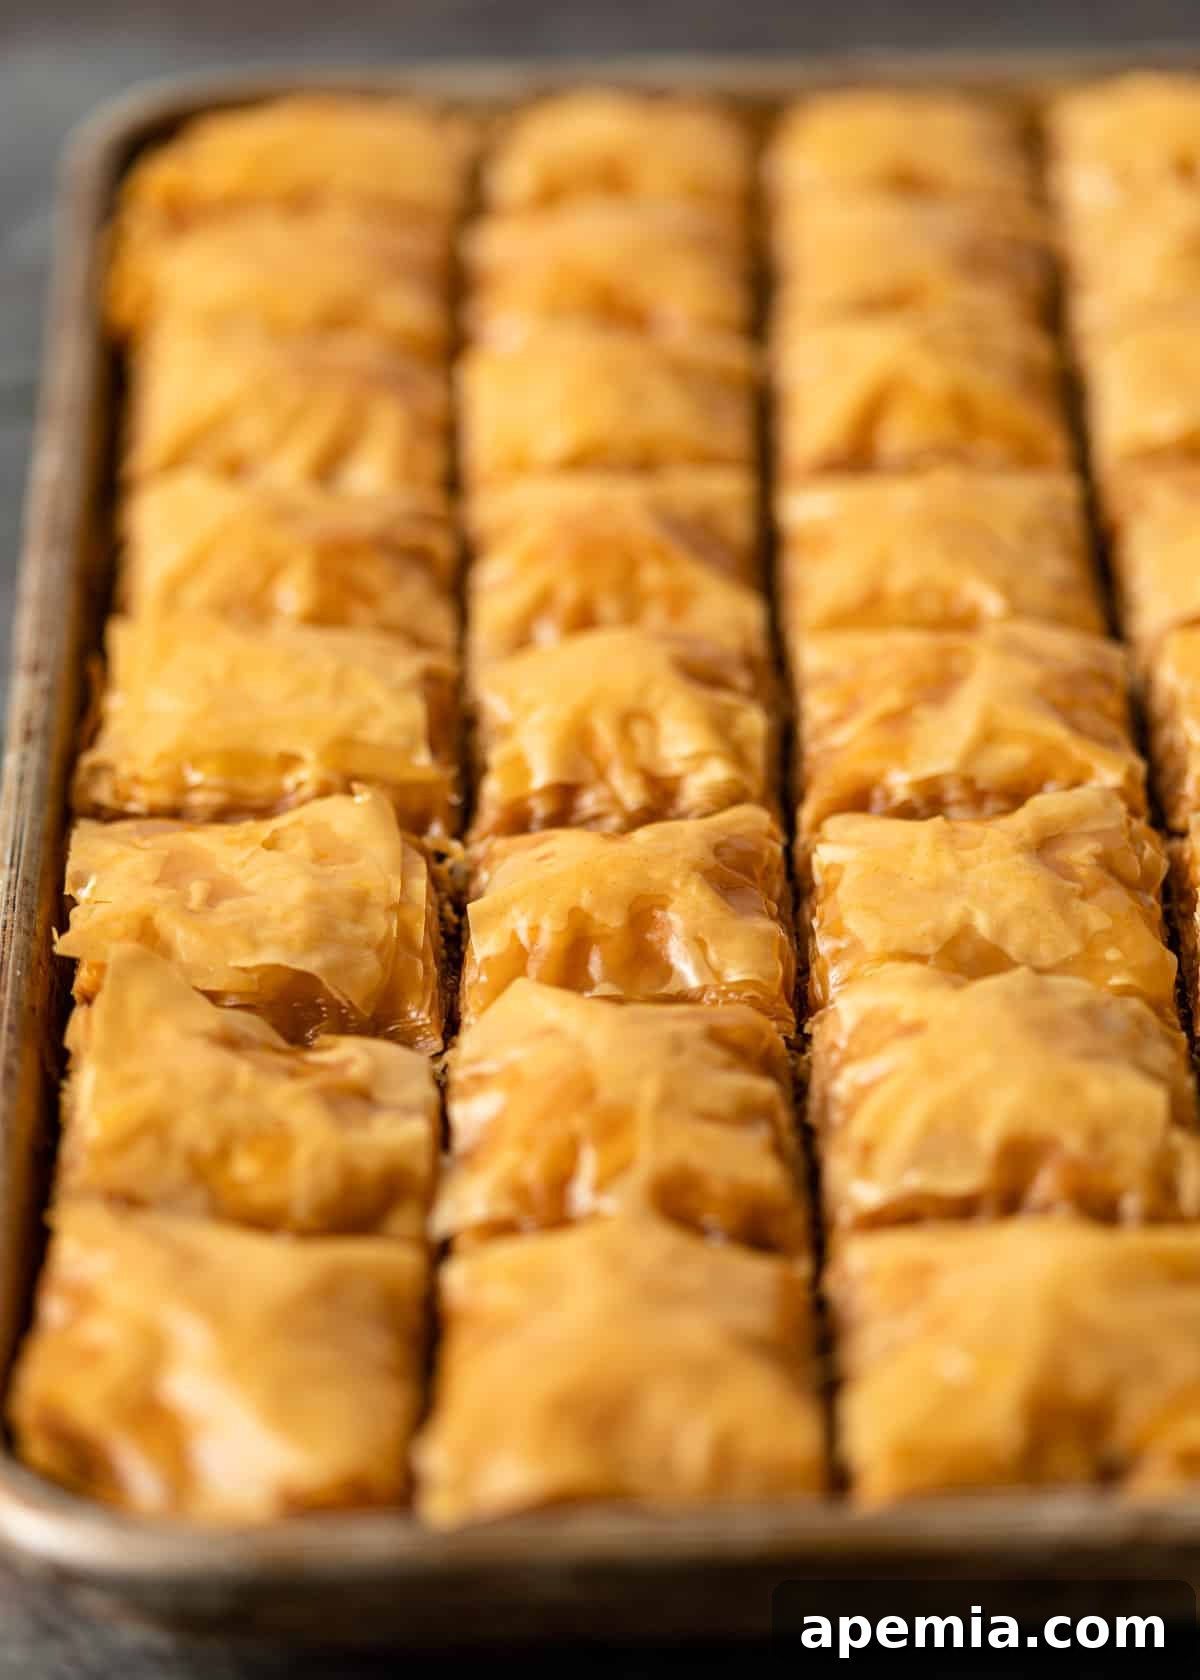
- Cool Completely for Best Results: The hardest part is waiting! Allow the baklava to cool completely to room temperature for several hours – ideally at least 4-6 hours, or even overnight. This cooling period allows the syrup to fully penetrate and set, resulting in perfectly moist and flaky layers. Store any leftovers, covered, in the refrigerator for up to 2 weeks.
Exploring Baklava Variations: Greek vs. Turkish and Beyond
While the core concept of phyllo, nuts, and syrup remains, baklava beautifully showcases regional culinary diversity. Understanding the subtle differences enriches your appreciation for this ancient dessert.
Greek Baklava: Characterized by its generous use of walnuts, often spiced with cinnamon and clove, and a rich syrup heavily infused with honey and balanced with lemon juice. The resulting pastry is typically dense, moist, and wonderfully flaky, usually cut into squares or triangles. Our recipe closely aligns with this classic Greek style, delivering that beloved flavor profile.
Turkish Baklava: Often made with fewer nuts overall, with pistachios being the preferred choice, giving it a vibrant green hue when garnished. A key distinction is the syrup, which in Turkish baklava recipes traditionally contains no honey, relying instead on a thick syrup made primarily from sugar, water, and often a touch of lemon juice. Turkish baklava is frequently cut into diamond shapes and elegantly topped with crushed pistachios after being soaked in the syrup. Its texture can sometimes be slightly lighter and less dense than its Greek counterpart.
Lebanese and Egyptian Baklava (Baklawa): These variations venture further into aromatic complexities. Both Middle Eastern styles often incorporate fragrant orange blossom water and/or rose water into their syrups. This addition imparts a distinct floral note that adds another layer of sensory pleasure to the sweet and nutty pastry. The choice of nuts can also vary, with pistachios and almonds being common.
Frequently Asked Questions & Expert Tips for Baklava Success
Even with an easy recipe, a few common questions and tips can help ensure your baklava turns out perfectly every time.
What if I forgot to cut baklava before baking?
With our quick method, pre-cutting the baklava is quite important. It creates channels that allow the melted butter or ghee to deeply saturate all the phyllo layers before baking, ensuring maximum flakiness and flavor absorption. If you forget to cut it before pouring the butter, the butter might not penetrate as effectively.
If you’ve already baked it without cutting, don’t despair, but proceed with caution. The phyllo will be very crisp and brittle. I recommend carefully cutting it with a very sharp, thin knife as soon as it comes out of the oven, before applying the syrup. This way, the sweet syrup can still make its way into all the layers, enhancing both flavor and texture. Just be extra gentle to avoid shattering the delicate layers.
How do you store baklava so it doesn’t get soggy?
Proper storage is key to maintaining baklava’s delightful crispness and extending its shelf life. Baklava keeps best when stored in an airtight container or lightly covered with plastic wrap or aluminum foil.
For optimal crispness, storing baklava at room temperature (in a cool, dry place) is often recommended. In this environment, it can retain its quality for about 3-5 days. However, if you wish to extend its shelf life, you can store leftovers from this baklava recipe in the refrigerator for up to 2 weeks. Be aware that refrigeration can alter the texture slightly, making the phyllo layers a bit harder and chewier. To revive some crispness after refrigeration, you can gently warm individual pieces in a toaster oven for a few minutes.
Tips for Working with Phyllo Dough
- Thaw Properly: Always thaw frozen phyllo dough in the refrigerator overnight. Transferring it directly from the freezer to room temperature can cause it to become brittle and crack.
- Keep it Covered: Phyllo dough dries out incredibly quickly when exposed to air, becoming brittle and difficult to work with. While assembling your baklava, keep the stack of unused phyllo sheets covered with a slightly damp (not wet!) kitchen towel or plastic wrap.
- Handle Gently: Phyllo is delicate. Handle it with care to prevent tearing. Small tears are generally not a problem in a layered dessert like baklava, as they will be hidden by other layers.
Easy Greek Baklava Recipe
This quick method Greek baklava recipe is your ticket to paradise! It’s sticky-sweet, crispy, and flaky with the perfect amount of nutty crunch.
Servings: 48
Prep Time: 15 mins
Cook Time: 55 mins
Total Time: 1 hr 10 mins
Course: Desserts
Cuisine: Greek
Author: Kevin
Equipment
- 13×17″ rimmed baking pan
Ingredients
Main Ingredients
- 2 lbs Phyllo dough (14×18″, 20 sheet package, 40 sheets total)
- 1 cup butter or ghee, melted
Syrup
- 2 cups sugar
- 1 1/2 cup water
- 1/3 cup honey
- 3 tablespoons lemon juice
Filling
- 1 lb walnuts, shelled
- 1/2 cup sugar
- 2 tsp ground cinnamon
- 1 tsp ground clove
Instructions
- Preheat the oven to 350°F (175°C) and grease the bottom of a 13×17″ rimmed baking pan with melted butter or ghee.
- For the Syrup: Combine sugar, water, and lemon juice in a small saucepan over medium heat. Bring to a boil, then reduce to a simmer. Stir in honey until both honey and sugar are dissolved, about 5 minutes. Remove from heat and set aside to cool to room temperature.
- For the Filling: Process walnuts in a food processor or chop finely with a kitchen knife. Transfer to a large bowl and toss with sugar, cinnamon, and clove until well mixed.
- Assembly – Step 1: Unroll and stack all phyllo dough sheets. Place the 13×17″ baking pan on top and carefully trim excess phyllo to fit the pan, discarding scraps.
- Assembly – Step 2: Lay 25 phyllo sheets in the bottom of the prepared pan. Spread the nut and sugar mixture evenly over these phyllo layers, extending to the edges. Lay the remaining 15 phyllo sheets on top of the nuts.
- Assembly – Step 3 (Cutting): Carefully, with a sharp knife, cut the baklava into squares by making 6 cuts lengthwise and 8 cuts crosswise. Gently hold down the phyllo sheets with your other hand as you carefully cut.

- Assembly – Step 4 (Butter Soak): Pour the melted butter or ghee evenly over the baklava, ensuring all sections are saturated by tilting the pan. Let it rest for about 5 minutes to soak into the cuts and phyllo.
- Baking: Bake for about 50-55 minutes, rotating the baklava halfway through baking until golden brown and crispy.
- Syrup Application: Remove the pan from the oven and carefully pour the cooled syrup evenly all over the hot baklava. Be careful, as it may sputter slightly. Allow baklava to cool completely at room temperature for several hours before serving.
- Storage: Lightly cover the cooled baklava with plastic wrap in the pan or transfer to an airtight container. It will keep in the refrigerator for up to 2 weeks.
Nutrition Facts (per serving)
Calories: 199kcal | Carbohydrates: 24g | Protein: 3g | Fat: 11g | Saturated Fat: 3g | Polyunsaturated Fat: 5g | Monounsaturated Fat: 3g | Cholesterol: 10mg | Sodium: 92mg | Potassium: 59mg | Fiber: 1g | Sugar: 13g | Vitamin A: 2IU | Vitamin C: 1mg | Calcium: 13mg | Iron: 1mg
The information shown is an estimate provided by an online nutrition calculator. It should not be considered a substitute for a professional nutritionist’s advice.
Have You Made This Recipe? Let Me Know on Instagram!
Tag @keviniscooking or use the hashtag #keviniscooking!