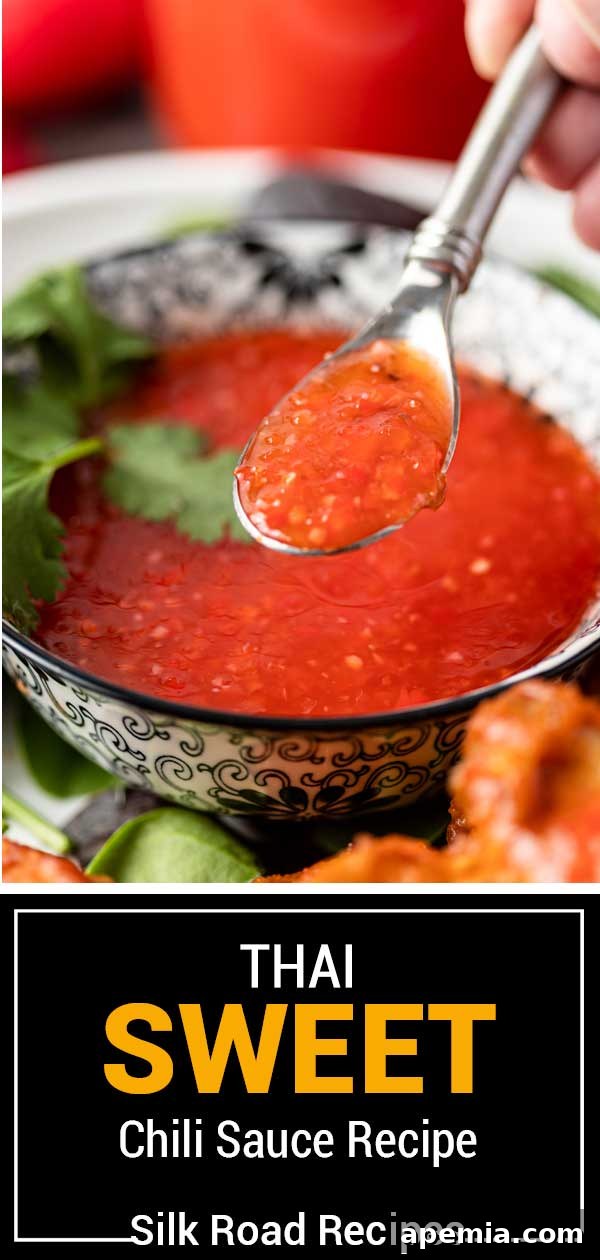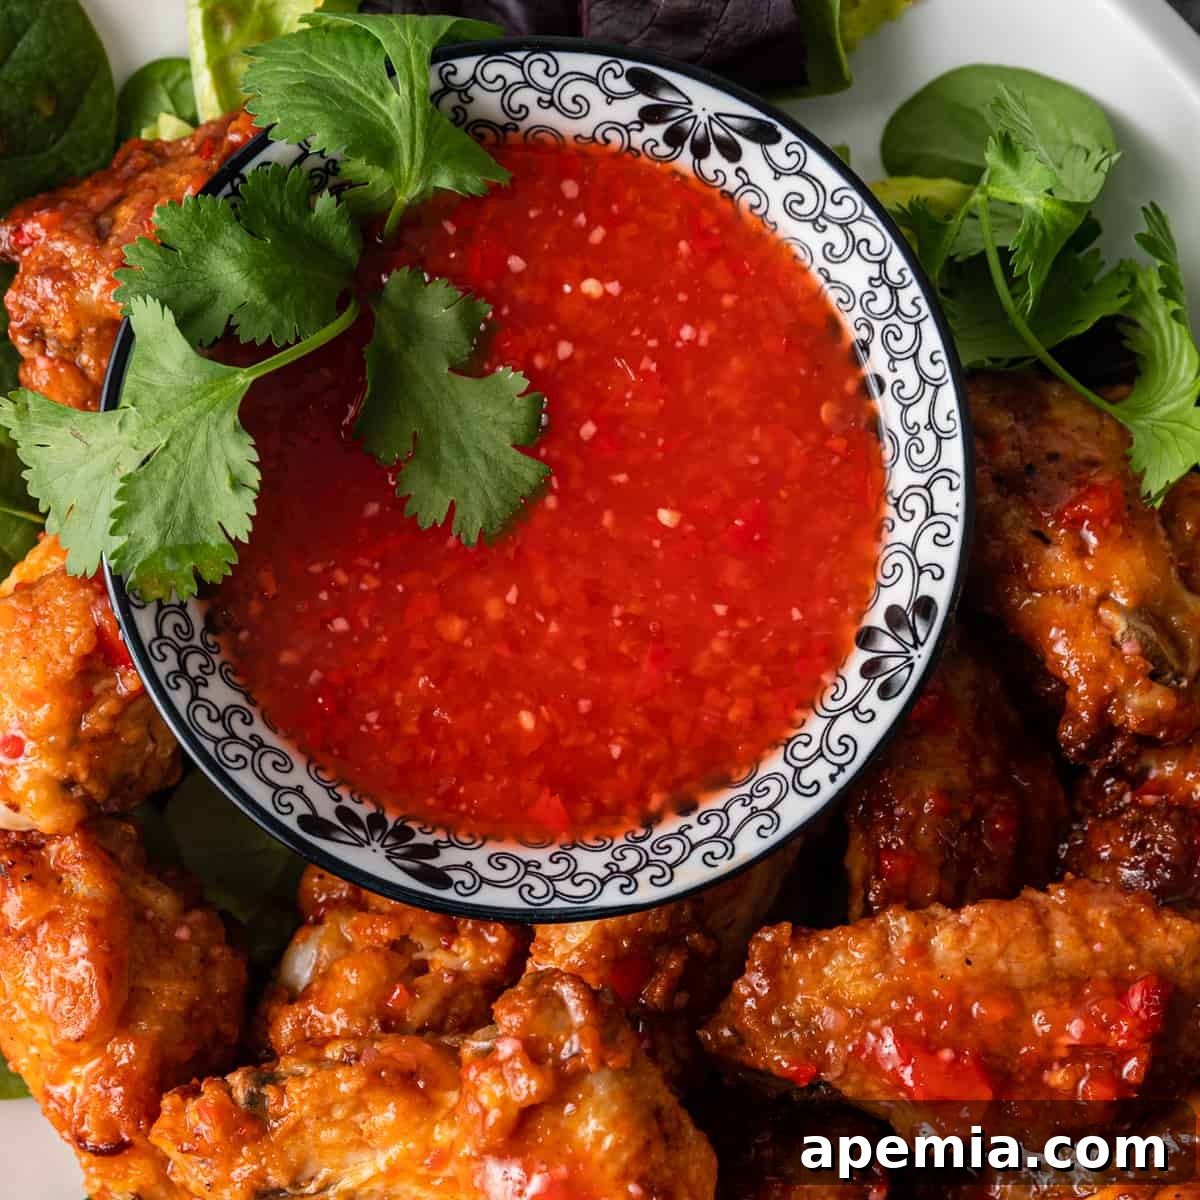
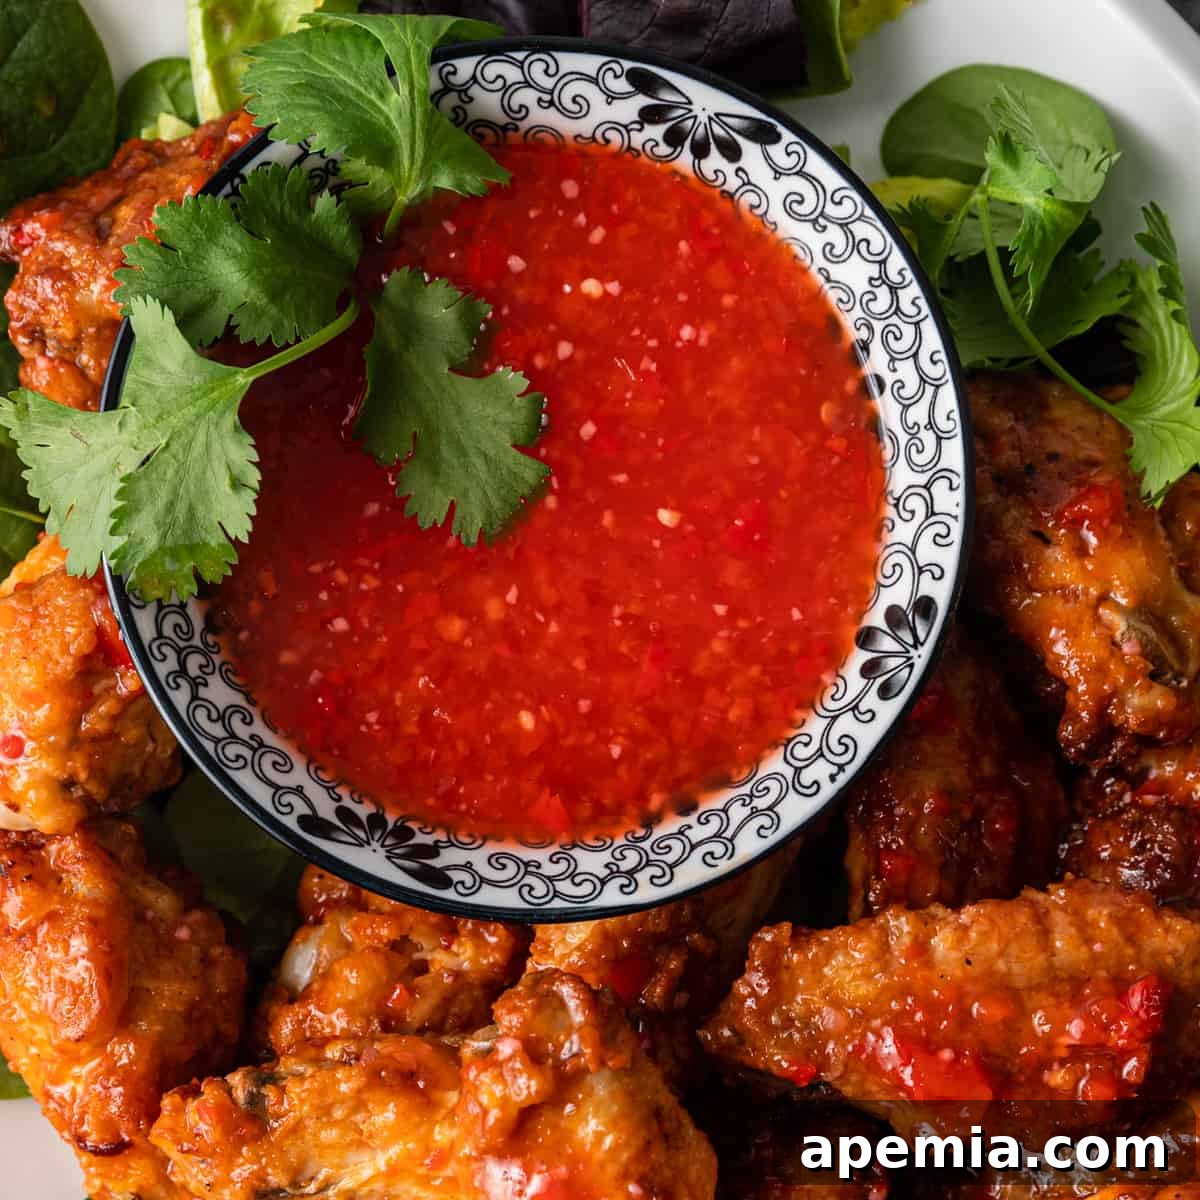
This powerful, aromatic, and utterly delicious sweet chili sauce is the ultimate versatile condiment. Packed with fresh sweet peppers, chilis, and onion, this delightfully sweet and spicy sauce is perfect for dipping, marinating, glazing, or drizzling! Skip the store-bought versions and elevate your meals with a vibrant, homemade touch.
Unlock a World of Flavor with Homemade Sweet Chili Sauce
Imagine a world without sauces. It’s almost unthinkable, isn’t it? Sauces are the unsung heroes of gastronomy, capable of transforming a simple dish into an extraordinary culinary experience. Whether it’s the smoky tang of a classic BBQ sauce on a juicy burger or the creamy kick of buffalo sauce coating crispy chicken wings, a well-crafted sauce elevates whatever it’s paired with, adding depth, moisture, and an unforgettable flavor profile.
When it comes to mastering the art of dipping and marinating, Southeast Asia truly shines. Having traveled extensively across this vibrant region, I’ve had the pleasure of bringing back authentic recipes like homemade Korean gochujang and the essential Vietnamese fish sauce (Nuoc Cham). Now, it’s time to delve into another beloved Asian classic that has captured hearts and palates worldwide: Thai sweet chili sauce.
What’s So Special About This Sweet Chili Sauce?
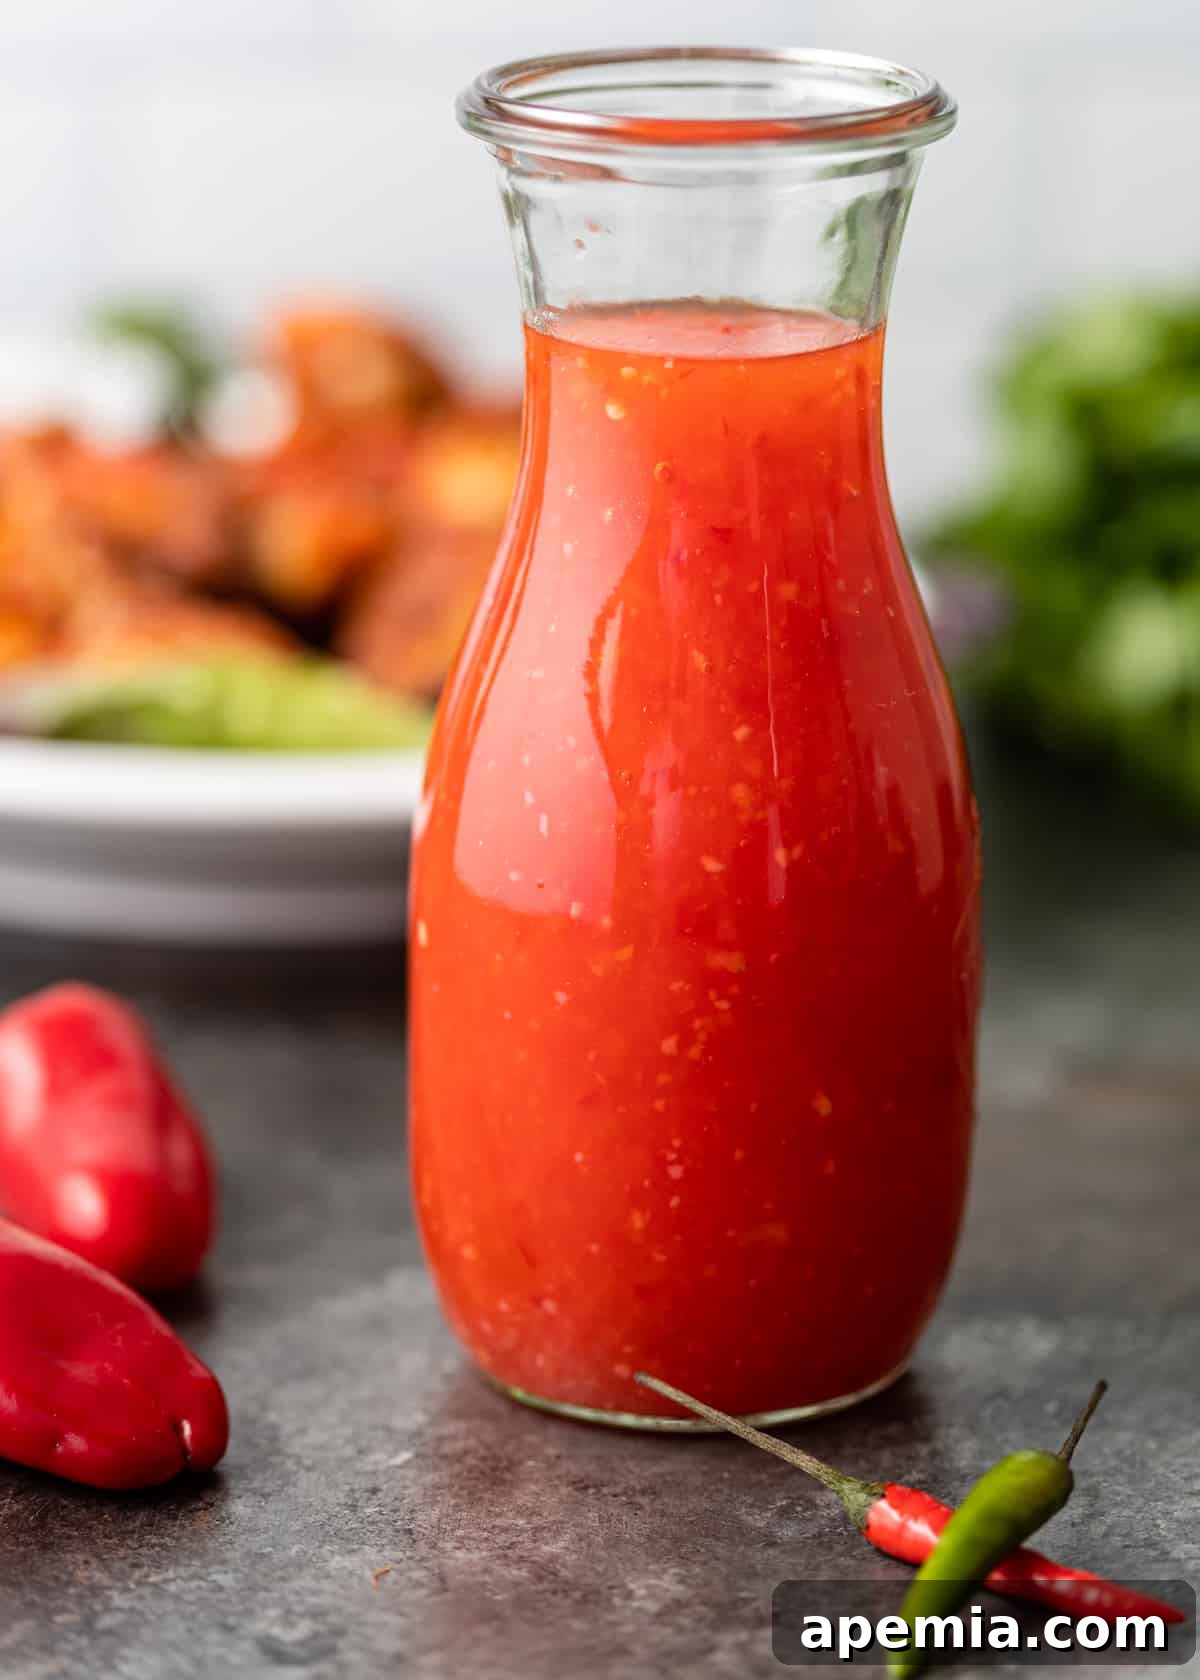
This sweet chili sauce is a symphony of flavors: a beautiful balance of rounded sweetness, a gentle yet exciting heat, and bright, pungent notes of fresh ginger and garlic. Unlike many store-bought varieties that can be overly sweet or lack complexity, this homemade version truly packs more than its fair share of nuanced flavor. The best part? You won’t need to hunt for exotic ingredients. Everything required for this straightforward, at-home recipe can be conveniently found at your local grocery store, making it incredibly accessible for any home cook.
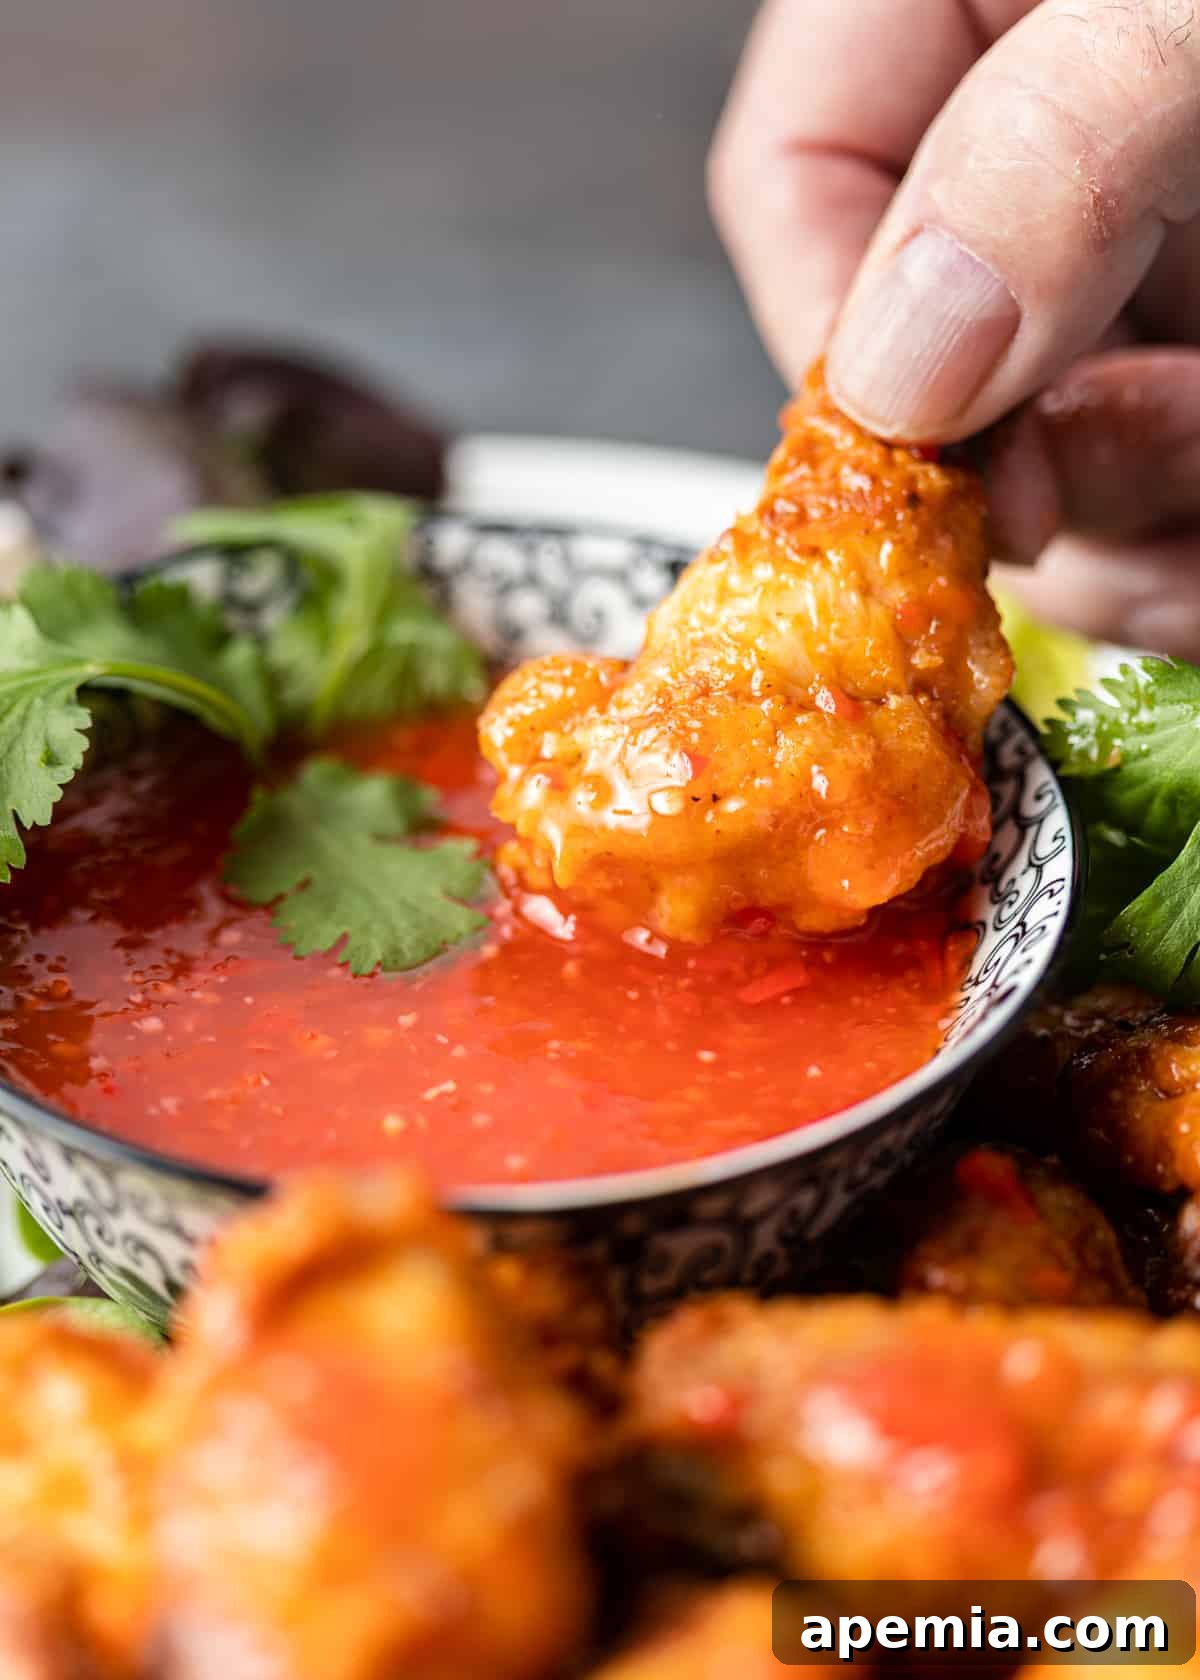
You’ve undoubtedly encountered this iconic, vibrant crimson sauce as a beloved accompaniment to crispy spring rolls, savory dumplings, or succulent shrimp. However, its versatility extends far beyond these classics. This sauce truly pairs fantastically with almost anything you can imagine! I often find myself drizzling it over my eggs in the morning for an unexpected kick, and it’s surprisingly delicious spread on toast for a sweet and spicy start to the day. Use it as a vibrant dipping sauce for appetizers, brush it on grilled chicken or fish as a glossy glaze, or incorporate it into marinades for an incredible depth of flavor. It’s particularly sensational with my Crispy Coconut Shrimp, adding a perfect counterpoint to the rich, tropical notes.
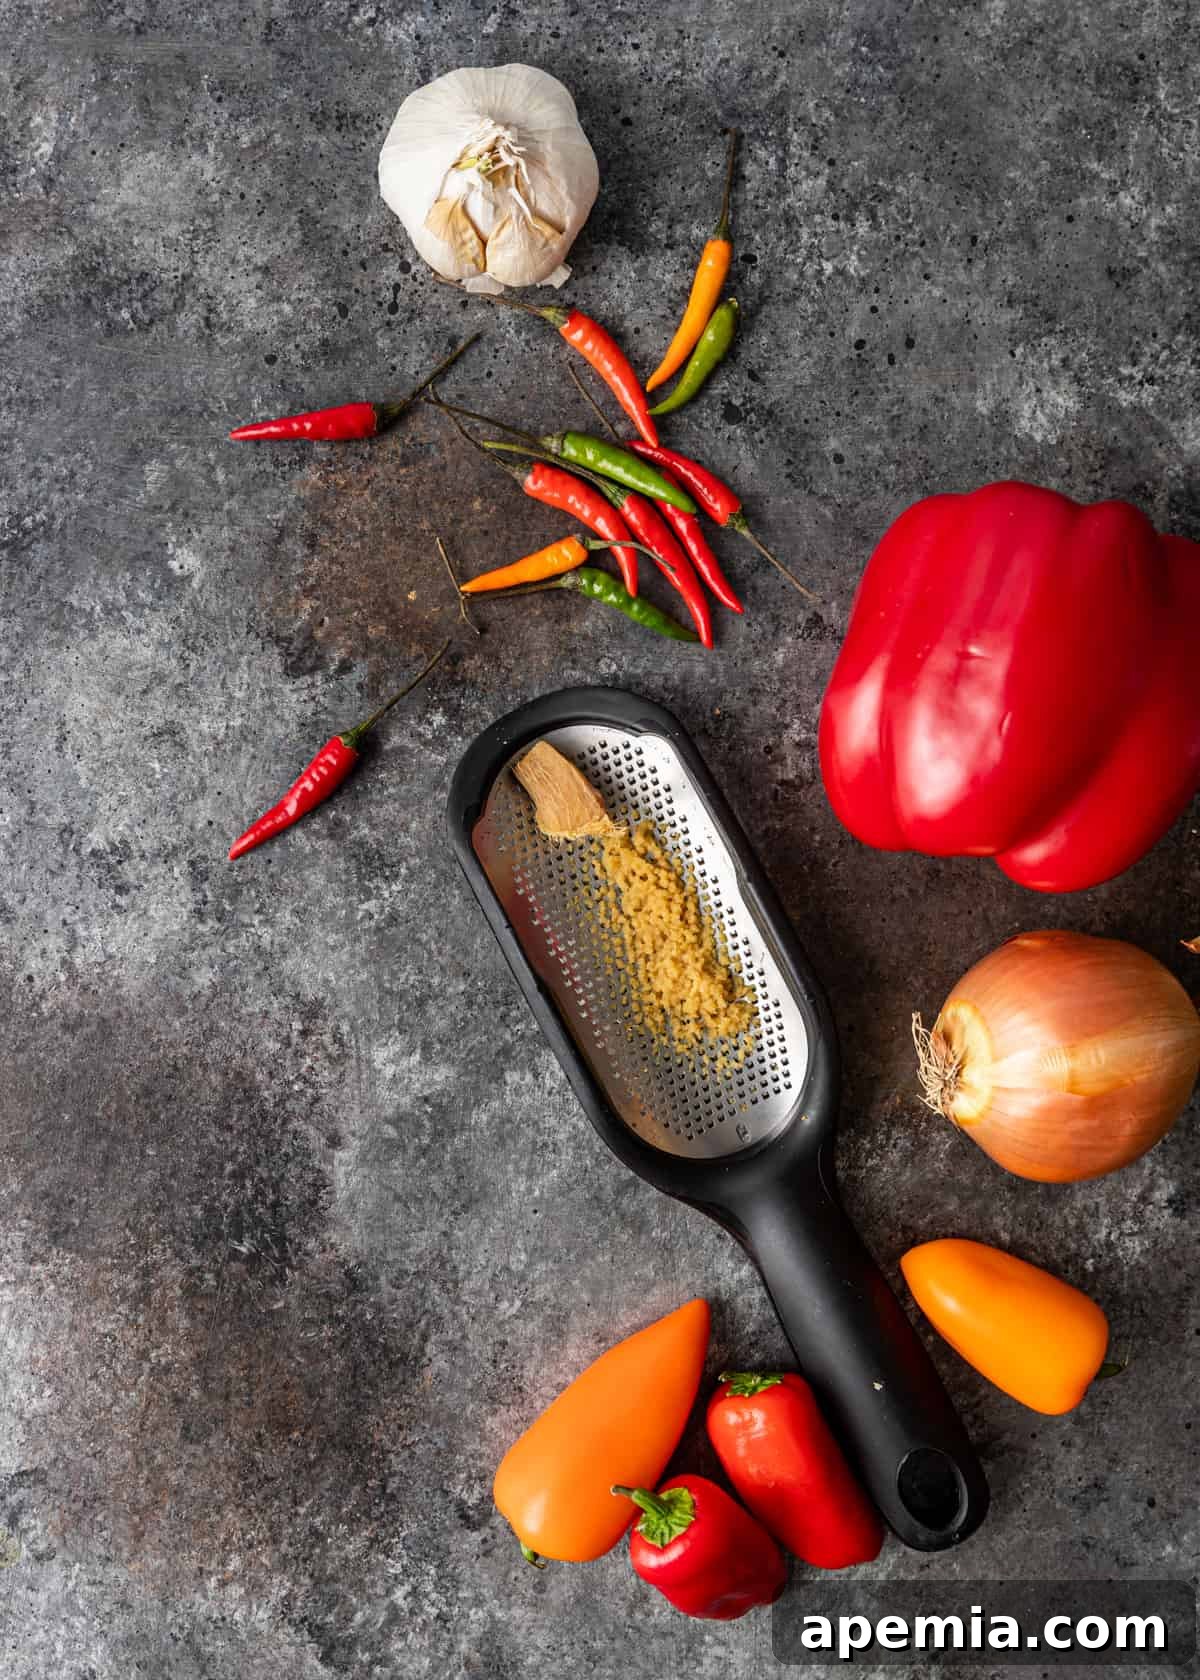
Ingredient Notes and Expert Substitutions
(Be sure to check the recipe card for a full list of ingredients and precise quantities)
- Bell Pepper: While any color of sweet bell pepper will contribute to the sauce’s texture and natural sweetness, a red bell pepper is highly recommended. It enhances the vibrant, appetizing color of the finished sauce, making it visually appealing. Remember to thoroughly remove all seeds before processing to ensure a smooth consistency.
- Bird’s Eye Chili: This is the classic Thai chili, renowned for its bright, sharp heat that wonderfully mellows into the sauce as it cooks, infusing it with a complex warmth. Beyond the spice, it offers a subtle fruity undertone that perfectly complements the sugar in this recipe. If you prefer a milder sauce, you can easily adjust the heat by using fewer Bird’s Eye chilies or opting for a red Fresno chili, which offers a comparable flavor with less intensity. For a very mild sauce, a jalapeño can be deseeded and used.
- Onion: The onion is crucial for balancing the sweetness from the sugar. It adds a savory depth and aromatic foundation that prevents the sauce from tasting one-dimensionally sugary, contributing to its overall complexity. Yellow onions are ideal for their mild sweetness when cooked.
- Garlic: Fresh garlic provides an indispensable pungent, savory, and umami note that is fundamental to most Asian sauces. It elevates the overall flavor profile, adding a foundational depth that ties all the other ingredients together.
- Ginger: The distinctive, gentle heat and aromatic zest of fresh ginger add another vital element of spice and warmth, creating a beautiful contrast with the fiery chili and the sweetness of the sugar. It gives the sauce its signature bright and vibrant character.
- White Vinegar: This ingredient is essential for adding a clean, sharp tang and acidity to the sauce, cutting through the sweetness and heat to provide balance. Rice vinegar can also be used as a fantastic alternative, offering a slightly milder and more delicate tang.
- Sugar: The sugar is not just for putting the ‘sweet’ in sweet chili; it’s a critical component for both flavor and texture. In addition to enhancing the overall taste, the dissolved sugar helps create that desirable syrupy, glossy consistency that makes the sauce cling beautifully to food.
- Cornstarch: This is your secret weapon for achieving the classic glossy, thick, and clingy texture of authentic sweet chili sauce. When mixed with water to form a slurry and then added to the simmering sauce, it provides the perfect amount of thickening without affecting the flavor.
- Kosher Salt: A simple pinch of salt is vital. It doesn’t just add salinity; it acts as a flavor enhancer, bringing out the best in all the other sweet, spicy, and tangy ingredients, ensuring a well-rounded taste.
- Water: Beyond being a base for the sauce, water is essential for creating the cornstarch slurry and helping to achieve the ideal pourable yet viscous consistency of the sweet chili sauce.

How to Make Homemade Sweet Chili Sauce
Creating your own delicious sweet chili sauce at home is surprisingly simple and requires just a few easy steps. Follow these instructions for a perfect batch every time:
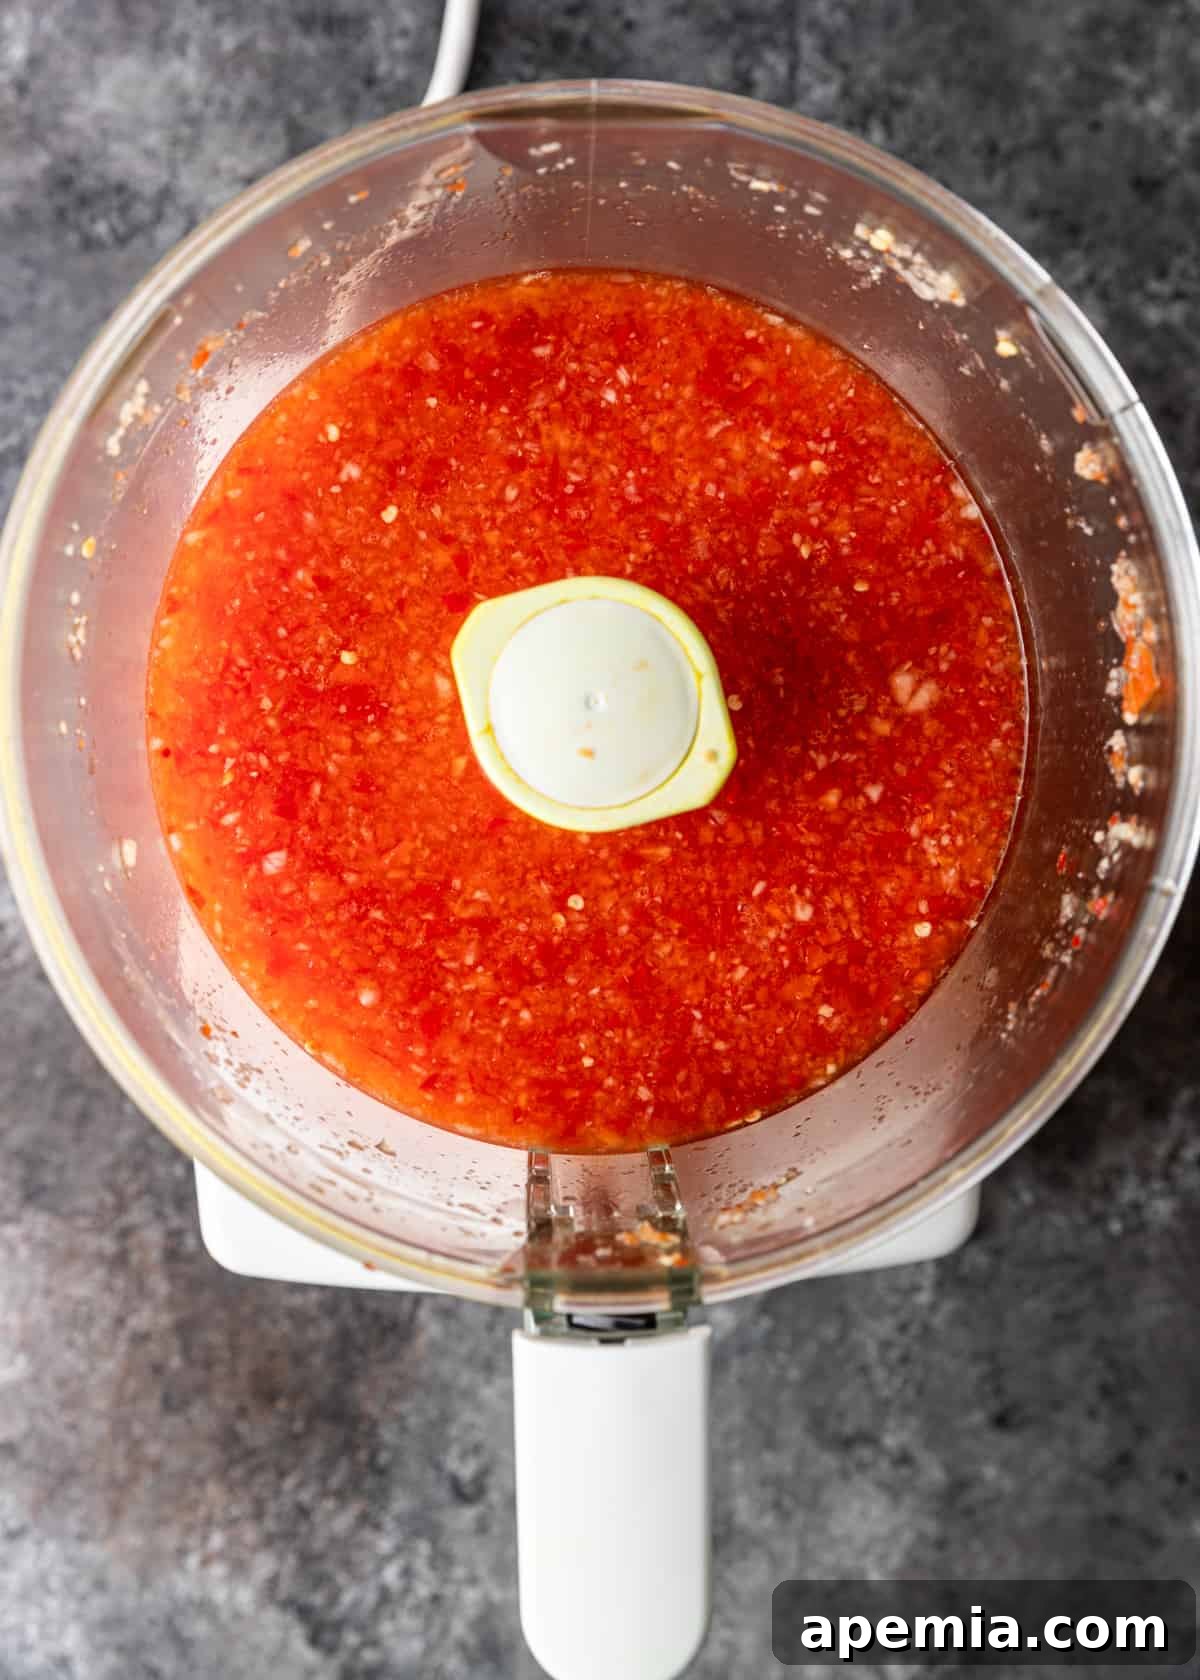
- Prepare the Solids: Begin by roughly chopping your red bell pepper (ensuring seeds are removed), bird’s eye chilis, yellow onion, garlic cloves, and fresh ginger. Place these prepared vegetables, along with a small amount of water, into a food processor. Pulse the mixture carefully until the vegetables are finely minced into tiny, uniform pieces. Be vigilant and stop blending just before they turn into a purée; you want a texture with small discernible flecks.
- Combine and Simmer: Carefully transfer the finely chopped contents from the food processor into a medium saucepan. Add the sugar, kosher salt, and white vinegar to the pan. Place the saucepan over medium heat and bring the mixture to a gentle simmer, stirring occasionally. Continue to cook until all the sugar and salt have completely dissolved, creating a flavorful liquid base. While this is simmering, prepare your thickening agent: in a small separate bowl, whisk together the cornstarch and the remaining water to form a smooth, lump-free slurry.
- Thicken and Cool: Reduce the heat to low. Gradually pour the prepared cornstarch slurry into the simmering sauce in the saucepan, stirring constantly with a whisk or spoon. Continue to stir gently as the sauce thickens to your desired consistency – it should become glossy and coat the back of a spoon. Once thickened, remove the pan from the heat. Allow the sauce to cool completely at room temperature before serving or transferring it to a storage container. As it cools, it will continue to thicken slightly.
Recommended Kitchen Tools
- Food Processor: This is arguably the most crucial tool for this recipe. The solid ingredients – bell pepper, chili, onion, garlic, and ginger – need to be chopped incredibly finely before simmering to form a smooth, consistent sauce. Attempting this with a knife would be impractical, messy, and potentially irritating to your eyes from the onion and chili fumes. A food processor saves you significant time and effort, ensuring a perfect texture with minimal fuss.
- Medium Saucepan: A non-reactive saucepan (stainless steel or enameled) is ideal for simmering the sauce, ensuring even heat distribution and preventing any metallic tastes.
- Whisk: Essential for incorporating the cornstarch slurry smoothly and preventing lumps, ensuring a silky texture.
Storing and Reheating Your Sauce
Proper storage is key to enjoying your homemade sweet chili sauce for weeks to come. If you’re not planning to devour your batch immediately, transfer the cooled sauce into a clean, airtight glass jar or container. It will keep beautifully when refrigerated for up to 4 weeks, allowing you to have a delicious condiment on hand whenever inspiration strikes.
For longer preservation, this sweet chili sauce is also perfectly suitable for freezing! Pour the cooled sauce into freezer-safe containers or even ice cube trays (for single-serving portions). Ensure the container is sealed tightly to prevent freezer burn, then freeze for up to 3 months. When you’re ready to use it, simply thaw the sauce overnight in the refrigerator. After thawing, give it a good stir to recombine any separated ingredients. If the sauce has loosened slightly during the thawing process, you can easily restore its classic texture by simmering it gently in a small saucepan over low heat for a couple of minutes, stirring constantly until it thickens back up.
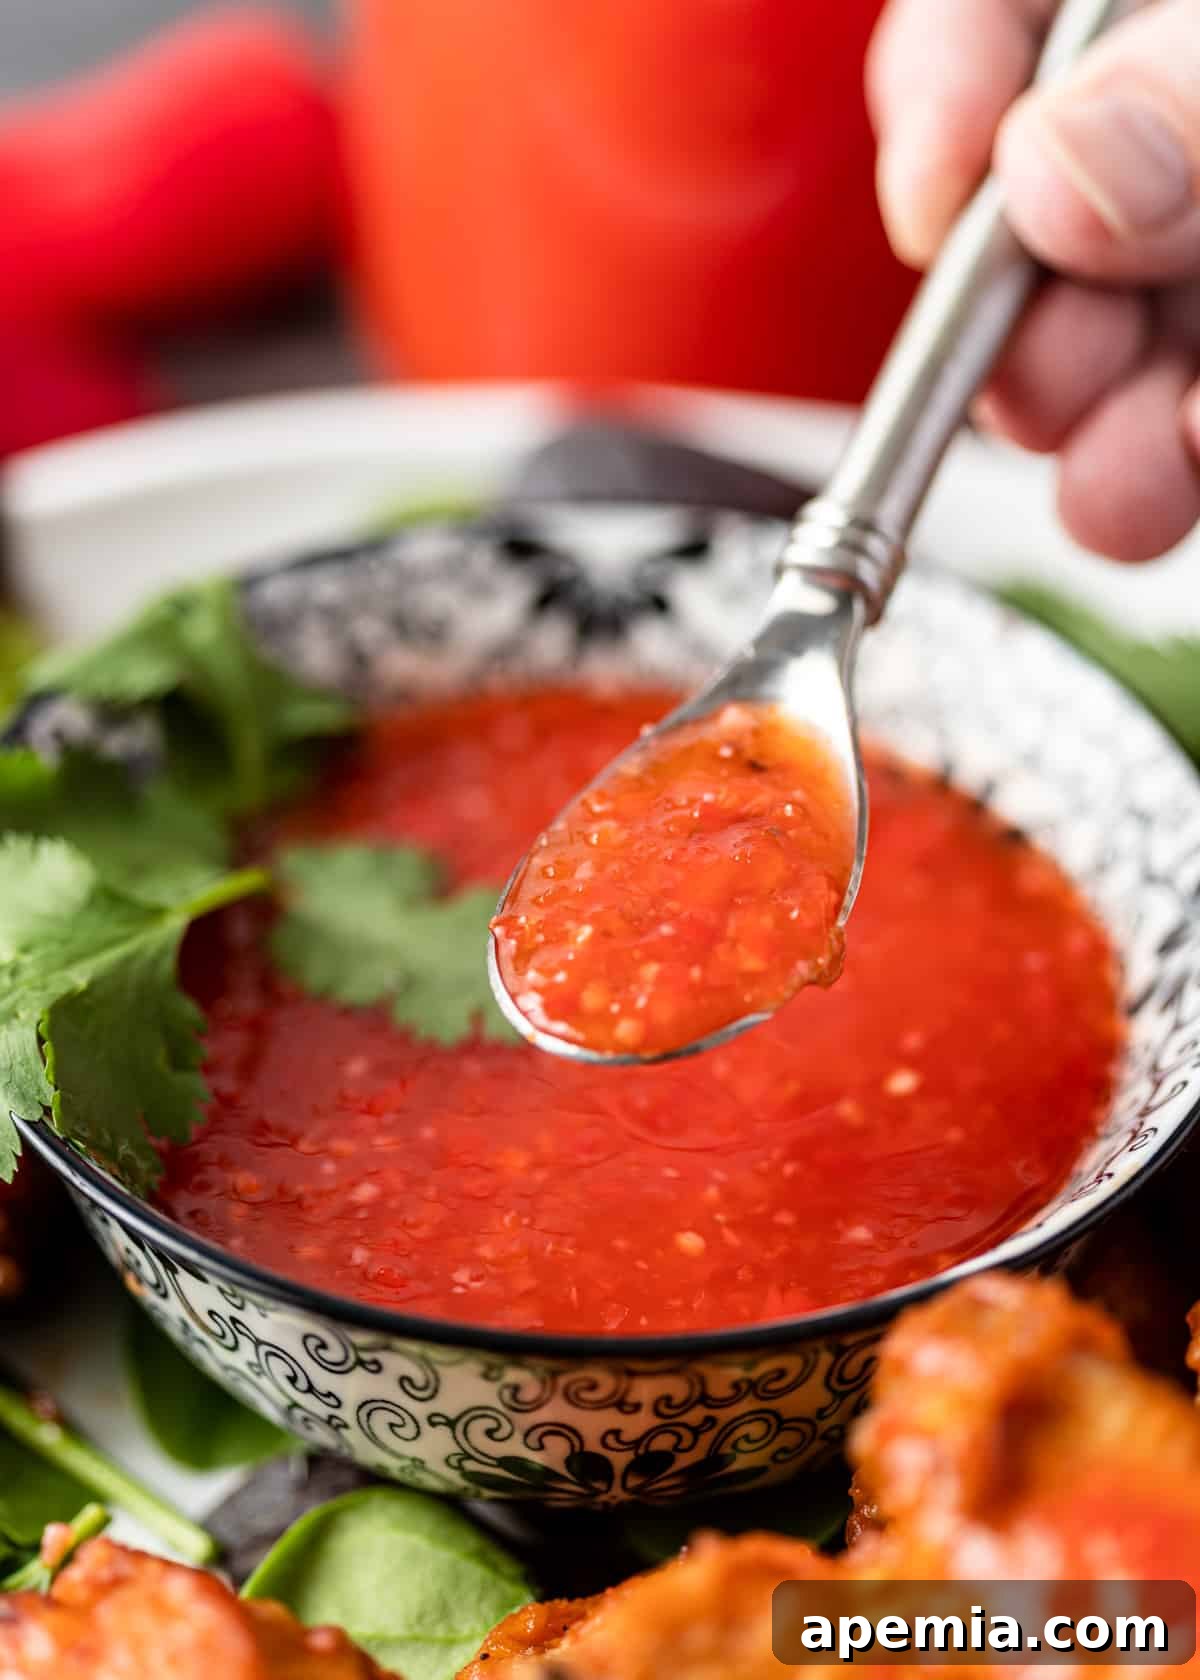
Share this recipe on Pinterest!
Love this recipe? Share it with the world on Pinterest so others can enjoy it too.
Frequently Asked Questions
This recipe definitely has a noticeable kick! Bird’s eye chilis are known for their significant heat, and using three of them ensures a vibrant spice. If you prefer a milder sauce, you have a few options: you can reduce the number of chilies used to two or even one, or you can opt for a milder variety like a deseeded jalapeño or a red Fresno chili, which offers a similar fruity flavor profile with less intensity. Always aim to balance the heat with the sweetness of the sugar, so give it a quick taste before removing it from the heat to ensure it’s just right for your palate.
If your sweet chili sauce has a burnt or bitter taste, it’s likely due to the sugar caramelizing too quickly and burning. This usually happens if the heat is too high during the simmering process. Sugar can scorch very rapidly. To prevent this, always simmer the sauce over a lower heat setting (medium-low or low) and stir more regularly and thoroughly. Constant stirring helps distribute the heat evenly and prevents the sugar from sticking and burning at the bottom of the pan.
Yes, you absolutely can use dried chilis, but be aware that it will significantly alter the flavor profile. Dried chilis tend to have a deeper, smokier, and less bright taste compared to fresh chilies. They will give your sauce a richer, more complex, and often more earthy kind of heat. If you decide to go this route, it’s essential to rehydrate your dried chilis first. Soak them in hot water for about 15 to 20 minutes, or until they become soft and pliable, before adding them to your food processor. This will ensure they blend properly and release their flavors into the sauce.
Achieving the perfect consistency is key. If your sauce is too thick after cooling, simply thin it out by stirring in a tablespoon or two of warm water until it reaches your desired consistency. If your sauce is too thin, you can easily thicken it further. Mix another teaspoon of cornstarch with an equal amount of cold water to create a new slurry. Bring the sauce back to a gentle simmer over low heat, then gradually whisk in the new cornstarch slurry until the sauce thickens. Be careful not to add too much at once, as the sauce will continue to thicken as it cools.
Beyond classic dipping, this sauce is incredibly versatile! Try it as a glaze for grilled salmon, pork chops, or even roasted vegetables like Brussels sprouts or cauliflower. Whisk a spoonful into a vinaigrette for a sweet and spicy salad dressing, or mix it with a little mayo for a creamy sandwich spread. It’s fantastic drizzled over cream cheese and served with crackers as an easy appetizer, or as a vibrant addition to stir-fries or noodle bowls for an extra burst of flavor. Don’t hesitate to experiment!

Homemade Sweet Chili Sauce Recipe
5 from 2 votes
Packed with fresh peppers and ginger, this homemade sweet chili sauce is a little hot, a little sweet, and remarkably simple to make! It’s the ultimate condiment for any occasion.
Pin Recipe
Print Recipe
Ingredients
- 1 red bell pepper (seeds removed, quartered)
- 3 Bird’s Eye Chilis (rough chopped, adjust to taste for desired heat)
- 1 small yellow onion (rough chopped)
- 6 cloves fresh garlic
- 2 tablespoons grated fresh ginger
- 2 cups water (for sauce base)
- ½ cup white vinegar
- 1 tbsp kosher salt
- 1 cup granulated sugar
- 2 tablespoons cornstarch
- 2 tablespoons cold water (for slurry)
Instructions
- Chop the Solids: Place the quartered bell pepper, rough-chopped chilis, onion, garlic, grated ginger, and 2 tablespoons of water into a blender or food processor. Pulse until the vegetables are very finely chopped into tiny pieces, but be careful not to purée them into a smooth paste. You want some texture.
- Simmer the Sauce Base: Transfer the finely chopped mixture to a medium saucepan. Add the sugar, kosher salt, and white vinegar. Bring the mixture to a gentle simmer over medium heat, stirring occasionally until both the sugar and salt are completely dissolved.
- Prepare Cornstarch Slurry: In a small separate bowl, whisk together the 2 tablespoons of cornstarch with the 2 tablespoons of cold water to form a smooth slurry.
- Thicken the Sauce: Reduce the heat to low. Gradually pour the cornstarch slurry into the simmering sauce in the pan, stirring constantly with a whisk. Continue to stir until the sauce thickens to a glossy, syrupy consistency. Remove the saucepan from the heat and let the sauce cool completely. It will thicken further as it cools.
- Serve or Store: Your homemade sweet chili sauce is now ready! Serve it immediately as a delicious dip for spring rolls, toss it with crispy chicken wings, or use it as a glaze for various meats and vegetables. For storage, transfer the cooled sauce to a clean, airtight jar and refrigerate for up to 4 weeks.
Notes
This recipe yields approximately 3 cups of sweet chili sauce. The nutrition information provided below is an estimate based on a 1/4 cup serving size.
Nutrition Facts (per serving)
Calories: 82kcal |
Carbohydrates: 20g |
Protein: 1g |
Fat: 1g |
Saturated Fat: 1g |
Sodium: 586mg |
Potassium: 44mg |
Fiber: 1g |
Sugar: 17g |
Vitamin A: 320IU |
Vitamin C: 16mg |
Calcium: 8mg |
Iron: 1mg
The information shown is an estimate provided by an online nutrition calculator. It should not be considered a substitute for a professional nutritionist’s advice.
Tag @keviniscooking or use the hashtag #keviniscooking!