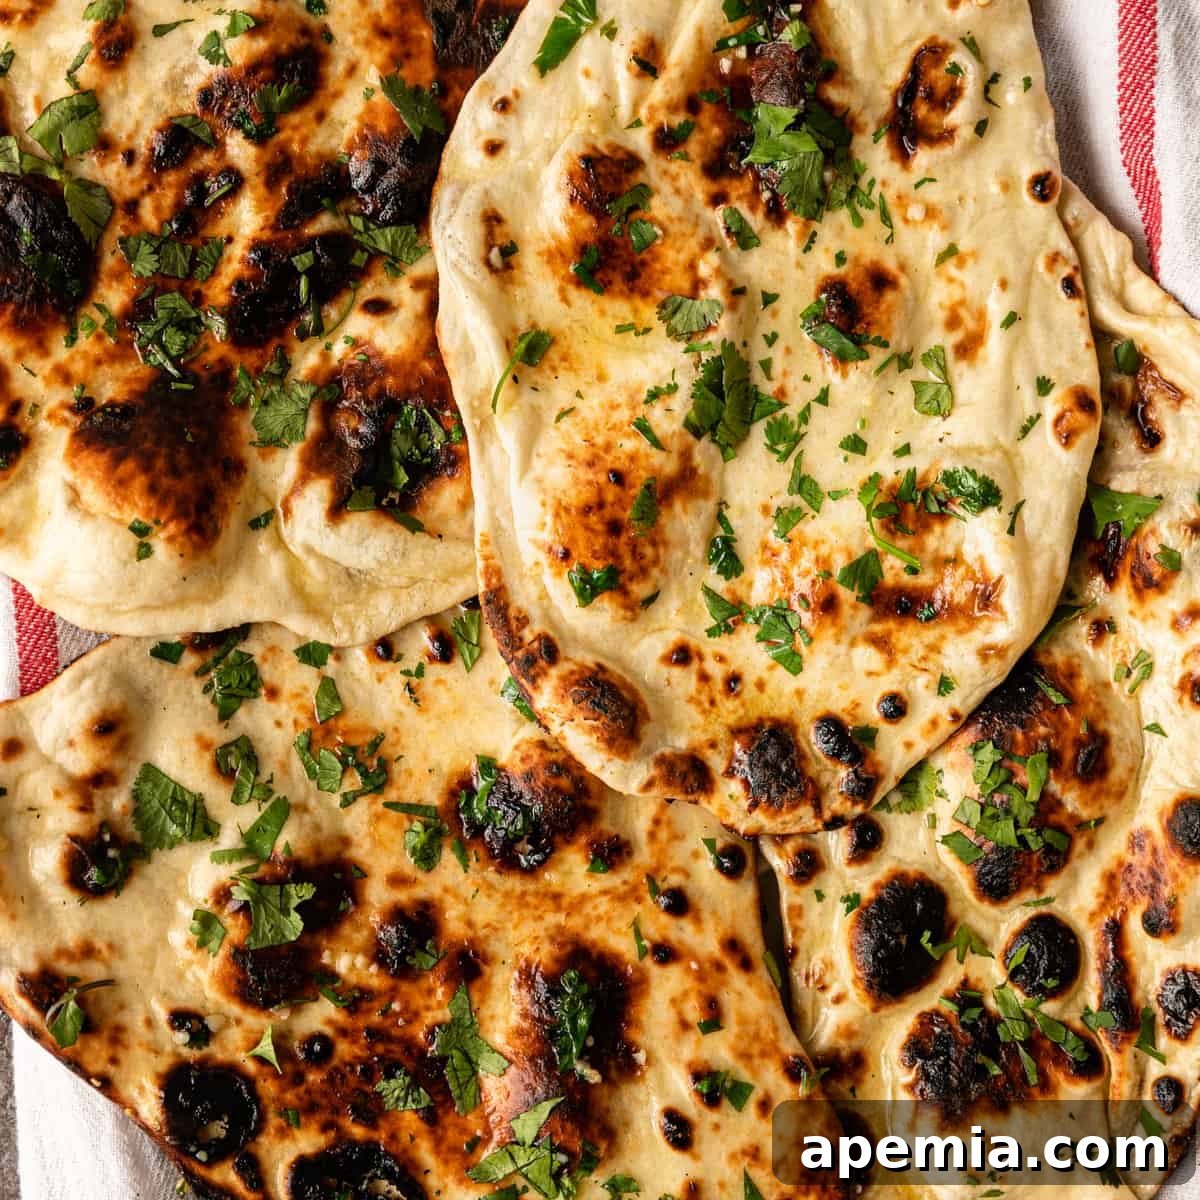
Unlock the secrets to crafting incredibly soft, chewy, and utterly delectable Indian naan right in your own kitchen! This authentic naan recipe delivers that signature pull-apart texture, making it the perfect accompaniment for rich curries, creamy dips, gourmet flatbread pizzas, or simply enjoyed on its own. You’ll be amazed at how effortlessly you can achieve bakery-quality, garlicky naan on your stovetop, transforming your weeknight meals into an exotic culinary journey.
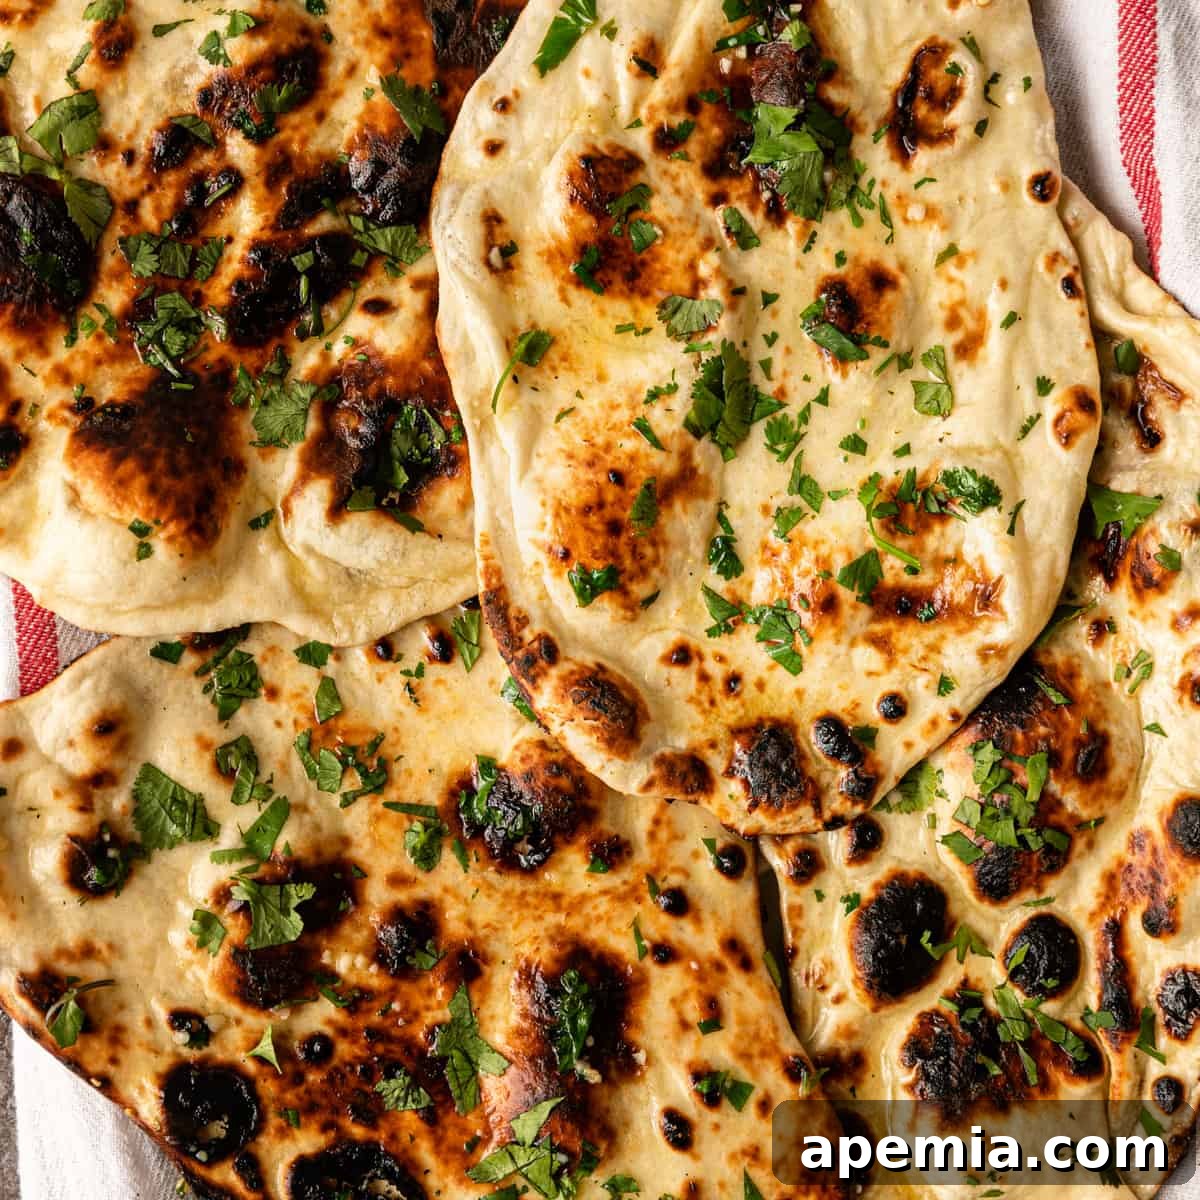
My culinary journey through India, encompassing vibrant cities like New Delhi, Jaipur, Agra, and the wildlife haven of Ranthambore, introduced me to a daily ritual: savoring dal makhani and fresh naan. This immersive experience ignited a passion for recreating those authentic flavors at home. After numerous attempts and consultations, I’ve perfected this naan recipe, along with my beloved Dal Makhani recipe, to bring you a truly delicious take on these Indian staples.
Often, the most challenging aspect of baking homemade bread is achieving the ideal dough consistency. But fear not! I’ve simplified the process, ensuring your dough is perfectly pliable and ready to yield soft, pull-apart garlic naan in just a few hours. The video tutorial included in the recipe card below provides a visual guide to every step, making it even easier to follow along.
While some mistakenly refer to it as “naan bread,” it’s worth noting that “naan” is actually a Persian word meaning “bread.” Thus, saying “naan bread” is redundant, but whatever you choose to call this delightful flatbread, its incredible taste and versatility are undeniable.
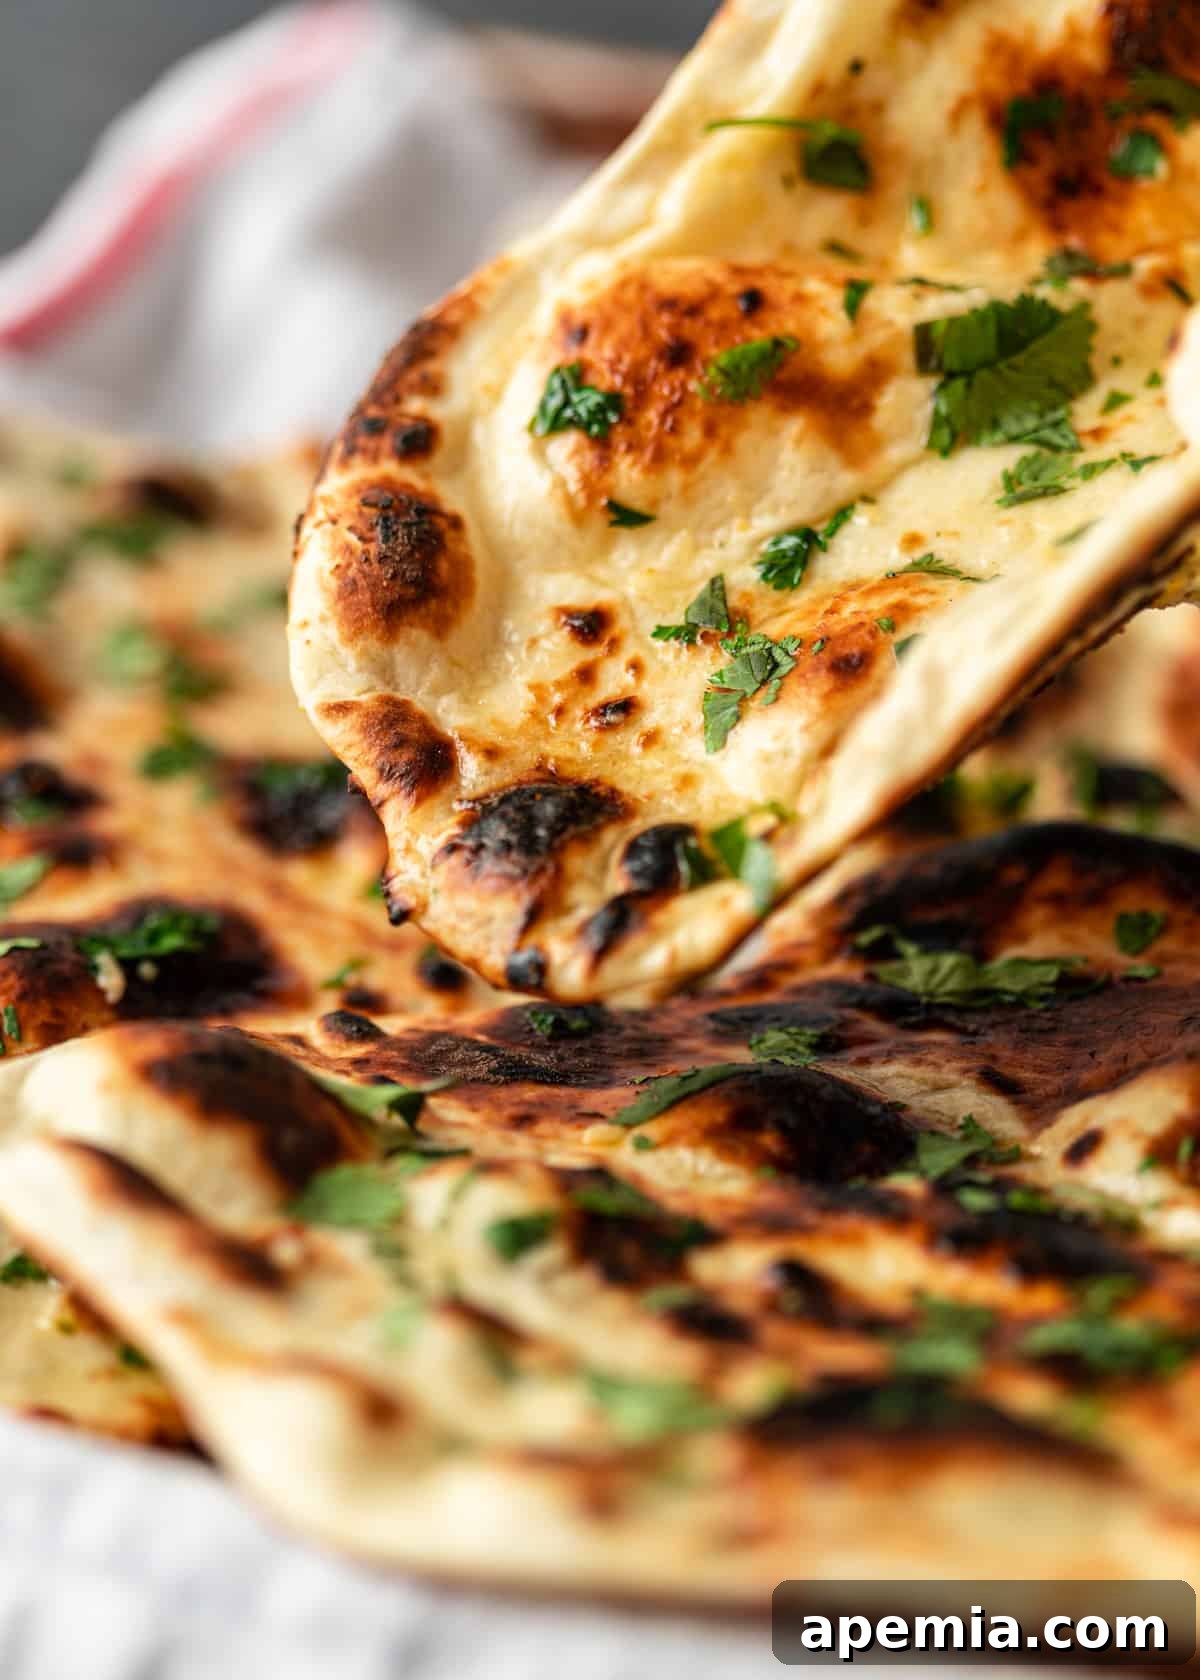
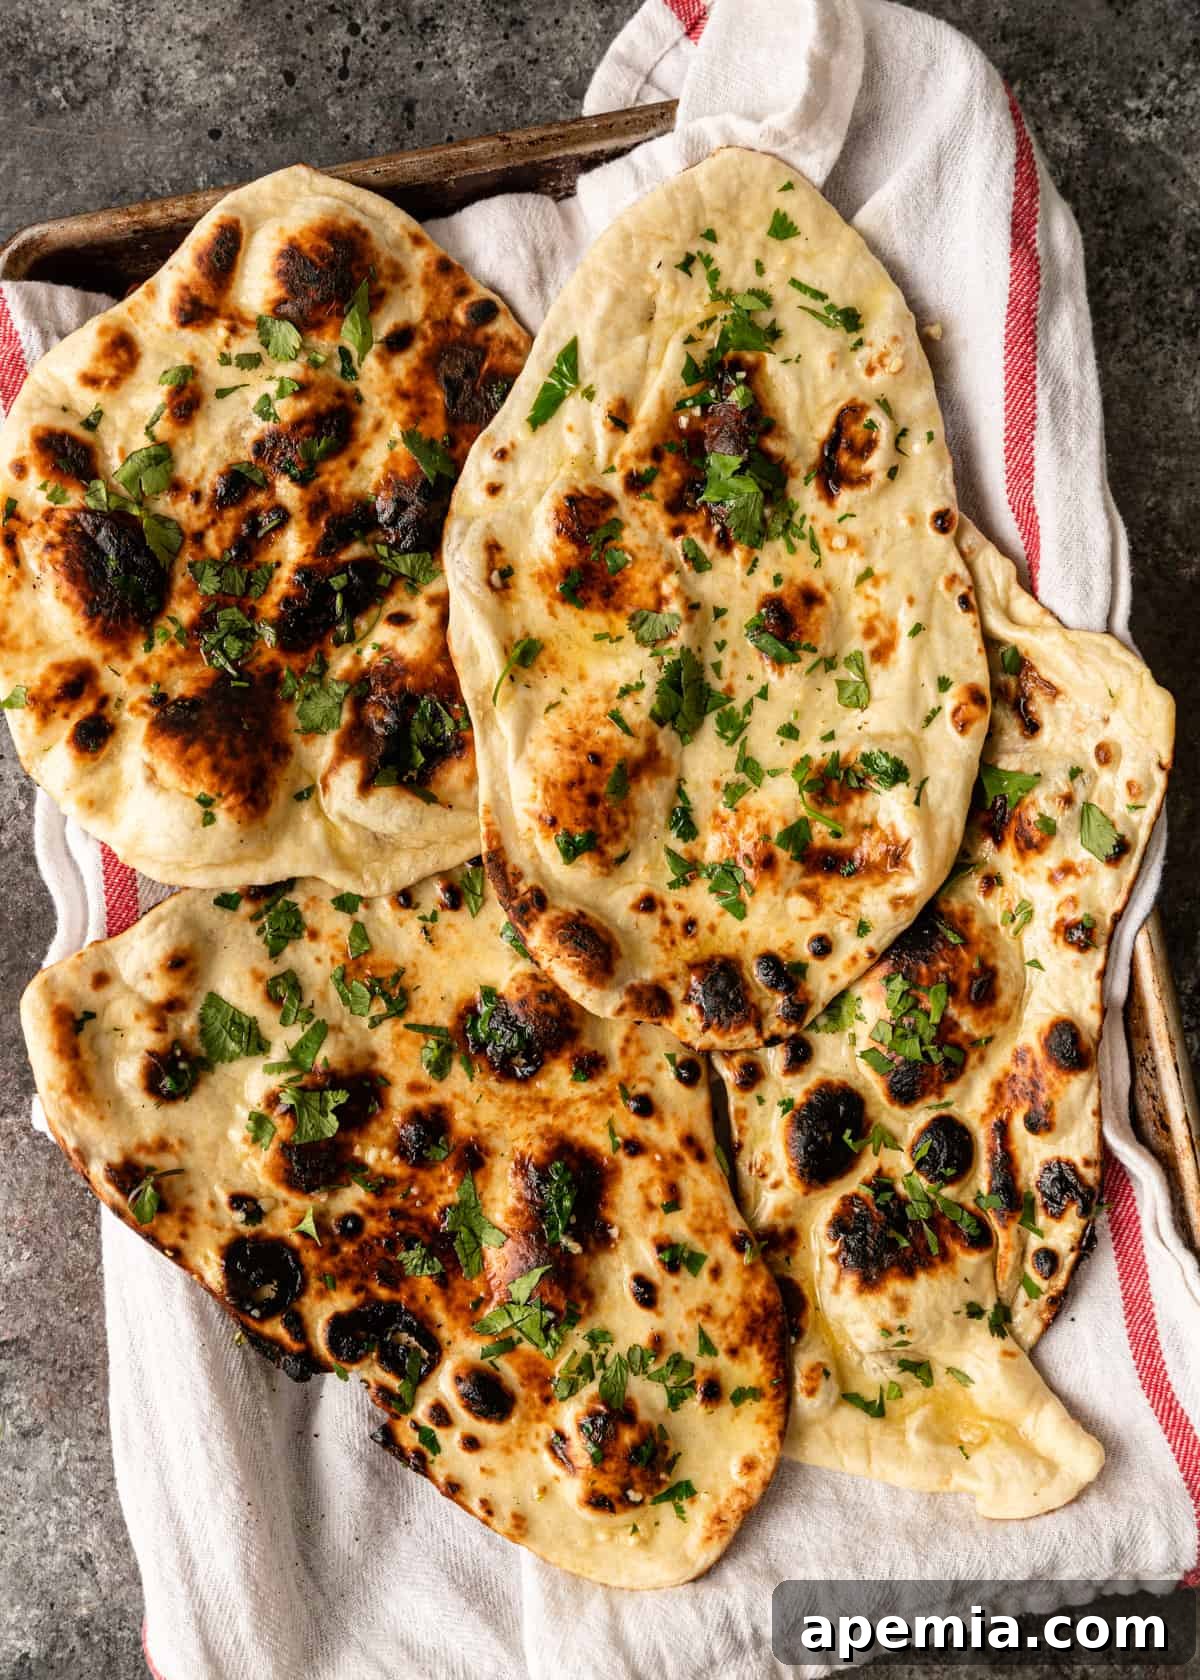
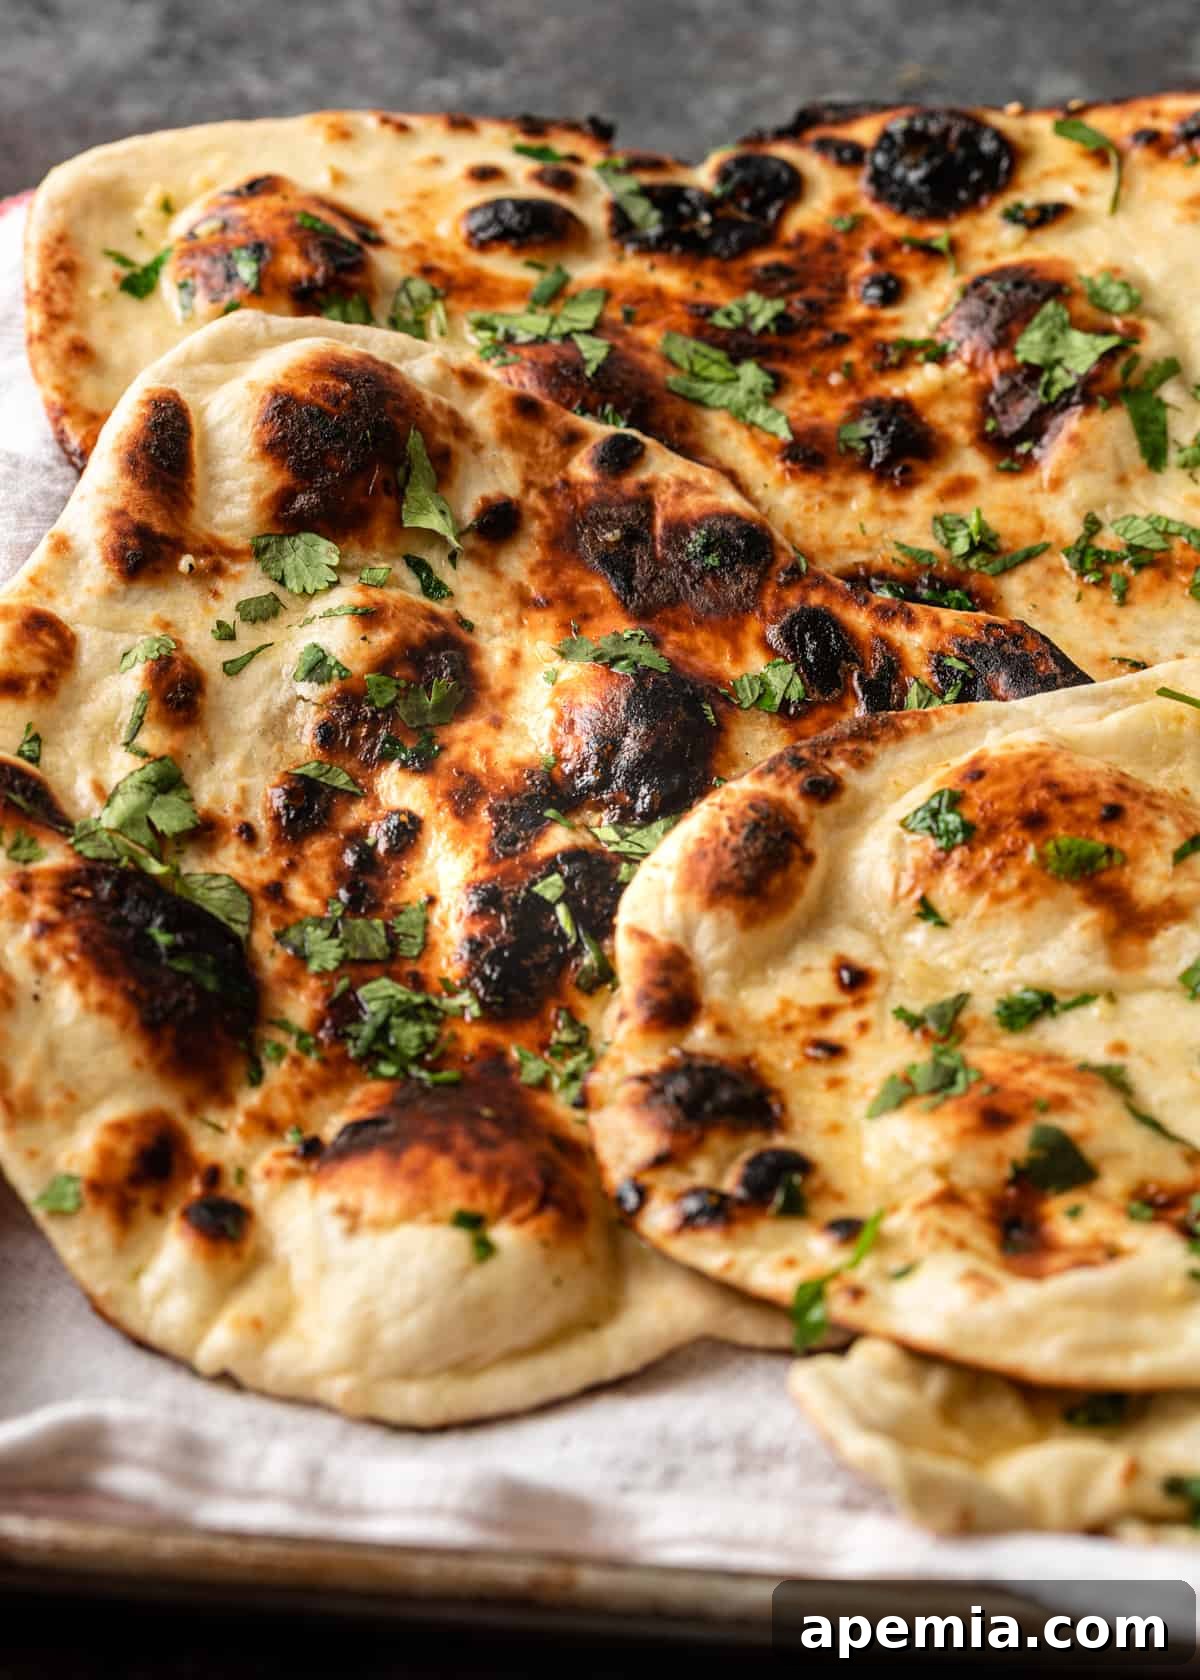
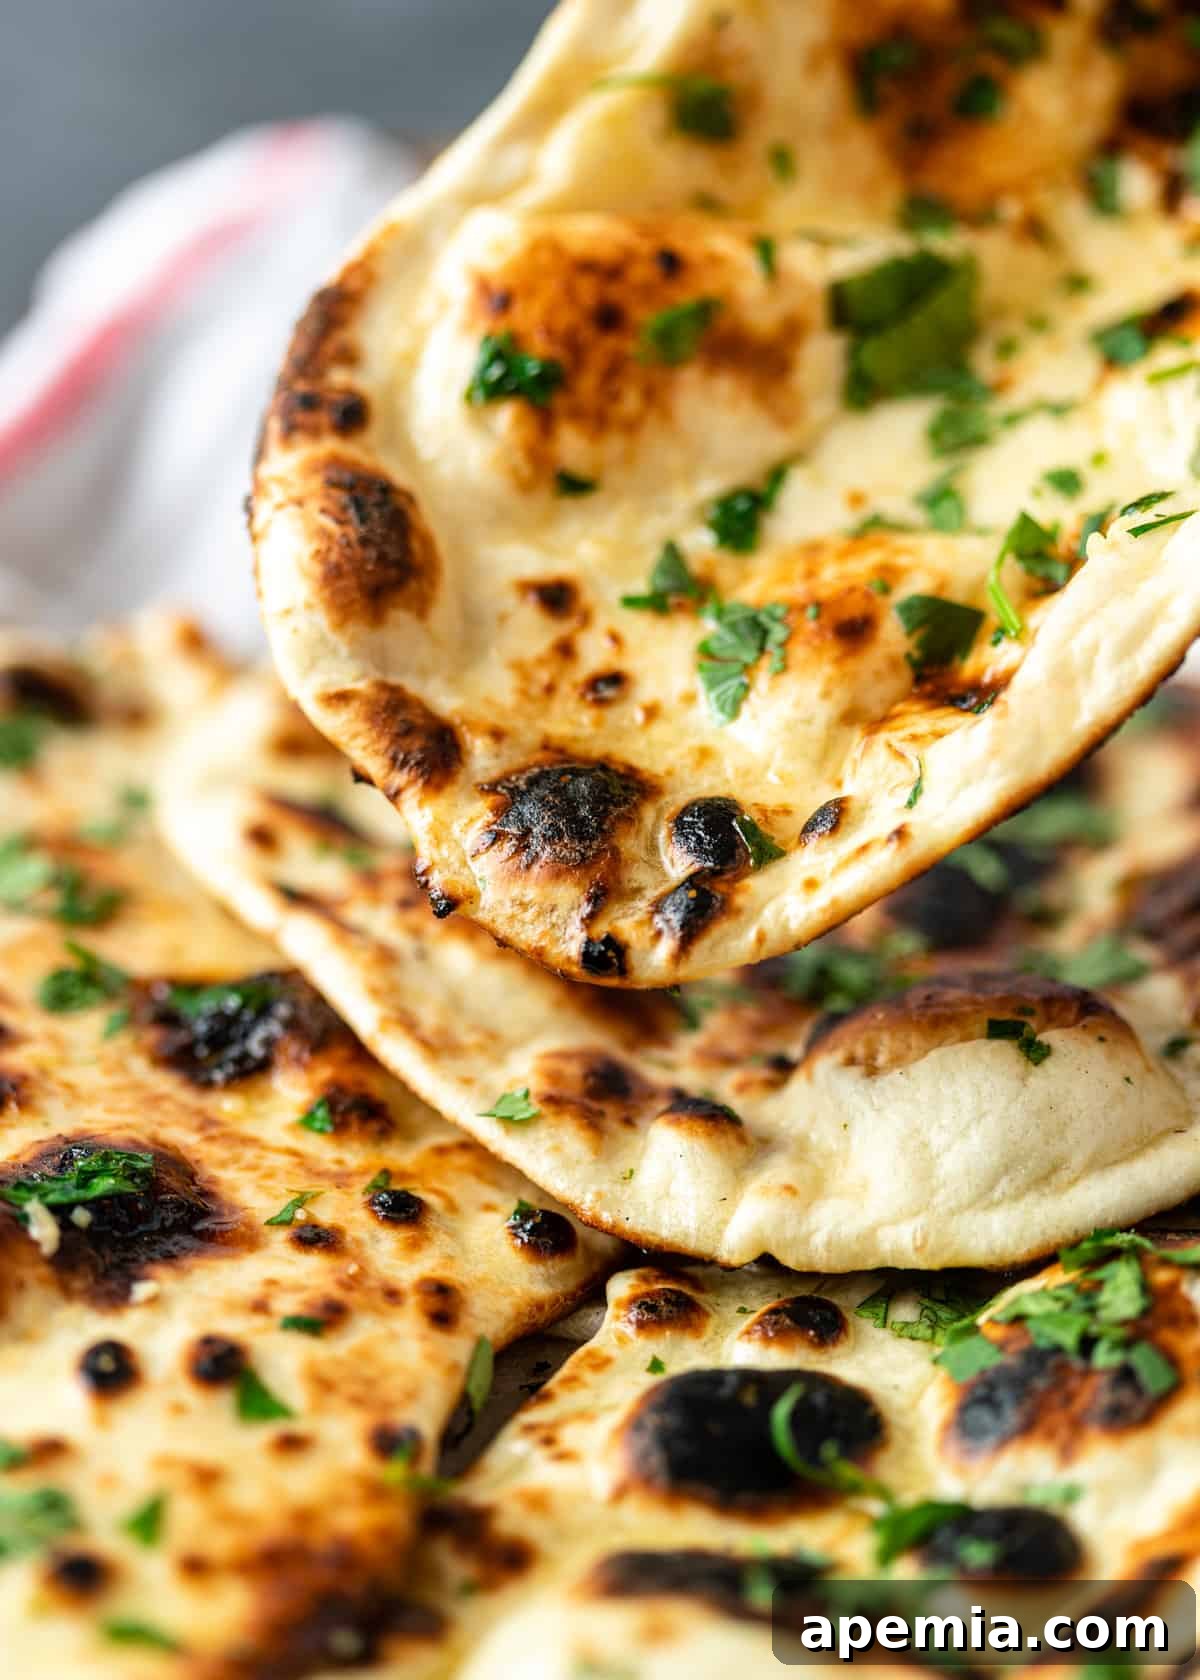
This beloved Indian flatbread transcends borders, gracing tables across Asia and the Caribbean. Its defining characteristics are its tender, fluffy interior and delightfully chewy texture. My signature naan recipe involves a generous brushing of melted ghee (or butter), infused with minced garlic and fragrant chopped coriander. This luxurious finish elevates the naan, making it so flavorful that you’ll be tempted to devour it plain.
However, I highly recommend pairing it with your favorite curry, a rich and creamy korma, the comforting dal makhani, or as a unique base for a tandoori pizza. The possibilities for culinary exploration are endless!
Table of Contents
- The Rich History of Naan
- Ingredient Notes and Substitutions
- Preparing the Naan Dough
- Ghee or Butter: The Secret to Richness
- How to Make This Naan Recipe
- Tips for Perfect Homemade Naan
- Recommended Tools for Naan Making
- Storing and Reheating Your Naan
- Naan Recipe (Indian Flatbread) Recipe
- Frequently Asked Questions About Naan
The Rich History of Naan
Naan has a fascinating history, tracing its origins back thousands of years to ancient Persia. It arrived in India with the Mughal Empire, where it became a royal delicacy. Traditionally, naan was baked in a tandoor – a cylindrical clay oven that reaches extremely high temperatures, giving the bread its characteristic smoky flavor and beautifully blistered crust. Over centuries, naan evolved, with various regions developing their unique versions. While a tandoor oven might not be accessible in every home kitchen, modern techniques, like using a cast iron skillet, allow us to replicate the essence of this ancient flatbread, making it a beloved staple worldwide.
Ingredient Notes and Substitutions
(For a complete list of ingredients and precise quantities, please refer to the recipe card below.)
- Lukewarm Water, Sugar, Active Dry Yeast : The success of your naan largely depends on active yeast. Ensure your water is lukewarm, ideally around 105-115°F (40-46°C). Water that is too hot will kill the yeast, while water that is too cold won’t activate it effectively. The sugar acts as food for the yeast, helping it to “bloom” and create the necessary gases for a fluffy dough.
- All-purpose Flour : You don’t need any specialized flour for this naan bread recipe. Standard all-purpose flour works beautifully, providing a tender yet sturdy structure for your flatbread. For a slightly different texture, you could experiment with a blend of all-purpose and whole wheat flour, though adjustments to water content might be needed.
- Salt : A small amount of salt is crucial not only for enhancing the overall flavor of the bread but also for regulating yeast activity. It helps to control the fermentation process, preventing the dough from over-proofing too quickly and contributing to a more balanced taste.
- Baking Powder : This ingredient works in conjunction with the yeast to give the naan an extra boost of leavening, resulting in an even puffier and fluffier texture. It ensures those delightful air pockets that make naan so enjoyable.
- Ghee : While regular unsalted butter can certainly be used, ghee is a star ingredient here. This clarified butter, traditional in Indian cuisine, adds a rich, nutty depth of flavor that is unparalleled. Its higher fat content also contributes to a wonderfully tender crumb. You can easily find ghee in most grocery stores or make your own at home.
- Garnishes : The final flourish for your warm, fresh Indian flatbread involves a luscious brush of melted ghee or butter, generously sprinkled with aromatic, freshly chopped cilantro, and pungent minced garlic. This combination is what truly makes this garlic naan shine.
Preparing the Naan Dough
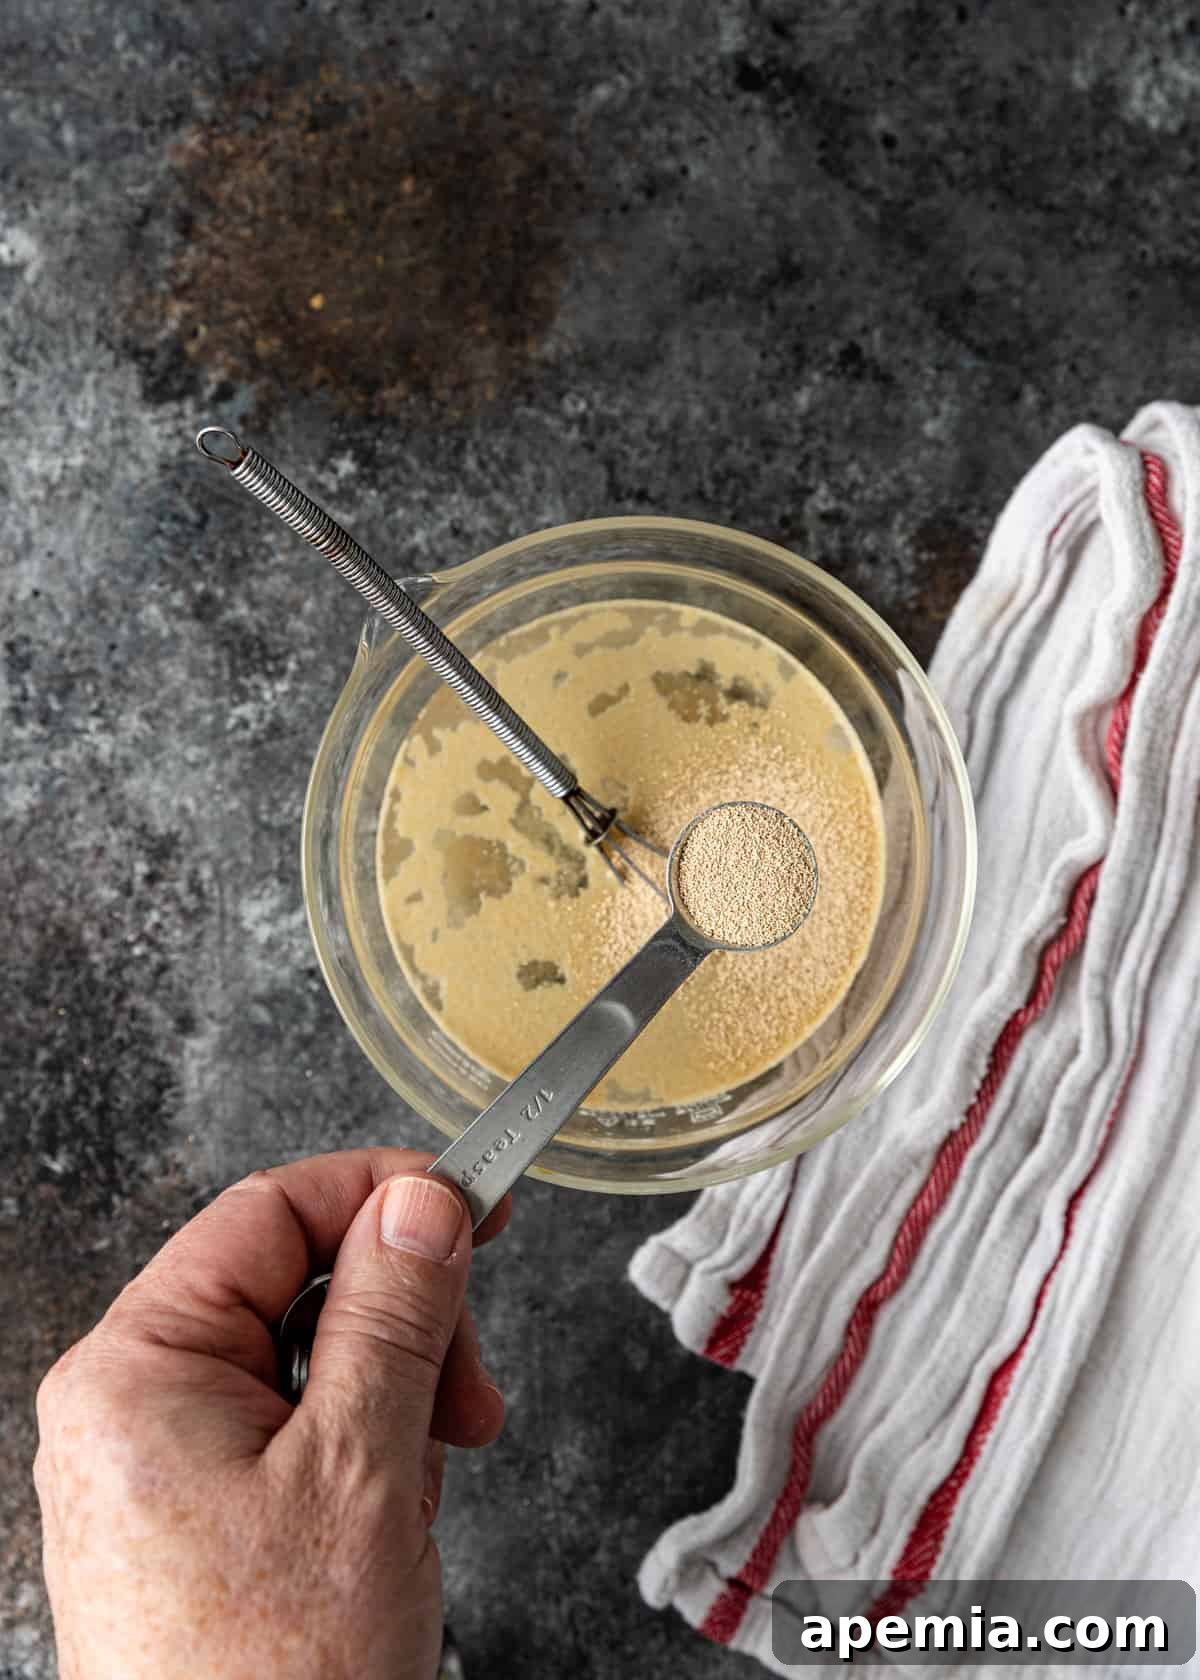
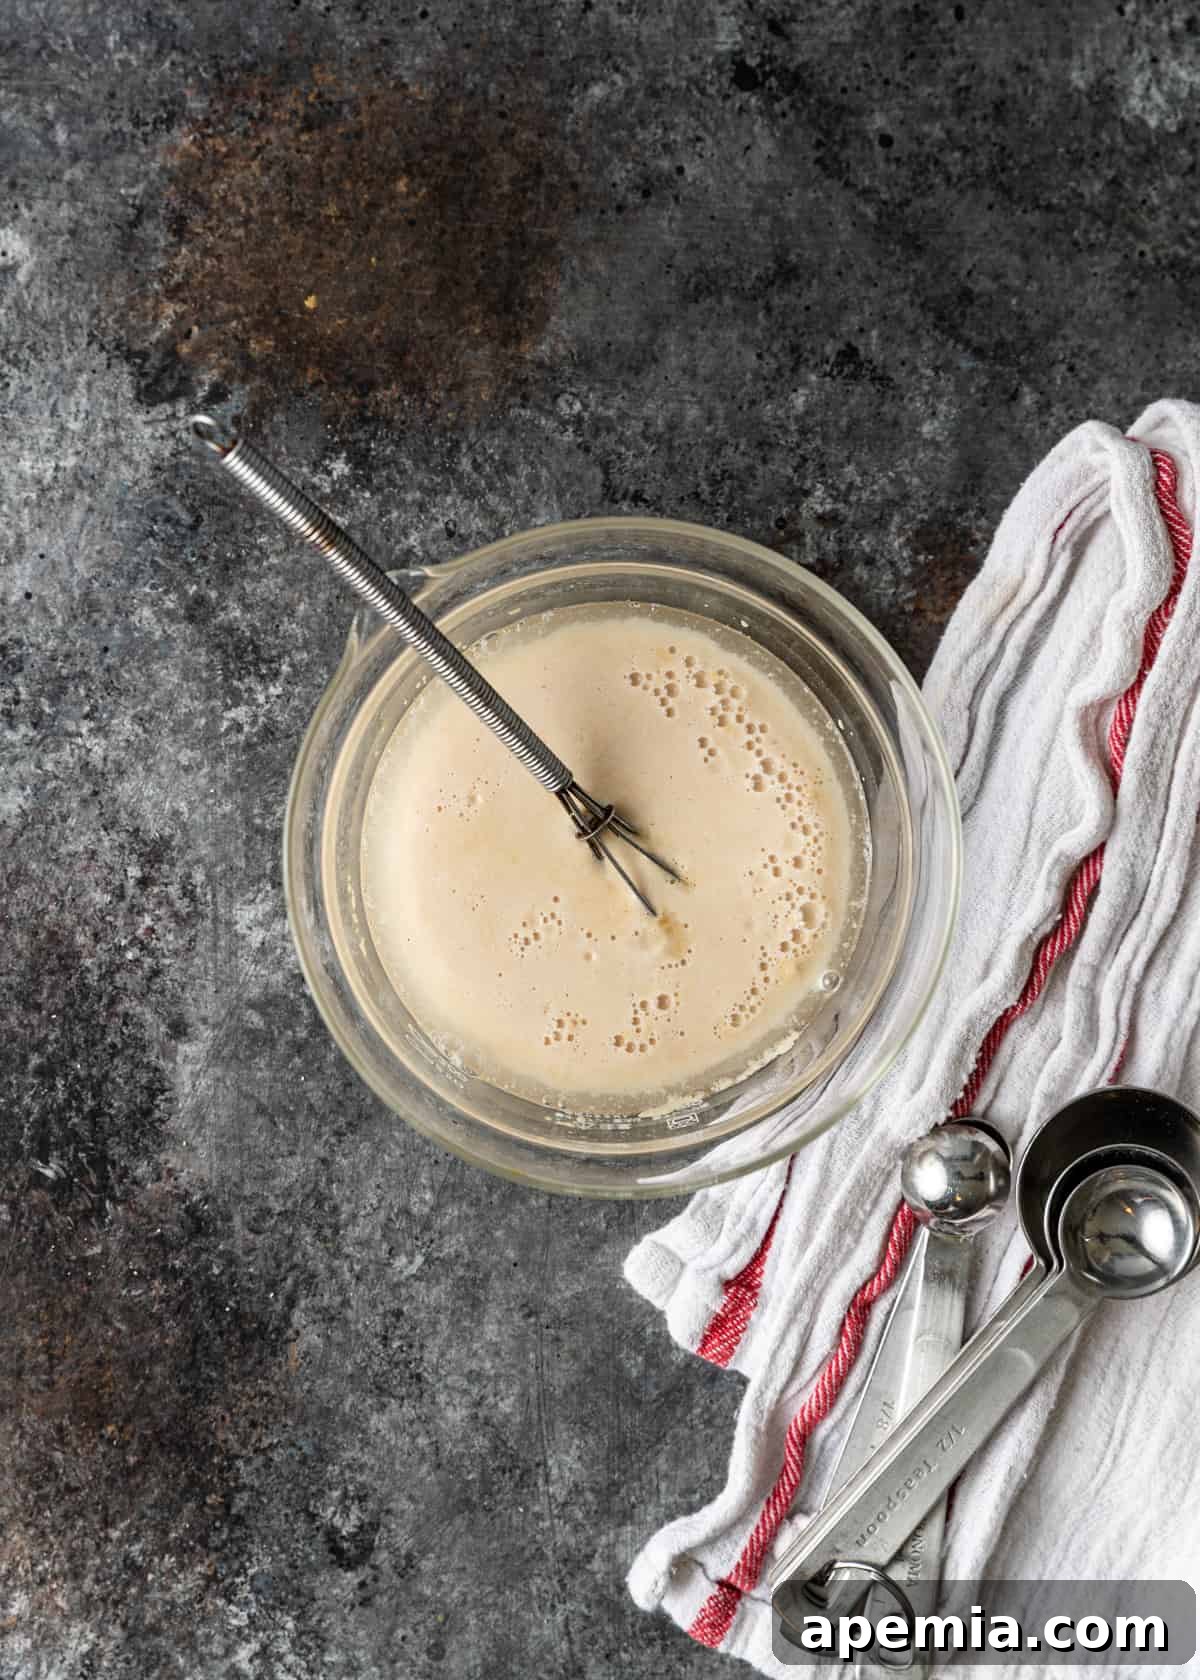
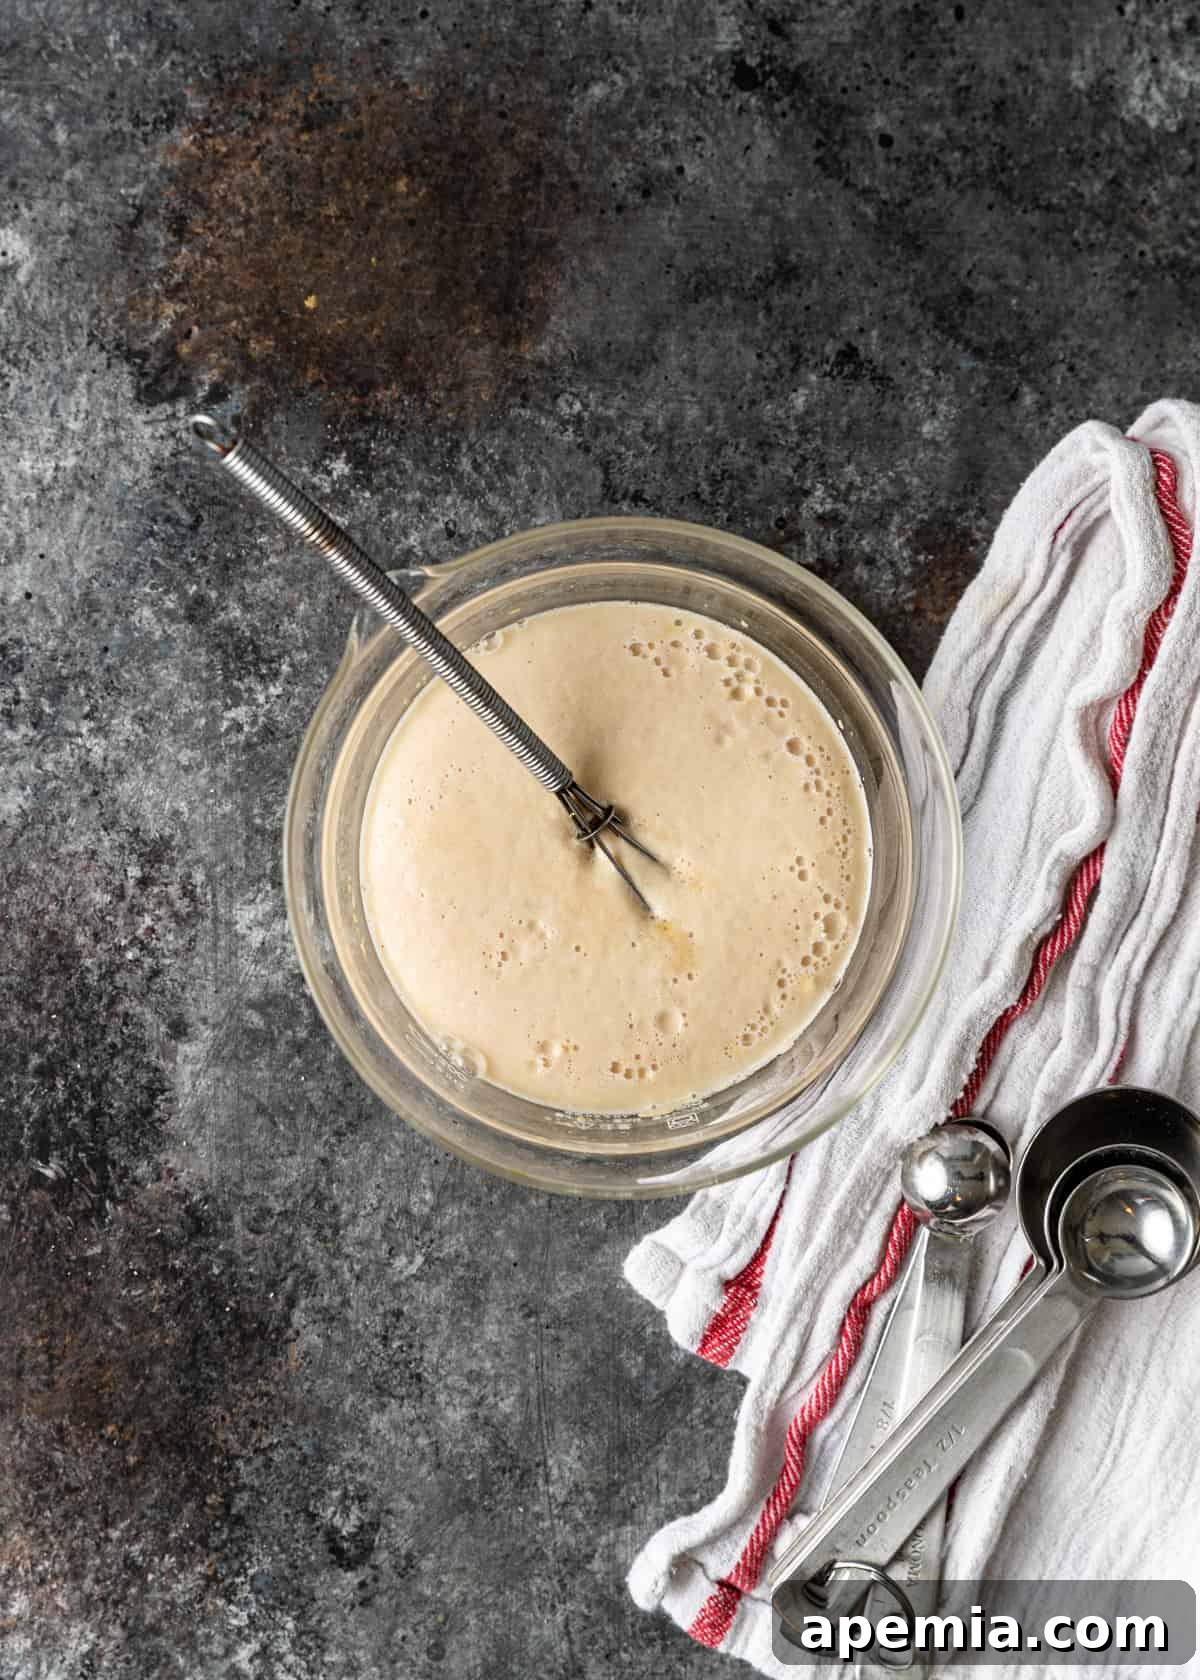
- Activate the Yeast: In a medium bowl, gently whisk the sugar into the lukewarm water until it fully dissolves. Add the active dry yeast and whisk until it’s completely incorporated. Allow this mixture to rest undisturbed for 10-15 minutes in a warm spot. You’ll know the yeast is active and healthy when a foamy layer forms on the surface, indicating it’s ready for action.
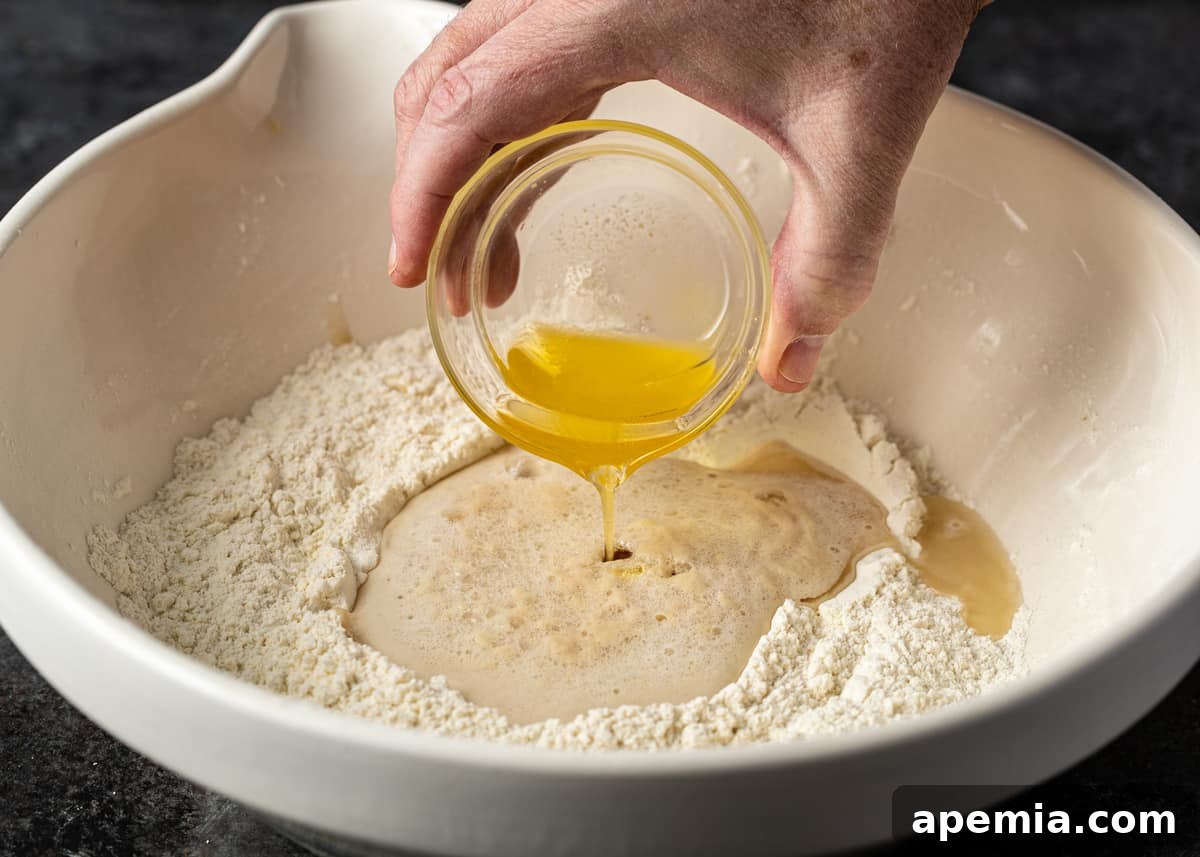
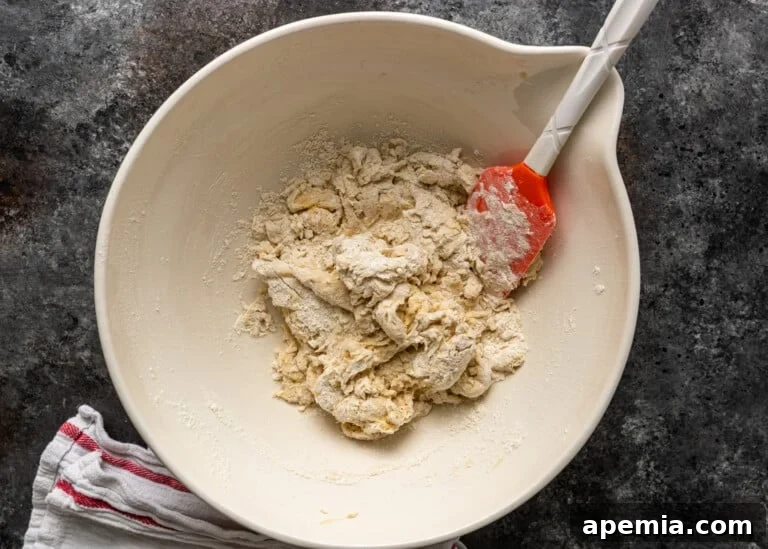
- Mix the Dough Ingredients: While your yeast is activating, sift the all-purpose flour, salt, and baking powder into a large mixing bowl. Sifting helps to aerate the flour and prevent lumps, ensuring a smoother dough. Once the yeast mixture is foamy, pour it, along with the melted ghee, into the bowl with your dry ingredients. Stir everything together with a sturdy spatula or wooden spoon until a rough, shaggy dough forms, and all the flour is hydrated.
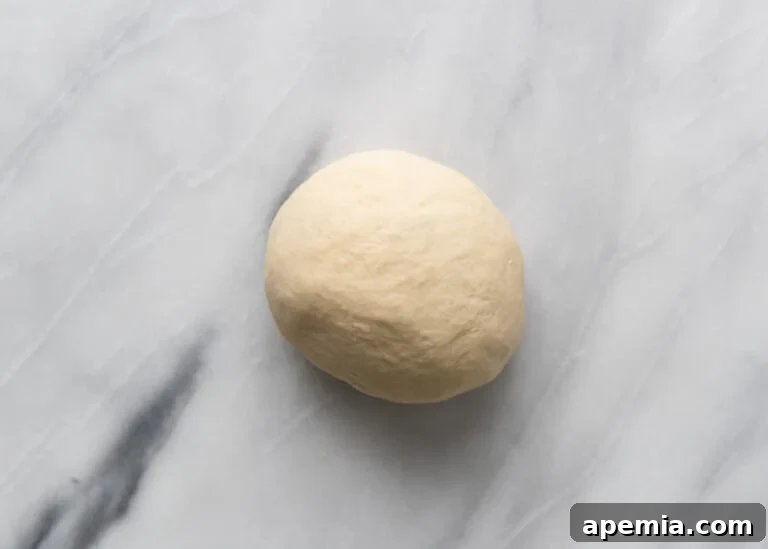
- Knead for Smoothness: Transfer the shaggy dough onto a clean, lightly oiled work surface. Lightly oil your hands to prevent sticking, and begin to knead the dough. Initially, the dough will feel quite sticky, but as you continue to knead for 5 to 6 minutes, it will gradually transform into a soft, smooth, and pliable ball. You may need to re-oil your hands periodically during this process to maintain a non-stick surface. Proper kneading develops the gluten, which is essential for the naan’s characteristic chewiness.
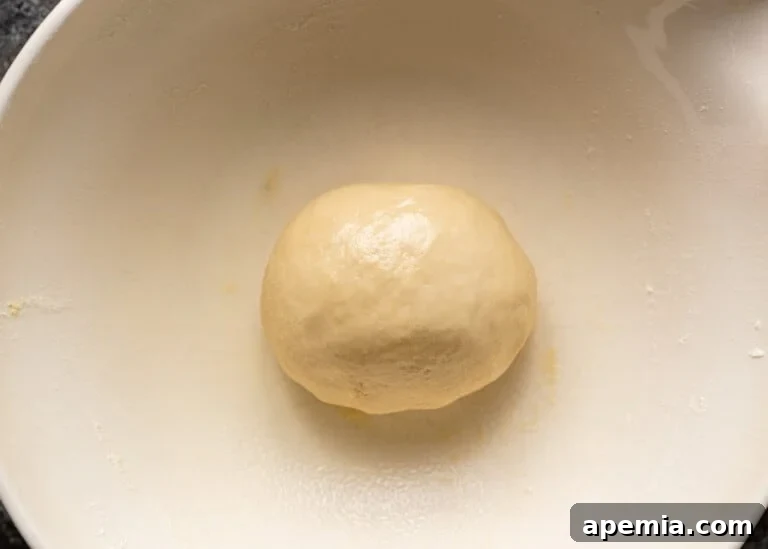
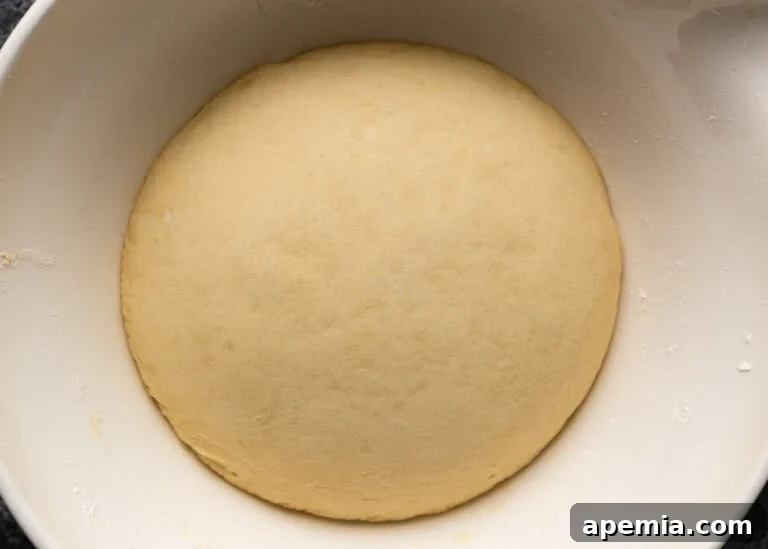
- First Rise (Proofing): Lightly oil a large, clean bowl. Place the kneaded dough ball into the bowl and roll it around to ensure it’s coated with oil on all sides. This prevents a skin from forming and helps with a proper rise. Cover the bowl snugly with a clean kitchen towel or plastic wrap. Place it in a warm, draft-free environment (like a slightly warmed oven turned off, or near a sunny window) for about 90 minutes, or until the dough has impressively doubled in size.
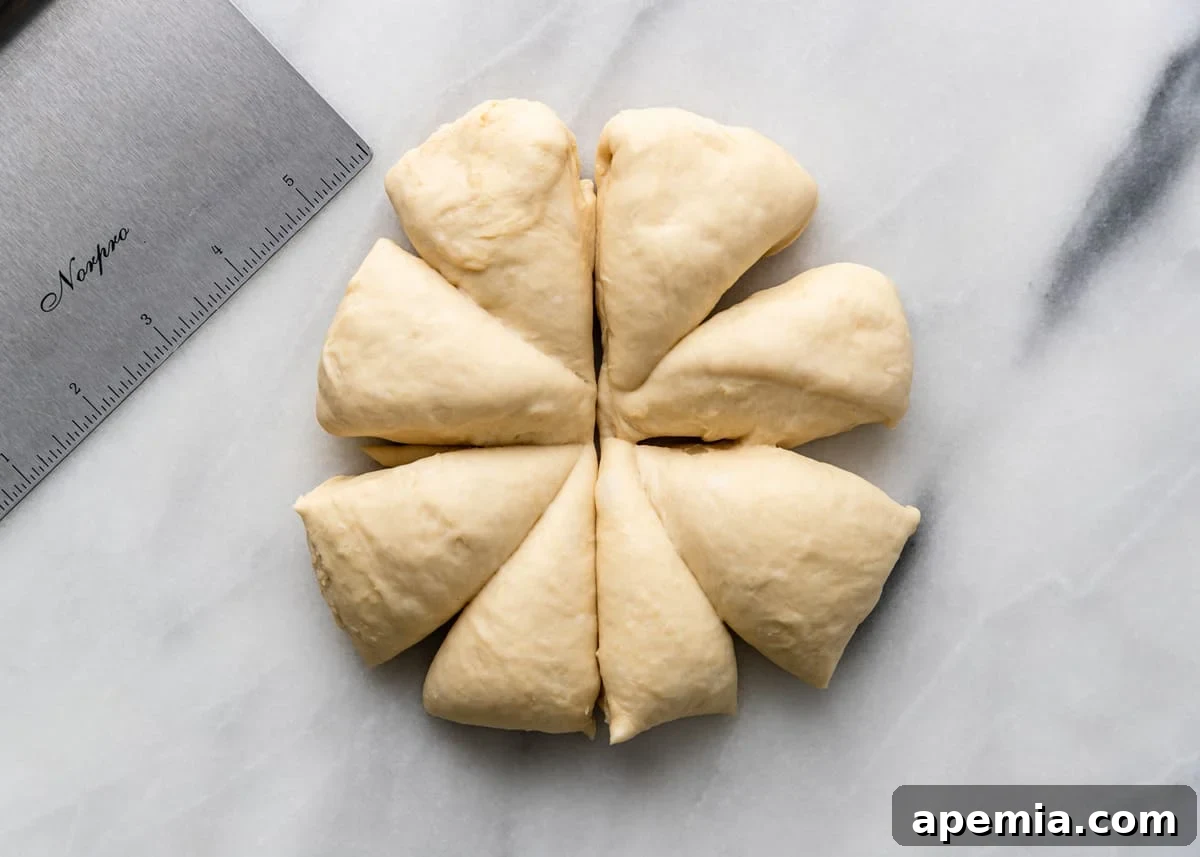
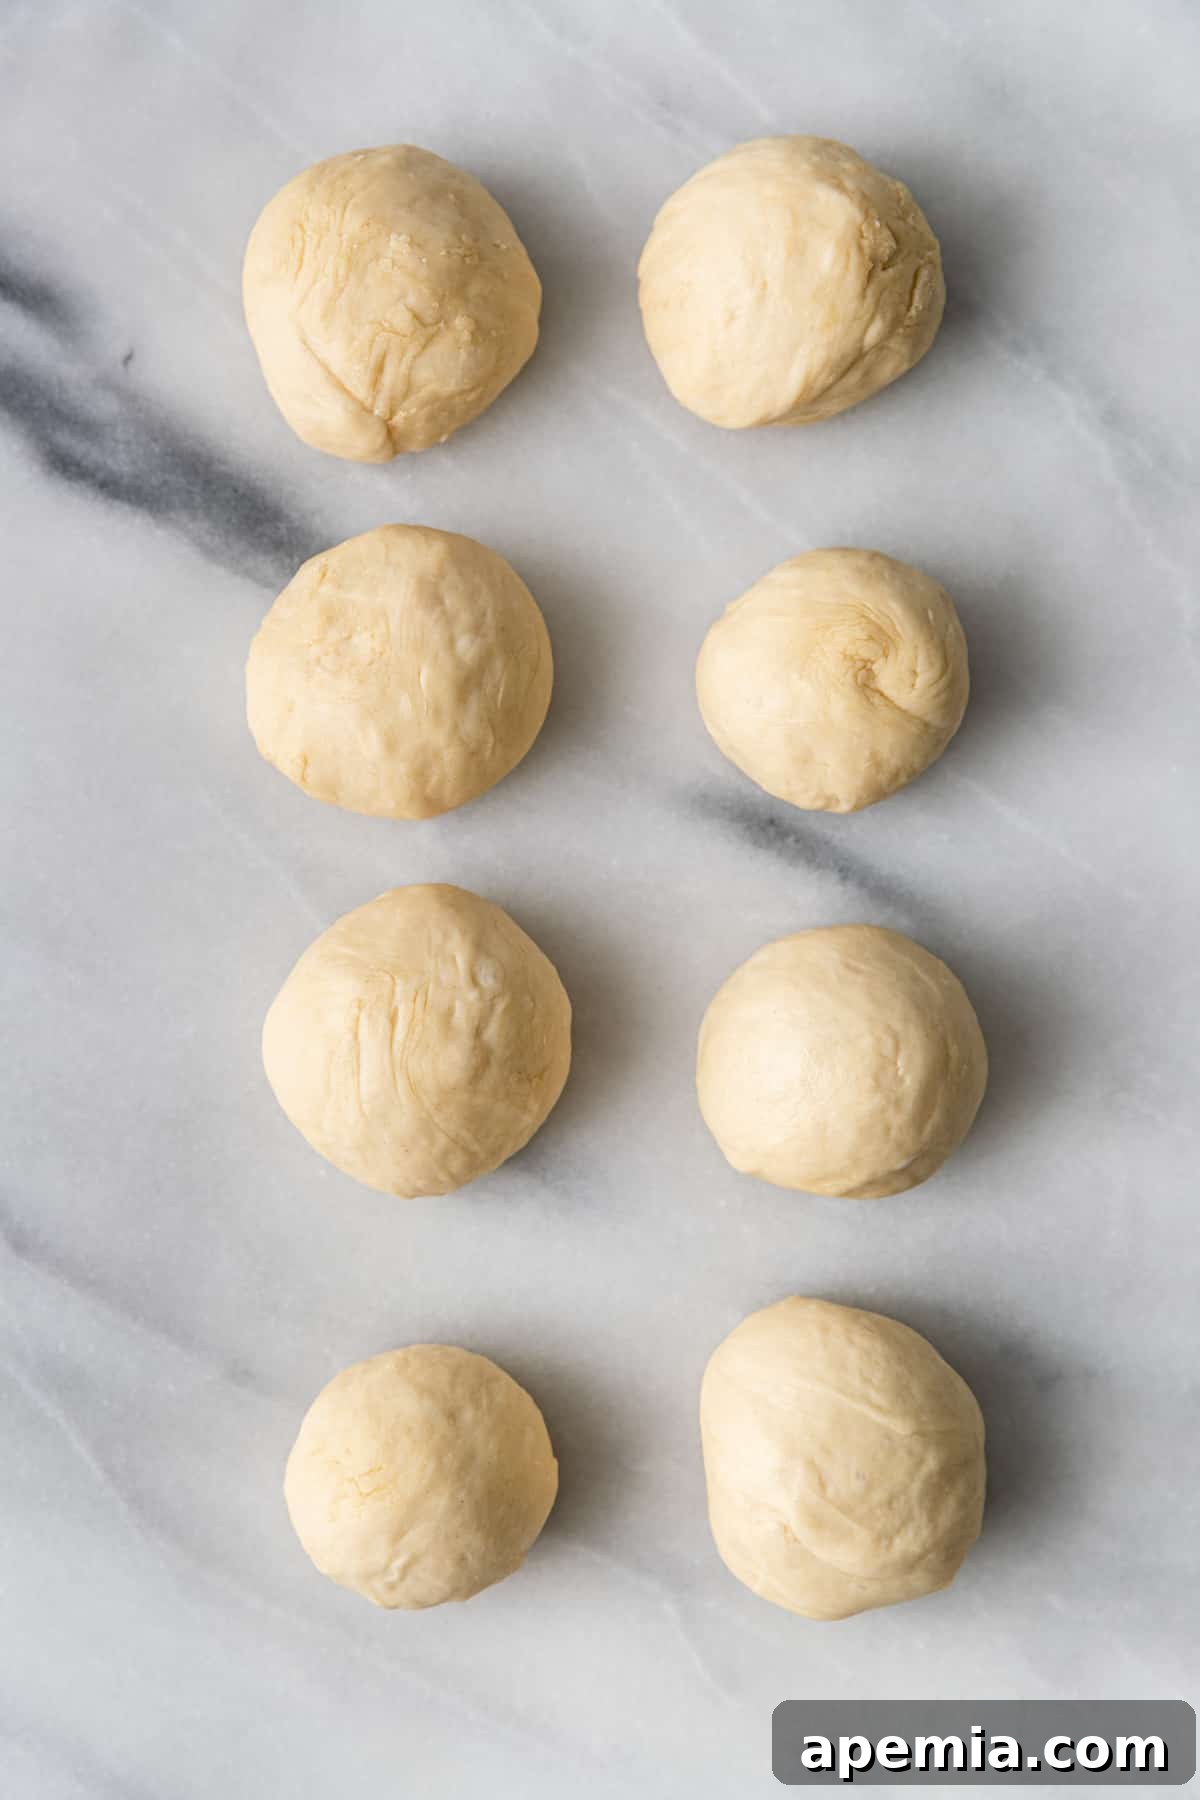
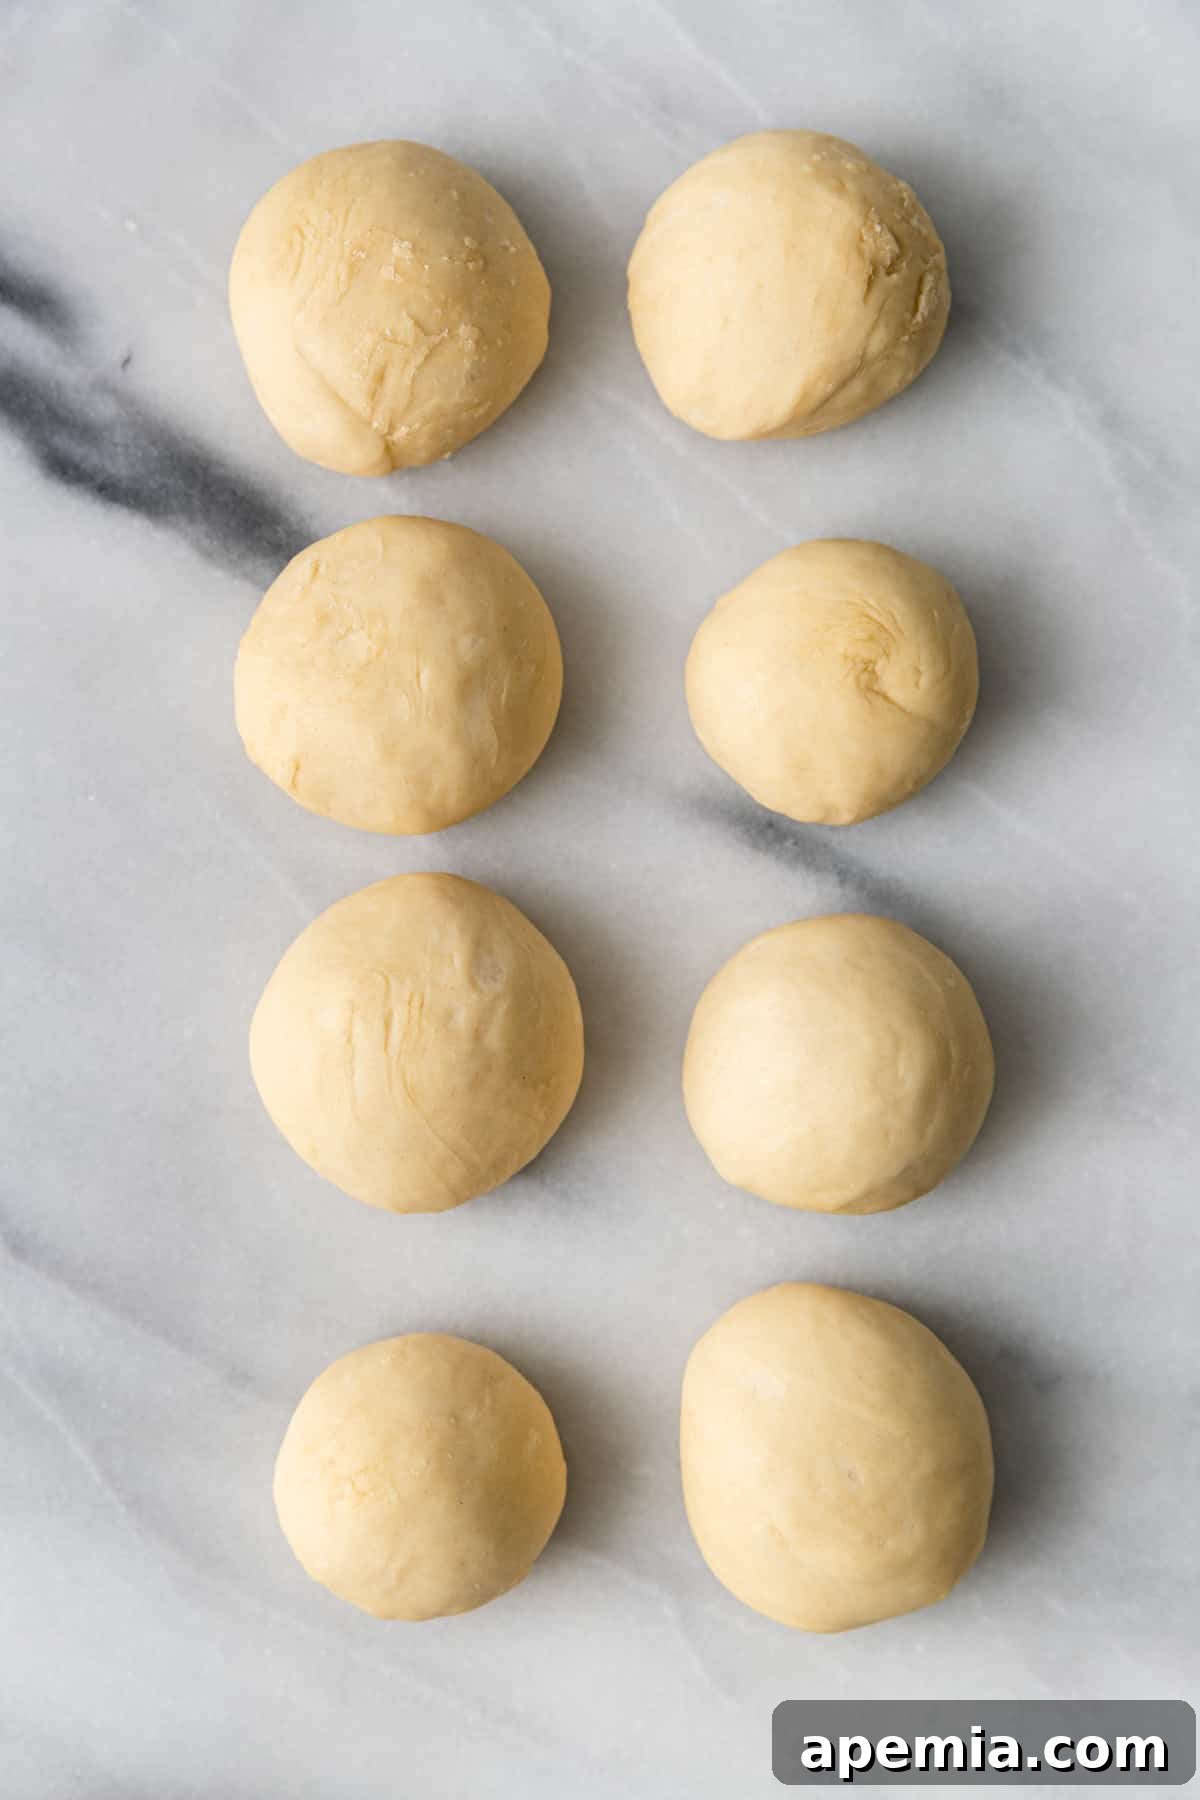
- Portion and Second Proof: Once risen, gently transfer the dough to your workspace and “punch it down” to release the accumulated air. Knead it briefly into a smooth ball again. Using a pastry cutter or a sharp knife, divide the dough into 6 to 8 equal portions. For thicker, chewier naan, opt for 6 portions; for slightly thinner, crispier naan, go with 8. Roll each portion into a smooth ball and arrange them on a baking sheet lined with parchment paper, ensuring they are at least an inch apart. Cover them again with a kitchen towel and let them rest for another 10 minutes. This short second proofing allows the gluten to relax and makes the dough easier to roll.
Tip From Kevin
Ghee or Butter: The Secret to Richness
Ghee, a cornerstone of Indian cuisine, is essentially clarified butter. It’s produced by simmering butter until the water evaporates and the milk solids separate, leaving behind pure butterfat. This process yields a product with a higher smoke point and a richer, often nutty flavor profile compared to regular butter. You can purchase high-quality ghee (I often find mine at Costco), or easily make it at home. Both regular butter and ghee significantly enhance the flavor and texture of naan; butter offers a classic richness, while ghee imparts a distinctive depth. The choice is yours, depending on your preference and what you have on hand.
How to Make This Naan Recipe
- Prepare the Flavorful Garnish: Just before you begin cooking, combine the ghee (or butter) and minced garlic in a small, microwave-safe bowl. Microwave on high for 20-second intervals, stirring after each, until the ghee is fully melted and the garlic is fragrant (usually 40 seconds total). Stir in half of the freshly chopped cilantro. Set this fragrant mixture aside with a kitchen brush, ready for basting.
- Set Up Your Workspace and Oven: Have a small bowl of water conveniently placed near your cooking station; this will be used to help the naan adhere to the pan. Preheat your oven to a low 200°F (95°C) – this will serve as a warming station for your cooked naan, keeping them soft and hot until all pieces are ready to serve.
- Preheat the Skillet to High Heat: Place a large cast iron skillet or a heavy-bottomed flat grill pan over medium-high heat. Allow it to preheat thoroughly until it’s nearly smoking, which typically takes a minimum of 3-5 minutes, and sometimes longer. The high heat is critical for achieving those signature blisters and a quick cook time.
- Shape and Hydrate the Dough: On a lightly floured surface, use a rolling pin to roll out one dough ball into an oval shape, approximately 8 inches long and 5 inches wide. Keep the remaining dough balls covered with a kitchen towel to prevent them from drying out while you work on each piece individually. Lightly brush one side of the rolled-out dough with a small amount of water from your prepared bowl; this moist side will create steam and help the naan puff up and stick to the hot pan.
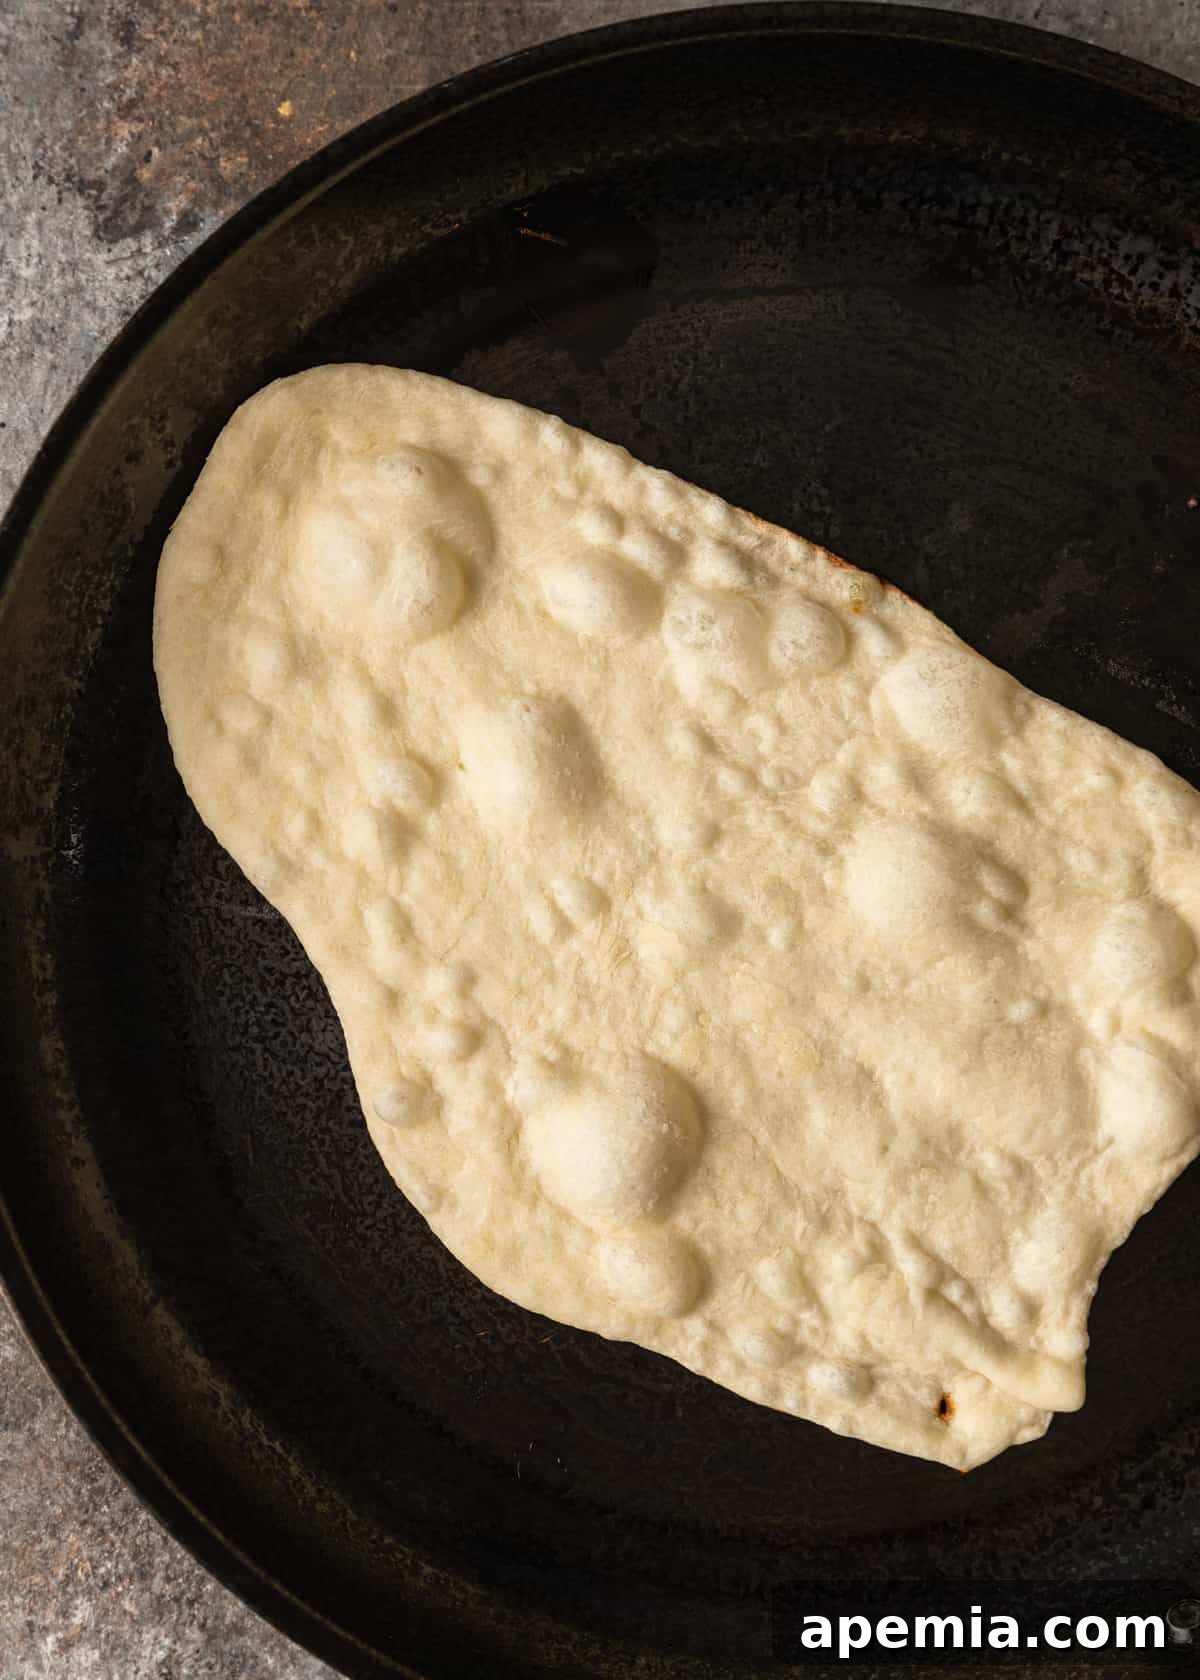
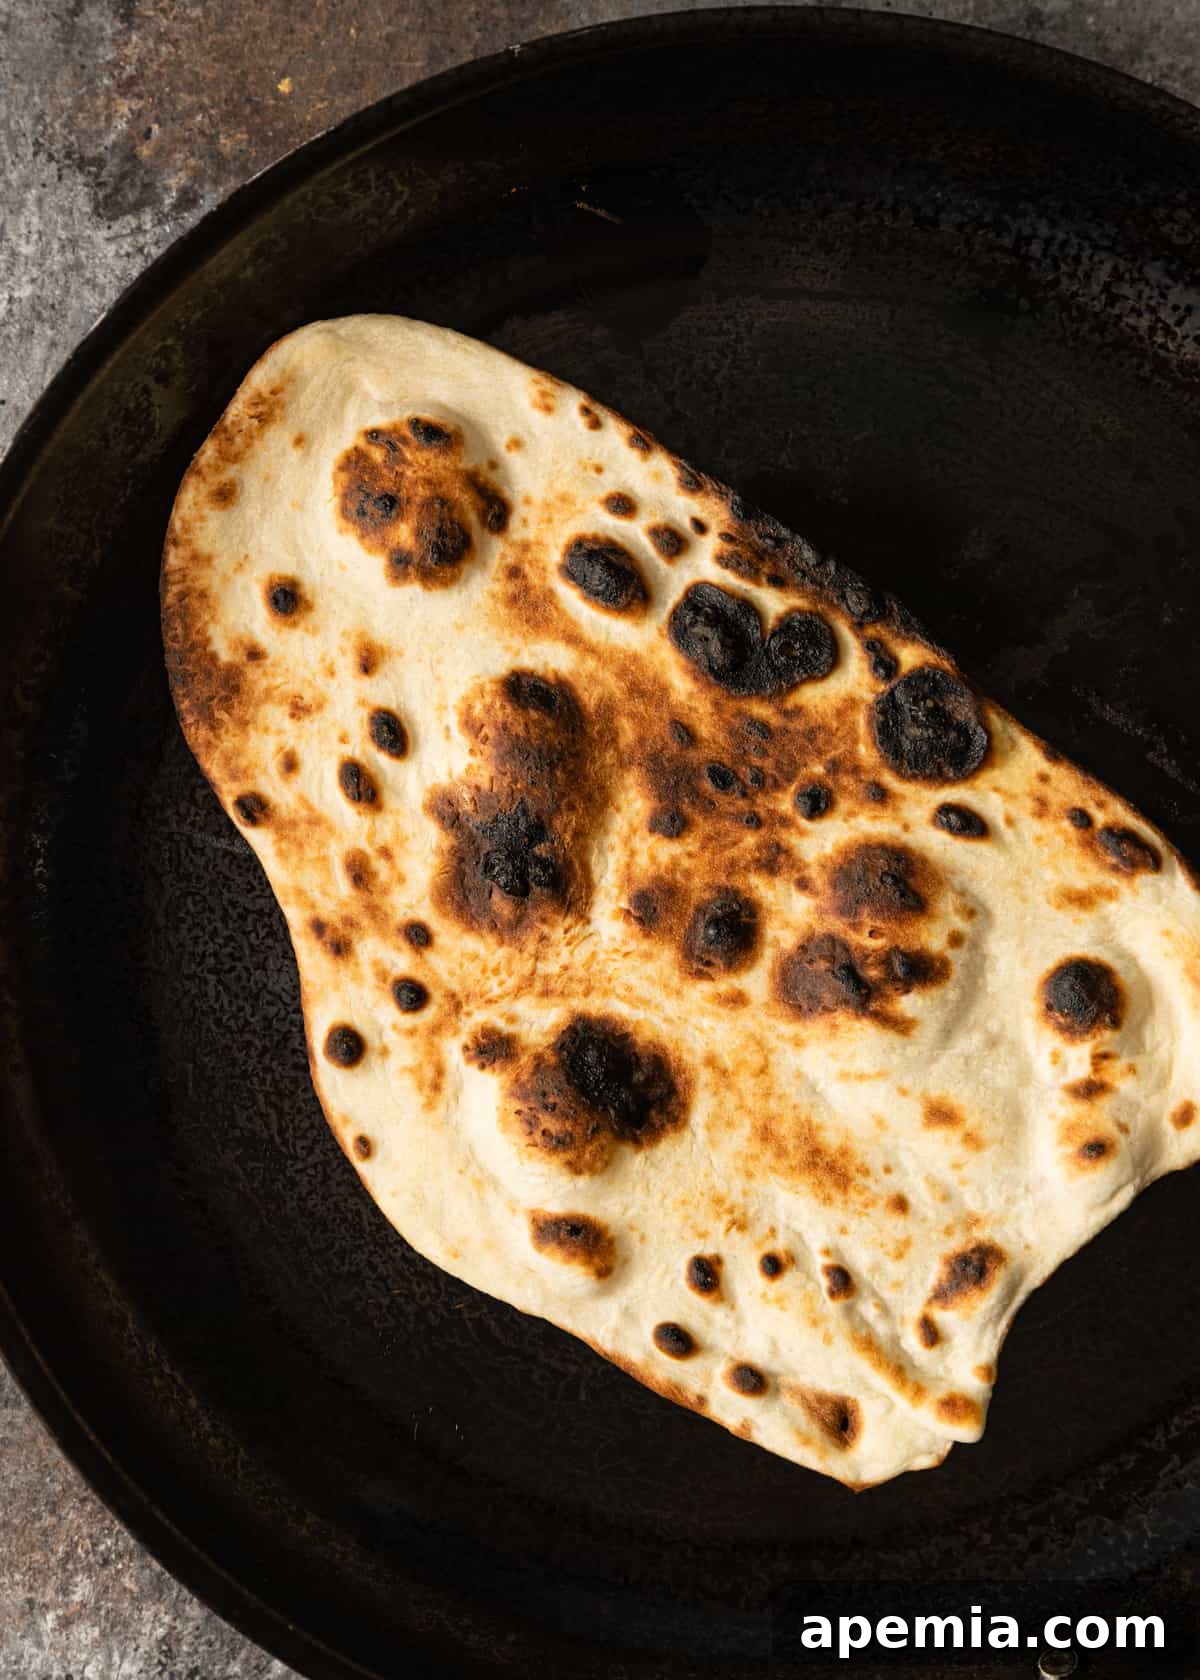
- Cook to Perfection: Carefully pick up the rolled dough and place it, water-side down, into the preheated hot skillet. Cook for about 45 to 60 seconds. You’ll observe bubbles forming across the surface, and the edges will begin to dry out. This indicates the bottom is cooked. To cook the top side and achieve those beautiful char marks and blisters, quickly invert the skillet over an open gas flame on your stovetop (using tongs if needed for safety), or place the skillet directly under a hot broiler for a few seconds. Watch closely, as this step is very fast.
- Garnish and Serve Warm: Using a metal spatula (which is heat-proof and ideal for handling hot bread), carefully transfer the cooked naan to your preheated tray in the oven. Immediately brush the warm naan with the melted ghee, garlic, and cilantro mixture. Sprinkle with a little more fresh cilantro for an extra burst of flavor and color. Keep the cooked naan warm in the oven while you repeat the shaping, cooking, and garnishing process with the remaining dough balls. Serve your homemade naan immediately, while it’s still wonderfully warm and aromatic.
Tips for Perfect Homemade Naan
- Don’t Rush the Yeast: Give your yeast the full 10-15 minutes to activate. If it doesn’t foam, your yeast might be old or the water temperature was off. Start over for best results.
- Warm Place for Rising: A consistently warm, draft-free environment is crucial for a good rise. A slightly warmed oven (turned off!), a sunny spot, or even atop a warm appliance can work wonders.
- Hot Skillet is Key: The skillet needs to be ripping hot to cook the naan quickly and create those desired blisters and air pockets. Don’t skimp on preheating time.
- Don’t Overcrowd the Pan: Cook one naan at a time to maintain high heat and ensure even cooking.
- Control Over the Flame/Broiler: When cooking the top, keep a close eye on it. Naan cooks very fast over an open flame or under a broiler, and it can burn quickly. Aim for light char marks, not a blackened surface.
- Keep Dough Covered: Always keep any unused dough covered with a kitchen towel to prevent it from drying out.
Recommended Tools for Naan Making
- Pastry Cutter: An invaluable tool for quickly and cleanly dividing your dough into equal portions. It ensures consistency in your naan size.
- Cast Iron Skillet: The closest you’ll get to a traditional tandoor oven in a modern kitchen. A heavy cast iron skillet retains and distributes heat incredibly well, mimicking the high temperatures needed for authentic naan.
- Rolling Pin: Essential for shaping your dough balls into the desired oval flatbreads.
- Metal Spatula: Given the high heat involved in cooking naan, a durable, heat-proof metal spatula is highly recommended for safely transferring the cooked bread.
- Kitchen Brush: Perfect for brushing water onto the dough before cooking and for basting the cooked naan with the flavorful ghee mixture.
Storing and Reheating Your Naan
To maintain its freshness and prevent it from drying out, store any leftover naan in an airtight container or a resealable plastic bag. It will keep well at room temperature on your counter for up to 3-5 days, or for an extended period of up to a week in the refrigerator. For longer storage, naan freezes exceptionally well for up to 2-3 months. Simply wrap individual pieces tightly in plastic wrap, then place them in a freezer-safe bag.
To reheat, for best results, lightly dampen a paper towel, wrap it around a piece of naan, and microwave for 20-30 seconds until warm and soft. Alternatively, you can briefly warm it in a dry skillet over medium heat for about 30 seconds per side, or in a preheated oven at 300°F (150°C) for a few minutes.
Share this recipe on Pinterest!
Love this recipe? Share it with the world on Pinterest.
Frequently Asked Questions About Naan
While many naan recipes traditionally include yogurt, this particular recipe does not. Yogurt’s fat content contributes to a soft, moist dough, and its acidity adds a subtle tang and helps with leavening. In my recipe, I achieve exceptional tenderness and flavor by utilizing ghee, a clarified butter with a higher concentration of fat than regular butter. This makes it incredibly effective for producing tender, pull-apart naan without the need for yogurt.
Afghani flatbread, often simply called “naan” in Afghanistan, is quite distinct from the Indian naan described here. Afghan naan tends to be much thicker, more substantial, and possesses a “pillowy” texture. It’s also typically saltier and often characterized by a sprinkling of nigella seeds (kalonji) on its surface, giving it a unique visual and aromatic quality. While both are delicious flatbreads, their preparation and characteristics differ significantly.
Naan and pita bread are both popular flatbreads, but they have key differences. The most noticeable distinction is that pita is generally denser, firmer, and drier. Pita bread primarily relies on yeast for leavening and typically lacks a significant fatty ingredient, which contributes to its less moist texture. Unlike Indian naan, pita is usually thinner and has a more neutral, plainer taste. This plainer profile makes pita incredibly versatile for scooping up dips like hummus or stuffing with various ingredients to create sandwiches. However, if your preference is for a soft, tender, and richly flavored bread, naan is undoubtedly the superior choice.
Absolutely! You can prepare the naan dough a day in advance. After the first rise, punch down the dough, lightly oil it, and place it in an airtight container or cover the bowl tightly with plastic wrap. Refrigerate overnight. When ready to use, remove it from the fridge and let it come to room temperature for about 30-60 minutes before proceeding with portioning and the second proof.
Naan is wonderfully adaptable! Beyond garlic naan, popular variations include Plain Naan (without garlic or cilantro butter), Butter Naan (brushed with plain butter), Cheese Naan (stuffed with cheese like paneer or mozzarella), Keema Naan (stuffed with spiced minced meat), and Peshwari Naan (sweet, stuffed with nuts and dried fruits). You can also add black sesame seeds (kalonji) or fresh herbs like mint to the dough or as a garnish.

Naan Recipe (Indian Flatbread)
8
30 minutes
16 minutes
1 hour 40 minutes
2 hours 26 minutes
PrintRecipe
Video Guide
For a visual step-by-step guide to making this delicious naan, please refer to the video demonstration within the blog post (or a video link provided).
Ingredients
Dough
- 2/3 cup lukewarm water (110°F / 43°C)
- 2 teaspoons sugar
- 1 1/2 teaspoons active dry yeast
- 2 cups all-purpose flour
- 1/2 teaspoon salt
- 1/4 teaspoon baking powder
- 1 tablespoon ghee or butter, melted
Garnish
- 3 tablespoons ghee or butter, melted
- 3 cloves garlic, minced
- 1/4 cup cilantro, chopped (divided)
Instructions
Dough Preparation
- In a medium bowl, whisk the lukewarm water and sugar until dissolved. Add the yeast and whisk until well incorporated. Rest for 15 minutes to activate the yeast (it should become foamy).
- Sift flour, salt, and baking powder into a large bowl. Add the activated yeast mixture and melted ghee to the flour. Stir to combine with a spatula until a shaggy dough forms. Transfer it to a clean work surface.
- Oil your hands and begin kneading the dough. Continue kneading for 5 to 6 minutes, oiling your hands several times as needed, until the dough transforms from sticky to soft, elastic, and pliable.
- Oil a large bowl, add the dough ball, and turn to coat on all sides. Cover the dough with a light towel and place it in a warm, draft-free place for 90 minutes until the dough doubles in size.
- Once the dough has risen, gently punch it down to release the air. Knead briefly with your hands into a smooth ball.
- Using a pastry cutter or knife, divide the dough into 6-8 equal portions (6 for thicker naan, 8 for thinner). Roll each piece into a ball. Transfer the balls to a lined tray about an inch apart and cover with a dish towel to rest for 10 minutes to rise again (proof).
Prepping for Cook
- Combine 3 tablespoons of ghee (or butter) and the minced garlic in a small bowl. Microwave on high for 20 seconds, stir, then microwave for another 20 seconds until fully melted and fragrant. Stir in half of the chopped cilantro and set aside with a kitchen brush. Place a small bowl of water near your workspace. Preheat oven to 200°F (95°C) to keep cooked naan warm.
Roll Out Naan, Cook & Serve
- Heat a large cast iron skillet or flat grill pan over medium-high heat until it’s nearly smoking, at least 3-5 minutes.
- Using a rolling pin, roll each dough ball into an oval shape, about 8 inches long and 5 inches wide. Keep the remaining dough balls covered while you roll each naan.
- With a brush, wet one side of the rolled-out naan with a little water (this will help the naan stick to the hot pan and create steam).
- Carefully pick up the naan and place it into the hot skillet, water-side down. Cook for 45 to 60 seconds until the surface bubbles profusely and the edges start to dry out. Then, turn the skillet upside down over an open flame (or place it under a hot broiler for a few seconds) to cook the top. Look for blistered dough and slight char marks.
- Turn the skillet back over and use a metal spatula to remove the naan from the pan. Transfer the naan to the preheated tray in the oven. Brush immediately with the melted ghee, garlic, and cilantro mixture. Sprinkle with more fresh cilantro. Repeat this process with the remaining naan, keeping them warm in the oven. Serve and eat while still warm.
Nutrition
The information shown is an estimate provided by an online nutrition calculator. It should not be considered a substitute for a professional nutritionist’s advice.
Breads
Indian
Kevin
Have You Made This Recipe? Let Me Know on Instagram
Tag @keviniscooking or tag me #keviniscooking!