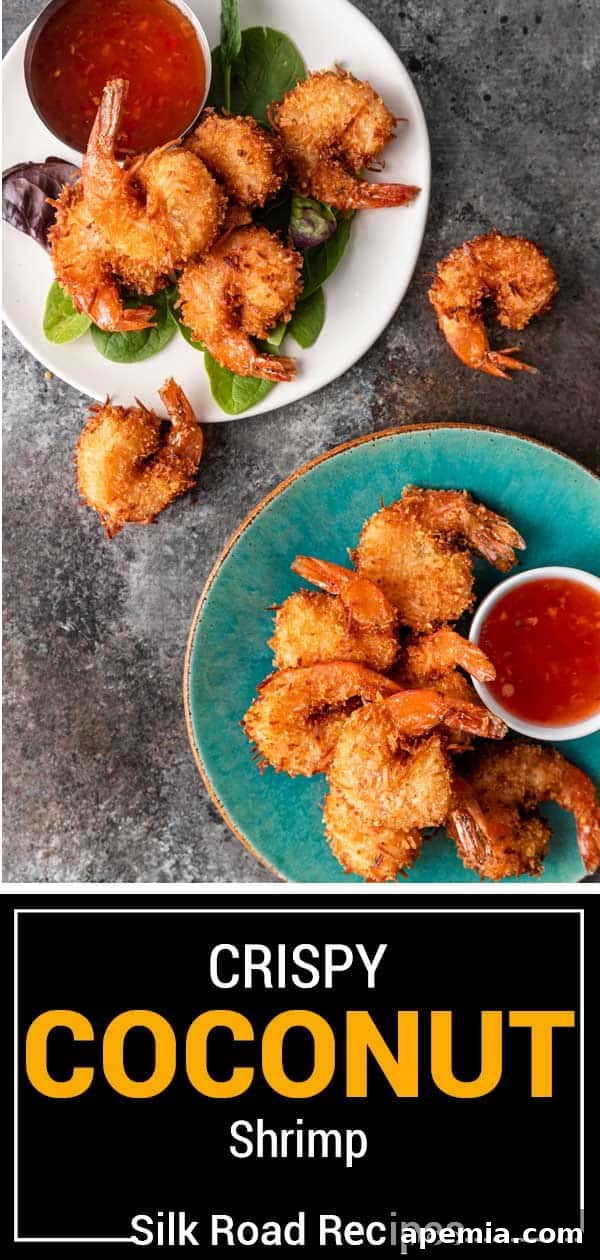
Crispy Coconut Shrimp with Chinese Five Spice: Your Go-To Party Appetizer
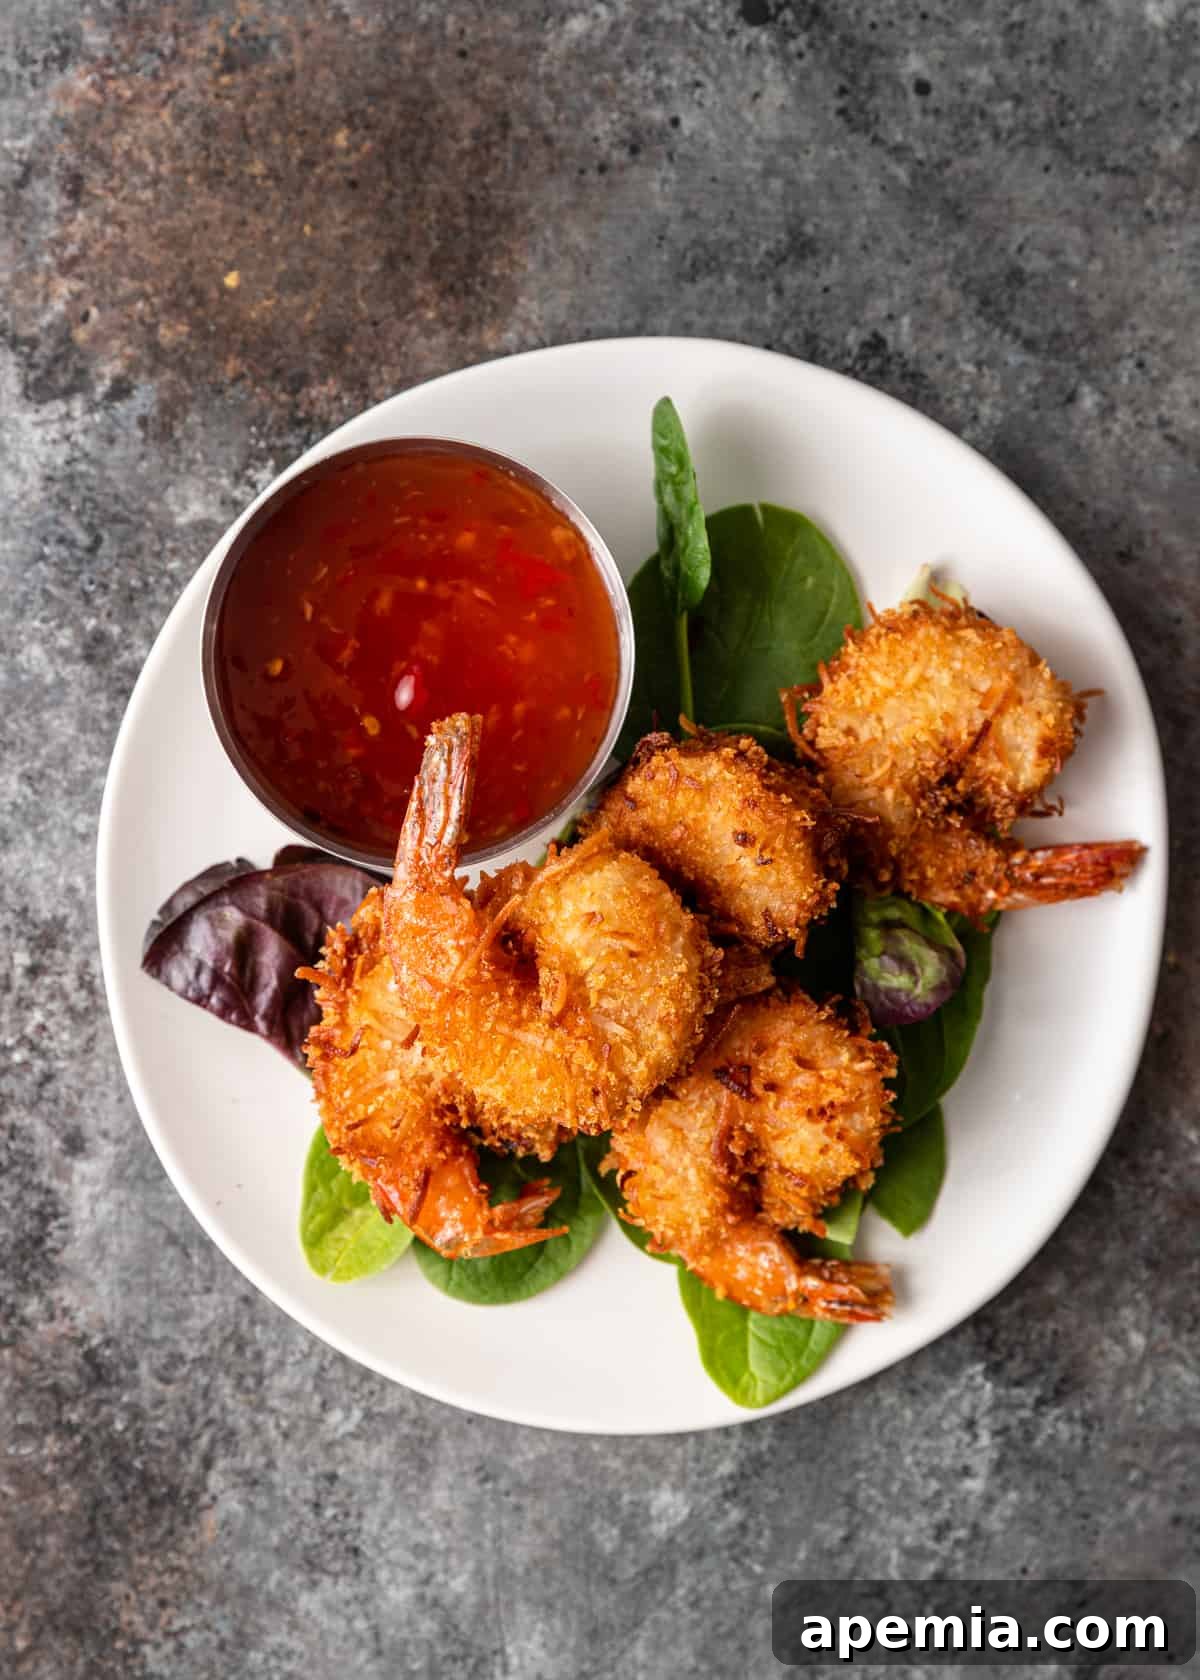
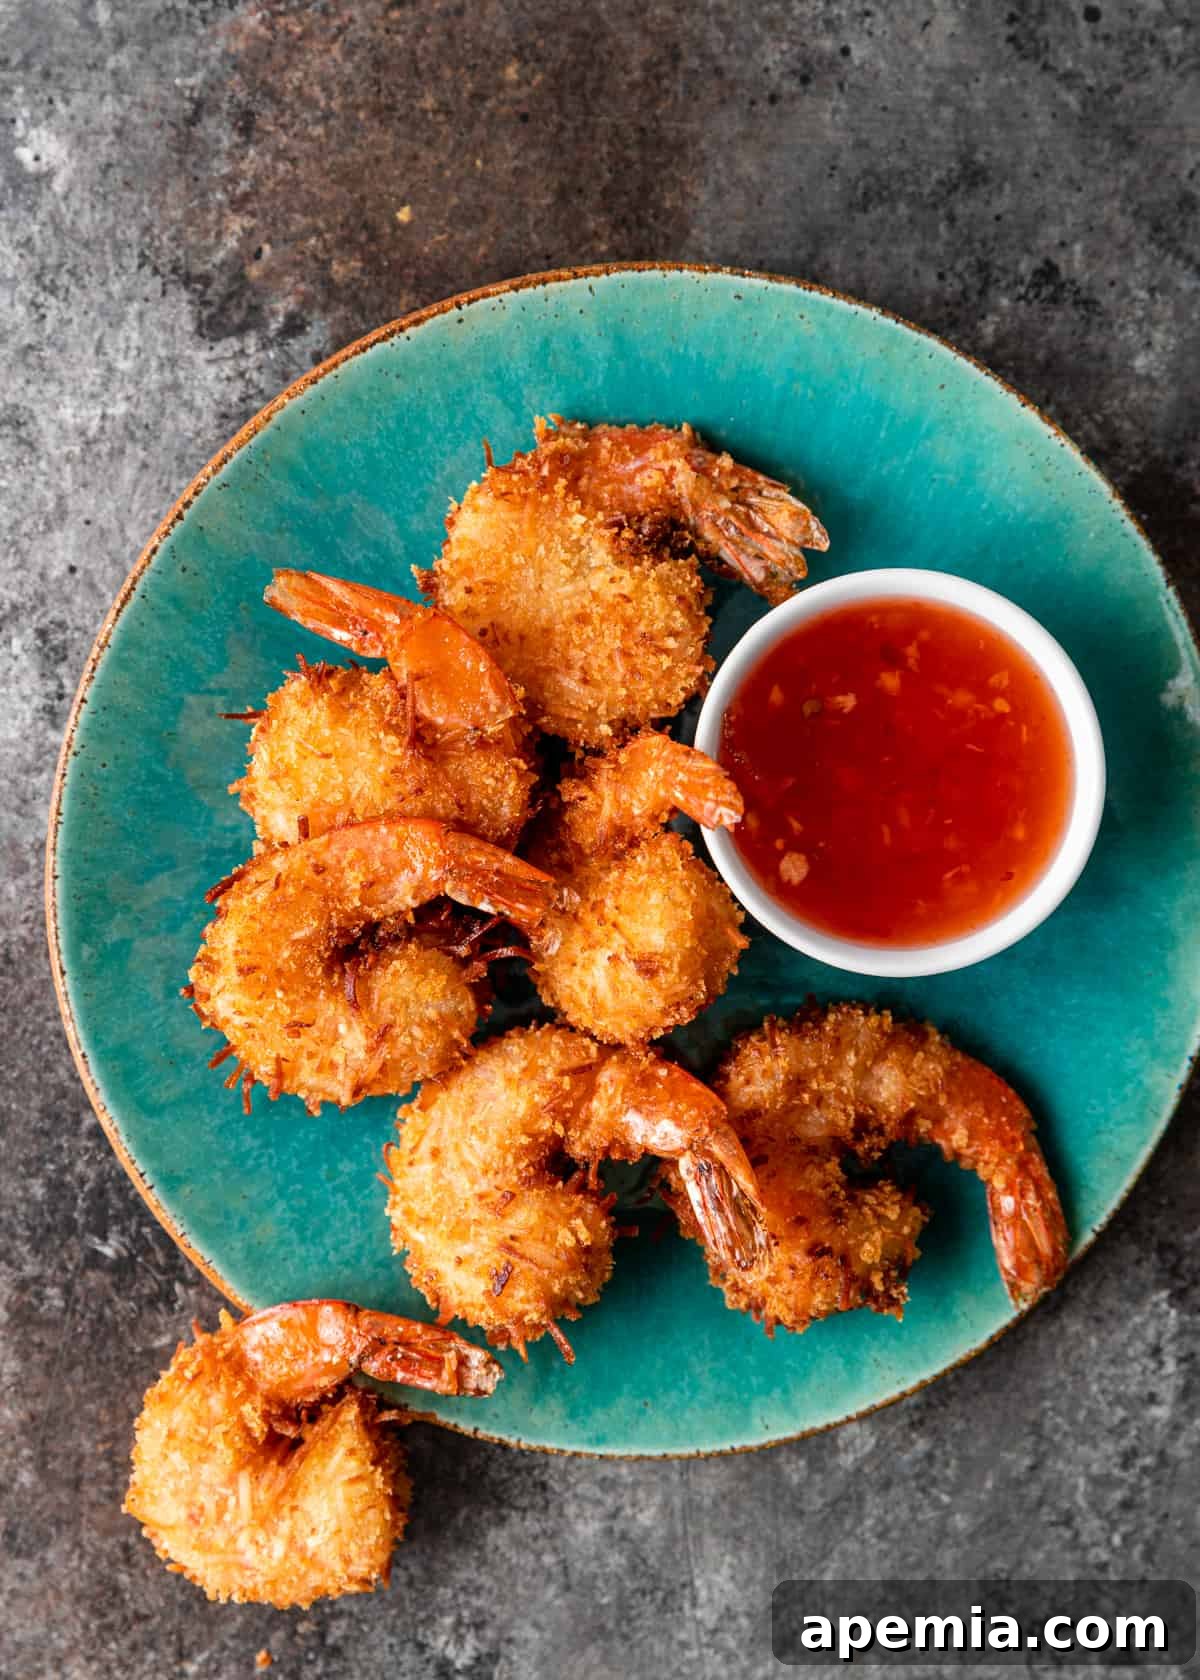
Imagine: succulent, jumbo shrimp, perfectly coated in a delicate, golden-brown crust that shatters with every bite. Sweet, subtly briny, and infused with an intoxicating hint of Chinese Five Spice, these homemade Crispy Coconut Shrimp are not just an appetizer; they’re an experience. Forget mediocre restaurant versions; this simple recipe brings gourmet quality right to your kitchen with minimal effort, making it an absolute showstopper for any gathering.
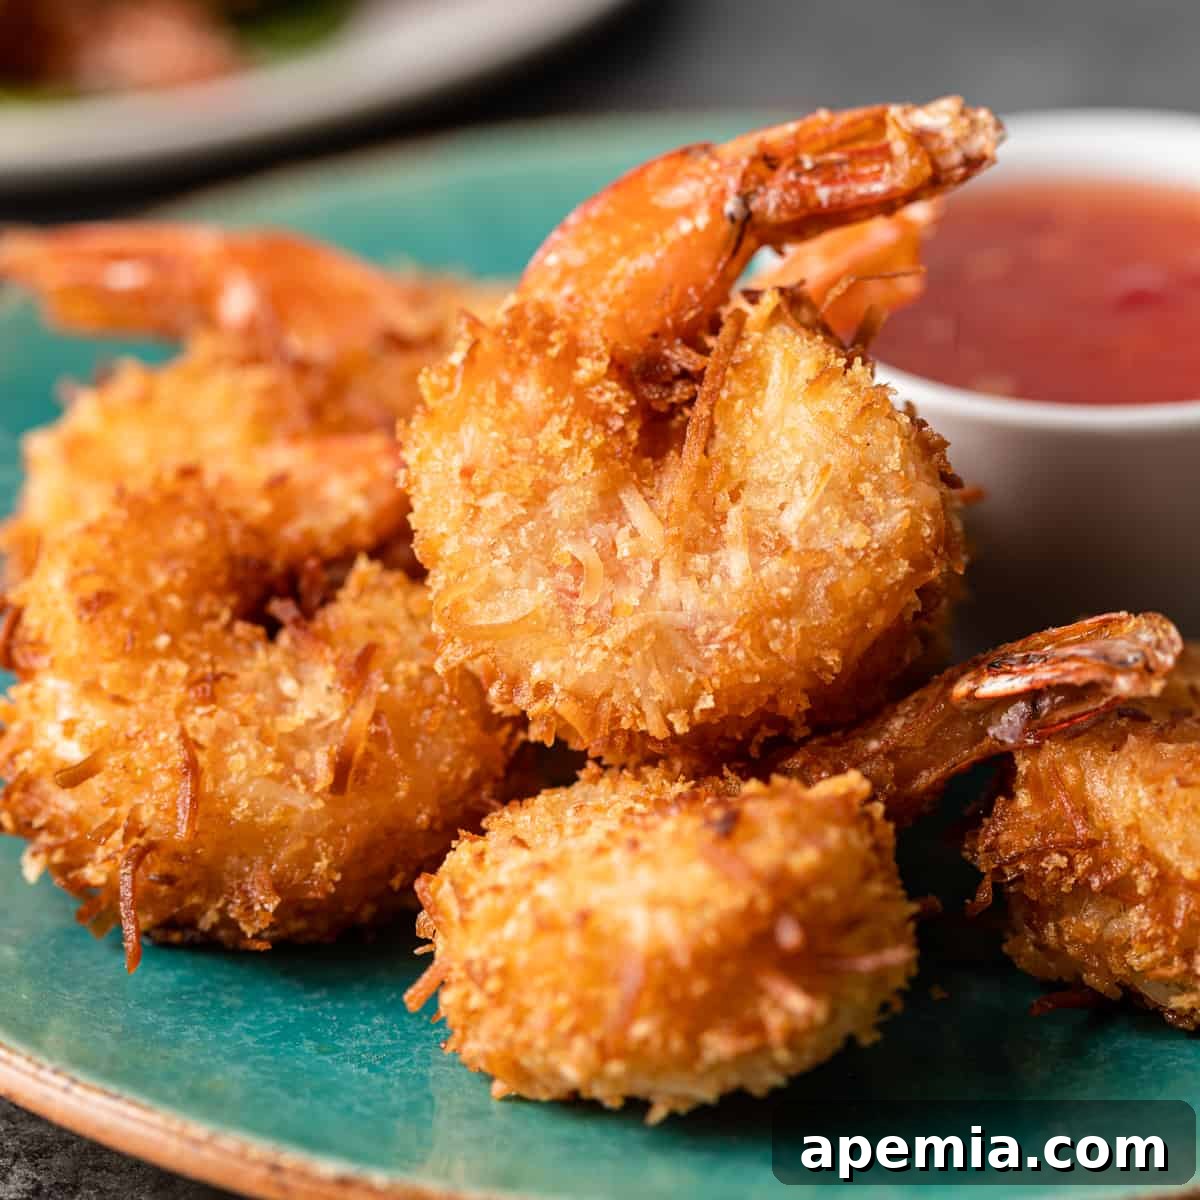
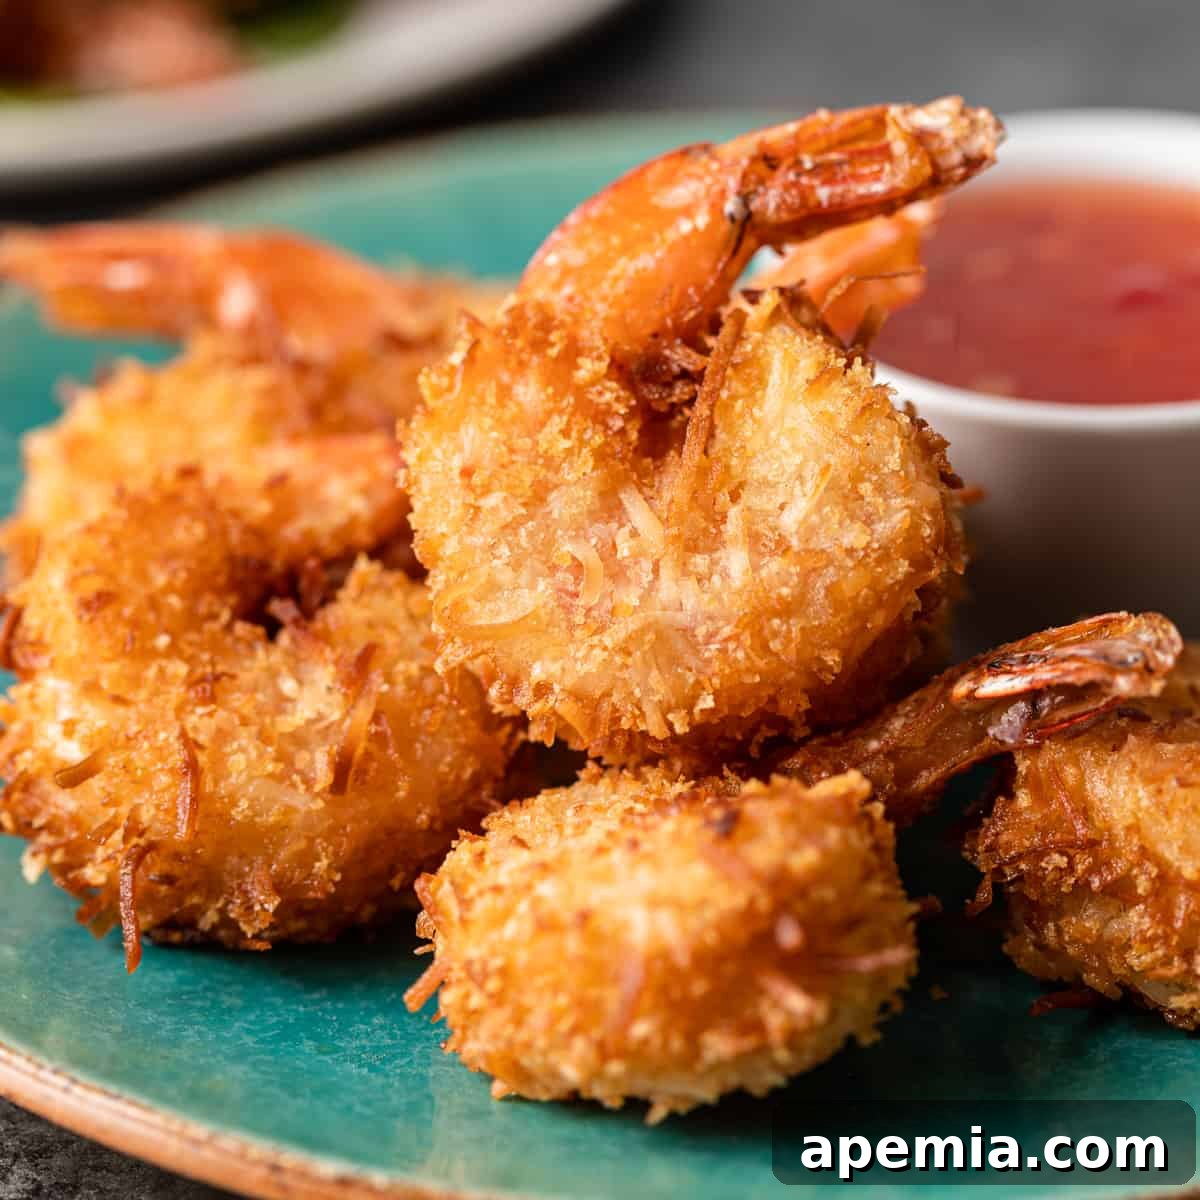
Are you searching for that ultimate party appetizer that’s both incredibly easy to prepare and an absolute guaranteed crowd-pleaser? Look no further! Everyone adores a perfectly crispy coconut shrimp, and this DIY recipe makes achieving that restaurant-quality dish simpler than you ever imagined. In less than 30 minutes, you can transform fresh jumbo shrimp into these delightful, crunchy bites, packed with an exquisite balance of sweet, savory, and aromatic flavors.
What sets this recipe apart is the thoughtful combination of ingredients. Fresh jumbo shrimp are first enveloped in a delicately aromatic blend of all-purpose flour seasoned with a hint of white pepper and the complex, warming notes of Chinese Five Spice. This seasoned base provides a wonderful depth before the shrimp are rolled in a generous mixture of shredded sweetened coconut and Japanese panko breadcrumbs. The result? An absurdly light, exceptionally crispy exterior that delivers an incredible textural contrast to the tender shrimp within, creating a truly unforgettable bite.
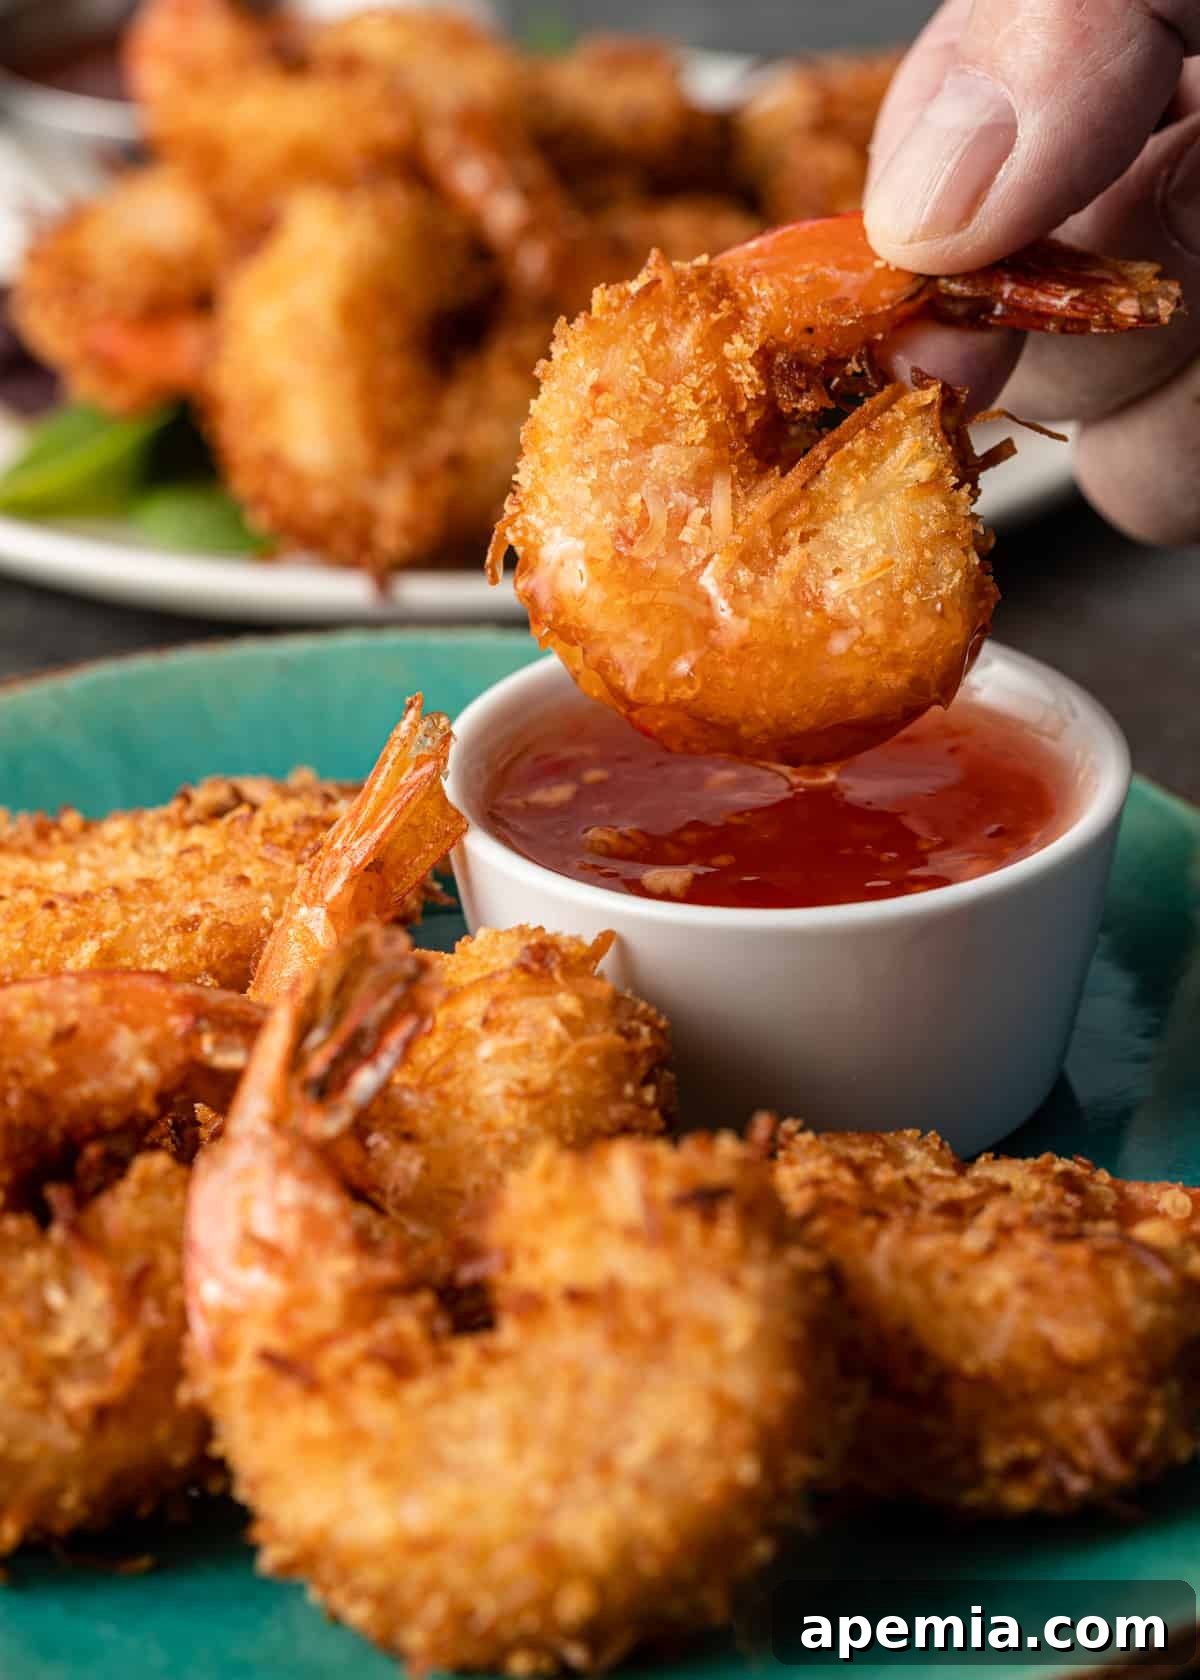
Table of Contents
- Why You’ll Love This Recipe
- Coconut: Shredded or Desiccated?
- Ingredient Notes and Expert Tips
- How to Make Crispy Coconut Shrimp Step-by-Step
- Expert Frying Tips for Success
- Serving Suggestions
- Recommended Tools for Perfect Coconut Shrimp
- Storing and Reheating Crispy Coconut Shrimp
- Frequently Asked Questions About Coconut Shrimp
- Crispy Coconut Shrimp Recipe Card
Serve these delectable bites with your favorite homemade sweet chili sauce or a rich Thai peanut sauce for dipping. Watch as your guests eagerly reach for more; they’ll vanish from the plate before you know it! This recipe isn’t just about making food; it’s about creating memorable moments and impressing with flavors that truly sing, all while keeping your kitchen experience stress-free and enjoyable.
Why You’ll Adore This Crispy Coconut Shrimp Recipe
There are countless reasons why this particular coconut shrimp recipe stands out and is destined to become a favorite in your culinary repertoire:
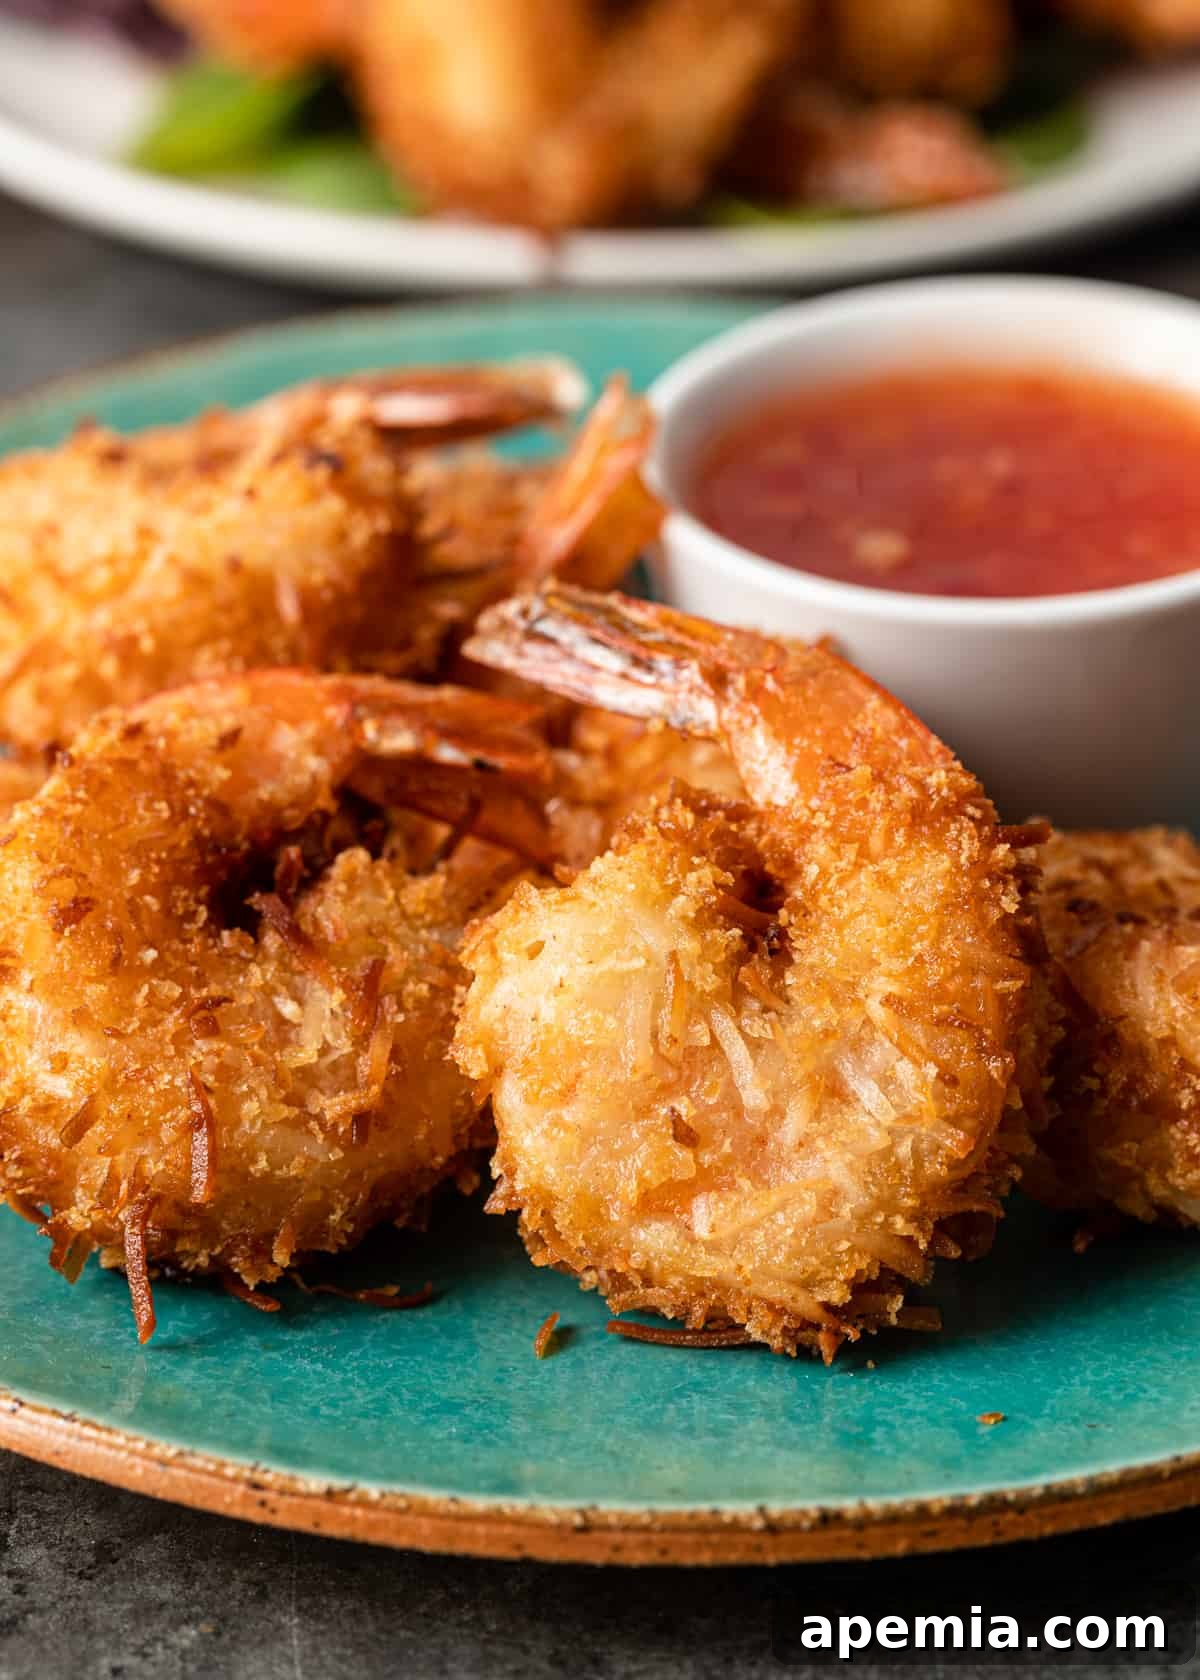
- Unbeatable Crispy Texture: The strategic combination of Japanese Panko breadcrumbs and shredded sweetened coconut creates an incredibly light, airy, and audibly crunchy crust that stays wonderfully crispy long after frying.
- Unique & Balanced Flavor Profile: Unlike many standard recipes, the thoughtful addition of aromatic Chinese Five Spice introduces a complex, warm, and subtly sweet-savory depth. This blend perfectly balances the natural sweetness of the coconut and the fresh brininess of the shrimp, creating a truly harmonious flavor experience.
- Effortlessly Quick & Easy: From the initial prep to the final golden-brown shrimp on your plate, this gourmet appetizer comes together in just about 30 minutes. It’s the ideal solution for last-minute party planning or when you crave a special treat without spending hours in the kitchen.
- Restaurant-Quality Results at Home: Impress your family and friends with shrimp that taste like they came from your favorite upscale eatery. You’ll achieve professional-level results and presentation without the fuss or expense of dining out.
- Versatile for Any Occasion: These crispy bites are perfect for a wide range of events—from elegant holiday gatherings and casual game nights to sophisticated cocktail parties or even as a delightful addition to a weeknight meal. Their universal appeal makes them suitable for any setting.
- Highlights Fresh Ingredients: This recipe truly allows the fresh, sweet flavor of high-quality jumbo shrimp to shine, elevated by the carefully chosen spices and coconut coating.
Chef’s Tip
Coconut: Shredded or Desiccated? The Secret to Perfect Texture
When it comes to achieving that perfect texture and flavor for your crispy coconut shrimp, the type of coconut you choose matters significantly. We highly recommend using shredded sweetened coconut for this recipe. This variety comes from the rich flesh of the coconut, meticulously grated into longer, delicate strips. Unlike finely ground desiccated coconut, shredded coconut retains more of its natural moisture and beneficial fats. This inherent moisture contributes to a softer chew and a fresher, subtly sweet flavor profile that truly enhances the dish.
Its larger, more defined size also allows it to stand out beautifully in both texture and taste within the crispy coating. You’ll notice those delightful, distinct coconut strands that crisp up wonderfully around the shrimp. In contrast, desiccated coconut tends to be much drier and finer, resulting in a less impactful texture and a more muted coconut flavor in the final product. For the ultimate crispy and flavorful coconut shrimp, always opt for the shredded variety!
Ingredient Notes and Expert Tips for Success
(For precise quantities, please refer to the comprehensive recipe card below.)
- Jumbo Fresh Shrimp: The absolute foundation of this exceptional recipe relies on high-quality shrimp. Using fresh, jumbo shrimp (ideally 16-20 count per pound, meaning 16 to 20 shrimp per pound) will elevate the flavor and texture significantly. While frozen shrimp can be used in a pinch, fresh offers a superior sweet brininess and a firm, succulent texture that truly makes a difference. Always take the time to peel and devein your shrimp thoroughly to ensure a clean eating experience, but remember to leave those convenient tails on! The tails not only provide a natural, mess-free handle for dipping but also contribute to a beautiful, classic presentation.
- All-Purpose Flour: This seemingly simple ingredient forms the essential first layer of our three-step dredging process. Its primary role is to absorb any residual moisture from the shrimp, creating a perfectly dry surface. This dry surface is crucial for the subsequent egg wash to adhere properly, which in turn allows the final panko and coconut coating to stick firmly and crisp up beautifully during frying.
- Kosher Salt: Far more than just a seasoning, kosher salt plays a critical role in enhancing the natural, delicate brininess of the shrimp. Its coarser texture and pure flavor also thoughtfully balance the subtle heat from the white pepper and the complex, warming aromatics of the Chinese Five Spice, ensuring a well-rounded and deeply satisfying flavor profile in every bite.
- Chinese Five Spice: This is truly the secret ingredient that elevates this coconut shrimp recipe from good to extraordinary. This complex and aromatic spice blend typically includes a harmonious mix of star anise, cloves, Chinese cinnamon, Szechuan peppercorns, and fennel seeds. It introduces a wonderfully heady, warm, and subtly sweet-savory flavor that creates a unique and irresistible twist. You can find this blend in most well-stocked grocery stores in the spice aisle or international section. For the freshest and most vibrant flavor, however, I highly recommend making your own blend at home.
- Ground White Pepper: Offering a milder, smoother, and less pungent heat compared to black pepper, white pepper is the perfect choice for this delicately seasoned dish. Its subtle warmth complements the rich Five Spice blend without overpowering the sweet coconut and tender shrimp. If ground white pepper is unavailable, black pepper can be used, but start with a slightly smaller amount to avoid an overly dominant peppery flavor.
- Eggs: A couple of large, well-beaten eggs serve as the critical “glue” in our breading station. They create a sticky, adhesive layer between the seasoned flour and the dry panko-coconut mixture. This ensures that the final coating adheres firmly and completely to the shrimp, preventing it from falling off during frying and delivering that desired, uniformly crispy texture.
- Panko Breadcrumbs: These distinctive Japanese breadcrumbs are absolutely non-negotiable for achieving truly superior crispy results. Panko flakes are significantly larger, coarser, and possess a more irregular, airy shape than conventional breadcrumbs. This unique structure allows them to absorb far less oil during frying and create a remarkably lighter, airier, and significantly crunchier coating that maintains its crispiness longer.
- Shredded Sweetened Coconut: As highlighted in our chef’s tip, shredded sweetened coconut is essential for the ideal texture and flavor. The longer, distinct strands crisp up beautifully and provide a noticeable, pleasant coconut flavor with a delightful chew. The pre-sweetened variety adds a perfect, subtle sweetness that harmonizes exquisitely with the savory shrimp and aromatic spices, creating a balanced and addictive taste.
- Vegetable Oil: For shallow frying, selecting a neutral, high-smoke-point oil is crucial. Vegetable oil is my preferred choice due to its ultra-neutral flavor, which ensures it won’t interfere with or mask the delicate taste of the shrimp and coconut. Other excellent suitable options include canola oil, sunflower oil, or refined peanut oil. It’s important to avoid olive oil, as its lower smoke point and distinct flavor are not suitable for this high-heat frying application.
How to Make Crispy Coconut Shrimp Step-by-Step
Creating these sensational crispy coconut shrimp is a straightforward and enjoyable process, broken down into three easy-to-follow stages. Precision in each step ensures maximum crispiness and flavor.
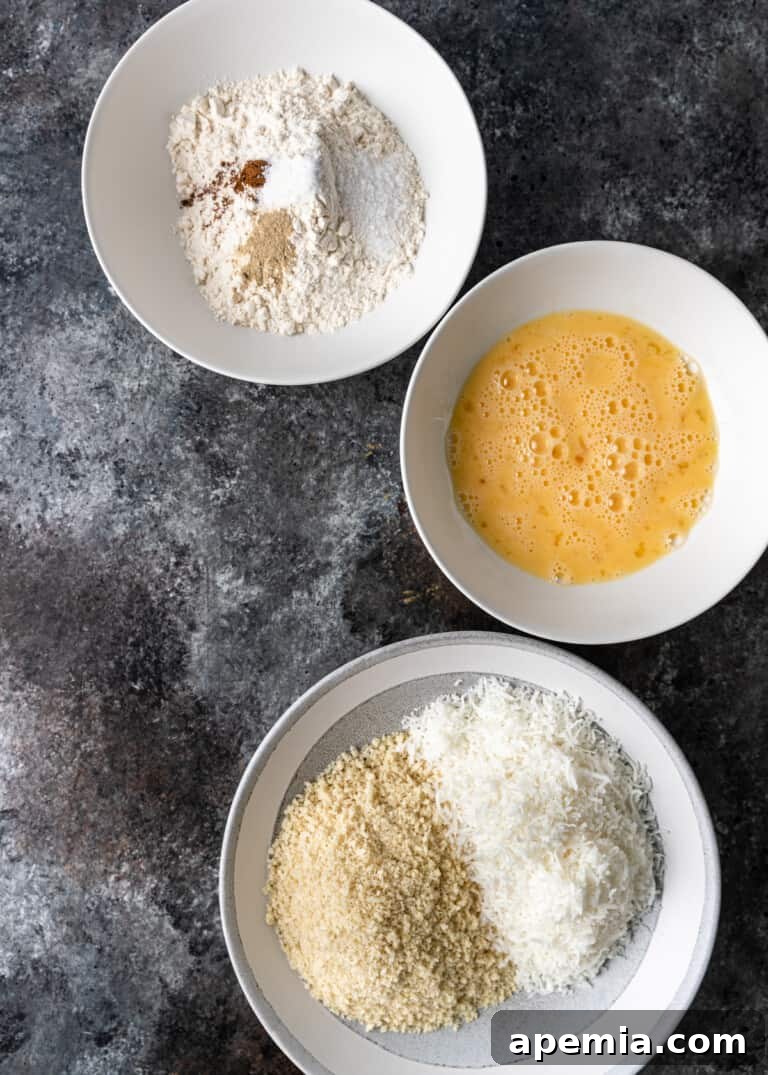
- Prepare Your Dredging Station: Begin by setting up your draining area: line a large plate with several layers of paper towels; this will be where your perfectly fried shrimp will rest and drain excess oil. Next, thoroughly wash your jumbo shrimp, ensuring they are completely peeled and deveined. Remember to leave those convenient tails intact for easy handling and an appealing presentation. Now, set up three shallow dishes or wide bowls side-by-side on your counter. In the first dish, whisk together the all-purpose flour, kosher salt, the complex Chinese Five Spice, and the fragrant white pepper until all ingredients are thoroughly combined and evenly distributed. In the second dish, lightly beat the large eggs until the yolks and whites are fully incorporated. Finally, in the third dish, combine the panko breadcrumbs and the shredded sweetened coconut, mixing them evenly to create a uniform coating blend. This organized, assembly-line setup is crucial for efficient, mess-free breading and optimal results.
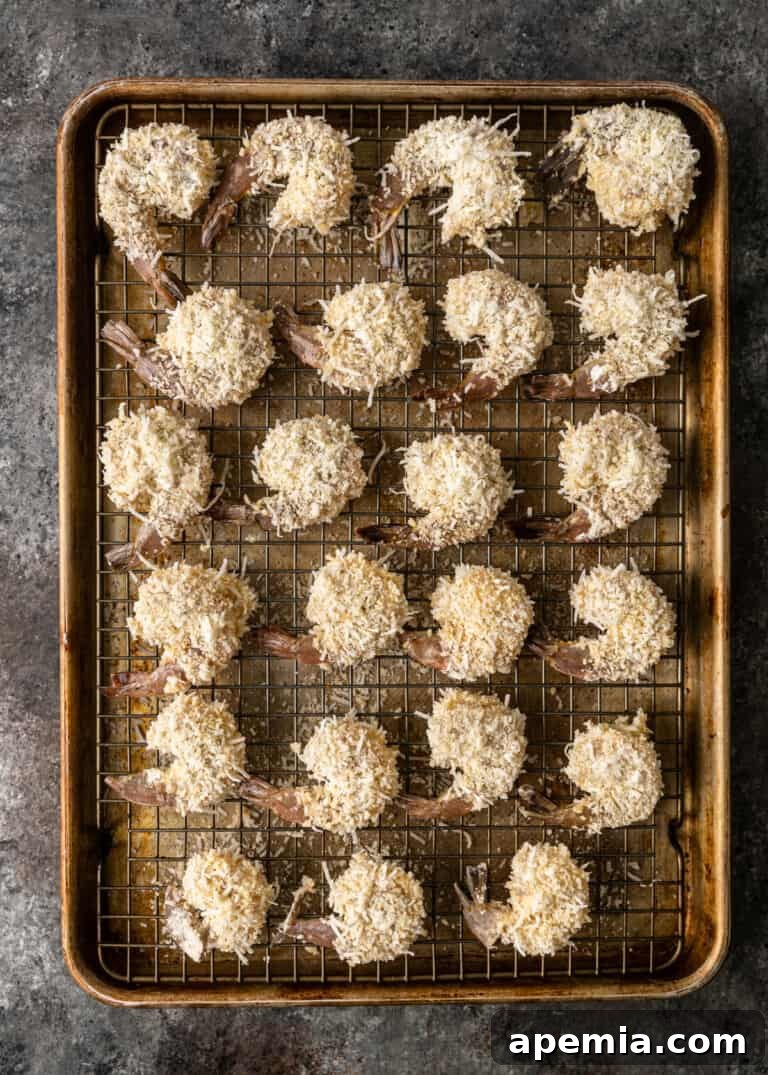
- Assemble Your Shrimp with the Perfect Coating: Take each shrimp individually by its tail. First, fully dredge it in the seasoned flour mixture, making sure it’s coated on all sides. Gently shake off any excess flour – too much flour can lead to a gummy layer. Next, dip the floured shrimp into the beaten eggs, allowing any extra egg to drip off for a moment. Finally, carefully roll and press the shrimp firmly into the panko and shredded coconut mixture. Gently but securely press the coating onto the shrimp to ensure it adheres well on all sides, creating a thick, even crust. Once coated, place the shrimp on a clean wire rack that’s been set over a baking sheet (this allows air circulation, preventing the bottom from getting soggy while waiting to be fried). Repeat this precise process until all your shrimp are beautifully coated and patiently waiting for their moment in the fryer.
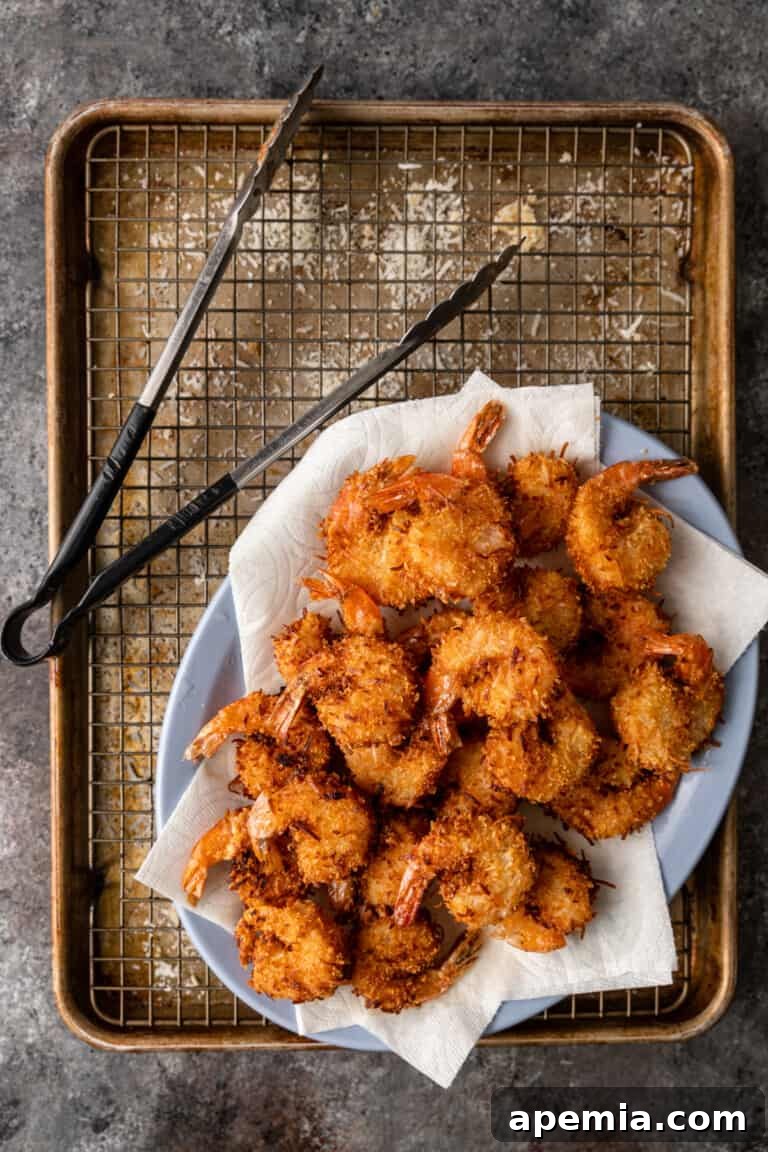
- Cook the Shrimp to Golden Perfection: Heat a large, sturdy cast-iron skillet (or another heavy-bottomed, high-sided pan) over medium-high heat. Pour in enough vegetable oil to reach a depth of approximately one inch – this ensures sufficient submersion for even cooking. Achieving the correct oil temperature is paramount for optimal crispiness and to prevent greasiness; use a reliable kitchen thermometer to ensure the oil reaches precisely 350°F (175°C) before adding any shrimp. Carefully add the coated shrimp to the hot oil, working in small batches to avoid overcrowding the pan. Overcrowding is a common pitfall as it dramatically drops the oil temperature, leading to soggy, unevenly cooked shrimp. Fry the shrimp for about 1 to 2 minutes per side, turning them gently as needed, until they achieve a beautiful, rich golden brown color and are cooked through. The shrimp should curl into a characteristic C-shape. Once cooked, use tongs or a slotted spoon to promptly transfer the crispy shrimp to your prepared paper towel-lined plate to drain any excess oil. Serve these delightful bites immediately for the absolute best texture and flavor!
Expert Frying Tips for Unforgettable Crispy Coconut Shrimp
Achieving perfectly crispy, golden, and non-greasy coconut shrimp requires attention to a few key details during the frying process. Master these tips, and you’ll be making restaurant-quality appetizers every time:
- Maintain Precise Oil Temperature: This is arguably the most critical factor for success. Always use a reliable deep-fry or instant-read thermometer to keep your oil consistently at 350°F (175°C). If the oil is too cool, the coating will absorb too much oil, resulting in a heavy, greasy, and unpleasant soggy texture. Conversely, if the oil is too hot, the exterior will burn rapidly before the shrimp has a chance to cook through, leaving you with raw interiors and a bitter crust. Adjust your heat source as needed between batches to maintain this optimal temperature.
- Never Overcrowd the Pan: This is a common mistake that leads to less-than-perfect results. Fry the shrimp in small, manageable batches. Giving each shrimp ample space in the pan ensures that the oil temperature doesn’t drop too drastically when you add the cooler ingredients. It also allows for uniform cooking, even browning on all sides, and, crucially, prevents the shrimp from sticking together, which can ruin their delicate coating.
- Utilize a Cast-Iron Skillet (Highly Recommended): For superior frying results, a heavy cast-iron skillet or a Dutch oven is ideal. Cast-iron pans are renowned for their exceptional heat retention and even heat distribution across the cooking surface. This consistency is vital for maintaining a stable oil temperature throughout the frying process, which is a cornerstone for achieving that consistently crispy and perfectly cooked batter. If cast iron isn’t available, a heavy-bottomed stainless steel pan will also yield good results.
- Properly Drain Immediately After Frying: As soon as the shrimp reach that beautiful golden-brown color and are cooked through, swiftly transfer them using tongs or a slotted spoon to a plate generously lined with several layers of paper towels. This immediate draining allows any excess oil to wick away, preventing the shrimp from becoming greasy or soft. Avoid stacking them immediately, as this can trap steam and quickly compromise their prized crispiness.
- Do Not Overcook the Shrimp: Shrimp cook remarkably quickly, especially jumbo varieties. For this recipe, jumbo shrimp typically require only about 1 to 2 minutes per side in the hot oil. Overcooked shrimp will become tough, rubbery, and lose their delicate, sweet flavor. Look for that characteristic C-shape curl and a vibrant pink hue combined with a beautiful golden crust as indicators of perfect doneness.
Elevate Your Dish: Serving Suggestions
These crispy coconut shrimp are undeniably fantastic on their own, offering a delightful explosion of flavors and textures. However, they truly shine and become a gourmet experience when paired with the right accompaniments. Here are some ideas to elevate your serving experience, whether for a casual snack or an elegant spread:
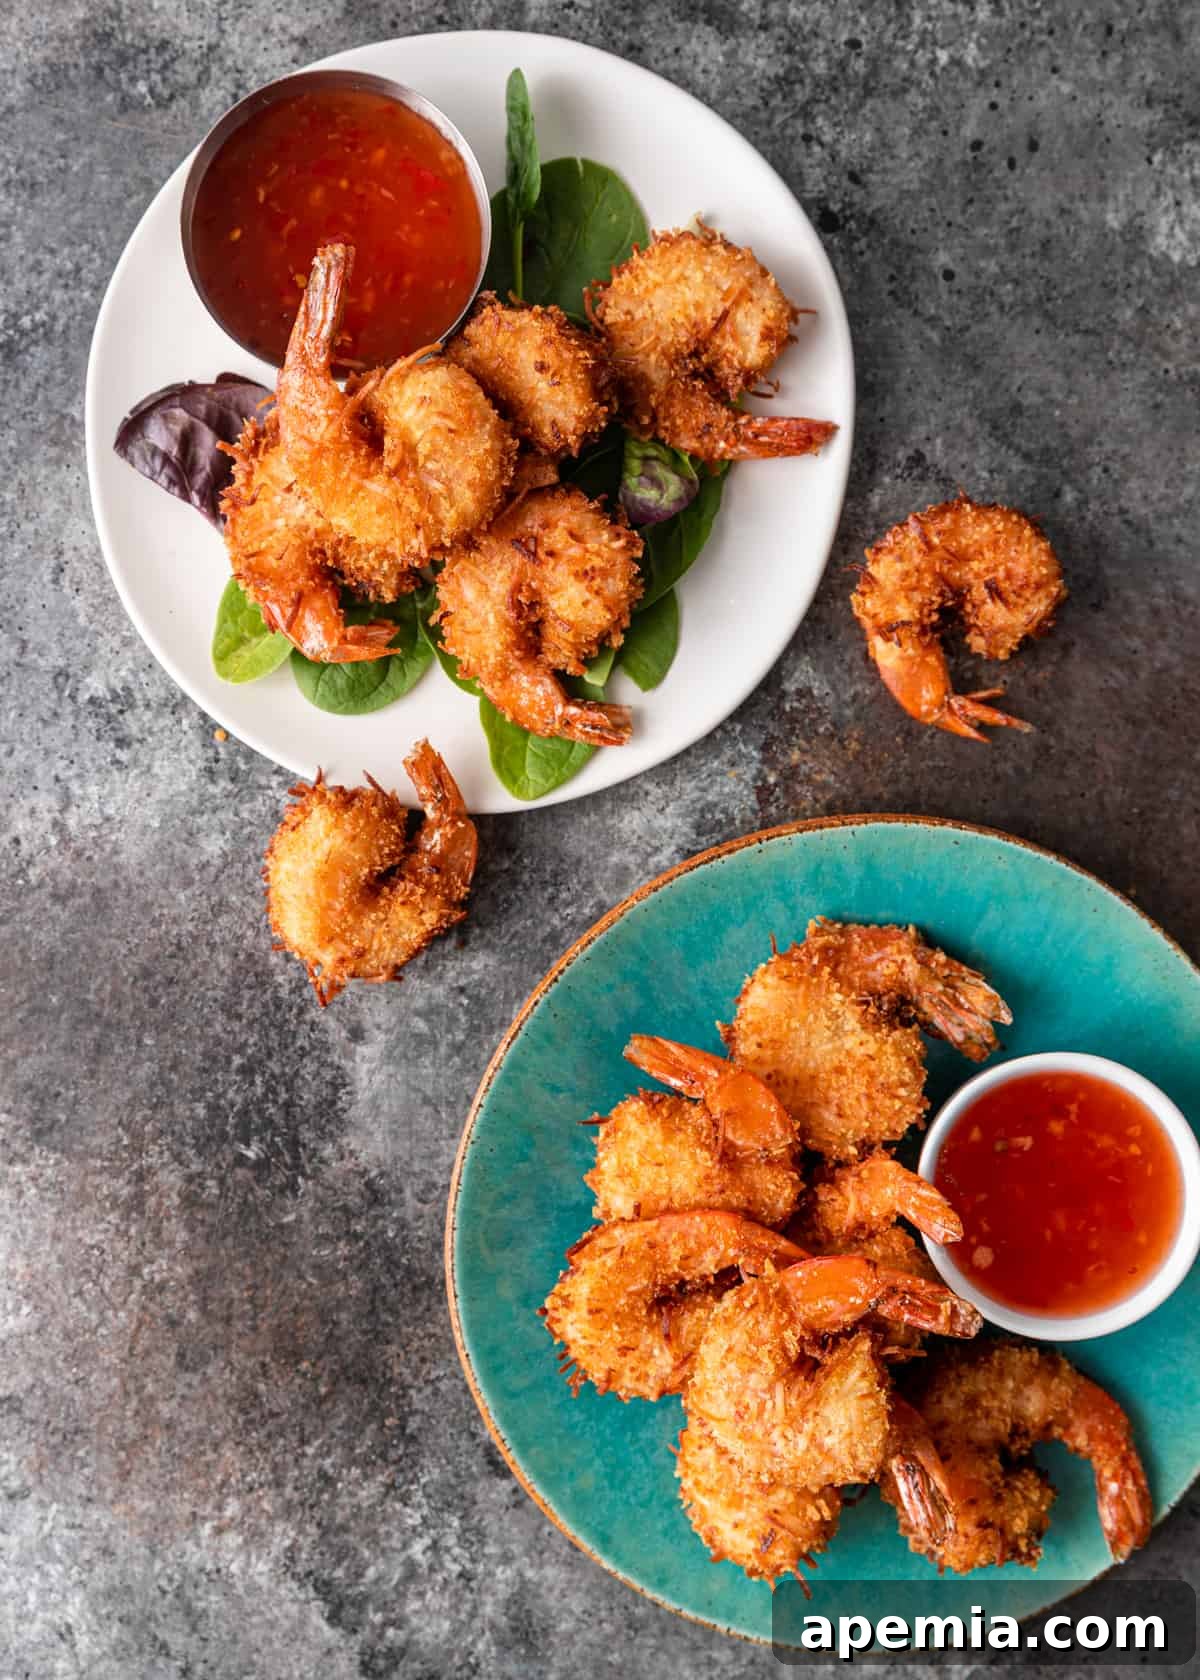
- Classic Dipping Sauces: The quintessential pairing is a vibrant Sweet Chili Sauce. Its perfect balance of sweet, tangy, and subtly spicy notes provides an ideal counterpoint to the rich coconut and savory shrimp. For an alternative that offers a different depth of flavor, a creamy Thai Peanut Sauce introduces a rich, nutty, and savory contrast that is equally delicious. Other excellent options include a fresh, zesty mango salsa for a tropical twist, a homemade lime aioli for a creamy citrus kick, or even a simple squeeze of fresh lime juice to brighten every bite.
- Aesthetic Garnish: A sprinkle of freshly chopped cilantro, finely minced green onions, or a few thin lime wedges can add a vibrant pop of color and a burst of refreshing herbal or citrus notes, enhancing both the visual appeal and the flavor profile.
- As an Impressive Appetizer Spread: For parties and gatherings, arrange the crispy coconut shrimp beautifully on a large platter. Offer a selection of different dipping sauce options around the platter, allowing guests to customize their experience and ensuring there’s a flavor for everyone.
- Part of a Light Meal: Transform these appetizers into a satisfying light meal by serving them alongside a crisp, refreshing green salad dressed with a light citrus vinaigrette, or a small portion of fragrant jasmine rice to absorb the wonderful flavors.
Recommended Tools for Perfect Crispy Coconut Shrimp
While you don’t need a fully equipped professional kitchen to make amazing coconut shrimp, a few key tools can significantly streamline the preparation process and guarantee superior results, ensuring every shrimp is perfectly crispy and delicious:
- Cast-Iron Skillet or Dutch Oven: As previously emphasized, a heavy cast-iron skillet or a sturdy Dutch oven is the ideal choice for frying. Its exceptional ability to retain and distribute heat evenly across its surface is crucial for maintaining a consistent oil temperature. This consistency is key to achieving a uniformly crispy, golden, and non-greasy coating on your shrimp.
- Deep-Fry Thermometer or Instant-Read Thermometer: Absolutely essential for precise temperature control. Maintaining the frying oil at the perfect 350°F (175°C) is the secret to preventing soggy or burnt shrimp. An instant-read thermometer also works great for quick checks. Investing in one will vastly improve your frying game.
- Three Shallow Dishes or Wide Bowls: For your organized dredging station. Having three separate, wide, and shallow dishes simplifies the breading process, making it efficient, clean, and ensuring an even coating on every shrimp.
- Wire Rack with a Baking Sheet: A wire rack placed snugly over a baking sheet serves two critical purposes. Firstly, it’s perfect for allowing excess coating to set before frying, ensuring a firm adherence. Secondly, it’s indispensable for draining cooked shrimp, allowing air to circulate around them and preventing the bottom from becoming soggy as they cool.
- Long-Handled Tongs or Slotted Spoon: For safely adding and removing shrimp from the hot oil. Long-handled tools keep your hands a safe distance from splattering oil. A slotted spoon is particularly effective for gently transferring delicate fried items without damaging their crust.
- Plenty of Paper Towels: Essential for lining your draining plate to absorb any residual oil from the freshly fried shrimp. Having a stack ready will ensure your shrimp stay crisp.
Storing and Reheating Crispy Coconut Shrimp for Best Results
While these crispy delights are undoubtedly best enjoyed fresh from the fryer, you can certainly store and reheat them to maintain their deliciousness. Proper storage and reheating techniques are absolutely essential to preserve their signature crisp texture and rich flavor.
Refrigeration:
If you have any leftover coconut shrimp, allow them to cool completely to room temperature first. This is crucial to prevent condensation, which can lead to sogginess. Once fully cooled, place them in an airtight container, preferably with a paper towel lining the bottom to absorb any moisture, and store them in the refrigerator for up to 2 days. This method keeps them fresh and ready for a quick reheat.
Freezing for Make-Ahead Convenience:
Fried shrimp actually freezes remarkably well, making this recipe an excellent candidate for meal prepping or preparing ahead for a future event! Once the shrimp have fully cooled to room temperature, arrange them in a single layer on a baking sheet. Place the baking sheet in the freezer until the shrimp are completely firm (this step prevents them from sticking together once bagged). Then, transfer the frozen shrimp to a freezer-safe bag or an airtight container, removing as much air as possible to prevent freezer burn. They can be stored in the freezer for up to one month. For the best quality, try to consume them within this timeframe to avoid any loss of flavor or texture.
Reheating for Optimal Crispiness (No Microwave!):
The key to reheating coconut shrimp is to bring back that incredible, golden crispiness without making them soft or rubbery. The microwave is definitely not your friend here, as it will inevitably steam them and ruin the texture.
- Oven Method (Highly Recommended): Preheat your oven to a robust 375°F (190°C). Line a baking sheet with parchment paper to prevent sticking and arrange the shrimp in a single layer, ensuring they are not touching. Bake for 5-10 minutes, or until they are thoroughly heated through and the coconut-panko coating has returned to its original, irresistible crisp texture. Flipping them halfway through can aid in even crisping.
- Air Fryer Method (My Top Pick!): For superior crispiness and speed, the air fryer is unmatched for reheating. Preheat your air fryer to 375°F (190°C). Place the shrimp in a single layer in your air fryer basket (do not overcrowd). Air fry for 4-7 minutes, shaking the basket halfway through, until they are hot, perfectly crispy, and revitalized.
These reheating methods work beautifully for both refrigerated and frozen shrimp. There’s no need to thaw frozen shrimp beforehand; simply add a few extra minutes to the cooking time if reheating directly from the freezer, ensuring they are cooked through and piping hot.
Share this recipe on Pinterest!
Loved making these crispy coconut shrimp? Help others discover this amazing recipe by sharing it on Pinterest.
Frequently Asked Questions About Crispy Coconut Shrimp
This is a very common issue, and it’s almost always due to overcrowding the pan. When too many shrimp are added at once, the oil temperature drops significantly, causing the coating to cook slower and have more time to stick to neighboring shrimp. The natural sugars in the sweetened coconut also contribute to stickiness. Always fry your shrimp in small, manageable batches to ensure each piece has enough space to cook evenly and prevent them from clumping together. This also helps maintain a consistent oil temperature.
Absolutely! While jumbo shrimp offer a more substantial bite, you can certainly use smaller, tail-on shrimp if you prefer a more bite-sized appetizer. Just be aware that smaller shrimp will cook much faster. Keep a very close eye on them during frying, pulling them out as soon as they turn a beautiful golden brown to prevent overcooking and becoming tough or rubbery. Adjust the frying time down to perhaps 30-60 seconds per side, depending on their size.
Greasy or soggy shrimp typically indicates that your frying oil was not hot enough. The ideal temperature for frying these coconut shrimp is 350°F (175°C). At this temperature, the coating crisps up and creates a barrier almost instantly, preventing excessive oil absorption. If the oil is too cool, the coating takes longer to crisp, giving it ample time to soak up oil and become heavy and unappetizing. Using a reliable kitchen thermometer to monitor and maintain the oil temperature is crucial for achieving that light, crispy, and non-greasy result. Additionally, ensure you’re not overcrowding the pan, as this also significantly drops the oil temperature.
Yes, you absolutely can! While frying generally yields the absolute crispiest results, baking or air frying offers a fantastic, healthier alternative with excellent texture. To bake, preheat your oven to 400°F (200°C). Arrange the breaded shrimp on a wire rack set over a baking sheet, lightly spray them with cooking oil, and bake for 12-15 minutes, flipping halfway, until they are golden brown and cooked through. For air frying, preheat your air fryer to 375°F (190°C), lightly spray the shrimp, and cook for 8-12 minutes, shaking the basket every few minutes, until they are crispy and golden. The texture might be slightly different than traditionally fried, but still incredibly delicious!
Chinese Five Spice is a key flavor component in this recipe, offering a unique and complex aromatic quality that truly sets it apart. However, if it’s unavailable in your local grocery store, you can try creating a simplified blend at home. A common homemade version uses equal parts ground cinnamon, ground star anise (if you have whole star anise, grind it finely), ground fennel seeds, a tiny pinch of ground cloves, and Szechuan peppercorns (if available, or a dash of black pepper for warmth). Alternatively, a small pinch of ground ginger and a dash of white pepper could provide a similar warming effect, though the intricate flavor profile won’t be identical. Look for pre-made blends in the international foods aisle or spice section of larger grocery stores, or consider ordering it online for future use!
Crispy Coconut Shrimp Recipe Card
Crispy Coconut Shrimp
These aren’t your average coconut shrimp! A five-spice blend balances sweetness, and the panko-coconut coating makes them extra crispy. This recipe is an easy appetizer that’s guaranteed to be a hit.
4
20 mins
10 mins
30 mins
Video
Ingredients
- 1 lb jumbo fresh shrimp, peeled and deveined with tails on
- 3/4 cup all-purpose flour
- 1/2 teaspoon kosher salt
- 1/4 teaspoon Chinese Five Spice
- 1/8 teaspoon ground white pepper
- 3 large eggs, beaten
- 1 cup panko breadcrumbs
- 1 1/2 cups shredded sweetened coconut
- Vegetable oil, for frying (about 1 inch deep)
Serving
- Sweet Chili Sauce
- Thai Peanut Sauce (optional)
Instructions
Prep
- Line a plate with paper towels to drain cooked shrimp after frying. Wash and ensure shrimp are cleaned, peeled, and deveined, leaving the tail on each shrimp.
- In a shallow dish, whisk together the flour, salt, Chinese Five Spice, and white pepper. In a separate shallow dish, beat the eggs. In a third shallow dish, mix together panko breadcrumbs and shredded sweetened coconut.
Assemble
- Holding each shrimp by its tail, dredge it completely in the seasoned flour mixture, shaking off any excess. Dip the floured shrimp into the beaten eggs, letting excess drip off. Then, coat it thoroughly in the panko and shredded coconut mixture, gently pressing to ensure it adheres well. Place the coated shrimp on a wire rack. Repeat with all remaining shrimp.
Fry
- In a large cast-iron skillet (or heavy-bottomed pan), pour vegetable oil to a depth of about one inch. Heat the oil over medium-high heat until a kitchen thermometer registers 350°F (175°C).
- Working in small batches to avoid overcrowding, carefully add the breaded shrimp to the hot oil. Fry for 1 to 2 minutes per side, turning as needed, until they are beautifully golden brown and cooked through.
- Using tongs or a slotted spoon, transfer the cooked shrimp to the paper towel-lined plate to drain excess oil. Serve immediately with Sweet Chili Sauce or Thai Peanut Sauce.
Nutrition
Carbohydrates: 37g |
Protein: 12g |
Fat: 17g |
Saturated Fat: 12g |
Trans Fat: 1g |
Cholesterol: 123mg |
Sodium: 461mg |
Potassium: 293mg |
Fiber: 7g |
Sugar: 4g |
Vitamin A: 179IU |
Vitamin C: 1mg |
Calcium: 60mg |
Iron: 4mg
The information shown is an estimate provided by an online nutrition calculator. It should not be considered a substitute for a professional nutritionist’s advice.
Appetizers
Asian, Thai
Kevin
Have You Made This Recipe? Let Me Know on Instagram!
Tag @keviniscooking or use hashtag #keviniscooking!