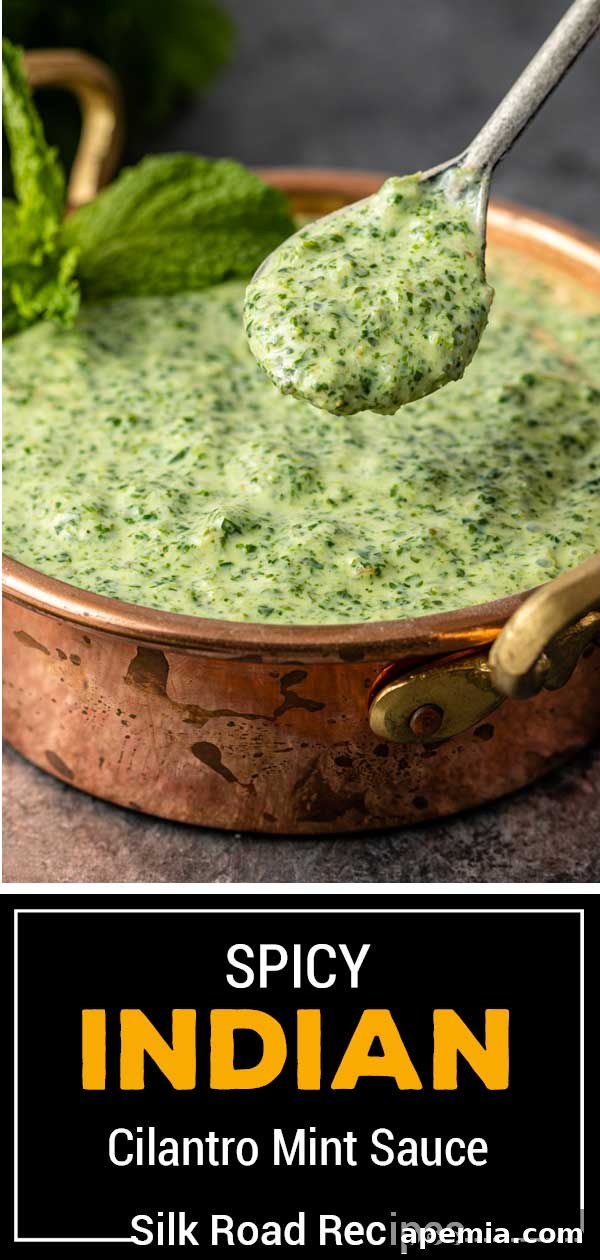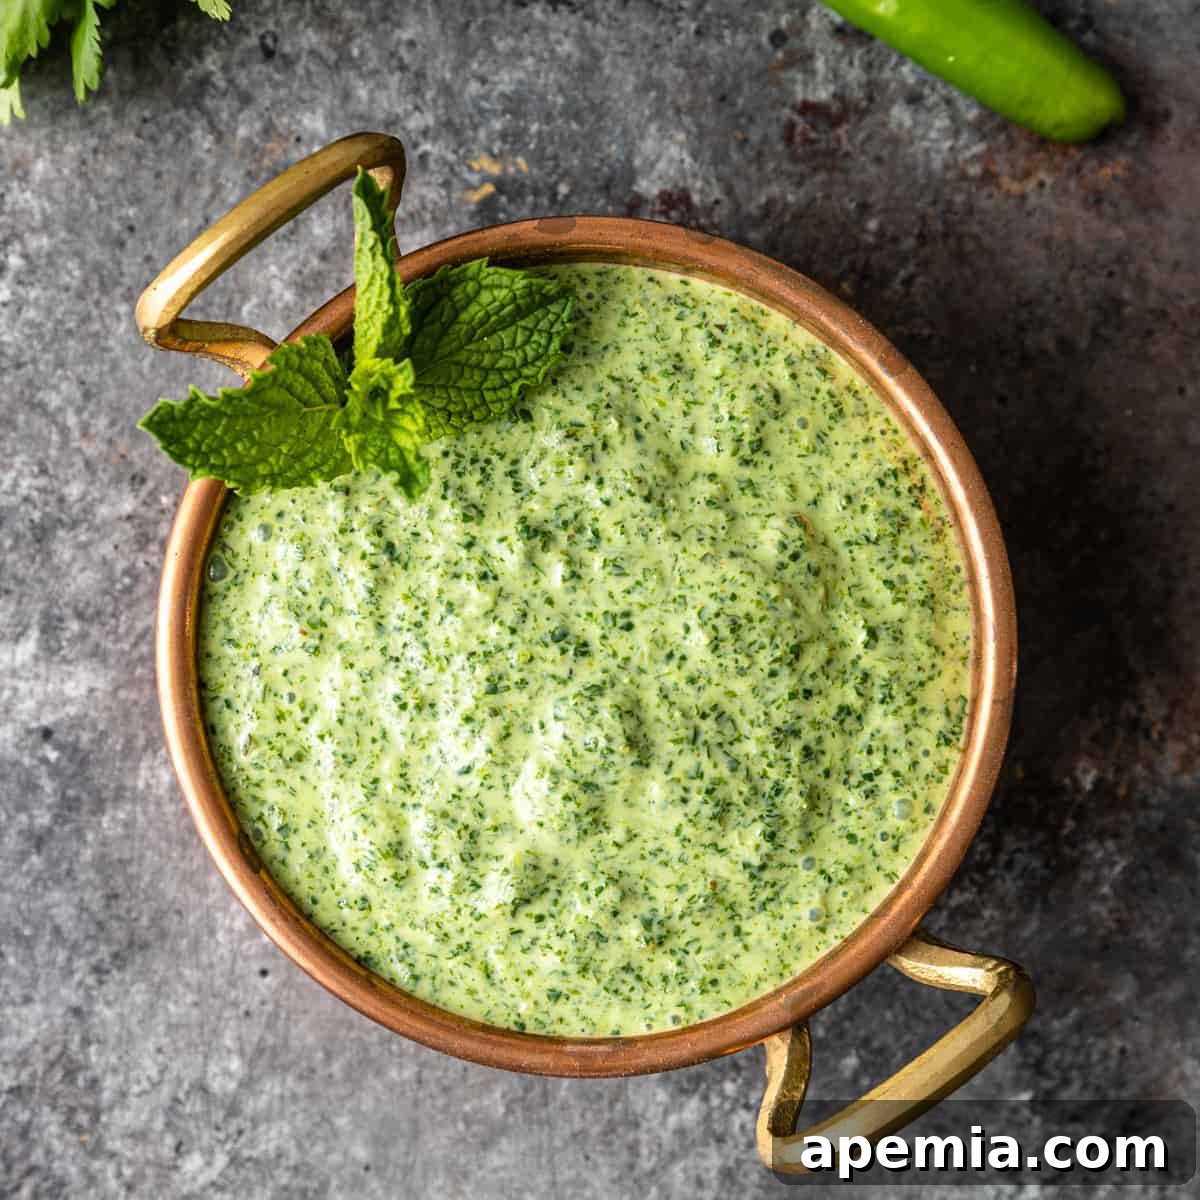
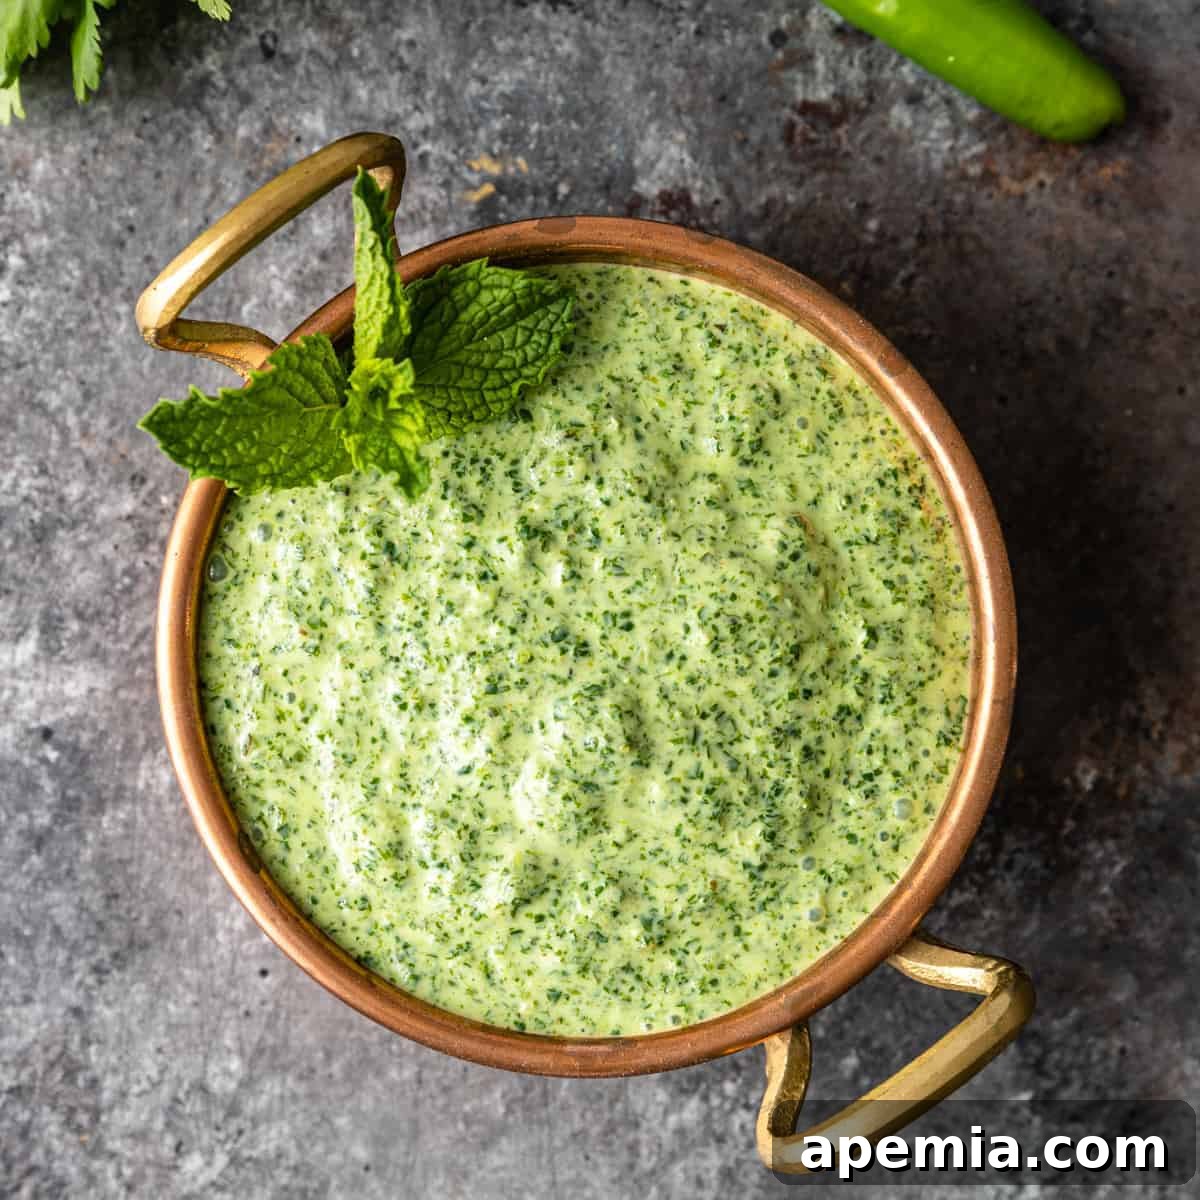
This mint chutney, famously known as pudina chutney, is a vibrant and aromatic Indian condiment that can be prepared in just 10 minutes. Bursting with fresh, herbal, and spicy notes, it’s a staple in Indian cuisine. Its creamy texture and refreshing flavor make it an incredibly versatile accompaniment, perfect as a zesty dip for fried snacks, a dollop alongside rich curries, a flavorful spread in sandwiches, or a healthy addition to fresh vegetables, fruits, and cheeses.
When we talk about “chutney” in this context, we’re delving into the rich culinary traditions of India, far removed from the sweet, often fruit-based English chutneys. Indian chutneys, or “chatnis,” are a diverse and essential part of the subcontinent’s gastronomic landscape. Unlike their cooked European counterparts, many Indian chutneys are crafted from fresh, raw ingredients, preserving their vibrant flavors, textures, and nutritional value.
These dynamic condiments typically feature a blend of raw or lightly spiced vegetables and fruits, often combined with yogurt, and generously seasoned with an array of aromatic herbs and spices. From tangy tamarind chutneys to fiery tomato and coconut varieties, the world of Indian chutneys is vast and varied, each offering a unique sensory experience. Among these, mint chutney stands out as a beloved classic, cherished for its refreshing kick and ability to complement almost any meal.
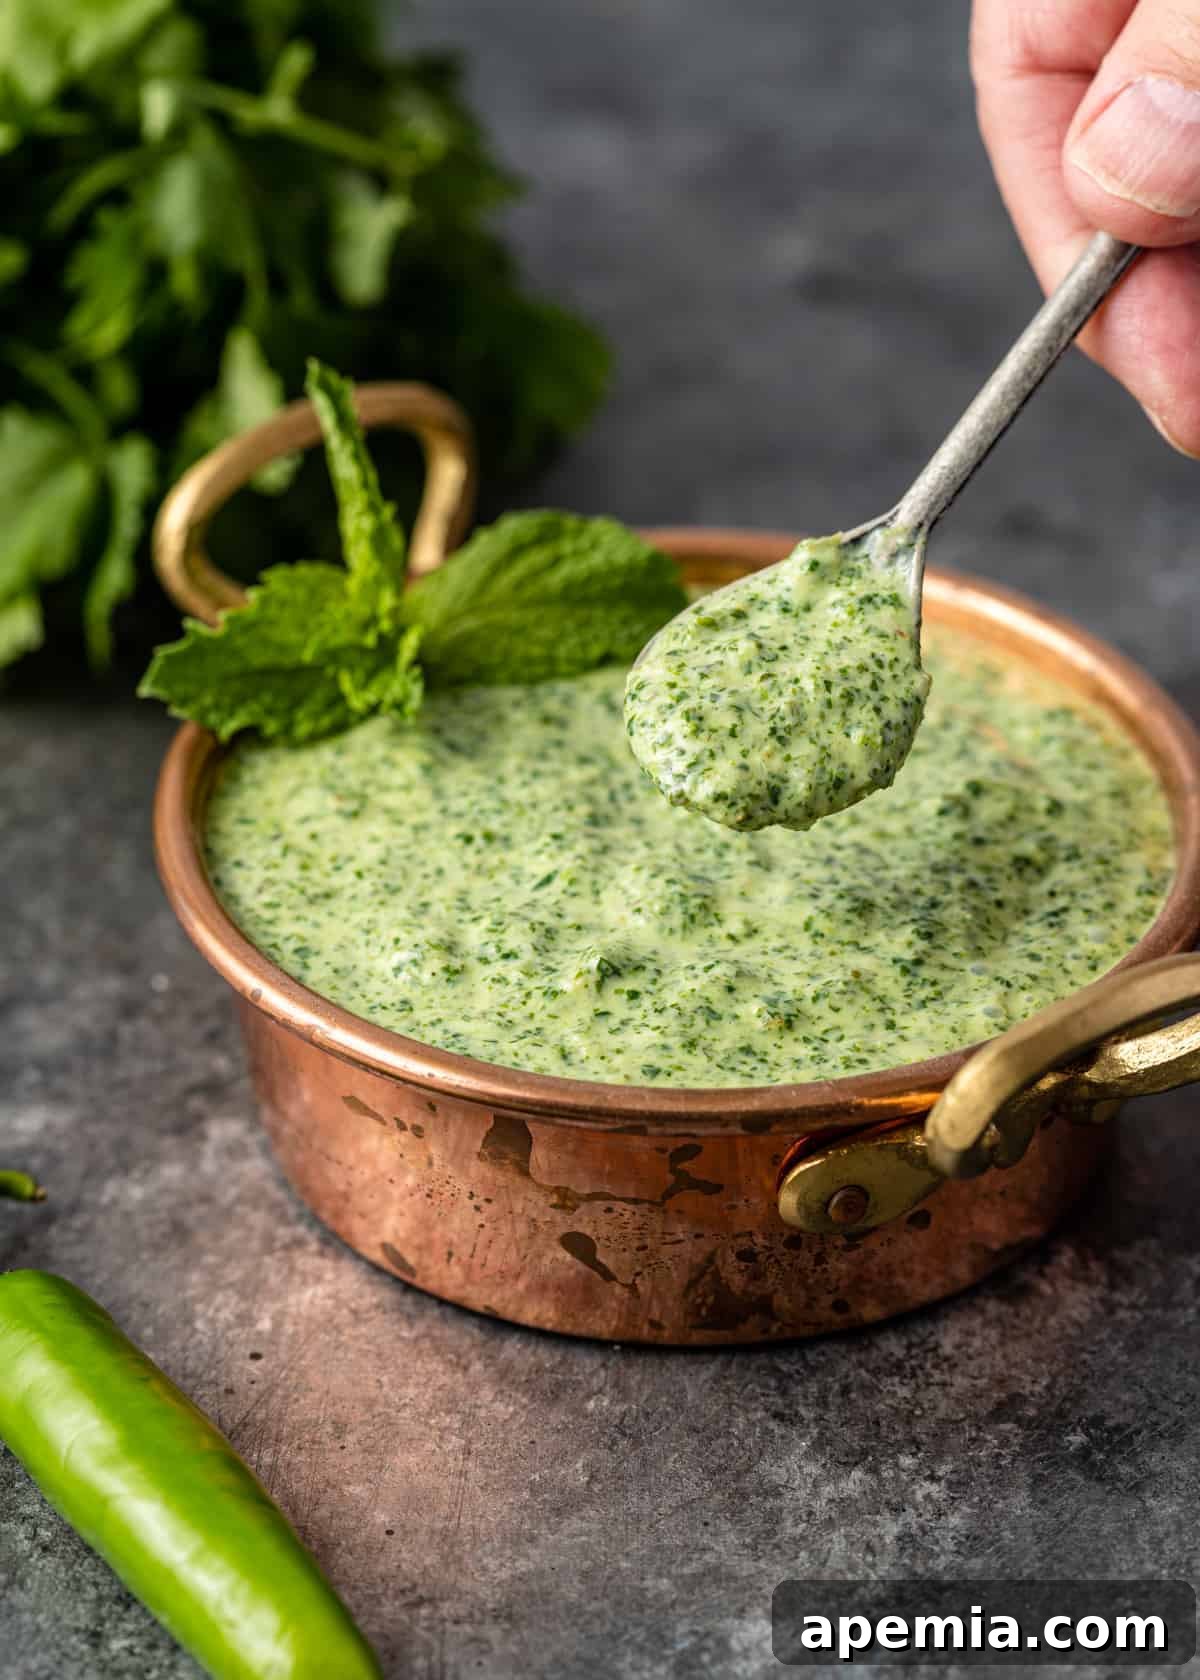
Our star today, pudina chutney, is a prime example of this fresh Indian chutney style. It’s a luscious, yogurt-based sauce that masterfully blends the cooling essence of fresh mint with the bright, herbaceous notes of cilantro, the pungent warmth of garlic, and a zesty touch of lemon. The beauty of this chutney lies in its simplicity and the fact that its ingredients remain uncooked. This not only makes for a swift preparation but also ensures that all the vital nutrients from the fresh herbs and spices are retained, making it a remarkably healthy addition to your diet.

To give this chutney its characteristic zest and a pleasing warmth, a few serrano chiles are typically incorporated. While these peppers pack a real punch of heat, the cooling properties of the yogurt beautifully balance the spice, preventing it from becoming overwhelming. For those who crave an even more intense heat, perhaps bordering on truly fiery, exploring other regional variations or even Middle Eastern shatta sauce might be a thrilling culinary adventure. However, for a balanced and flavorful experience that delights most palates, the serranos in pudina chutney strike a perfect chord.
Table of Contents
- The Essence of Indian Chutneys
- Why You’ll Love This Pudina Chutney
- Mastering Ginger and Garlic
- Essential Ingredients & Smart Substitutions
- How to Make Perfect Mint Chutney
- Recommended Tools for Chutney Making
- Serving Suggestions and Culinary Pairings
- Storing and Freezing Your Chutney
- Frequently Asked Questions About Mint Chutney
- Cilantro Mint Chutney (Pudina Chutney) Recipe
The Essence of Indian Chutneys: A Culinary Tradition
Chutneys are more than just condiments in India; they are culinary expressions, reflecting the diverse flavors and regional specialties found across the country. Historically, chutneys were developed as a way to enhance meals, add zest, or even aid digestion. They come in myriad forms – wet or dry, sweet or savory, mild or explosively hot. What unites them is their ability to elevate a simple meal into a memorable feast.
Unlike Western jams or preserves, which often lean heavily on sugar and a singular fruit, Indian chutneys celebrate complex flavor profiles. They might feature a combination of ingredients like mango, coconut, peanuts, tomatoes, or various lentils, all brought to life with a medley of spices like mustard seeds, curry leaves, asafoetida, and, of course, fresh herbs. The mint chutney we’re exploring today exemplifies this fresh, vibrant style, proving that a simple blend of raw ingredients can yield astonishing depth of flavor.
Why You’ll Love This Quick & Healthy Pudina Chutney
This homemade cilantro mint chutney, often alongside a rich tomato chutney, holds a special place in Indian cuisine for its incredible versatility and health benefits. I particularly enjoy serving it with delicate dosa, especially when they are stuffed with savory potatoes and lightly fried to a crispy perfection. It also acts as an exquisite dipping sauce for a wide variety of fritters, such as my wholesome Zucchini Lentil Fritters, the incredibly satisfying Crispy Corn Pakora, or the ever-popular Crispy Potato Pakora. The refreshing coolness of the chutney provides a perfect counterpoint to the warmth and richness of these fried delights.
Beyond its delicious taste, pudina chutney offers significant health advantages. Since the core ingredients are fresh and uncooked, they retain a higher concentration of vitamins, minerals, and antioxidants. Mint, known for its digestive properties, aids in soothing the stomach, while cilantro is a potent source of Vitamin K and antioxidants. Yogurt adds probiotics, promoting gut health, and the chiles provide a metabolism boost. This makes mint chutney not just a flavorful condiment, but a genuinely healthful addition to any meal, proving that healthy eating can also be incredibly delicious.
Tip From Kevin
Mastering Ginger and Garlic: The Heart of Indian Flavors
Many Indian recipes, including this sensational mint chutney, rely heavily on the foundational aromatic duo of garlic and ginger. For an unparalleled burst of flavor and freshness, I always advocate for using fresh ginger and garlic. Taking the time to grate or finely grind them yourself unlocks their maximum potency, resulting in a more complex and vibrant taste in your final dish. However, I understand that time is often a precious commodity in the kitchen. For those busy days, a good quality pre-made garlic ginger paste can be a lifesaver. You can often find excellent pureed ginger garlic paste in the refrigerated vegetable section of most Asian markets, ready to use and still delivering a respectable flavor profile.
Essential Ingredients & Smart Substitutions for Mint Chutney
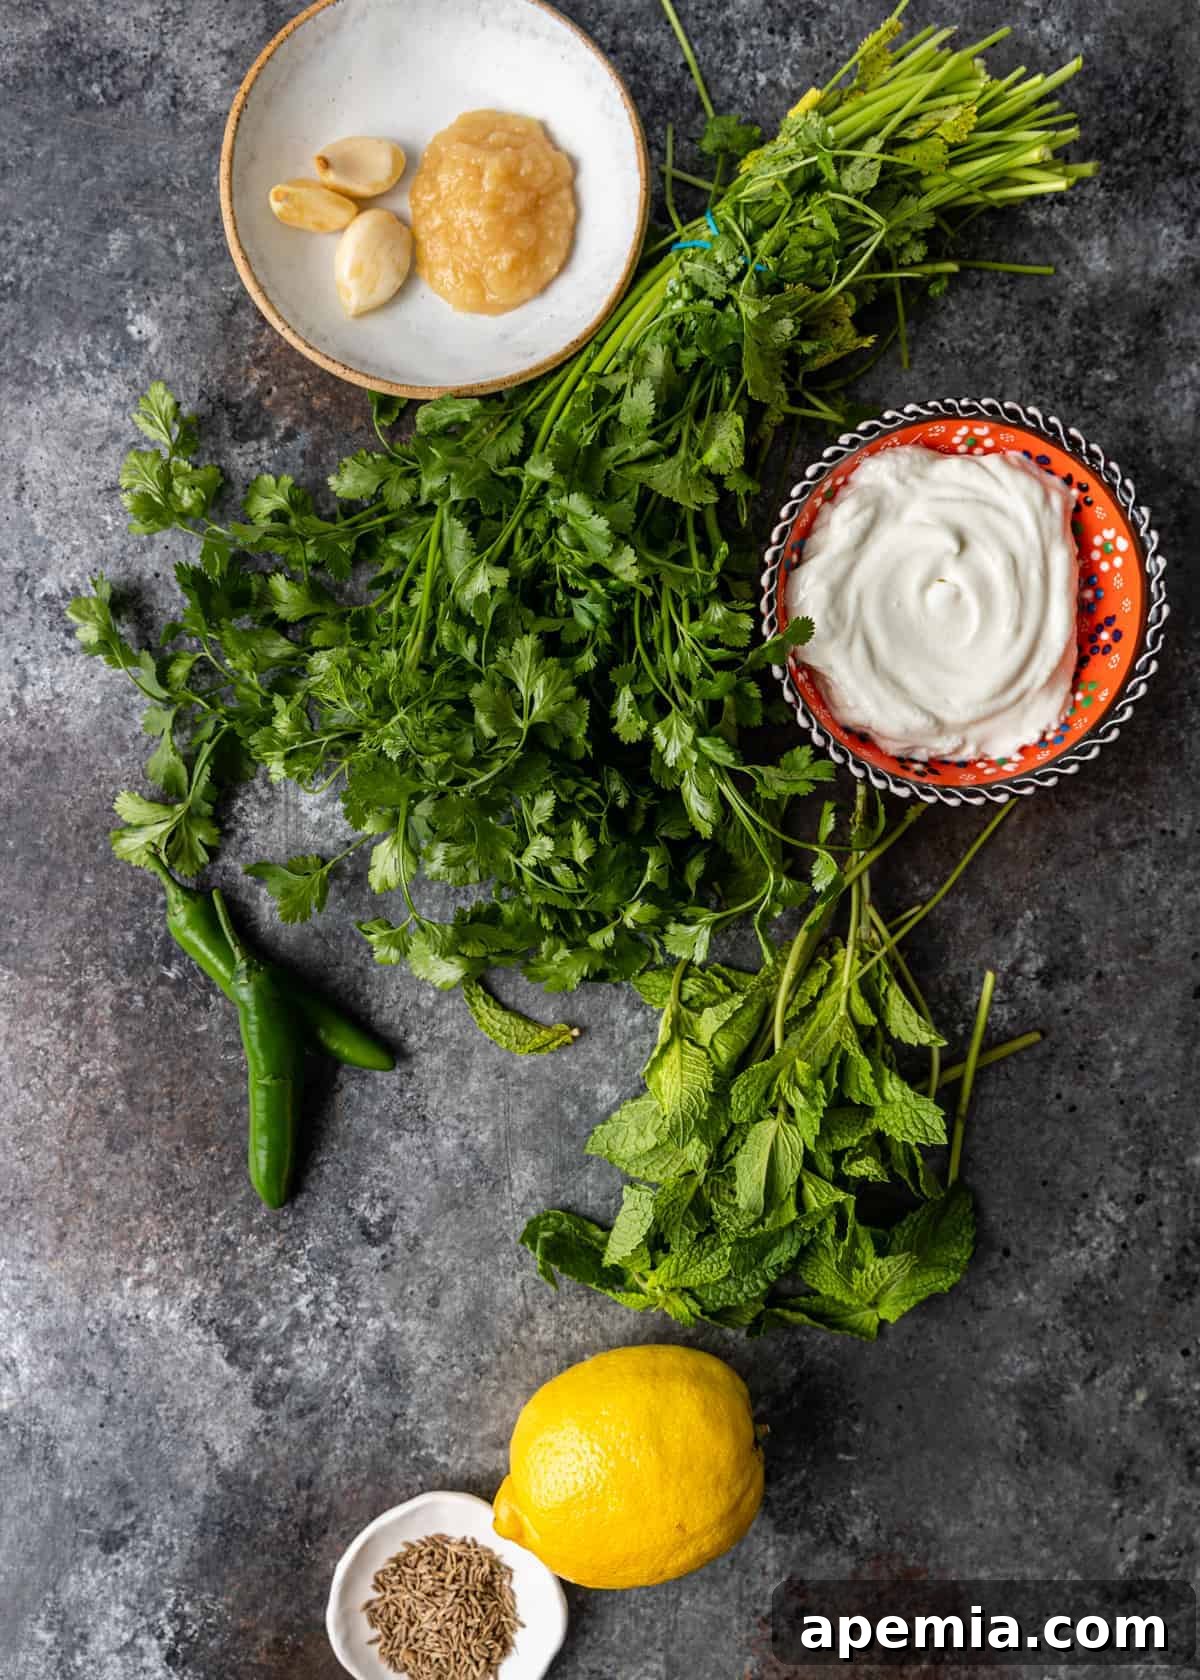
- Cumin Seeds: These tiny powerhouses are essential for adding a warm, earthy undertone and, when toasted, a delightful crunch to the otherwise smooth condiment. If you don’t have cumin seeds, caraway seeds offer the closest flavor profile and make an excellent substitute.
- Pudina Leaves (Spearmint): “Pudina” is the Hindi word for mint, and spearmint is the preferred variety for this chutney. Its distinctive strong, sweet, and cooling minty flavor is what gives pudina chutney its signature taste. While other mint varieties can be used, spearmint provides the most authentic result.
- Cilantro Leaves: Known as coriander leaves in many parts of the world, cilantro is a key player here, providing a fresh, citrusy, and slightly peppery flavor. Though the terms “cilantro” (leaves/stems) and “coriander” (seeds) refer to different parts of the same plant, in the context of this recipe, we are using the fresh leaves. If fresh cilantro isn’t available or you’re not a fan, flat-leaf parsley can serve as a decent substitute, offering a similar green freshness, albeit with a milder flavor.
- Garlic: Fresh garlic cloves are crucial for their pungent, aromatic depth. The recipe calls for three cloves, but if using jarred, minced garlic for convenience, about 1 ½ teaspoons will suffice. Always adjust to your personal preference for garlic intensity.
- Ginger Paste: Ginger introduces a sharp, sweet heat and a wonderfully aromatic quality that is indispensable in Indian cooking. If opting for fresh ginger, a 1-inch piece, peeled and grated or finely minced, will yield the best results, lending a more pronounced and vibrant flavor to your chutney.
- Serrano Chiles: These chiles are responsible for the authentic spicy kick of pudina chutney. The amount can be adjusted to your heat tolerance. For an even spicier rendition, consider substituting the serranos with a single Birds Eye chile, which are significantly hotter. Always handle chiles with care, and wash your hands thoroughly after.
- Plain Yogurt: The yogurt forms the creamy base of the chutney, mellowing the spice and bringing all the flavors together. Any plain yogurt will work beautifully, including dairy-free alternatives if you prefer. For the richest, thickest, and most luxurious consistency, Greek yogurt is an excellent choice. Ensure it’s unsweetened.
- Lemon Juice: Freshly squeezed lemon juice brightens the chutney, adding a crucial tangy note that balances the flavors and helps to counteract any natural bitterness from the herbs. You’ll need about two tablespoons, which is typically the juice from half a medium-sized lemon.
How to Make Perfect Mint Chutney: A Simple Guide
Crafting this flavorful mint chutney is remarkably straightforward, requiring minimal effort and time. Follow these simple steps for a perfect batch every time:
- Toast the Cumin Seeds: Begin by adding the cumin seeds to a small, dry saucepan. Place it over medium heat and toast the seeds gently. This step is crucial as it releases their rich, smoky, and nutty flavors, enhancing the overall aroma of the chutney. Stir constantly to prevent burning. Once they become fragrant and lightly browned (this usually takes only 1-2 minutes), immediately transfer them to your food processor.
- Blend the Cilantro Mint Chutney: Into the food processor with the toasted cumin seeds, add all the remaining ingredients: fresh mint leaves, cilantro leaves, garlic cloves, ginger paste, serrano chiles, kosher salt, plain yogurt, and fresh lemon juice. Pulse the mixture in short bursts until it reaches a smooth and creamy consistency. Periodically stop the food processor to scrape down the sides of the bowl with a spatula, ensuring all ingredients are evenly blended. For those who prefer a more rustic texture, you can stop blending a little earlier, leaving your coriander mint chutney with a slightly chunkier, more textural feel.
- Adjust the Thickness & Flavor: After the initial blend, assess the chutney’s thickness. If you find the dip is thicker than your preference, gradually add small amounts of cold water, a teaspoon at a time, while pulsing, until you achieve your desired consistency. Next, taste the chutney and adjust the seasoning as needed. You might want to add a pinch more salt to enhance the flavors or a splash more lemon juice. More lemon juice not only adds brightness but can also help to mellow any lingering bitterness from the fresh herbs.
- Store or Serve: Your homemade pudina chutney is now ready to be enjoyed! If you’re not planning to serve it immediately, transfer it to an airtight container. Cover tightly and refrigerate. Chilling the chutney for at least 30 minutes before serving allows the flavors to meld and deepen, resulting in an even more delicious condiment.
Recommended Tools for Chutney Making
While the process of making mint chutney is simple, having the right tools can make it even easier and more efficient:
- Saucepan: A small, dry saucepan is ideal for briefly toasting your cumin seeds. This crucial step extracts their rich, smoky flavors, which are fundamental to the chutney’s depth.
- Food Processor or Blender: This is your primary tool for achieving the characteristic smooth, seamless texture of the chutney. A good food processor or a powerful blender will effortlessly combine all the ingredients into a creamy dip. If you prefer a more traditional method or a chunkier texture, a mortar and pestle can also be used, though it will require more effort and produce a coarser result.
Serving Suggestions and Culinary Pairings
Mint chutney’s refreshing and spicy profile makes it an incredibly versatile condiment that can elevate a multitude of dishes. Here are some popular and creative ways to enjoy your homemade pudina chutney:
- As a Classic Dip: It’s a quintessential dipping sauce for Indian appetizers and snacks like samosas, pakoras (fritters made from various vegetables), and kebabs. The cool, tangy chutney cuts through the richness of fried foods perfectly.
- Alongside Main Courses: Dollop generously on your plate next to curries, dals, biryanis, and rice dishes. It adds a fresh burst of flavor that complements savory main courses.
- With Indian Breads: Serve it with naan, roti, paratha, or even simple plain rice. It’s a wonderful spread that adds moisture and flavor.
- Sandwich and Wrap Spread: Ditch mayonnaise or mustard and spread mint chutney in your sandwiches, wraps, or even burgers for an unexpected Indian twist. It pairs exceptionally well with chicken, lamb, or paneer fillings.
- Healthy Snack Companion: Enjoy it with fresh cucumber slices, carrot sticks, bell pepper strips, or apple wedges for a healthy, flavorful snack.
- Yogurt Bowl Enhancer: Stir a spoonful into plain yogurt for an instant spiced raita, perfect with spicy meals.
- Marinade or Sauce Base: Thin it out with a little water or lemon juice and use it as a quick marinade for chicken or fish before grilling, or as a vibrant sauce for grilled vegetables.
- Breakfast Pairings: A fantastic accompaniment to South Indian breakfast items like idli, vada, and especially dosa, providing a tangy and spicy counterpoint.
Don’t be afraid to experiment! The bright and bold flavors of mint chutney make it a fantastic addition to many culinary creations, adding a touch of Indian flair.
Storing and Freezing Your Chutney for Future Enjoyment
Proper storage is key to maintaining the freshness and vibrant flavor of your homemade mint chutney. When stored correctly in an airtight container, it will remain fresh and delicious for up to 4 days in the refrigerator. The cooling yogurt base means it should not be left at room temperature for longer than two hours to prevent spoilage.
If you wish to prepare a larger batch for future use, freezing is an excellent option, but with a crucial caveat: yogurt does not freeze and thaw well, as it tends to separate and become grainy. Therefore, the best approach for bulk preparation and freezing is to blend all the ingredients except for the yogurt. This herb and spice paste can then be frozen for up to 6 months without compromising its integrity. When you’re ready to enjoy the chutney, simply thaw the paste, and then mix in fresh, plain yogurt just before serving. This method ensures your chutney remains wonderfully creamy and flavorful, as if freshly made.

Frequently Asked Questions About Mint Chutney
The ingredients in chutney vary wildly depending on its origin. If we were discussing traditional English chutney, the primary components would typically be cooked fruits, sugar, and an acid like cider or vinegar, resulting in a sweet and tangy relish. Indian chutneys, however, are a completely different category. They are almost never sweet (with a few delightful exceptions like some mango chutneys) and are often made from fresh, spiced fruits or vegetables, combined with flavorful yogurt, and a vibrant blend of ginger, garlic, and chiles. You can explore the vast world of Indian chutneys with recipes such as my Mango Chutney Recipe, Major Grey Chutney, Cranberry Apple Chutney, Sweet and Spicy Tomato Chutney or this savory Tomato Pachadi (Andhra Style Chutney).
Absolutely! As a refreshing and cooling sauce, mint chutney is most delicious and vibrant when served chilled or at a cool room temperature. The chill enhances the refreshing qualities of the mint and yogurt. Given that it is a yogurt-based sauce, it is crucial to handle it safely: it should not be left at room temperature for longer than two hours to prevent spoilage and maintain its best flavor and safety.
The natural bitterness in cilantro and mint leaves can sometimes become more pronounced, especially when the leaves are finely chopped or over-processed. The more the leaves are broken down, the more bitter compounds can be released. While the acidity from lemon juice helps to counteract this bitterness somewhat, over-blending the mixture will intensify it regardless. To minimize bitterness, you could try adding the fresh leaves toward the end of the blending process, giving them just a few pulses until roughly chopped, or even chopping them finely with a knife before adding them to the food processor for a very brief blend. Ensuring your mint and cilantro are fresh and vibrant can also help.
Yes, you absolutely can! While yogurt provides a creamy texture and helps balance the flavors, many variations of mint chutney are made without it. For a dairy-free or vegan version, you can substitute the yogurt with a thick coconut milk or cream, or simply increase the amount of lemon juice and perhaps add a small amount of water to achieve the desired consistency. Some traditional recipes use a little roasted gram flour (chickpea flour) to thicken the chutney, giving it a slightly different but equally delicious texture.
Mint chutney, or pudina chutney, is a specific type of green chutney where mint is the dominant herb, often paired with cilantro. “Green chutney” is a broader term that encompasses any chutney made primarily with fresh green herbs. While mint chutney is always green, not all green chutneys are mint chutneys. Many green chutneys might feature only cilantro, or a blend of other green herbs like curry leaves, fenugreek leaves, or even green chilies as the main component, with mint being optional or absent. The defining characteristic of mint chutney is its unmistakable, refreshing mint flavor.
Share this recipe on Pinterest!
Love this recipe? Share it with the world on Pinterest.
Cilantro Mint Chutney (Pudina Chutney)
Rating: 5 out of 5 stars from 7 votes.
Print Recipe
Ingredients
- 1 tsp cumin seeds
- 1 1/2 cups mint leaves
- 1 cup cilantro leaves (or flat leaf parsley)
- 3 garlic cloves
- 2 tbsp ginger paste (See Note 1)
- 2 serrano chiles (See Note 2)
- 1/2 tsp kosher salt
- 1/2 cup plain yogurt
- 1/2 lemon (2 tbsp juice)
Instructions
- Toast the cumin seeds in a dry frying pan over medium heat until fragrant. Add to the food processor.
- Add the mint, cilantro, garlic, ginger, chiles, salt, yogurt and lemon juice to the cumin and process until smooth.
- Thin with water to desired consistency. Season to taste with salt and or lemon juice.
Notes
- For fresh ginger, use 1-inch piece, peeled.
- Substitute 1 Birds Eye chile for more heat. Remove stems and cut in half.
Nutrition
The information shown is an estimate provided by an online nutrition calculator. It should not be considered a substitute for a professional nutritionist’s advice.
Have You Made This Recipe? Let Me Know on Instagram
Tag @keviniscooking or tag me #keviniscooking!