Homemade Pita Chips: Your Ultimate Guide to Crispy, Flavorful Snacking
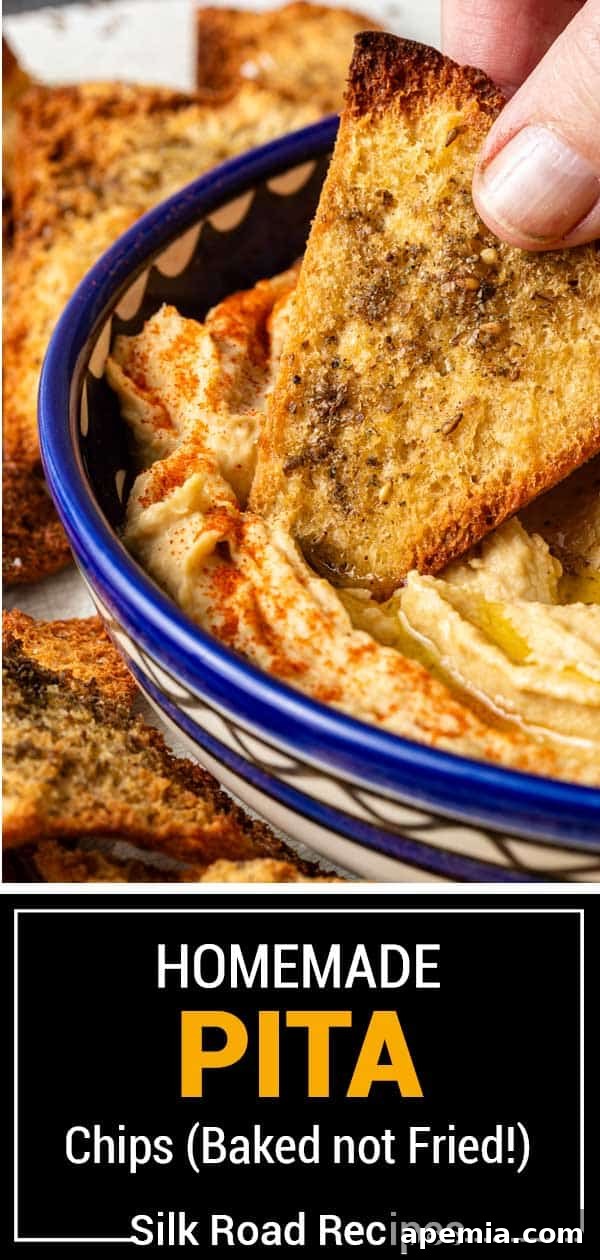
Easy to make, incredibly versatile, and utterly addictive, these homemade pita chips are a delicious upgrade from store-bought varieties. With just a few simple ingredients and a quick bake in the oven, you can transform humble pita bread into wonderfully crispy, perfectly seasoned chips that are ideal for pairing with your favorite dips, spreads, or enjoying all on their own. Get ready to revolutionize your snacking game!
The Inspiration Behind My Addictive Pita Chips
As a devoted snacker, I’m constantly on the lookout for new and exciting treats to satisfy my cravings. My love for crispy delights like breadsticks, potato chips, and crackers runs deep, but it was during my travels through Egypt and Greece that I truly found my snacking muse: the incredible pita bread.
While pita bread is certainly enjoyed in America, the warm, soft, and utterly pillowy versions I encountered abroad were a revelation. They were a staple, accompanying every meal and serving as the perfect vehicle for an array of rich and flavorful dips. I recall countless evenings spent savoring generous pieces of this exquisite bread with bowls brimming with creamy hummus and refreshing tzatziki. That experience ignited a desire to recreate that magic back home, leading me on a quest to master the art of homemade pita chips.
To my delight, making your own pita chips is far simpler than you might imagine, and the results are undeniably superior to anything you can buy in a bag. Read on to discover all my secrets, including my top recommendations for perfect pairings in the FAQ section below!
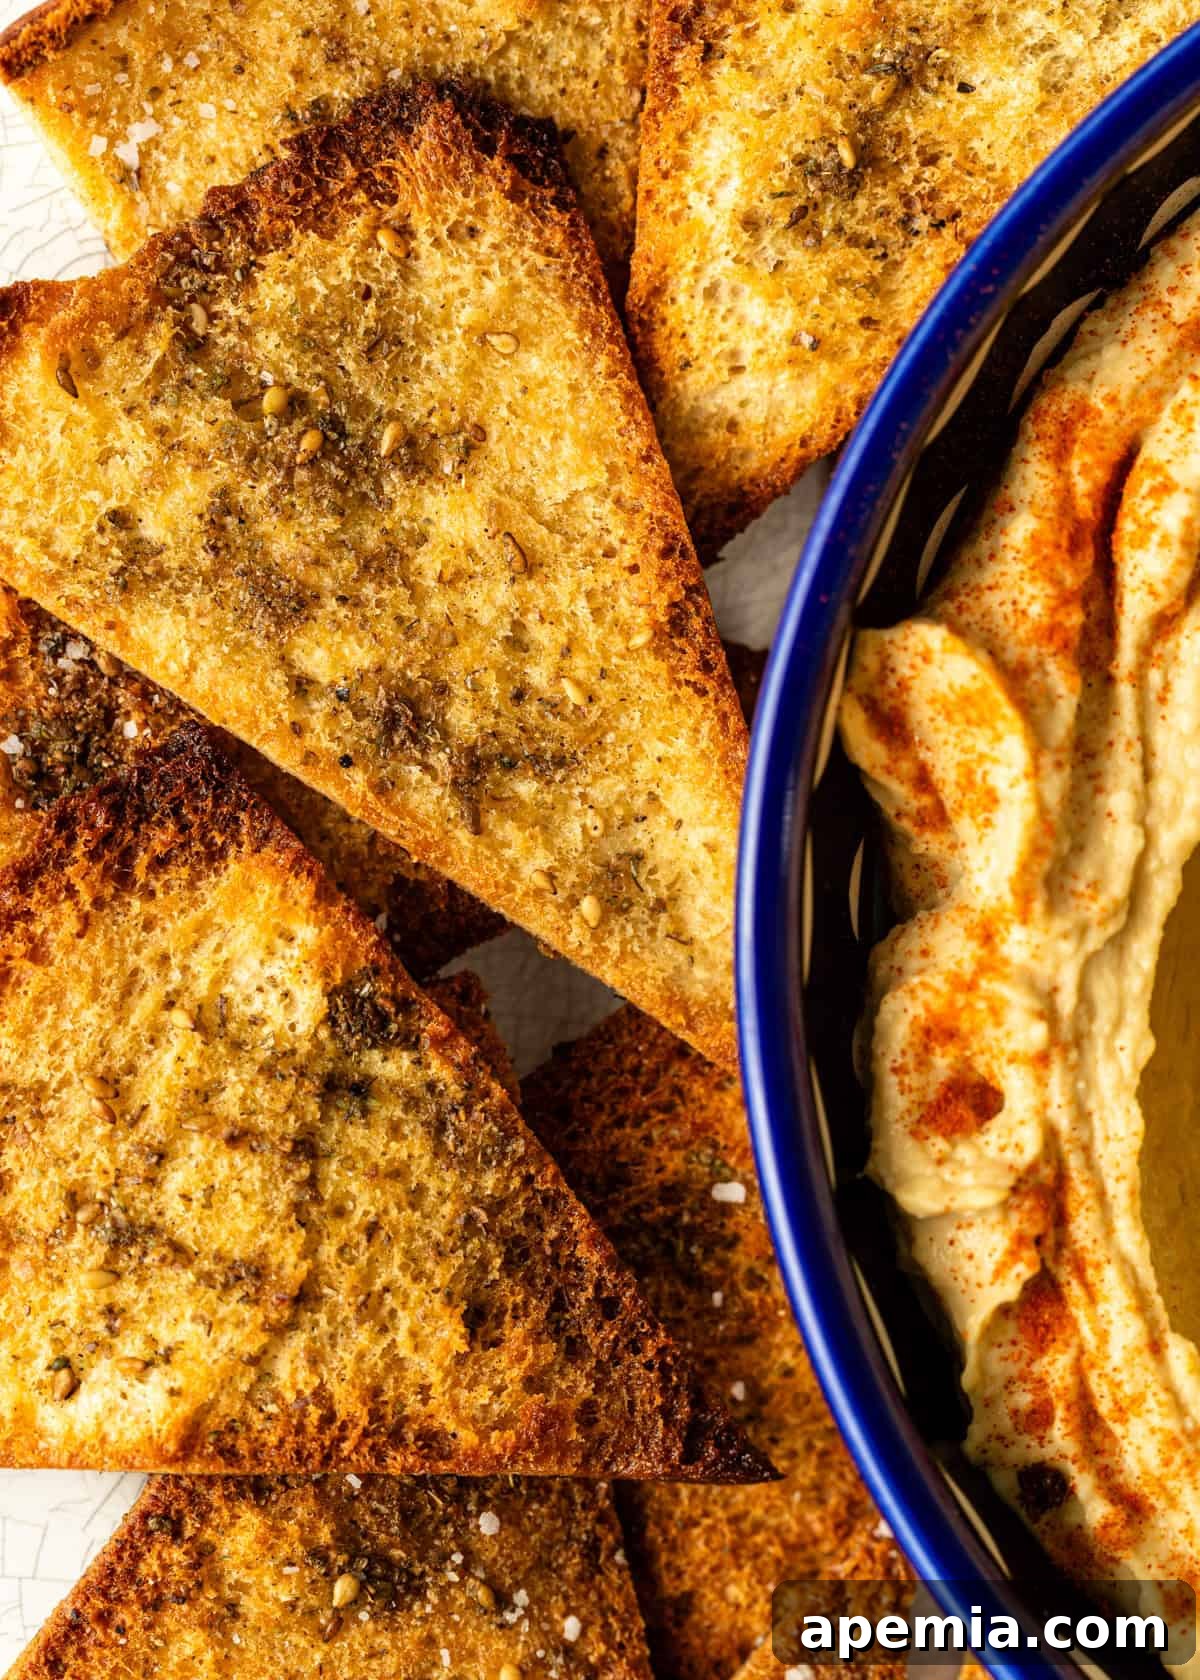
Table of Contents
- Why Homemade Pita Chips Are The Best
- Elevate Your Flavor: Spice Them Up!
- Thick or Thin: Choosing Your Pita Chip Style
- Ingredient Notes and Substitutions
- How to Make the Perfect Pita Chips
- Essential Tools for Crispy Perfection
- Storing and Reheating Your Pita Chips
- Frequently Asked Questions
- The Ultimate Homemade Pita Chips Recipe
Why Homemade Pita Chips Are The Best
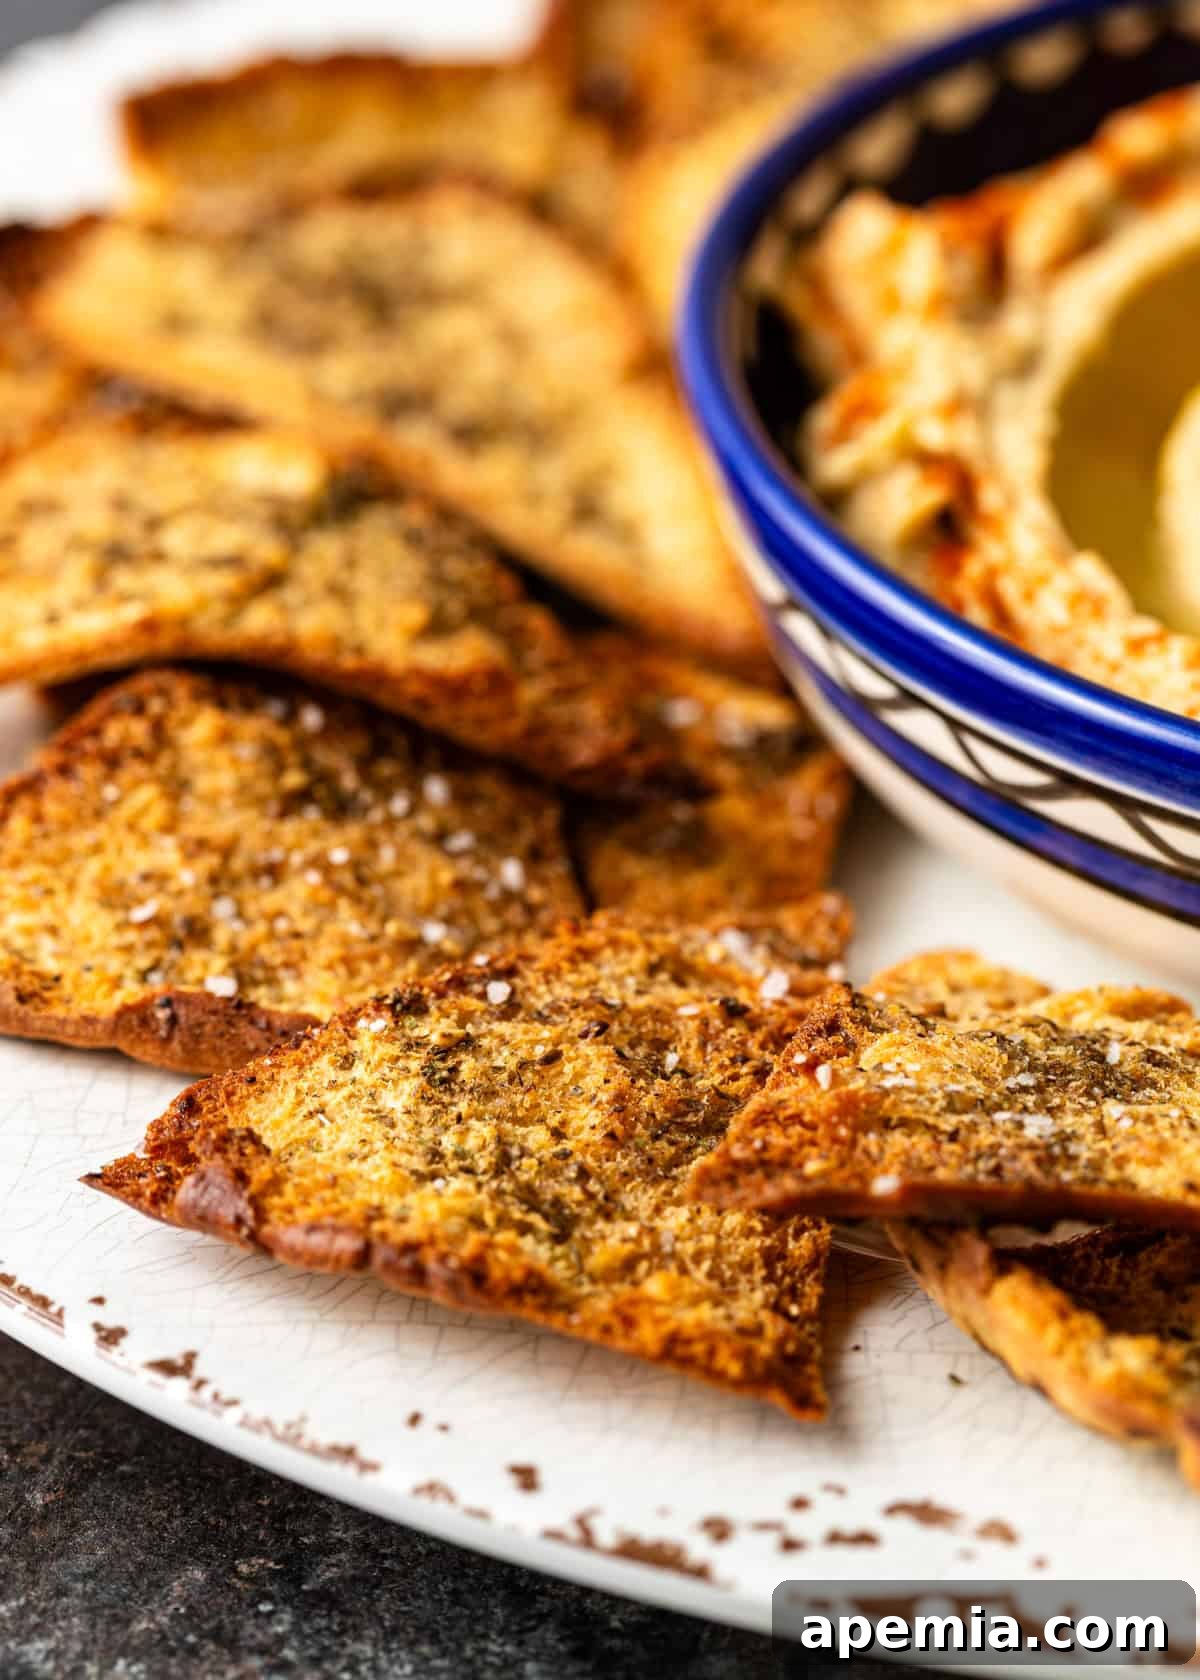
While grocery store shelves are stocked with various brands of pita chips, none can truly compare to the unparalleled taste and texture of a batch made fresh at home. The difference is night and day! Homemade pita chips boast an irresistibly crunchy bite that makes them incredibly addictive – once you start, it’s hard to stop. Plus, you avoid the common disappointment of finding a bag half-filled with broken, underwhelming pieces. Fresh from your oven, each chip is perfectly golden, crispy, and infused with the exact flavors you desire. Paired with any of your favorite dips, they’re guaranteed to become your go-to snack.
Elevate Your Flavor: Spice Them Up!
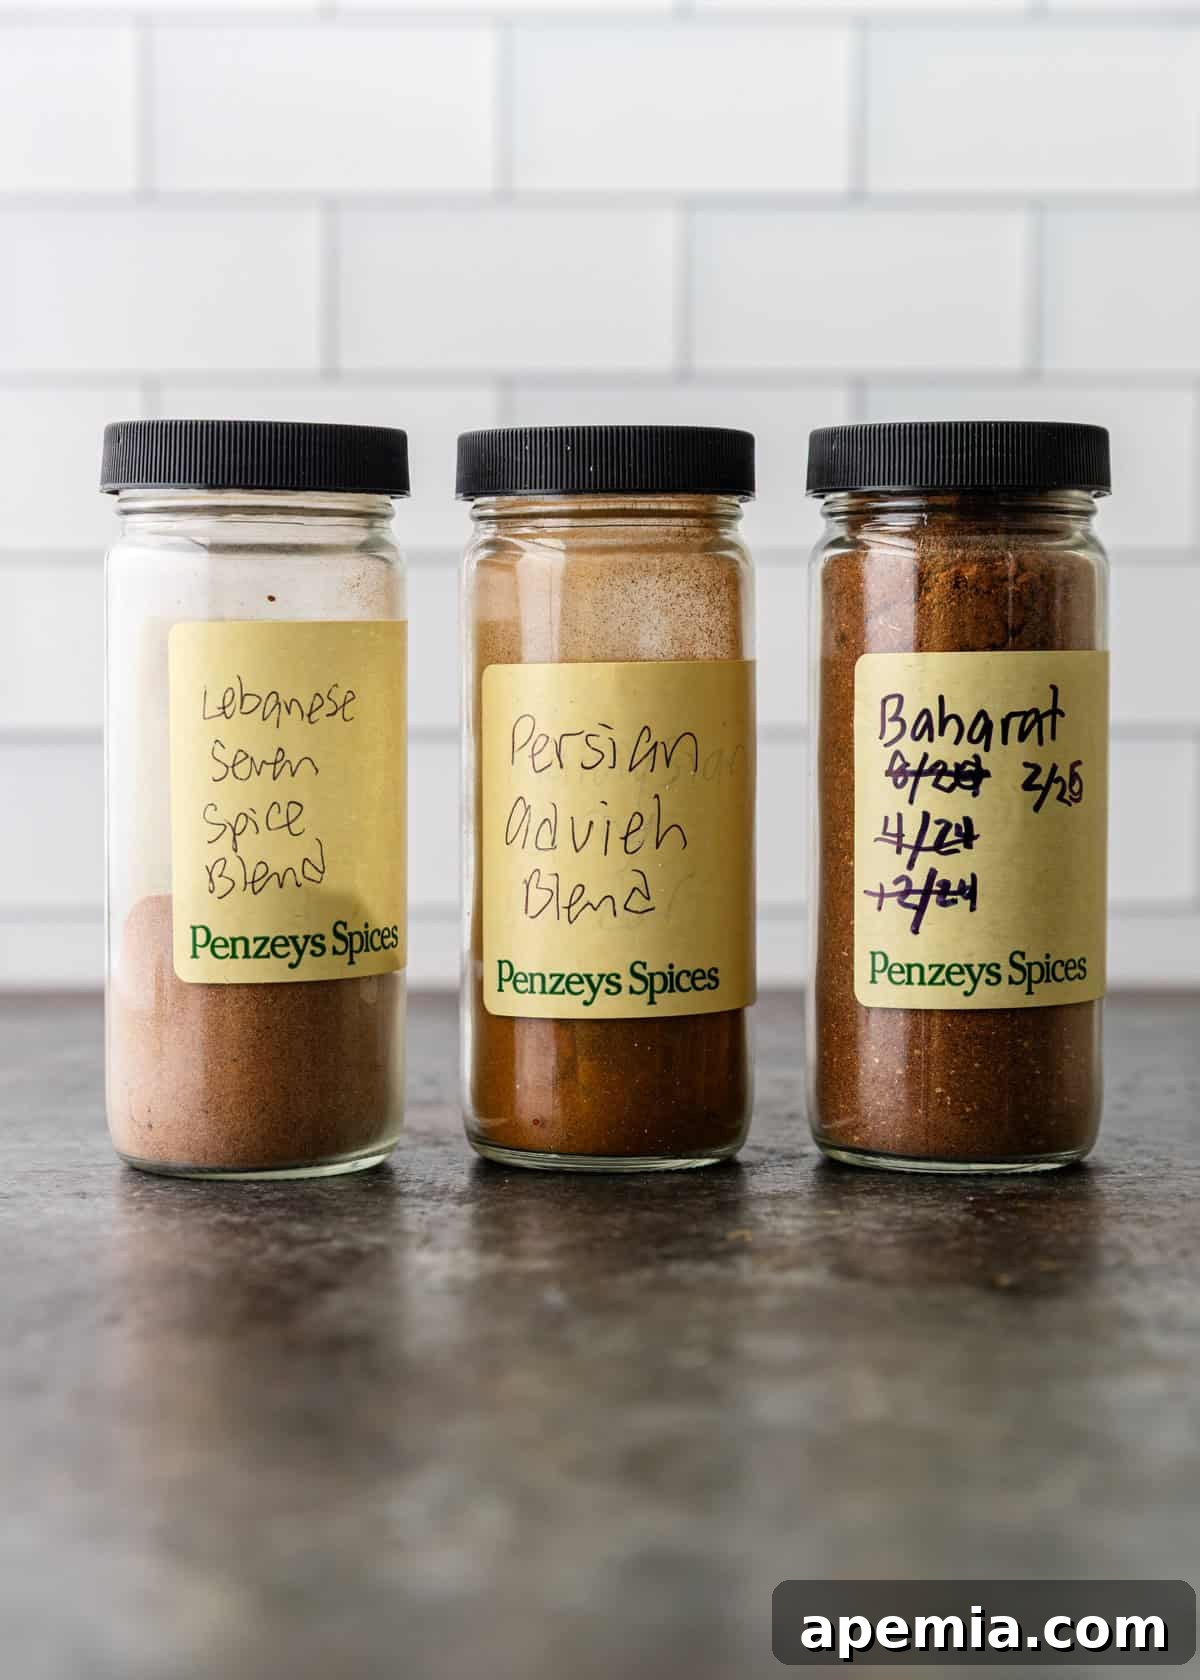
The beauty of homemade pita chips lies in their customizability. After a light brush of olive oil, the world is your oyster when it comes to seasoning. Don’t limit yourself to just sea salt, although that’s always a classic! Explore a spectrum of global flavors to truly make them your own:
- Dukkah: An Egyptian blend of nuts, seeds, and spices like cumin and coriander, offering an aromatic, earthy crunch.
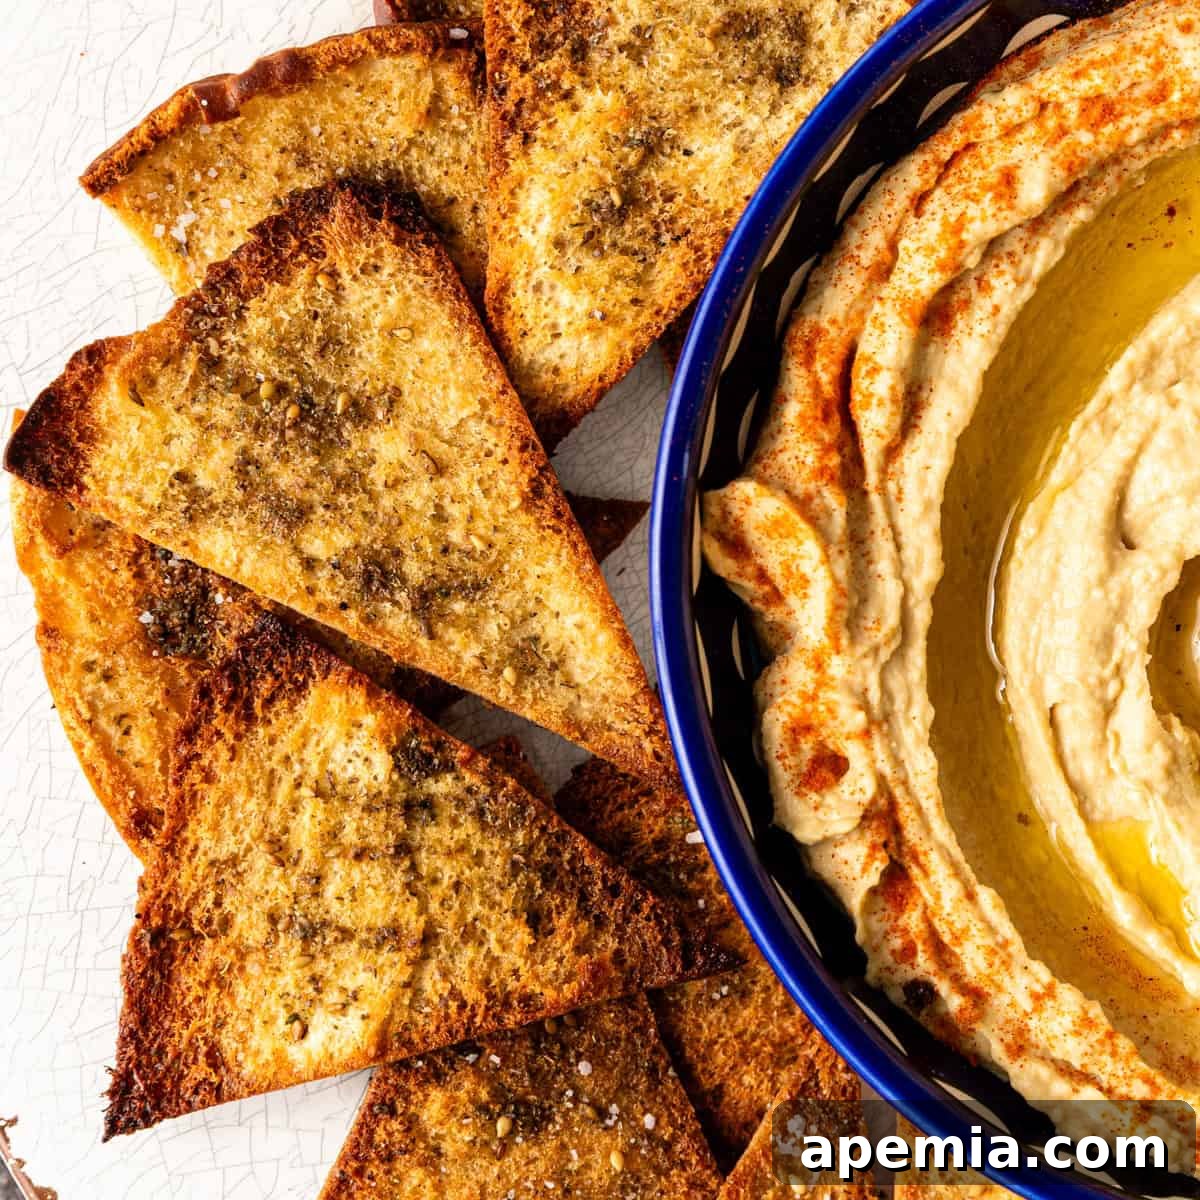
- Za’atar: A quintessential Middle Eastern blend featuring dried thyme, oregano, sumac, and sesame seeds. It provides a tangy, herbaceous, and nutty profile that is utterly captivating.
- Lebanese 7 Spice Blend: A warm and aromatic mix often including allspice, black pepper, cinnamon, cloves, nutmeg, fenugreek, and ginger, delivering a complex and rich flavor.
- Persian Advieh: A fragrant blend with subtle floral notes, frequently containing cinnamon, cardamom, rose petals, and cumin, perfect for a unique twist.
- Arabic Baharat: A versatile spice blend commonly used in Middle Eastern cuisine, featuring black pepper, cumin, cinnamon, cloves, and cardamom, giving a warm and slightly sweet depth.
Many of these exquisite spice blends have recipes available on my site, allowing you to craft them from scratch for the freshest, most vibrant flavors. Experiment and discover your personal favorite combination!
Thick or Thin: Choosing Your Pita Chip Style
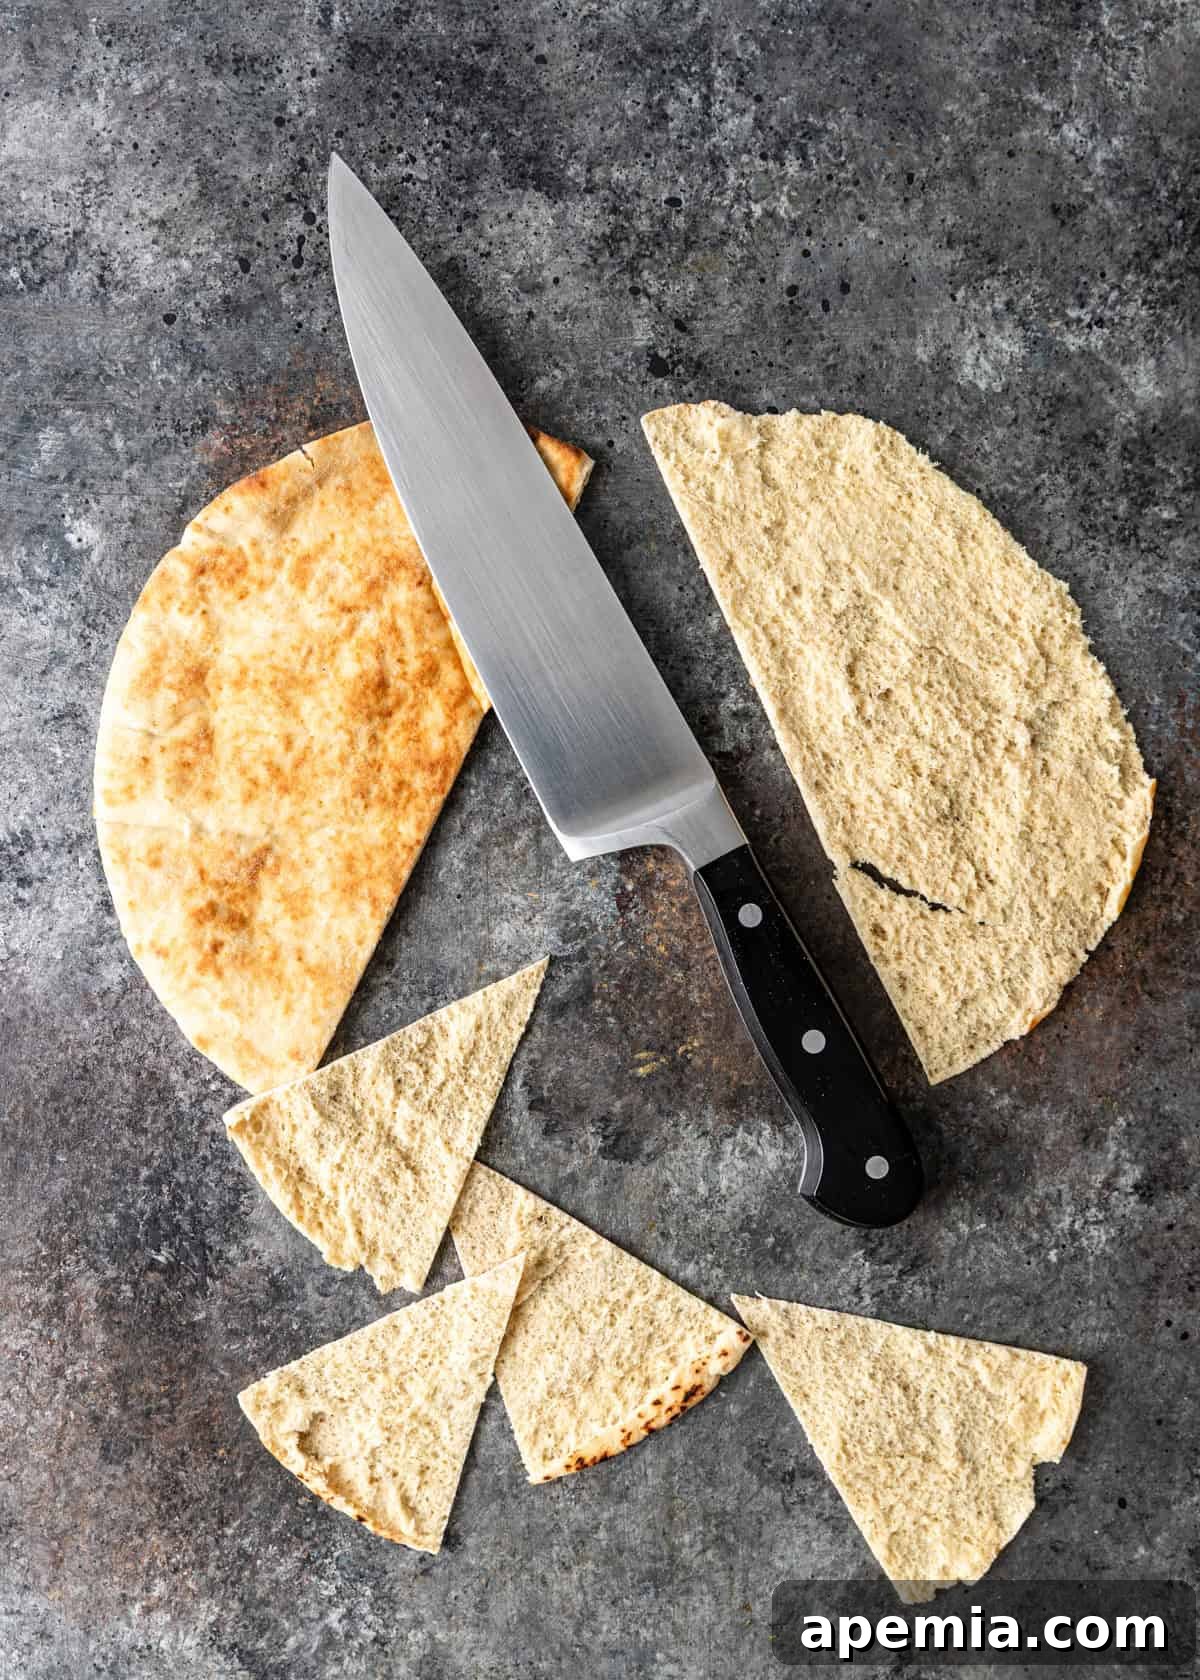
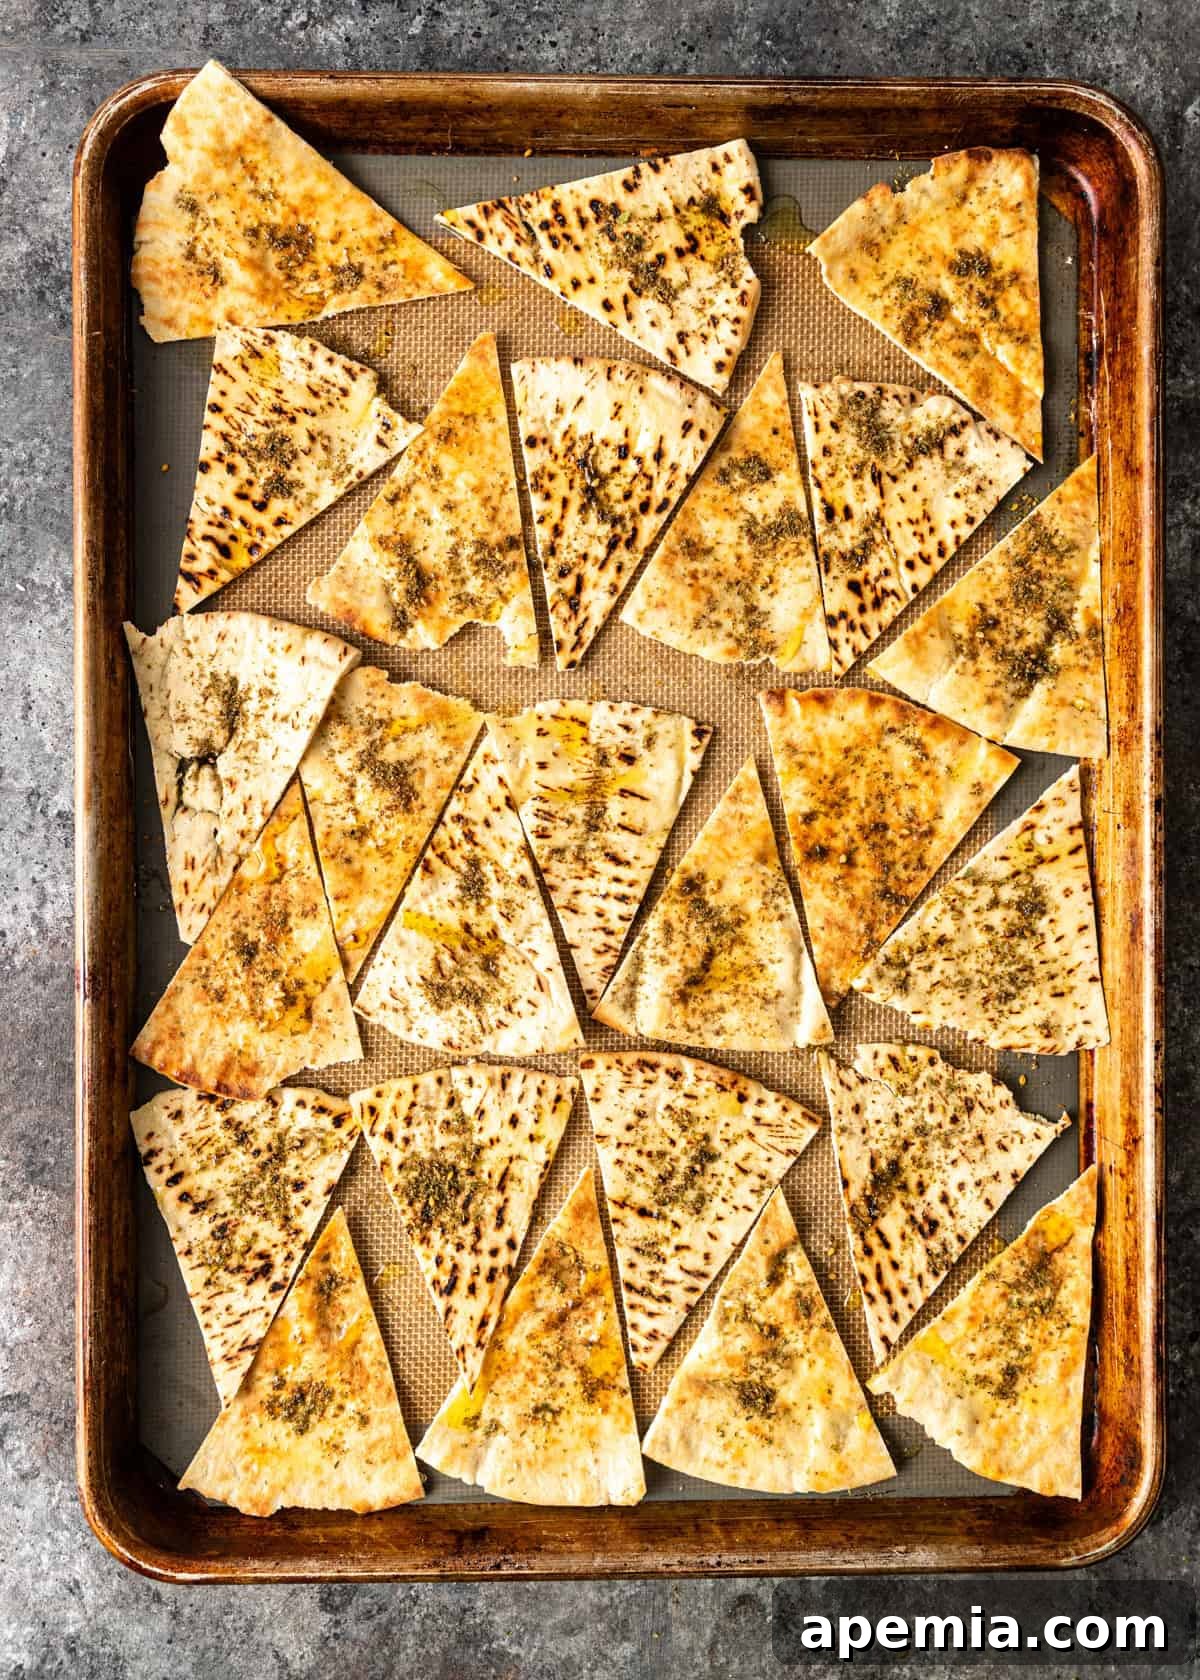
One of the great advantages of making pita chips at home is that you can control their thickness to suit your preference! I personally favor the thin, delicate version, which results in a wonderfully light and crisp texture. To achieve this, simply open up each pita bread round along its thin edge, separating it into two circular halves. Then, cut each half into 8 triangles, giving you a total of 16 thinner chips per pita.
If you prefer a more substantial, satisfyingly thick pita chip that can stand up to heartier dips, there’s no need to separate the pita! Just take the whole pita bread and cut it directly into 8 triangles. This method yields a thicker, chewier chip with a robust crunch. Both styles are fantastic, so feel free to experiment and find your perfect bite!
Ingredient Notes and Substitutions for Perfect Pita Chips
(Be sure to check the full recipe card below for precise quantities)
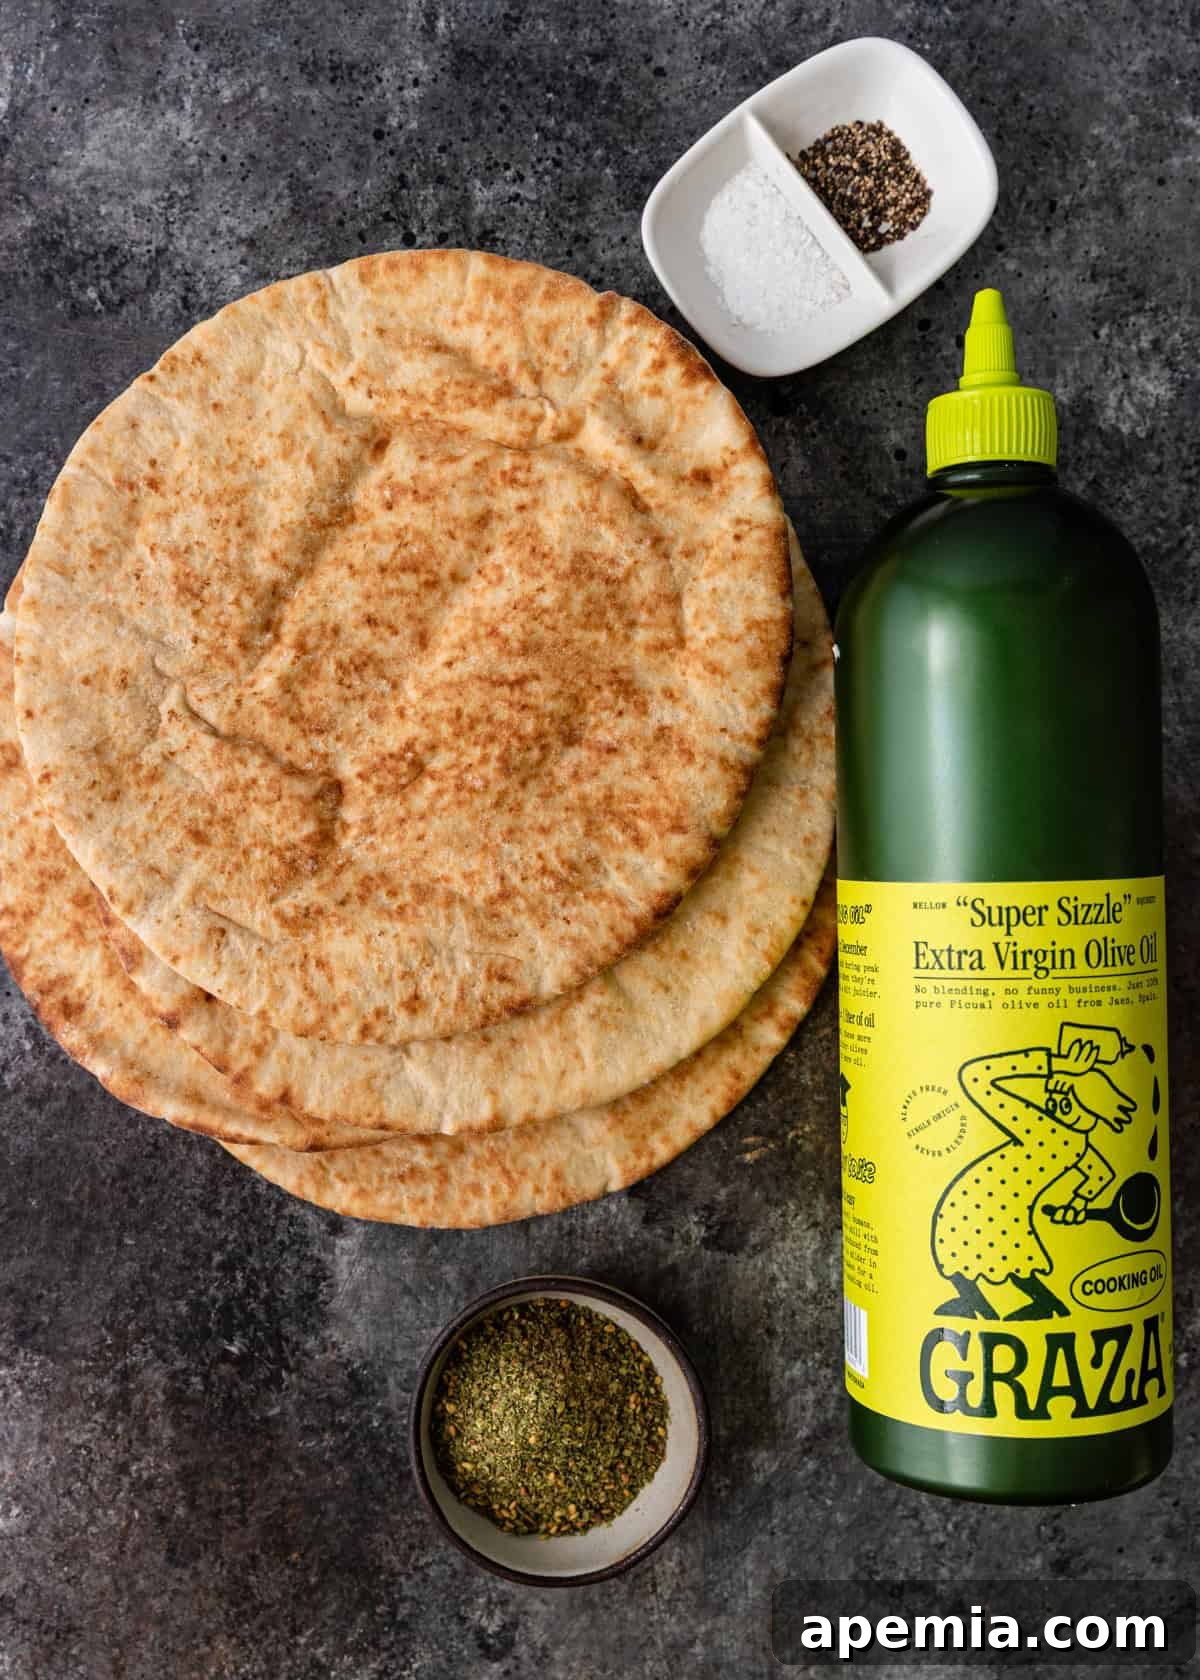
- Pita Bread: The star of our show! It’s crucial to select a good quality pita bread that has distinct pockets. These pockets allow you to easily split the bread into two thinner layers, which is ideal for crispier chips. While I use classic white pita bread for this recipe, wholemeal or whole wheat pita works just as beautifully and offers a slightly nuttier flavor and increased fiber. For the ultimate freshness, consider making your own pita bread from scratch!
- Olive Oil: A generous drizzle of olive oil is key to achieving that desirable golden crispness in the oven. It also imparts a subtle, fruity depth of flavor that complements the pita and any seasonings. Extra virgin olive oil offers the richest taste, but pure olive oil works perfectly well. If you’re looking for alternatives, coconut oil or avocado oil can be used, but be aware they will introduce their own distinct flavor profiles to your chips.
- Kosher Salt: Essential for enhancing all the other flavors and providing that classic savory chip experience. Kosher salt’s larger flakes adhere well to the oiled pita, delivering bursts of salty goodness. Fine sea salt is an excellent substitute if kosher salt isn’t available. Remember to sprinkle it liberally but evenly across your pita triangles before baking.
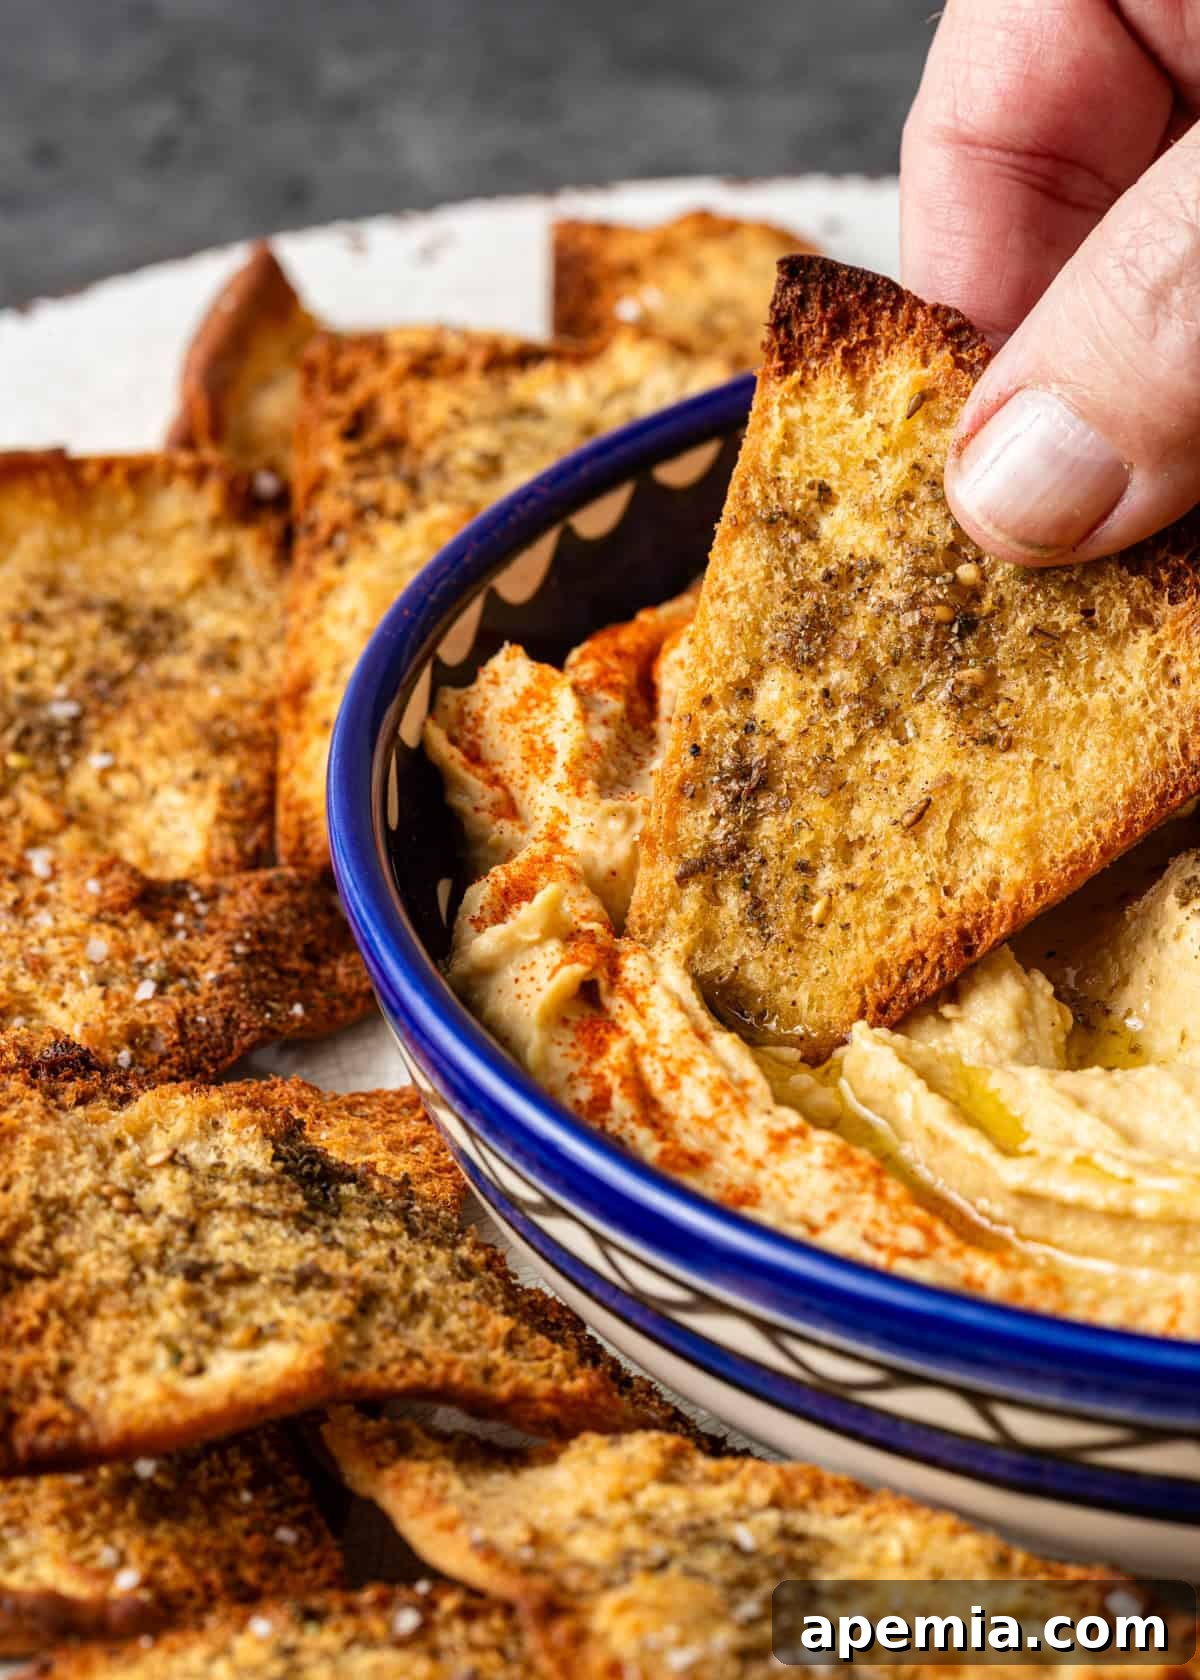
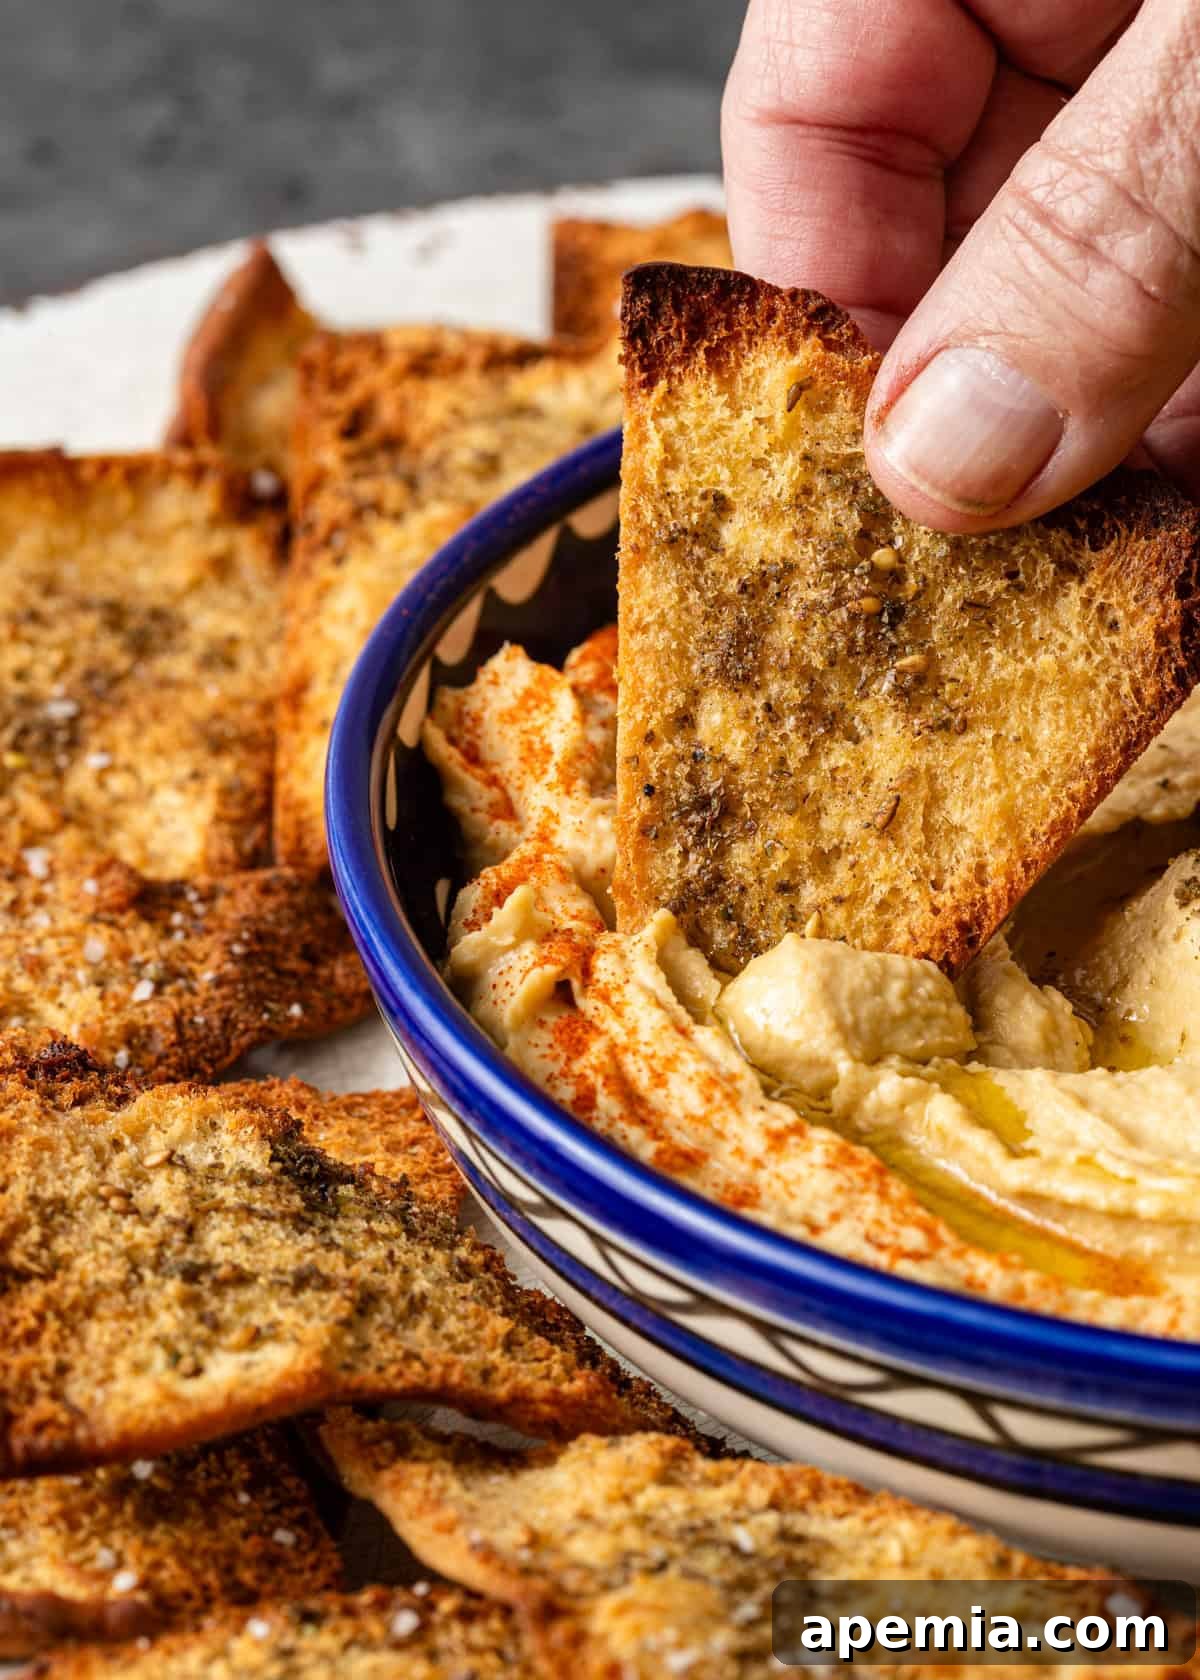
- Za’atar: In this recipe, I highlight my vibrant, tangy, and savory Lebanese za’atar blend as the primary seasoning. Its unique combination of earthy thyme, tart sumac, and nutty sesame seeds creates an unforgettable flavor. However, as mentioned in the “Spice Them Up!” section, feel free to use any of your preferred spice blends or simply a mix of garlic powder, onion powder, and dried herbs like oregano or paprika for a different delicious twist.
How to Make the Perfect Pita Chips
- Prepare Your Workspace: Begin by preheating your oven to 425°F (220°C). Line a large baking sheet with either a silicone mat (like a Silpat) or parchment paper. This crucial step prevents sticking and ensures even baking, making cleanup a breeze.
- Slice the Pita Bread: If you desire thinner, crispier chips (my preferred method), carefully open each pita bread round along its thin edge to create two separate circular halves. Lay each half flat and cut it into 8 uniform triangles. This will yield 16 chips per pita. For a thicker, chewier chip, simply keep the pita bread intact and cut it directly into 8 triangles.
- Oil and Season Generously: Arrange the pita triangles in a single layer on your prepared baking sheet. Lightly brush or drizzle each side of every pita triangle with olive oil. Be thorough, as the oil is essential for crisping and helping the seasonings adhere. Once oiled, sprinkle liberally with kosher or sea salt, and then generously add your chosen seasoning blend, such as za’atar.
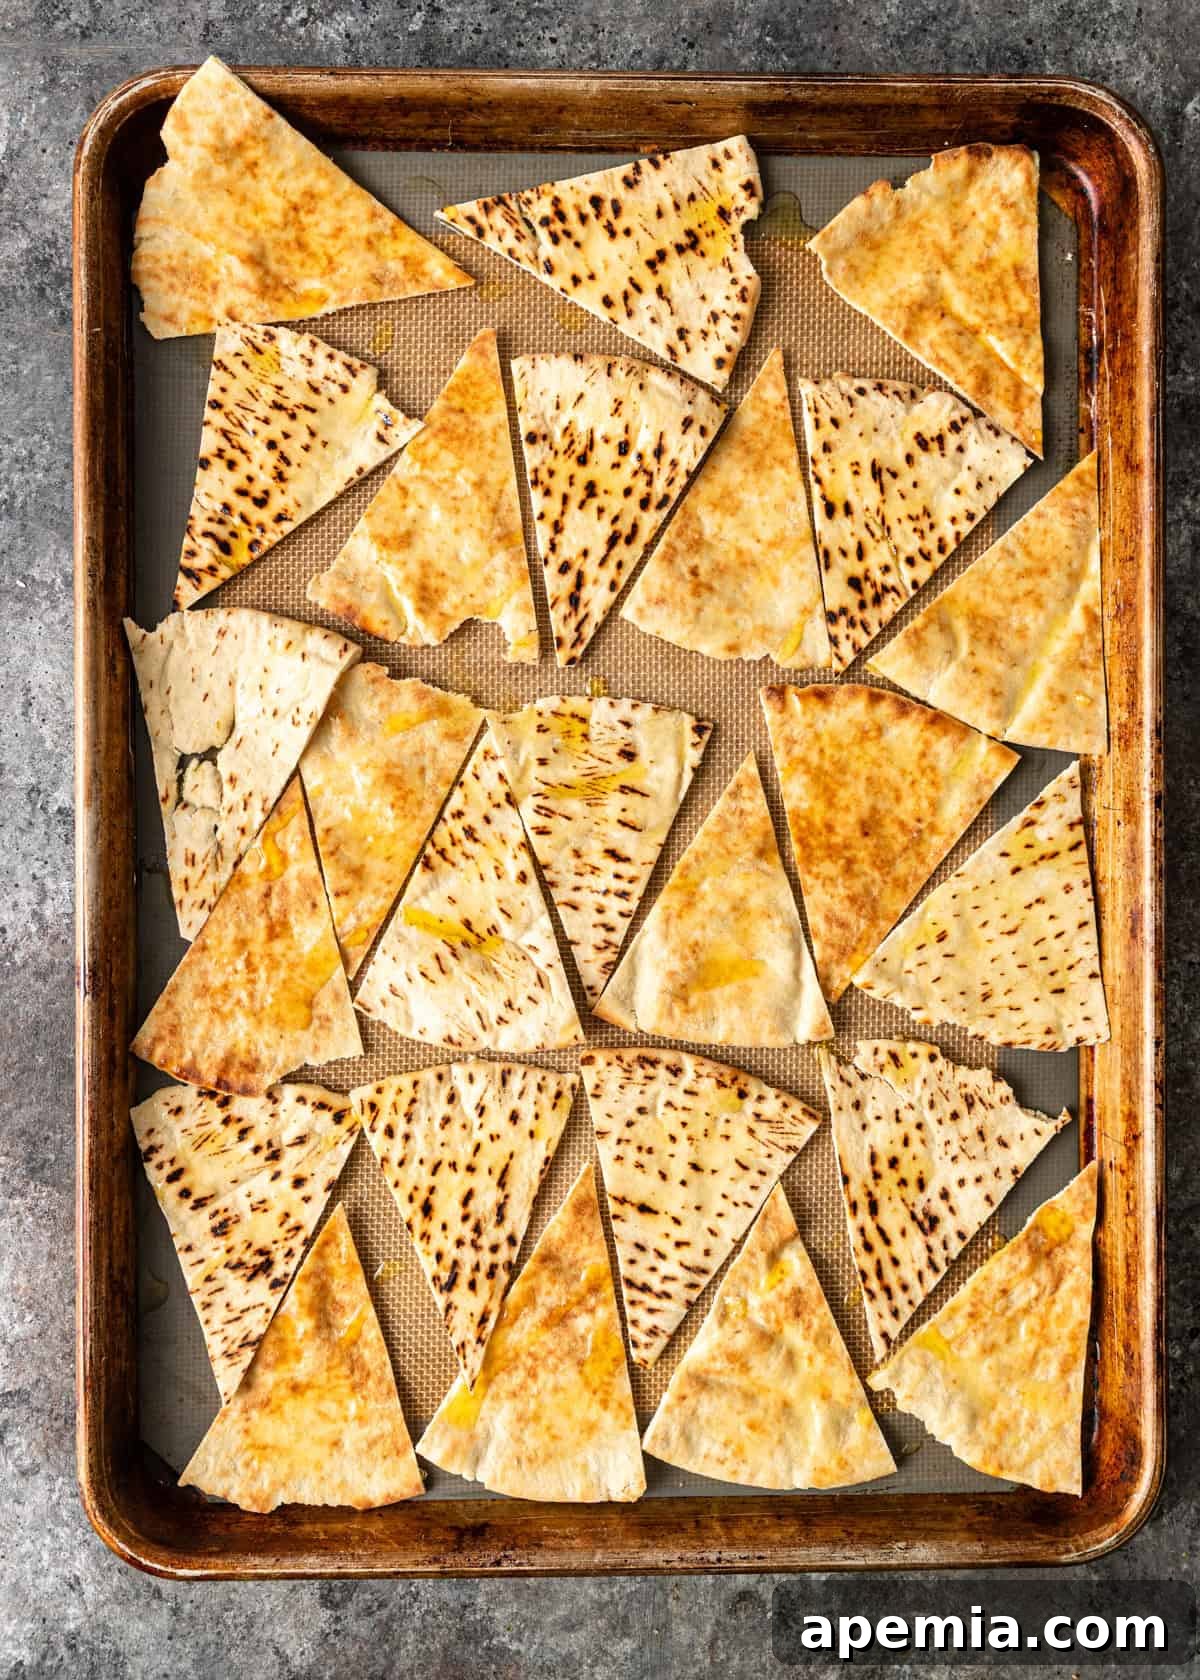
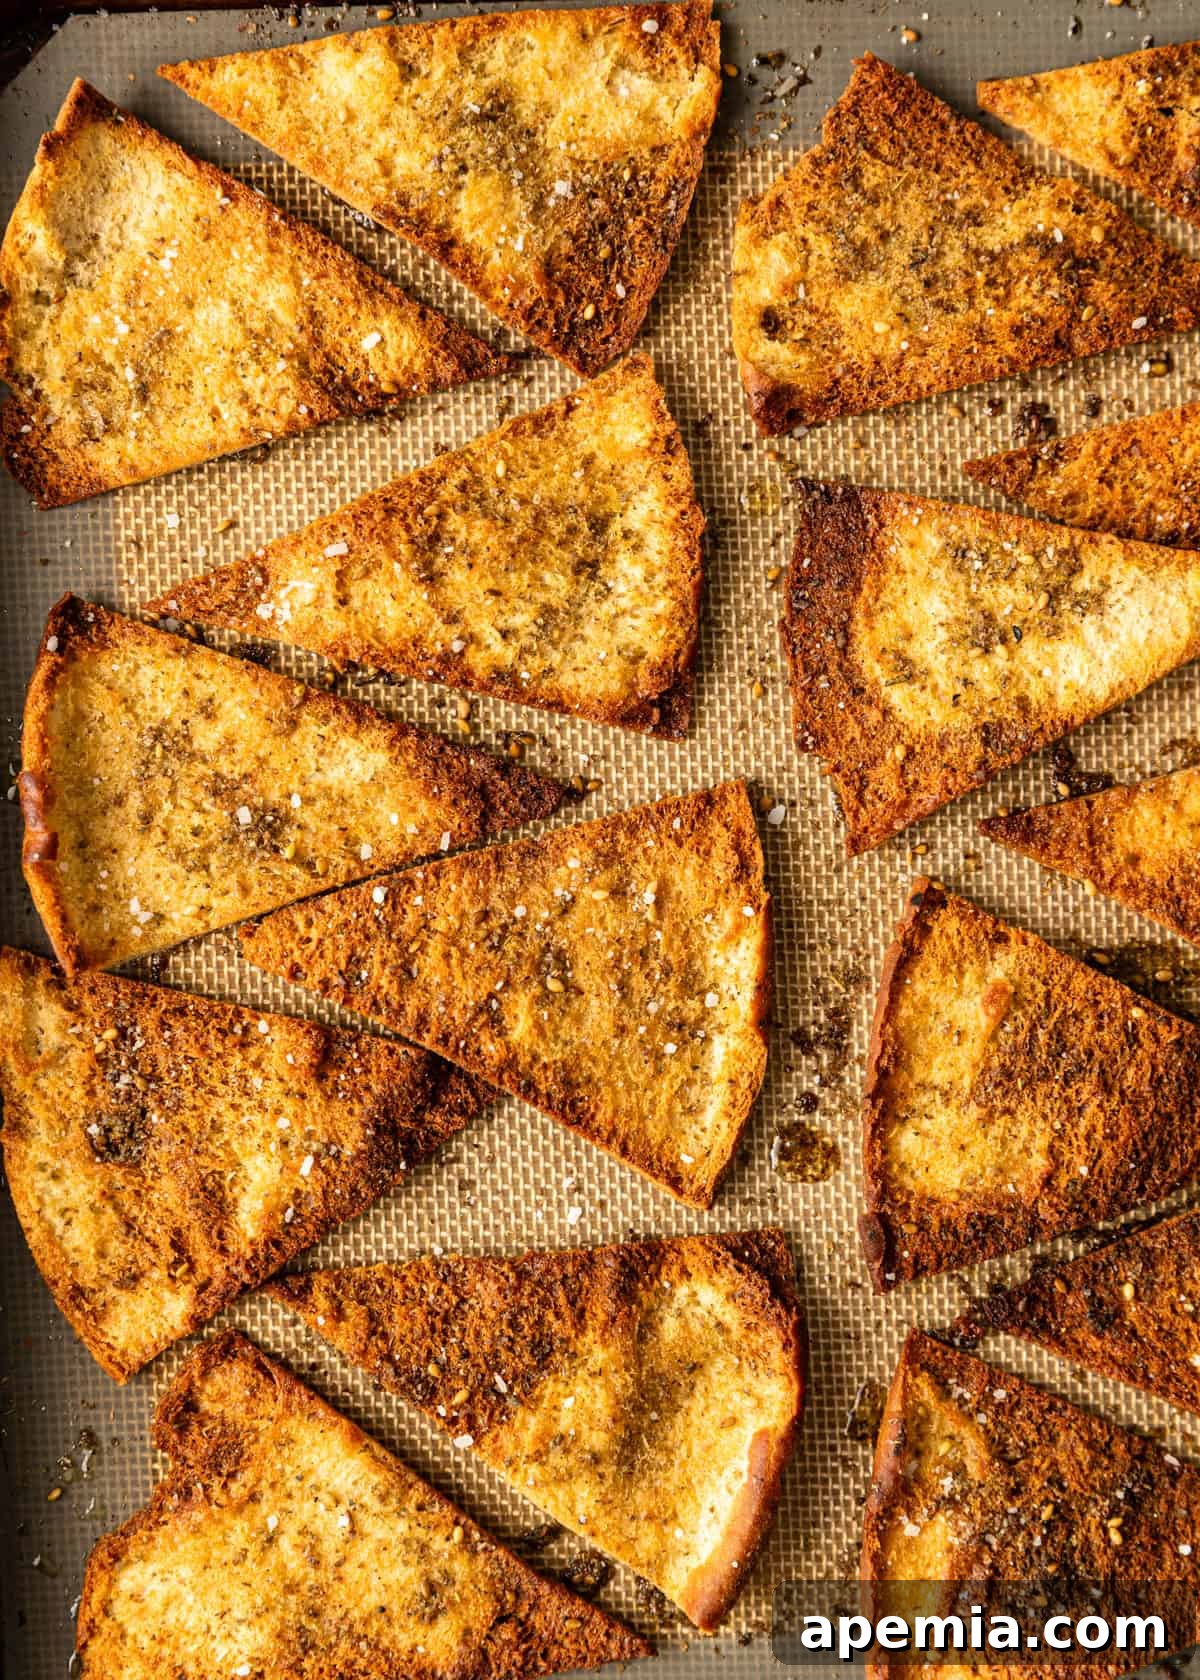
- Bake to Golden Perfection: Place the baking sheet in the preheated oven. Bake for approximately 4 to 6 minutes, or until the pita chips are beautifully golden brown and wonderfully crispy. The exact baking time can vary depending on your oven and the thickness of your chips, so keep a close eye on them. There’s usually no need to flip them halfway through.
- Cool and Serve: Once baked, remove the pita chips from the oven and let them cool completely on the baking sheet. They will continue to crisp up as they cool. Serve your freshly made homemade pita chips with an assortment of your favorite dips and spreads, or enjoy them as a delightful snack on their own.
Essential Tools for Crispy Perfection
Achieving perfectly crispy, evenly baked pita chips largely depends on the right preparation. Here’s why one particular tool stands out:
- Silpat or Parchment Paper: Lining your baking sheet with a silicone mat, commonly known as a Silpat, or a sheet of parchment paper is absolutely essential for this recipe. This simple step serves two critical purposes:
- Prevents Sticking: Without a non-stick surface, the oiled pita chips can easily stick to the baking sheet during the high-heat baking process.
- Ensures Even Cooking: When chips stick, they often cook unevenly, leading to some parts burning while others remain soft. A non-stick liner promotes uniform heat distribution and browning.
- Easy Removal: With a Silpat or parchment, your crispy pita chips will effortlessly lift off the tray without breaking apart, preserving their perfect shape and texture.
If you don’t have a Silpat, high-quality parchment paper is an excellent and readily available alternative. Avoid baking directly on an unlined metal sheet.
- Large Baking Sheet: A spacious baking sheet allows you to arrange the pita triangles in a single layer without overcrowding. Overcrowding steams the chips instead of baking them, preventing them from achieving maximum crispness.
- Pastry Brush or Small Spoon: For evenly distributing the olive oil over each pita triangle. A brush provides a thin, even coating, while a spoon can be used for drizzling.
Storing and Reheating Your Homemade Pita Chips
One of the great advantages of these homemade pita chips is their excellent shelf life, allowing you to enjoy them for days after baking. Once your chips have completely cooled to room temperature – this is vital to prevent condensation and sogginess – transfer them to an airtight container. Store the container in a cool, dry place away from direct sunlight and humidity. Stored properly, they will maintain their delightful crispness and flavor for 5 to 7 days, making them perfect for meal prepping or unexpected snacking needs.
Should your pita chips lose a little of their crunch and turn slightly soft around the edges, don’t despair! They are incredibly easy to re-crisp. Simply spread them out in a single layer on a baking sheet and pop them back into a preheated oven at 350°F (175°C) for 3 to 5 minutes. Alternatively, for a quicker refresh, an air fryer works wonders – just a minute or two at around 350°F will bring back their glorious crunch. Always let them cool for a moment after reheating for optimal crispness.

Share this recipe on Pinterest!
Love this homemade pita chips recipe? Share it with your friends and followers on Pinterest!
Frequently Asked Questions About Pita Chips
The real question might be: what dips don’t go well with pita chips?! Their neutral, savory base and satisfying crunch make them incredibly versatile. For the ultimate flavor experience, I highly recommend pairing them with fresh, homemade spreads. Here are some of my absolute favorites that beautifully complement the Mediterranean spirit of pita chips:
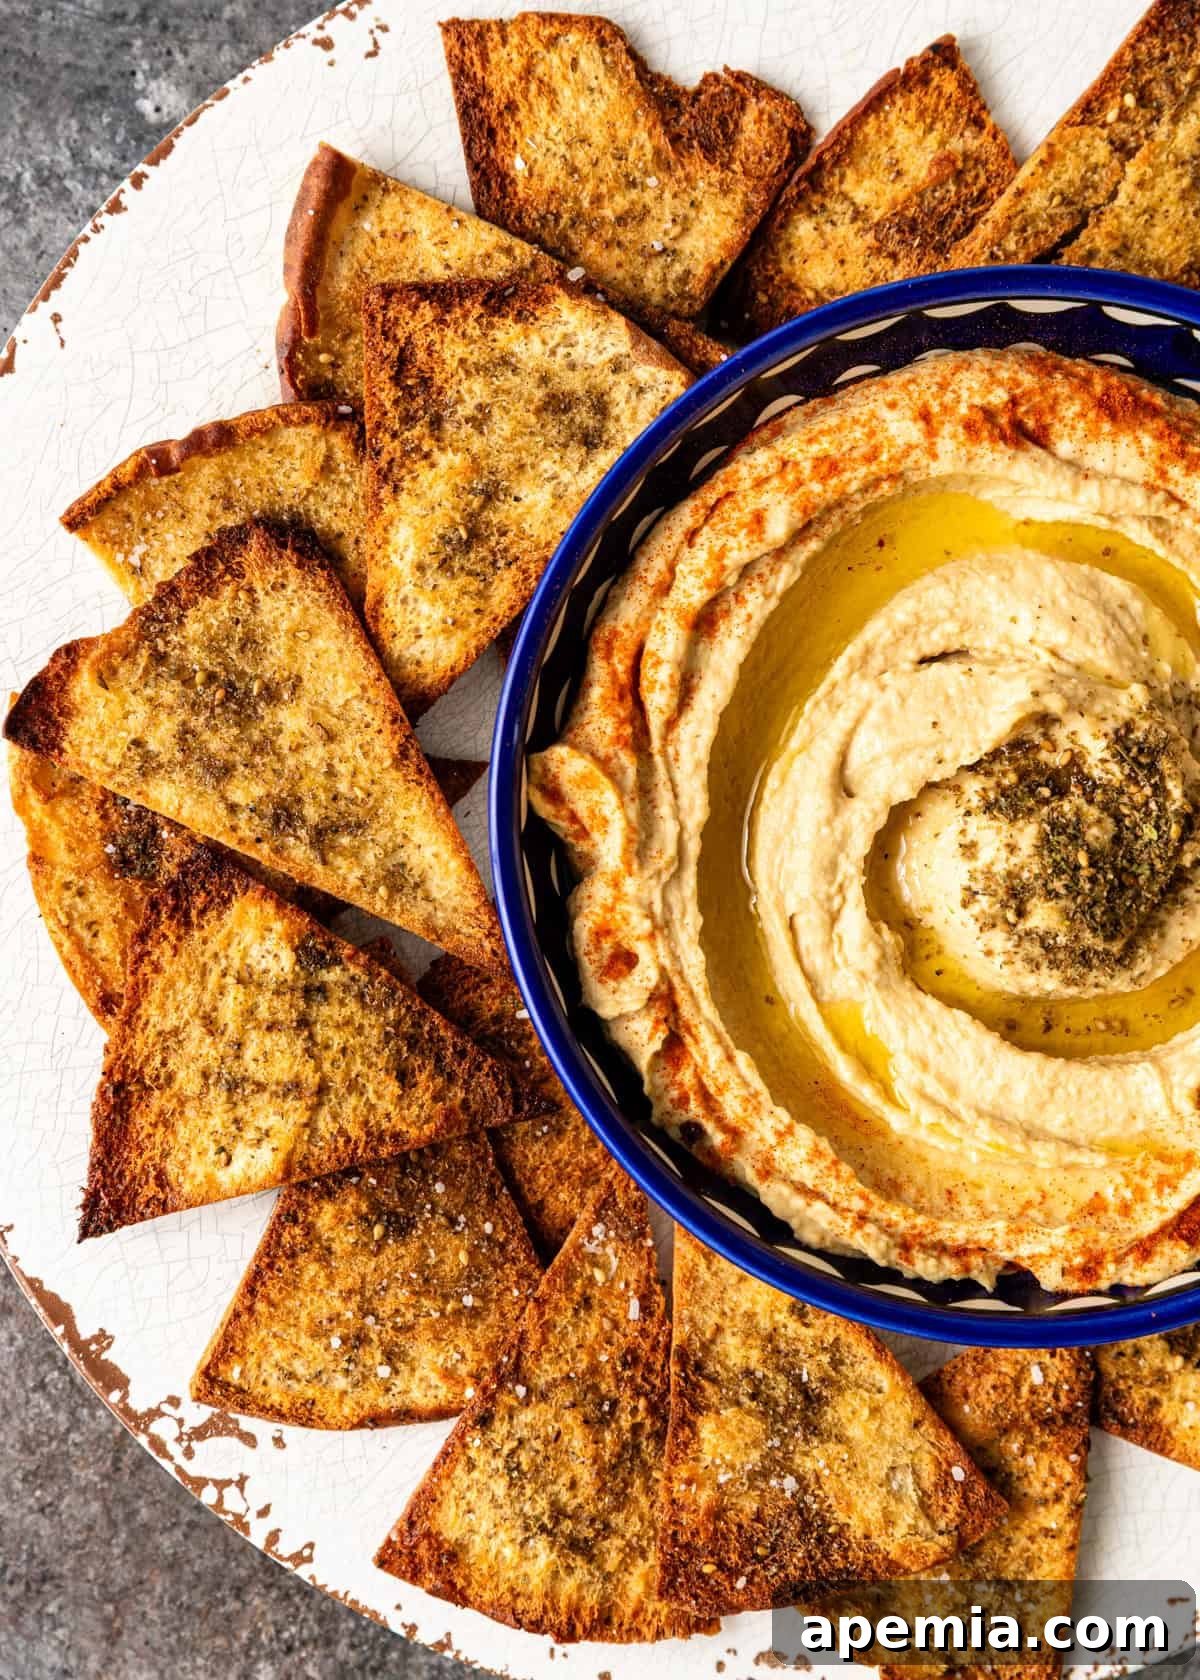
- Creamy Mediterranean Hummus: A classic for a reason! Its smooth texture and earthy chickpea flavor are a perfect match.
- Whipped Feta Dip: Light, airy, and tangy, this dip offers a delightful contrast to the crispy chips.
- Mutabal (Charred Eggplant Dip): Smoky, rich, and creamy, mutabal brings a depth of flavor that’s truly irresistible.
- Pistachio Feta Dip: A unique blend of savory feta with the subtle sweetness and crunch of pistachios.
- Traditional Baba Ganoush: Another smoky eggplant dip, often featuring tahini, lemon, and garlic for a robust taste.
- Muhammara (Red Pepper Walnut Dip): Sweet, tangy, and slightly spicy with a wonderful texture from walnuts.
- Skordalia (Greek Potato and Garlic Dip): A surprisingly creamy and potent dip with intense garlic flavor.
- Tirokafteri (Spicy Feta Spread): For those who love a bit of heat, this spicy feta dip is wonderfully pungent and fiery.
- Authentic Tzatziki: A refreshing cucumber and yogurt dip that provides a cool counterpoint.
Absolutely! Using flavored pita bread is a fantastic way to add another layer of complexity to your homemade chips. For instance, garlic or onion-flavored pita bread will, naturally, yield delicious garlic or onion-infused chips. When using pre-flavored bread, keep in mind that these varieties often contain higher levels of salt or pre-existing spices. Therefore, you might want to adjust the amount of added salt or seasoning you sprinkle on before baking to avoid over-seasoning. Experimenting with different combinations of flavored pita bread and various spice blends can lead to exciting and unique snacking experiences!
While it might seem counterintuitive for bread, I’ve found that a traditional serrated bread knife is not always the best tool for slicing pita bread into chips. The sawing motion of a serrated knife can sometimes tear the delicate edges of the pita, resulting in jagged, broken, or unevenly shaped chips. For cleaner, more precise cuts that yield beautifully uniform triangles, consider these alternatives:
- Kitchen Scissors: A sharp pair of kitchen scissors provides excellent control and creates clean, straight edges. This is often my preferred method for quick and easy slicing.
- Pizza Cutter: A pizza cutter glides effortlessly through the pita, making quick work of slicing multiple rounds into triangles, especially if you stack them.
- Large Chef’s Knife: When using a chef’s knife, the key is to press straight down through the bread rather than using a sawing motion. A sharp, heavy knife can give you very neat, clean cuts as you divide your pita rounds into the desired number of triangles.
Whichever tool you choose, aim for consistency in size and shape to ensure even baking and a professional-looking finished product.
The Ultimate Homemade Pita Chips Recipe
Homemade Pita Chips
These crunchy pita chips are absolutely loaded with flavor and perfect for dipping and snacking. And they’re super easy to make too!
Servings: 6
Prep Time: 10 mins
Cook Time: 6 mins
Total Time: 16 mins
Pin Recipe |
Print Recipe
Ingredients
- 3 pita bread with pockets
- 1/4 cup olive oil
- 1 tsp kosher salt or sea salt
- 1 tbsp Za’atar (See Note 1 below for other seasoning options)
Instructions
- Preheat Oven & Prepare Pan: Preheat your oven to 425°F (220°C). Line a large sheet pan with a silicone mat (Silpat) or parchment paper to prevent sticking.
- Slice Pita: Carefully split open each pita bread to separate it into two thin halves. Then, cut each half into 8 triangles, yielding a total of 16 chips per pita. If you prefer a thicker chip, do not separate the pita; simply cut the whole pita into 8 triangles. Arrange the pita triangles in a single layer on the prepared sheet pan.
- Oil & Season: Brush or drizzle each pita triangle generously on both sides with olive oil. Sprinkle evenly with kosher salt (or sea salt) and your seasoning of choice (as discussed in Note 1 below). For the images, za’atar was used.
- Bake: Bake in the preheated oven for 4 to 6 minutes, or until the pita chips are light golden brown and perfectly crispy. Baking time may vary slightly depending on your oven. There’s no need to turn them over during baking.
- Serve: Allow the pita chips to cool completely on the baking sheet before serving. Enjoy them with hummus or any of your preferred dips and spreads (See Note 2 below).
Notes
- Seasoning Options: After brushing each pita with oil before baking, the seasoning options are endless! Beyond za’atar, consider sea salt, Dukkah, Lebanese 7 Spice Blend, Persian Advieh, or Arabic Baharat. You can find recipes for all these fantastic spice blends on my site to make your own.
- Dip Pairings: These chips are perfect with almost any dip! Some top recommendations include Hummus, Whipped Feta Dip, Mutabal (Charred Eggplant Dip), Pistachio Feta Dip, Baba Ganoush, Moroccan Eggplant Dip (Zaalouk), Muhammara (Red Pepper Walnut Dip), Melitzanosalata, Skordalia (Greek Potato and Garlic Dip), Tzatziki, or Tirokafteri (Spicy Feta Spread).
Nutrition
Calories: 158kcal | Carbohydrates: 16g | Protein: 3g | Fat: 9g | Saturated Fat: 1g | Polyunsaturated Fat: 1g | Monounsaturated Fat: 7g | Sodium: 538mg | Potassium: 39mg | Fiber: 1g | Sugar: 0.01g | Vitamin A: 25IU | Vitamin C: 0.3mg | Calcium: 37mg | Iron: 1mg
The information shown is an estimate provided by an online nutrition calculator. It should not be considered a substitute for a professional nutritionist’s advice.
Course: Appetizers, Breads
Cuisine: Mediterranean
Author: Kevin
Have You Made This Recipe? Let Me Know on Instagram!
Tag @keviniscooking or use the hashtag #keviniscooking to share your delicious creations!