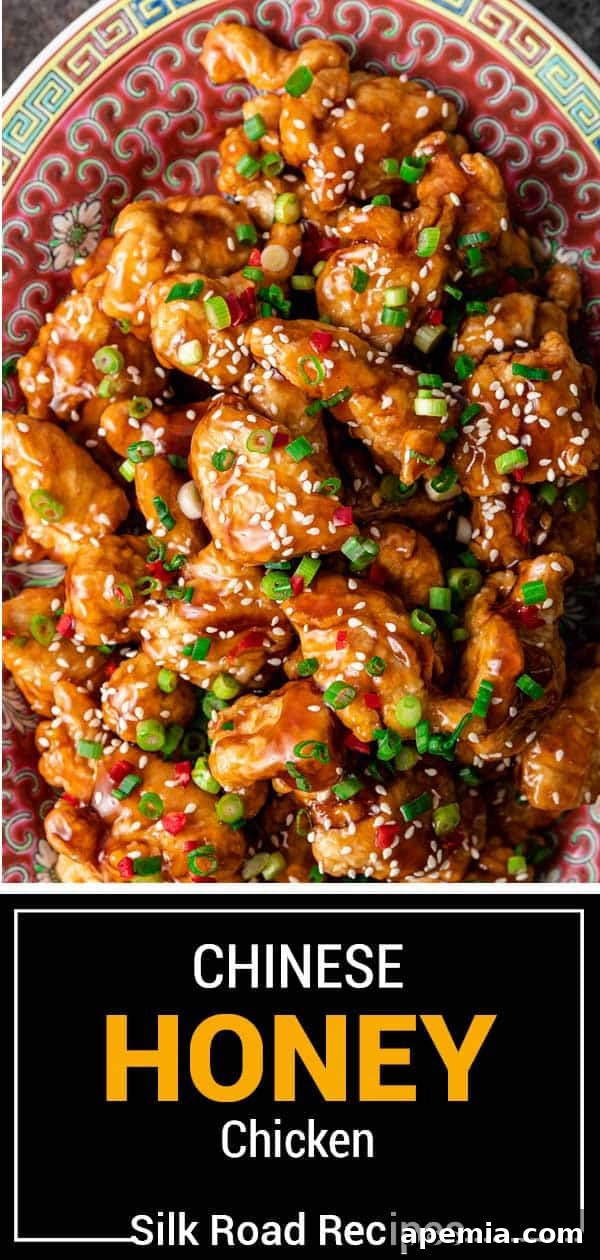
Crispy Honey Chicken: Master Your Favorite Takeout Dish at Home
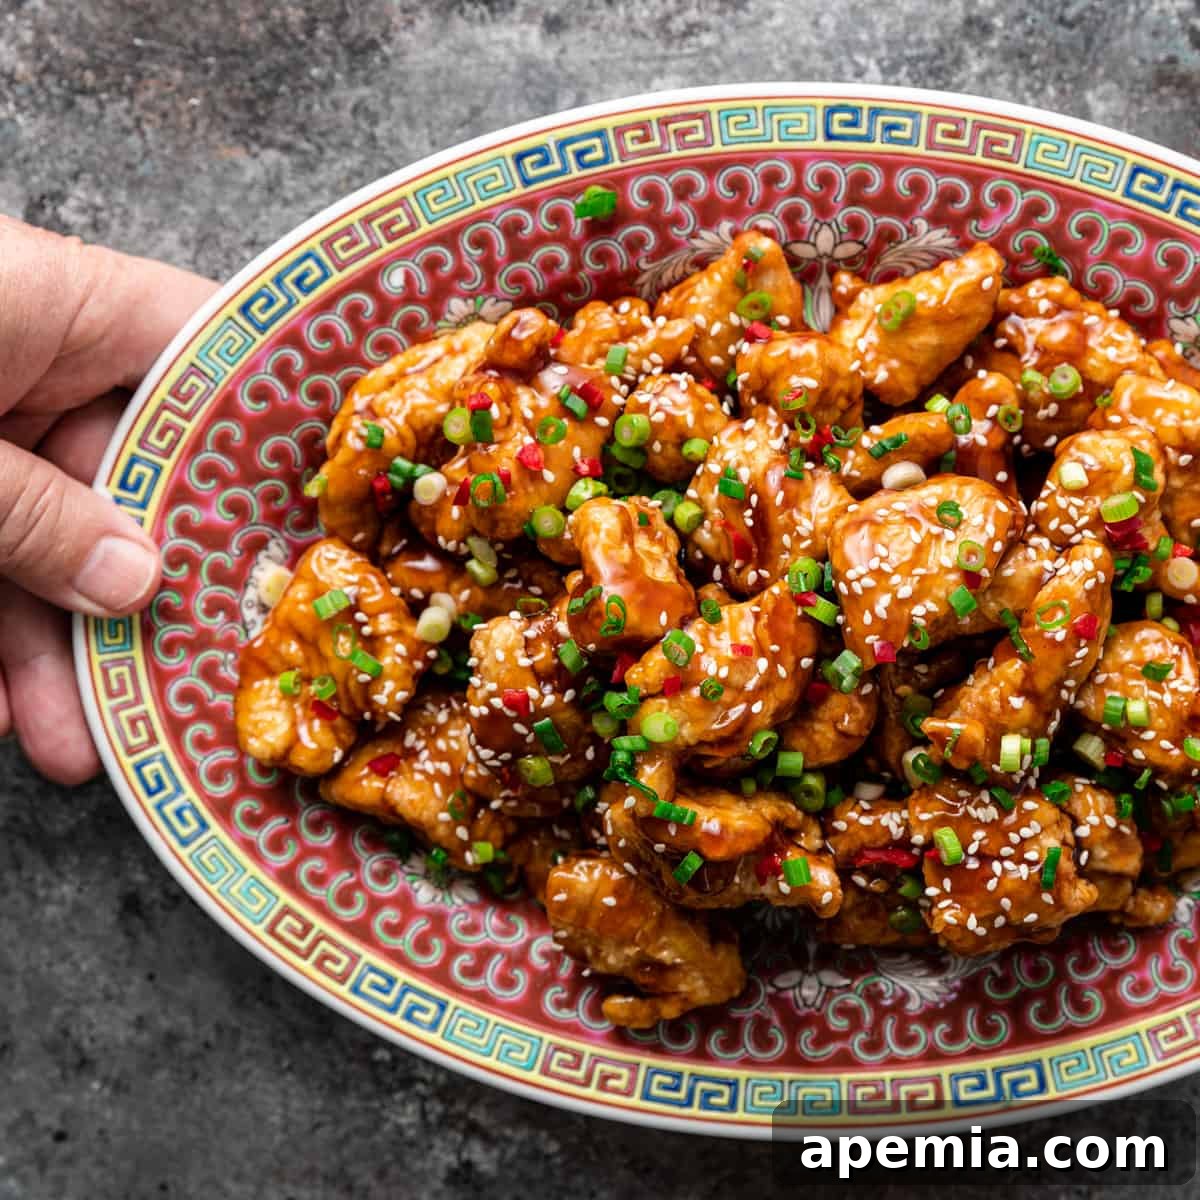
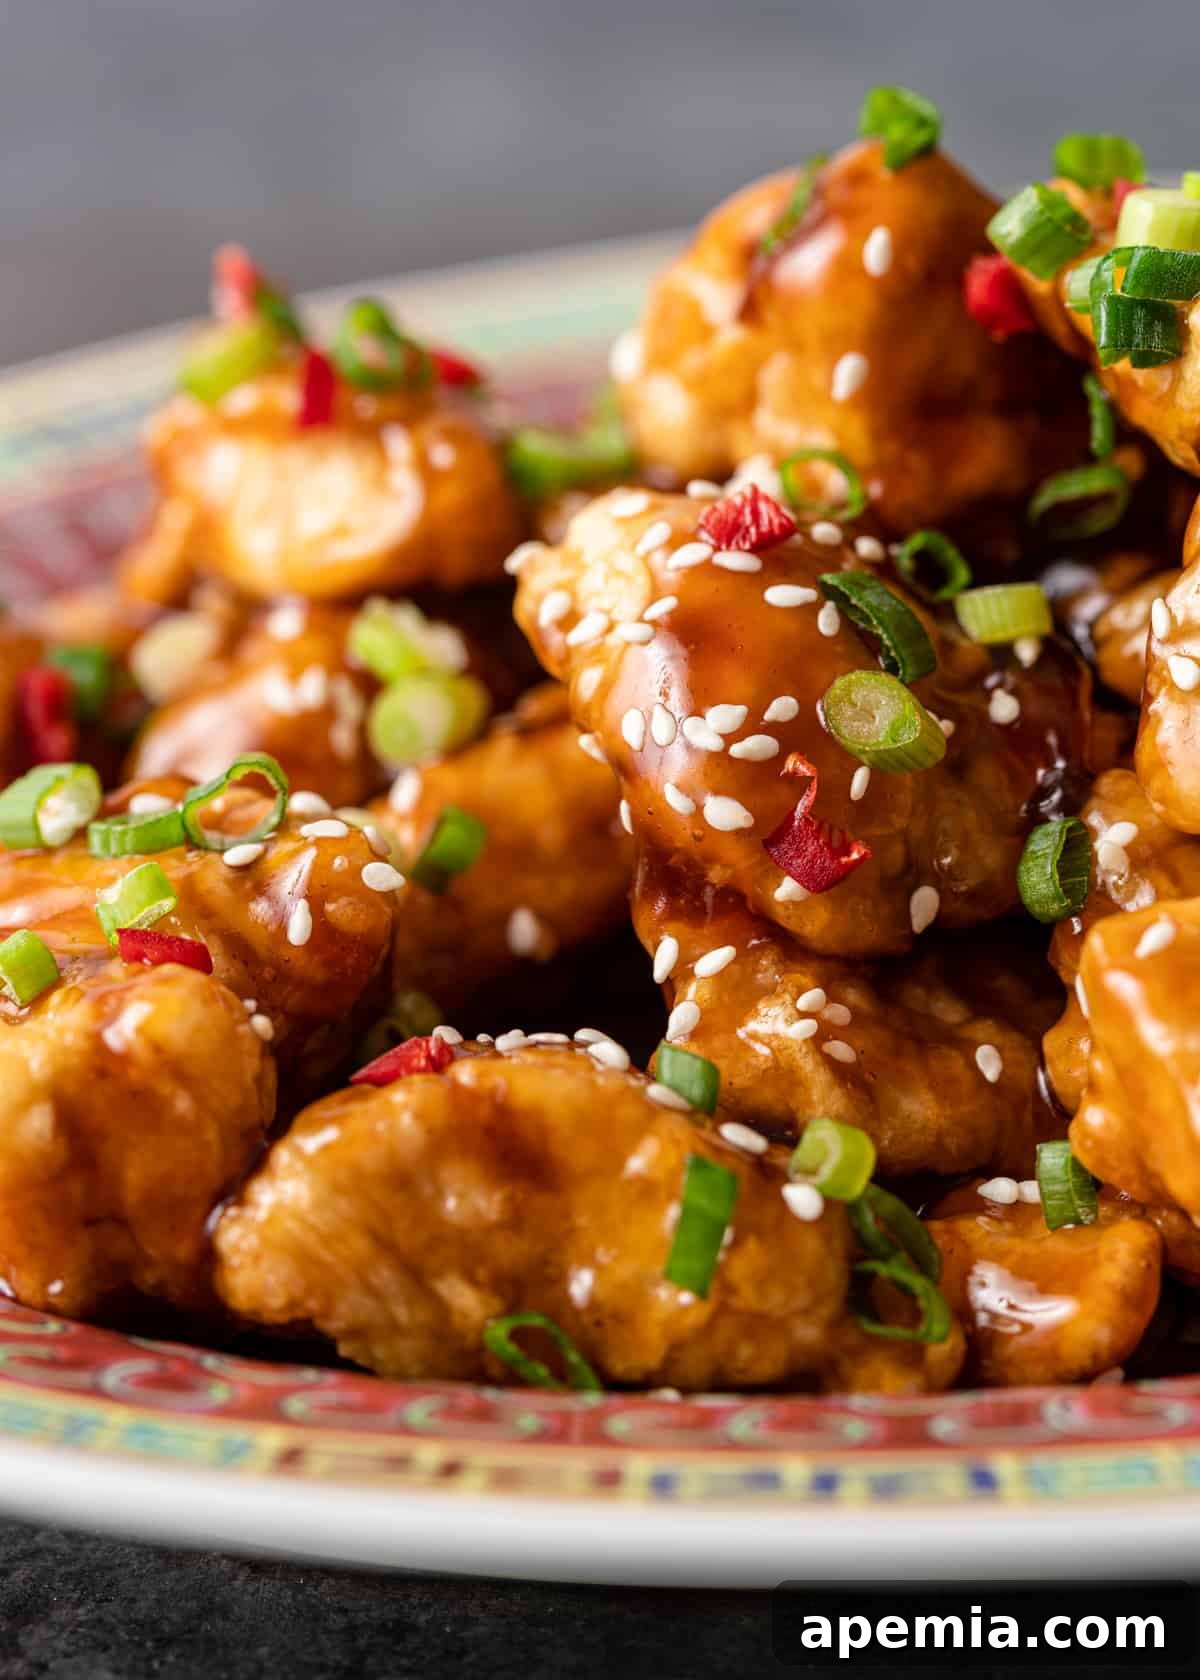
There’s nothing quite like the irresistible allure of classic honey chicken – those golden, perfectly crisp pieces of chicken generously coated in a shimmering, glossy sauce that expertly balances sweet, savory, and tangy notes. This isn’t just another dinner recipe; it’s your ticket to recreating that beloved takeout experience in the comfort of your own home, with the added benefit of freshness and quality control. Quick enough for a busy weeknight yet decadent enough to feel like a special treat, this honey chicken recipe is a guaranteed crowd-pleaser for every age, effortlessly delighting both kids and adults alike.
If you appreciate a harmonious blend of textures and an explosion of flavors in your quick dinner preparations, then prepare to be thoroughly impressed by this honey chicken masterpiece. It genuinely delivers on all fronts, promising a culinary adventure that will satisfy your cravings and elevate your home-cooking repertoire. From the first bite to the last, you’ll experience a delightful contrast between the crunchy exterior and the tender, juicy interior, all brought together by a glaze that’s simply addictive.
The Secret to Unrivaled Crispy Chicken
The hallmark of truly exceptional honey chicken lies in its signature light and delightfully crisp coating. This isn’t achieved by chance, but through a time-tested technique utilized in many beloved Asian-inspired fried dishes. Our method employs a strategic blend of all-purpose flour and cornstarch, a dynamic duo that ensures a shatteringly crisp texture without ever feeling heavy or greasy. This same clever coating technique is fundamental to achieving the perfect crunch in other classic dishes such as Sweet and Sour Chicken or the ever-popular Honey Walnut Shrimp. The cornstarch, in particular, is the hero here, creating a delicate, airy crust that locks in moisture and crisps up beautifully during frying.
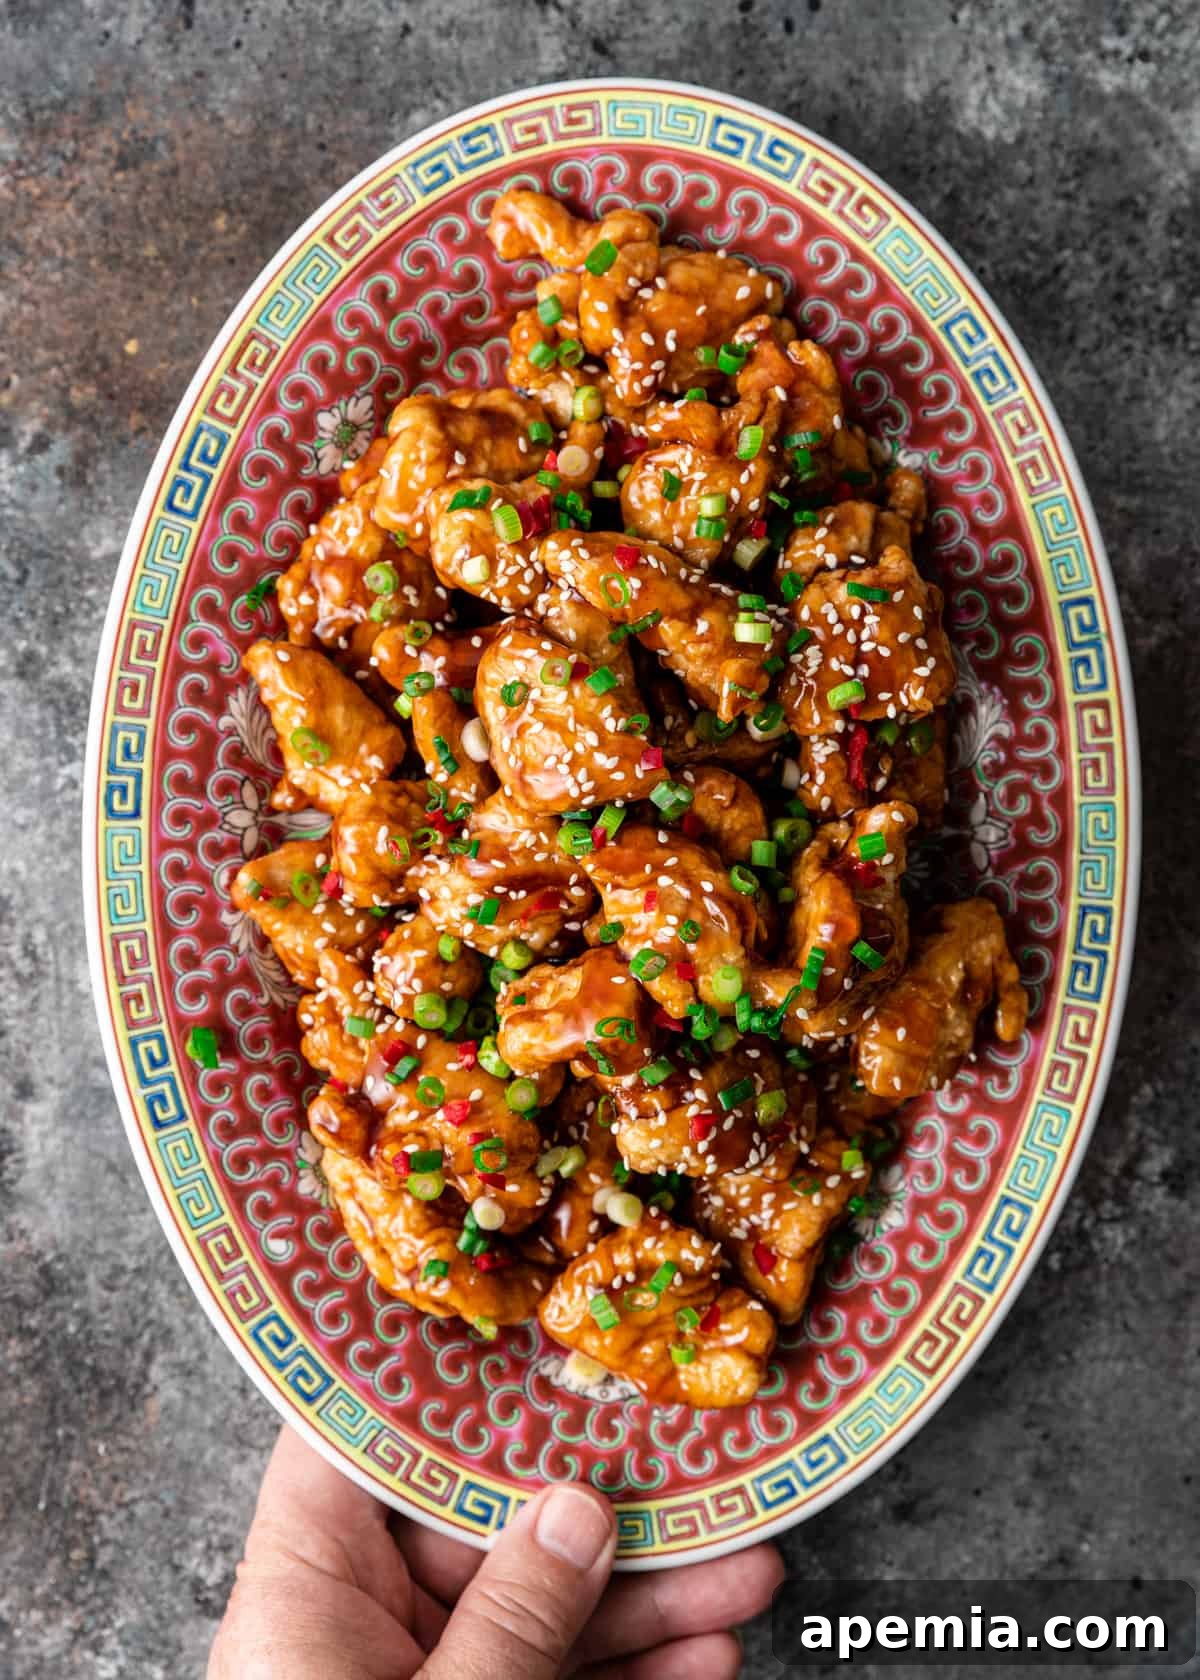
Table of Contents
- The Secret to Crispy Chicken Perfection
- Crafting the Perfect Honey Sauce: Sweet, Tangy & Savory
- Ingredient Notes and Essential Substitutions
- How to Make Honey Chicken: A Detailed Step-by-Step Guide
- Recommended Tools for a Seamless Cooking Experience
- Elevate Your Meal: Delicious Serving Suggestions
- Frequently Asked Questions About Honey Chicken
- Honey Chicken: The Complete Recipe Card
Crafting the Perfect Honey Sauce: Sweet, Tangy & Savory
While the crispy chicken forms the foundation, it’s the vibrant and tangy sauce that truly elevates this dish, setting it apart and bringing all the elements together in a symphony of flavor. Our homemade honey sauce is a carefully balanced concoction, a delightful blend of warm, golden honey, robust soy sauce, a bright splash of vinegar, and just enough aromatic sesame oil to add depth and a grounding base. This isn’t the cloyingly sweet sauce often found in less authentic versions; instead, it strikes a sophisticated balance, offering a nuanced taste that makes every bite memorable.
This dish pays homage to beloved American-Chinese takeout classics, but preparing it from scratch at home grants you unparalleled control over every single detail. You dictate the sweetness level of the sauce, ensuring it’s never overwhelming. You guarantee the coating remains perfectly crispy, avoiding any dreaded sogginess. And the best part? The entire meal, from prep to plate, can be ready and on your table in a mere thirty minutes, making it an ideal choice for busy evenings when you crave something truly satisfying yet fuss-free.
Serve this exquisite honey chicken alongside a mound of fluffy steamed jasmine rice or a vibrant, simple Bok Choy Stir Fry, and you’ve instantly got a dinner that embodies comfort and satisfaction without feeling heavy or requiring extensive preparation. It’s a meal that feels both wholesome and indulgent, striking that perfect balance between ease and gourmet quality.
Pro Tip for Perfect Coating
Achieving the Ultimate Crispy Chicken Coating
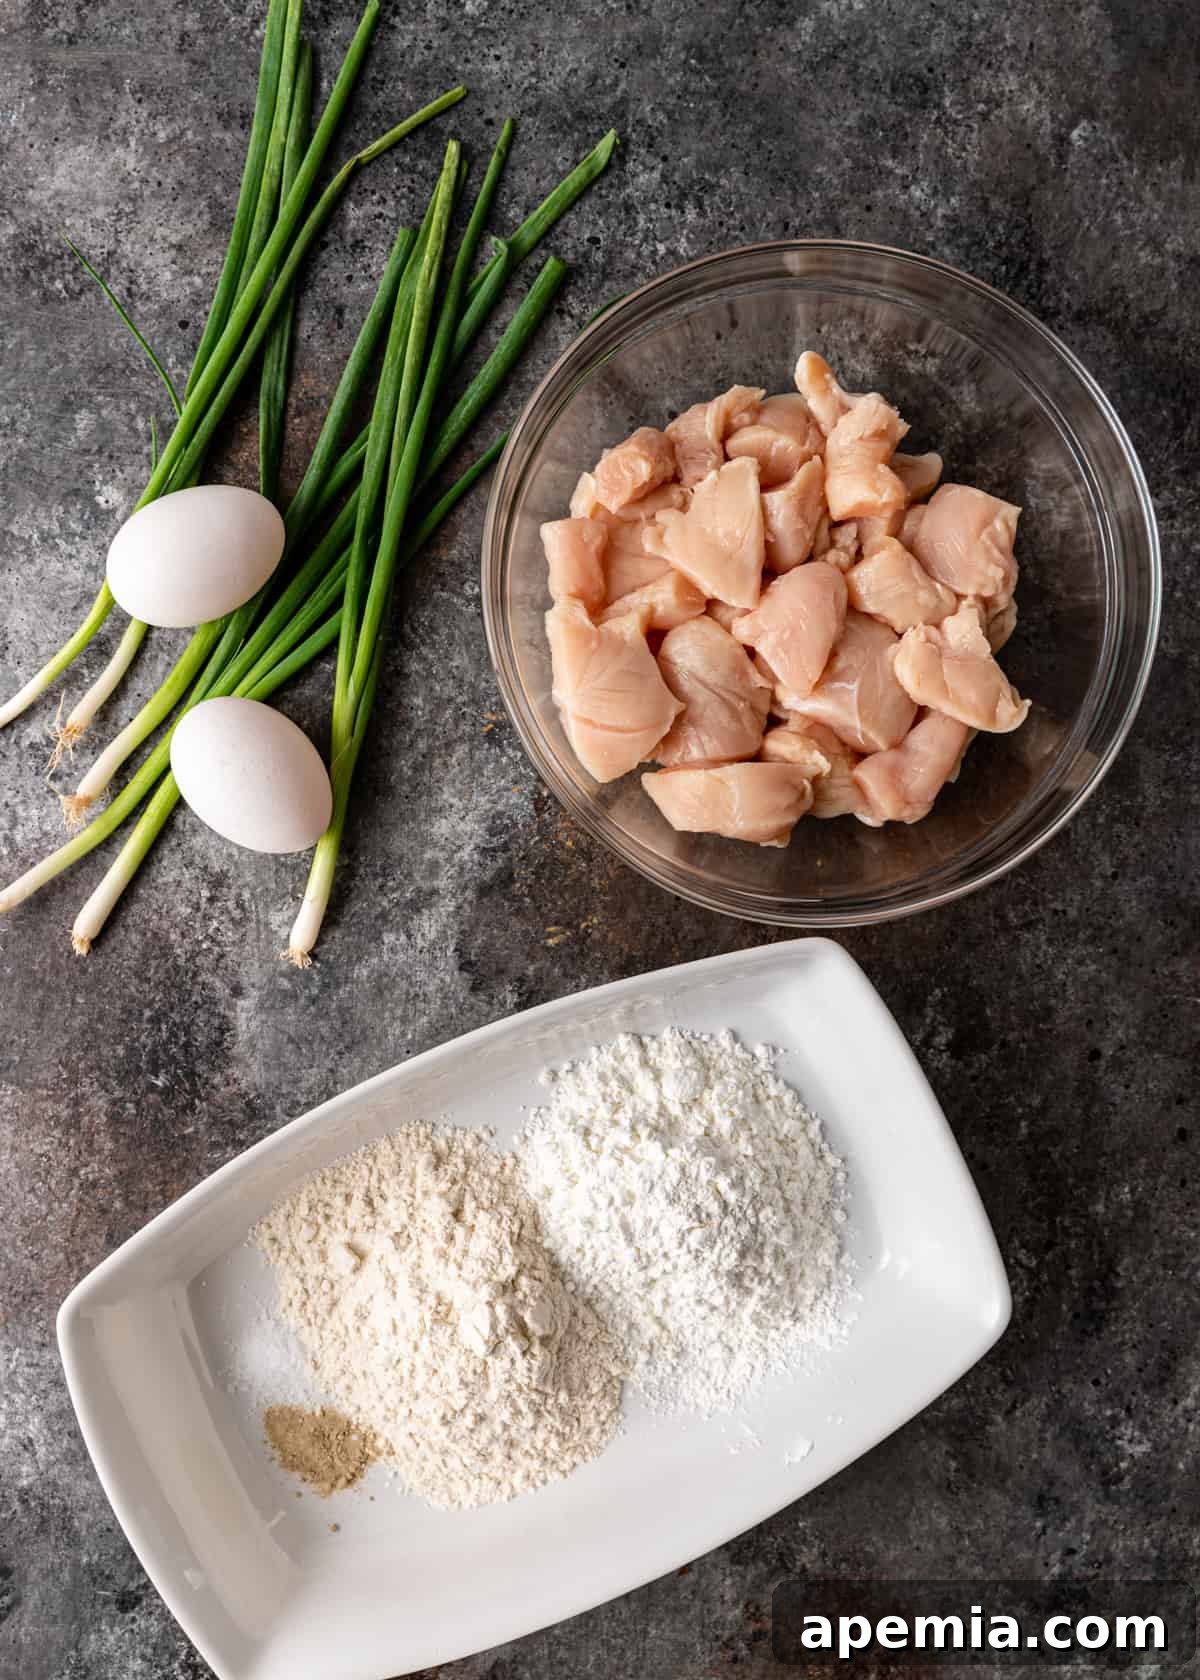
To ensure your chicken pieces are perfectly coated and achieve maximum crispiness, after marinating in the egg, drain them thoroughly in a sieve, discarding any excess egg. For the dry coating, transfer your flour and cornstarch mixture into a large, sealable bag. Add the drained chicken pieces, seal the bag tightly, and toss vigorously until every piece is evenly coated. This bag method is not only highly effective for achieving a consistent, light coating but also significantly reduces mess compared to tossing in an open bowl.
Ingredient Notes and Essential Substitutions for Honey Chicken
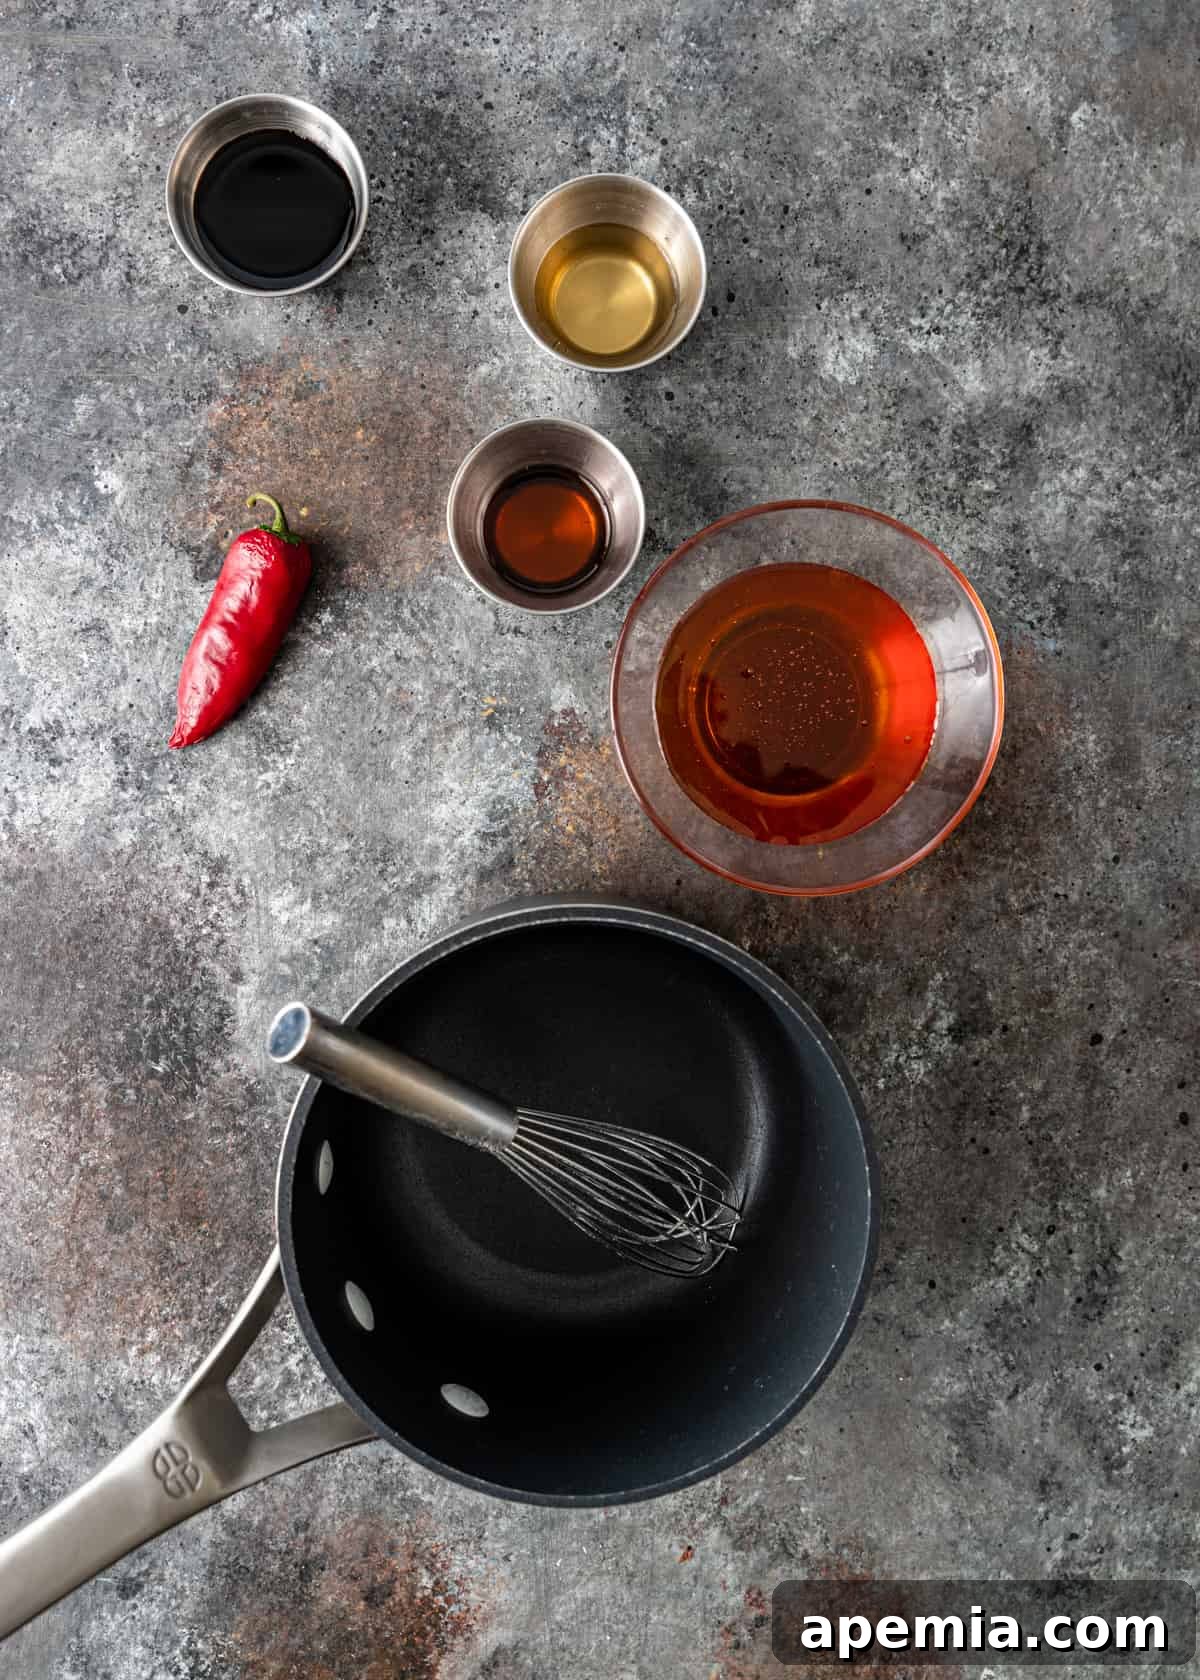
(For a complete list of ingredients and precise quantities, please refer to the detailed recipe card below.)
- Chicken Breast: Boneless, skinless chicken breast is an excellent choice for this recipe as it cooks rapidly and remains wonderfully tender when cut into uniform, bite-sized pieces. If you’re looking for an alternative that holds up even better to frying and offers a richer flavor profile, boneless chicken thighs are a fantastic substitution, providing extra juiciness and a slightly more robust texture.
- Flour & Cornstarch: This crucial combination is what creates the desirable light and crisp coating on your honey chicken. The all-purpose flour provides the necessary structure, while the cornstarch is the key to achieving that signature delicate crispiness that shatters with every bite. If you find yourself without flour, you can use cornstarch on its own for the coating. The resulting crust will be extra-light and exceptionally crisp, though it might feel a touch less “authentic” to some traditional fried chicken preparations, it will still be delicious.
- Honey: As the name suggests, honey is the undeniable backbone of our delectable sauce, providing its signature sweetness and a beautiful glaze. Opt for a mild variety of honey, such as clover or acacia, to ensure its flavor complements rather than overpowers the other ingredients like soy and vinegar. In a pinch, pure maple syrup can serve as a substitute, though be aware that it will introduce a slightly different flavor profile with subtle caramel undertones.
- Soy Sauce: Essential for imparting a rich depth of umami and a perfectly balanced saltiness that expertly counteracts the sweetness of the honey. For those adhering to a gluten-free diet, tamari is an excellent, readily available alternative that performs just as well without compromising flavor.
- Apple Cider Vinegar: This ingredient is vital for injecting a bright acidity and a pleasant tang into the sauce, preventing it from becoming one-dimensional. Rice vinegar makes for an outstanding substitute if apple cider vinegar isn’t on hand, offering a similar mild tartness that complements Asian flavors beautifully.
- Sesame Oil: A little goes a very long way with sesame oil, a powerful aromatic that adds a distinct, warm, and nutty complexity. It’s used in a small quantity at the end to round out the sauce, harmonizing the sweetness of the honey with its profound, savory notes. Always use toasted sesame oil for maximum flavor impact.
How to Make Honey Chicken: A Detailed Step-by-Step Guide
- Prepare and Coat the Chicken: Begin by cutting your chicken breast (or thighs) into uniform 1-inch bite-sized pieces. In a bowl, toss these chicken pieces thoroughly with lightly beaten eggs. This egg wash acts as a binder for the dry coating. In a separate, larger bowl or a sealable bag, whisk together the all-purpose flour, cornstarch, kosher salt, and white pepper. Drain the excess egg from the chicken, then transfer the chicken pieces to the dry mixture. Seal the bag (or toss in the bowl) and shake until every piece of chicken is evenly coated.
- Craft the Silky Honey Sauce: In a small saucepan, combine the honey, soy sauce, apple cider vinegar, and 2 tablespoons of water. Bring this mixture to a gentle boil over medium heat, stirring occasionally. In a separate small bowl, whisk together 1 tablespoon of cornstarch with 1 tablespoon of cold water to create a smooth slurry. Slowly whisk this cornstarch slurry into the boiling honey sauce. Continue to cook over medium heat, whisking constantly, until the sauce visibly thickens and becomes glossy, ensuring there are no lumps. Once thickened to your desired consistency, remove the sauce from the heat and set aside.
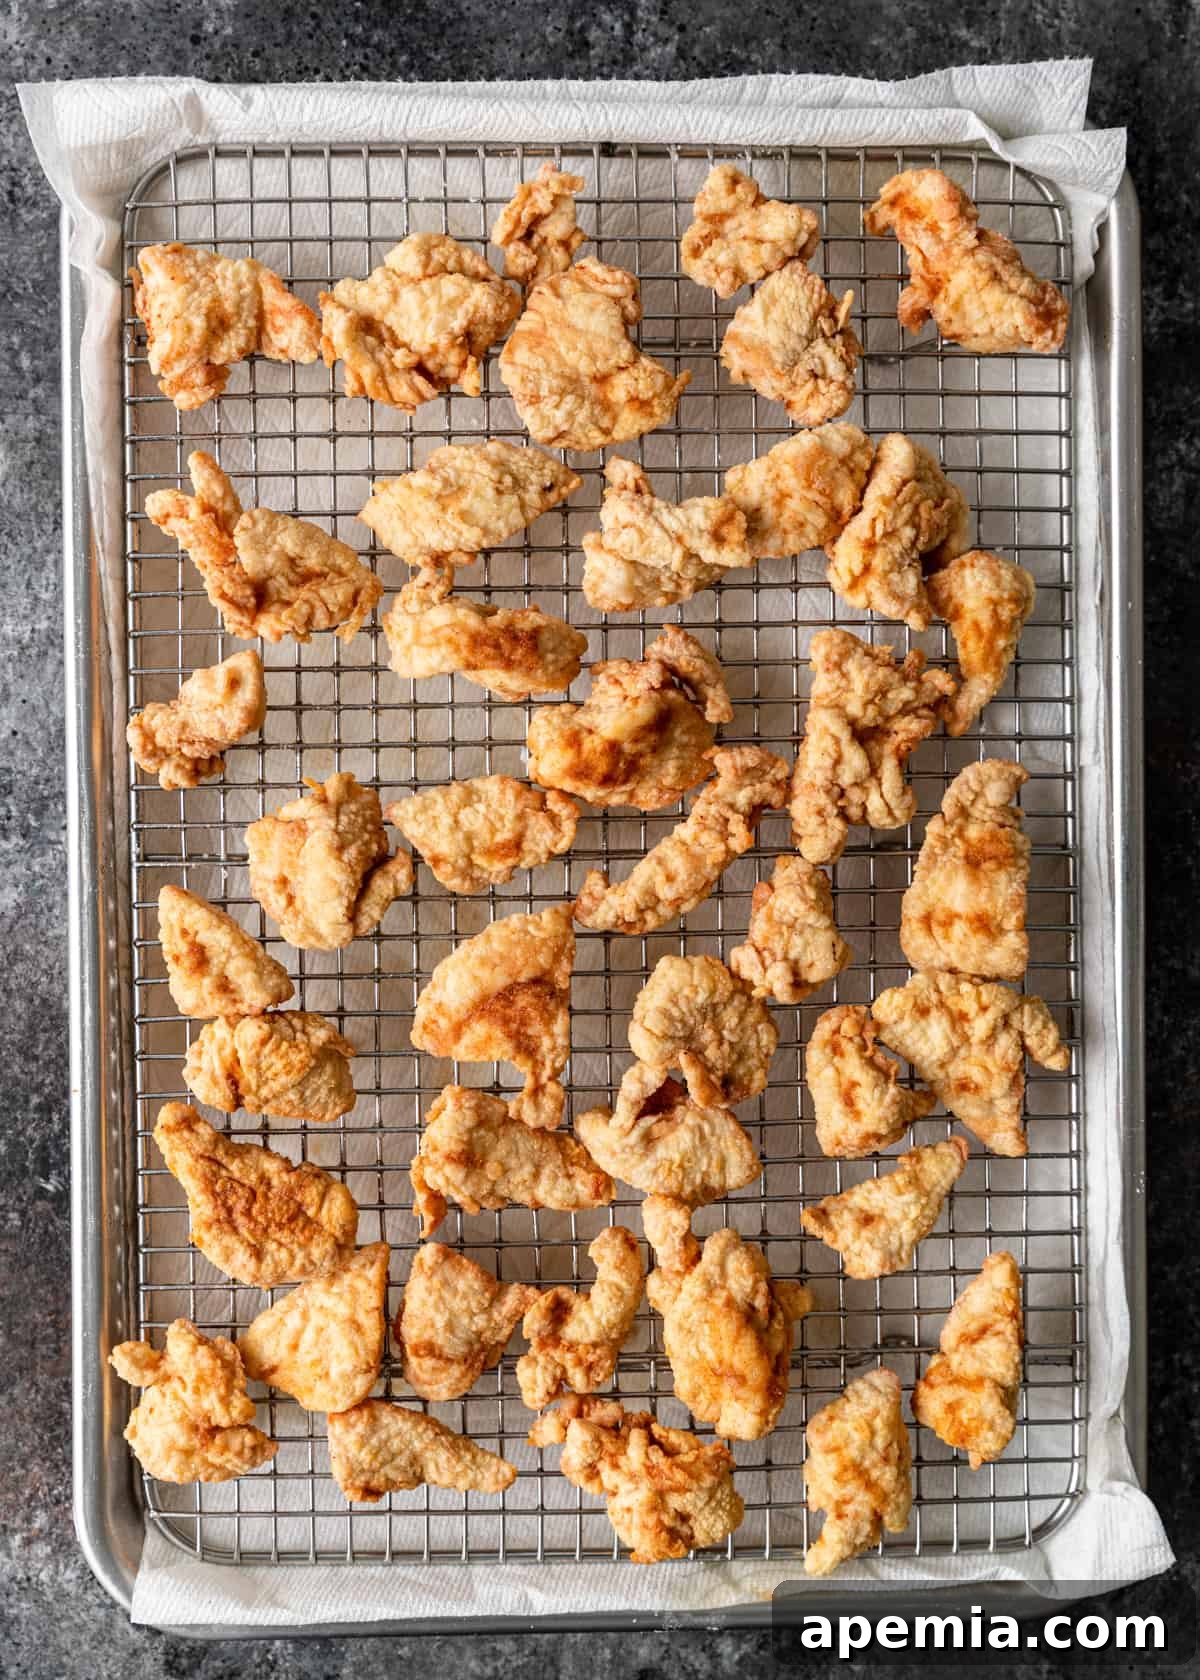
- Expertly Fry the Chicken to Golden Perfection: Heat 2-3 inches of vegetable oil in a deep skillet or a Dutch oven over medium heat. It’s crucial to monitor the oil temperature, aiming for a steady 350°F (175°C). Fry the coated chicken pieces in several small batches to avoid overcrowding the pan, which can lower the oil temperature and result in soggy chicken. Shake off any excess flour mixture before carefully placing the chicken into the hot oil. Fry each batch for approximately 5 minutes, turning occasionally, until the chicken turns a beautiful pale golden color and is cooked through. Avoid overcooking, as the chicken will continue to firm up slightly as it drains.
- Drain and Combine: As each batch of chicken is cooked, remove it from the oil using a spider strainer or tongs. Transfer the fried chicken pieces to a wire rack placed over a paper towel-lined baking sheet. This setup allows excess oil to drain away and, crucially, permits air circulation around the chicken, which is key to maintaining its crispiness.
- Toss Everything Together: Once all the chicken is fried and has rested briefly on the rack, transfer the warm, crispy chicken pieces to a large mixing bowl. Pour the prepared warm honey sauce over the chicken. Using a rubber spatula, gently but thoroughly toss the chicken until every piece is beautifully coated in the luscious, glossy sauce.
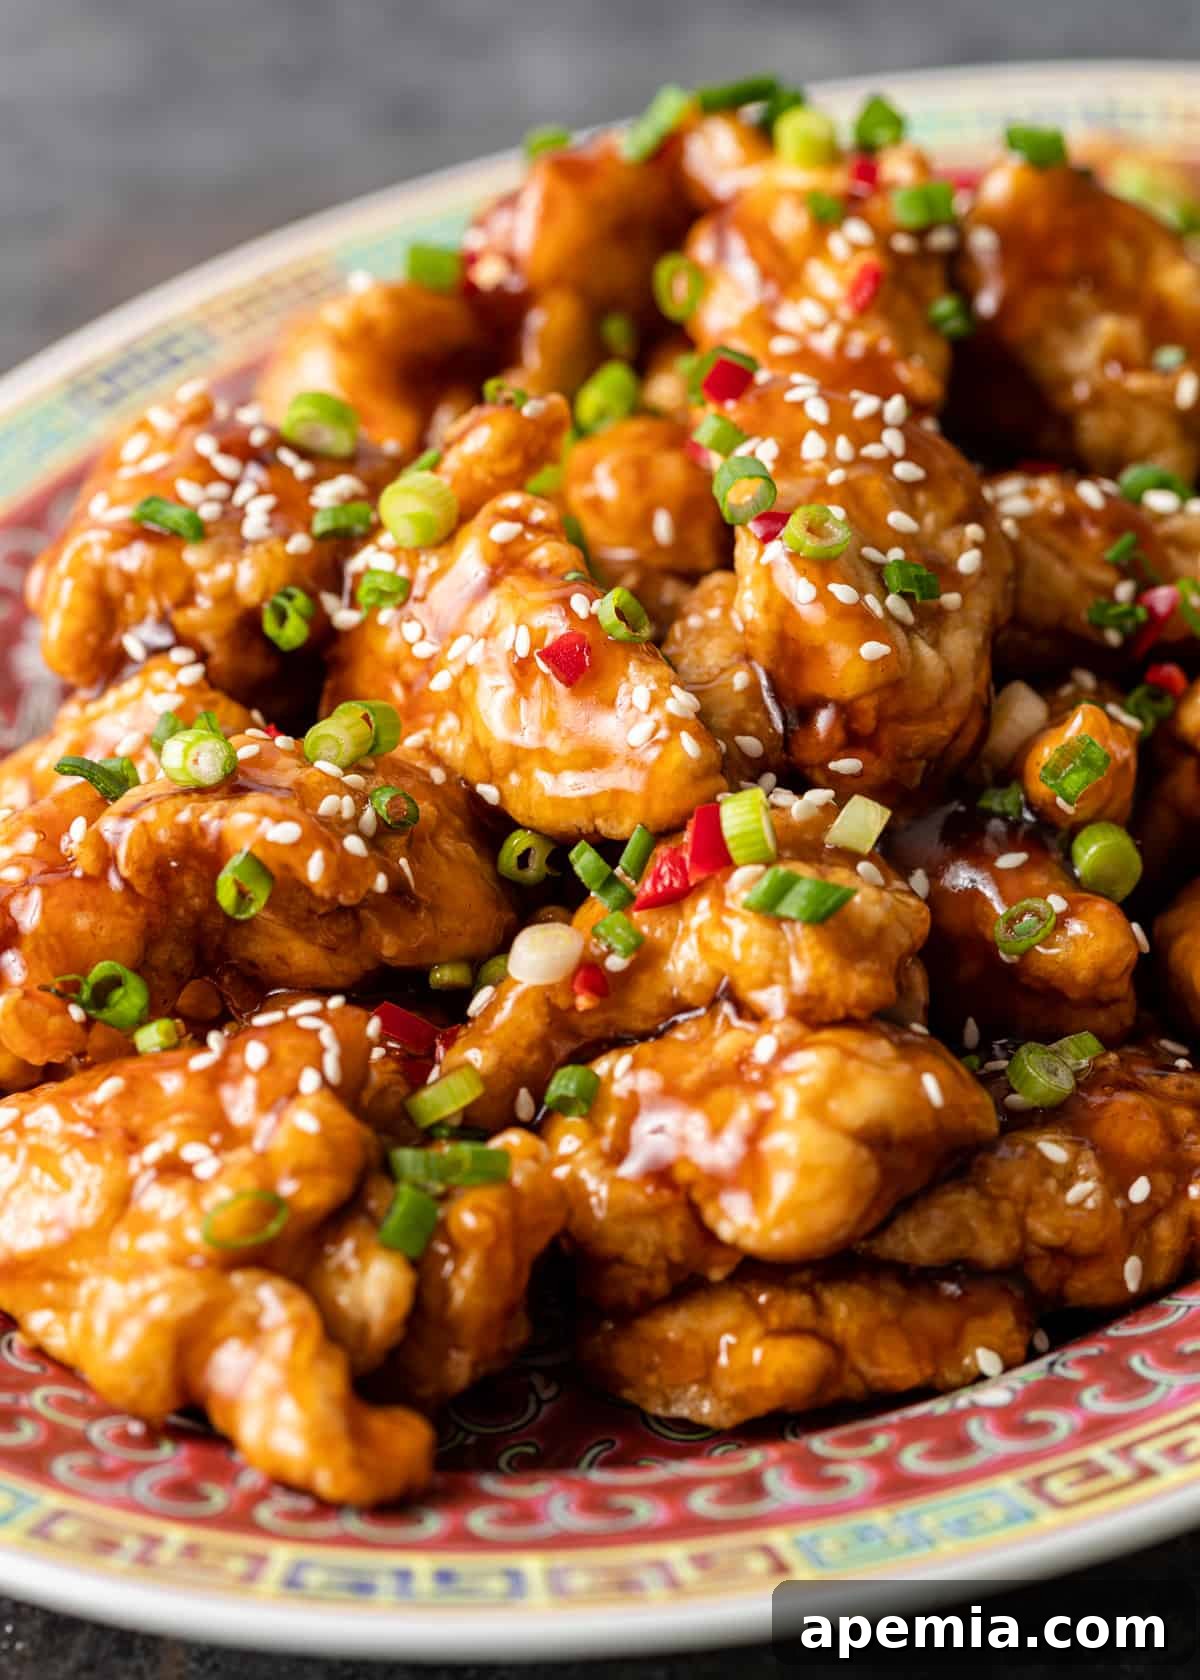
- Finish & Serve: Immediately transfer the sauced honey chicken to your serving platter. Garnish generously with freshly sliced green onions and a sprinkle of toasted sesame seeds. For those who enjoy a little heat, a scattering of minced red chili is a fantastic addition. Serve hot and enjoy the homemade goodness!
Recommended Tools for a Seamless Cooking Experience
- Deep Skillet or Dutch Oven: Essential for maintaining a consistent oil temperature, which is crucial for even cooking and achieving that perfect crispy crust during shallow frying of the chicken pieces.
- Spider Strainer or Tongs: These are indispensable for safely and easily lifting the fried chicken out of the hot oil, ensuring minimal oil retention.
- Sheet Pan with Wire Rack: A must-have for draining the fried chicken. The wire rack allows air to circulate around the chicken, preventing it from steaming and becoming soggy as it cools, thus preserving its crispiness.
- Whisk: For smoothly combining ingredients for both the coating and the sauce, particularly important for creating a lump-free cornstarch slurry.
- Meat Thermometer: While not strictly required, a digital meat thermometer can help ensure the chicken is cooked to a safe internal temperature (165°F / 74°C) without overcooking.
Elevate Your Meal: Delicious Serving Suggestions for Honey Chicken
This delightful honey chicken recipe is at its absolute best when served immediately after it’s been tossed with the warm, glossy sauce. This ensures the chicken’s crispy coating remains intact and the flavors are at their peak. Here are a few fantastic ways to complete your meal, allowing you to multi-task efficiently while cooking and impress your diners!
- Classic Rice Companions: Generously spoon the honey chicken over perfectly steamed jasmine rice, brown rice, or fragrant coconut rice for a comforting and satisfying meal that soaks up all the delicious sauce.
- Vibrant Vegetable Sides: Pair with quick and easy vegetable stir-fries like our crisp Asian Green Beans, a simple steamed broccoli, or blanched snap peas for added freshness and crunch.
- A Grand Asian Feast: Integrate honey chicken into a larger, more elaborate Asian-inspired spread. It pairs beautifully with dishes such as a zesty Hot and Sour Cabbage Stir Fry, a comforting Wonton Soup, or homemade spring rolls.
- Ultimate Takeout-Style Night: Go all out and recreate a full takeout experience. Serve your honey chicken with sides of plain jasmine rice, a refreshing pickled cucumber salad, and a sprinkling of fresh herbs like cilantro or more green onions for a truly authentic feel.
Share this recipe on Pinterest!
Love this recipe? Help others discover it by sharing it with the world on Pinterest.
Frequently Asked Questions About Honey Chicken
The combination of flour and cornstarch is a culinary secret weapon for achieving the ideal crispy texture in fried chicken dishes, including this honey chicken recipe. Flour provides the necessary structure and body to the coating, ensuring it adheres well to the chicken. Cornstarch, on the other hand, is key to the lightness and shatteringly crisp quality. It helps the coating fry up extra crispy without becoming tough or heavy, a common technique in Chinese-inspired frying.
Preventing sogginess is crucial for a great honey chicken experience. Firstly, always drain your fried chicken on a wire rack placed over a baking sheet, rather than directly on paper towels. This allows steam to escape, which is the primary cause of sogginess. Secondly, and equally important, only toss the crispy chicken with the warm honey sauce right before you intend to serve it. The longer the chicken sits in the sauce, the more moisture it will absorb, diminishing its crispness. Serve immediately after tossing for maximum crunch.
A cloudy or chalky sauce typically occurs when cornstarch is added directly to hot liquid without first being mixed into a slurry. When dry cornstarch hits hot liquid, it can clump and not dissolve properly, leading to an uneven, unattractive texture. To avoid this, always prepare a smooth cornstarch slurry by whisking it thoroughly with an equal amount of cold water before slowly adding it to your hot sauce. This technique ensures the cornstarch dissolves evenly, resulting in a beautifully smooth, clear, and glossy thickened sauce.
While honey chicken is best enjoyed fresh, you can reheat leftovers effectively. The best method to regain some crispness is to reheat it in an air fryer at 350°F (175°C) for 5-7 minutes, or in an oven on a baking sheet at 375°F (190°C) for 10-15 minutes, until heated through and slightly crispy. Avoid the microwave, as it will make the chicken soggy.
Absolutely! To add a kick to your honey chicken, you have several options. You can add a pinch of red pepper flakes or a dash of sriracha to the honey sauce as it simmers. Alternatively, you can include minced fresh red chili (as suggested in the garnish) or a drizzle of chili oil right before serving. Adjust the amount to your personal spice preference.
Honey Chicken: The Complete Recipe Card
Honey Chicken
★
★
★
★
4
15
15
30
PrintRecipe
Ingredients
- 1 1/2 lbs boneless skinless chicken breast
- 2 eggs beaten
- 1/2 cup all-purpose flour
- 1/2 cup cornstarch
- 1 tsp kosher salt
- 1/4 tsp white pepper
- 2 cups vegetable oil (for frying)
- 4 green onions thinly sliced, for garnish
- 1 red chili minced (optional, for garnish)
- sesame seeds (for garnish)
For the Honey Sauce
- 1/2 cup honey
- 2 tablespoons soy sauce
- 2 tablespoons apple cider vinegar
- 2 tablespoons water
- 1 teaspoon sesame oil
- 1 tablespoon cornstarch
- 1 tbsp cold water (for slurry)
Instructions
-
Cut the chicken into uniform 1-inch pieces. In a medium bowl, toss the chicken with the 2 beaten eggs until well coated. Set aside for a few minutes.
-
In a separate large bowl or a sealable bag, whisk together the 1/2 cup all-purpose flour, 1/2 cup cornstarch, 1 tsp kosher salt, and 1/4 tsp white pepper until thoroughly combined.
-
To prepare the honey sauce, combine the 1/2 cup honey, 2 tablespoons soy sauce, 2 tablespoons apple cider vinegar, and 2 tablespoons water in a small saucepan. Bring the mixture to a boil over medium heat, stirring occasionally. In a tiny separate bowl, mix 1 tablespoon cornstarch with 1 tablespoon cold water to form a smooth slurry. Whisk this slurry into the boiling honey sauce. Reduce the heat to medium-low and continue to cook, whisking, until the sauce thickens and achieves a glossy consistency. Remove from heat and stir in the 1 teaspoon sesame oil. Set aside.
-
Heat 2-3 inches of vegetable oil in a deep skillet or Dutch oven over medium heat until it reaches 350°F (175°C). Use a cooking thermometer to ensure accuracy.
-
Drain the chicken pieces from the egg mixture using a sieve, discarding any excess egg. Transfer the drained chicken to the sealable bag with the dry ingredients. Seal the bag tightly and toss vigorously to ensure each piece is evenly coated. Alternatively, toss the chicken in the bowl with the dry ingredients.
-
Working in several batches, carefully shake off any excess flour mixture from the chicken pieces before placing them into the hot oil. Fry for about 5 minutes per batch, turning the pieces to cook evenly, until they are light golden brown and cooked through. Do not overcrowd the pan.
-
As each batch is cooked, transfer the crispy chicken to a wire rack set over a paper towel-lined baking sheet to drain excess oil and maintain crispiness. Continue this process until all chicken is fried.
-
Immediately transfer the crispy chicken pieces to a large mixing bowl. Pour the warm honey sauce over the chicken and gently toss with a rubber spatula until every piece is evenly coated in the glossy sauce. Transfer to a serving platter and garnish generously with thinly sliced green onions, minced red chili (if using), and toasted sesame seeds. Serve immediately with steamed rice for the best experience.
Nutrition
The information shown is an estimate provided by an online nutrition calculator. It should not be considered a substitute for a professional nutritionist’s advice.