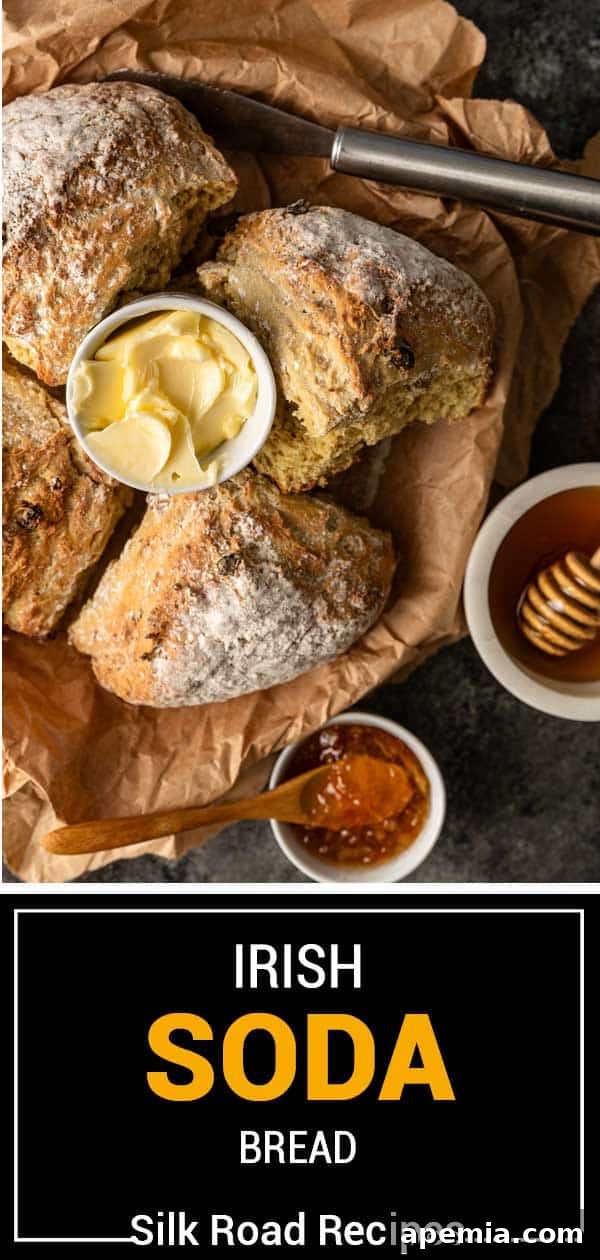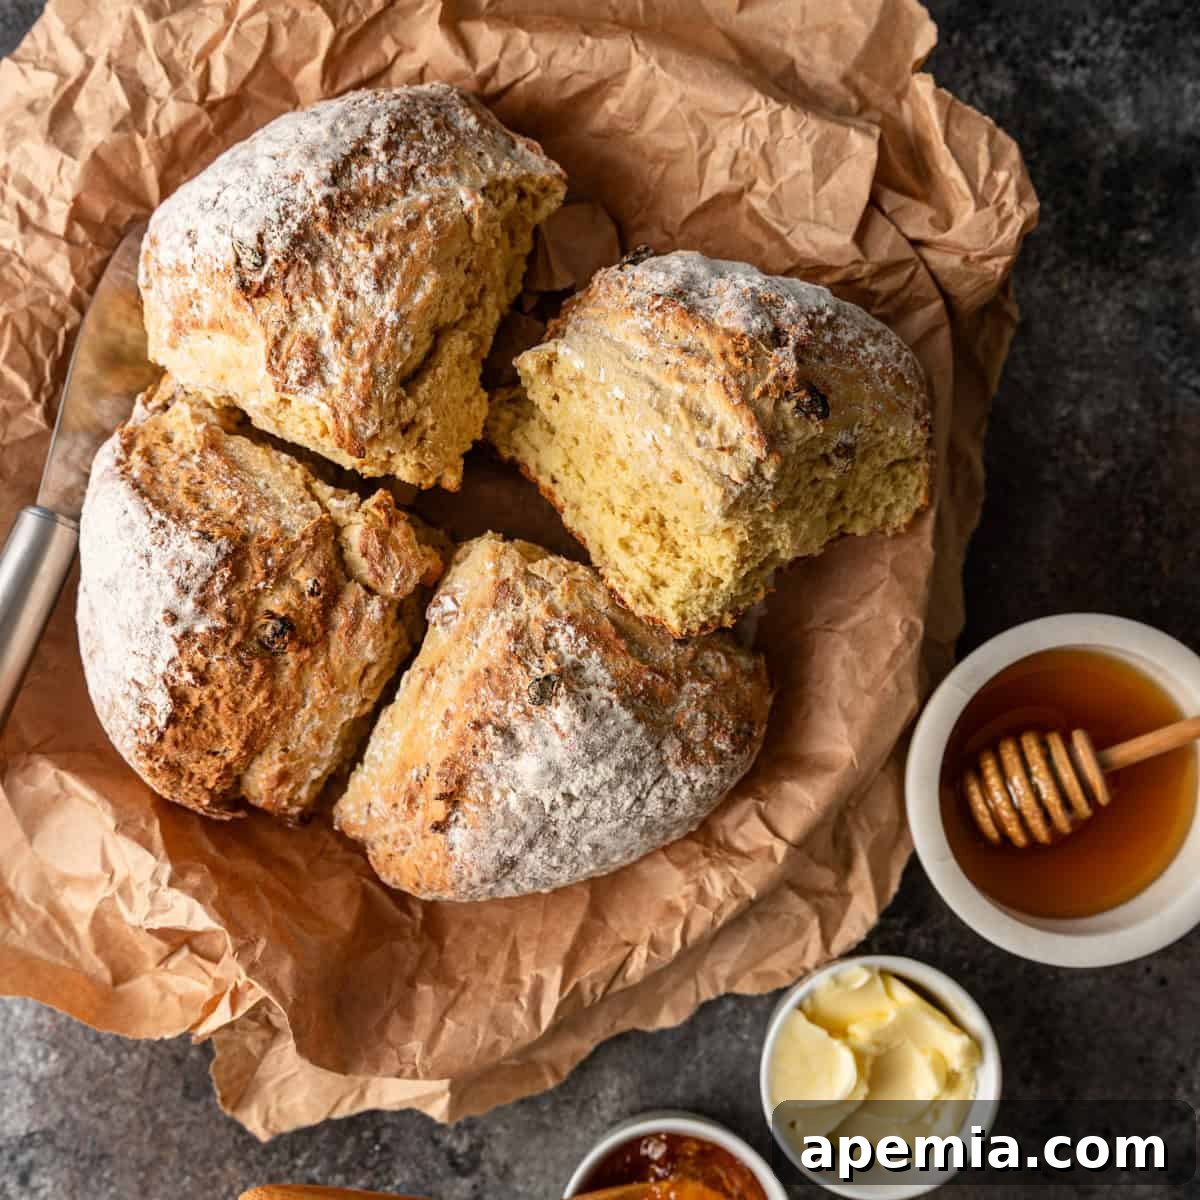
Step into the enchanting world of traditional baking with this timeless Irish Soda Bread recipe. It’s an old-school culinary delight that feels like pure kitchen magic. Forget about yeast, lengthy proofing times, and endless waiting around. This simple dough comes together effortlessly in one bowl, is quickly shaped by hand, and bakes into a beautifully golden, rustic loaf boasting an incredibly tender crumb. Prepare to be amazed by how quickly you can achieve a truly satisfying homemade bread!
The Enduring Charm of Traditional Irish Soda Bread: A Quick & Simple Delight
Irish soda bread offers a refreshing departure from conventional yeast-leavened loaves. Instead of relying on yeast for its rise, this unique bread harnesses the power of baking soda combined with tangy buttermilk. This ingenious chemistry means you can skip the usual time-consuming steps like intensive kneading and multiple proofing periods. The practical benefit? You can swiftly transition from “I wish I had fresh bread” to “I’m savoring freshly baked bread” in under an hour – an undoubtedly winning moment in any kitchen.
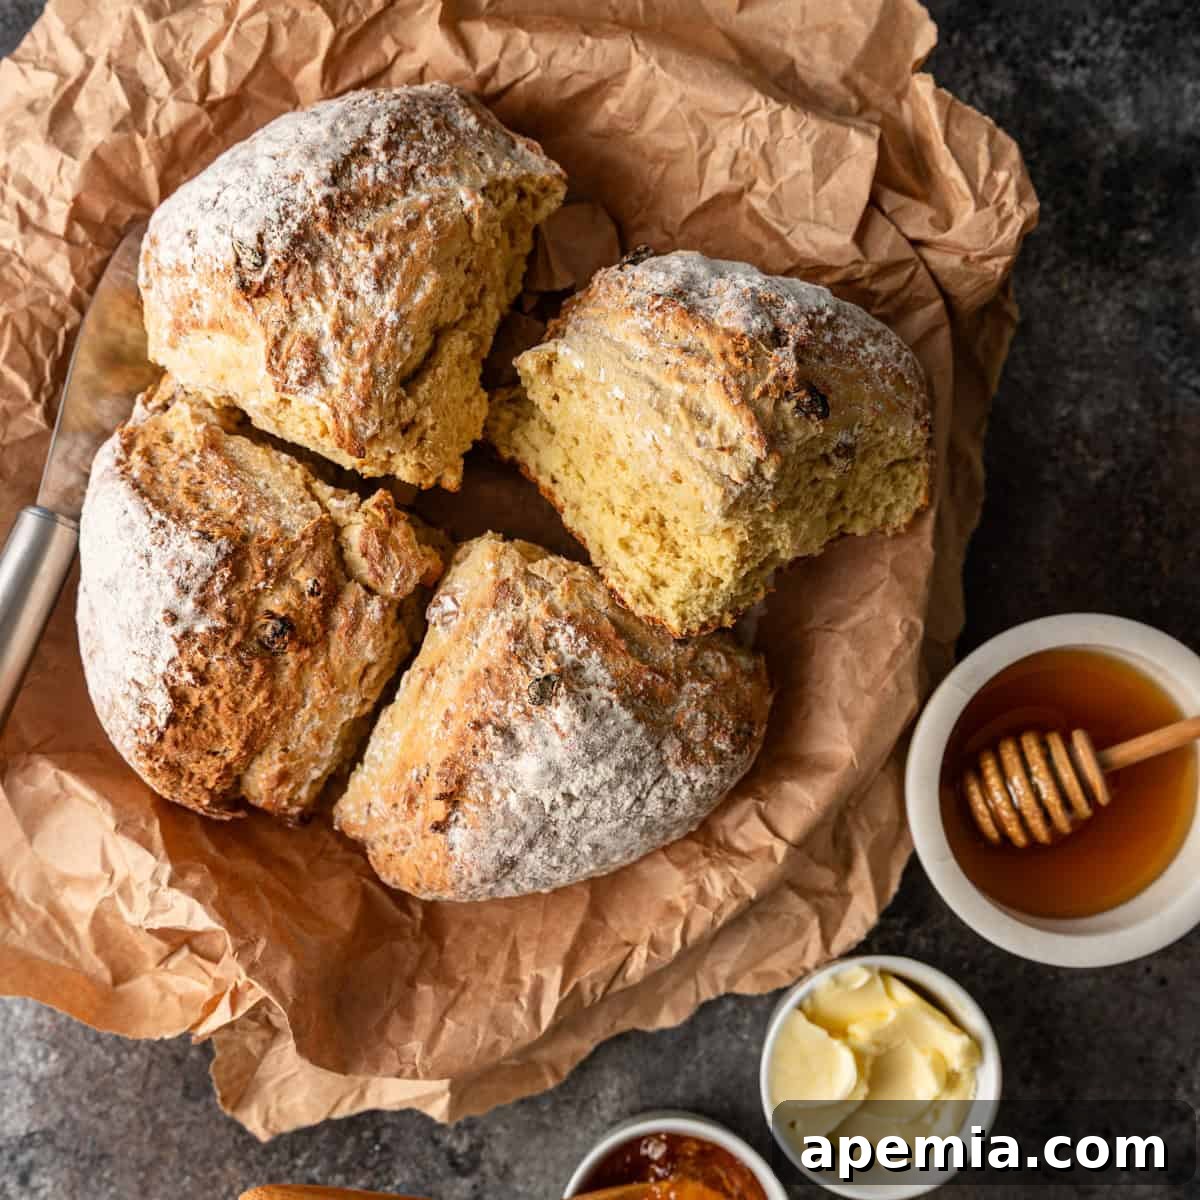
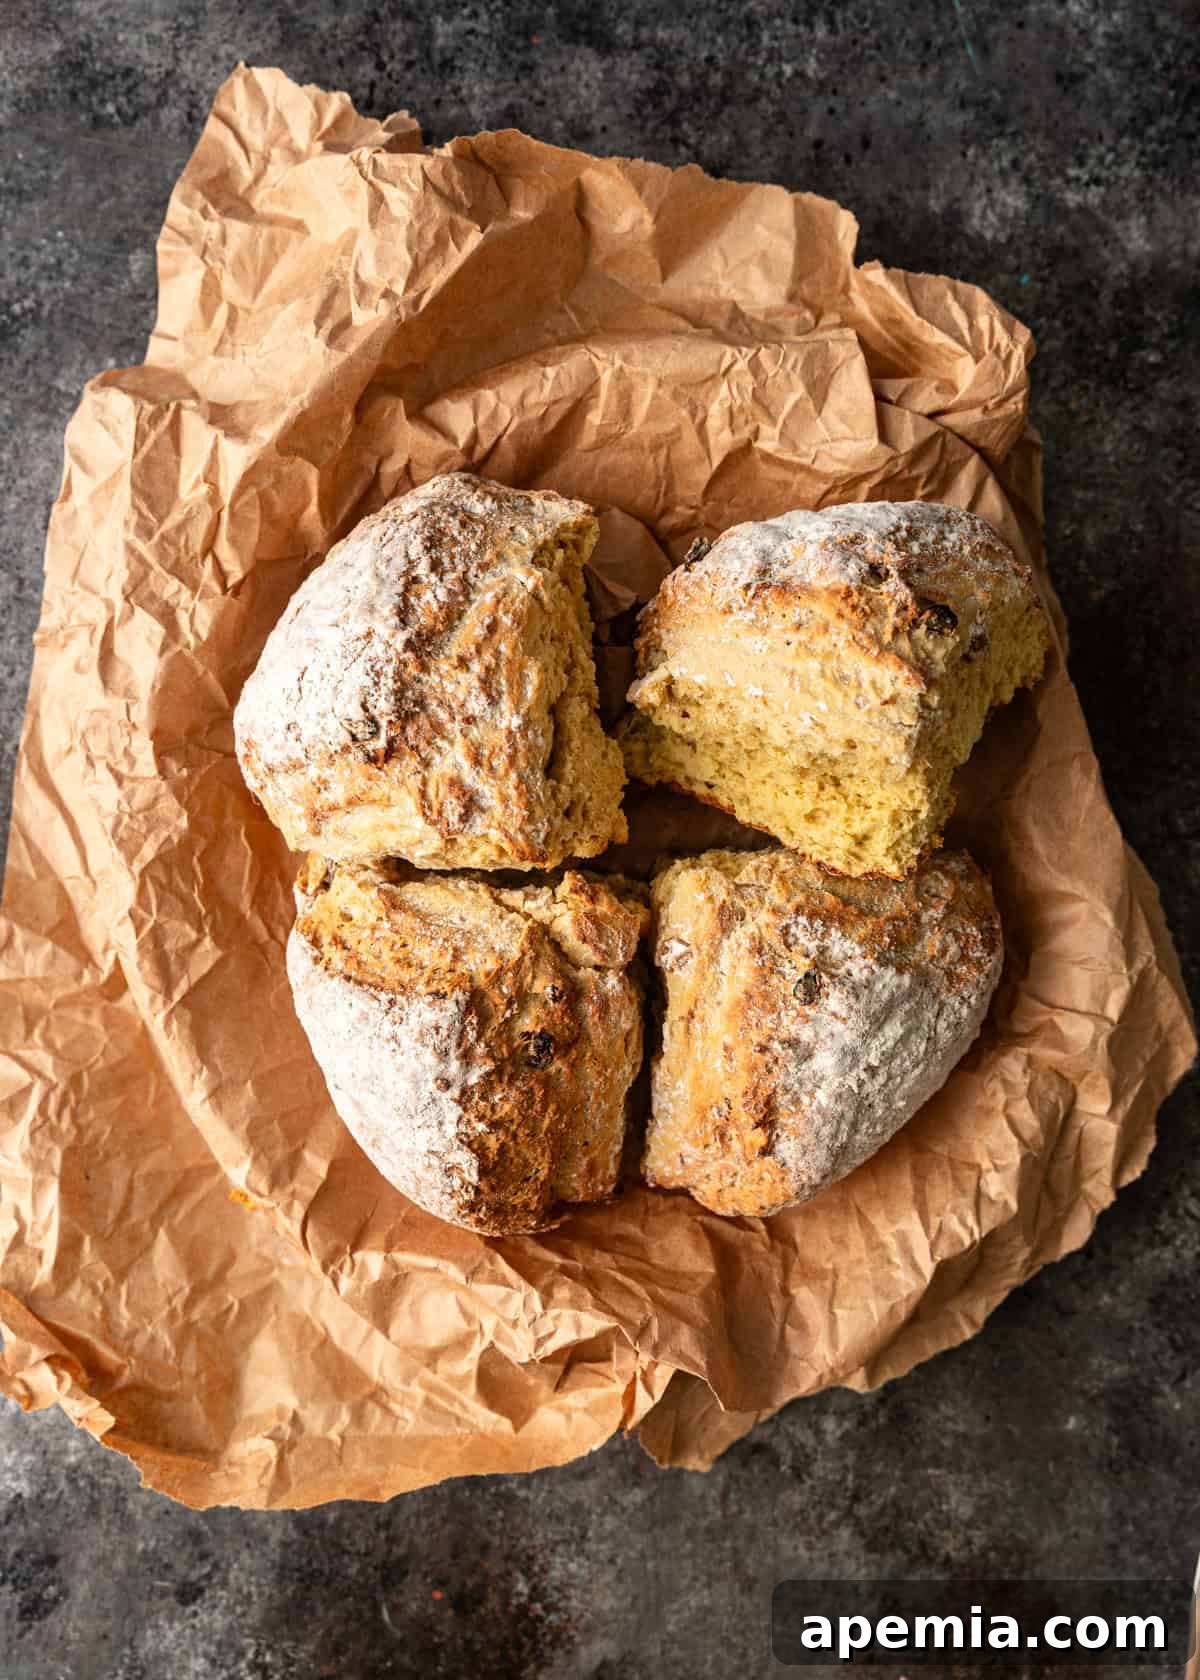
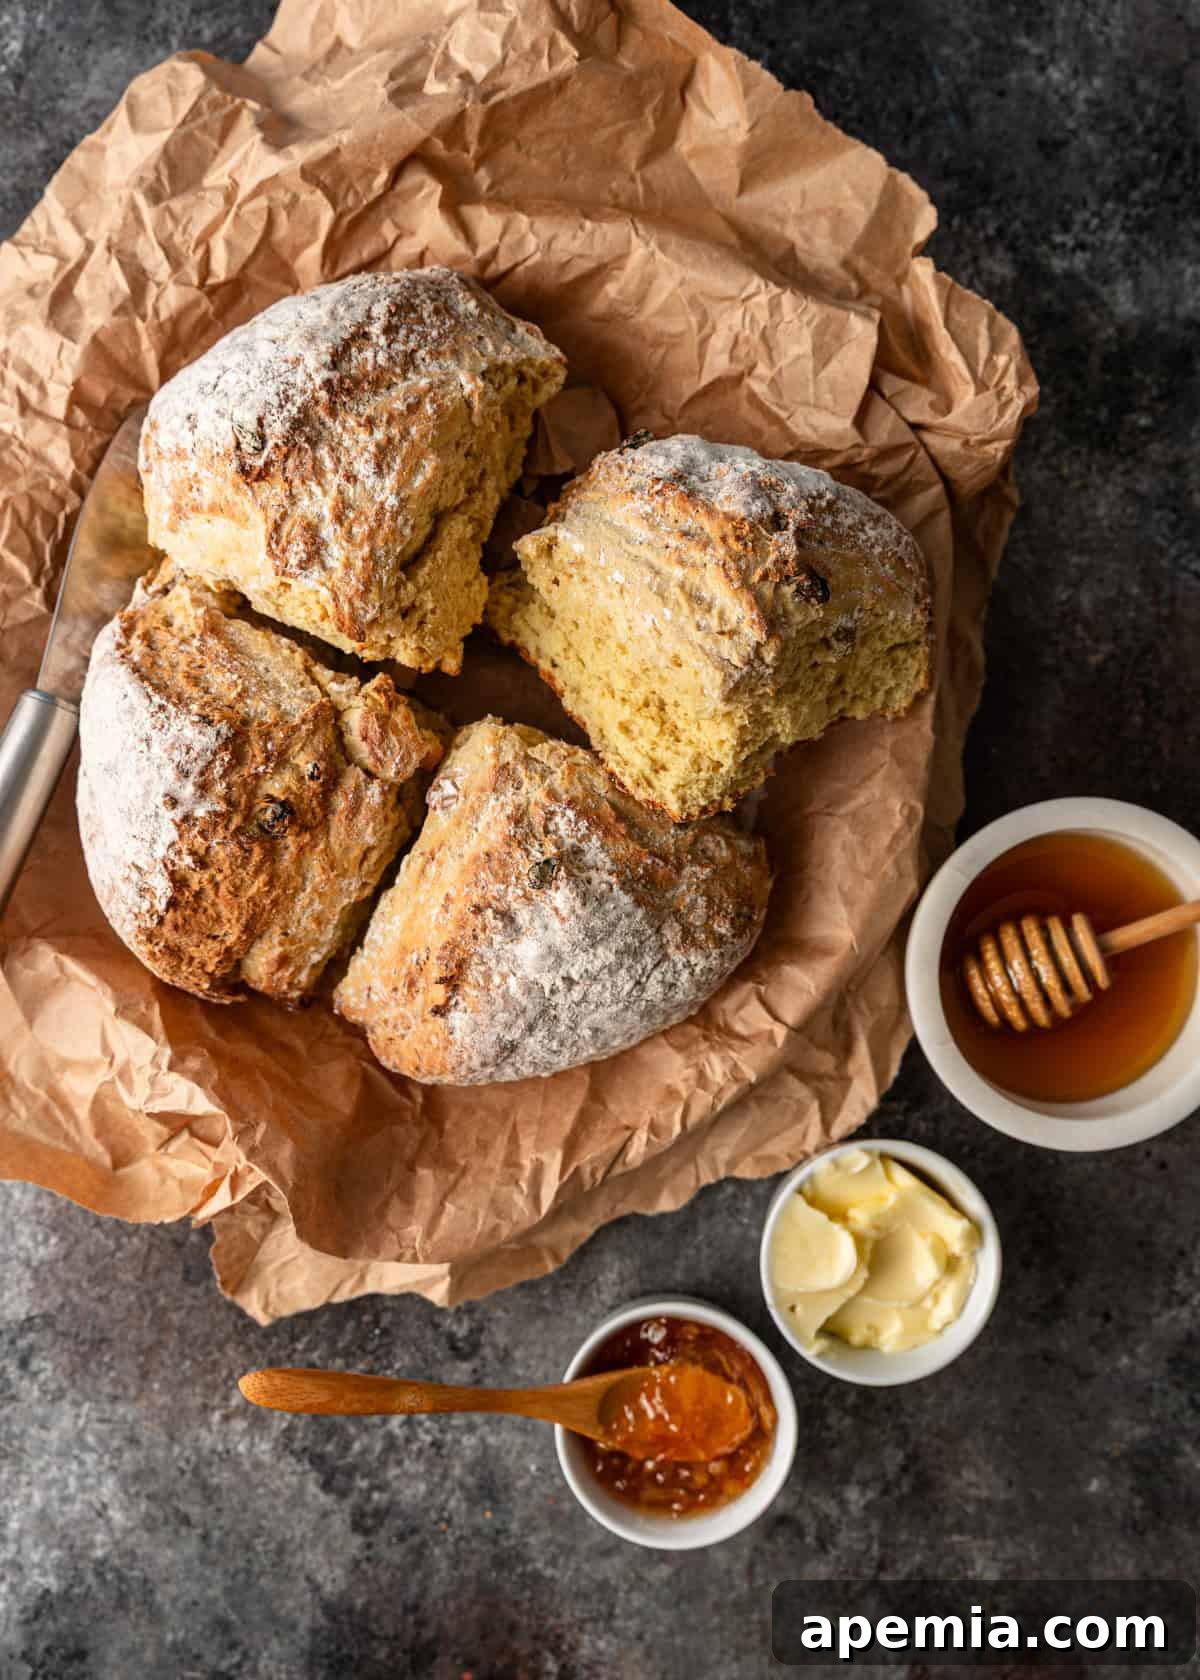
This particular rendition stays true to the cherished traditional style of Irish soda bread. We focus on a handful of essential ingredients: high-quality flour, a pinch of salt to balance flavors, active baking soda for lift, rich buttermilk for its signature tang and moisture, and a scattering of sweet golden raisins (also affectionately known as sultanas) to impart a subtle sweetness and delightful chew. The bread bakes to perfection, developing a wonderfully crisp crust that encases a soft, moist, and airy interior. It’s an ideal canvas for a generous slathering of creamy butter, a fantastic accompaniment for dipping into hearty soups, or even delicious when toasted the next day. However, if you’re anything like me, this delectable loaf tends to disappear remarkably fast!
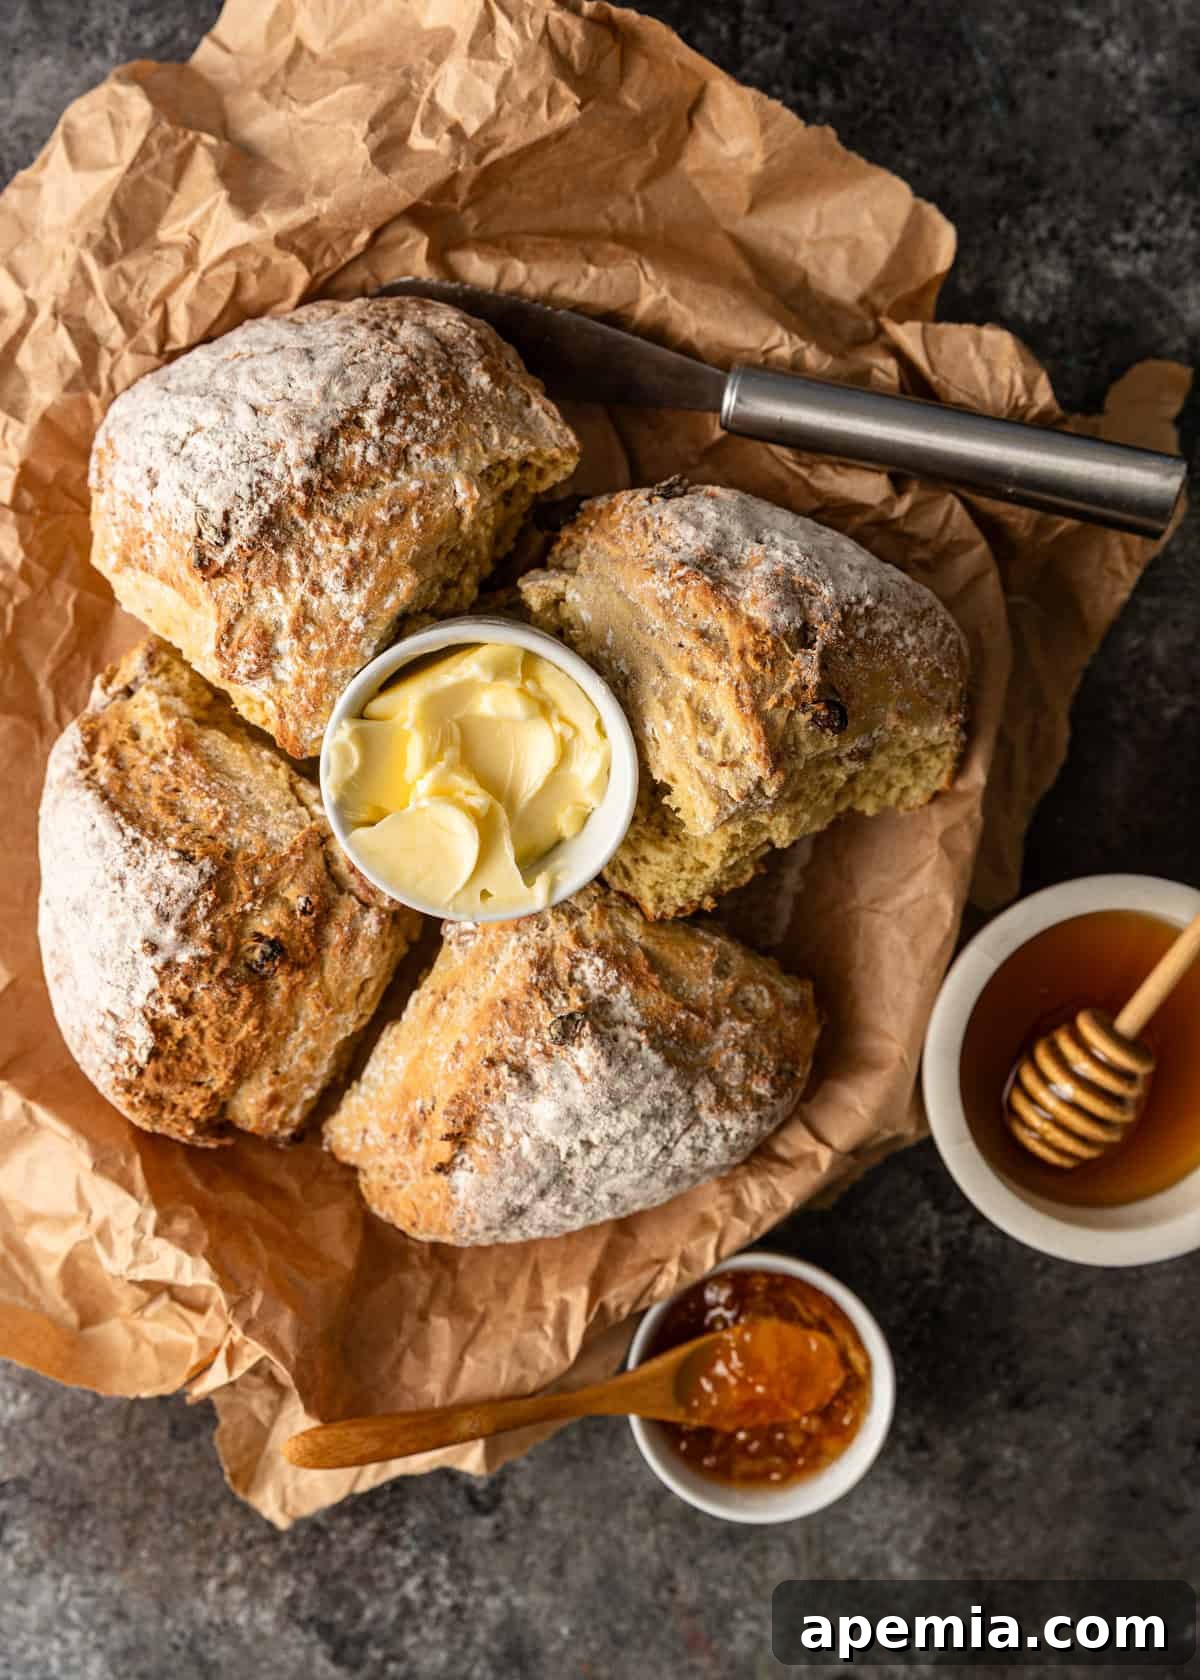
Table of Contents
- Golden Raisins (Sultanas): A Sweet and Traditional Inclusion
- Ingredient Essentials and Clever Substitutions
- How to Bake the Perfect Irish Soda Bread: A Step-by-Step Guide
- Recommended Baking Tools for Simplicity
- Serving Suggestions and Perfect Pairings
- Frequently Asked Questions About Irish Soda Bread
- Gramma’s Traditional Irish Soda Bread Recipe
Irish soda bread is remarkably versatile, fitting seamlessly into almost any meal of the day. Imagine a warm slice complementing a comforting bowl of Sausage Tortellini Soup, or serving as the ideal partner to mop up the rich, flavorful sauces of a Hot and Sour Cabbage Stir Fry. When you’re preparing a larger spread, especially for a festive occasion like St. Patrick’s Day, this Irish soda bread recipe truly elevates the entire table, adding a hearty and authentic touch. Pair it with succulent homemade corned beef and creamy colcannon, a classic Irish mashed potato dish. With this bread, you’re not just enjoying a meal; you’re embracing a beloved culinary tradition. It truly feels like the luck of the Irish, doesn’t it?
The Rich History and Enduring Legacy of Irish Soda Bread
While inextricably linked with Ireland, the very concept of using baking soda as a leavening agent has a fascinating history that predates its widespread adoption in Irish kitchens. Native Americans, for instance, were known to use pearlash (potassium carbonate) to lighten their cornmeal breads. However, it was in 19th-century Ireland, where bicarbonate of soda became both affordable and readily available, that soda bread truly found its culinary identity and became a national icon.
During this era, yeast was often an expensive commodity and its reliability could be inconsistent. Furthermore, many Irish homes relied on simple bastible pots (cast-iron ovens) placed over open fires for baking, rather than conventional ovens with controlled temperatures. Soda bread offered a brilliantly practical, dependable, and utterly delicious solution. The soft wheat varieties cultivated in Ireland also presented a challenge; their lower gluten content made them less suitable for the extensive kneading required by traditional yeast breads. Soda bread, conversely, thrived with minimal handling, making it a perfect match for local ingredients and prevailing baking conditions.
Composed of just four basic ingredients – flour, salt, baking soda, and buttermilk – it was a bread that could be made in virtually every Irish household, quickly becoming a daily staple. The signature deep “X” cut across the top of the loaf is steeped in tradition, often believed to ward off evil spirits or bless the bread. Beyond folklore, this scoring serves a very practical purpose: it helps the dense dough bake more evenly by allowing heat to penetrate the center, and traditionally, it facilitated breaking the loaf into four easily shareable quarters. Today, Irish soda bread continues to be a cherished symbol of Irish culinary heritage, celebrated worldwide for its rustic appeal, comforting flavor, and remarkable simplicity.
A Tip from Kevin
Golden Raisins (Sultanas): A Sweet and Traditional Inclusion
Known as golden raisins in the United States and more commonly as sultanas in the United Kingdom, these are a delightful type of dried grape, typically made from green seedless varieties, most often the Thompson Seedless. Their distinctively lighter color, often accompanied by a plumper, juicier texture compared to their darker counterparts, is a result of a specific processing method. They are frequently treated with a solution (such as diluted potassium carbonate and oil) before drying, which not only speeds up the dehydration process but also meticulously preserves their appealing golden hue. I personally find their brighter appearance and subtly sweet, delicate flavor preferable to standard dark raisins, as they add a beautiful dimension to the soda bread without overpowering it.
While golden raisins are a wonderful traditional choice, don’t hesitate to personalize your loaf. You can easily substitute them with other dried fruits like currants, cranberries, or even finely chopped apricots for a different twist. For those who prefer a more savory or rustic Irish soda bread, consider omitting the fruit entirely and incorporating fragrant caraway seeds, which offer a distinctly traditional aroma and flavor. Some bakers also enjoy adding a hint of orange or lemon zest for a bright, citrusy note, or a handful of chopped walnuts or pecans for an added layer of texture and nutty flavor. The beauty of this recipe lies in its adaptability to your personal preference!
Ingredient Essentials and Clever Substitutions for Irish Soda Bread
(A complete list of ingredients and quantities can be found in the recipe card below)
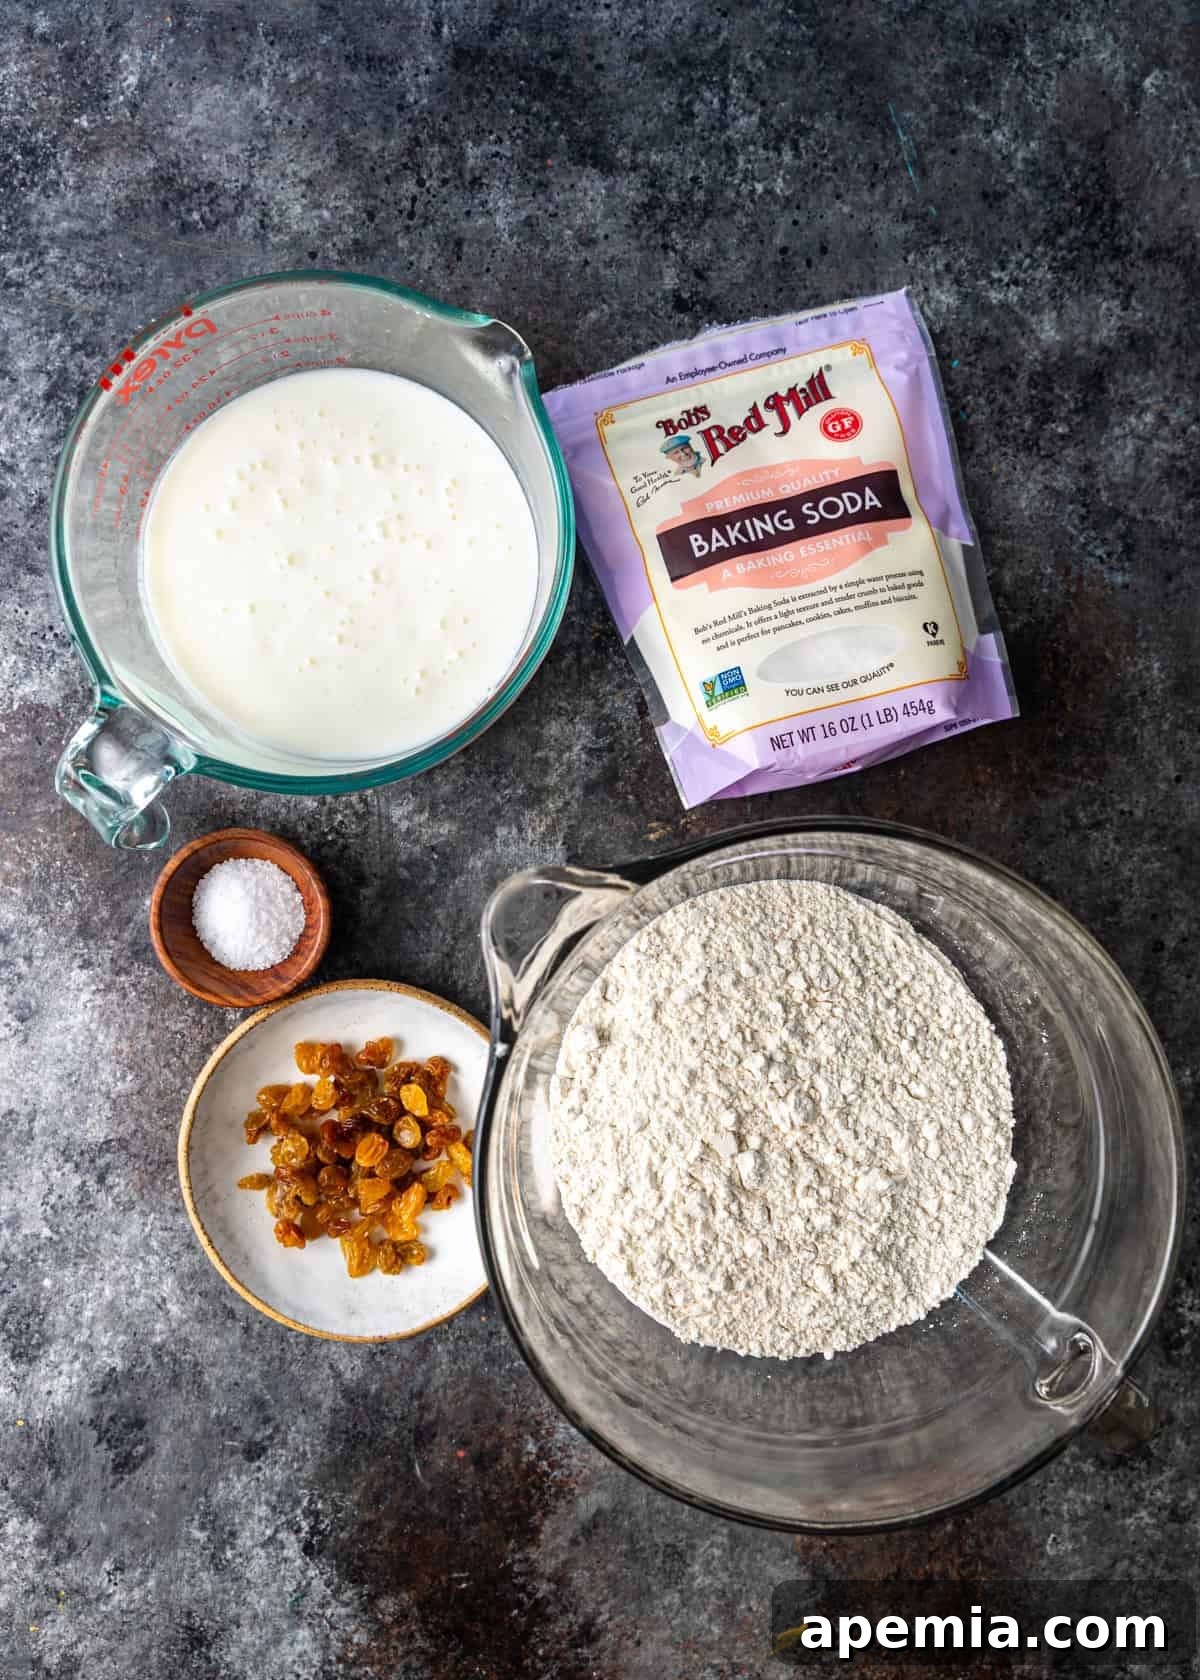
- All-Purpose Flour: This forms the tender structure of the loaf, making it easy to handle and ensuring a soft, yielding crumb. While all-purpose flour is standard, you can experiment by substituting up to 1 cup of it with whole wheat flour. Be mindful that this will result in a bread that is slightly denser and has a nuttier flavor profile.
- Buttermilk: An absolutely crucial ingredient for authentic soda bread. Its acidity is paramount for reacting with the baking soda, which creates the essential lift and the bread’s characteristic texture. Buttermilk also contributes a distinctive, subtle tang that deepens the overall flavor. No buttermilk on hand? No problem! You can effortlessly make a quick substitute: simply add 1 tablespoon of fresh lemon juice or white vinegar to a 1-cup measuring cup, then fill the rest of the cup with regular milk (any type, dairy or non-dairy, will work). Let this mixture sit for 5-10 minutes until it visibly curdles before incorporating it into your recipe. For this recipe, you’ll need to scale that up to match the 1 3/4 cups required.
- Baking Soda: This is our primary leavening agent! When baking soda, an alkaline compound, encounters the acidity in buttermilk, a chemical reaction occurs, producing carbon dioxide gas bubbles. These bubbles are what cause the bread to rise rapidly in the oven, giving it its unique open yet tender crumb. Always ensure your baking soda is fresh; old baking soda loses its potency, which can lead to a flat, dense loaf.
- Golden Raisins (Sultanas): These sweet, plump dried grapes add a wonderful sweetness and a pleasant chewiness that beautifully complements the rustic bread. As previously mentioned, golden raisins tend to be lighter and juicier. You can easily swap them for regular dark raisins or currants if those are what you have. For a purely traditional or savory loaf, feel free to omit them entirely, or try adding caraway seeds for a classic Irish flavor.
- Kosher Salt: More than just a flavor enhancer, salt plays a vital role in balancing all the ingredients, preventing the bread from tasting bland or insipid. It also subtly influences the gluten structure, contributing to the loaf’s overall texture.
How to Bake the Perfect Irish Soda Bread: A Step-by-Step Guide
Baking this simple yet profoundly satisfying traditional Irish soda bread is a straightforward process that yields impressive results. Follow these detailed steps to ensure a perfect loaf every time:
- Preheat Oven & Prepare Baking Sheet: Start by preheating your oven to a precise 400°F (200°C). Achieving the correct oven temperature before the bread goes in is crucial for triggering the baking soda’s rapid rise. Line a standard baking tray with parchment paper; this simple step is a game-changer, preventing the bread from sticking and making cleanup wonderfully easy.
- Combine Dry Ingredients Thoroughly: In a large mixing bowl, measure out and combine your all-purpose flour, kosher salt, and baking soda. Use a whisk to thoroughly blend these dry ingredients until they are uniformly distributed. This step is particularly important for the baking soda, ensuring it’s evenly spread throughout the flour to guarantee a consistent rise and an even texture in your finished bread.
- Incorporate Raisins (If Using): If you’re adding golden raisins (or sultanas), now is the time to stir them into the dry mixture. Gently toss them with your hands or a spoon, making sure each raisin is lightly coated with flour. This clever trick is essential for preventing the raisins from sinking to the bottom of the loaf during baking, ensuring they are beautifully and evenly dispersed throughout the bread.
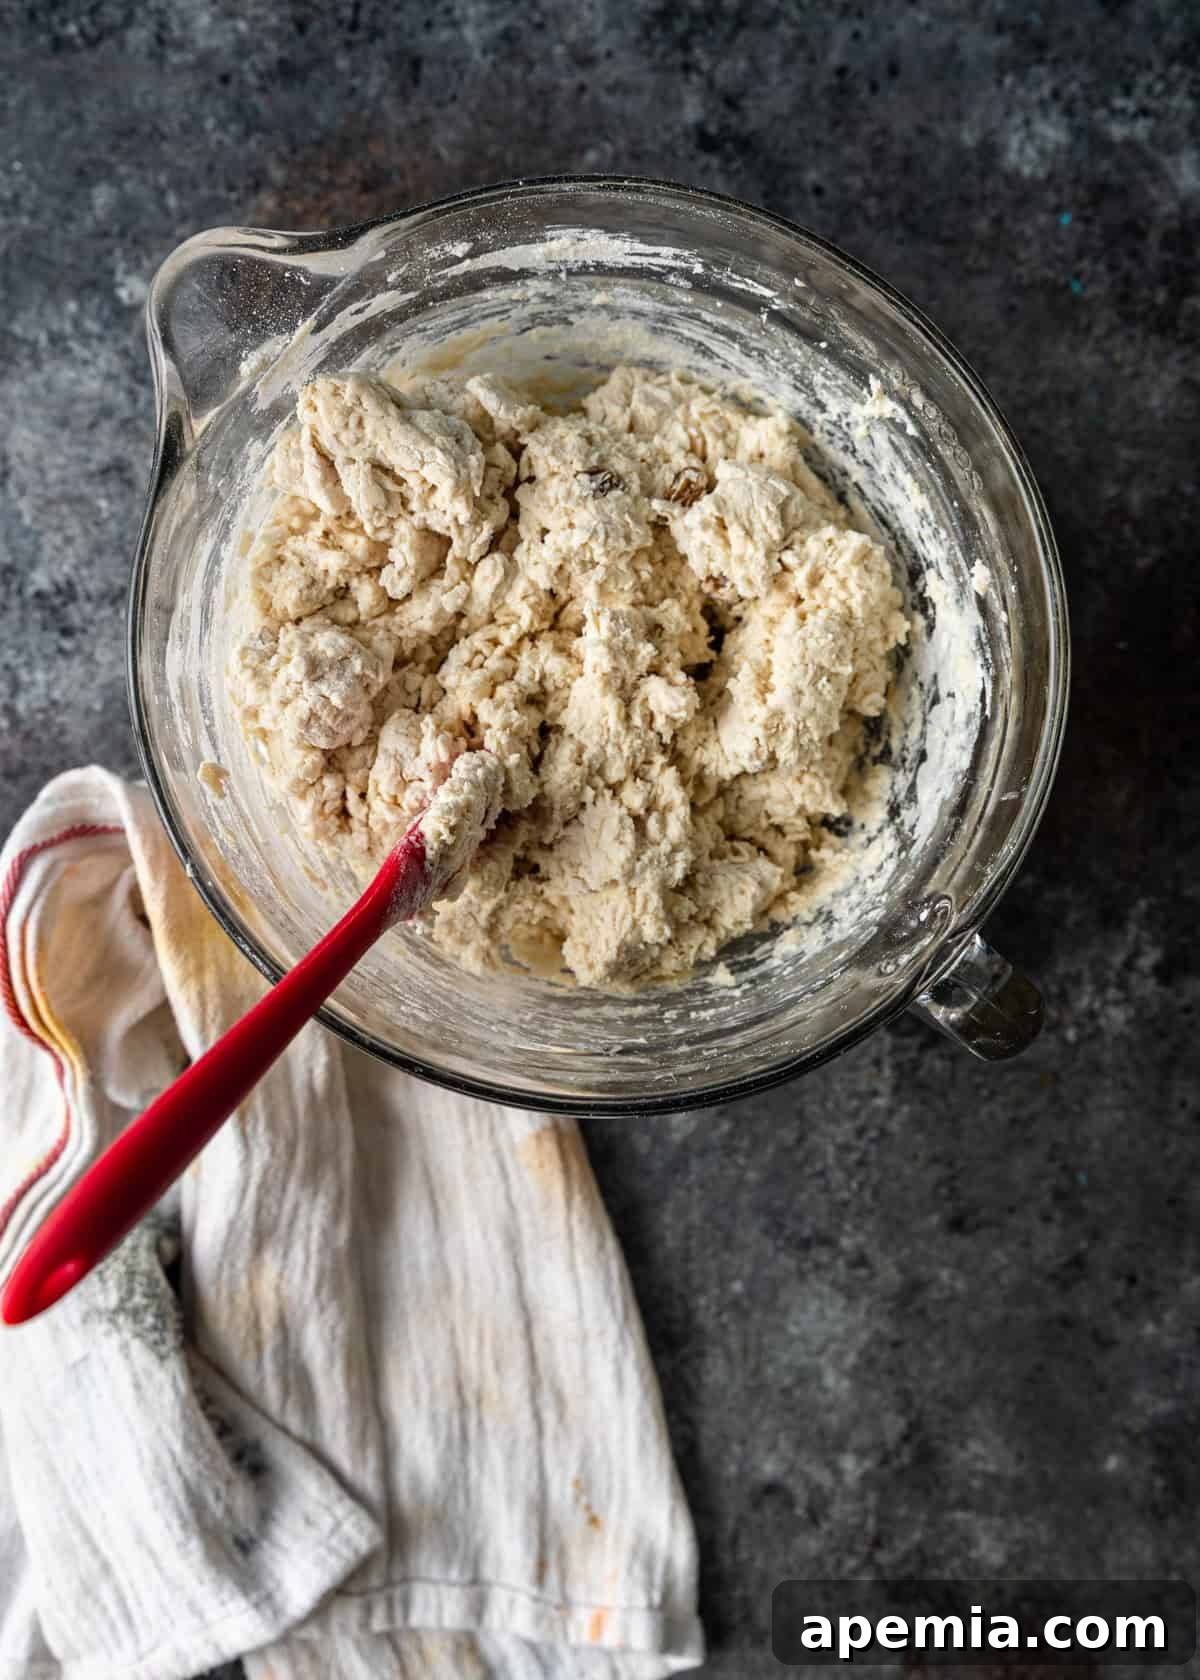
- Add Buttermilk & Form the Dough Gently: Create a shallow well or indentation in the center of your dry ingredients. Pour in the measured buttermilk. Using a sturdy fork or your hands, begin to mix the ingredients from the center outwards, gradually incorporating the flour. Mix just until the dough comes together into a cohesive, slightly sticky ball. This step is critical: avoid overmixing! Overworking soda bread dough will activate too much gluten, which leads to a tough, dense loaf instead of the desired tender crumb. Minimal handling is key here.
- Shape the Loaf with Care: Lightly flour a clean work surface. Turn the freshly mixed dough out onto this surface. With hands lightly dusted with flour, very gently and quickly shape the dough into a round ball. Then, delicately flatten it with the palm of your hand to form a rustic, round loaf approximately 1.5 to 2 inches thick. Remember, the less you handle the dough at this stage, the better the final texture will be.
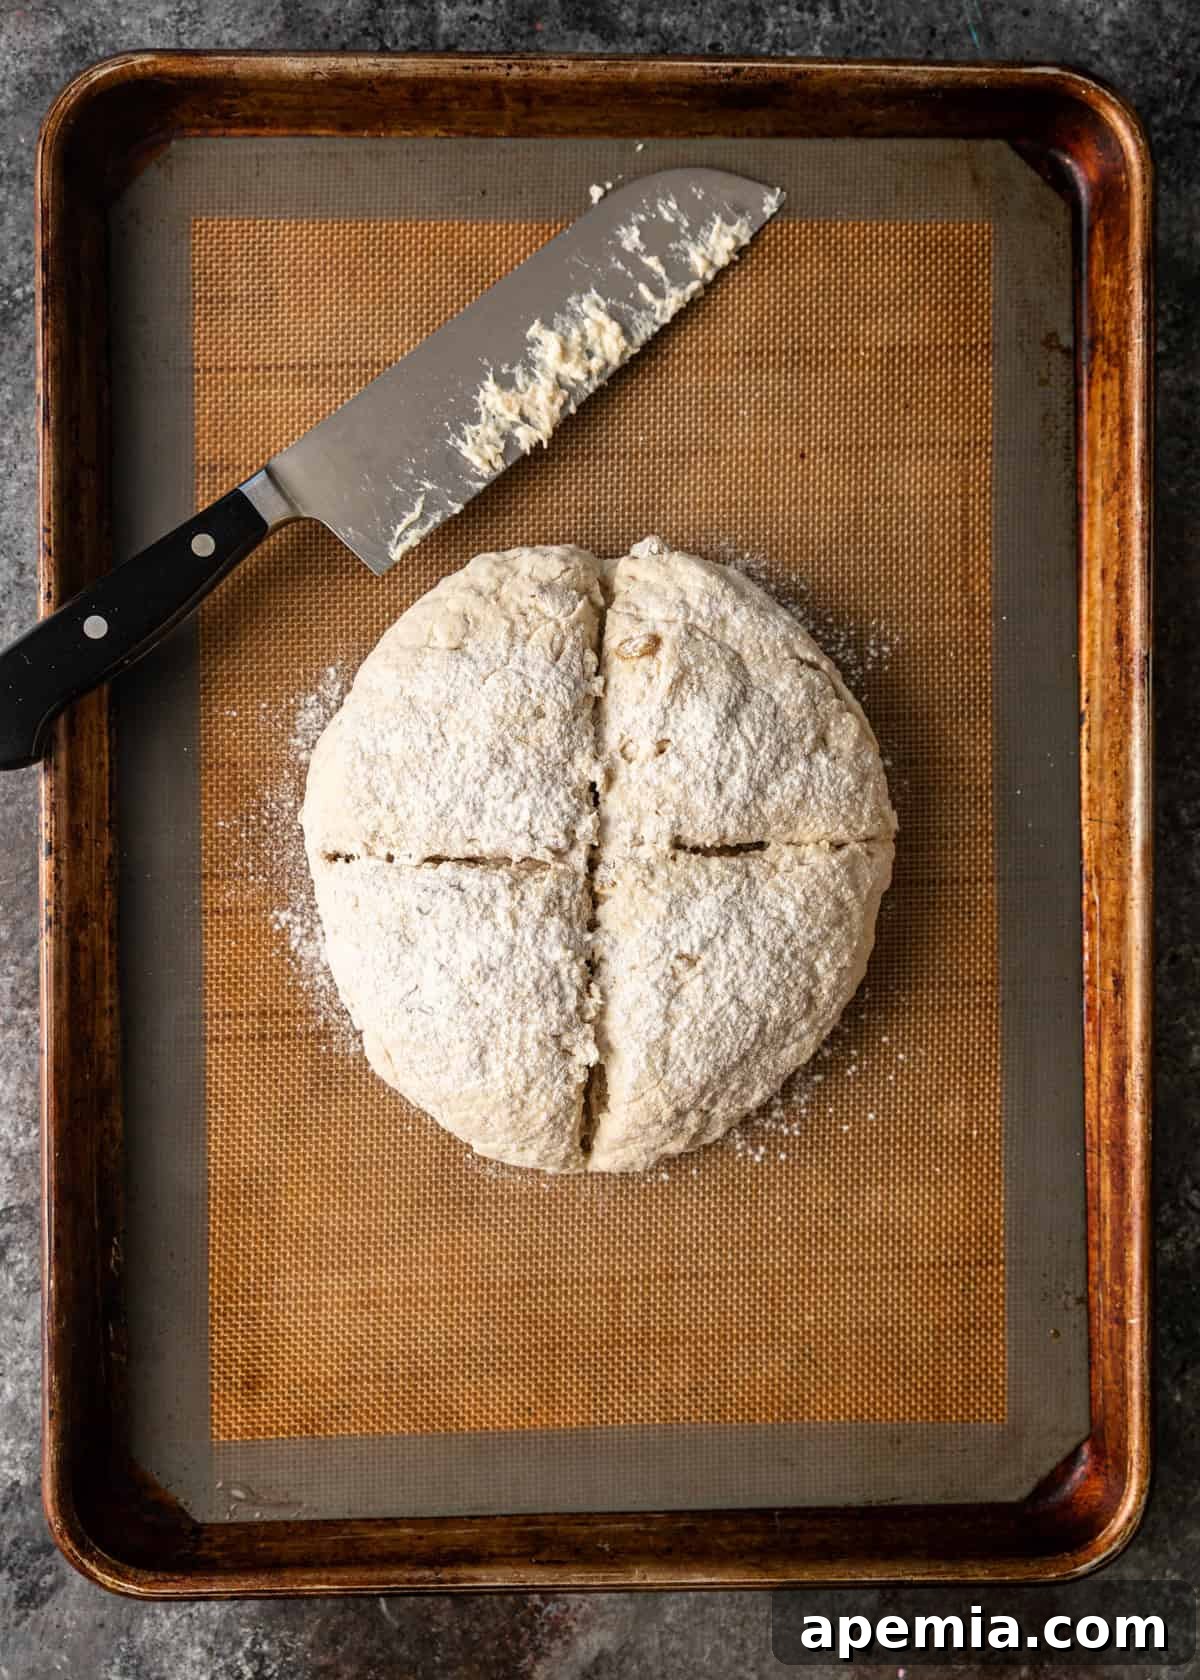
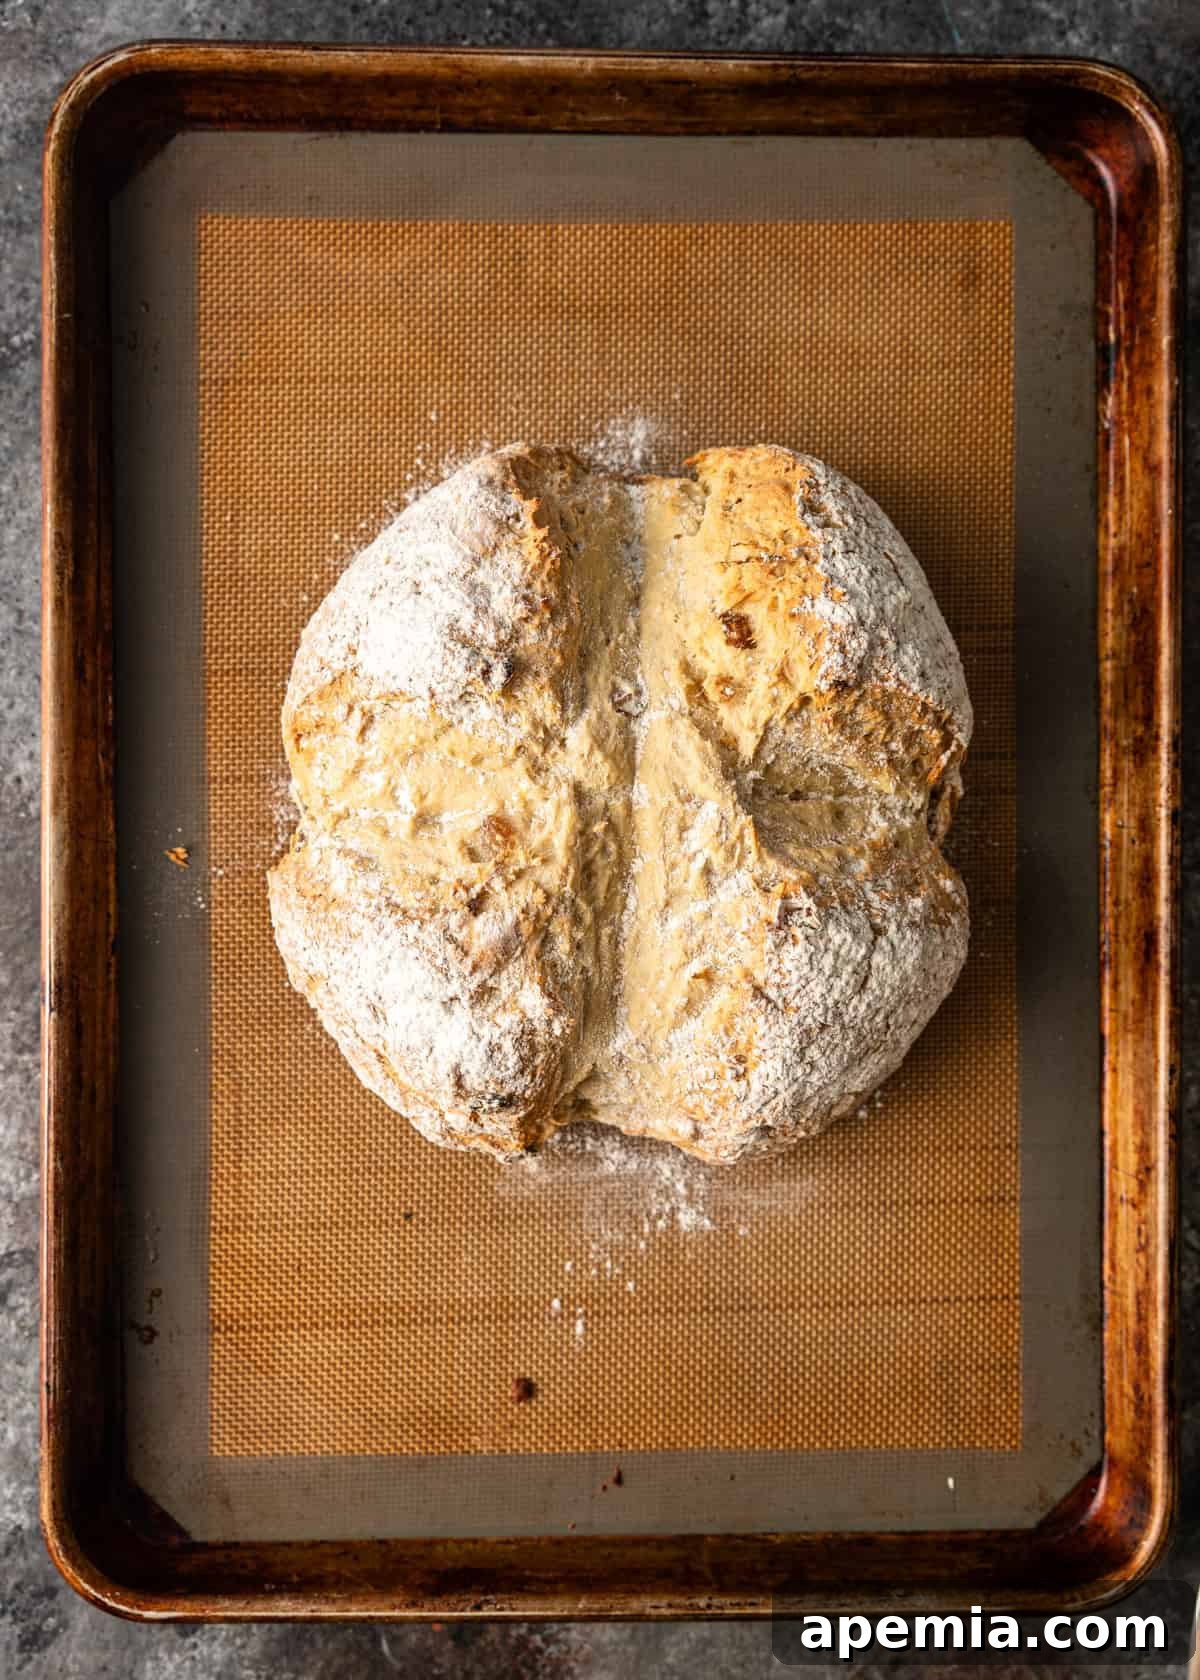
- Score & Bake to Golden Perfection: Carefully transfer your shaped soda bread onto the prepared baking tray. For that authentic, rustic look, lightly dust the top of the loaf with a little extra flour. Using a very sharp knife, make a deep “X” cut across the top of the dough, extending roughly halfway through the thickness of the loaf. This traditional scoring serves a dual purpose: it helps the bread rise properly and prevents cracking while ensuring the center cooks thoroughly. Immediately place the tray into your preheated oven and bake for approximately 30 minutes, or until the loaf achieves a beautiful golden-brown color on the outside.
- Cool Before Slicing for Best Texture: Once baked, carefully remove the hot loaf from the oven and transfer it to a wire cooling rack. Allow it to cool for at least 10-15 minutes before attempting to slice it. This cooling period is vital, as it allows the internal structure of the bread to set properly, preventing it from becoming gummy or collapsing when cut. While Irish soda bread is undeniably delightful when served warm, it is truly at its peak freshness and texture on the day it’s baked.
Chef’s Note: The chemical reaction between the buttermilk and baking soda begins the moment they combine. For the most effective rise and lightest texture, work efficiently through steps 4, 5, and 6, aiming to get your dough into the preheated oven as quickly as possible after adding the buttermilk.
Recommended Baking Tools for Simplicity
You certainly don’t need an arsenal of specialized equipment to create a magnificent Irish soda bread. A few fundamental kitchen tools are all you’ll need to achieve excellent results:
- Large Mixing Bowl: An ample-sized bowl is essential for easily combining all your dry and wet ingredients without making a mess, ensuring everything is uniformly incorporated.
- Whisk: A simple whisk is crucial for thoroughly blending the dry ingredients, especially ensuring that the baking soda is evenly distributed throughout the flour. This even distribution is key to a consistent and proper rise across the entire loaf.
- Baking Tray with Parchment Paper: A standard baking sheet, meticulously lined with parchment paper, provides a reliable non-stick surface. This not only prevents your precious loaf from adhering to the pan but also helps to ensure the bottom crust browns evenly without burning.
- Wire Cooling Rack: Allowing your freshly baked bread to cool on a wire rack is a vital step often overlooked. This practice facilitates air circulation around the entire loaf, preventing condensation from forming on the bottom crust, which could otherwise make it steamy and soft. A wire rack ensures your crust remains wonderfully crisp.
- Sharp Knife: A keen-edged knife is necessary for making that distinctive “X” cut on top of the dough. A sharp blade will allow you to make a clean, precise score without dragging, tearing, or deforming the delicate dough.
Serving Suggestions and Perfect Pairings for Irish Soda Bread
Irish soda bread is wonderfully versatile and complements a diverse range of dishes, from a hearty breakfast to a comforting dinner. Its rustic charm and mild, subtly tangy flavor make it a beloved addition to any table. Here are some of my favorite ways to enjoy this classic loaf:
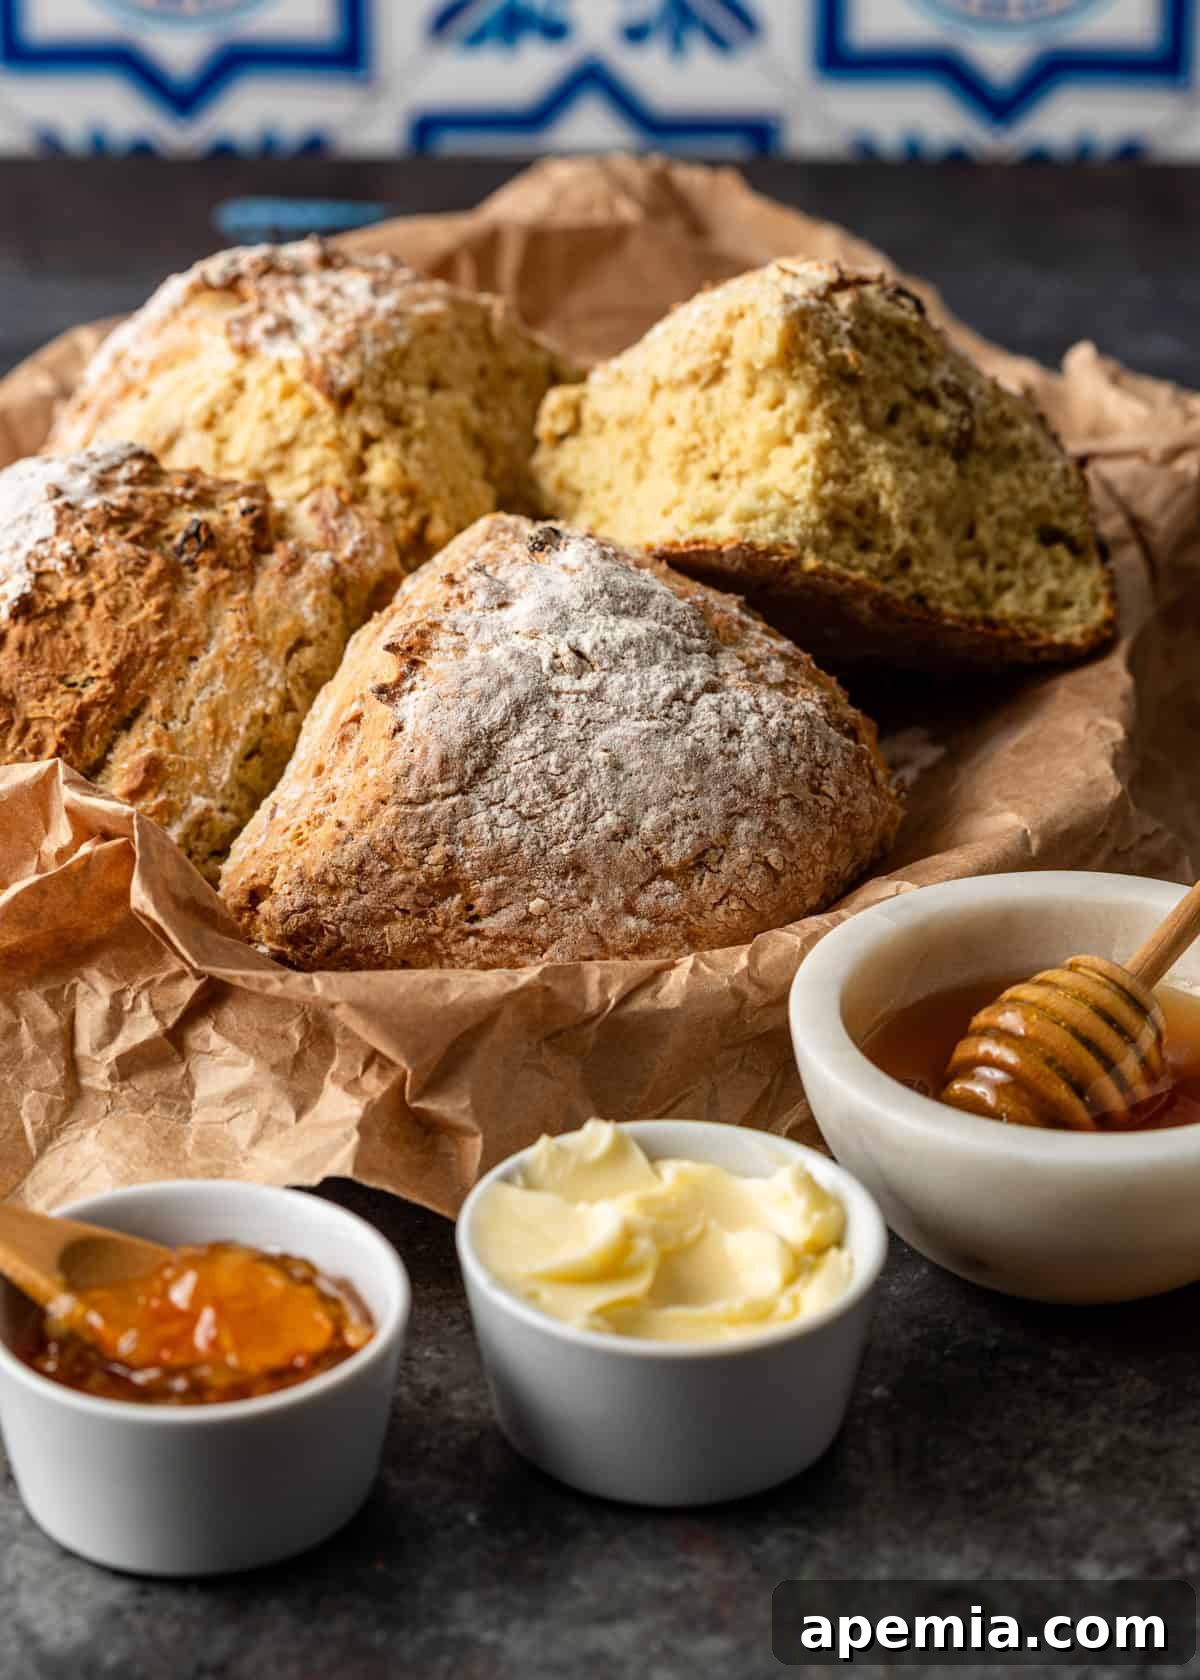
- Simple & Classic Morning Treat: For a delightful breakfast or a cozy afternoon tea, embrace simplicity. A thick, warm slice generously slathered with rich, salted butter and a dollop of your favorite fruit jam or preserves is pure bliss. The bread’s subtle sweetness and tender texture pair exquisitely with fruity spreads.
- Toasted to Perfection: Should you be lucky enough to have any leftovers (a rare occurrence, indeed!), slicing and toasting the bread the following day works wonders. Toasting brings out an even greater crispness in the crust and deepens its flavor, making it incredibly delicious with marmalade, a drizzle of honey, or even a creamy spread of cream cheese.
- The Ultimate Soup & Stew Companion: Irish soda bread truly shines when used to soak up the savory, aromatic juices of hearty soups and stews. Its robust texture holds up beautifully, making it the perfect vehicle for classic dishes like a traditional Irish stew, a comforting White Bean Stew, or a rich Croatian Braised Beef Stew. Don’t forget its superb pairing with the previously mentioned Sausage Tortellini Soup or a flavorful Hot and Sour Cabbage Stir Fry.
- With Traditional Irish Fare: Naturally, Irish soda bread is an absolutely essential accompaniment to any classic Irish meal. Serve it proudly alongside perfectly tender corned beef and cabbage, or with a generous helping of creamy colcannon (a delightful mashed potato dish often enriched with cabbage or kale).
- Elegant Cheese Board Addition: Its rustic charm and mild, versatile flavor make it an excellent and unexpected addition to a sophisticated cheese board. Pair it with sharp aged cheddar, tangy goat cheese, a creamy brie, or even a robust blue cheese for a delightful contrast in flavors and textures.
Share This Recipe on Pinterest!
Loved making and tasting this authentic Irish Soda Bread? Help spread the joy of this simple, delicious recipe by sharing it with your friends and followers on Pinterest. Your shares are greatly appreciated!
Pin Recipe Now
Frequently Asked Questions About Irish Soda Bread
A: There are typically two primary reasons why your soda bread might not have risen as expected. Firstly, the freshness of your baking soda is paramount. Baking soda loses its leavening power over time; if it’s old, it simply won’t react effectively. To test its potency, mix a teaspoon of baking soda with a splash of vinegar or lemon juice; it should fizz vigorously. If it doesn’t, it’s time for a new box. Secondly, the reaction between the buttermilk and baking soda begins almost immediately upon contact. If the dough sits for too long after mixing the wet and dry ingredients and before baking, much of that vital leavening gas can escape. For the best rise, aim to get your dough into the preheated oven as quickly as possible once the buttermilk has been incorporated.
A: The most common culprit behind a dry and crumbly soda bread is overmixing the dough. Unlike yeast breads that require extensive kneading to develop gluten, soda bread benefits from minimal handling. Overworking the dough develops too much gluten, resulting in a tough, dense, and often dry texture. You should mix the dough only until the ingredients are just combined and it forms a cohesive mass. Another contributing factor can be adding too much extra flour during the shaping process. Use a very light dusting of flour on your hands and work surface purely to prevent sticking, but be careful not to incorporate excessive flour into the dough itself.
A: A perfectly baked Irish soda bread will exhibit a beautiful, rich golden-brown crust. The most reliable test for doneness is to carefully remove the loaf from the oven (using oven mitts!) and tap the bottom of it. If it produces a hollow sound, it’s generally a good indication that the bread is fully cooked through. If it feels heavy or sounds dull and dense, it likely needs a few more minutes in the oven. An instant-read thermometer inserted into the center of the loaf should register between 200-210°F (93-99°C).
A: Absolutely! While traditional Irish soda bread is celebrated for its simplicity, it’s remarkably adaptable to various additions and customizations. Beyond the classic golden raisins or currants, you can experiment with savory elements like caraway seeds for a distinctly Irish flavor, chopped fresh herbs (rosemary, thyme), or even grated cheese for a savory loaf. For a sweeter profile, a touch of orange or lemon zest adds brightness, or you could fold in chopped dried cranberries, apricots, or even a handful of nuts like walnuts or pecans for extra texture. Just be mindful not to overcrowd the dough with too many add-ins, as this can affect its ability to rise and its overall structure.
A: Irish soda bread is truly at its best when enjoyed fresh, ideally on the day it’s baked, as its texture can change and dry out relatively quickly. To store any leftovers, allow the loaf to cool completely on a wire rack first. Then, wrap it tightly in plastic wrap or aluminum foil, or place it in an airtight container. It will keep well at room temperature for up to 2-3 days. For longer storage, you can slice the cooled bread and wrap individual slices, or wrap the entire loaf, and freeze it for up to 3 months. To enjoy from frozen, simply thaw at room temperature and refresh in a warm oven for a few minutes to restore some of its original texture and warmth.
Gramma’s Irish Soda Bread
This ridiculously easy Irish soda bread recipe uses buttermilk and baking soda (no yeast!) for a quick, tender loaf with a golden crust and soft crumb, perfect for any occasion.
Prep: 15 mins
Cook: 30 mins
Total: 45 mins
Print Recipe
Ingredients
- 500 g all-purpose flour (4 cups)
- 1 1/2 tsp kosher salt
- 1 tsp baking soda
- 1/3 cup golden raisins (sultanas)
- 400 ml buttermilk (1 3/4 cups)
Instructions
- Preheat oven to 400°F (200°C). Line a baking tray with parchment paper.
- Whisk the flour, salt, and baking soda in a large bowl. Then add in the raisins and toss to coat with flour.
- Make a well in the center of the flour and pour in the buttermilk. Using your fingers or a fork, mix well until just combined and you have a slightly sticky dough.
- On a clean, lightly floured surface, turn the dough out and shape it into a ball with flour-dusted hands. Flatten it slightly with the palm of your hand.
- Place the dough on the prepared baking tray. Dust the top with flour and using a sharp knife, cut an “X” on top, going about halfway through the loaf.
- Bake for 30 minutes or until the loaf is golden brown. Test by tapping the base of the loaf; it should sound hollow. Let cool on a wire rack for at least 10 minutes before slicing. Best eaten on the day it’s baked.
Recipe Notes
You’ll need to work quickly because once the buttermilk is added, it reacts with the baking soda which helps the dough rise. Efficiency in mixing and getting the dough into the oven promptly ensures the best possible rise and texture.
Nutrition Facts (per serving)
Calories: 428kcal |
Carbohydrates: 77g |
Protein: 10g |
Fat: 9g |
Saturated Fat: 1g |
Polyunsaturated Fat: 3g |
Monounsaturated Fat: 4g |
Cholesterol: 1mg |
Sodium: 1046mg |
Potassium: 224mg |
Fiber: 3g |
Sugar: 5g |
Vitamin A: 1IU |
Vitamin C: 0.2mg |
Calcium: 37mg |
Iron: 5mg
The information shown is an estimate provided by an online nutrition calculator. It should not be considered a substitute for a professional nutritionist’s advice.
Course: Breads
Cuisine: European, Irish
Author: Kevin
Have You Made This Recipe? Let Me Know on Instagram!
I’d love to see your beautiful Irish Soda Bread creations! Tag @keviniscooking or use the hashtag #keviniscooking so I can share your culinary success stories.