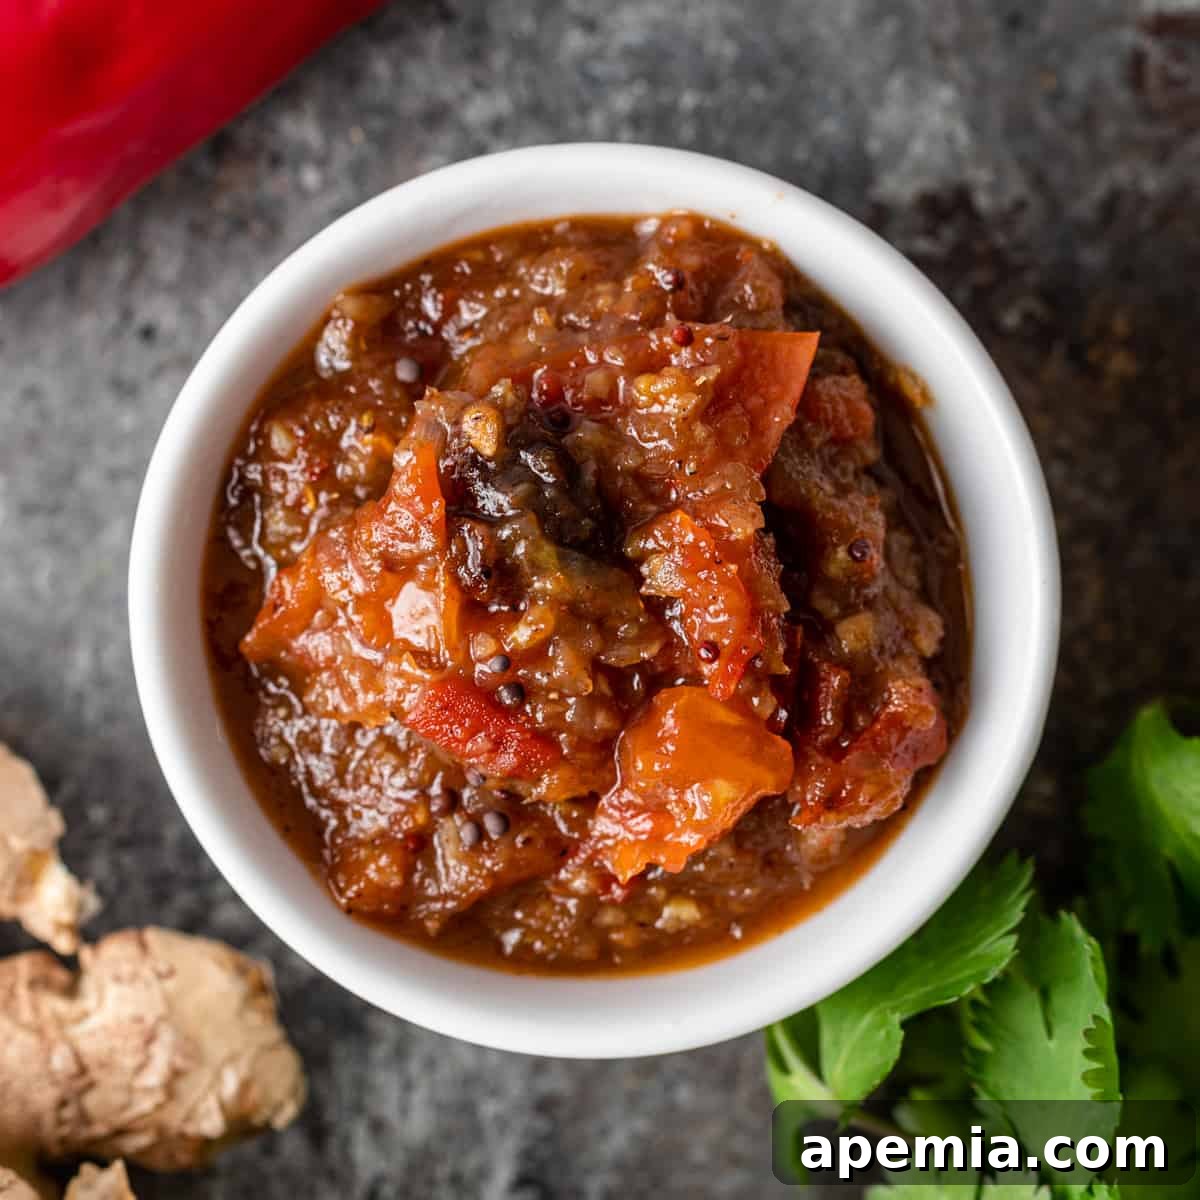
Sweet and Spicy Tomato Chutney: A Culinary Masterpiece
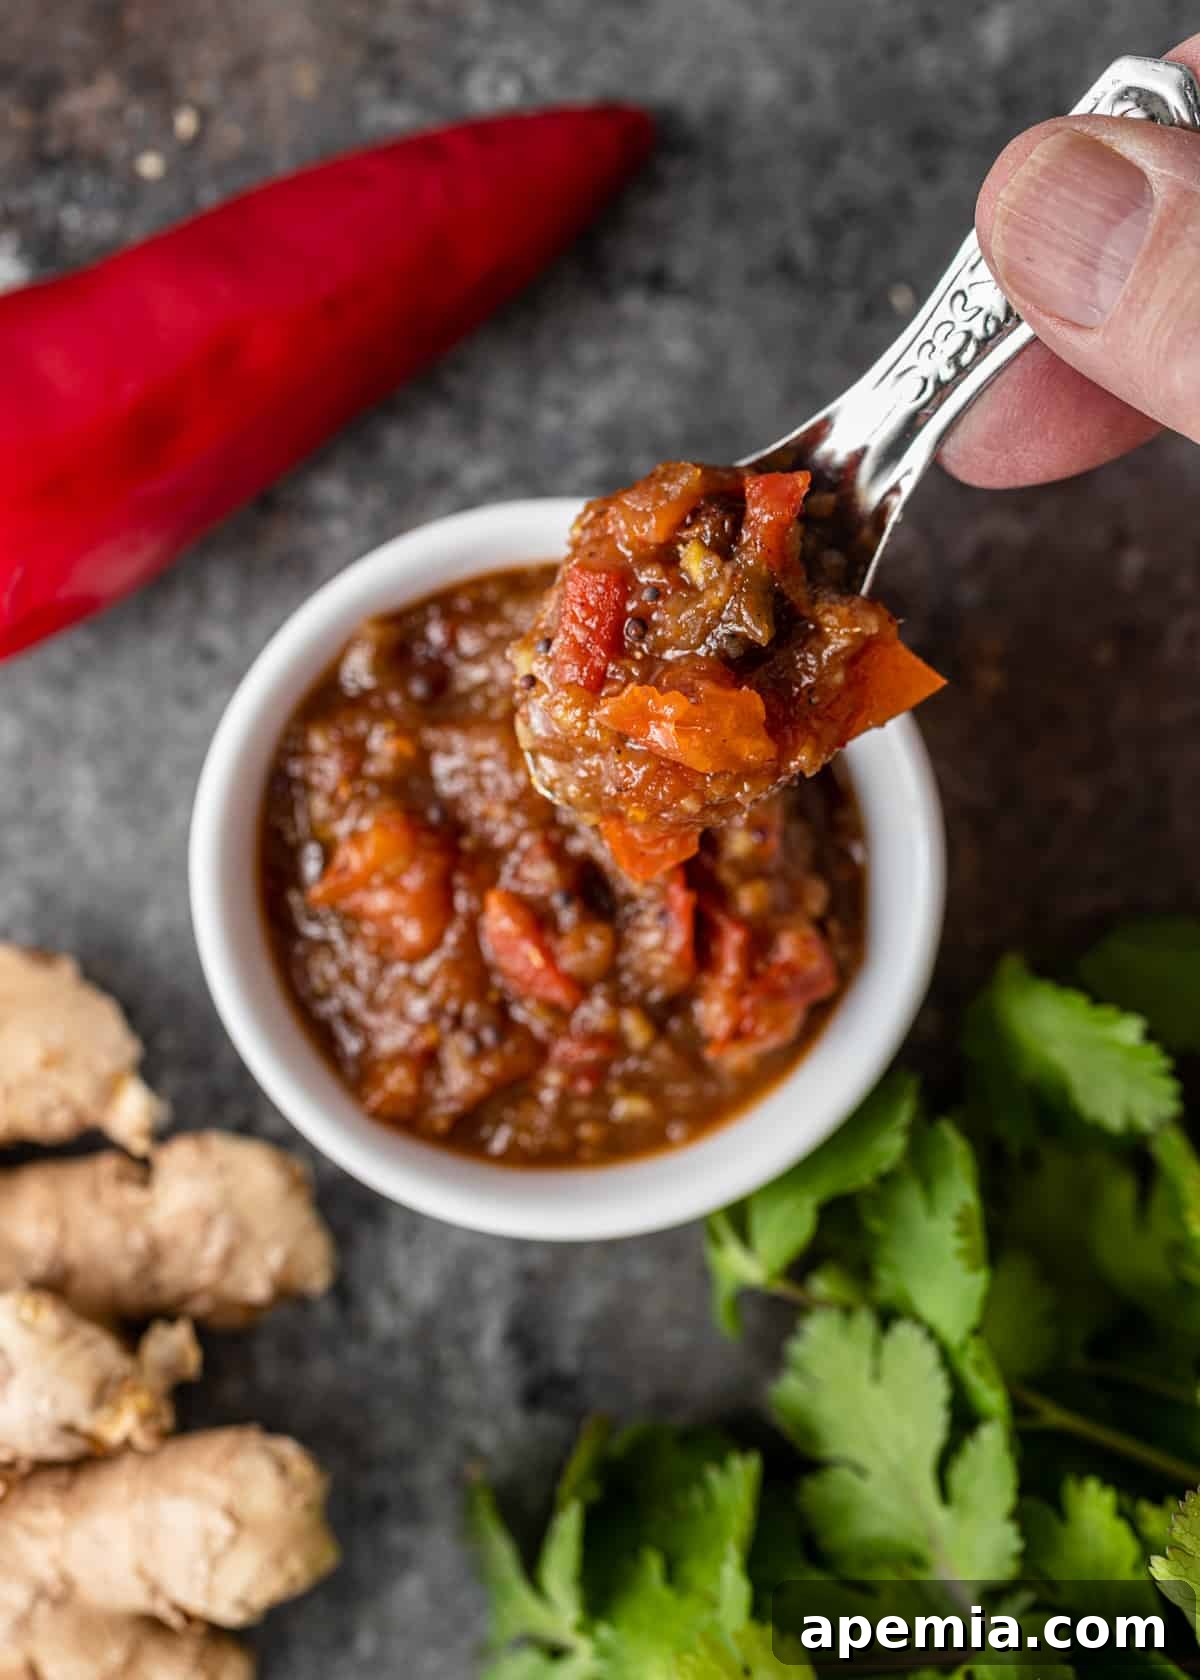
Tomato chutney is a vibrant celebration of flavors, masterfully blending the natural sweetness and tang of ripe tomatoes with a symphony of aromatic Indian spices like fresh ginger, garlic, and bold black mustard seeds. Elevated by a touch of sweetness from plump raisins and rich brown sugar, this condiment transcends the ordinary, offering a bright, captivating, and incredibly versatile addition to almost any dish. Whether you’re a seasoned chef or a home cook, mastering this sweet and spicy delight will undoubtedly enhance your culinary repertoire.
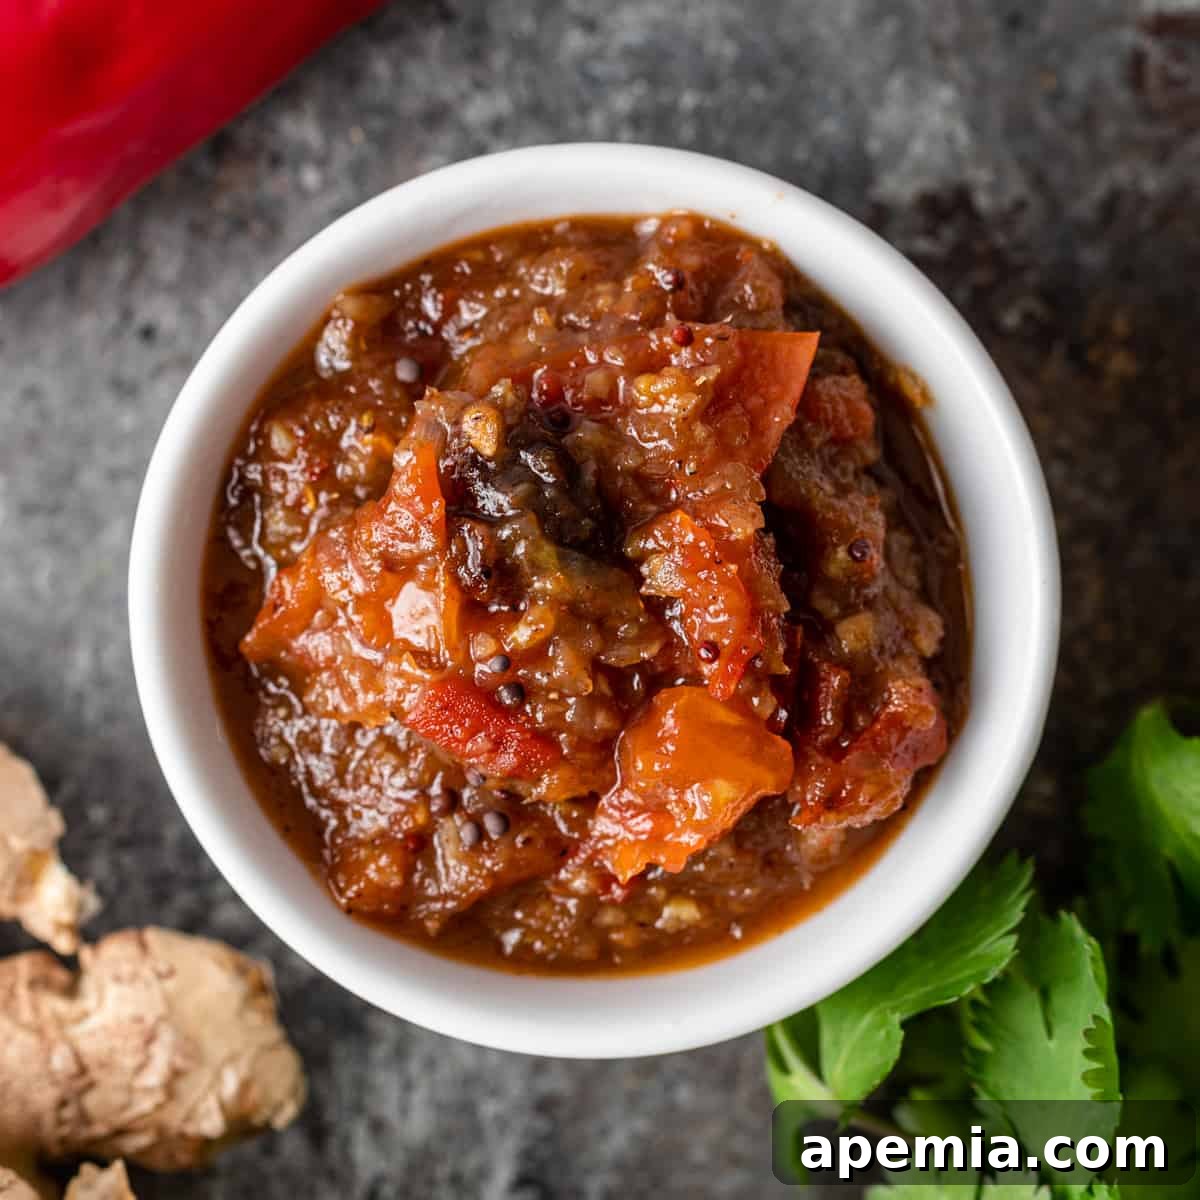
This exquisite tomato chutney recipe is deeply rooted in traditional Indian flavors, featuring tell-tale Indian staples. The careful inclusion of vibrant red chili powder, fragrant garam masala, pungent ginger, and nutty black mustard seeds creates a captivating and nuanced flavor profile that expertly balances sweetness, heat, and mouthwateringly tangy notes. It’s not just a condiment; it’s an experience.
The secret to achieving the perfect balance in this sweet and spicy chutney lies in the quality and preparation of your core ingredients. Always opt for ripe, in-season tomatoes, which inherently possess the best flavor and juiciness. Couple these with freshly minced garlic and grated ginger for maximum aromatic impact, and ensure your raisins are plump and moist to contribute their natural sweetness and soft texture. While some traditional methods involve cooking down whole tomatoes and processing them afterward, my preferred technique involves carefully removing the seeds and dicing the tomatoes before cooking. This simple step significantly improves the final texture of the chutney, giving it a delightful chunkiness, and crucially, slashes the overall cooking time, allowing you to enjoy your homemade creation sooner.
Table of Contents
- Why Choose Homemade Tomato Chutney?
- Tomatoes: The Heart of Your Chutney
- Ingredient Notes and Substitutions for the Perfect Chutney
- How to Make Sweet and Spicy Tomato Chutney
- Instructions for Canning Your Tomato Chutney for Long-Term Storage
- Recommended Tools for Chutney Making and Canning
- Storing and Serving Your Versatile Tomato Chutney
- Frequently Asked Questions About Tomato Chutney
- Sweet and Spicy Tomato Chutney Recipe
Why Choose Homemade Tomato Chutney?
There’s an undeniable charm and superior quality to homemade condiments, and tomato chutney is no exception. Crafting your own chutney allows you complete control over the ingredients, ensuring freshness, customizing spice levels to your preference, and avoiding any artificial preservatives or excessive sugars often found in store-bought versions. Making it at home also means you can fully capitalize on seasonal produce, particularly those abundant, ripe tomatoes that burst with natural flavor. The process itself is incredibly rewarding, filling your kitchen with intoxicating aromas and culminating in a product that not only tastes incredible but also carries the warmth of your own effort.
The versatility of homemade tomato chutney is truly remarkable. I could probably go on all day listing the myriad ways you can enjoy this delightful condiment, but my absolute favorite way to serve it is alongside a platter of crispy pakoras (be it lentil, potato, onion, paneer, or any other variety) and delicate, savory Indian crepes (dosa). The contrasting textures and complementary flavors create an unforgettable culinary experience. If you’re eager to explore more bold Indian flavors, I highly recommend trying tomato pachadi next; with its distinct iconic Indian ingredients and fiery red chiles, it promises an equally mind-blowing taste sensation!
Tip From Kevin
Tomatoes: The Heart of Your Chutney
Choosing the right tomatoes is paramount for a truly exceptional chutney. While some recipes suggest cooking down whole tomatoes and pureeing them post-cooking, I strongly advocate for removing the seeds and dicing your tomatoes right from the start. This method not only improves the overall texture of the final chutney, making it delightfully chunky rather than overly smooth, but it also significantly cuts down on the simmering time required to achieve the perfect consistency. The removal of seeds helps prevent the chutney from becoming too watery, ensuring a richer, more concentrated flavor.
Ingredient Notes and Substitutions for the Perfect Chutney
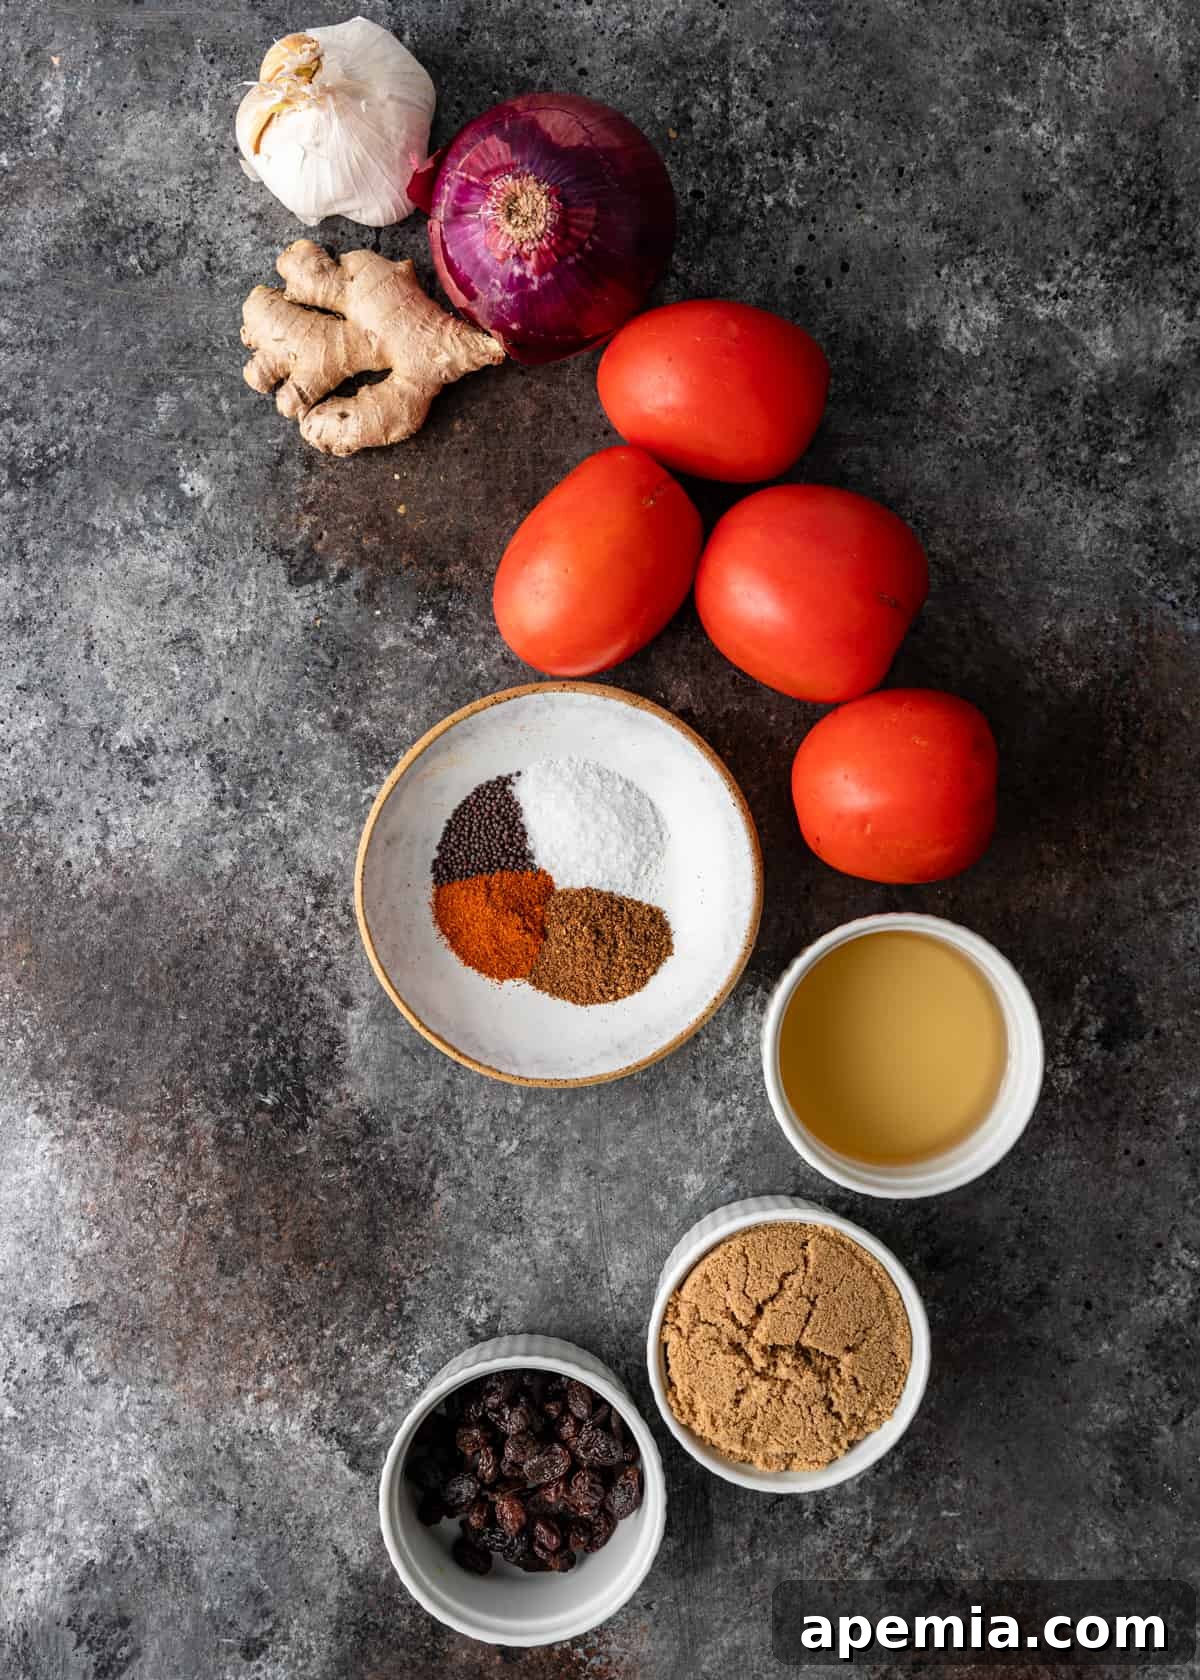
(For a complete list of precise ingredients and quantities, please refer to the recipe card below.)
- Tomatoes – For the best results, smaller, firm varieties of tomatoes such as Roma (plum) or cherry tomatoes are ideal due to their lower water content and intense flavor. While some enthusiasts enjoy creating a more complex flavor profile by blending multiple types of tomatoes, keeping it simple with one high-quality variety often yields fantastic results. Ensure your tomatoes are perfectly ripe for optimal sweetness and tang.
- Red Onion – The harmonious interplay between sweet, crisp red onions and tangy tomatoes is a cornerstone of this chutney’s flavor. Red onions offer a beautiful color and a mild sweetness when cooked. If red onions are unavailable, any other variety, such as yellow or white onions, can be substituted, though they might impart a slightly different flavor profile.
- Garlic & Ginger – These two aromatics are non-negotiable for achieving the vibrant, pungent base flavor characteristic of Indian chutneys. I consistently recommend using fresh garlic and ginger, rather than their powdered counterparts. Fresh ingredients release far more potent and nuanced flavors, which are absolutely essential for the “full effect” of this bright condiment. Peel and finely chop or grate them just before use.
- Brown Sugar – Brown sugar is my sweetener of choice for tomato chutney. Its molasses content provides a deeper, more complex sweetness compared to plain white sugar, which beautifully complements the tanginess of the tomatoes and the warmth of the spices. It contributes to a richer, more rounded flavor profile.
- Apple Cider Vinegar – Vinegar is a crucial component that lends a bright acidity and helps in the preservation of the chutney. Apple cider vinegar, with its subtle fruity notes, is an excellent choice. However, white wine vinegar or even distilled white vinegar can be used as alternatives. If opting for a less flavorful vinegar, consider adding a small squeeze of fresh lime or lemon juice to introduce a touch of fruitiness and enhance the overall brightness.
- Raisins – A handful of plump, dried raisins contributes a wonderful concentrated sweetness and a pleasant chewiness that perfectly balances the sweet and tangy elements of the chutney. They also help to thicken the consistency as they cook down.
- Garam Masala – This iconic Indian spice blend is the soul of many dishes, and it brings a warm, aromatic depth to our chutney. While readily available in stores, I almost always make my own garam masala. It’s surprisingly simple, and you likely already have all the necessary whole spices in your cabinet to grind a fresh batch, ensuring unparalleled fragrance and flavor.
- Red Chili Powder – This seasoning not only provides a beautiful, vibrant red hue but also delivers a pleasant kick of heat that is distinct from average chili powder. The heat level can be adjusted to your preference. For a similar effect with a slightly different flavor, you can substitute it with a combination of smoked paprika (for color and mild smokiness) and a pinch of cayenne pepper (for heat).
- Black Mustard Seeds – These tiny, nutty seeds are integral to Indian cooking, often used for tempering. When simmered in hot oil, they “pop” and release their characteristic pungent, slightly bitter, and aromatic oils, infusing the chutney with a unique depth. If black mustard seeds are difficult to find, regular yellow mustard seeds can be used, though their flavor will be milder.
- Kosher Salt – Essential for enhancing all the other flavors and balancing the sweetness and acidity.
- Vegetable Oil – Used for sautéing the aromatics and tempering the mustard seeds, providing the base for the cooking process.
How to Make Sweet and Spicy Tomato Chutney
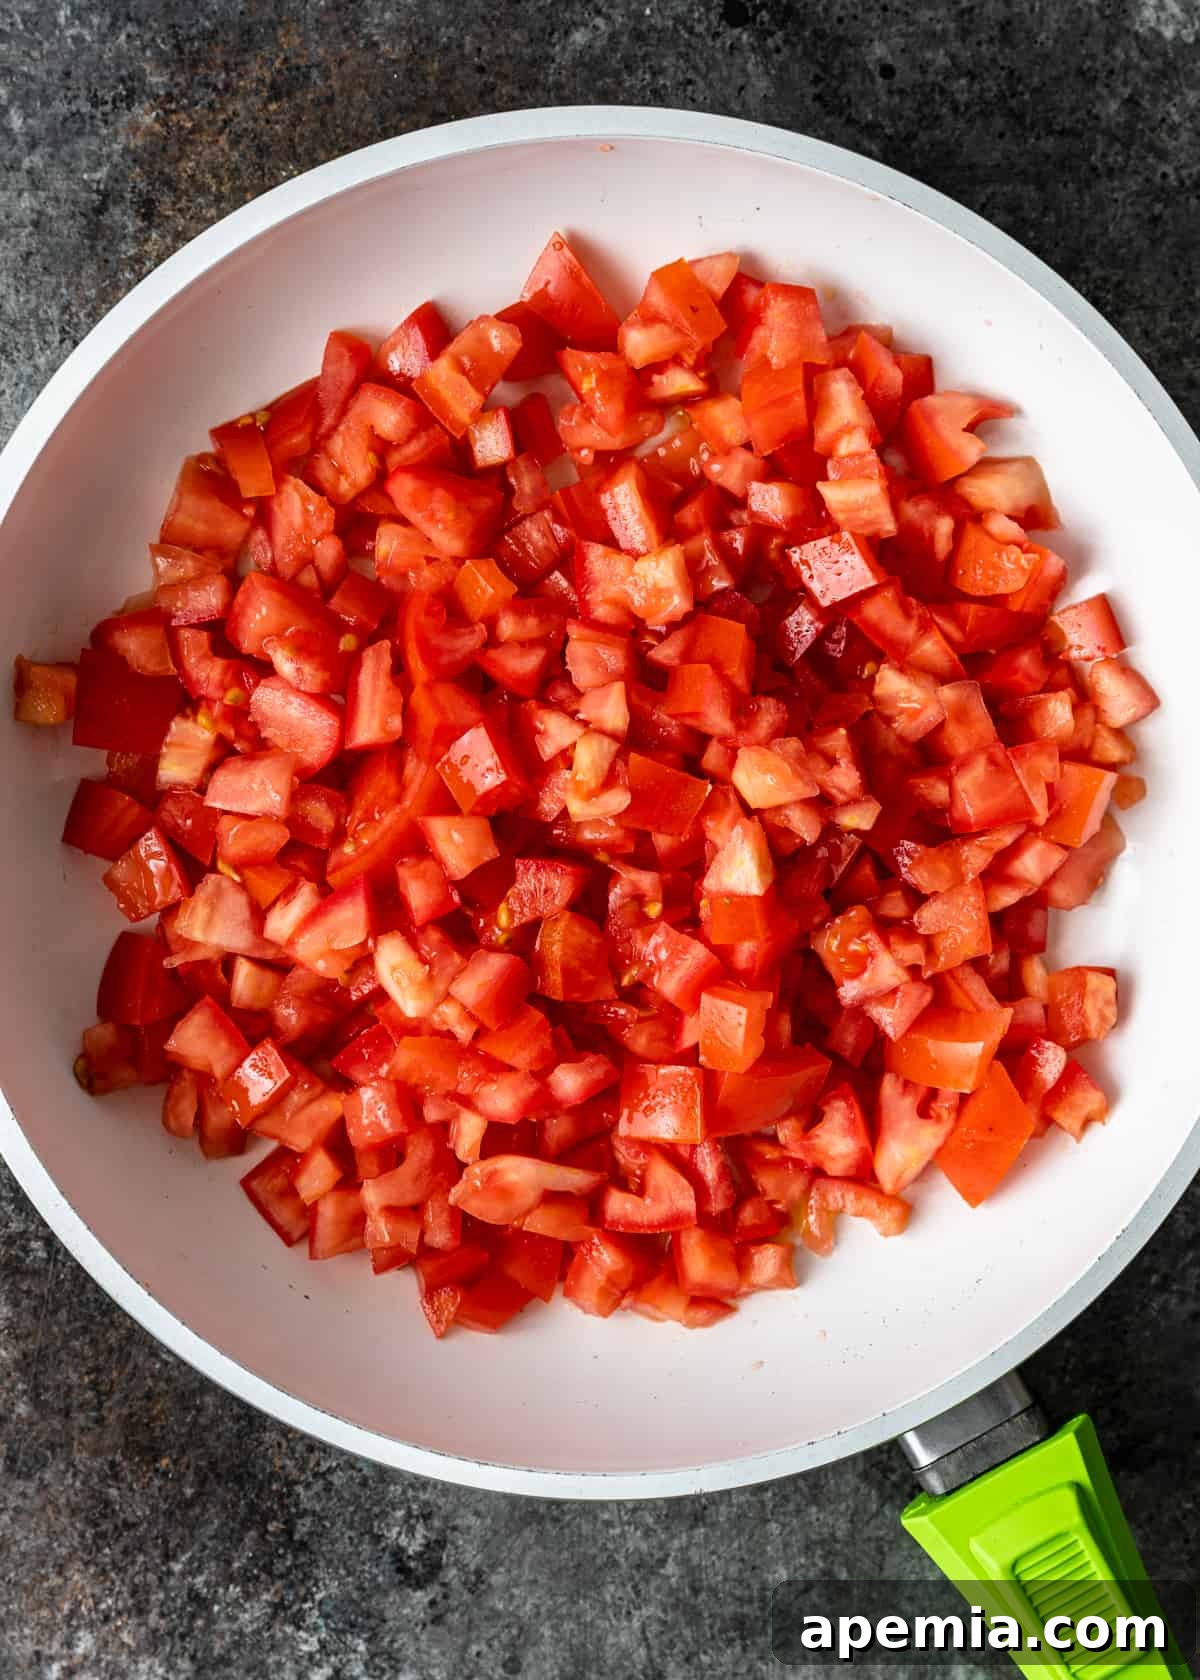
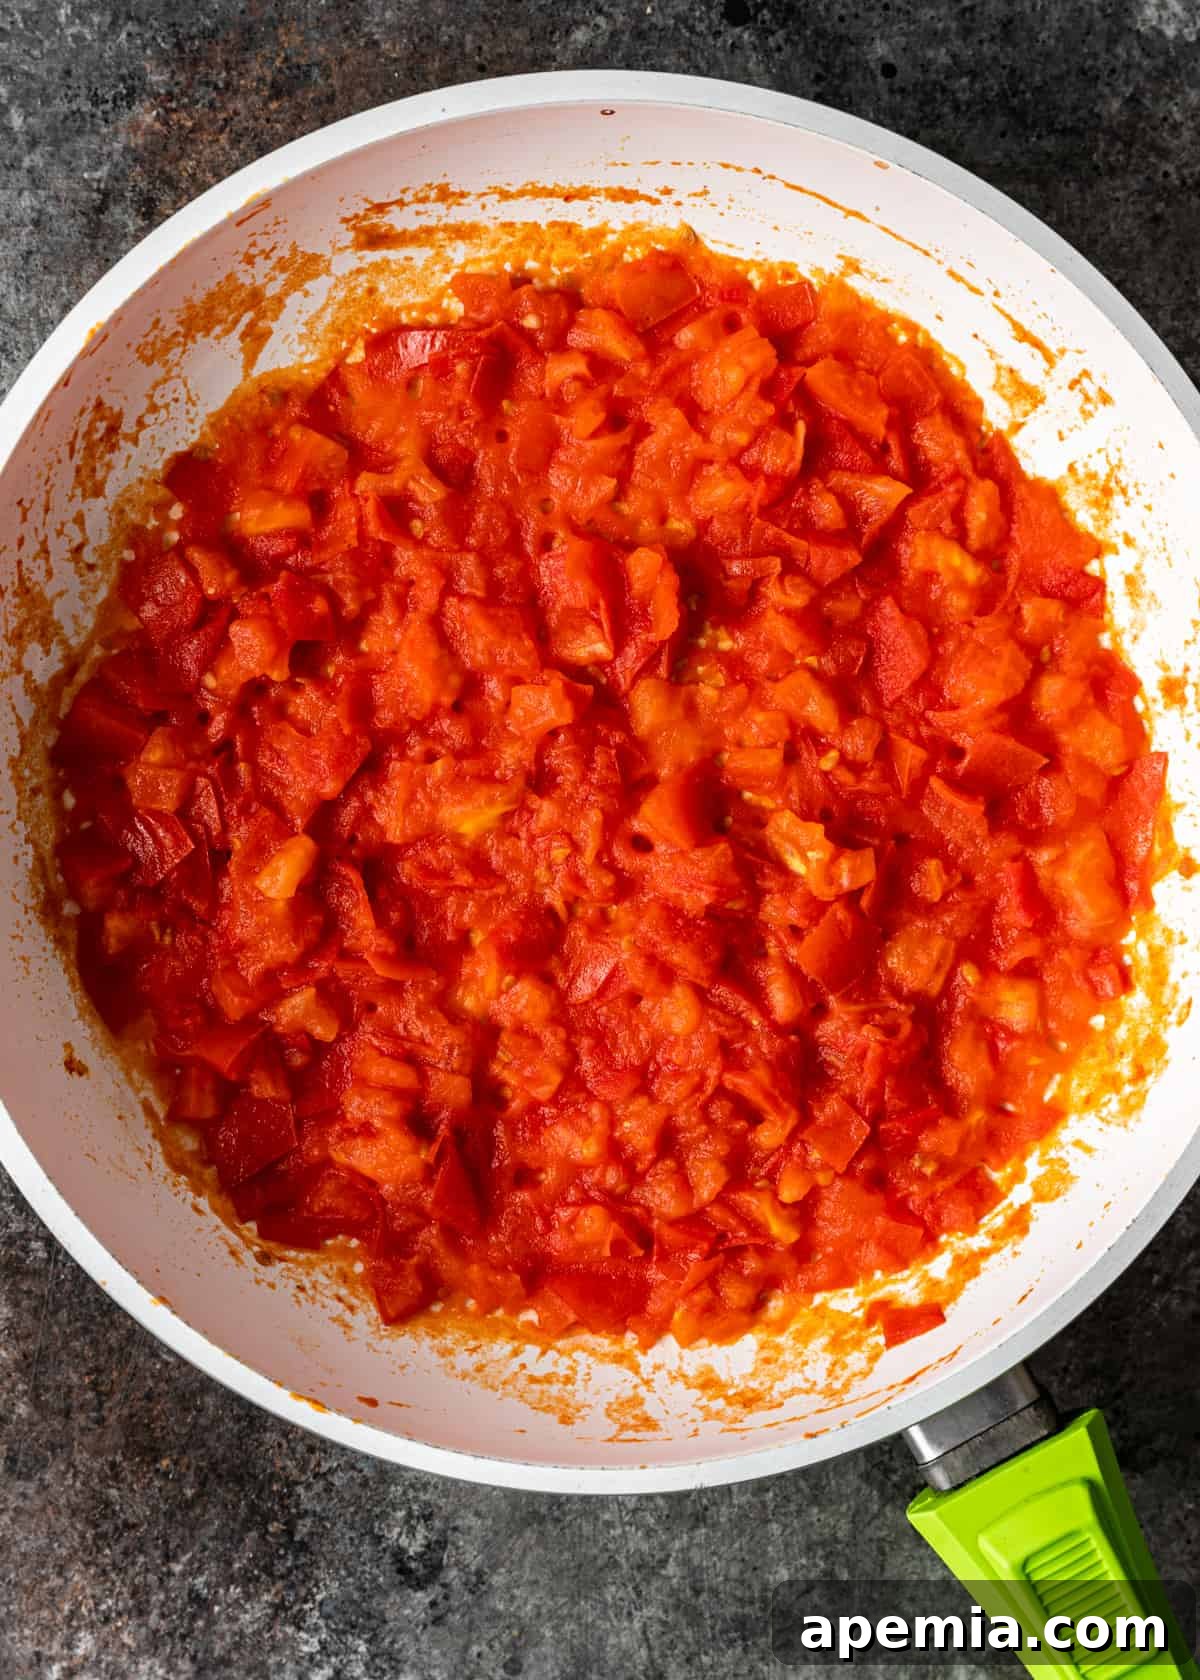
- Reduce the Tomatoes. Begin by preparing your tomatoes: deseed them thoroughly and dice them into small, even pieces. Heat one teaspoon of vegetable oil in a sturdy skillet over medium heat. Once shimmering, add the diced tomatoes to the skillet. Cook them down for approximately 20 minutes, or until nearly all the liquid has evaporated and the tomatoes have softened and condensed into a rich, pulpy consistency. This step is crucial for concentrating their flavor. Remove the reduced tomatoes from the skillet and set them aside.
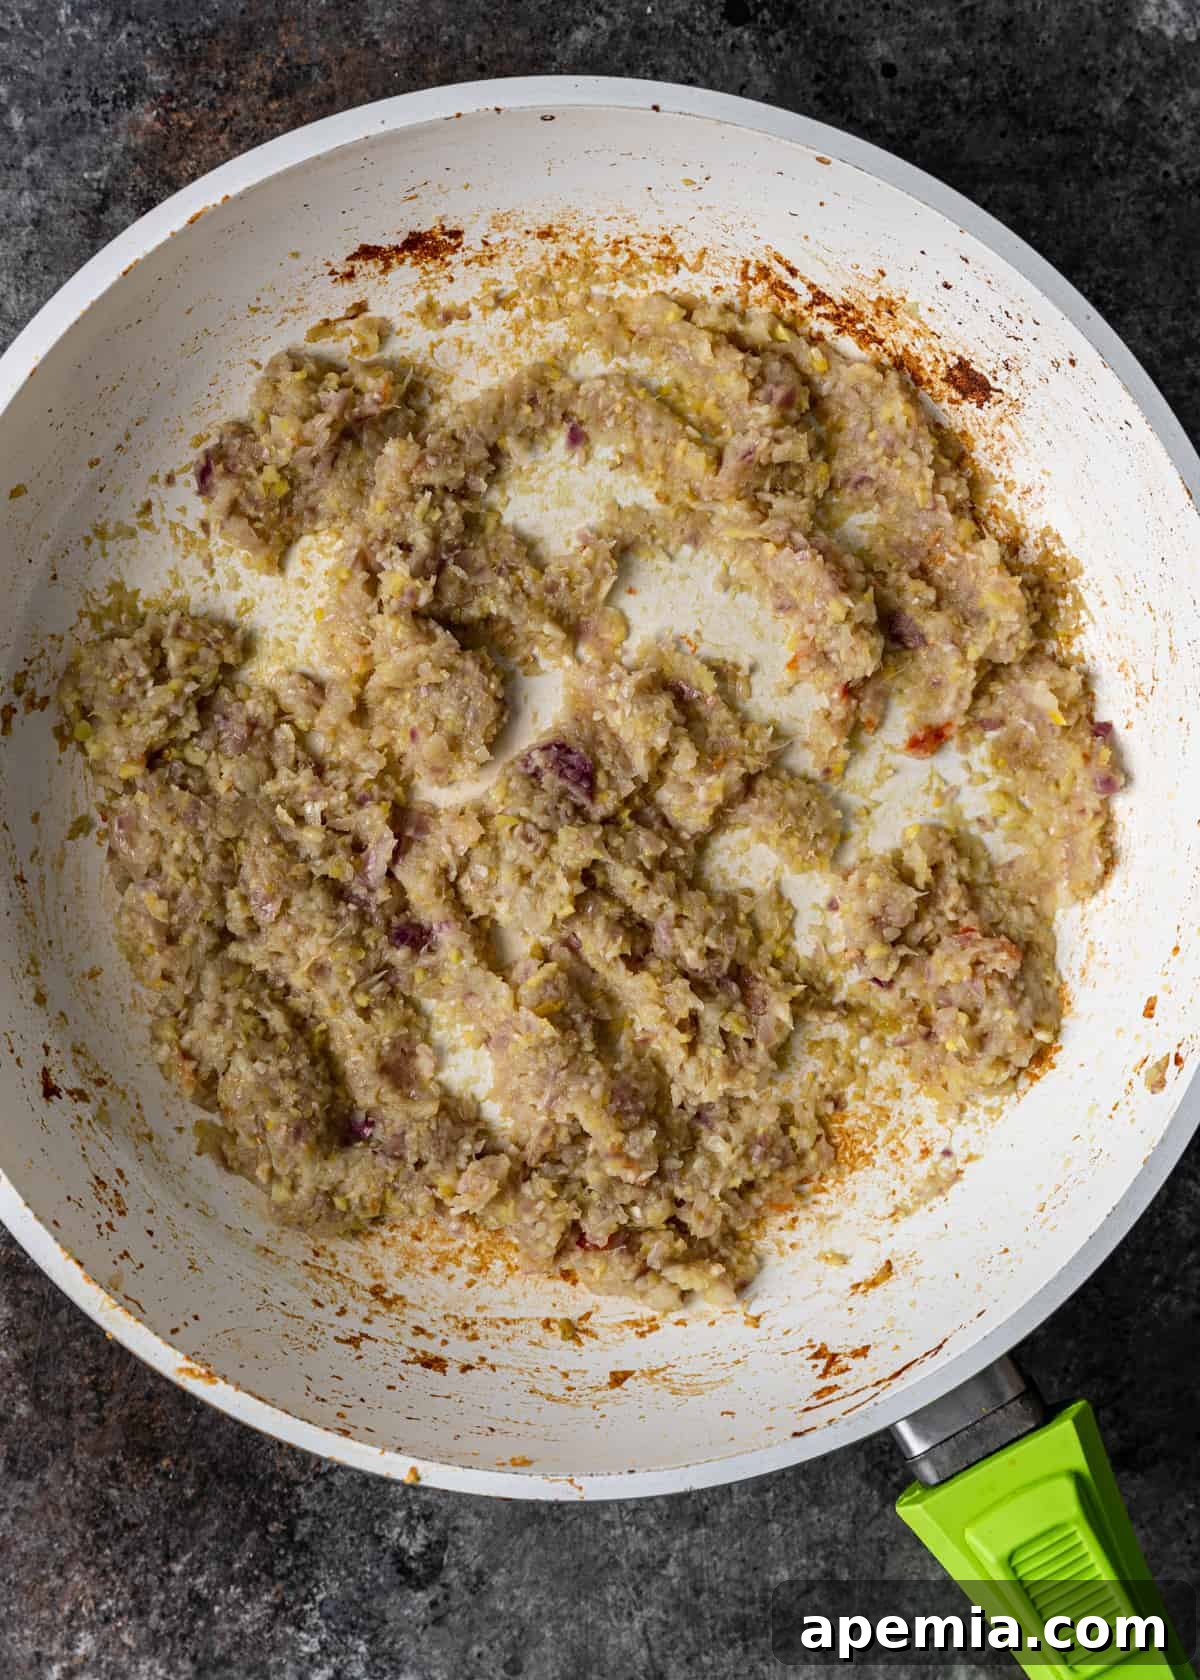
- Chop the Aromatics. While the tomatoes are reducing, prepare your aromatics. Place the peeled garlic cloves, fresh ginger (peeled and roughly chopped), and red onion (roughly chopped) into a food processor. Pulse the ingredients until they are very finely chopped, forming a coarse paste. Avoid over-processing them into a liquid.
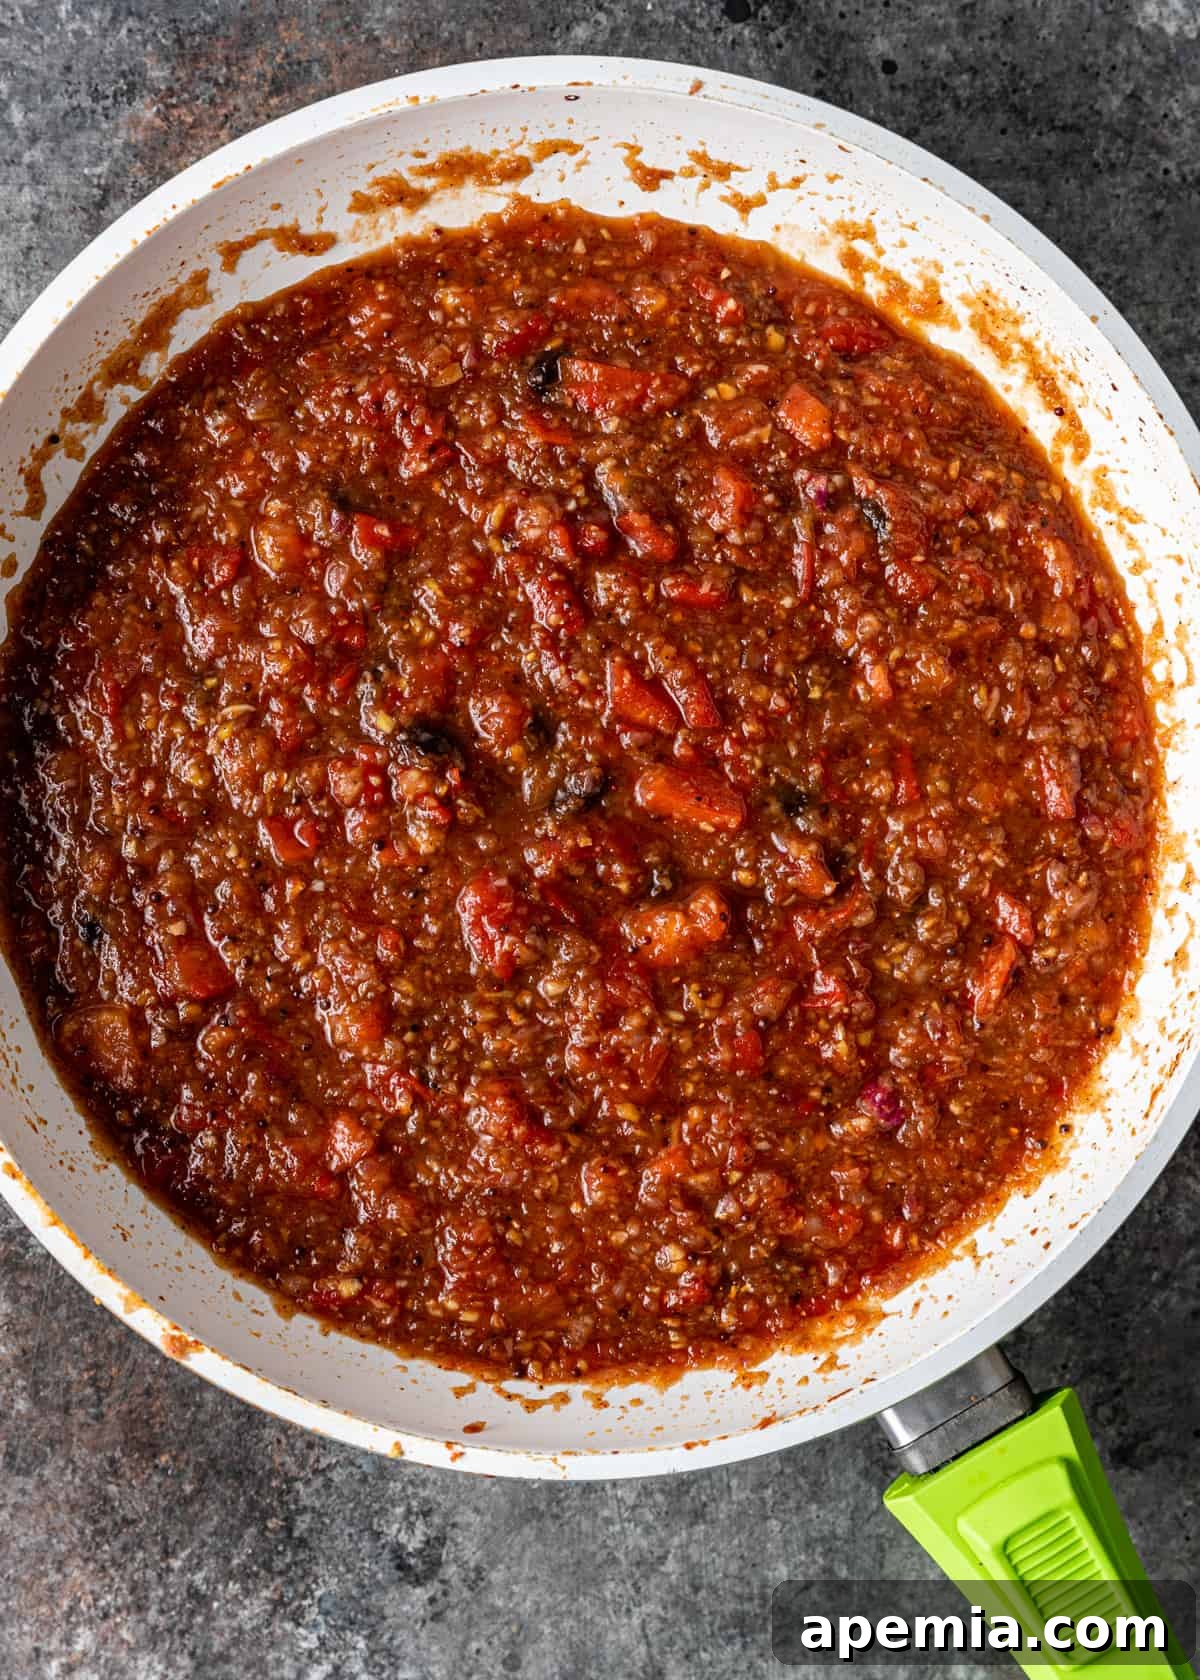
- Sauté and Combine. Return the skillet to medium heat and add the remaining tablespoon of oil. Once hot, add the finely chopped aromatic mixture from the food processor. Sauté for about 3 minutes, stirring frequently, until the aromatics are softened and fragrant. Next, incorporate the previously reduced tomatoes back into the skillet. Add all the remaining ingredients: brown sugar, apple cider vinegar, raisins, kosher salt, garam masala, red chili powder, and black mustard seeds. Stir everything thoroughly to combine. Continue to cook down the mixture for another 3 minutes, or until it has visibly thickened into a chunky, jam-like consistency. Remember that the chutney will continue to thicken considerably as it cools, so don’t overcook it.
- Puree (Optional). If you prefer a smoother, more uniform chutney texture, carefully transfer the hot mixture into a blender. Alternatively, you can use an immersion blender directly in the skillet. Pulse or blend until you achieve your desired consistency. For a rustic charm, many prefer to leave it chunky.
- Store. Once your chutney has reached your desired consistency, transfer it immediately into clean, sterile storage containers or jars. Allow it to cool completely before sealing. If you are not planning to can the chutney, refrigerate it promptly.

Instructions for Canning Your Tomato Chutney for Long-Term Storage
Canning your homemade tomato chutney is an excellent way to extend its shelf life for months, or even years, allowing you to enjoy the taste of summer tomatoes well beyond their season. It’s a straightforward process, but meticulous attention to detail and food safety is key.
- Prepare the Jars. Start by thoroughly washing your canning jars and lids in hot, soapy water, then rinse well. Place a canning rack at the bottom of a large stockpot. Carefully arrange your clean jars on the rack. Fill the pot with enough water to ensure the jars will be covered by at least 1-2 inches once fully submerged. Heat the water on medium heat, bringing it to a simmer (not a rolling boil). Keep the jars in this hot water until your chutney is ready to be filled; this keeps them hot and helps prevent thermal shock when the hot chutney is added.
- Fill and Seal. Once your chutney is cooked and still piping hot, carefully remove one jar at a time from the simmering water using canning tongs, shaking off any excess water back into the pot. Pour the hot chutney into the warm jars, leaving approximately ¼ inch of headspace (the empty space between the food and the rim of the jar). This headspace is vital for a proper seal. Gently tap each filled jar on the counter a few times to release any trapped air bubbles. Use a clean, damp paper towel to meticulously wipe the rims of the jars, removing any food residue that could interfere with the seal. Place a fresh, clean lid on each jar, followed by a screw band. Tighten the screw bands “finger-tight” – firm but not overly tight, allowing air to escape during processing.
- Process. Carefully return the filled and sealed jars to the canning rack in the hot water bath. Ensure the water level covers the jars by at least 1-2 inches. Bring the water to a rolling boil. Once boiling, begin timing the processing. Process the jars for 15 minutes. This time is typically suitable for high-acid foods at sea level up to 1000 feet. If you reside at a higher altitude, you must adjust the processing time accordingly (refer to the recipe card for detailed altitude adjustments).
- Cool and Store. After the processing time is complete, turn off the heat and carefully remove the jars from the water bath using your canning tongs. Place them on a wire rack or a clean towel on your counter, leaving ample space between each jar for air circulation. Do not disturb the jars while they are cooling. You will hear a satisfying “pop” sound as the lids seal, indicating successful preservation. Allow the jars to cool completely for 12-24 hours. Once cool, check that each lid has sealed properly (the center of the lid should be concave and not flex when pressed). Label your jars with the contents and date. Store sealed jars in a cool, dark place.
Recommended Tools for Chutney Making and Canning
Having the right equipment can make the chutney-making and canning process much smoother and more enjoyable:
- Large Skillet or Dutch Oven: Essential for reducing the tomatoes and simmering the chutney. A wide surface area helps liquids evaporate quickly.
- Food Processor: Perfect for finely chopping the aromatics (onion, garlic, ginger) quickly and efficiently, ensuring an even texture.
- Blender or Immersion Blender: Optional, but highly recommended if you desire a smoother chutney. An immersion blender offers convenience by allowing you to blend directly in the cooking pot.
- Measuring Cups and Spoons: For accurate ingredient measurement.
- Sturdy Spatula or Wooden Spoon: For stirring and scraping the bottom of the pan to prevent sticking.
- For Canning (if applicable):
- Large Stockpot with Lid: A deep pot large enough to comfortably submerge your canning jars by at least 1-2 inches of water.
- Canning Rack: Sits at the bottom of the stockpot to keep jars off the direct heat and allow water circulation.
- Glass Canning Jars with Lids and Bands: Specifically designed for canning, available in various sizes (e.g., half-pint, pint).
- Canning Tongs (Jar Lifter): A specialized tool for safely lifting hot jars out of boiling water.
- Funnel (Canning Funnel): Helps fill jars without spilling, keeping the rims clean.
- Lid Lifter: Magnetic tool to retrieve lids from hot water.
- Bubble Remover/Headspace Tool: To remove air bubbles and measure headspace accurately.
Storing and Serving Your Versatile Tomato Chutney
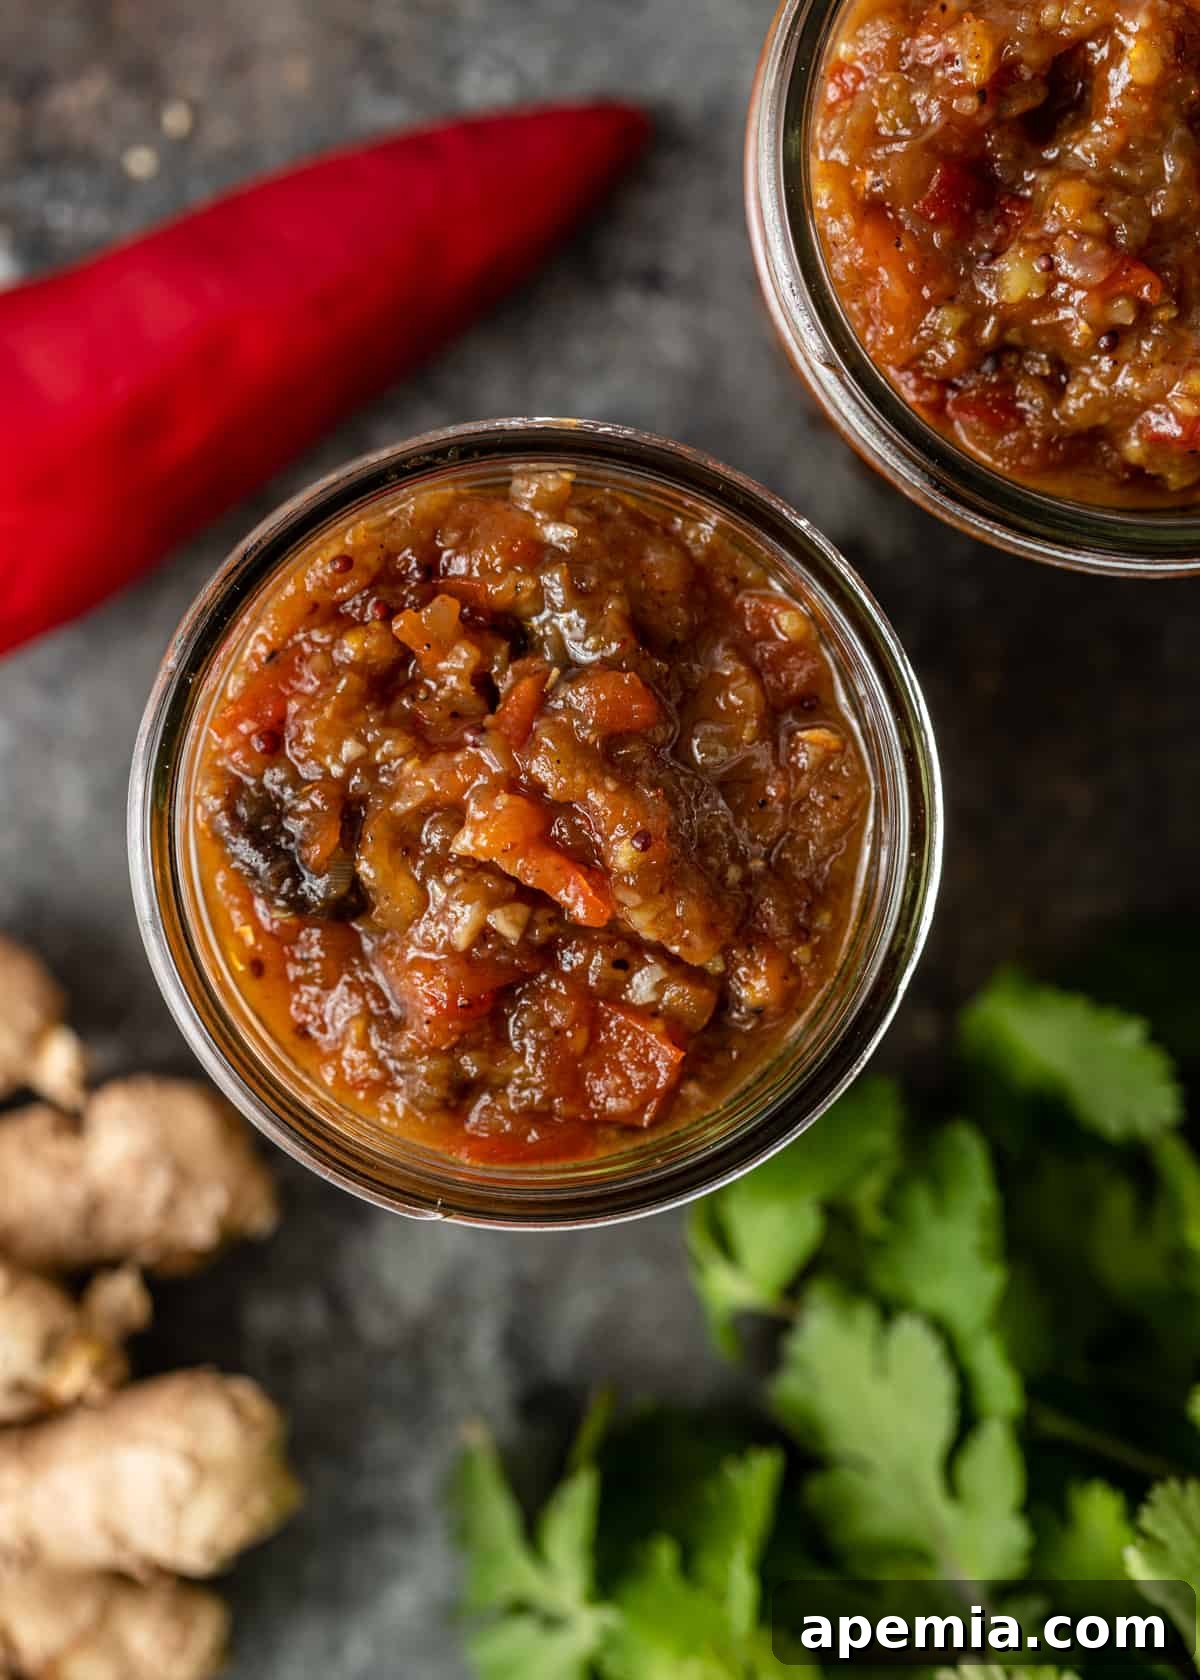
One of the many benefits of this sweet and spicy tomato chutney recipe is its excellent keeping qualities. When stored properly in an airtight container in the refrigerator, it will retain its freshness and vibrant flavor for up to 4 weeks, allowing you to enjoy it at your leisure without the need for canning. However, if you opt for the canning process, your homemade chutney can last for an impressive one to two years or even longer in a cool, dark pantry, making it a fantastic staple to have on hand.
As a result, this tomato chutney recipe is a phenomenal candidate for doubling or even tripling the batch, enabling you to make it in bulk and enjoy its deliciousness over an extended period. The base recipe yields approximately 2 cups (or 8 generous servings) of chutney, which is perfect for a small family or for sharing. Given its remarkable stability in the fridge and through canning, I strongly advise against freezing this chutney. Smooth, juicy, and rich condiments like this tend to undergo undesirable textural changes after freezing and thawing, often becoming watery or losing their desirable consistency. Stick to refrigeration or canning for the best results.
Beyond traditional Indian accompaniments like pakoras and dosa, this versatile tomato chutney shines in countless other applications. Spread it generously on sandwiches and wraps for an added burst of flavor, pair it with cheese and crackers on a charcuterie board for an elegant appetizer, or serve it alongside grilled meats and fish to elevate your main course. It’s also fantastic stirred into yogurt as a dip, or even as a flavorful topping for scrambled eggs or omelets. Don’t be afraid to experiment; its unique sweet, spicy, and tangy profile makes it a delightful complement to a wide array of dishes.
Share this recipe on Pinterest!
Love this recipe? Help others discover this incredible homemade chutney by sharing it with your friends and followers on Pinterest.
Frequently Asked Questions About Tomato Chutney
The term “sauce” is quite broad, generally referring to any thick liquid served with food. In this context, chutney can certainly be considered a type of sauce or condiment. However, the key distinctions often lie in their flavor profile, texture, and culinary purpose. Tomato sauces are typically savory, often smooth, and serve as a base for dishes like pasta or pizza. Tomato chutney, on the other hand, is defined by its complex balance of sweet, spicy, and tangy flavors, often featuring chunky textures and a rich blend of spices. While a sauce might be a singular flavor note, chutney is designed to offer a multifaceted flavor experience that complements a wide range of foods, often acting as an accent rather than a primary component. The presence of vinegar and sugar for preservation also sets chutney apart.
Traditionally, once tomato chutney has been prepared and stored in the refrigerator, it is most commonly served cold or at room temperature. Its refreshing tang and vibrant flavors are often best appreciated when cool, making it an excellent accompaniment to warm dishes or as a cooling element in a meal. That being said, culinary preferences are highly personal! There’s absolutely nothing wrong with gently reheating your chutney if you prefer your dips and condiments warm. It might offer a different sensory experience, emphasizing the warm spices. Feel free to enjoy it however you like it best!
No, quite the opposite is actually recommended for safe canning practices! You should transfer your hot chutney directly into hot, sterilized canning jars immediately after it’s cooked. The principle behind this is to minimize the time the food spends in a temperature danger zone where bacteria could potentially grow. Filling hot jars with hot food helps maintain a high temperature, ensuring a more effective and safer processing in the water bath canner. This hot-fill method is crucial for creating a vacuum seal and ensuring the longevity and safety of your canned goods.
Absolutely! While Roma or cherry tomatoes are recommended for their lower water content and intense flavor, experimenting with other varieties can add depth and unique nuances to your chutney. You could try a mix of different heirloom tomatoes for a more complex flavor profile and vibrant color. Just be mindful that tomatoes with higher water content might require a longer reduction time to achieve the desired thick consistency. Always ensure they are ripe and fresh for the best taste.
If your chutney is too watery, it likely needs more time to reduce. Simply return it to the skillet over medium-low heat and continue simmering, stirring occasionally, until it thickens to your desired consistency. Be patient, as this can take some time. If it’s too thick, you can gently thin it out by adding a small amount of apple cider vinegar or even a touch of water, one tablespoon at a time, until it reaches a more spreadable consistency. Remember that chutney also thickens considerably as it cools, so account for that during cooking.


Sweet and Spicy Tomato Chutney
16
5 minutes
26 minutes
31 minutes
PrintRecipe
Ingredients
- 1 lb roma (plum) tomatoes, diced (500g)
- 1 tbsp + 1 tsp vegetable oil, divided
- 1 medium red onion (150g)
- 5 cloves garlic (10g)
- 3 x 1-inch piece of fresh ginger (25g)
- 1/2 cup brown sugar (130g)
- 1/3 cup apple cider vinegar (75ml)
- 1/4 cup raisins
- 1 tsp kosher salt
- 1 tsp garam masala
- 1/2 tsp red chili powder or cayenne
- 1/2 tsp black mustard seeds
Instructions
-
Deseed the tomatoes and dice them into small, even pieces. Heat 1 teaspoon of vegetable oil in a skillet over medium heat. Transfer the diced tomatoes to the skillet and cook for approximately 20 minutes, or until all the liquid has reduced and the tomatoes are soft and pulpy. Remove from heat and set aside.
-
In a food processor, combine the roughly chopped onion, garlic cloves, and fresh ginger. Pulse until the mixture is finely chopped but not pureed into a paste.
-
Heat the remaining tablespoon of vegetable oil in the same skillet over medium heat. Add the finely chopped onion mixture and sauté for 3 minutes until fragrant and softened. Incorporate the reduced, cooked tomatoes and all the remaining ingredients (brown sugar, apple cider vinegar, raisins, kosher salt, garam masala, red chili powder, and black mustard seeds). Stir well to combine. Continue to cook for another 3 minutes, allowing the flavors to meld and the mixture to thicken into a chunky, jam-like consistency. Note that the chutney will thicken further as it cools.
-
If you prefer a smoother consistency, carefully transfer the hot chutney to a blender or use an immersion blender directly in the pot. Blend until it reaches your desired texture. Pour the hot chutney into clean, sterilized jars and allow it to cool before sealing. Clean the rim of each jar before securely sealing with a lid.
-
This chutney keeps well refrigerated for up to 4 weeks when stored in an airtight container.
CANNING INSTRUCTIONS
-
Thoroughly clean your canning jars and lids with hot, soapy water. Place a canning rack at the bottom of a large stockpot. Arrange the clean jars on the rack and fill the pot with enough water to cover the jars by 1-2 inches. Heat the water to a simmer over medium heat, keeping the jars hot until the chutney is ready to be filled.
-
Carefully remove one hot jar at a time from the simmering water using canning tongs, shaking off any excess water. Using a funnel, pour the hot Tomato Chutney into the hot jars, leaving exactly ¼-inch headspace (the space between the chutney and the rim of the jar). Remove any trapped air bubbles by gently tapping the jar or running a non-metallic utensil along the inside edges. Wipe the rims of the jars meticulously with a clean, damp paper towel to ensure no food residue prevents a proper seal. Place a clean lid on each jar, followed by a screw band, and tighten only until “finger-tight.”
-
Return the filled and sealed jars to the canning rack in the stockpot, ensuring they are fully submerged by at least 1-2 inches of boiling water. Bring the water to a full rolling boil and process the jars for 15 minutes.
-
This processing time is suitable for high-acid foods at sea level to 1000 feet. If processing at higher altitudes, adjust the processing time as follows:
Altitude in Feet >> Increase Processing Time:
1,001-3,000 ft above sea level = Add 5 minutes (Total 20 min)
3,001 – 6,000 ft above sea level = Add 10 minutes (Total 25 min)
6,001 – 8,000 ft above sea level = Add 15 minutes (Total 30 min)
8,001 – 10,000 ft above sea level = Add 20 minutes (Total 35 min)
After processing, carefully remove the jars from the water bath and place them on a clean towel or wire rack to cool completely, undisturbed, for 12-24 hours. Once cool, verify that the lids have sealed (they should be concave and not flex when pressed).
Notes
- Nutrition information is an estimate based on a total yield of 2 cups (32 tablespoons) and a serving size of 2 tablespoons.
- For optimal flavor, allow the chutney to rest in the refrigerator for at least 24 hours before serving. This allows the spices to fully meld.
- Adjust the amount of red chili powder or cayenne to suit your preferred level of heat.
Nutrition
Calories:
53
kcal
|
Carbohydrates:
11
g
|
Protein:
1
g
|
Fat:
1
g
|
Saturated Fat:
0.2
g
|
Polyunsaturated Fat:
1
g
|
Monounsaturated Fat:
0.2
g
|
Trans Fat:
0.01
g
|
Sodium:
151
mg
|
Potassium:
121
mg
|
Fiber:
1
g
|
Sugar:
8
g
|
Vitamin A:
255
IU
|
Vitamin C:
5
mg
|
Calcium:
14
mg
|
Iron:
0.3
mg
The information shown is an estimate provided by an online nutrition calculator. It should not be considered a substitute for a professional nutritionist’s advice.
condiments
Indian
Kevin
Have You Made This Recipe? Let Me Know on Instagram!
Tag @keviniscooking or use the hashtag #keviniscooking!