
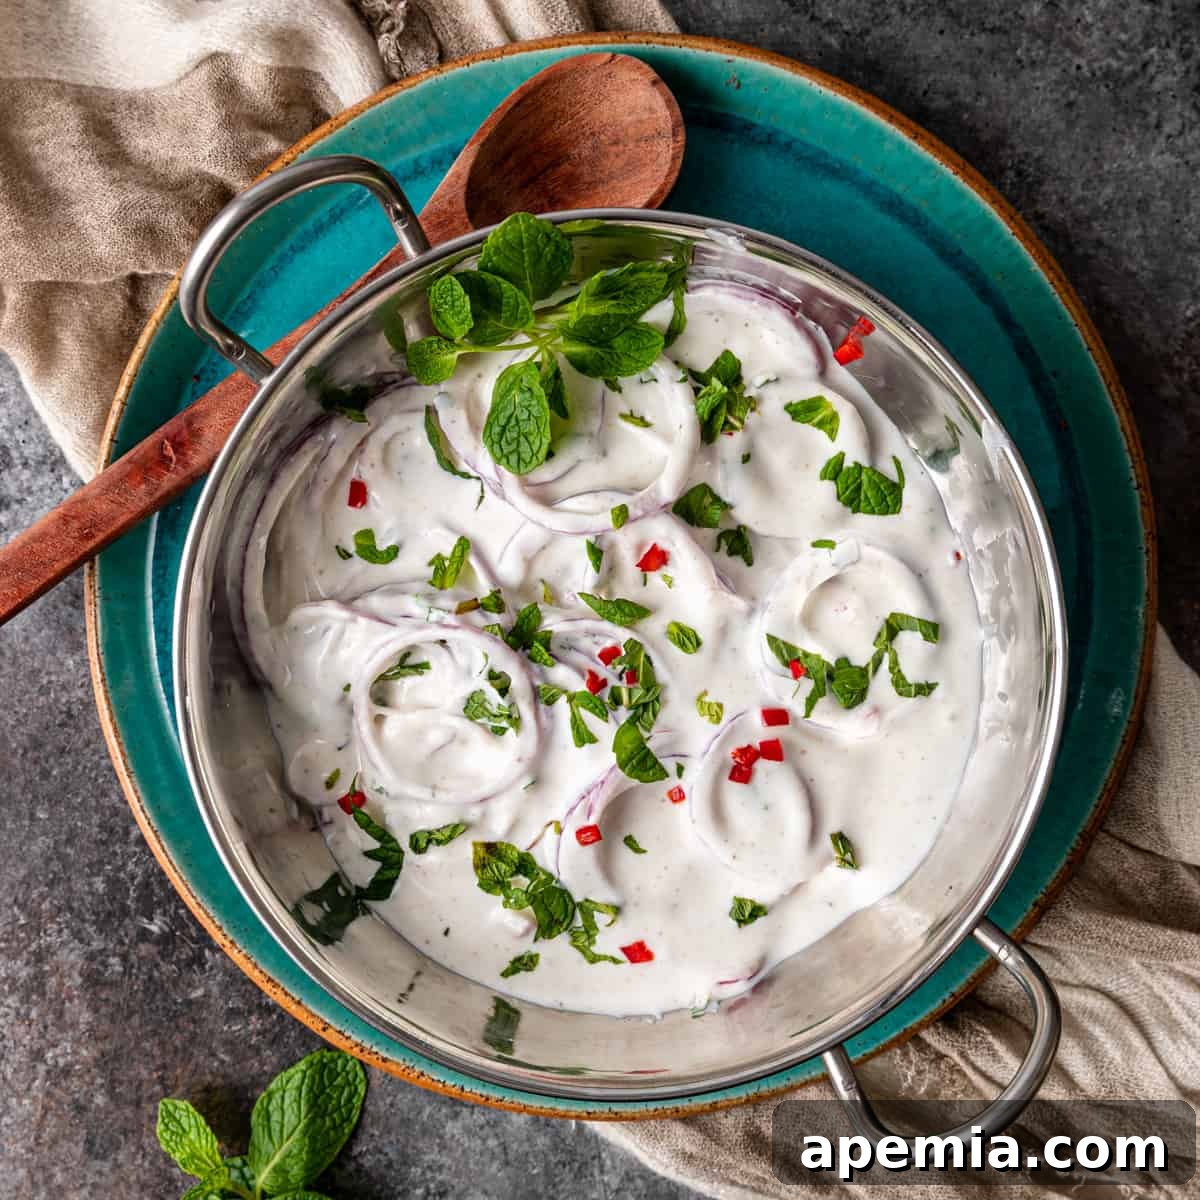
Onion Raita, known as Pyaaz Ka Raita in Hindi, is a true gem of Indian cuisine—a dish that effortlessly combines simplicity with an explosion of vibrant flavors. This refreshing concoction brings together creamy Greek yogurt, zesty lemon juice, crisp onions, a hint of spicy chilis, warming cumin, and fresh mint, culminating in a versatile delight that can be savored as a dip, a cool salad, a complementary side dish, or a palate-cleansing condiment. Its bright, tangy, and subtly spicy character makes it an indispensable addition to any Indian meal, offering a cooling counterpoint to richer flavors.
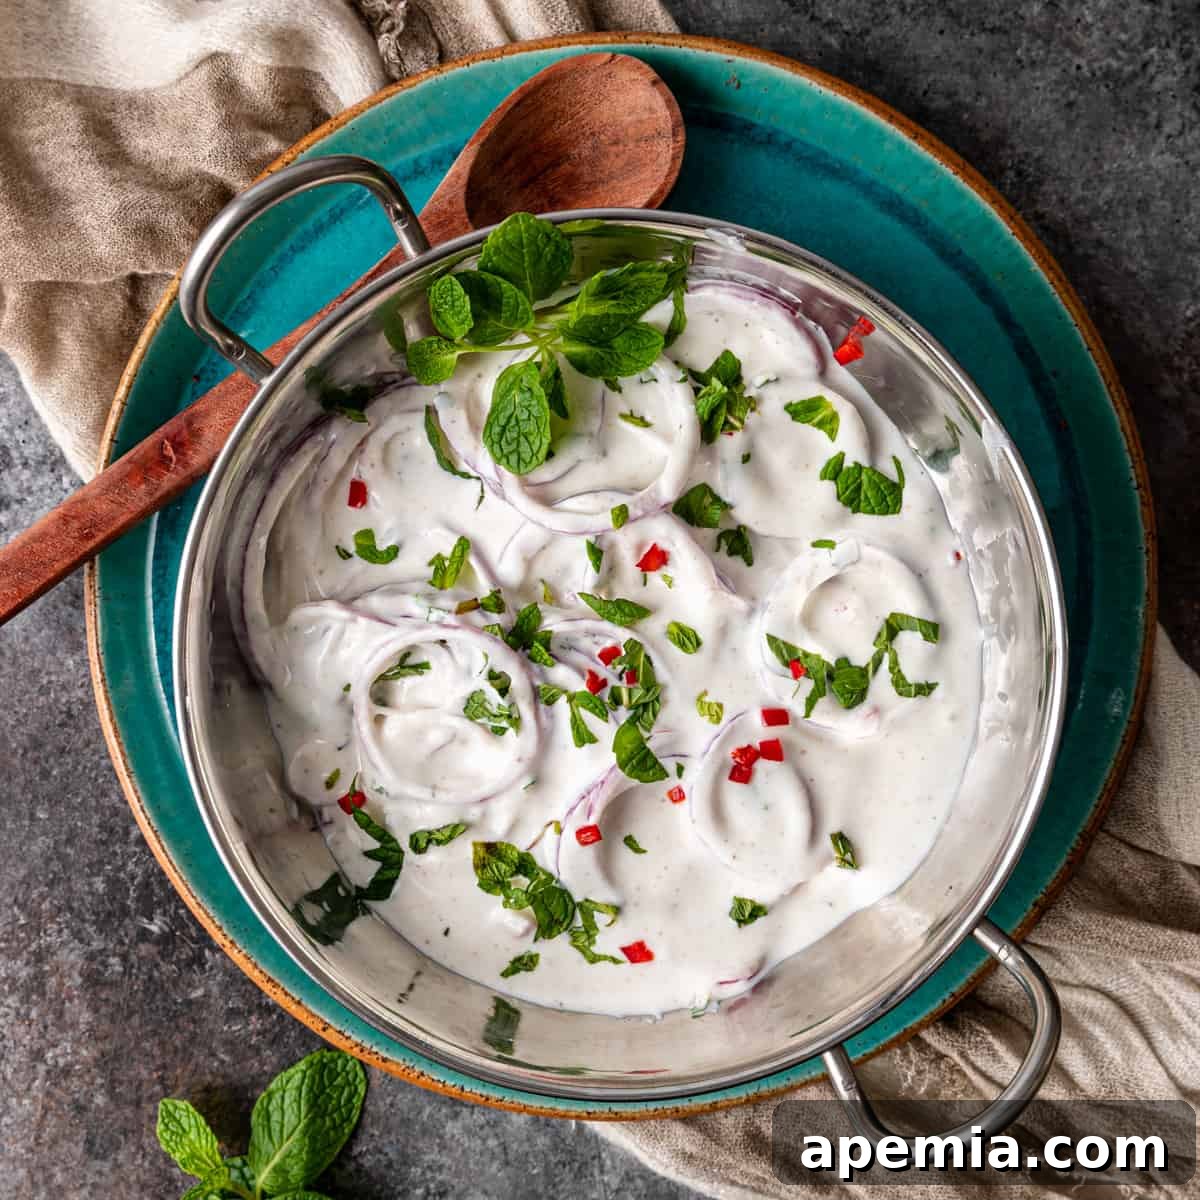
Delving into the world of Indian Cuisine reveals an unparalleled mastery of lavish and exotic flavor combinations, many of which are among my absolute favorites found along the historical Silk Road. If you’ve enjoyed crafting intricate spice blends like this Garam Masala or concocting delightful chutneys such as this Sweet and Spicy Tomato Chutney, then today’s recipe for Onion Raita is an essential culinary experience you won’t want to miss. It represents a fundamental element of Indian cooking, embodying both tradition and taste.
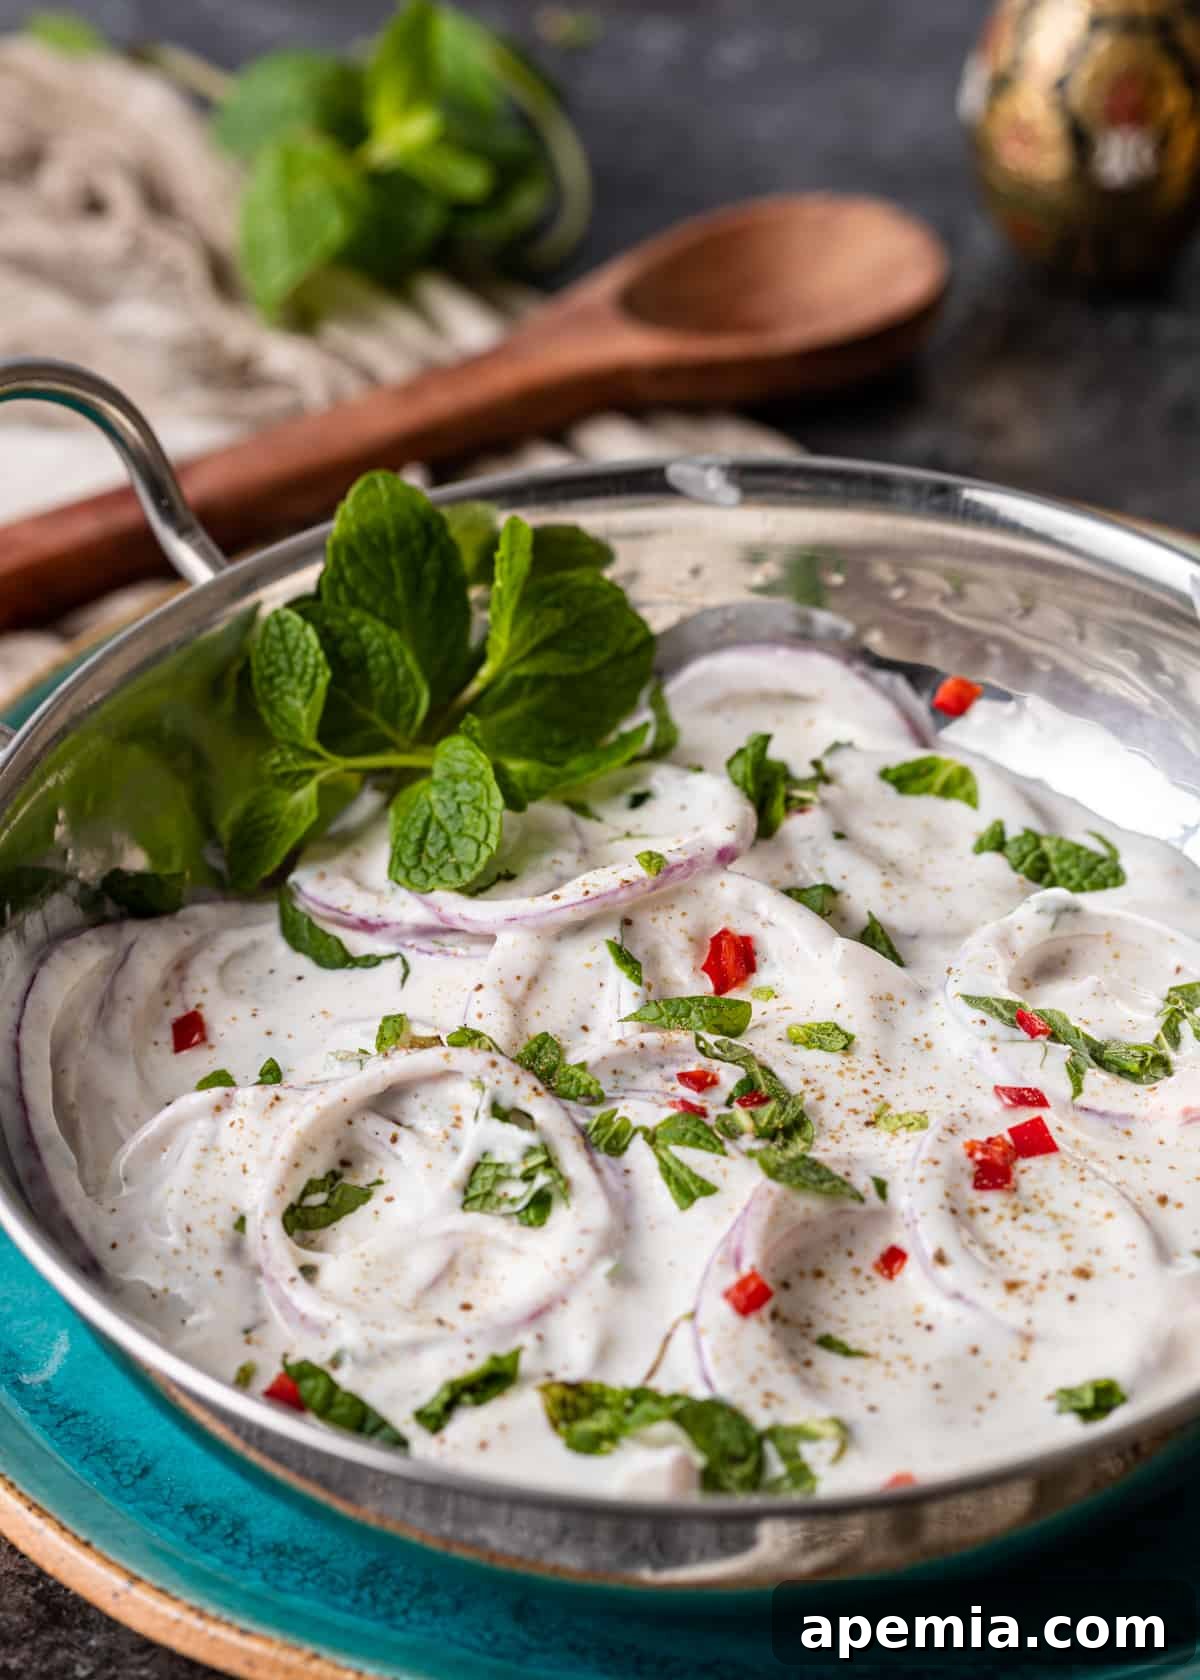
This vibrant and supremely versatile yogurt sauce is a symphony of textures and temperatures. It’s bright and tangy from the lemon, cool and creamy from the yogurt, with just the right whisper of spicy heat from the chilis, and an aromatic freshness from the mint. One taste is often all it takes to fall in love with its refreshing charm and undeniable deliciousness. Onion Raita doesn’t just complement a meal; it elevates it, providing a soothing balance to the rich, complex flavors typical of Indian dishes.
The Essence of Onion Raita: Key Ingredients and Their Roles
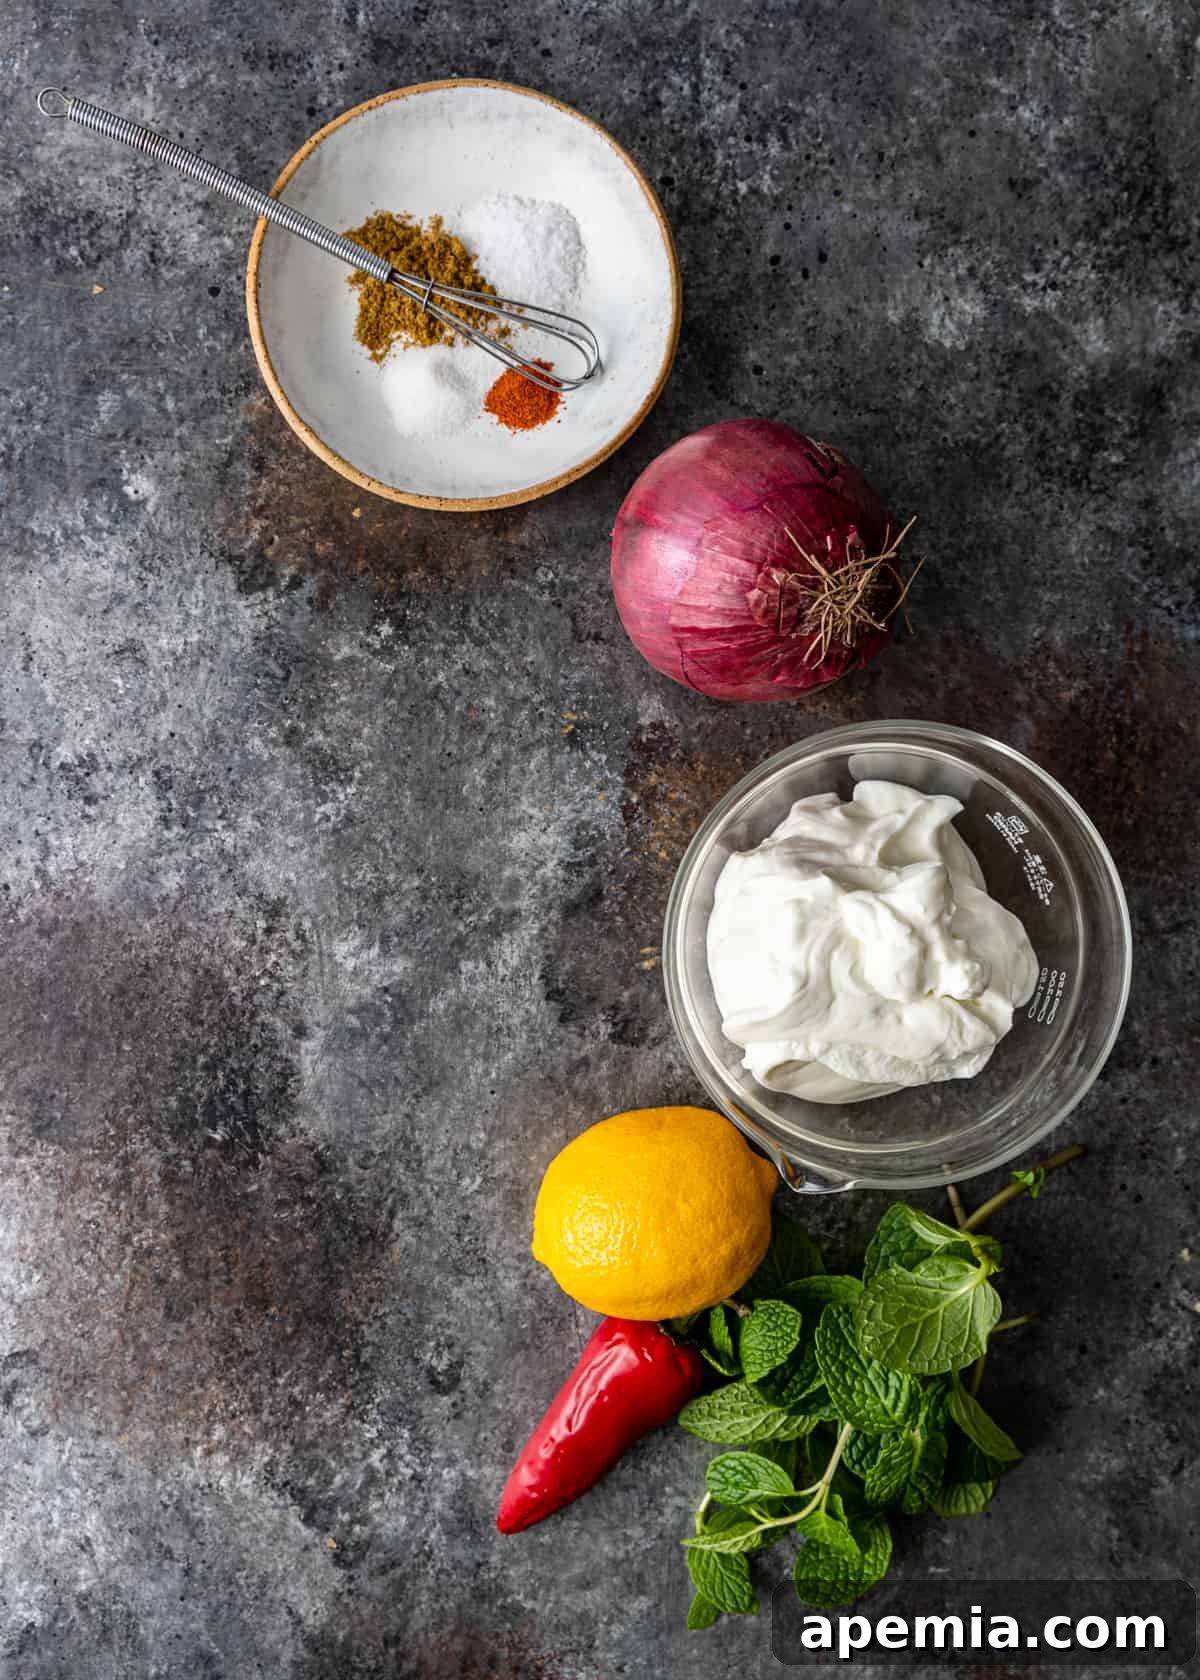
Crafting the perfect Onion Raita relies on a selection of fresh, high-quality ingredients, each playing a crucial role in achieving its signature flavor profile. Understanding these components can help you appreciate the simplicity and genius behind this classic dish.
- Greek Yogurt: The foundation of our raita, Greek yogurt offers a wonderfully bright and tangy base. Its rich, thick, and velvety texture is essential for creating a silky-smooth consistency that clings beautifully to the onions and other ingredients. Opt for full-fat plain Greek yogurt for the most luxurious mouthfeel and best flavor.
- Lemon Juice: Freshly squeezed lemon juice is paramount. It introduces a vital snap of acidity that brightens the entire dish and helps to slightly thin the yogurt to the desired, pourable (but not watery) consistency. Lime juice can be used as an alternative for a slightly different citrus note.
- Cumin: Ground cumin is the spice that gives raita its distinctive aromatic depth. Its smoky, earthy, and subtly warm notes infuse the dish, connecting it deeply to its Indian culinary roots. Toasting whole cumin seeds briefly and then grinding them can intensify this flavor dramatically.
- Sugar: A small dash of granulated sugar acts as a harmonizer, balancing the tangy and spicy elements. It doesn’t make the raita sweet but rather rounds out the flavors, making them more cohesive and pleasant on the palate.
- Onion: Red onions are the star of this particular raita. Their pungent, crisp texture and subtle sweetness infuse the recipe with loads of savory flavor and contribute a beautiful splash of vibrant color. Thin slicing is key to their integration and delicate crunch.
- Chili Peppers: For that characteristic pop of peppery heat and a lovely flash of red, fresh red chili peppers are indispensable. Fresno chilis are a popular choice for their moderate heat, but you can adjust the type and quantity to suit your heat preference, from mild to fiery.
- Mint: Fresh mint leaves are crucial for the cooling, refreshing element that defines raita. Their bright, herbaceous aroma and flavor cut through the richness of other dishes, providing a soothing contrast. Always use fresh mint, as dried mint will not yield the same vibrant effect.
- Optional Toppers: For those who crave an extra layer of flavor or heat, consider a sprinkle of red chili powder for a bold kick. Alternatively, Chaat Masala offers a unique blend of tangy, spicy, and savory notes, enhancing the raita with a brighter, more complex, and tangy effect.
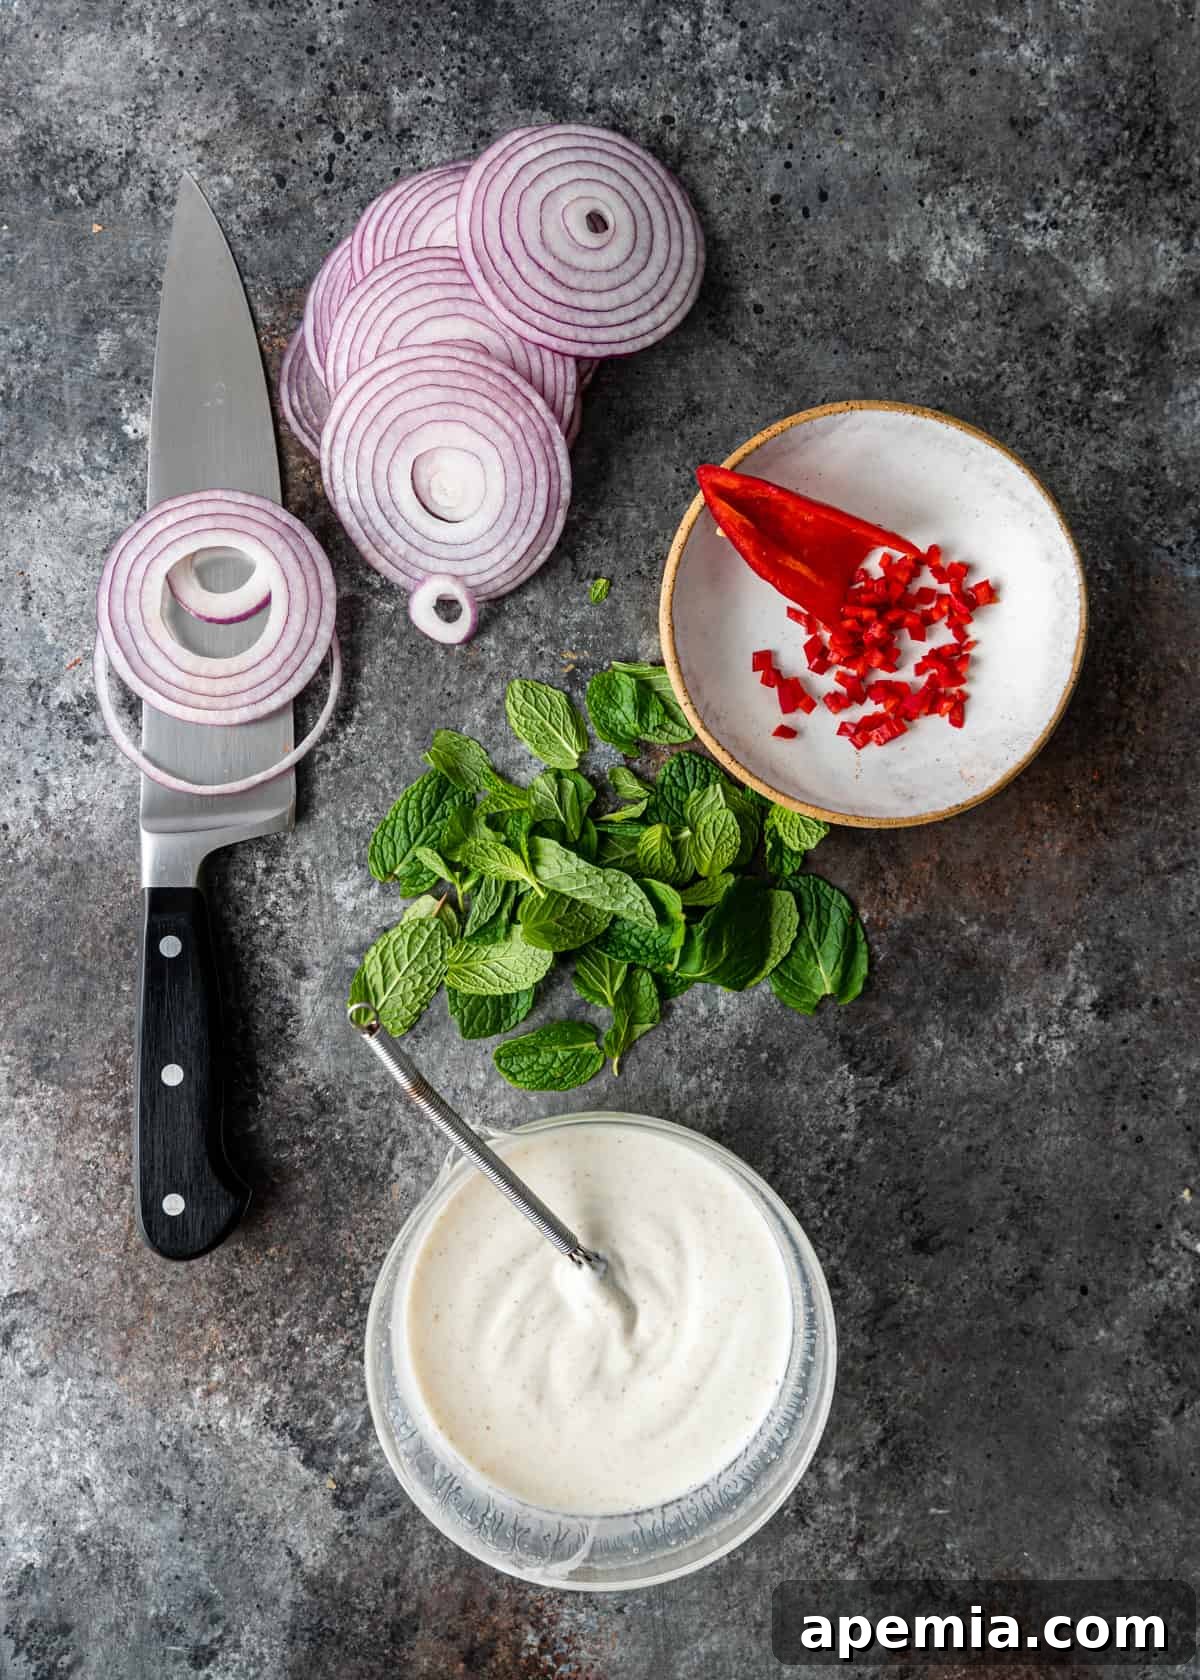
How to Make Onion Raita: A Step-by-Step Guide
Creating this delightful Onion Raita is surprisingly simple and quick, making it a perfect last-minute addition to any meal. Follow these steps for a perfectly balanced and flavorful condiment:
- Prepare the Yogurt Base: In a medium-sized bowl, combine the Greek yogurt, fresh lemon juice, and water. Whisk these ingredients together thoroughly until the mixture is smooth and has a loose, yet still thick, consistency. It should be thin enough to mix easily but not so watery that it drips off the onions. Next, stir in the sugar, kosher salt, and ground cumin until well incorporated. Set this flavorful yogurt base aside to allow the spices to bloom while you prepare the fresh ingredients.
- Expertly Slice the Onions: Take your red onion and, using either a mandolin for uniform, paper-thin slices or a very sharp knife, carefully slice it into delicate rings. Aim for about one full cup of thinly sliced onions. Any remaining onion can be saved for other culinary uses. For those who prefer a milder onion flavor, a traditional trick is to place the sliced onions in a fine-mesh sieve and rinse them under cold running water for a minute or two. This helps to reduce some of their raw pungency, mellowing their bite.
- Chop Herbs & Spices with Precision: Begin by preparing your red chili pepper. For a less intense heat, carefully remove the seeds and membranes before thinly slicing it into strips, then dicing it into small pieces. If you enjoy more heat, you can leave some or all of the seeds in. Next, finely chop the fresh mint leaves. The finer the chop, the more evenly the minty freshness will distribute throughout the raita.
- Combine Ingredients Thoughtfully: Now, it’s time to bring all the elements together. Gently transfer the prepared thin onion slices, diced chili, and finely chopped mint into the bowl with the spiced yogurt base. Stir everything together carefully but thoroughly, ensuring that all the ingredients are well coated and evenly distributed within the creamy yogurt.
- Serve Immediately or Chill to Perfection: Your Onion Raita is now ready to be enjoyed! For an immediate burst of flavor, serve it right away, perhaps with a light sprinkle of red chili powder for extra heat or a dash of chaat masala for added tanginess. However, for a truly enhanced flavor experience, cover the bowl and refrigerate the raita for at least 30 minutes. This resting period allows the flavors to “marry” and meld together, deepening the overall taste profile. Enjoy this refreshing condiment with your favorite dishes!
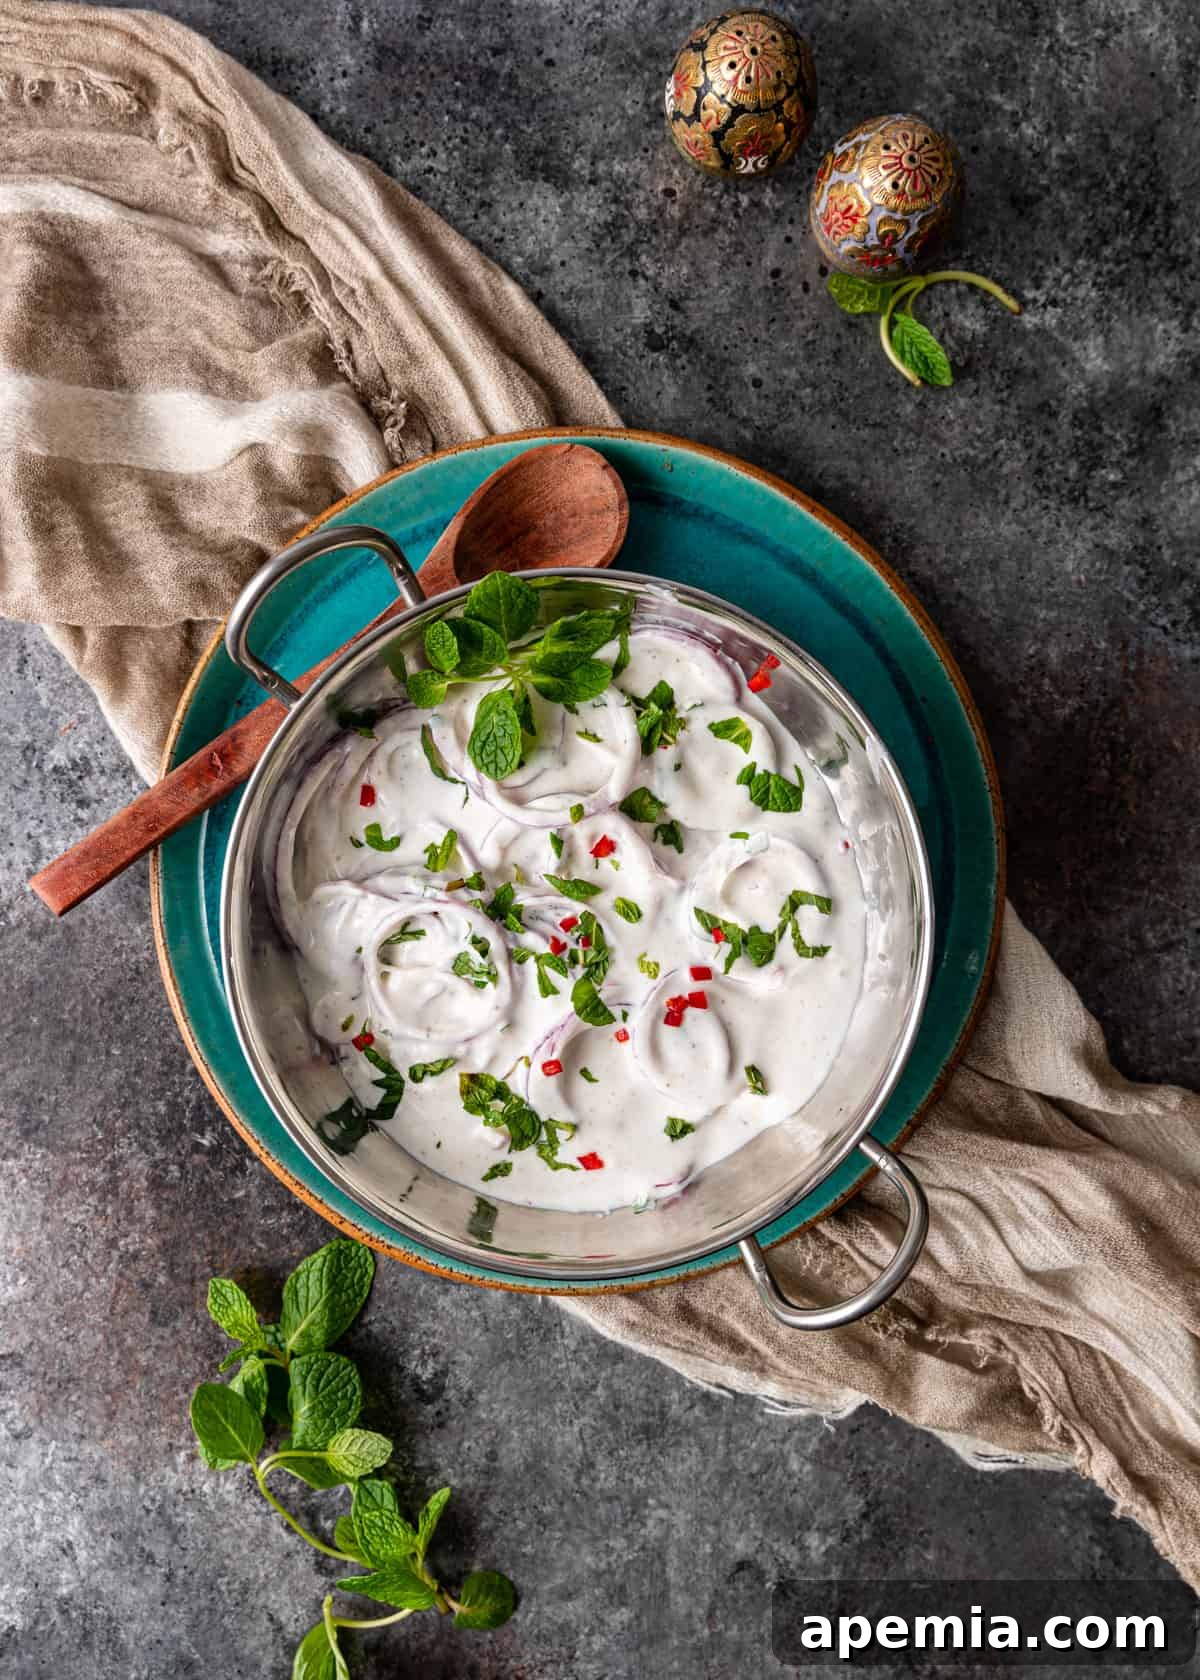
What Do You Eat Onion Raita With? Endless Culinary Pairings
The beauty of Onion Raita lies not only in its delightful taste but also in its incredible versatility. This tantalizingly tangy and cooling condiment has the remarkable ability to transform and balance a wide array of dishes. It can lighten up rich, heavy meals or add a layer of creamy richness to lighter fare, all while cooling the palate and often aiding digestion with its probiotic goodness.
Don’t be afraid to get creative and discover how this dynamically delicious raita can brighten up your favorite meals! Here are a few ideas to inspire your culinary adventures:
- With Indian Curries: This is arguably its most classic pairing. The cool, creamy raita provides a perfect counterpoint to the vibrant spices and heat of curries like this hearty Indian Chicken Curry or a savory Cauliflower Curry. It cuts through richness and refreshes the palate between bites.
- As a Savory Snack or Dip: Enjoy it simply with fresh vegetable sticks, pita bread, or even on its own as a light, savory yogurt snack. It’s a healthy and satisfying option.
- Alongside Fresh Indian Breads: Scoop it up with a freshly baked batch of fluffy Garlic Naan Bread or warm roti. The bread acts as a perfect vehicle for the creamy raita.
- Paired with Rice Dishes: Serve raita with aromatic, freshly steamed Jeera Rice, flavorful biryanis, or simple plain rice and a medley of roasted vegetables. It adds moisture and tang.
- Modern Fusion Applications: Get adventurous! Use a generous dollop to dress up your street tacos, add a refreshing element to homemade burgers, spread it inside wraps for a burst of flavor, or elevate your everyday sandwiches. It makes a fantastic, healthier alternative to mayonnaise or other creamy dressings.
- With Grilled Meats and Kebabs: The cooling effect of raita is superb when paired with smoky, charred grilled meats or spicy kebabs, balancing the intense flavors and heat.
- Alongside Lentil and Bean Dishes: Dal (lentil stews) and chana masala (chickpea curry) benefit greatly from a side of raita, offering a fresh contrast to their hearty textures.
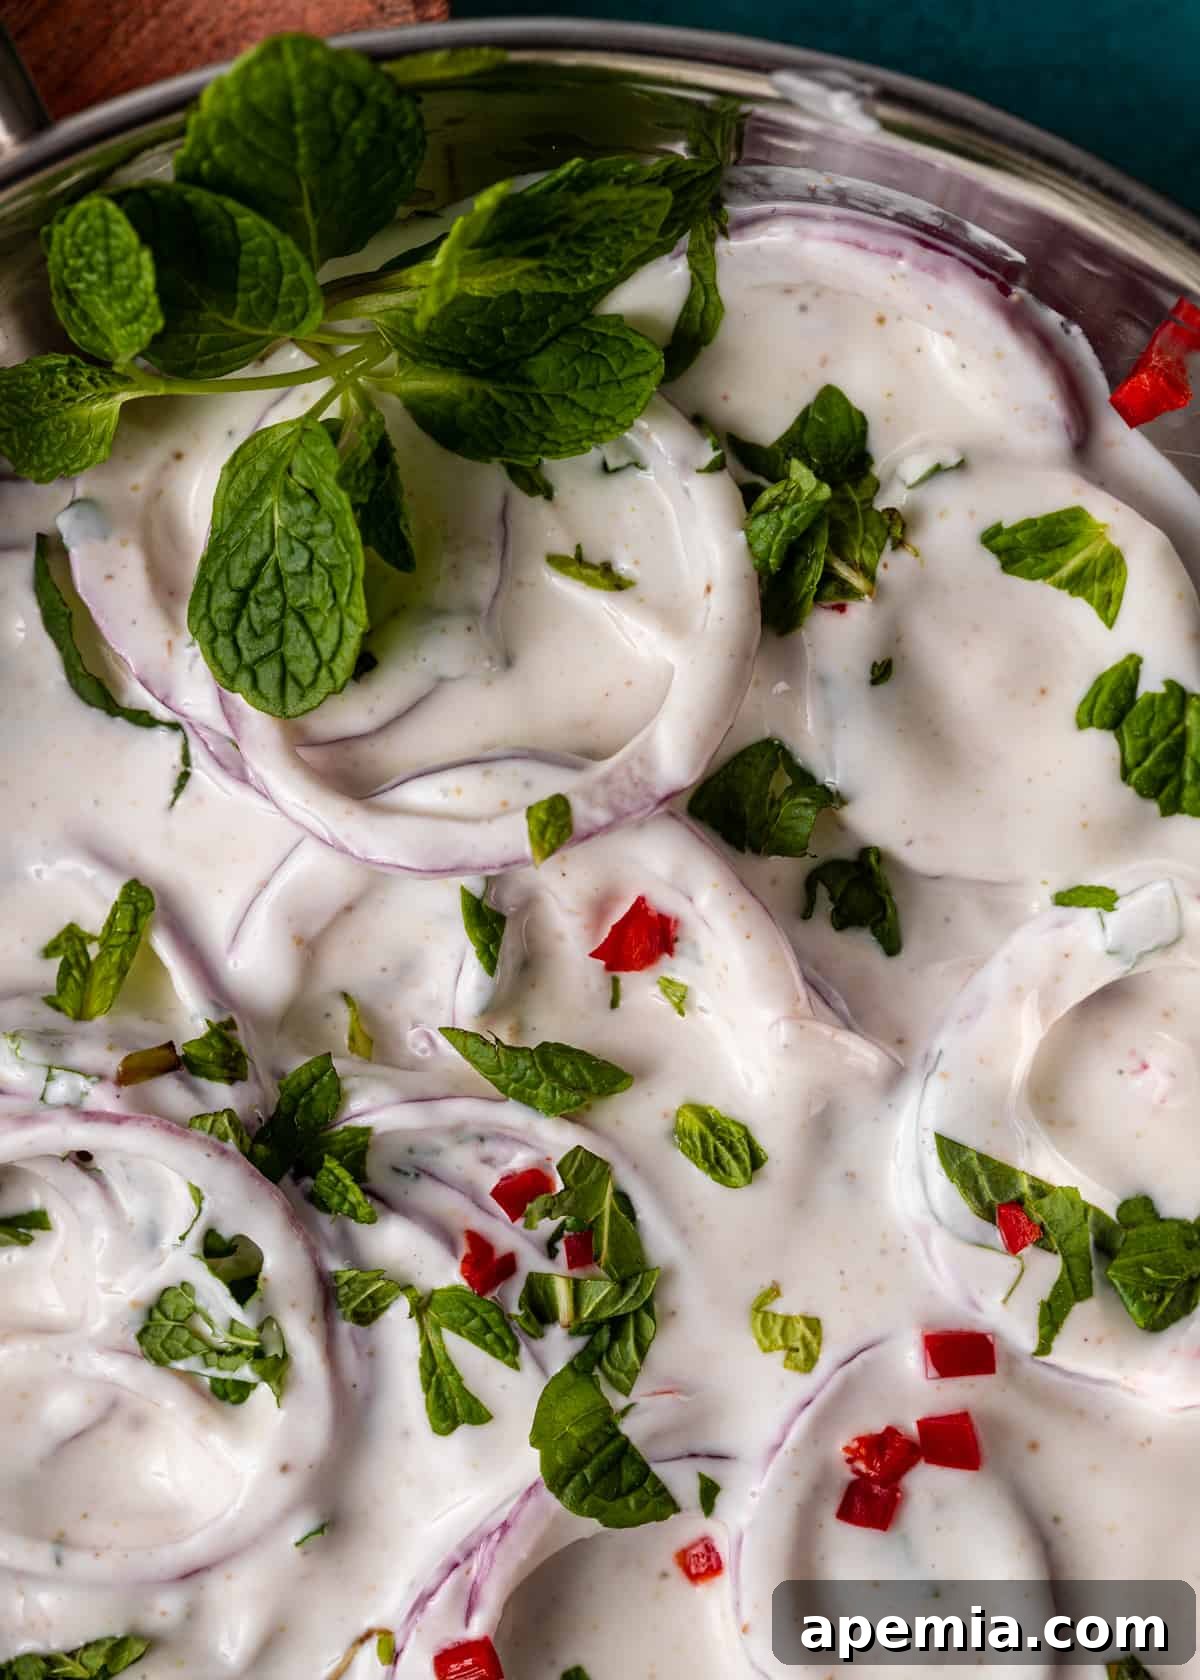
Is Raita the Same as Tzatziki? Exploring the Differences
Raita and Tzatziki are often compared due to their shared characteristics as versatile, yogurt-based condiments. Both are celebrated for their refreshing qualities and typically feature a medley of vegetables, spices, and fresh herbs. While they share a number of appealing similarities, it’s their distinct origins and ingredient profiles that set them apart.
- Origin and Cultural Heritage: The most significant distinction lies in their origins. Raita recipes, including this delicious Onion Raita, are deeply rooted in the culinary traditions of India, where they have been enjoyed for centuries as a vital part of meals, particularly those with rich or spicy components. Tzatziki, on the other hand, hails from Greece and is a cornerstone of Mediterranean cuisine, known for its refreshing presence alongside grilled meats and various appetizers.
- Consistency and Texture: Tzatziki is typically prepared with strained Greek yogurt, resulting in a notably thick consistency that is often spooned rather than poured. It’s meant to be robust and hearty. Raita, while often creamy, is generally conceived to be a bit thinner, designed to mix more readily with other dishes or to be enjoyed as a lighter accompaniment. This is precisely why, even when utilizing thick Greek yogurt for our Onion Raita recipe, we purposefully thin it with lemon juice and a touch of water to achieve its characteristic, flowing consistency.
- Core Ingredients and Spice Palates: Raita is a broad term encompassing an entire class of yogurt dishes, allowing for immense creativity and regional variations. Ingredients can range from simple onions, cucumbers, or tomatoes to more exotic fruits like pineapple or even kiwi. The spices in raita vary but almost always include a warming element, often from cumin, chili peppers (green or red), and black pepper. Fresh herbs commonly found in raita include mint, parsley, or the quintessential Indian herb, cilantro. Tzatziki, however, adheres to a more specific and consistent formula, almost invariably made with fresh cucumbers (often grated and squeezed of excess water), minced garlic, tangy lemon juice, and aromatic dill. These core ingredients define Tzatziki’s unmistakable fresh and garlicky profile.
What is Onion Raita Made Of? A Closer Look at the Components
At its heart, Onion Raita is a beautifully simple yet deeply flavorful cool and creamy condiment. It’s primarily crafted from a harmonious blend of yogurt, crisp onions, piquant chili peppers, aromatic spices, and fragrant fresh herbs. The specific ingredients can vary, lending themselves to personal preferences and regional adaptations, but the core essence remains consistent.
Our featured Onion Raita recipe calls for a specific combination that yields a classic taste: rich Greek yogurt forms the creamy base, complemented by thinly sliced red onions for their distinct bite and vibrant color. Red chilis contribute a pleasant warmth and visual appeal, while ground cumin infuses the dish with its signature earthy depth. Finally, fresh mint leaves provide that indispensable cooling and aromatic finish, making each spoonful a refreshing delight.
Beyond this classic iteration, other raita recipes might incorporate variations such as green chilis for a sharper heat, black pepper for an additional layer of pungency, or fresh coriander (cilantro) leaves for a different herbaceous note. Some might even include a touch of ginger or garlic for added complexity. This adaptability is what makes raita such a beloved and enduring part of Indian culinary tradition.
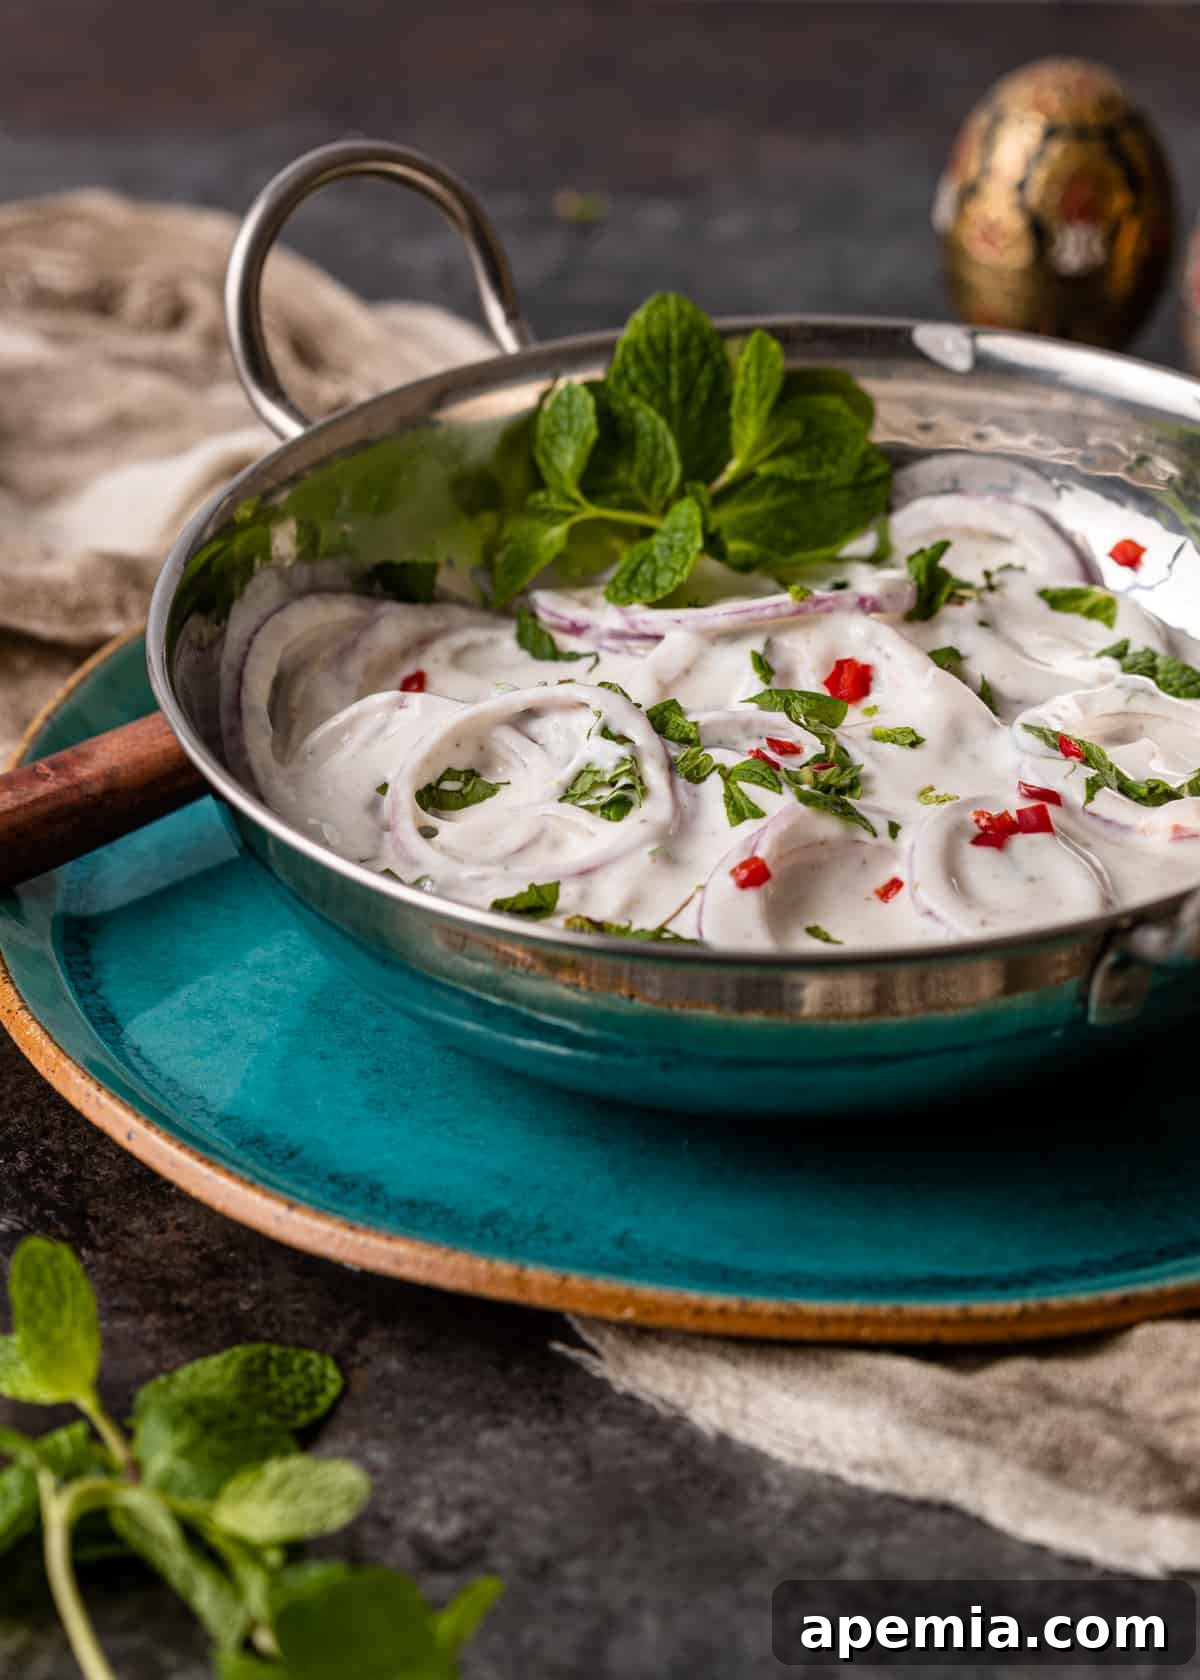
The Magic of Raita: More Than Just a Side Dish
Raita holds a special place in Indian gastronomy, serving functions far beyond a simple accompaniment. It’s an integral part of the meal experience, offering balance, refreshment, and even aiding digestion. The creamy texture and cooling ingredients like yogurt and mint soothe the palate, which is particularly welcome when enjoying spicy curries or rich gravies. This contrast isn’t just about comfort; it allows the diner to fully appreciate the complex layers of flavor in each dish without being overwhelmed by heat.
Moreover, the probiotics in yogurt contribute to gut health, making raita a subtly beneficial addition to a heavy meal. It’s a testament to the holistic approach of traditional Indian cooking, where every component of a thali (a platter of various dishes) is carefully chosen to create a harmonious and healthful dining experience. Whether it’s the crispness of onions or the freshness of mint, each element in Onion Raita contributes to a sensory journey that is both satisfying and revitalizing.
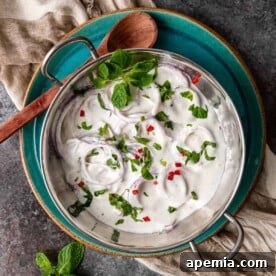
Onion Raita Recipe (Pyaaz Ka Raita)
6
10 minutes
10 minutes
Pin Recipe
PrintRecipe
Ingredients
- 1 cup plain Greek yogurt
- 1/2 lemon juice (1 tbsp)
- 1/4 cup water
- 1/2 tsp ground cumin
- 1 tsp kosher salt
- 1/2 tsp sugar
- 1 medium red onion cut into thin rings
- 1 red chili diced (Fresno or chili of choice)
- 1/3 cup mint leaves chopped
- 1/8 tsp red chili powder optional
- 1/8 tsp chaat masala optional
Instructions
-
In a bowl, whisk together the yogurt, lemon juice, and water to achieve a slightly thinned consistency. It should be loose enough to mix easily but still thick enough to cling to the onions. Stir in the cumin, salt, and sugar. Set aside while you prepare the remaining ingredients.
-
Using a sharp knife or a mandolin, thinly slice the red onion into delicate rings. You’ll need about 1 cup in total; save any remaining onion for other recipes. For a milder flavor, rinse the sliced onion in a sieve under cold water for a minute or two (this step is optional but recommended for reducing sharpness).
-
Carefully remove the seeds from the red chili (for less heat) and then slice it into thin strips, followed by dicing into small pieces. Finely chop the fresh mint leaves.
-
Transfer the prepared onions, diced red chili, and chopped mint into the yogurt mixture. Stir gently to combine all ingredients thoroughly and evenly.
-
Serve immediately with an optional sprinkle of red chili powder or chaat masala on top. Alternatively, for a deeper flavor development, cover and chill in the refrigerator for at least 30 minutes before serving. Enjoy your homemade Onion Raita!
Nutrition
The information shown is an estimate provided by an online nutrition calculator. It should not be considered a substitute for a professional nutritionist’s advice.
Have You Made This Recipe? Let Me Know on InstagramTag @keviniscooking or tag me #keviniscooking!
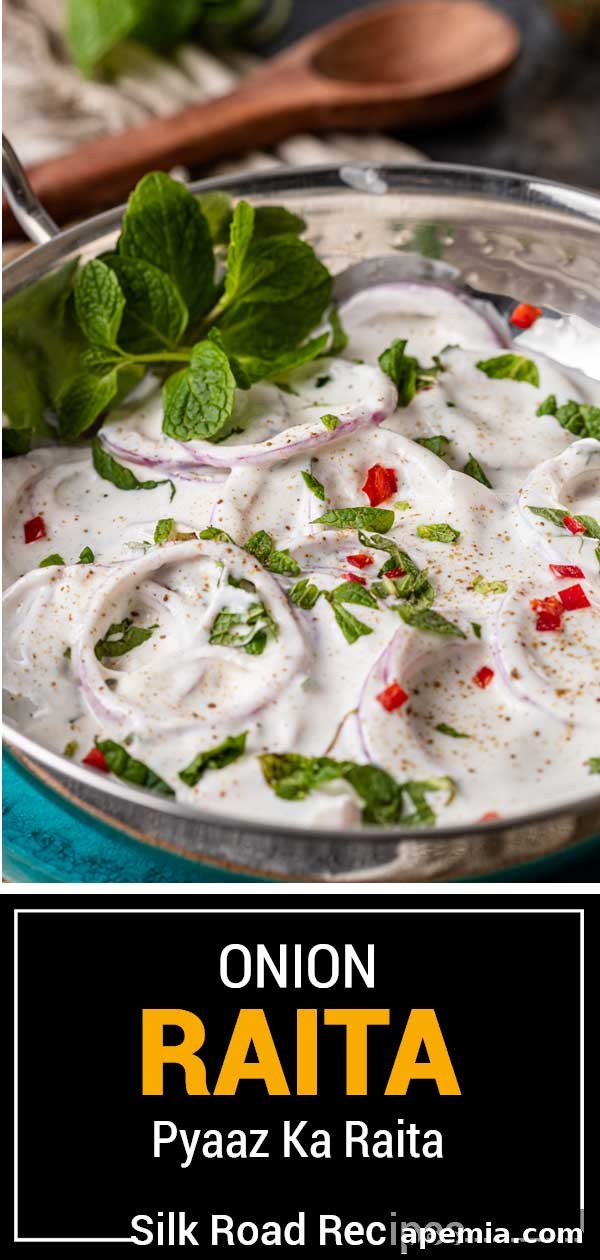
Tips for the Perfect Onion Raita
While Onion Raita is inherently simple, a few expert tips can elevate your homemade version from good to outstanding:
- Chill for Flavor Development: Although you can serve raita immediately, allowing it to chill in the refrigerator for at least 30 minutes, or even a few hours, makes a significant difference. This resting time allows the flavors of the onion, mint, and spices to meld beautifully with the yogurt, resulting in a more harmonious and complex taste.
- Fresh Ingredients are Key: The vibrant taste of raita relies heavily on the freshness of its components. Always use fresh lemon juice, crisp red onions, and bright mint leaves. Avoid pre-chopped ingredients if possible, as their flavor and texture can degrade quickly.
- Adjust Heat to Your Liking: The amount and type of chili can be completely customized. If you prefer a milder raita, remove all seeds from the chili or use a less potent variety. For a spicier kick, leave some seeds in or opt for a hotter chili.
- Don’t Over-Thin the Yogurt: The goal is a loose but not watery consistency. If it’s too thin, it won’t cling to the onions well. If your Greek yogurt is exceptionally thick, you might need a tiny bit more water, but add it gradually.
- Garnish for Impact: A final flourish of fresh mint leaves, a sprinkle of red chili powder, or chaat masala not only adds visual appeal but also enhances the aroma and flavor just before serving.
Customizing Your Raita: Beyond the Basics
One of the joys of making raita is its inherent adaptability. While this Onion Raita recipe is a classic, you can easily experiment with variations to suit your taste or what you have on hand:
- Add Other Vegetables: Finely grated cucumber (squeezed of excess water), diced tomatoes, or even a little bit of grated carrot can be wonderful additions. Cucumber raita is another very popular variety.
- Experiment with Herbs: While mint is traditional for onion raita, a small amount of fresh cilantro (coriander leaves) can also be added for a different herbaceous note.
- Introduce Different Spices: A pinch of black salt (kala namak) can add a unique sulfuric tang, often used in chaat. A tiny bit of roasted cumin powder (bhuna jeera) offers an even deeper, nuttier flavor than plain ground cumin.
- Make it Vegan: For a vegan version, simply substitute Greek yogurt with a thick, plain, unsweetened vegan yogurt (such as coconut or almond-based yogurt). Ensure it has a good creamy texture.
Storage and Serving Suggestions
To ensure your Onion Raita remains at its best, proper storage is important. Once prepared, transfer any leftover raita to an airtight container and refrigerate it. It will typically stay fresh for 2-3 days. However, the onions may become slightly less crisp over time, and the flavors might intensify. It’s always best enjoyed fresh or after a short chilling period. Avoid freezing raita, as the yogurt base tends to separate and lose its creamy texture upon thawing.
When serving, always ensure the raita is chilled, as its refreshing qualities are most pronounced when cool. A beautiful presentation can enhance the dining experience, so don’t hesitate to garnish your bowl of raita with a few extra mint leaves or a dusting of spice before bringing it to the table. This simple act turns a humble side dish into an inviting centerpiece.