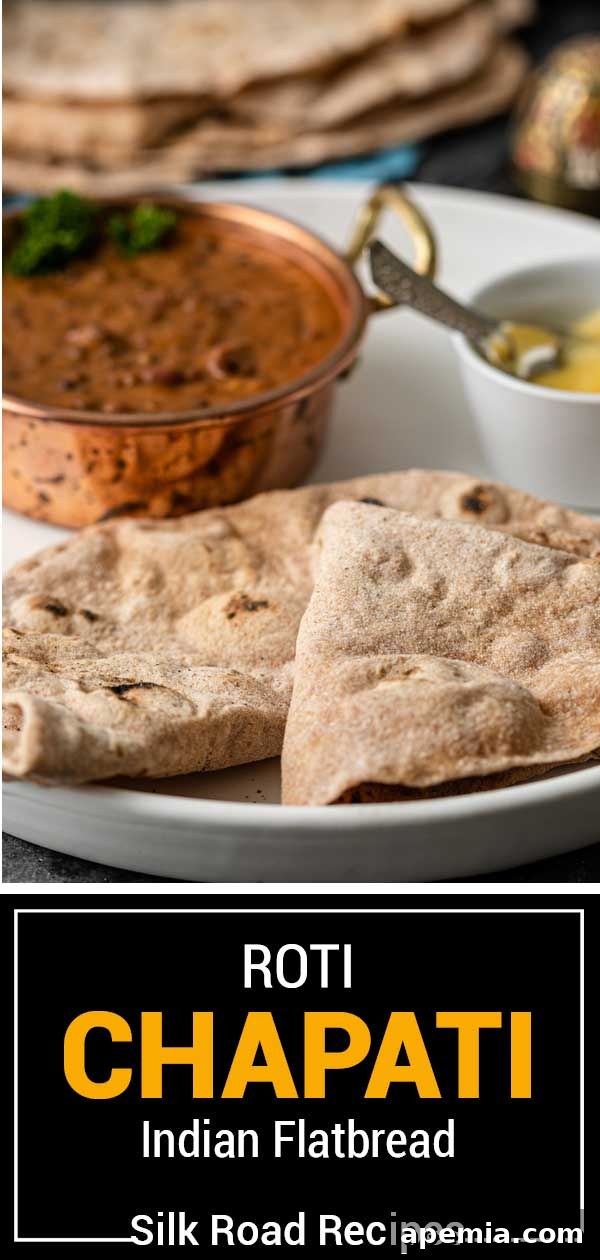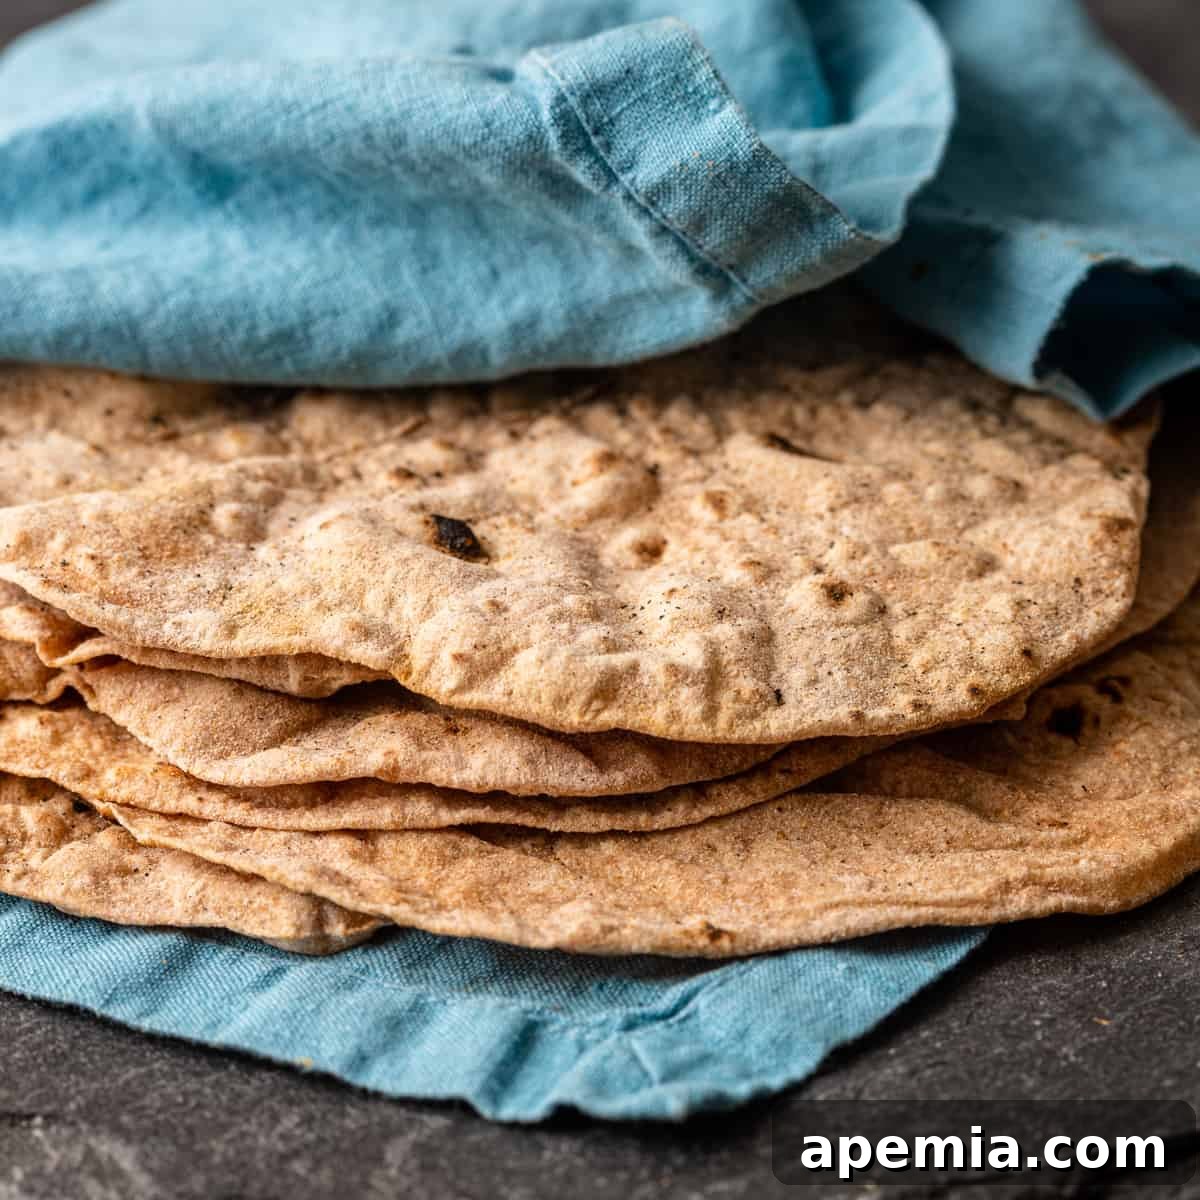
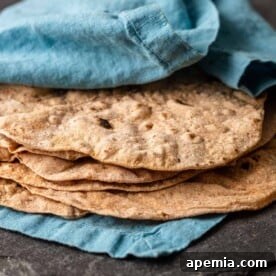
Soft, subtly nutty, and incredibly satisfying, Roti is more than just a flatbread; it’s a culinary cornerstone of Indian cuisine. This unleavened Indian flatbread, often known as Chapati, is crafted from just four basic ingredients, transforming into delightful, pliable rounds that puff beautifully when cooked. It stands as the ideal companion to rich, saucy curries, comforting dals, and hearty stews – light enough to let the vibrant flavors of your main dish truly shine, yet robust enough to expertly scoop up every delicious morsel. Embark on a journey to master this essential element of Indian cooking, bringing the warmth and authenticity of homemade Roti directly to your table.
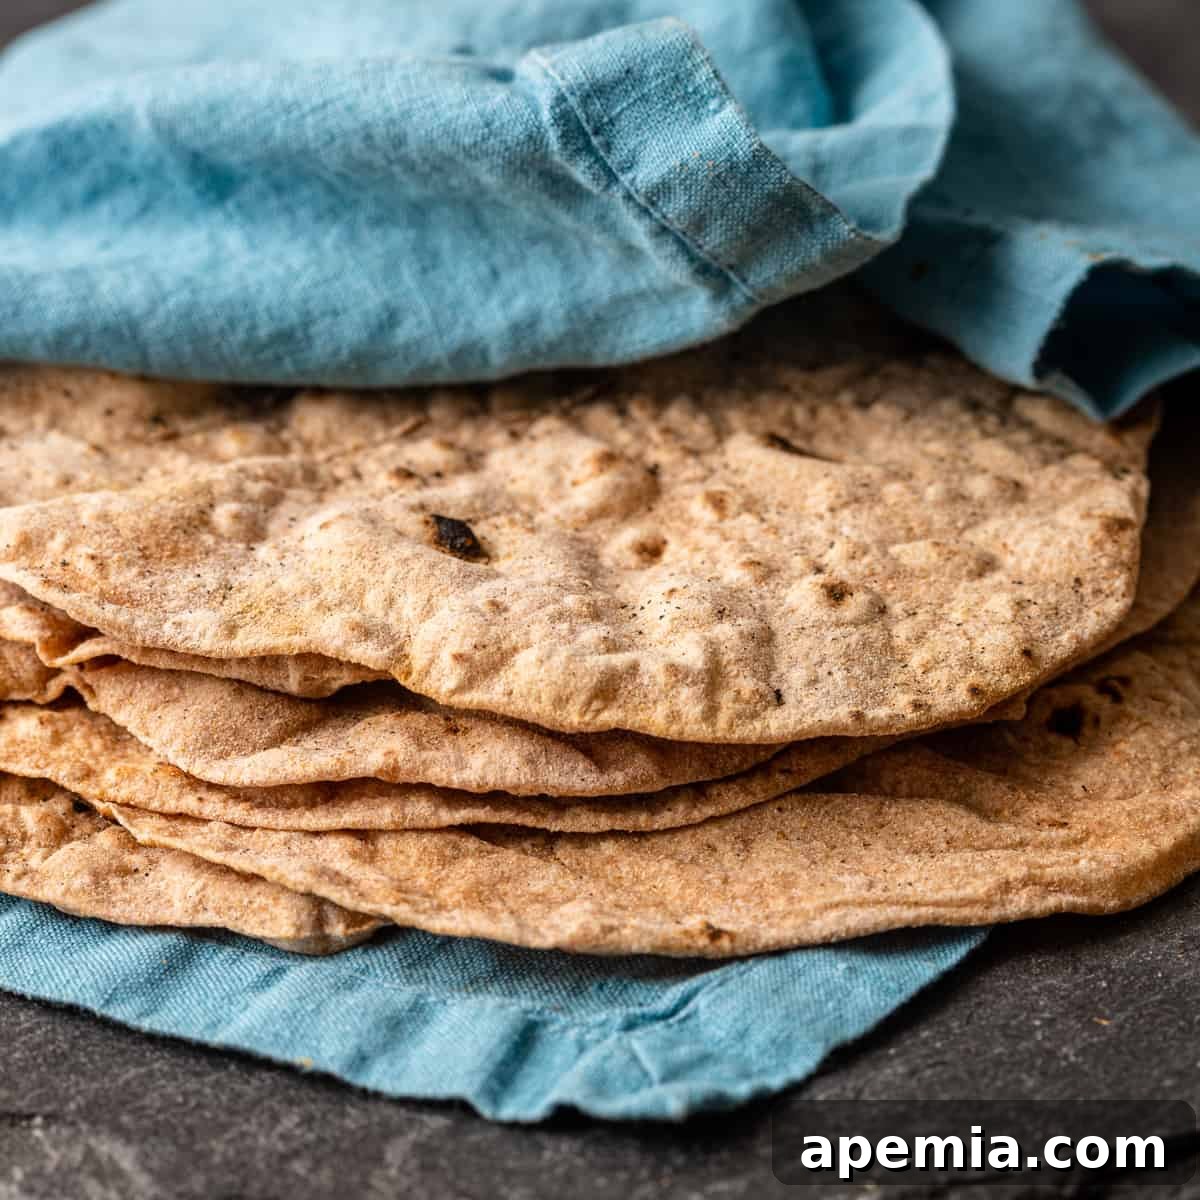
Few breads hold as central and beloved a place in Indian households as Roti. While other popular flatbreads like Naan certainly have their charm and widespread appeal, this humble, round, whole wheat flatbread, affectionately called Chapati in many regions, has graced tables across the Indian subcontinent for centuries. From the bustling streets of Delhi to the vibrant kitchens of Dhaka, Roti remains a steadfast staple, deeply woven into the daily culinary fabric of millions.
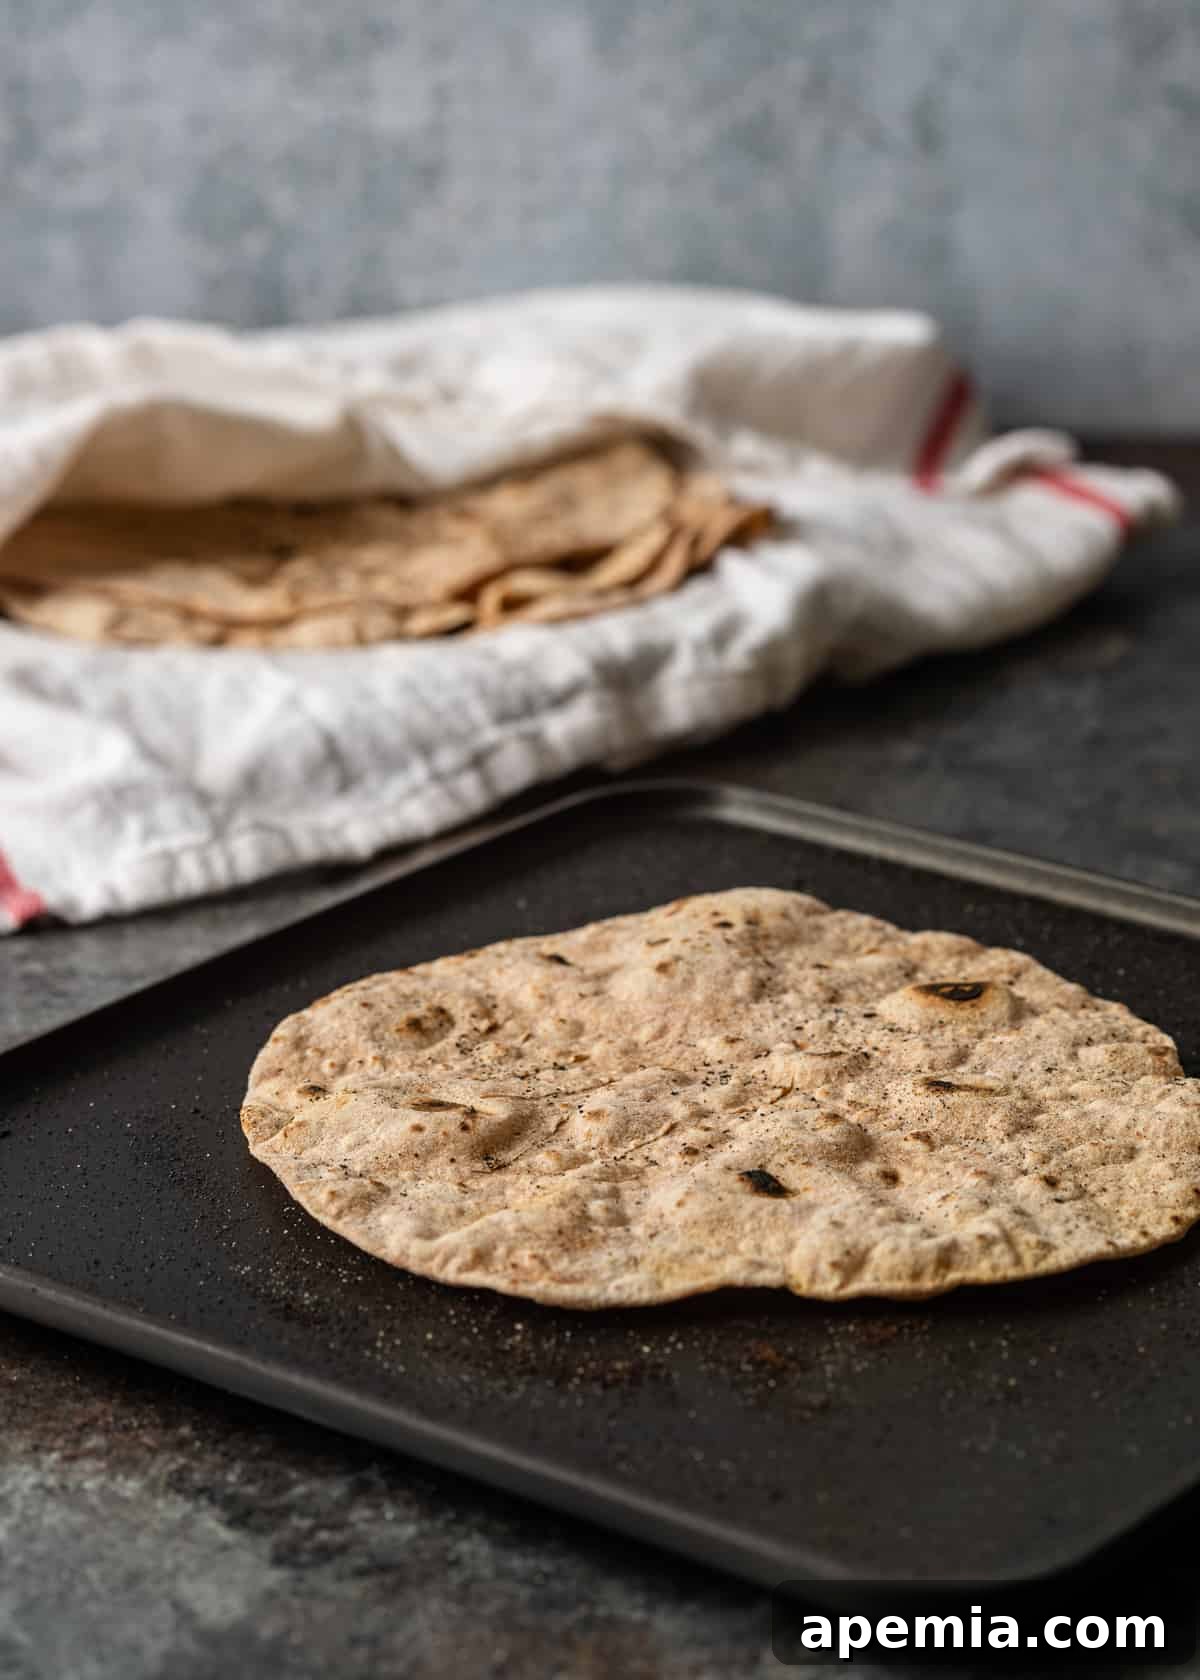
The enduring allure of Roti lies in its profound simplicity. Its creation requires only whole wheat flour, water, a touch of oil, and a pinch of salt. These modest components, when brought together with a little care and technique, yield soft, wonderfully pliable rounds of dough. When cooked over a hot griddle, these rounds magically puff up, creating airy pockets within and developing a perfect chewiness that makes them utterly addictive. Once you experience the unparalleled taste and texture of freshly made, homemade Roti, you’ll find it incredibly difficult to return to pre-packaged alternatives. Trust us, the effort is truly rewarding!
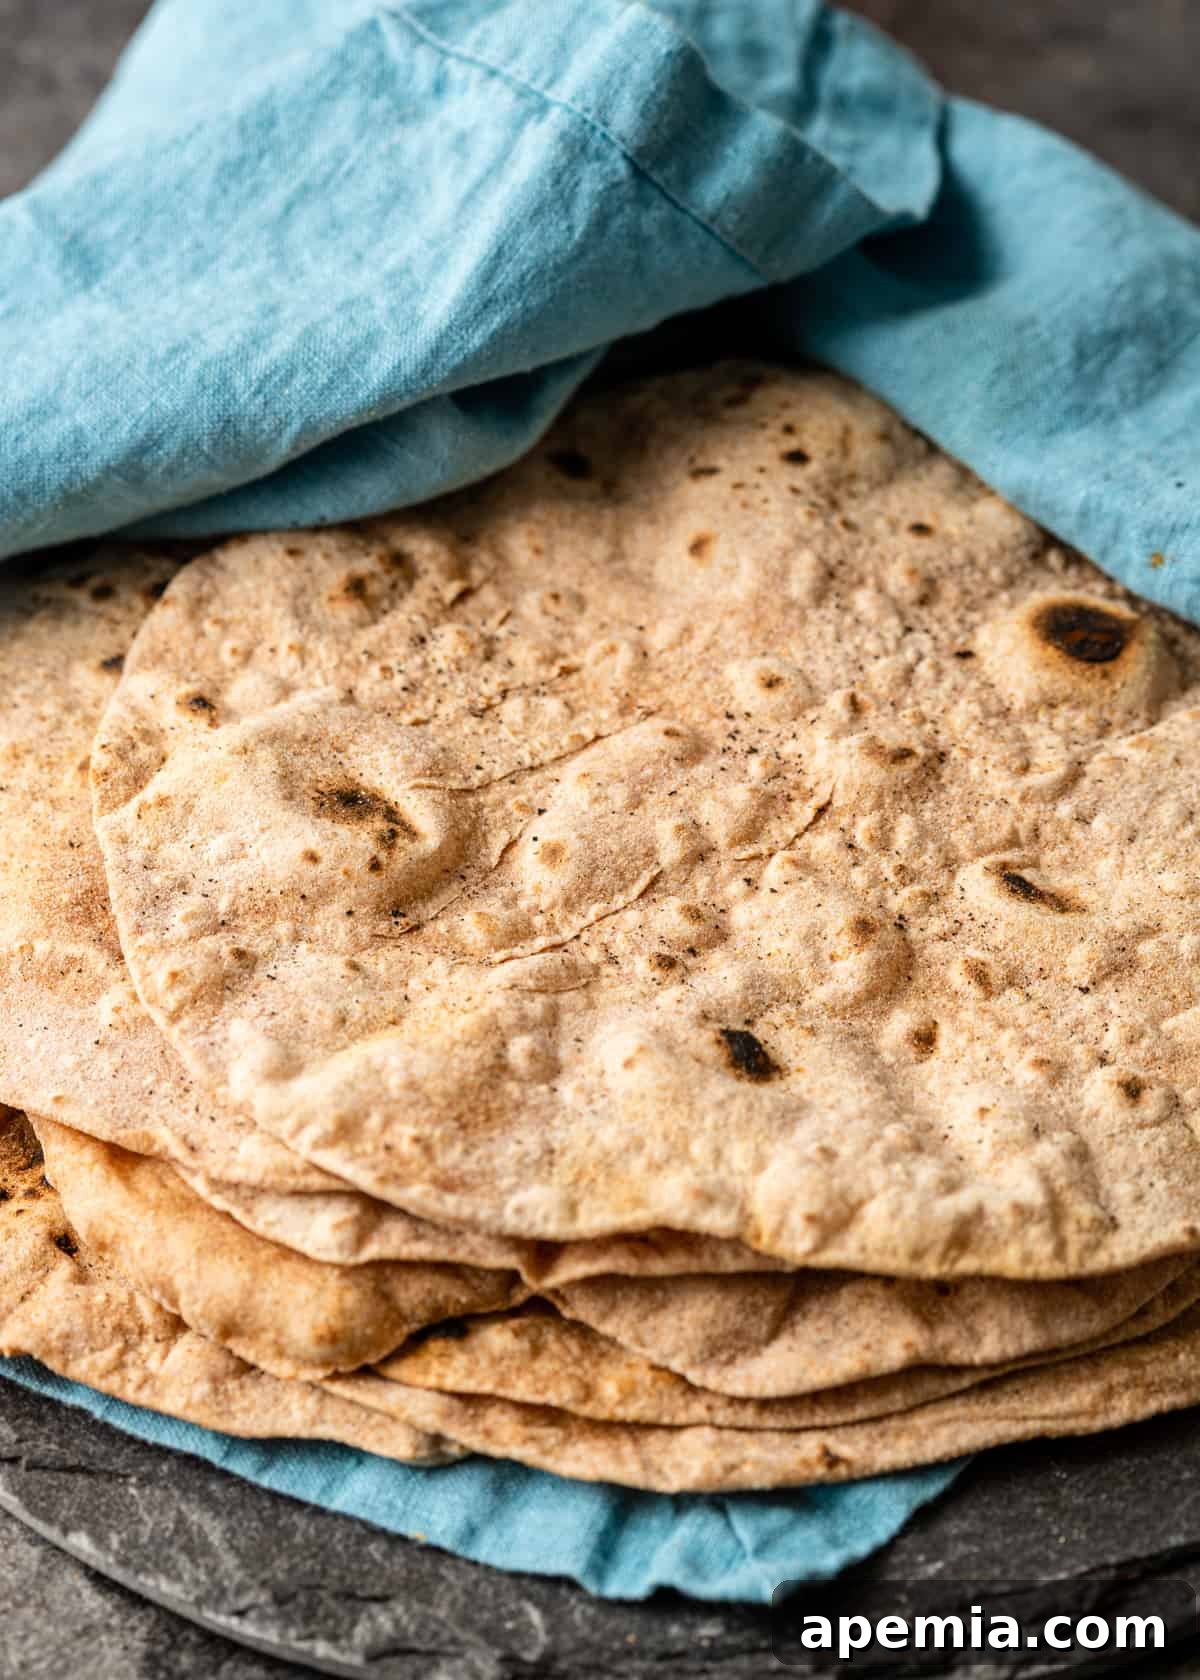
Table of Contents: Your Guide to Mastering Roti
- Roti vs. Naan: Understanding the Differences
- The Magic of Four Ingredients: Key Notes & Substitutions
- How to Make Authentic Indian Flatbread (Roti/Chapati)
- Essential Tools for Roti Making
- Beyond the Plate: Creative Serving Suggestions
- Frequently Asked Questions About Roti
- Roti Indian Flatbread (Chapati) Recipe Card
Whether you envision it served elegantly alongside luxurious curries such as the creamy Butter Chicken or the robust Lamb Rogan Josh, or perhaps as a versatile base for innovative wraps and succulent kebabs, Roti truly embodies the essence of Indian comfort food. The process of making it from scratch at home is not only deeply satisfying but also yields a product that far surpasses any store-bought variety in terms of freshness, texture, and flavor. Once you’ve experienced the warmth of a freshly made, perfectly puffed Roti, there’s no going back!
Expert Insight
Roti or Naan: Unraveling the Indian Flatbread Mystery
While both Roti and Naan are iconic Indian flatbreads, they possess distinct characteristics that set them apart. Roti, also known as Chapati, is an unleavened bread, meaning it contains no leavening agents like yeast. It’s traditionally made from finely milled whole wheat flour, known as atta, and is cooked on a dry griddle called a tava. This method results in its characteristic light, soft, and slightly chewy texture, perfect for everyday meals.
In contrast, Naan is a leavened flatbread, typically made with refined all-purpose flour and enriched with yeast or yogurt, which gives it its signature soft, pillowy, and slightly tangy interior. Naan is traditionally baked in a scorching hot clay oven called a tandoor, or sometimes in a regular oven, imparting a distinct smoky flavor and beautifully charred spots. Understanding these differences helps appreciate the unique role each bread plays in Indian cuisine.
The Magic of Four Ingredients: Key Notes & Substitutions
(For precise measurements, always refer to the detailed recipe card below)
- Whole Wheat Flour (Atta): The heart of Roti! Traditionally, it’s made from Indian atta flour, which is stone-ground and much finer than most Western whole wheat flours, giving Roti its unique softness and texture. If authentic atta is unavailable, you can achieve a similar softness by combining about 70% finely ground whole wheat flour with 30% all-purpose flour. This blend helps to balance the gluten development, preventing the roti from becoming too dense.
- Water: This seemingly simple ingredient is paramount to achieving the signature soft and pliable texture of Roti. The water temperature can make a difference; warm water often helps the dough come together more easily and relax the gluten. Start with the recommended amount and gradually add small increments (a tablespoon at a time) until your dough reaches a soft, smooth consistency that is pliable but not overly sticky. Humidity can affect flour absorption, so adjust as needed.
- Vegetable Oil: A small amount of oil is crucial for adding elasticity to the dough, making it easier to roll and preventing it from cracking during the process. It also contributes to the Roti’s tenderness. For an even richer flavor and a more traditional touch, you can substitute vegetable oil with an equal amount of melted ghee (clarified butter) or regular unsalted butter.
- Salt: Just a pinch of salt is all that’s needed to enhance the natural, wholesome flavor of the whole wheat flour and perfectly balance the overall taste of your Roti. It’s a small addition that makes a big difference to the final product.
How to Make Authentic Indian Flatbread (Roti/Chapati): A Step-by-Step Guide
Crafting perfect Roti at home is a rewarding experience. Follow these steps for consistently soft, puffed, and delicious results:
- Prepare the Dough: In a large mixing bowl, combine the whole wheat flour and salt. Create a small well in the center, then add the oil. Gradually pour in the water, mixing with your hands (or a stand mixer with a dough hook) until the ingredients come together to form a shaggy dough. Continue to add water, a little at a time, until the dough is cohesive and relatively soft.
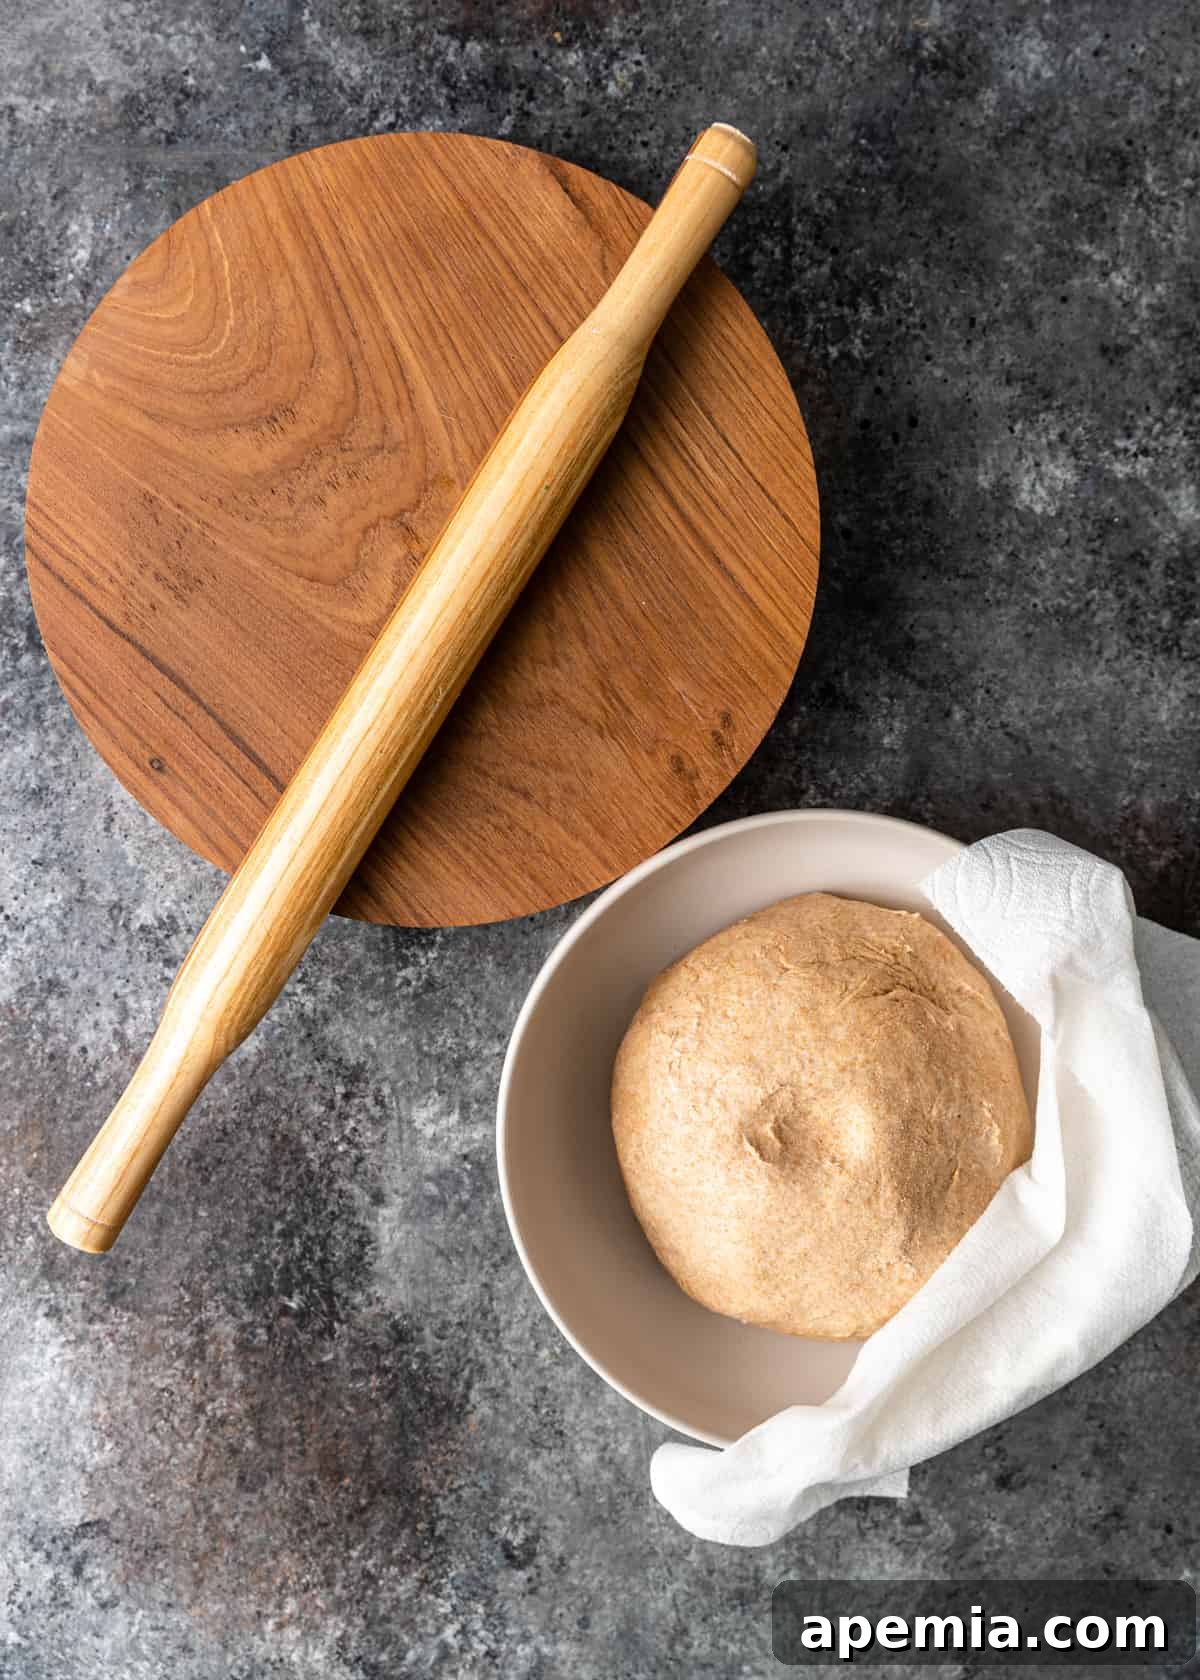
- Knead & Rest for Perfection. Transfer the dough to a clean, lightly floured surface and knead vigorously for about 3 to 5 minutes. The goal is to achieve a smooth, elastic, and soft dough. If it feels too stiff, moisten your hands slightly and knead in a touch more water. If it’s too sticky, sprinkle in a small amount of dry flour. Once kneaded, form the dough into a ball, cover it with a damp cloth or paper towel, and let it rest at room temperature for at least 20 to 30 minutes. This resting period is crucial for relaxing the gluten, which makes the Roti tender and easier to roll.
- Shape and Roll with Precision. After resting, gently knead the dough once more for a minute. Divide the dough into equal portions – typically 12 for medium-sized rotis. Roll each portion into a smooth ball between your palms. Lightly dust a dough ball with flour, then use a rolling pin to roll it into a thin, even circle, about 5 to 6 inches in diameter. The key to even puffing is consistent thickness; avoid thicker edges.
- Cook on a Hot Skillet. Heat a non-stick tava or cast-iron skillet over medium-high heat. Once hot (a drop of water should sizzle instantly), carefully place one rolled Roti onto the dry skillet. Cook for about 15-30 seconds until small bubbles begin to appear on the surface and the underside develops light brown spots.
- Flip and Cook the Second Side. Using tongs, flip the Roti to the other side. Cook for another 30-45 seconds, or until you see more prominent golden-brown spots forming on this side.
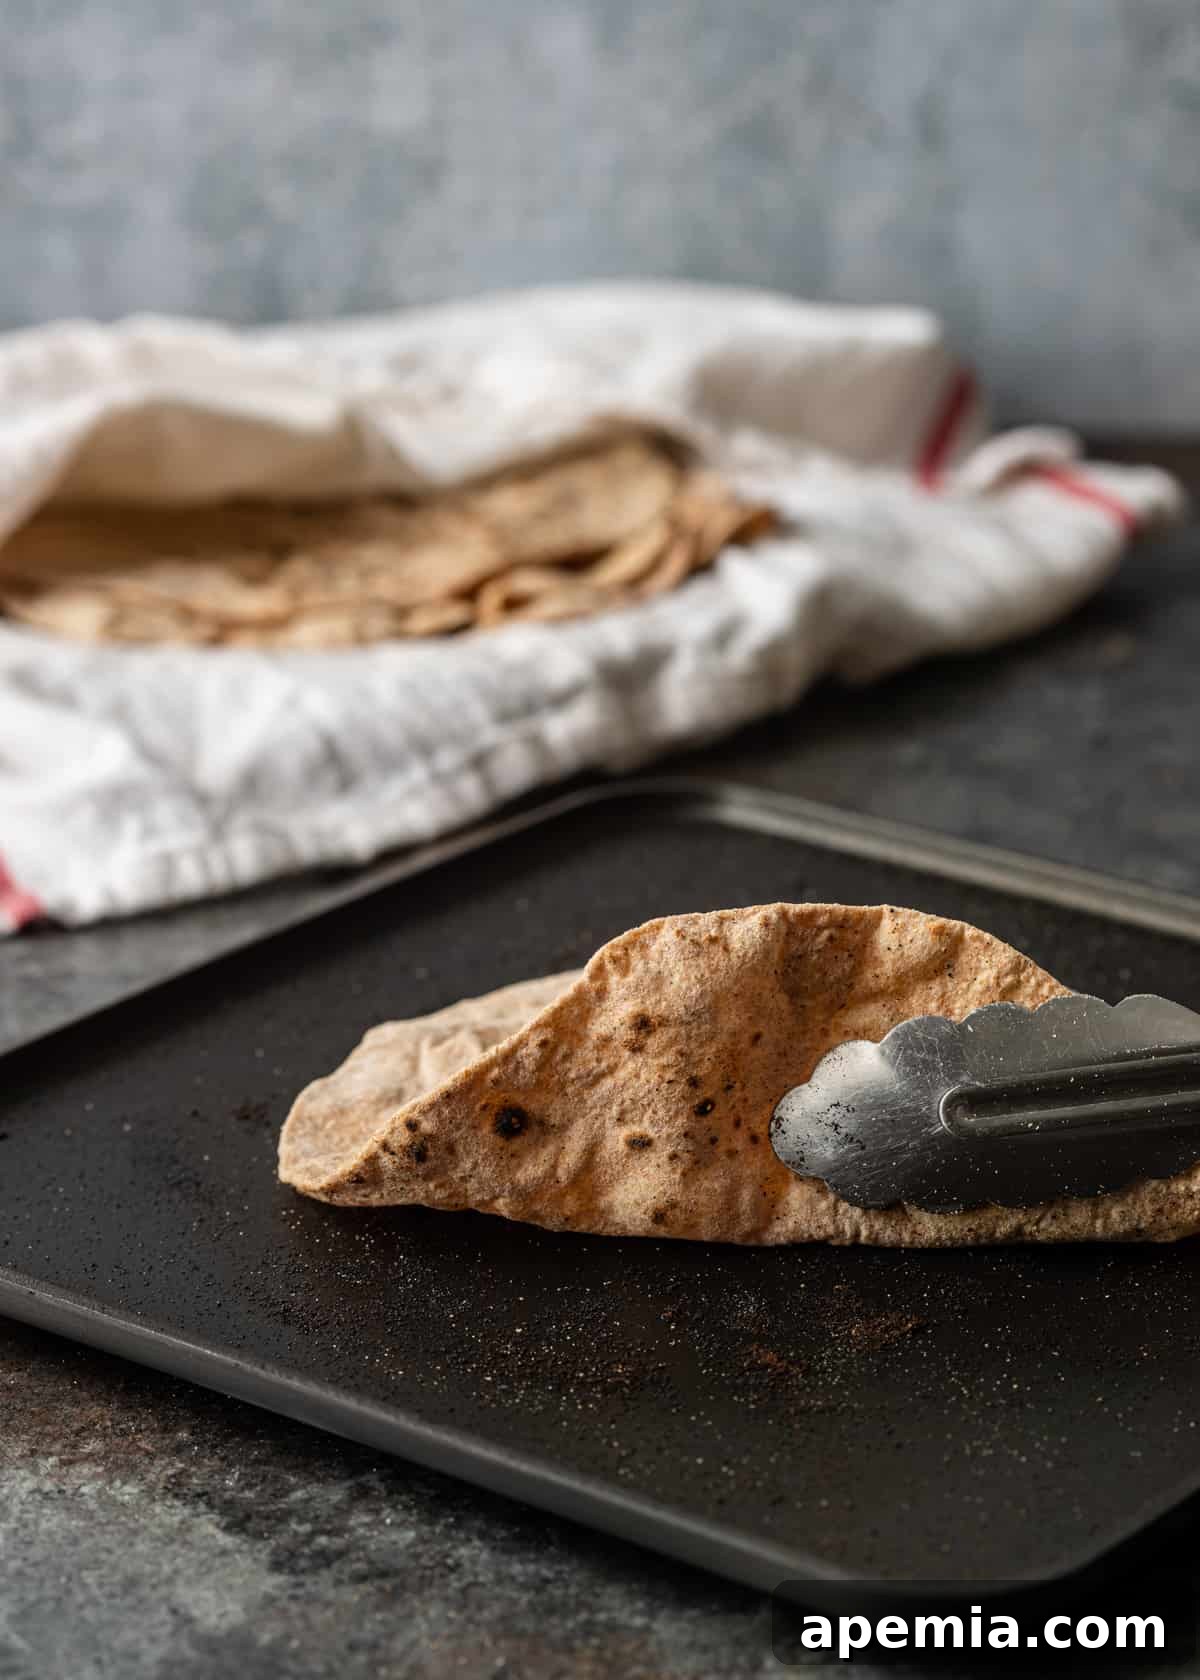
- Achieve the Signature Puff Over a Flame (Optional but Recommended). If you have a gas stove, use tongs to carefully transfer the partially cooked Roti directly over an open flame (low to medium heat). Watch in amazement as the Roti quickly balloons up like a pillow! Flip it once more with the tongs to lightly cook the other side, ensuring even puffing. If you don’t have an open flame, simply press gently and steadily around the edges of the Roti on the hot skillet with a clean kitchen towel or cloth. The steam trapped inside will encourage it to puff up.
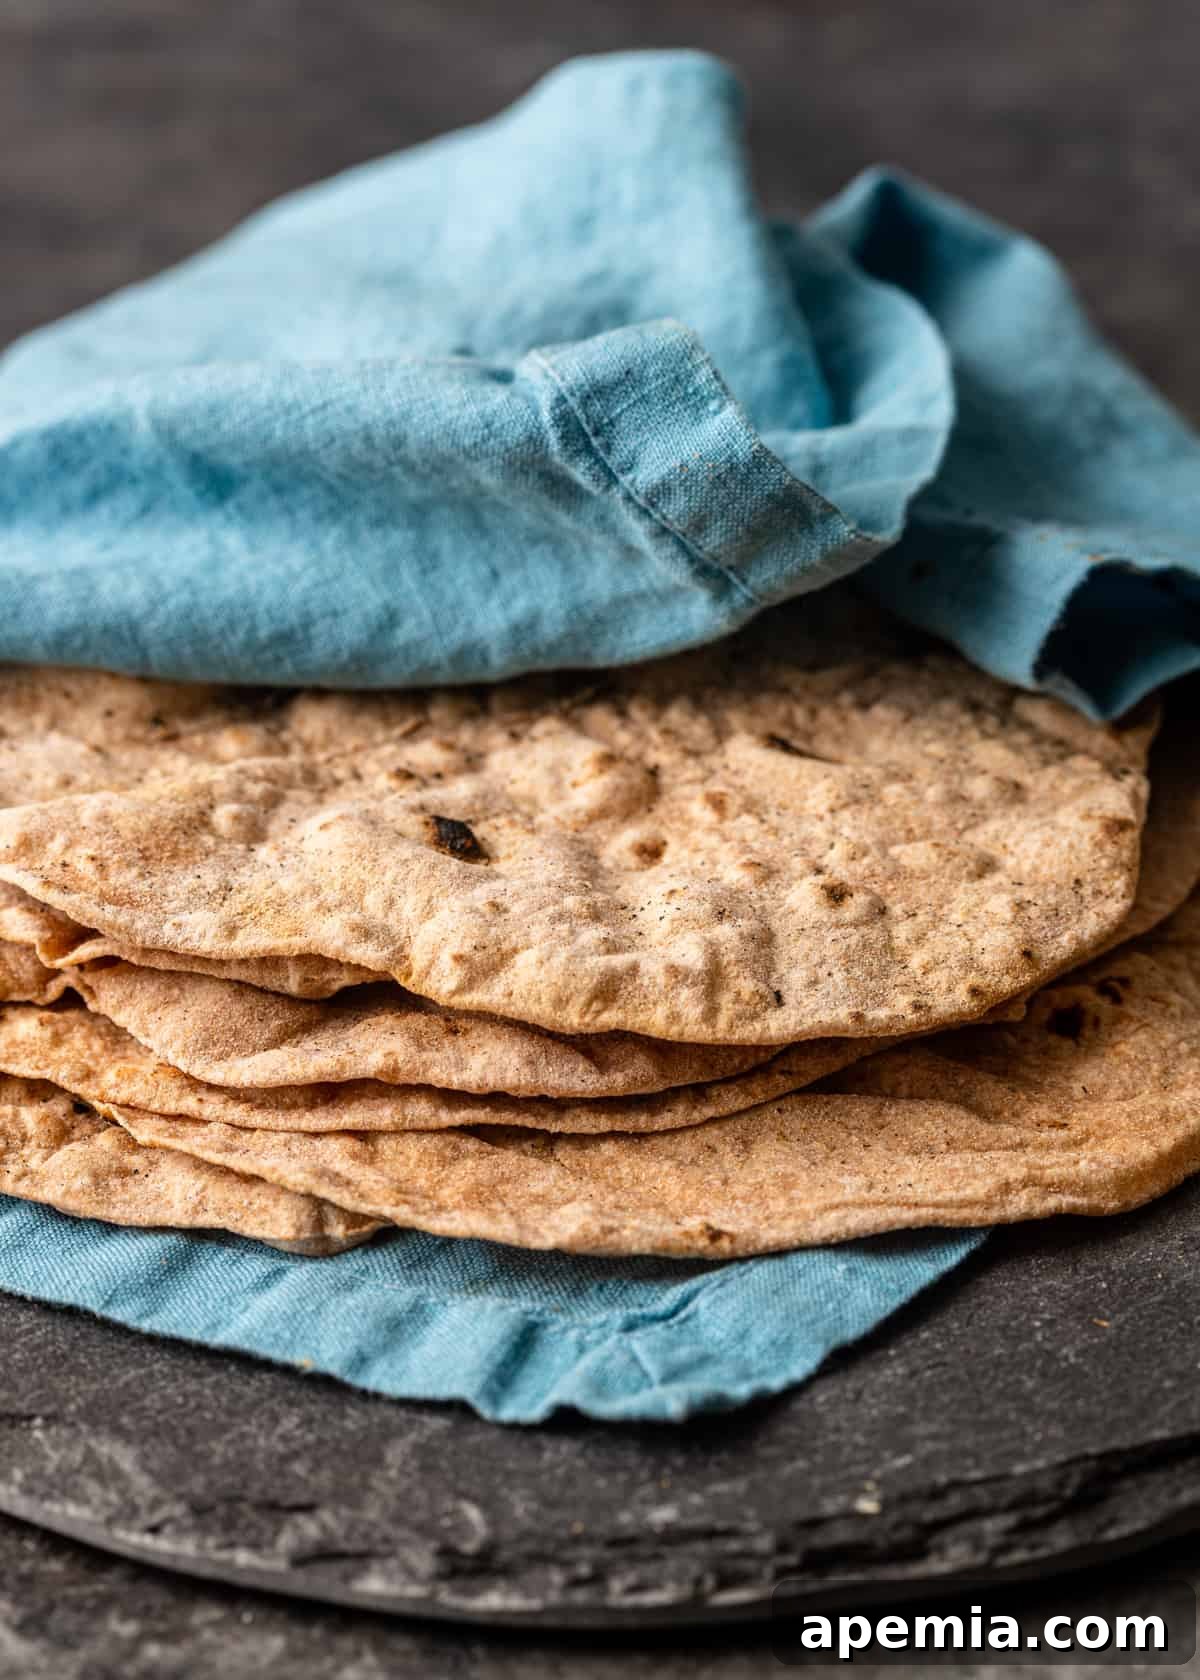
- Brush with Ghee & Keep Warm. As each Roti finishes cooking, immediately transfer it to a plate and brush lightly with melted ghee or butter. Stack the cooked Roti and keep them covered with a clean kitchen towel or in an insulated container to retain their warmth and maintain their soft, pliable texture until serving.
Kevin’s Pro Tips for Unbeatable Roti
- Embrace Warm Water: Always use warm water when mixing your dough. This helps to activate the gluten more efficiently, resulting in a dough that is not only easier to work with but also becomes more supple and tender, contributing to that desirable softness.
- The Power of Rest: Do not skip the resting period. Allowing the dough to rest for at least 20-30 minutes is paramount. This crucial step relaxes the gluten strands, preventing the Roti from becoming tough and enabling it to puff up beautifully and evenly during cooking.
- Consistency in Thickness: Achieving an even thickness when rolling your Roti is everything for a successful puff. If parts of the Roti are thicker or thinner, the steam won’t distribute uniformly, preventing it from ballooning up completely. Practice makes perfect!
- No Open Flame? No Problem! While puffing over an open flame is traditional and visually satisfying, it’s not the only way. You can achieve a great puff by gently pressing down on the Roti with a clean kitchen towel on a hot skillet. The trapped steam will still work its magic.
- Hot Skillet, Not Smoking: Ensure your tava or skillet is adequately hot before placing the Roti. If it’s too cold, the Roti will dry out instead of puffing. If it’s too hot and smoking, it will burn before cooking through. Medium-high heat is typically ideal.
- Dust, Don’t Coat: When dusting your dough for rolling, use just enough flour to prevent sticking. Too much flour can make the Roti dry and stiff, affecting its texture. Gently brush off any excess flour before placing it on the skillet.
Essential Tools for Roti Making
- Rolling Pin (Belan): A traditional Indian wooden rolling pin, often thinner and longer than Western counterparts, works exceptionally well for even pressure distribution, helping you achieve thin, uniform rounds. Any light wooden rolling pin will suffice.
- Tava or Cast-Iron Skillet: The classic choice for cooking Roti. A good quality tava (a flat, concave griddle) or a heavy cast-iron skillet is essential. These materials heat evenly and retain heat consistently, which is crucial for developing those beautiful char spots and ensuring a proper puff.
- Tongs: Indispensable for safely flipping the Roti on the hot skillet and for delicately holding it over an open flame to achieve that satisfying balloon-like puff without burning your fingers.
- Damp Cloth/Tea Towel: Used to cover the dough during its resting period to prevent it from drying out, and also to wrap the cooked Roti, keeping them warm and soft until served.
Beyond the Plate: Creative Serving Suggestions for Roti
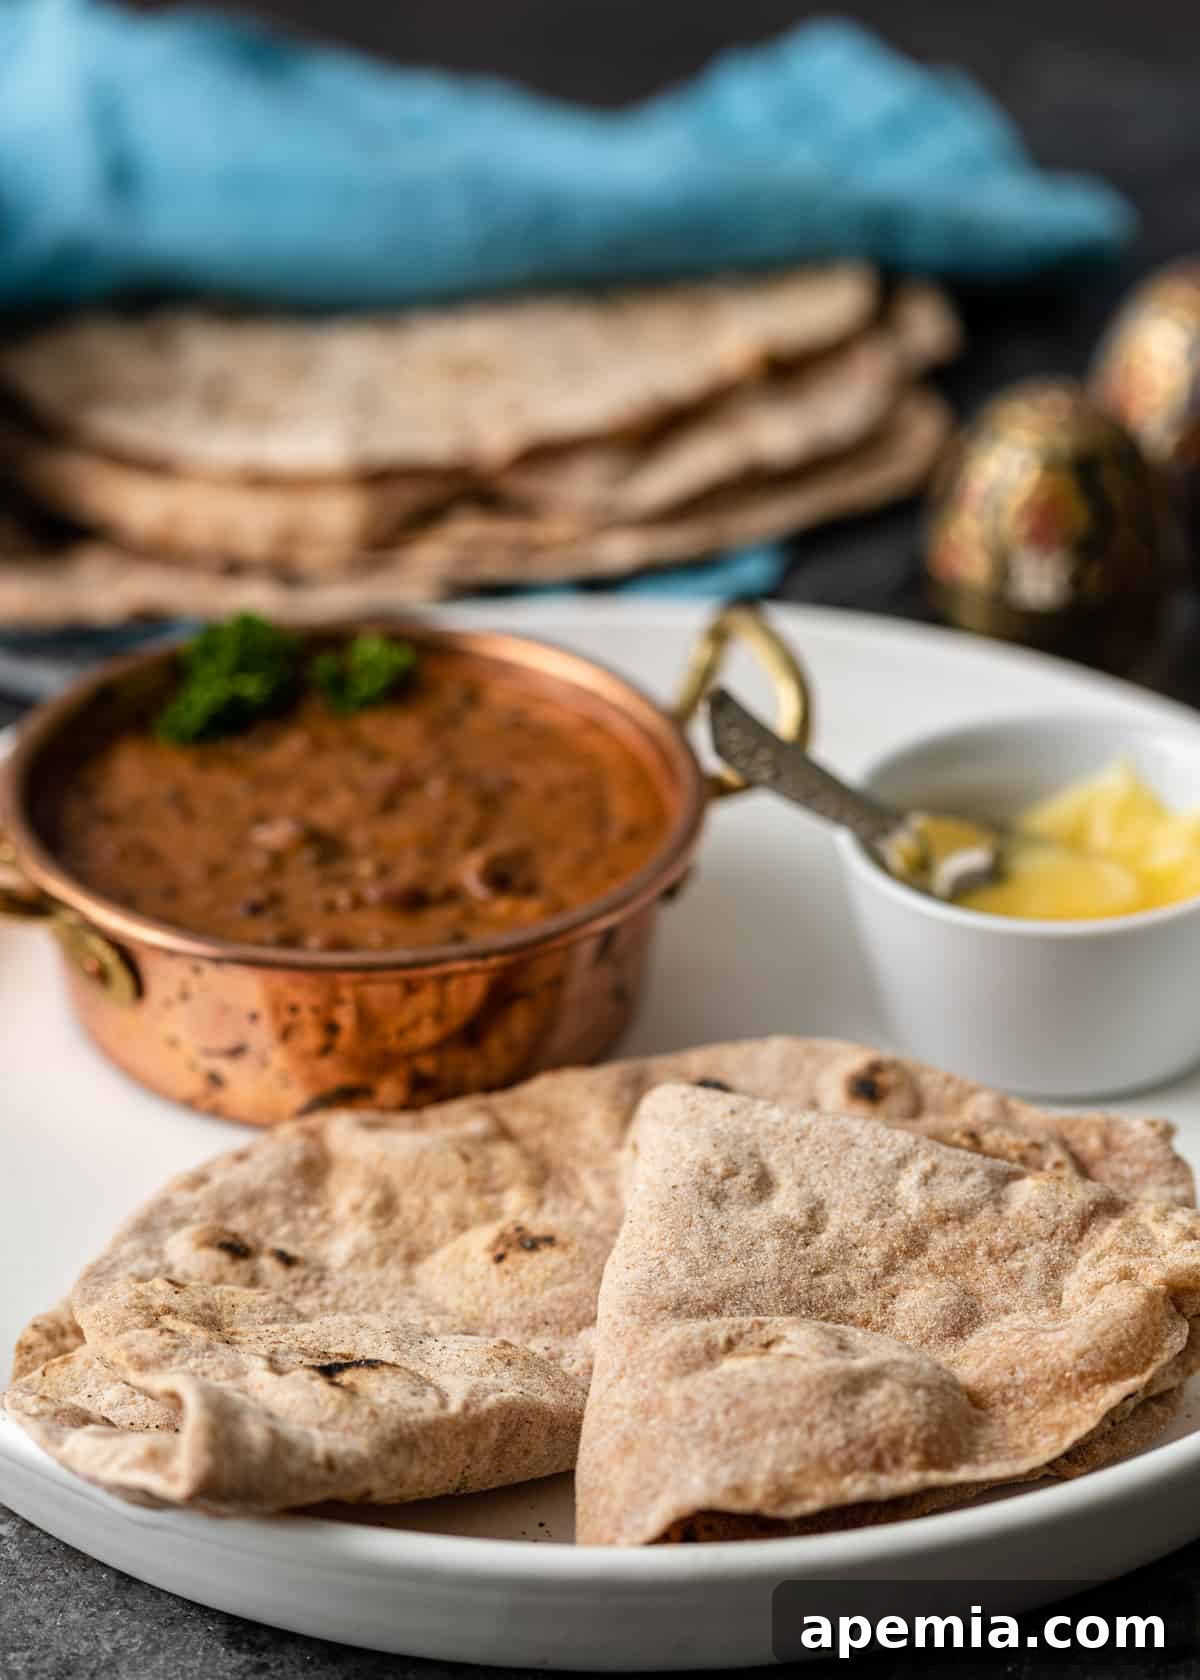
Roti is best enjoyed piping hot, fresh off the pan, and lightly brushed with a dollop of ghee for that irresistible soft, melt-in-your-mouth finish. Its neutral yet subtly nutty flavor makes it incredibly versatile, pairing wonderfully with a vast array of dishes.
This Roti recipe is the quintessential companion to almost any saucy curry or stew, designed to soak up every precious drop of flavor. We particularly love pairing it with timeless classics like the aromatic Indian Chicken Curry (Murgh Kari) or the intensely flavored Lamb Vindaloo Curry, creating a perfectly balanced and deeply satisfying meal with a comforting carb hit.
For a delightful vegetarian feast, try this versatile Chapati with hearty Kala Chana (Black Chickpea Curry), the beloved potato and cauliflower blend of Aloo Gobi, or a vibrant mixed vegetable sabzi. Roti also excels as a utensil; use it to elegantly scoop up cooling side dishes such as refreshing Cucumber Raita, sweet and tangy Mango Chutney, or any variety of Indian pickles.
Don’t limit Roti to dinner! Its adaptability extends far beyond traditional pairings. Get creative by using leftover Roti as a base for quick and delicious wraps filled with grilled meats, spiced lentils, paneer, or even scrambled eggs for an easy, flavorful lunch the next day. You can also turn them into mini quesadillas, use them to scoop up hummus or baba ghanoush, or even create a unique Roti pizza for a fun twist. It’s a fantastic way to enjoy this delicious flatbread anytime, anywhere!
Share this irresistible Roti recipe on Pinterest!
Loved making this recipe? Help others discover the joy of homemade Indian flatbread by sharing it with your friends and followers on Pinterest.
Frequently Asked Questions About Homemade Roti
Absolutely! The Roti dough can be made in advance and refrigerated for up to 24 hours. Just ensure it comes to room temperature for about 30 minutes before you start rolling and cooking. For cooked Roti, allow them to cool completely. You can then stack them, separating each with a piece of wax paper, wrap them tightly in aluminum foil, and place them in an airtight container. Leftover cooked Roti will stay fresh in the refrigerator for 2-3 days or can be frozen for an extended period of 2-3 months. Reheat gently on a warm skillet or in a microwave until soft.
While traditional Roti relies on the gluten in whole wheat flour for its texture and puff, you can certainly experiment with gluten-free alternatives. A popular approach is to use a blend of chickpea flour (besan) and millet flours. It’s important to note that the texture will be different; gluten-free rotis typically won’t puff up in the same dramatic way as their wheat counterparts. However, they can still be incredibly delicious and serve as a wonderful accompaniment to your favorite curries and stews, offering a unique flavor profile.
The ‘puff’ is often considered the hallmark of a well-made Roti! Several factors can prevent it from puffing. Common culprits include uneven rolling (if parts are too thick or thin, steam can’t distribute uniformly), dough that is too dry or too stiff (lacking elasticity), a skillet that isn’t hot enough, or tiny holes in the rolled Roti through which steam can escape. Ensure your dough is soft and well-rested, roll it to an even thickness, maintain a consistent medium-high heat on your skillet, and handle the Roti gently to avoid tearing. Watching a video tutorial on rolling and cooking techniques can also be incredibly helpful!
If your Roti is tough, it’s often due to one of a few reasons. Over-kneading can develop the gluten too much, making it too elastic and hard. Conversely, not enough kneading or resting time can also make it difficult to roll smoothly and result in a stiff Roti. The dough’s hydration level is also critical: a dough that is too dry will yield a hard Roti. Ensure your dough is soft and pliable (not sticky), knead for the recommended 3-5 minutes, and allow it to rest for at least 20 minutes to relax the gluten. Lastly, don’t overcook them; Roti cooks quickly!
These terms are often used interchangeably, but there are subtle distinctions. “Roti” is a broad term for unleavened Indian flatbreads. “Chapati” is a type of Roti, typically slightly thicker and larger, cooked on a tava until browned on both sides, then sometimes finished on an open flame to puff. “Phulka” (meaning ‘puff’ in Hindi) is a lighter, thinner variety of Chapati, traditionally cooked entirely on an open flame after a brief stint on the tava, making it puff up dramatically into a hollow balloon. Phulkas are usually served immediately and rarely brushed with ghee, unlike Chapatis. Essentially, all Chapatis and Phulkas are Rotis, but not all Rotis are Chapatis or Phulkas.
Roti Indian Flatbread (Chapati)
12
10 mins
15 mins
20 mins
45 mins
Pin Recipe
PrintRecipe
Video
A video tutorial for making Roti would be displayed here.
Ingredients
- 2 1/3 cups whole wheat flour (atta recommended) plus 1/4 cup for dusting when rolling the roti
- 1/2 teaspoon salt
- 1 teaspoon vegetable oil
- 3/4 cup warm water
Measurements provided in US Customary units.
Instructions
-
In a large bowl, combine the whole wheat flour and salt. Create a small well in the center and add the vegetable oil. Gradually add the warm water, mixing with your hands (or a stand mixer with a dough hook) until a shaggy dough begins to form. Continue adding water, a tablespoon at a time, and mix until the dough comes together into a soft, pliable ball. The exact amount of water may vary depending on your flour type and local humidity.
-
Transfer the dough to a clean, lightly floured surface and knead for 3 to 5 minutes. The dough should become smooth and elastic. If it feels too firm, add a tiny bit more water and knead. If it feels too sticky or soft, sprinkle in a little dry flour and continue kneading until the desired consistency is reached. Form the dough into a smooth ball. You can test its softness by gently pressing your thumb into it – it should leave a slight impression. Cover the dough with a damp cloth or paper towel and let it rest for at least 20 minutes to allow the gluten to relax.
-
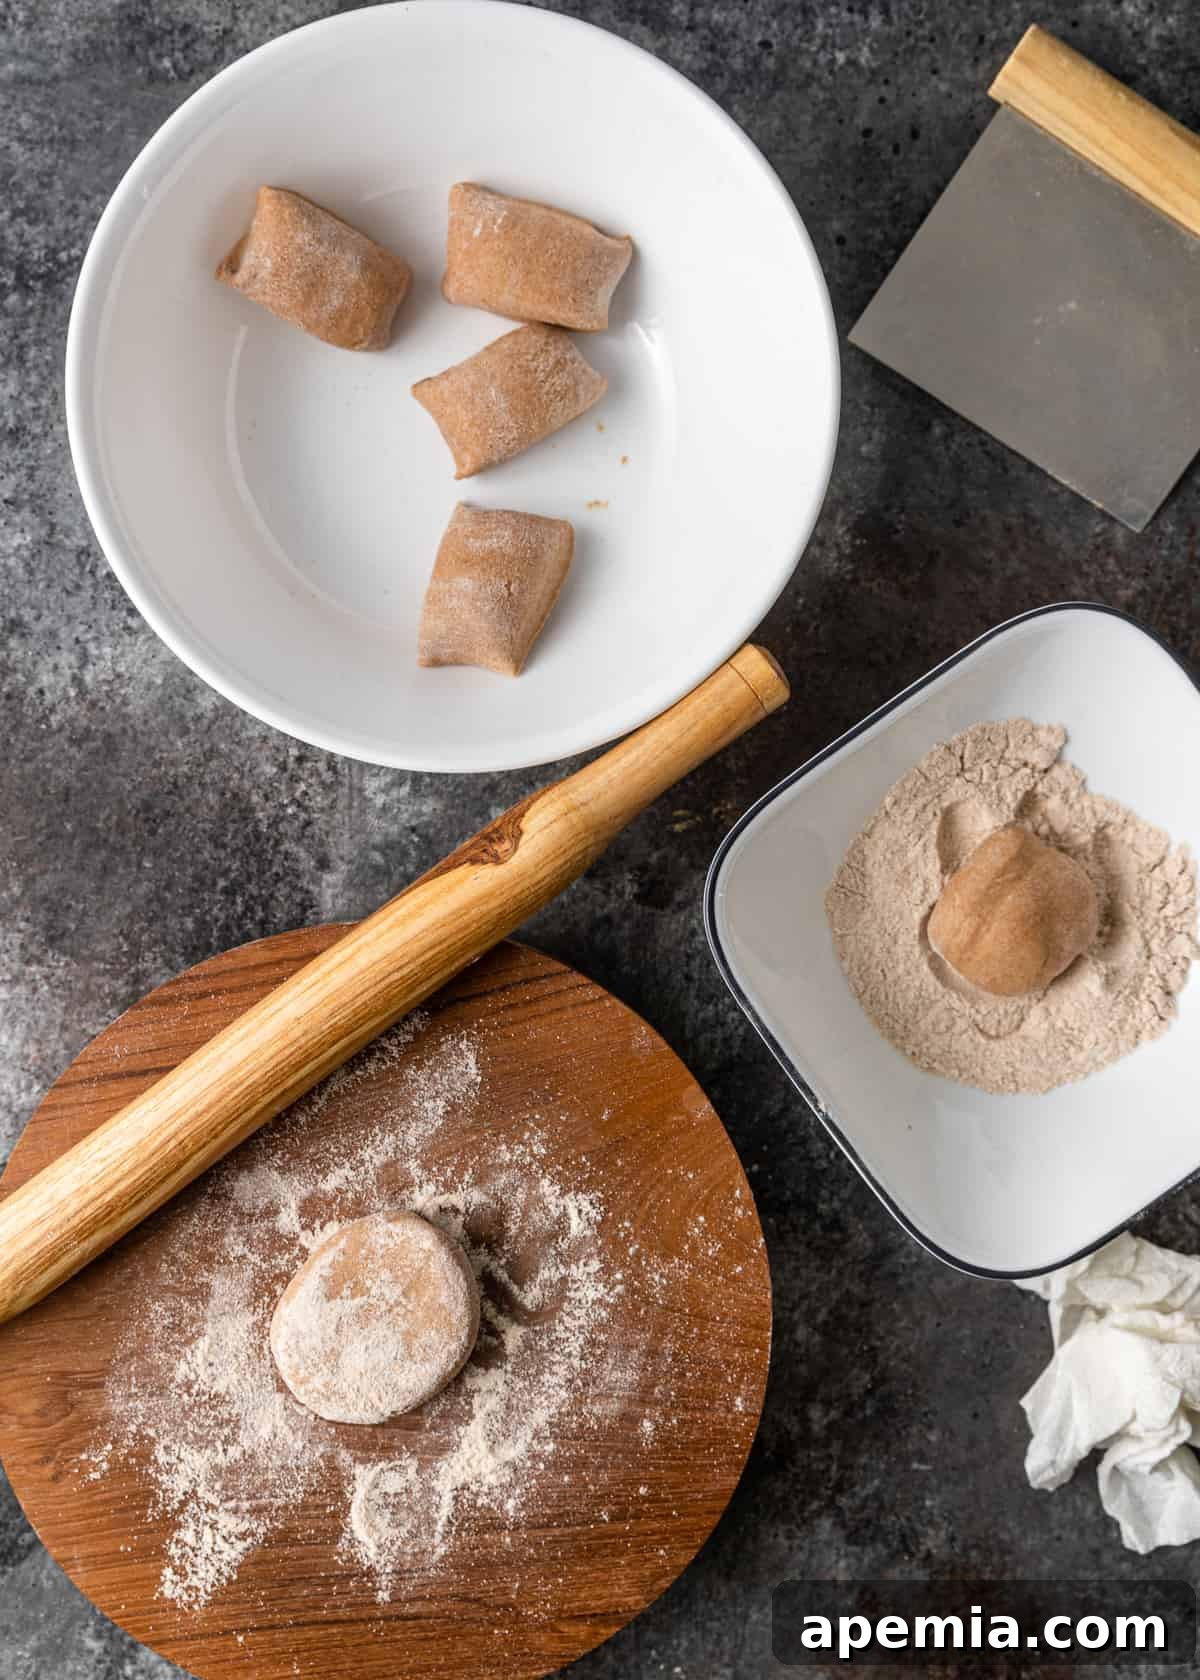
Place about 1/4 cup of whole wheat flour in a small bowl for dusting, and set it aside. After resting, gently knead the dough again for about 30 seconds. Roll the dough into a uniform 12-inch tube. Divide this tube into 12 equal portions, ensuring each piece is roughly the same size for even cooking.
-
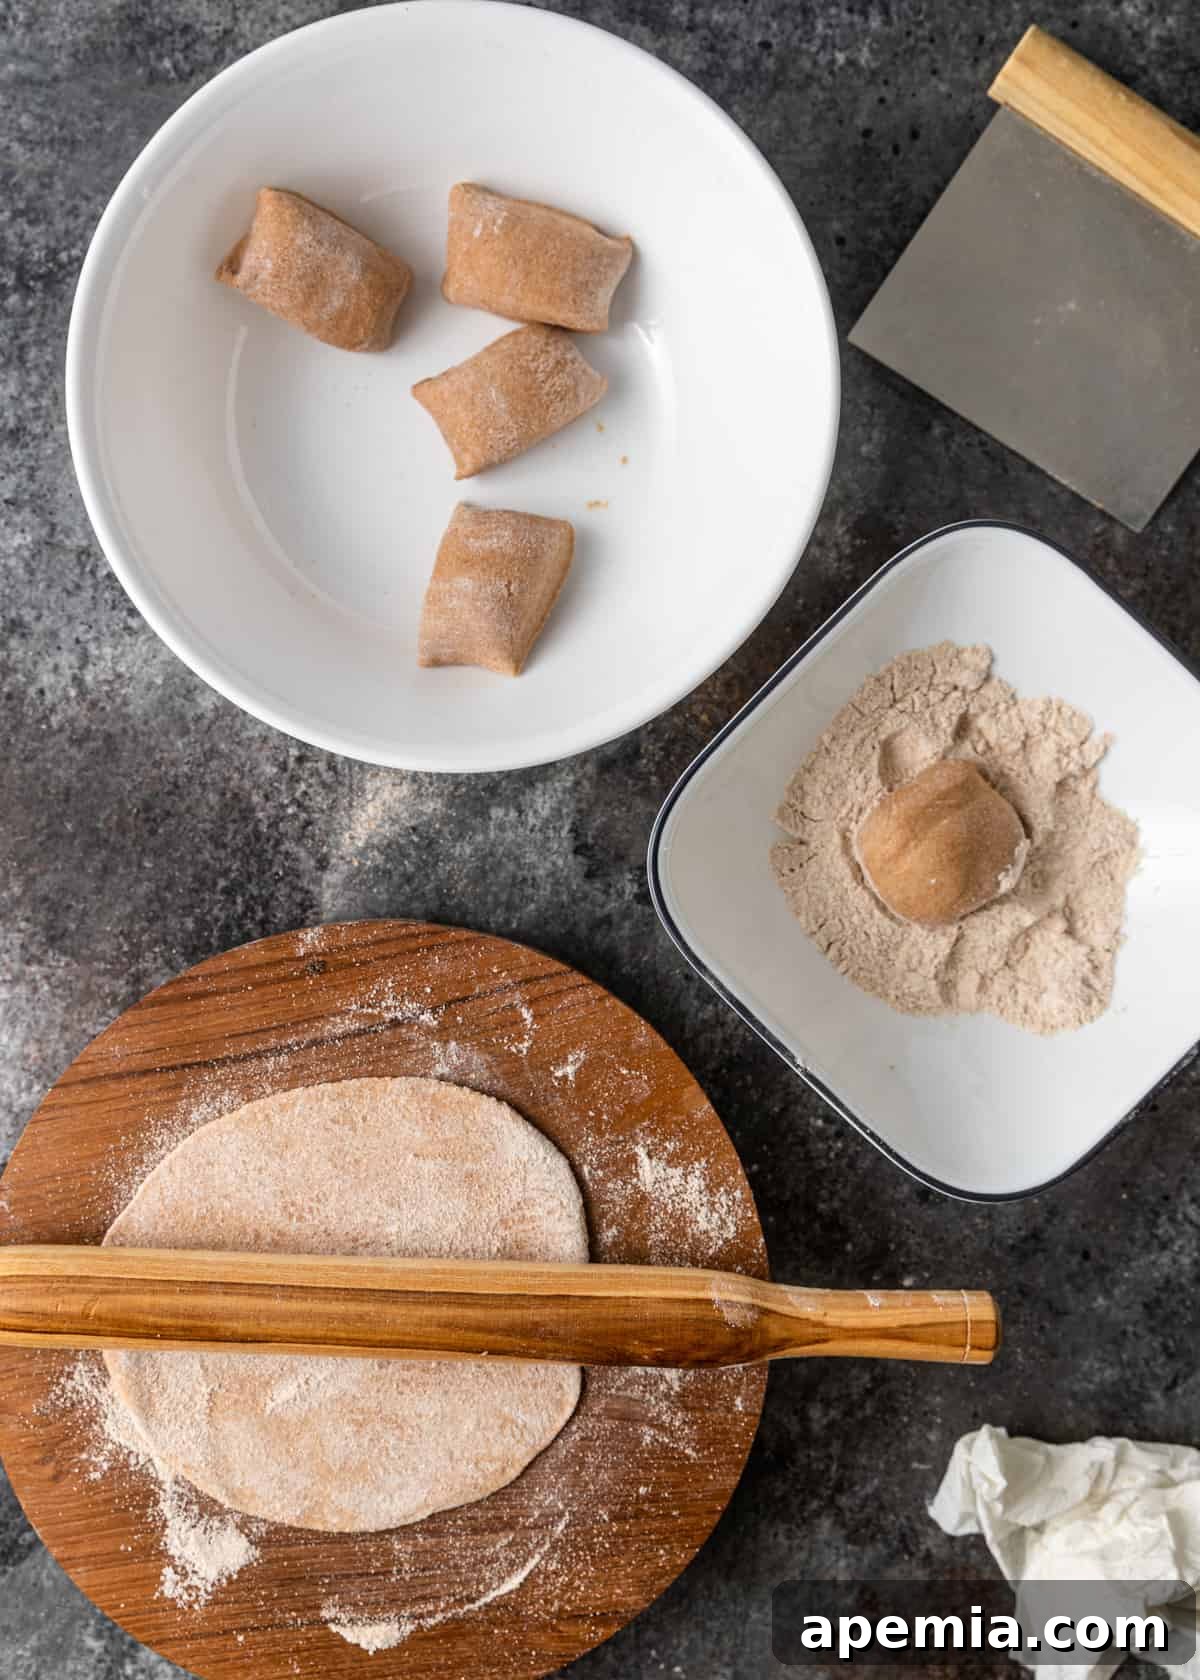
Begin working with one piece of dough, keeping the remaining portions covered with the damp cloth to prevent them from drying out. Flatten the dough piece slightly into a disc shape with your palm. Dip this disc into the dry flour, lightly dusting both sides to prevent sticking during rolling.
-
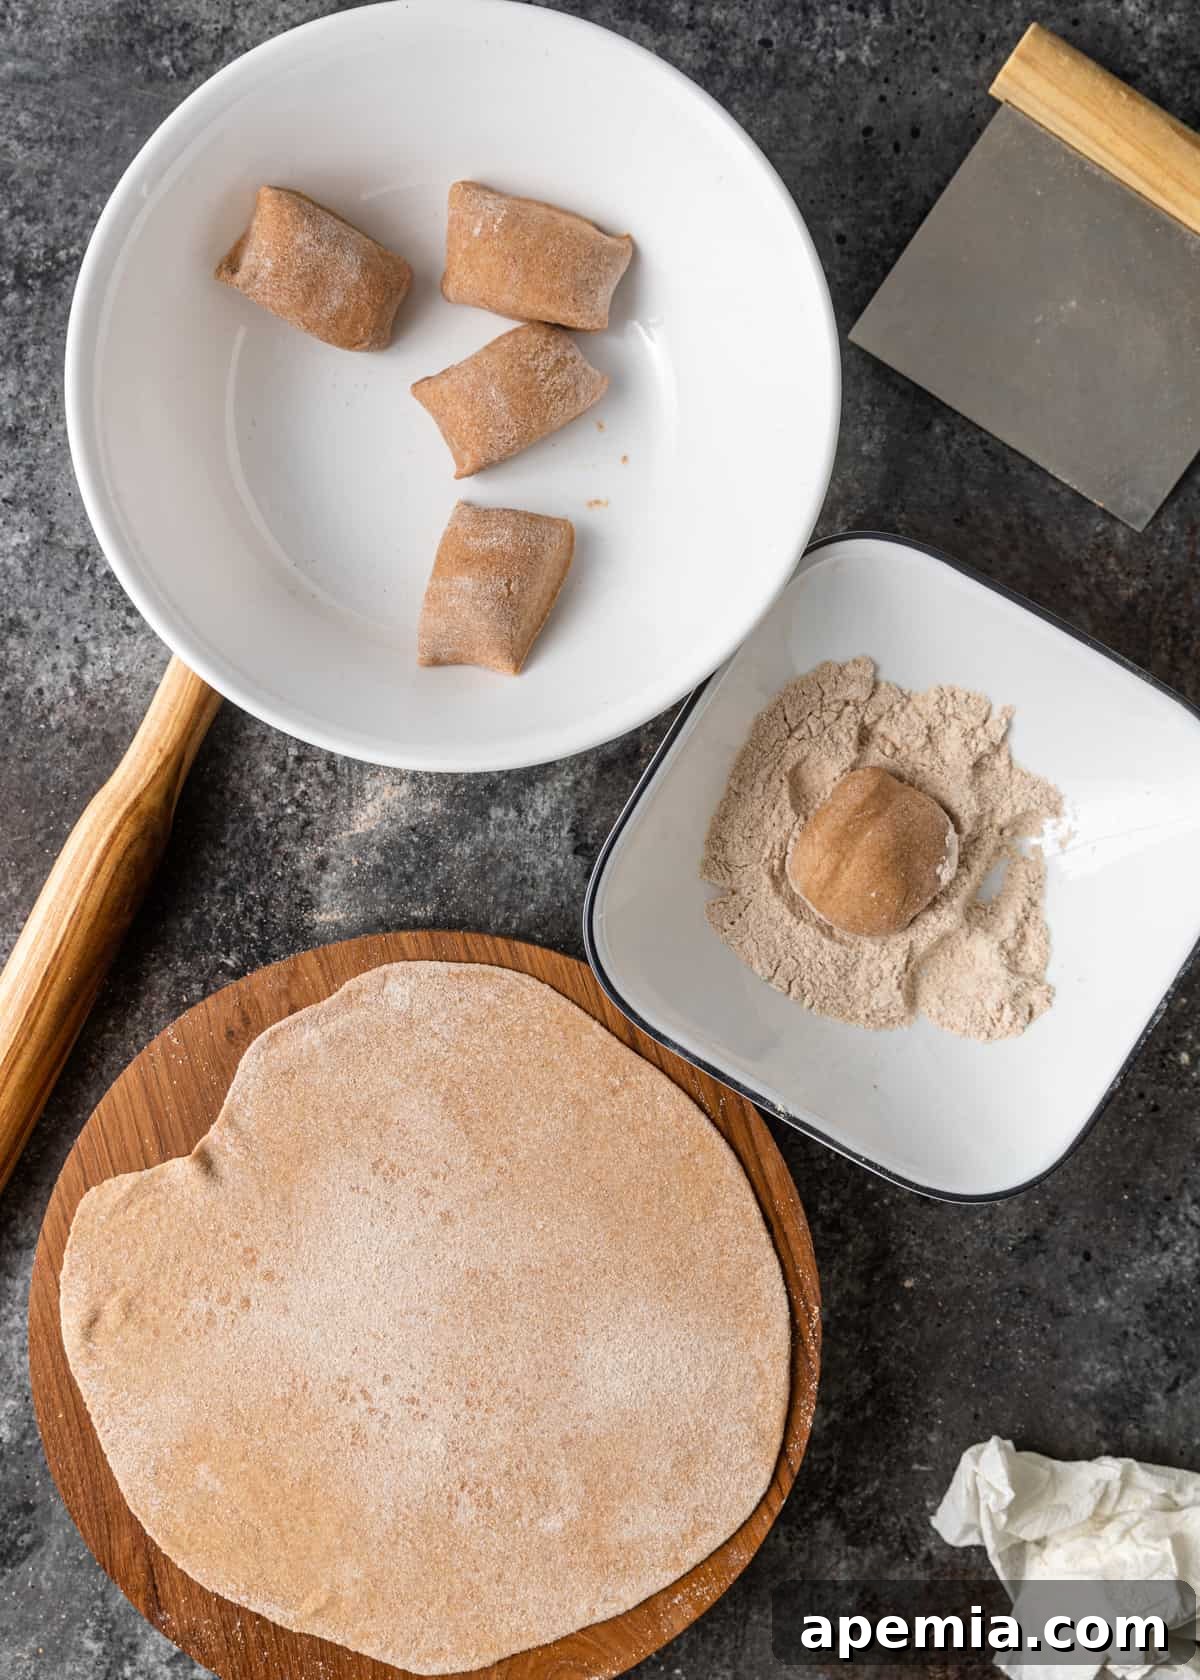
On a clean, lightly floured surface, use a rolling pin to roll the dough into a thin, even circle, aiming for a diameter of 5 to 6 inches. It’s crucial to roll it as evenly as possible to ensure the Roti puffs correctly. Sprinkle additional dry flour occasionally if the dough starts to stick to the surface or rolling pin.
-
Place a heavy-bottomed skillet (tava or cast-iron) on your stovetop and heat it over medium-high heat. Ensure it’s hot but not smoking.
-
Gently pick up the rolled Roti and flip it back and forth between your hands to remove any excess flour. Carefully place it onto the hot skillet.
-
Let the Roti cook for approximately 15-30 seconds on the first side, until you start to see small bubbles forming on the surface. Using tongs, flip the Roti to the second side and cook for another 30-45 seconds, or until you observe noticeable golden-brown spots on the underside.
-
For the characteristic puff, if you have a gas stove, carefully remove the Roti from the skillet with tongs and place it directly over an open flame (low to medium heat), cooking the first side. If rolled evenly and free of small holes, the Roti will miraculously puff up like a balloon. Flip it quickly with the tongs to cook the other side briefly. If you do not have an open flame, you can achieve a similar puff by gently pressing down on the Roti with a clean kitchen towel or cloth along its edges on the hot skillet; this will encourage the trapped steam to inflate the Roti.
-
As each Roti is cooked, transfer it to a plate and immediately brush it with a thin layer of melted ghee (or butter). Stack the finished Roti and keep them covered with a clean towel or in an insulated container to keep them warm, soft, and moist until all are made and ready to serve. Serve warm with your favorite Indian dishes.
Nutrition
Calories: 78kcal
|
Carbohydrates: 16g
|
Protein: 3g
|
Fat: 0.4g
|
Sodium: 98mg
|
Potassium: 26mg
|
Fiber: 2g
|
Calcium: 16mg
|
Iron: 1mg
The nutritional information provided is an estimate calculated by an online nutrition calculator. It should not be considered a substitute for professional dietary advice or a nutritionist’s consultation.
Have You Made This Recipe? Share Your Creation!
Tag @keviniscooking or use the hashtag #keviniscooking on Instagram. We’d love to see your perfect Roti!