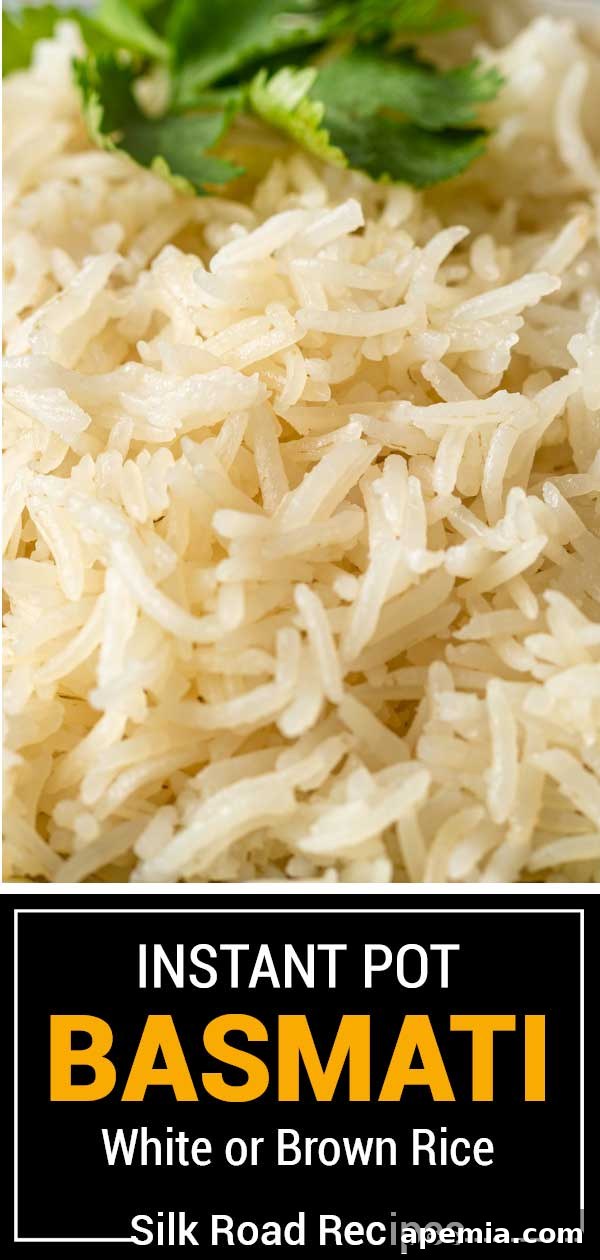
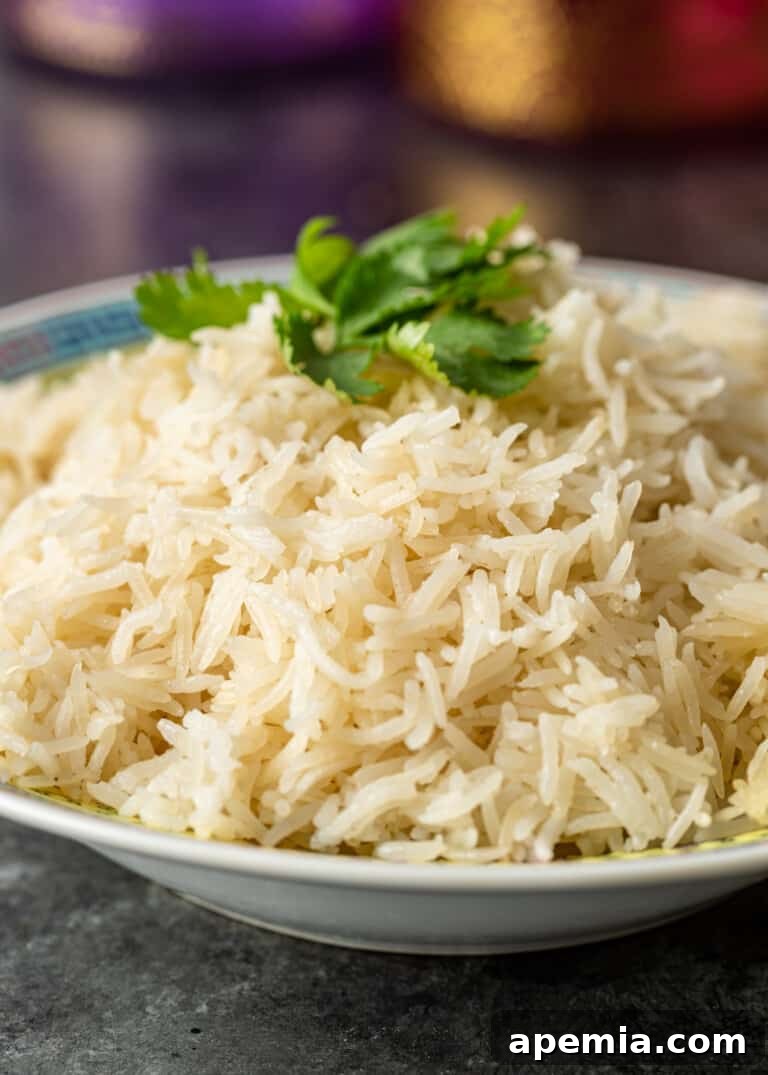
Unlock the secret to perfectly fluffy, aromatic basmati rice every time with your Instant Pot! Say goodbye to mushy or undercooked grains and hello to a staple that elevates any meal. This comprehensive guide will show you how to prepare both exquisite white basmati rice and wholesome brown basmati rice in a fraction of the time it takes on the stovetop.
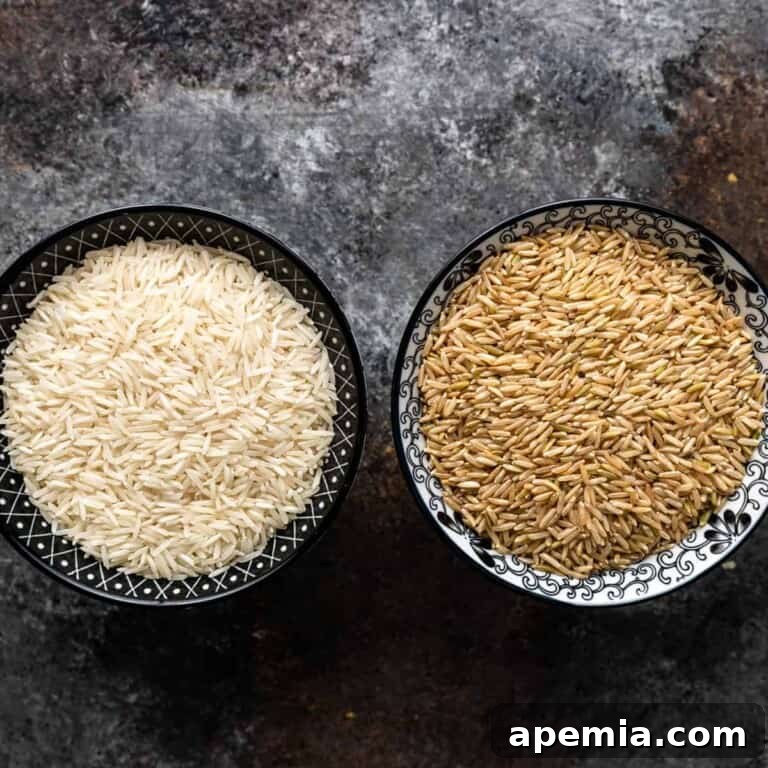
Rice isn’t just a grain; it’s a global cornerstone of countless cuisines and cultures. From Asia to the Americas, it feeds billions daily. India, a land renowned for its agricultural diversity, is particularly famous for its rice production, cultivating over 6,000 distinct varieties. As the world’s second-largest exporter of rice, India has introduced many of these varieties to eager palates across the globe, with basmati standing out as one of its most celebrated contributions. (Source: Asia Society)
What is Basmati Rice?
Basmati rice is an exquisite long-grain rice variety celebrated for its distinctive aroma, often described as a subtle, nutty, and floral fragrance, reminiscent of pandan. Its name, derived from Sanskrit, literally means “fragrant earth.” This unique aromatic quality comes from a naturally occurring chemical compound called 2-acetyl-1-pyrroline, making it instantly recognizable and highly prized. While there are many different cultivators and brands, basmati primarily comes in two forms: white and brown.
Its unparalleled taste and texture have made basmati a favorite in various eastern cuisines. On this site, you’ll discover basmati rice woven into the fabric of many popular Silk Road recipes, showcasing its versatility and delicious appeal. It forms the base of simple yet profoundly flavorful dishes like Lebanese Rice Pilaf, the vibrant Greek Spanakorizo, and the warmly spiced Jeera Rice. Beyond everyday meals, basmati is also the star of more elaborate and elegant preparations, such as the iconic Persian Crispy Rice Tahdig with its coveted golden crust, and the hearty Lubia Polo.

Instant Pot Basmati Rice: The Ultimate Guide to Perfection
Cooking rice on the stovetop can often be a test of patience and precision. Brown rice varieties, in particular, can demand over 30 minutes of active cooking, while long-grain types like basmati might require up to 45 minutes to reach desired tenderness. This prolonged cooking time not only ties you to the stove but also increases the risk of common pitfalls such as uneven cooking, sticking, or overcooking into a mushy mess.
This is precisely why mastering basmati rice in an Instant Pot is a culinary game-changer. Utilizing a pressure cooker dramatically slashes the cooking time, making it a faster and more efficient method. More importantly, it practically eliminates the prevalent issue of overcooking, ensuring consistently fluffy, separate grains with minimal effort. The sealed, pressurized environment creates uniform heat distribution, allowing the rice to cook perfectly without constant monitoring.
So, if you’re ready to embrace the convenience and superior results of pressure cooking, let’s dive into the simple steps for preparing flawless basmati rice every single time!
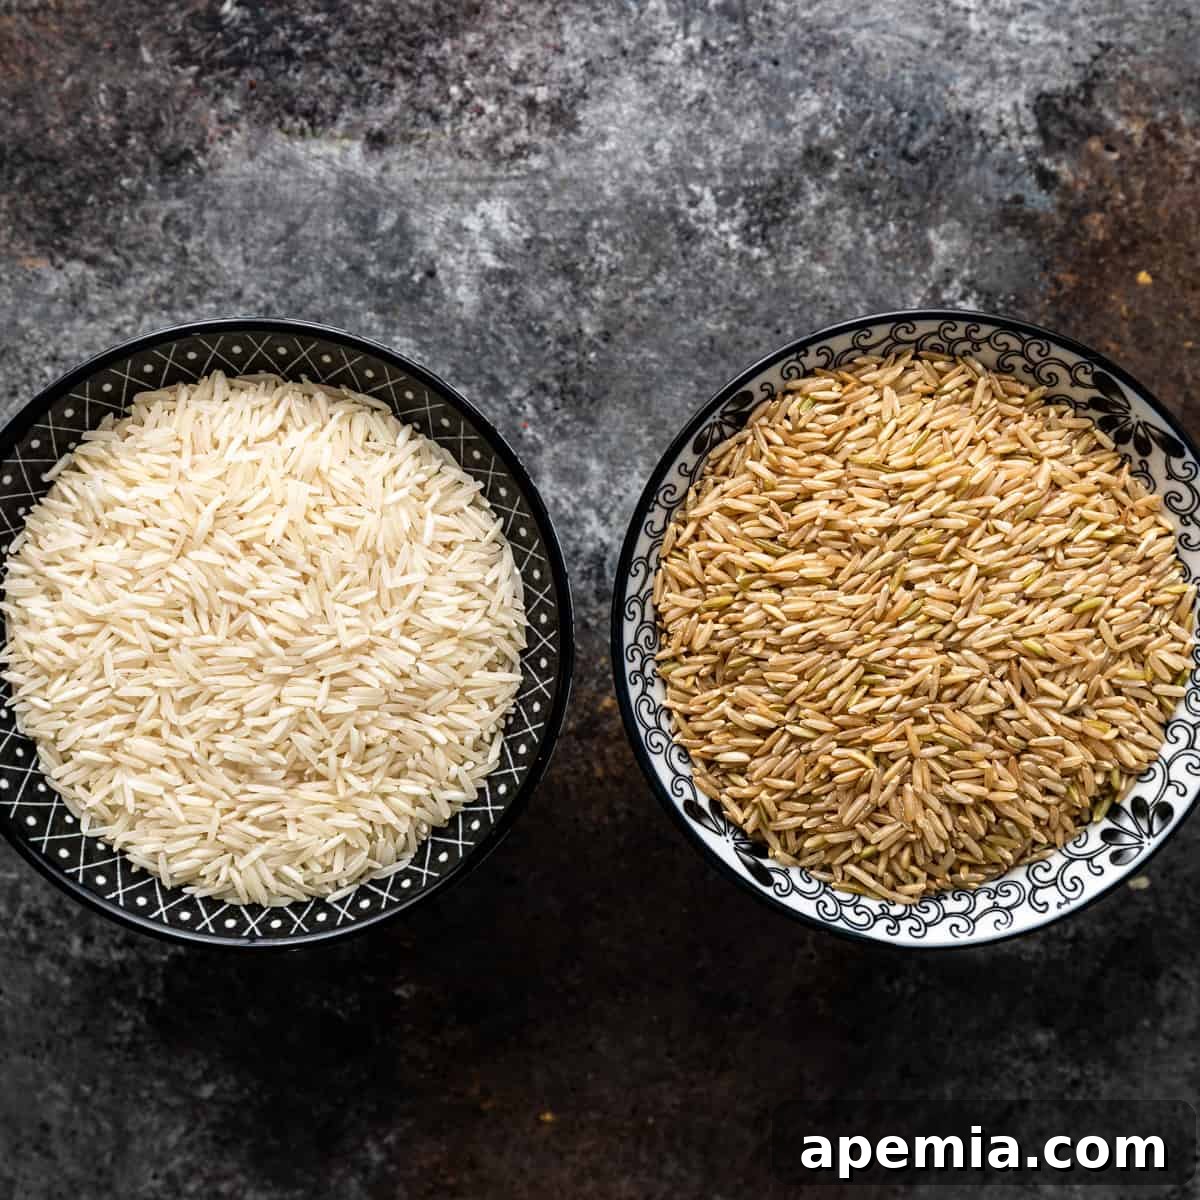
Choosing Your Grain: White vs. Brown Basmati
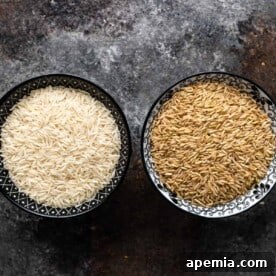
The choice between white and brown basmati rice is entirely personal and often depends on taste preferences and dietary goals. Both varieties offer distinct characteristics and health benefits, making them excellent additions to a balanced diet.
- White Basmati Rice: This is the milled version, with the husk, bran, and germ removed. It cooks faster, has a softer texture, and a more delicate flavor profile. Nutritionally, it’s easier to digest and provides quick energy. Many traditional recipes, especially those from the Silk Road regions, often call for white basmati due to its refined texture and ability to absorb flavors beautifully.
- Brown Basmati Rice: A whole grain, brown basmati retains its bran and germ layers, which are rich in fiber, vitamins, and minerals. This gives it a chewier texture, a nuttier flavor, and a slightly longer cooking time. From a health perspective, brown basmati is known for its higher fiber content, which aids digestion and helps stabilize blood sugar levels. (Healthline, WebMD)
While both are excellent choices, the majority of my Silk Road recipes lean towards white basmati, primarily because of its shorter cooking time and the subtle, clean flavor it imparts, allowing other dish components to shine.
The Debate on Soaking Rice: Is It Truly Necessary?
The question of whether to soak rice before cooking is a long-standing culinary debate, and a quick online search will reveal a wide array of opinions, some quite passionate!
Some culinary traditionalists are firm believers in always soaking rice, regardless of the variety or cooking method. Their arguments often center on the idea that soaking helps to remove certain components believed to be toxic or detrimental to digestion, such as phytic acid (which can inhibit mineral absorption) and potential traces of arsenic found in some rice varieties. They also contend that soaking yields a more even cook and prevents grains from breaking.
However, many others, myself included, hold that soaking isn’t always essential and largely depends on the specific cooking method and type of grain. For example, while traditional stovetop methods might benefit from soaking to reduce cooking time and improve texture, the efficacy of soaking changes when using modern appliances.
By the way, if you find the rice-soaking debate controversial, the subject of soaking legumes is even more so! If you ever forget to soak your beans and need a quick solution, you can always use my handy method to quick soak beans.
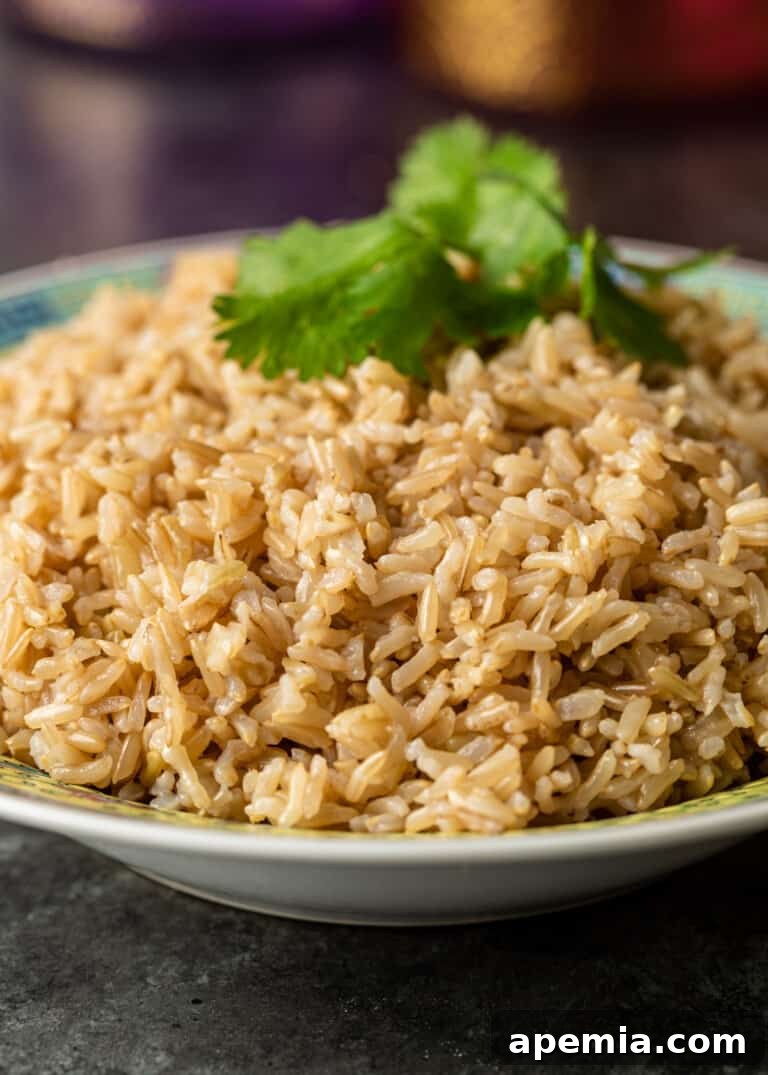
The Perfect Rice-to-Water Ratio for Instant Pot Basmati Rice
Achieving the ideal rice-to-water ratio is paramount for perfectly cooked grains, especially in a pressure cooker. One of the greatest advantages of the Instant Pot is its precise and consistent cooking environment. While some stovetop recipes demand varying liquid amounts for different rice types, the Instant Pot simplifies this significantly. Regardless of whether you’re cooking white, brown, red, or black rice, the fundamental water requirement remains surprisingly similar when considering pressure cooking.
However, a crucial factor that influences this ratio is whether or not you decide to soak your rice beforehand. Unsoaked rice requires slightly more liquid to rehydrate and cook thoroughly.
For Soaked Basmati Rice: A 1:1 Ratio
If you choose to soak your basmati rice (for at least 30 minutes, then drain thoroughly), a straightforward 1:1 ratio of water to rice works beautifully in the Instant Pot. This means for every 1 cup of basmati rice, you will add 1 cup of water or cooking liquid. For instance, if you’re cooking 2 cups of rice, you’ll use 2 cups of water, and so on. This ratio, combined with pressure cooking, yields distinctly separate, firm yet tender grains.
For Unsoaked Basmati Rice: A 1:1.25 Ratio
If you opt not to soak your basmati rice, you’ll need to increase the liquid slightly to compensate for the dry grains. In this scenario, a 1:1.25 ratio is ideal. This translates to 1 and 1/4 cups of water (or any other cooking liquid like broth) for every 1 cup of unsoaked basmati rice. This slightly higher liquid content ensures that the rice fully absorbs moisture and cooks to a soft, fluffy consistency.
For context, consider that traditional stovetop methods typically require a 1:2 ratio (2 cups of water for 1 cup of rice), demonstrating how much the Instant Pot’s efficiency reduces the need for excess liquid.
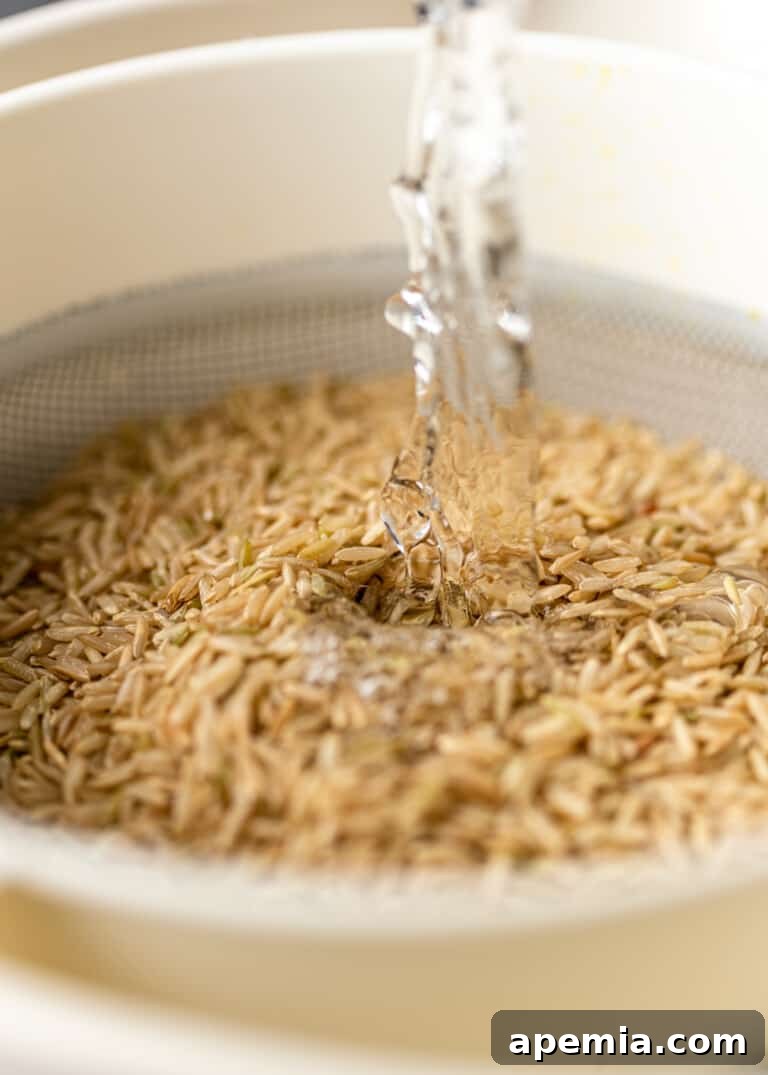
How to Make Perfect Instant Pot Basmati Rice
Follow these simple steps for consistently delicious basmati rice in your pressure cooker:
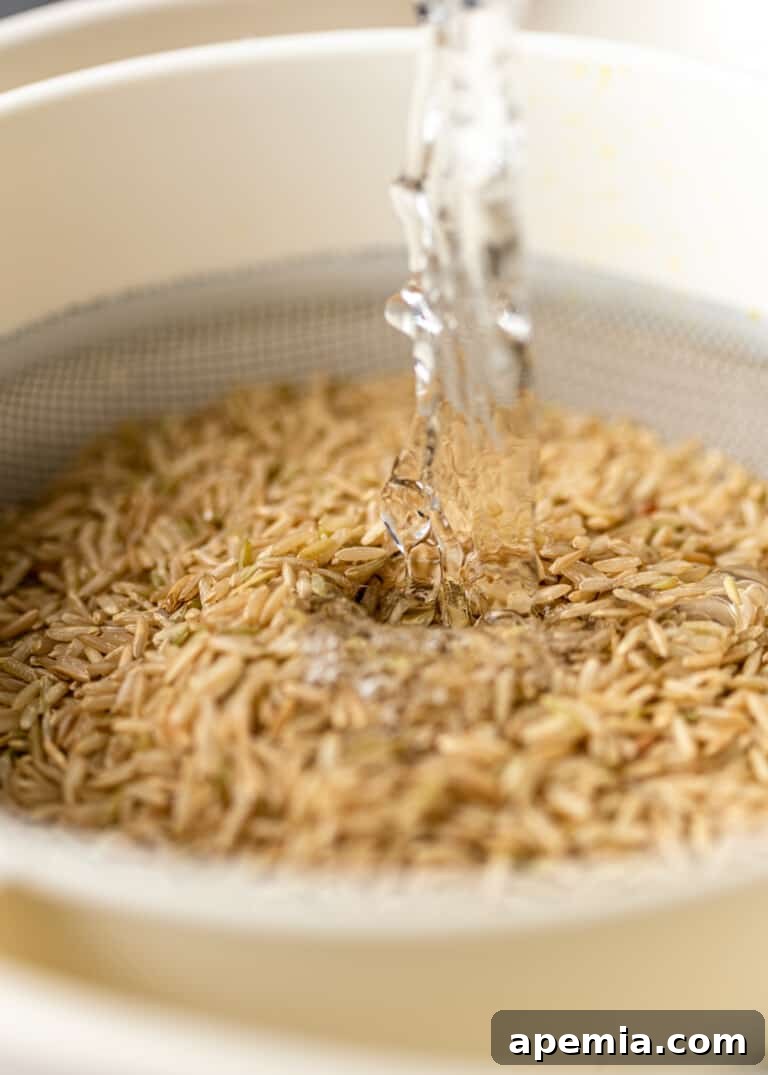
- Rinse the Rice Thoroughly: Place the desired amount of basmati rice in a fine-mesh strainer. Hold it under cold running tap water, gently moving your fingers through the grains. Continue rinsing until the water running off appears completely clear. This crucial step removes excess starch, which helps prevent stickiness and promotes fluffier rice. Shake off any excess water before transferring the rice.
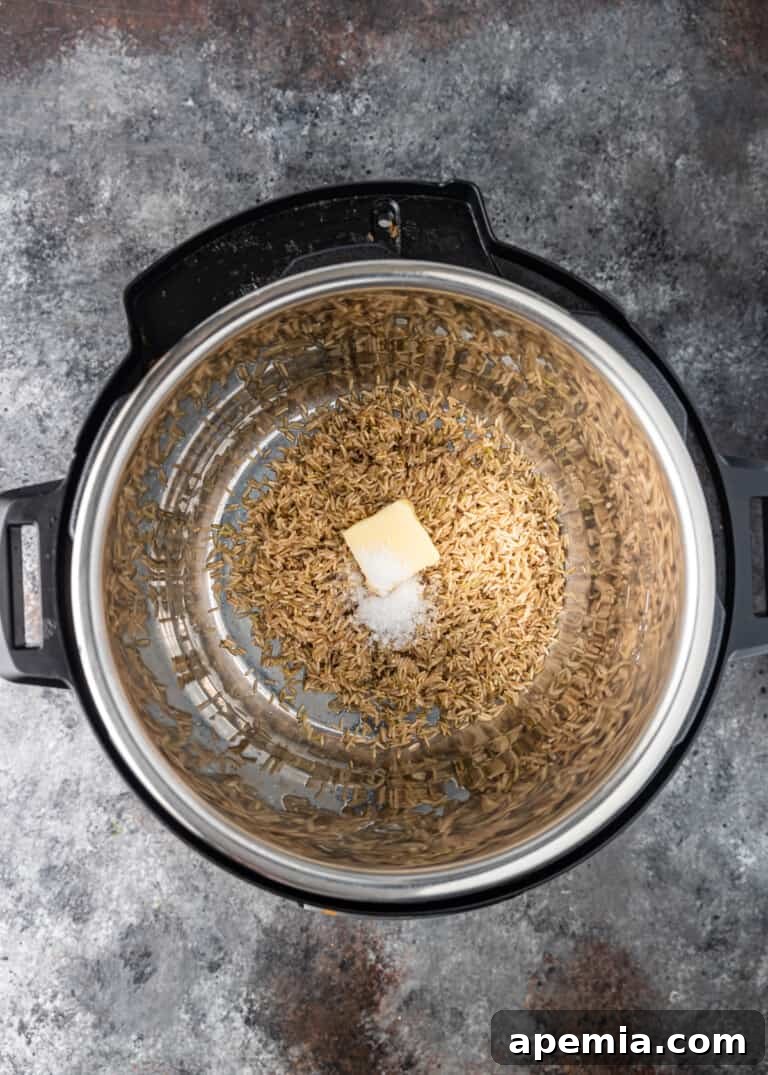
- Combine Ingredients in the Instant Pot: Carefully add the rinsed basmati rice to the inner pot of your Instant Pot. Pour in the precise amount of water (or broth) according to your chosen ratio (1:1 for soaked, 1:1.25 for unsoaked). Add 1 teaspoon of kosher salt per cup of rice and 1 tablespoon of ghee or butter. The fat adds richness and helps prevent grains from sticking together.
- Seal the Pressure Valve: Secure the Instant Pot lid, ensuring it’s properly sealed. If your Instant Pot model has a manual pressure release valve, make sure it is set to the “Sealing” or “Closed” position. Newer models often automatically seal when the lid is closed.
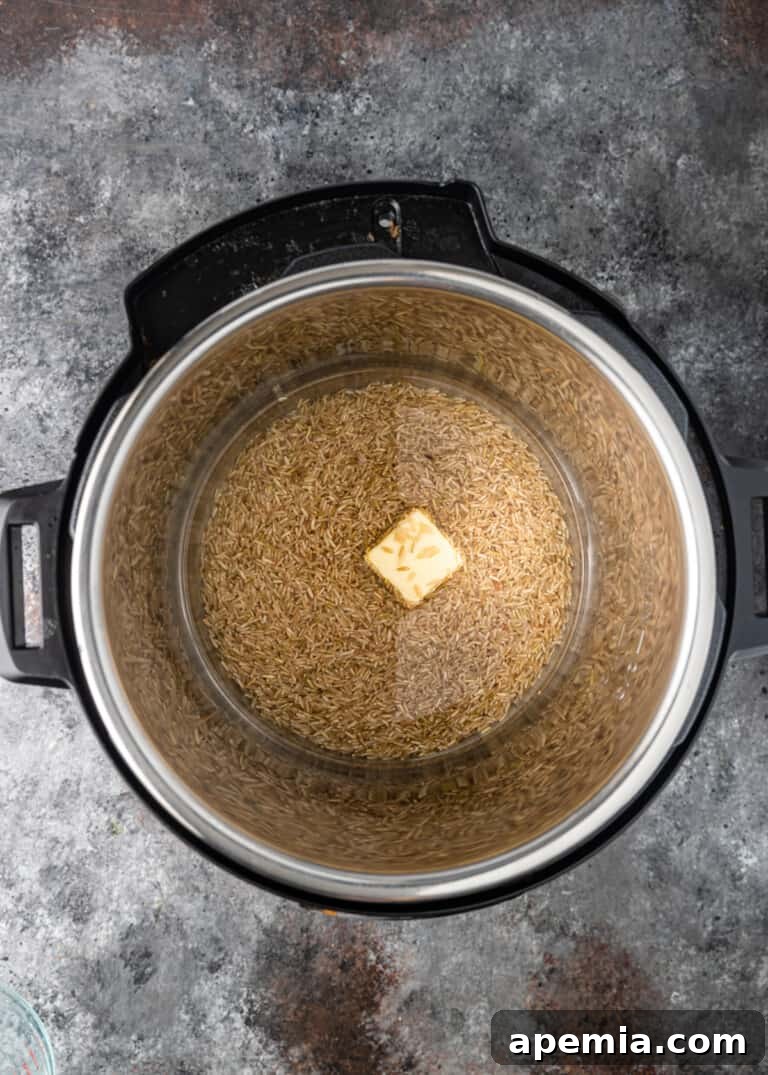
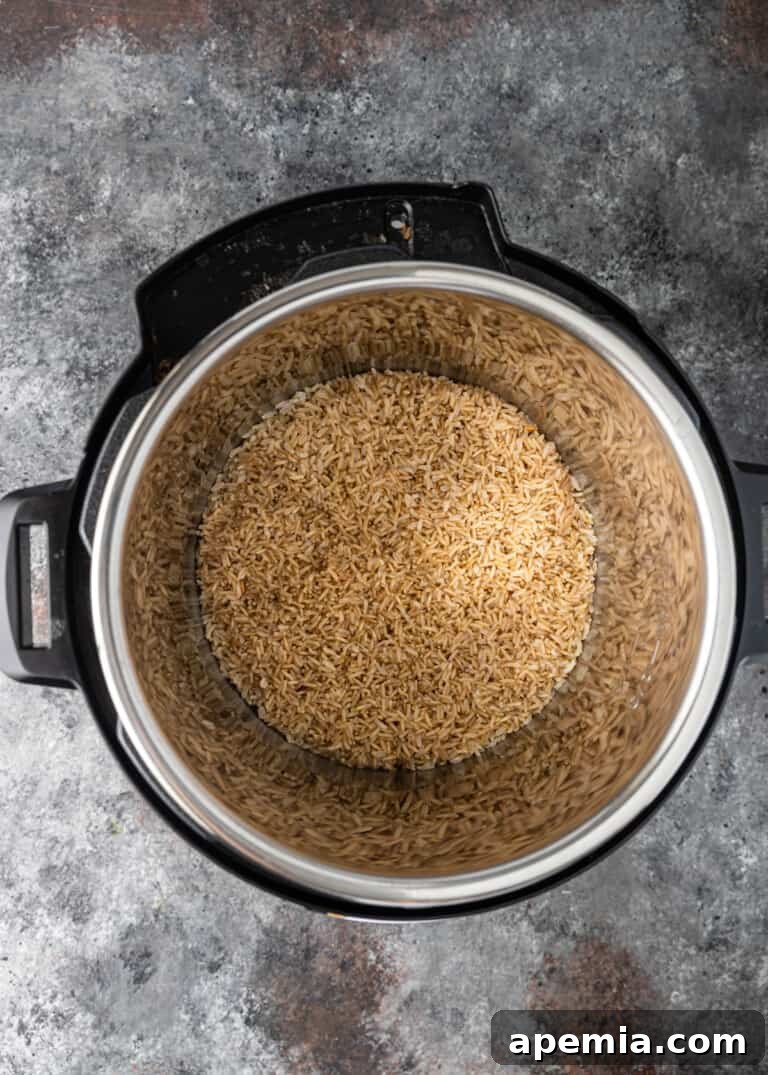
Precise Cooking Times for Instant Pot Basmati Rice
The cooking duration for basmati rice in the Instant Pot will vary slightly depending on whether you’re preparing white or brown basmati. This difference is due to the presence of the bran and germ layers in brown rice, which require more time and pressure to soften compared to the refined white grains.
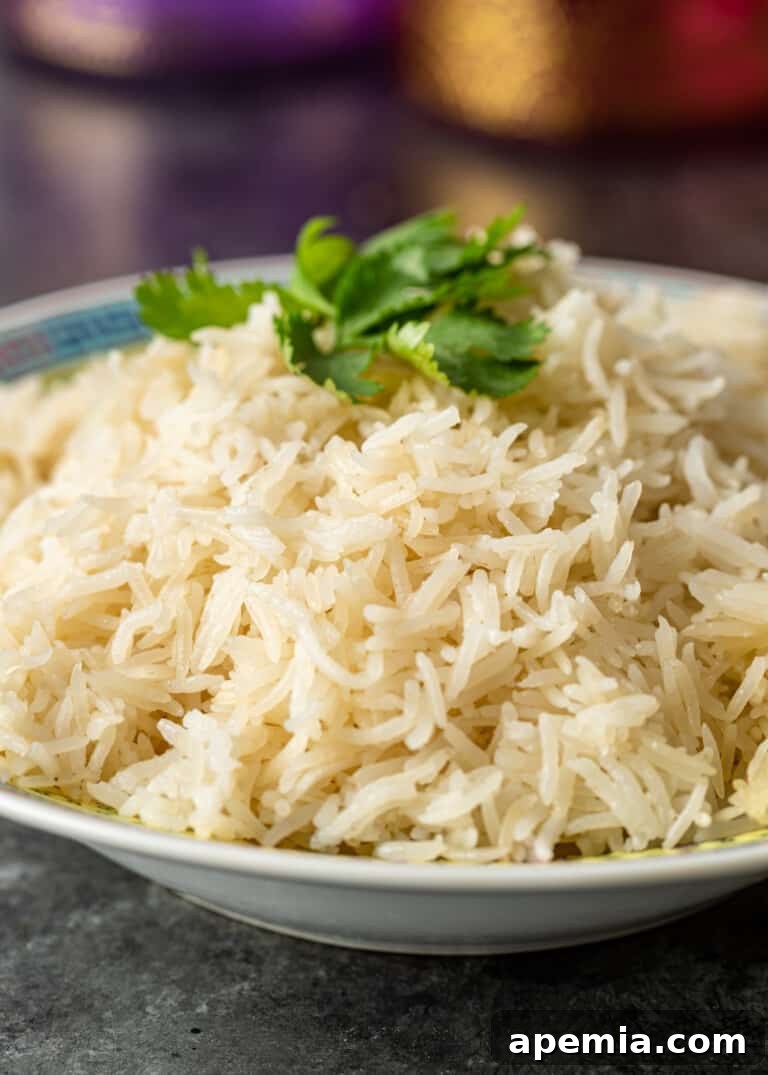
- For White Basmati Rice:
- Pressure Cook Time: Set your Instant Pot to High Pressure for 6 minutes.
- Natural Pressure Release (NPR): Allow a natural pressure release for 10 minutes once the cooking cycle is complete. After 10 minutes, carefully perform a quick release of any remaining pressure.
- Note: I’ve consistently found that 6 minutes of pressure cooking followed by a 10-minute natural pressure release yields the fluffiest, perfectly tender white basmati rice. Any less time can result in slightly al dente grains or residual water at the bottom of the pot. This precise timing ensures optimal absorption and texture.
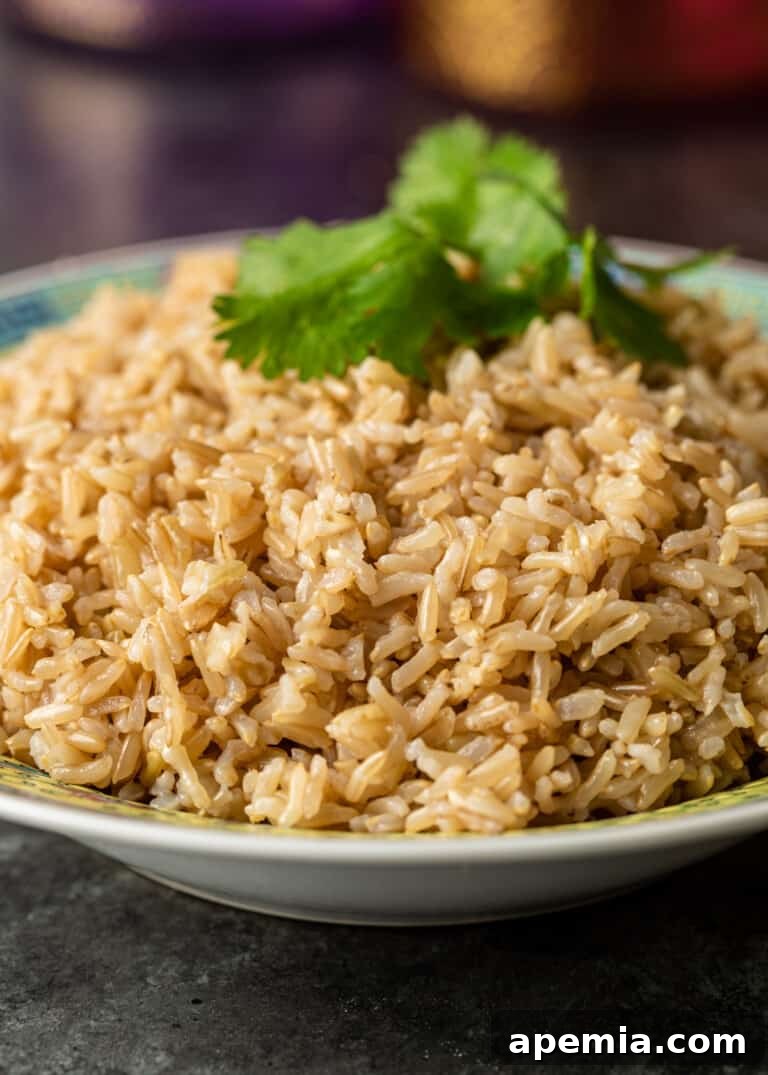
- For Brown Basmati Rice:
- Pressure Cook Time: Set your Instant Pot to High Pressure for 18 minutes.
- Natural Pressure Release (NPR): Allow a natural pressure release for 10 minutes after the cooking cycle finishes. Then, perform a quick release for any leftover pressure.
Once the pressure has been fully released, carefully open the lid away from your face. Use a fork to gently fluff the rice from the bottom up before serving immediately. This aerates the grains and prevents them from compacting.
Frequently Asked Questions (FAQ)
When it comes to Instant Pot cooking, the brand of basmati rice you choose is less critical than the *type* of rice. Most reputable brands of basmati rice will perform well. The key distinction lies between white basmati and brown basmati (or other whole grain rice like red, black, or wild rice). White rice varieties consistently cook faster in a pressure cooker than their whole grain counterparts due to the absence of the fibrous bran layer. Always refer to the specific cooking times for white versus brown rice for the best results, rather than focusing on a particular brand.
Remember this simple trick: always use a fork to fluff your rice before serving. This gentle action helps separate the grains, releasing trapped steam and making your basmati rice truly light and airy. Enjoy your perfectly cooked rice!
Still Hungry?
Subscribe to my Newsletter to get the latest recipes delivered straight to your inbox! Follow me on Facebook, Pinterest, Instagram, and YouTube for all my latest culinary adventures and video tutorials.
Instant Pot Basmati Rice (White and Brown)
4
2 mins
16 mins (average for white rice)
18 mins (average for white rice, excluding pressurize/release)
Print Recipe
Ingredients
- 1 cup basmati rice (link to product)
- 1 1/4 cup water (use 1 cup water if rice is pre-soaked)
- 1 tsp kosher salt (link to product)
- 1 tbsp ghee (link to product) or butter
(Amounts are for unsoaked rice. Adjust water to 1 cup if rice is pre-soaked.)
Instructions
- Rinse the rice: Place the rice in a mesh strainer and rinse thoroughly under cold running water until the water runs clear. Use your fingers to gently move the rice around to ensure an even rinse. Shake off any excess water.
- Add to Instant Pot: Transfer the rinsed rice, the measured water (according to whether it’s soaked or unsoaked), ghee (or butter), and kosher salt into the 6-quart Instant Pot inner pot.
- Seal the lid: Secure the Instant Pot lid. Ensure the pressure release valve is set to the “Sealing” position (for older models, it needs to be manually set).
- Pressure Cook:
- For white basmati rice: Pressure Cook at High Pressure for 6 minutes.
- For brown basmati rice: Pressure Cook at High Pressure for 18 minutes.
- Release Pressure and Serve: Once the cooking cycle is complete, allow a 10-minute natural pressure release (NPR). After 10 minutes, carefully perform a quick release for any remaining pressure. Open the lid, fluff the rice with a fork, and serve immediately.
Notes
- The typical rice-to-water ratio for Instant Pot basmati rice is 1:1.25 for unsoaked rice. If you prefer a firmer, more al dente texture, you can reduce the water to just 1 cup for 1 cup of unsoaked rice, but be aware this may result in a slightly less fluffy outcome.
- My testing indicates that 6 minutes of High Pressure for white basmati rice, followed by a 10-minute natural release, yields the best results. Shorter cooking times often leave some water unabsorbed at the bottom of the pot, resulting in a slightly wet or sticky texture.
- The Instant Pot will take approximately 5-10 minutes to come to pressure before the actual cooking time begins. Therefore, the total time from start to serving (including coming to pressure, cooking, and natural release) for white basmati rice is roughly 21-26 minutes.
- Leftovers: Allow cooked rice to cool completely before transferring it to an airtight container or a sealable bag (squeeze out excess air). It can be stored in the refrigerator for up to 3-4 days or frozen for up to 2 months. To thaw and reheat from frozen, let it come to room temperature, add a tablespoon of water, cover, and microwave on high for 2-3 minutes until heated through. Fluff with a fork and enjoy.
Nutrition
The information shown is an estimate provided by an online nutrition calculator. It should not be considered a substitute for a professional nutritionist’s advice.
Side Dishes
Indian, Mediterranean, Middle Eastern
Kevin
Have You Made This Recipe? Let Me Know on Instagram!
Tag @keviniscooking or use the hashtag #keviniscooking!