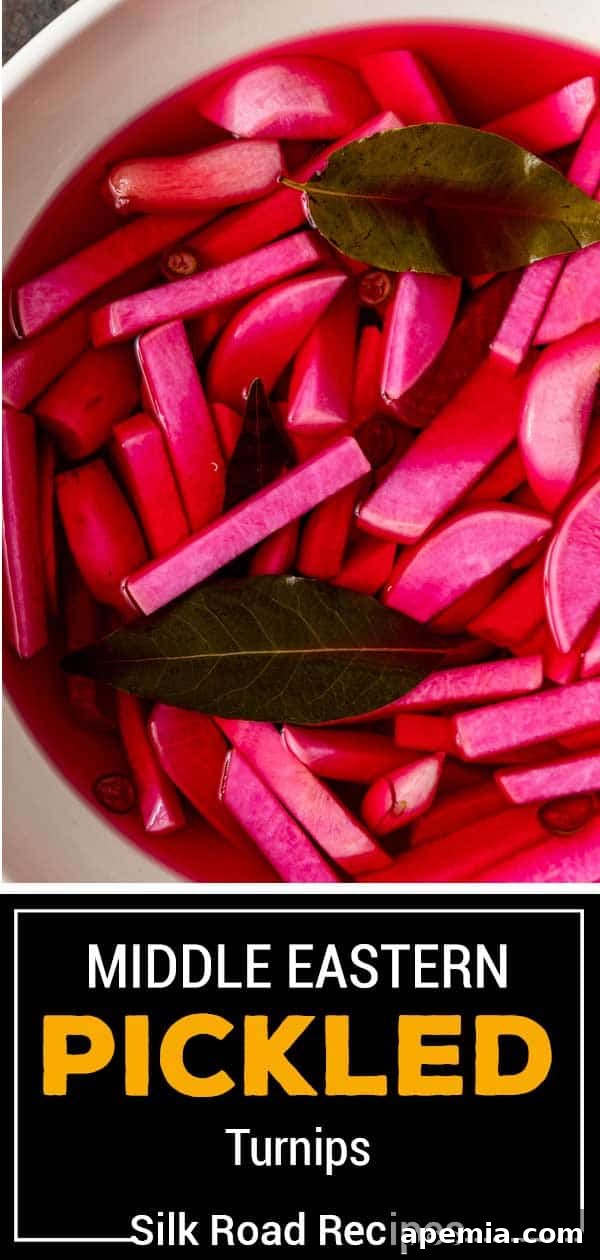
Middle Eastern Pickled Turnips: A Vibrant, Tangy Condiment
Transform your meals with homemade Middle Eastern Pickled Turnips – a bright, vibrant condiment offering bold flavors, a subtle hint of heat, and an irresistible crunch. This quick pickle recipe is incredibly easy to make, requiring less than 30 minutes of active prep time, allowing you to enjoy this delightful addition to sandwiches, wraps, salads, and traditional Middle Eastern spreads in just a few days.
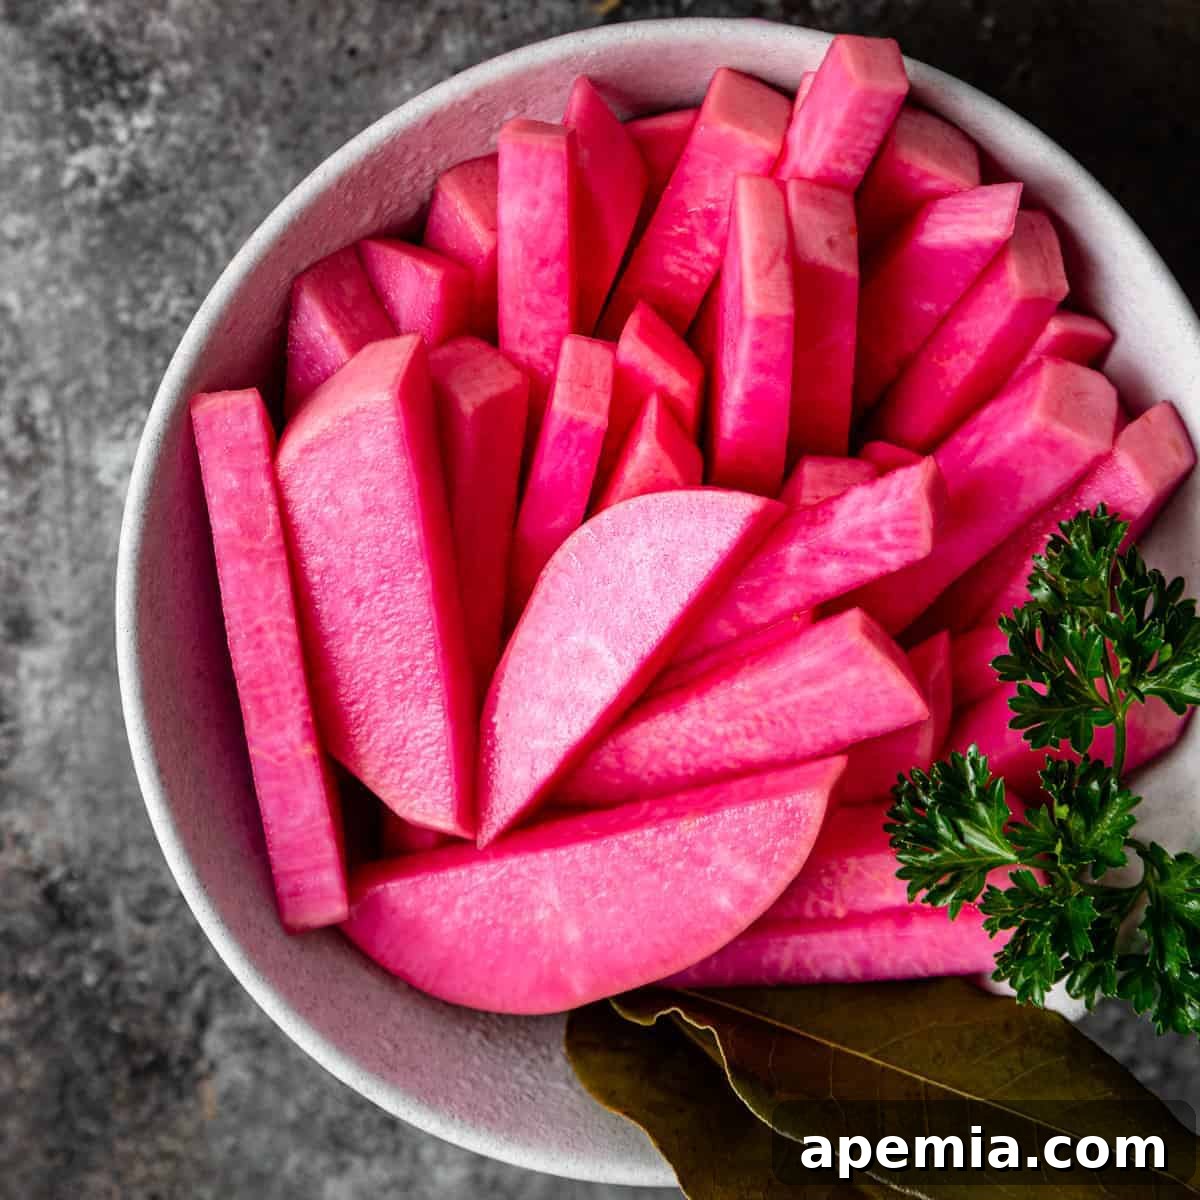
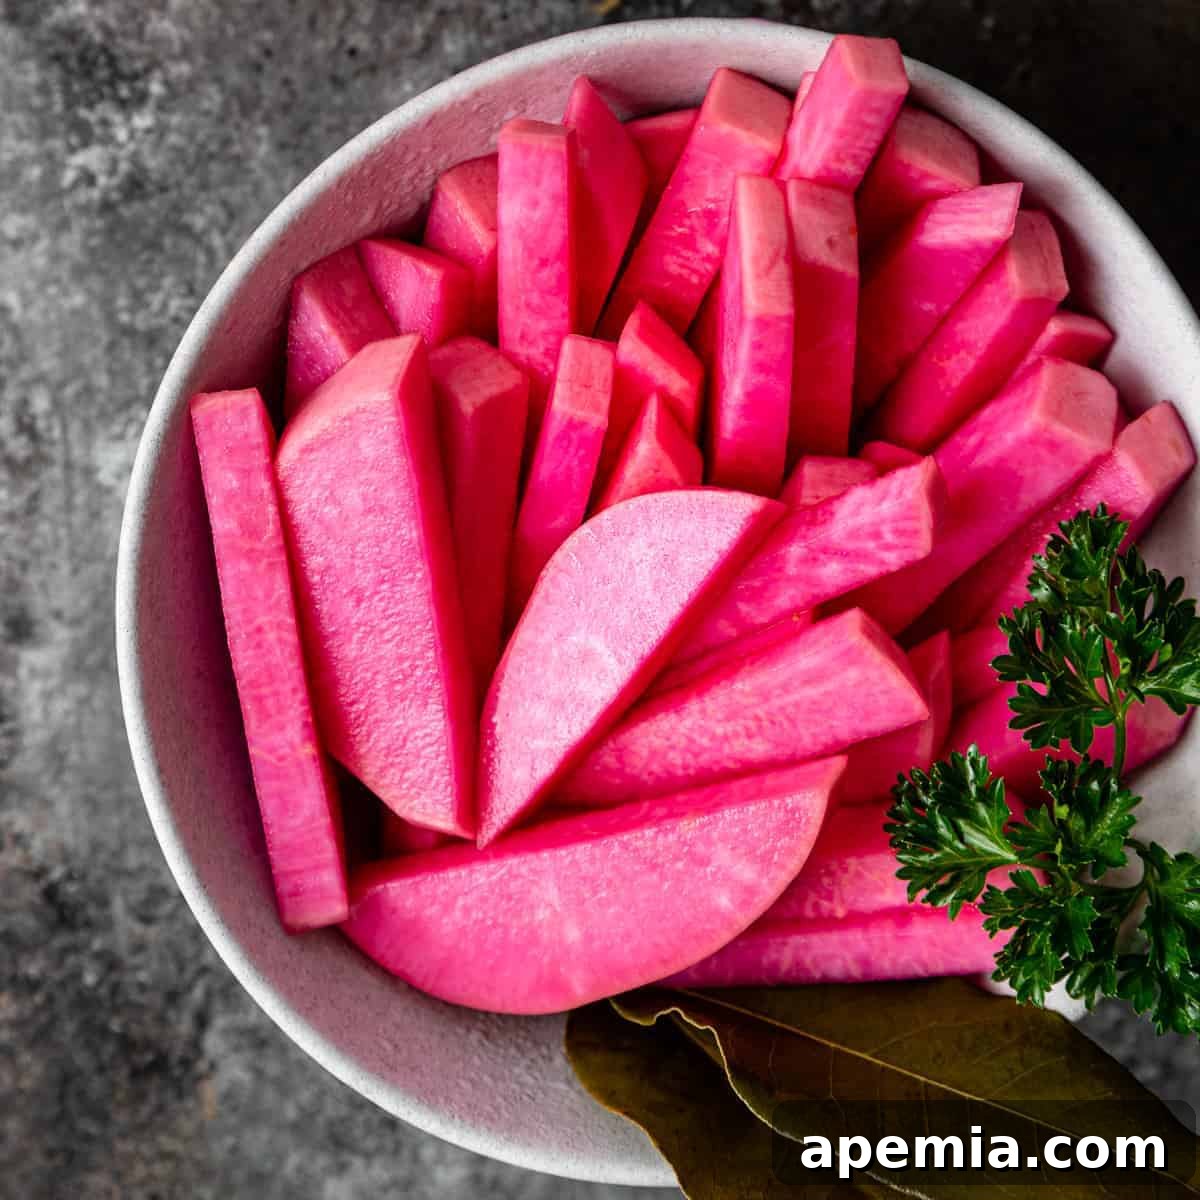
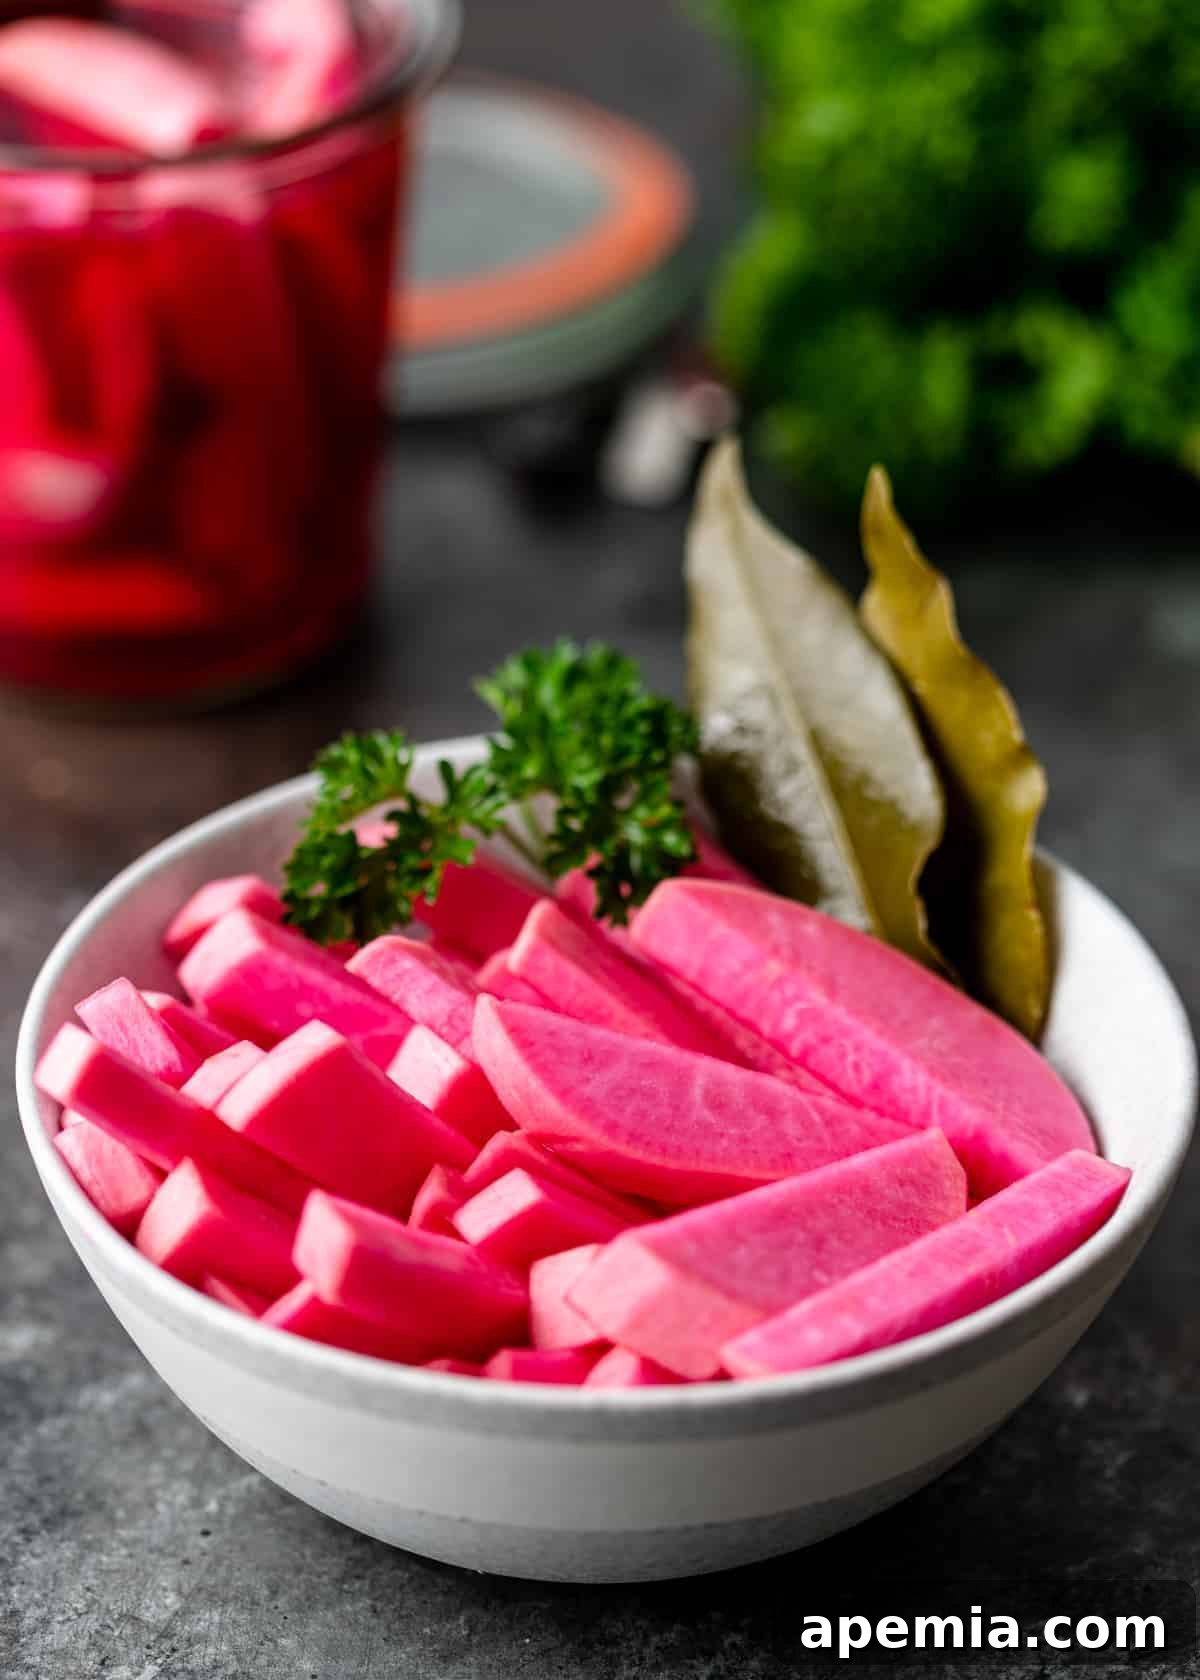
There’s nothing quite like the satisfying crunch and tangy burst of flavor that pickles add to a dish. While many cuisines boast their own unique pickled delights, these crisp pink pickled turnips are an absolute must-have when you’re savoring authentic Middle Eastern cuisine. Imagine pairing them with savory shawarma, succulent kabobs, or crispy falafel – their bright acidity and peppery notes cut through rich flavors, balancing every bite beautifully.
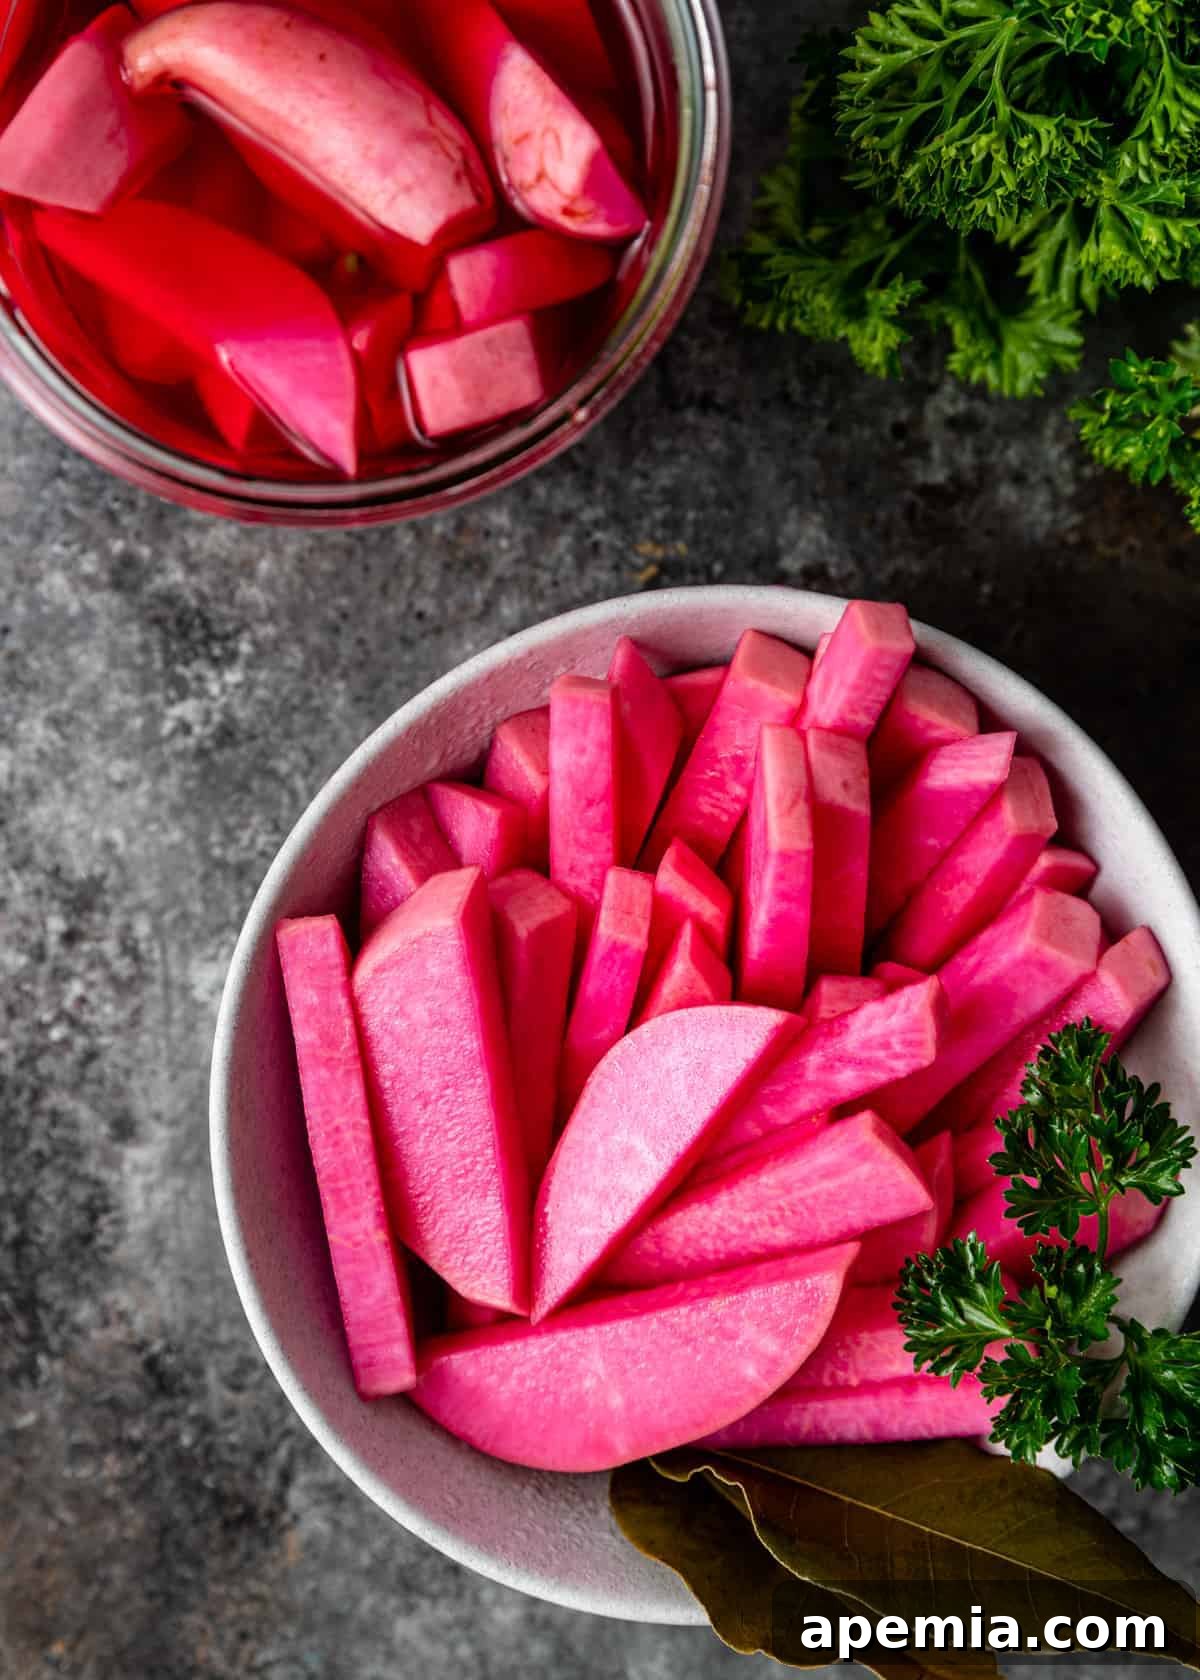
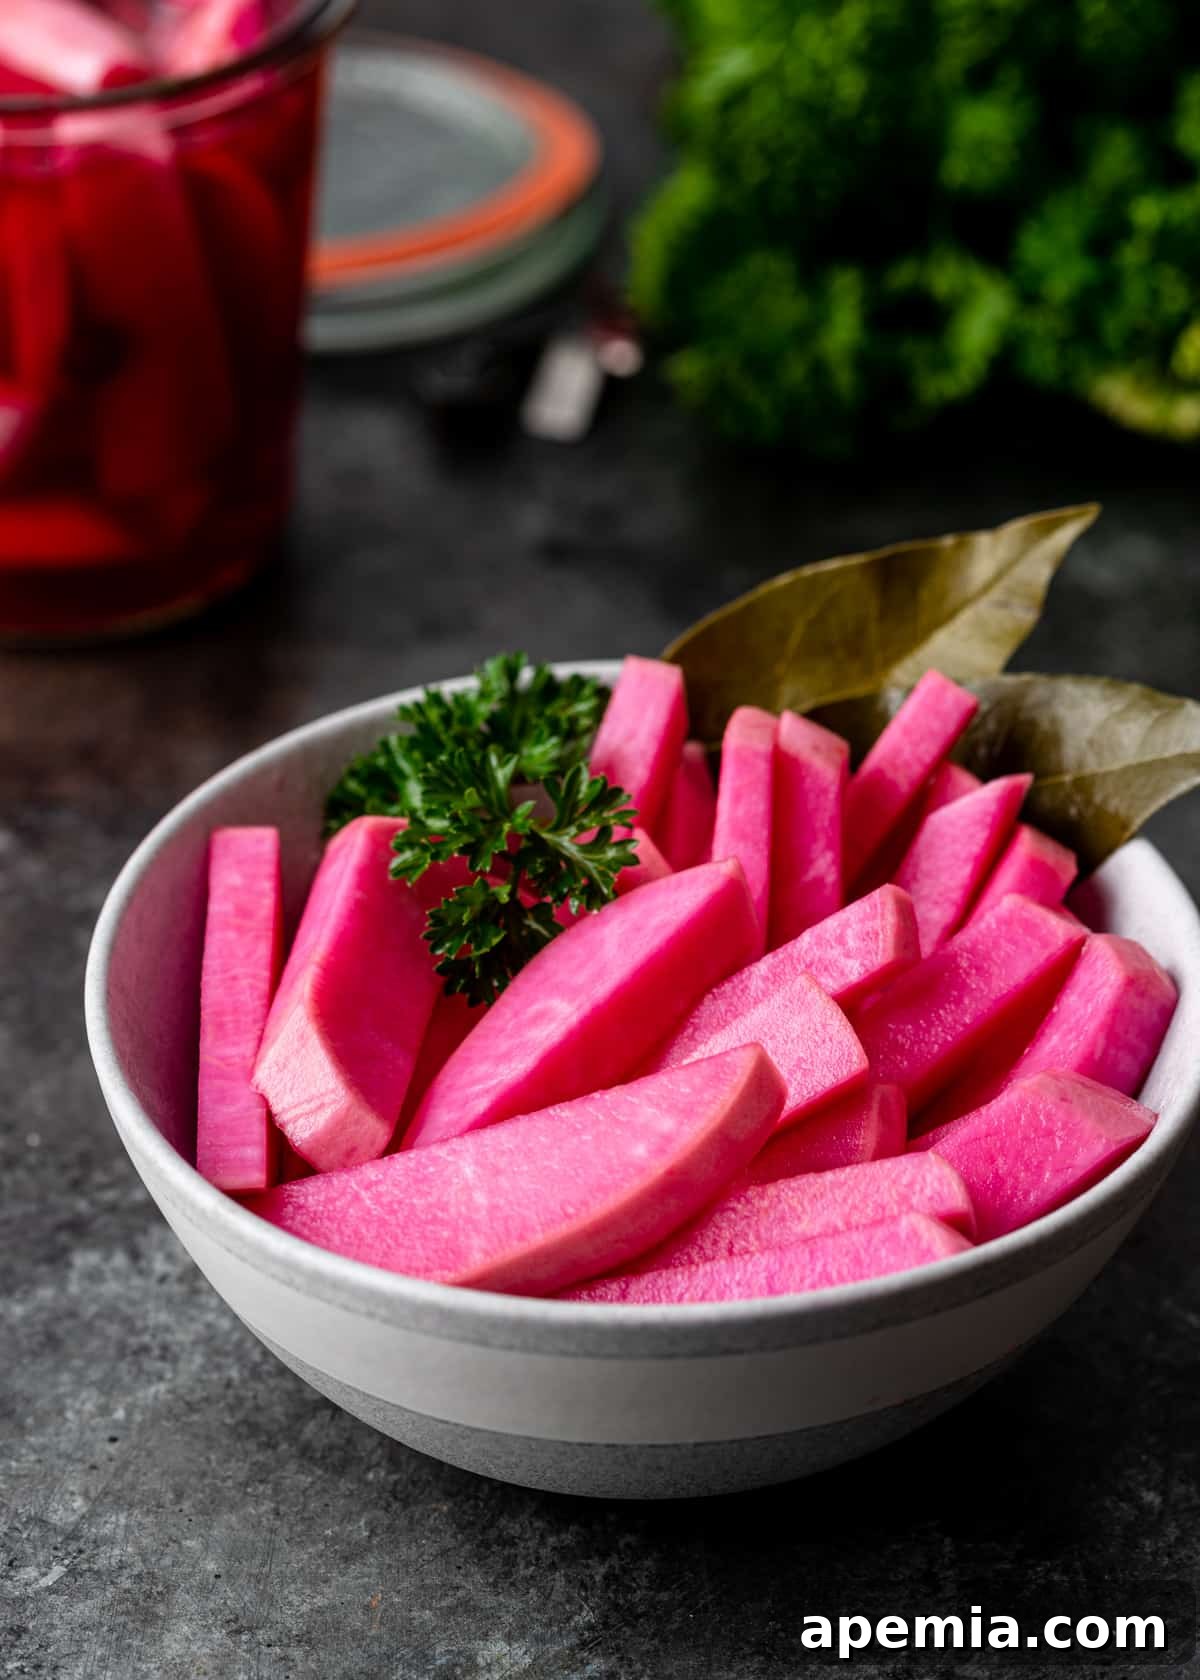
What gives these traditional Lebanese pickles their signature brilliant pink color? The secret ingredient is simple: beets! Just a single small beet works wonders, imparting its natural red pigment into the brine. This process not only dyes the turnips a characteristic, appetizing pink hue but also lends a subtly sweet, earthy undertone that perfectly complements the salty, sour, and slightly spicy brine. It’s a visual and culinary delight that elevates any plate.

My personal preference leans towards a less sweet pickle, allowing the natural tang and subtle heat to shine. However, if you enjoy a touch more sweetness, a small amount of sugar can be easily added to the brine to suit your taste. These versatile pickles aren’t just for topping sandwiches and wraps; they are also an essential component of a vibrant mezze spread. Serve them alongside creamy hummus, briny olives, and other delectable dips for an authentic Middle Eastern appetizer experience.
Table of Contents
- The Art of Quick Pickling
- Essential Ingredients for Perfect Pickled Turnips
- Step-by-Step Guide: How to Make Middle Eastern Pickled Turnips
- Expert Tips for Success
- Storage & Longevity
- Frequently Asked Questions
- Middle Eastern Pickled Turnips Recipe Card
The Art of Quick Pickling: Fresh Flavors in No Time
My journey into the world of pickling began with the sheer joy of creating my first successful homemade batch. It’s a surprisingly simple and rewarding process, especially with quick pickle recipes like this one. Unlike traditional fermentation which can take weeks or months, quick pickling allows you to enjoy vibrant, tangy vegetables in just a few days. If you’re keen to explore more easy pickling adventures, be sure to try my recipes for lemon pickle, hearty giardiniera, and refreshing pickled ginger.
Tip From Kevin
Adding More Veggies
While this recipe focuses on turnips, don’t hesitate to experiment! In one batch, I added some radishes I had grown, which infused an extra layer of peppery freshness. This is completely optional, but it demonstrates the flexibility of this pickling method. Feel free to incorporate other firm vegetables you enjoy.
Essential Ingredients for Perfect Pickled Turnips
Crafting delicious pickled turnips begins with selecting the right ingredients. Each component plays a vital role in achieving that distinct Middle Eastern flavor profile and vibrant pink color. Below, we dive into the details of what you’ll need and potential substitutions.
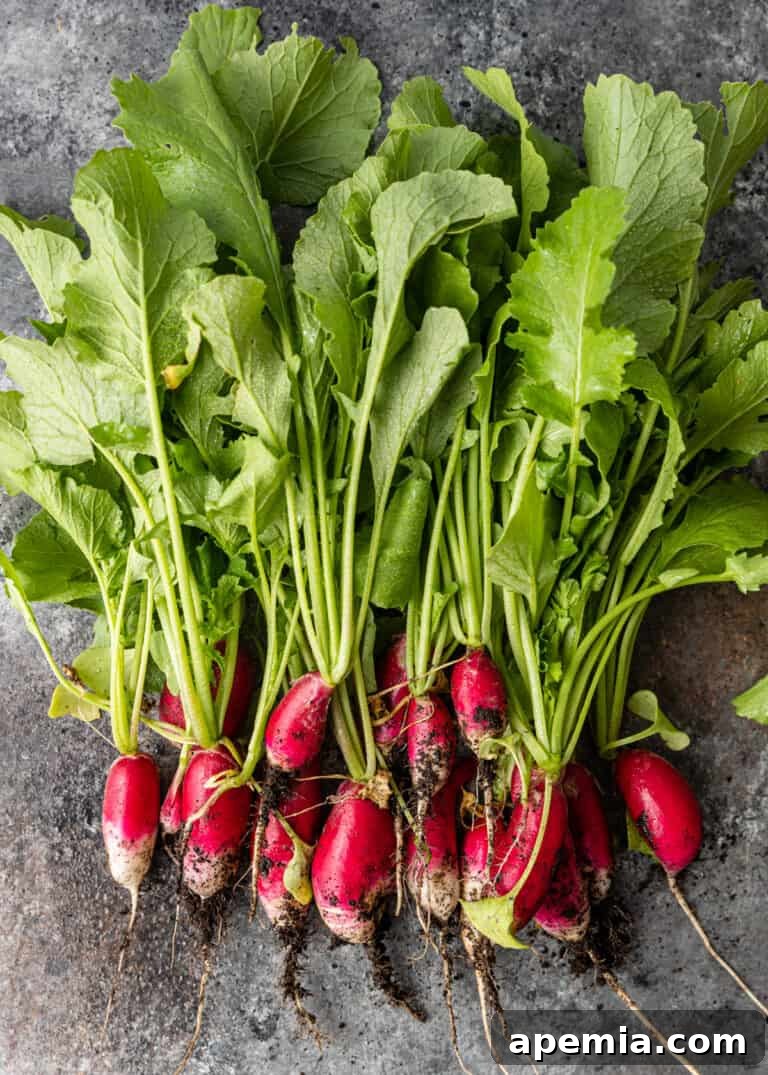
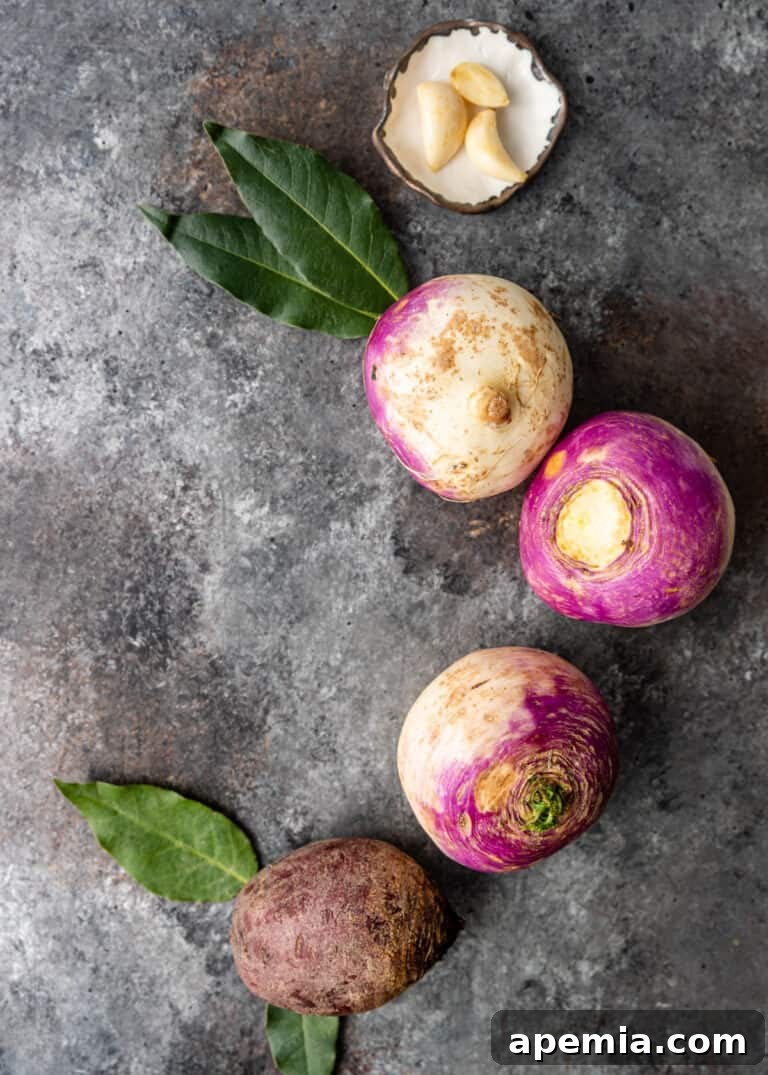
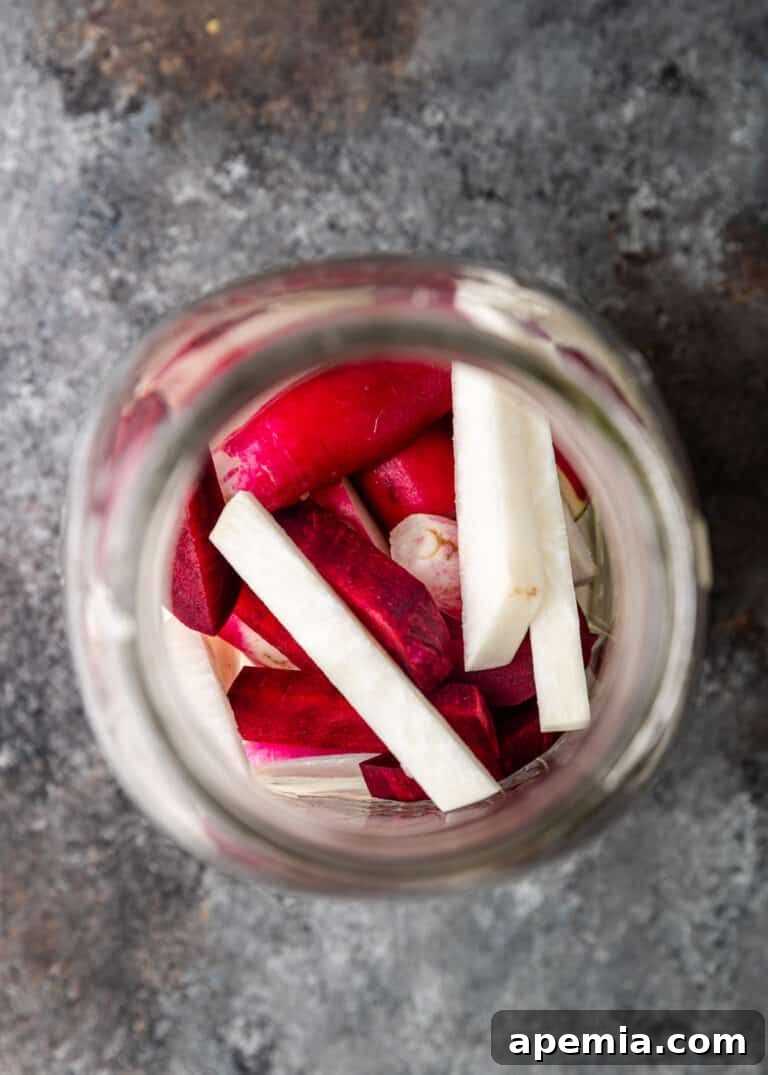
Ingredient Breakdown & Substitutions
(For precise quantities, please refer to the recipe card below)
- Turnips: Traditionally, Middle Eastern pickled turnips are made with white turnips. There are many varieties of turnips available, and almost any type will work wonderfully for this recipe. Choose firm, blemish-free turnips for the best texture.
- Beet: Just one small beet is all it takes to achieve that beautiful pink hue and a subtle sweetness. If you only have golden beets on hand, they can be used, but note that your pickles won’t develop the characteristic vibrant pink color.
- Kosher Salt: It is crucial to use kosher salt, not table salt, for pickling. Table salt contains anti-caking agents and often iodine, which can make your brine cloudy and result in overly salty pickles. Kosher salt dissolves cleanly and evenly.
- Bay Leaves: I typically use three bay leaves to infuse a subtle, aromatic background flavor. Feel free to adjust the quantity based on your preference; less can be used if you prefer a milder aroma.
- Garlic: Crushing or mincing the garlic cloves helps release their potent flavor into the brine more effectively. The amount of garlic is entirely up to your taste; some enthusiasts prefer a very strong, garlicky pickled turnip!
- White Distilled Vinegar: A neutral vinegar like white distilled vinegar is preferred for a crisp, clean pickling flavor that allows the vegetables to shine. However, for a quick pickle, other vinegars such as white wine vinegar or apple cider vinegar can also be used, though they will subtly alter the final flavor profile.
- Serrano Chile: This optional ingredient is perfect for those who enjoy a touch of heat in their pickles. The peppery kick from a serrano chile truly elevates the overall flavor of these pickled turnips. If serranos are too spicy, or if you prefer a different kind of heat, jalapeños make another excellent choice.
- Water: Since the brine is brought to a boil, both tap water and distilled water are suitable for this recipe. Boiling ensures any impurities are removed.
Step-by-Step Guide: How to Make Middle Eastern Pickled Turnips
Making these delicious pickled turnips is a straightforward process. Follow these simple steps to ensure a perfect batch every time. The visual progression below shows how the colors develop over the pickling period.
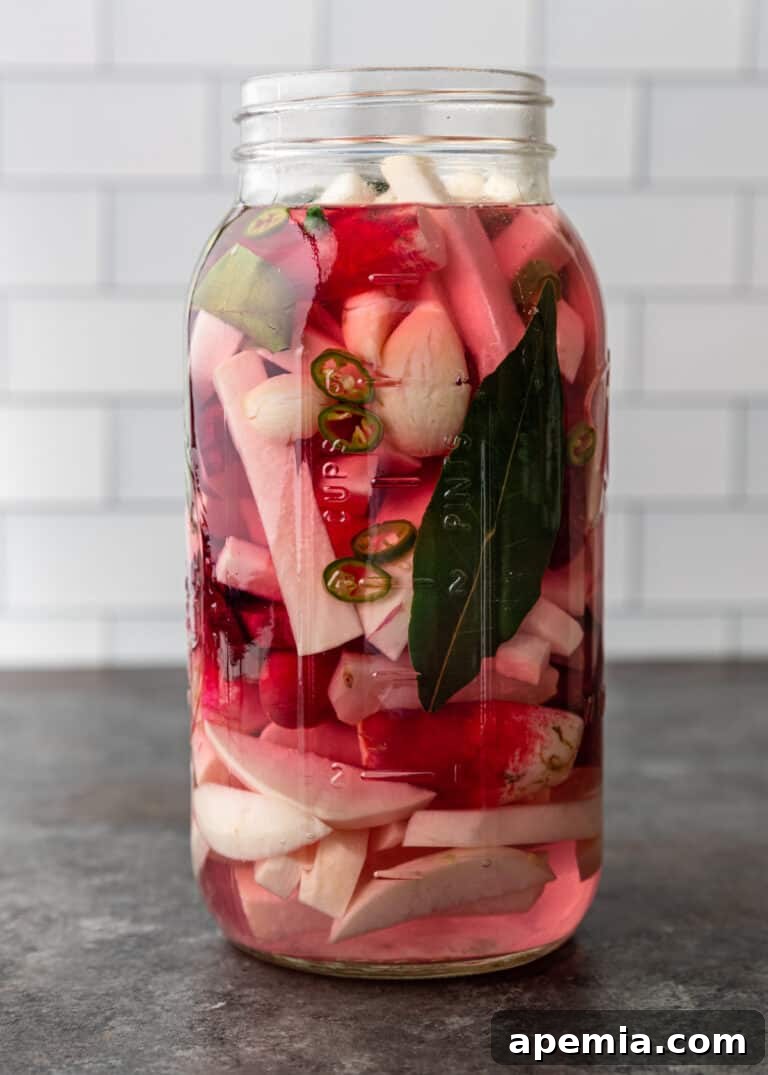
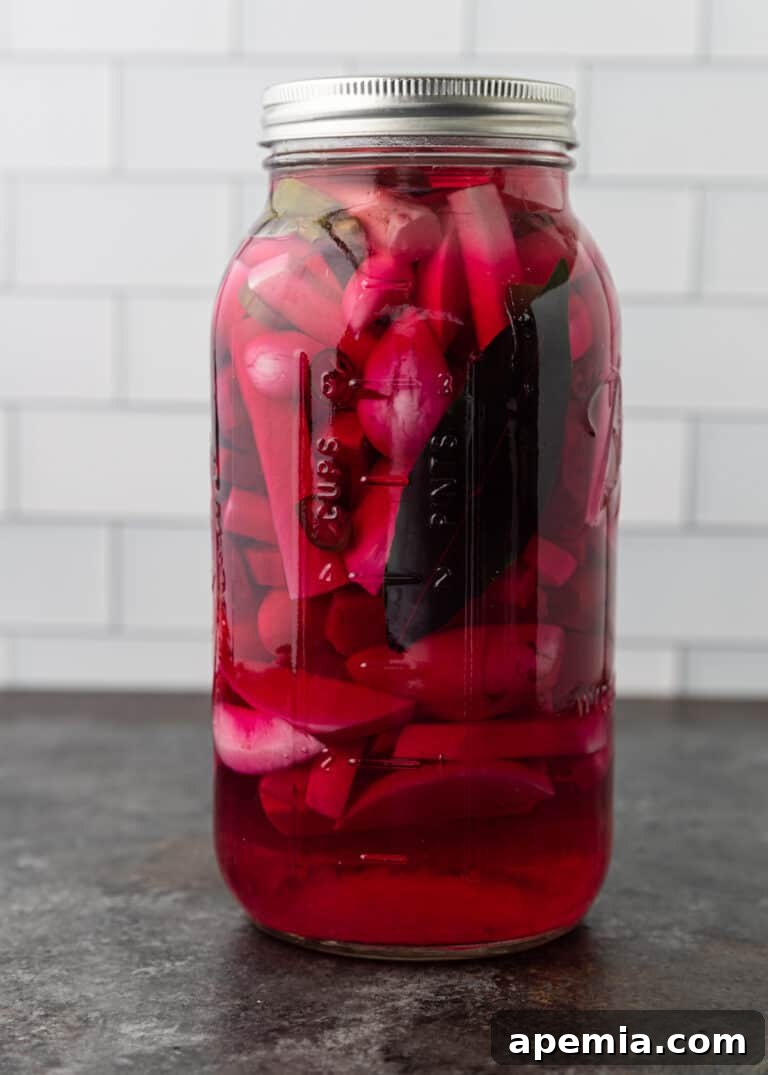
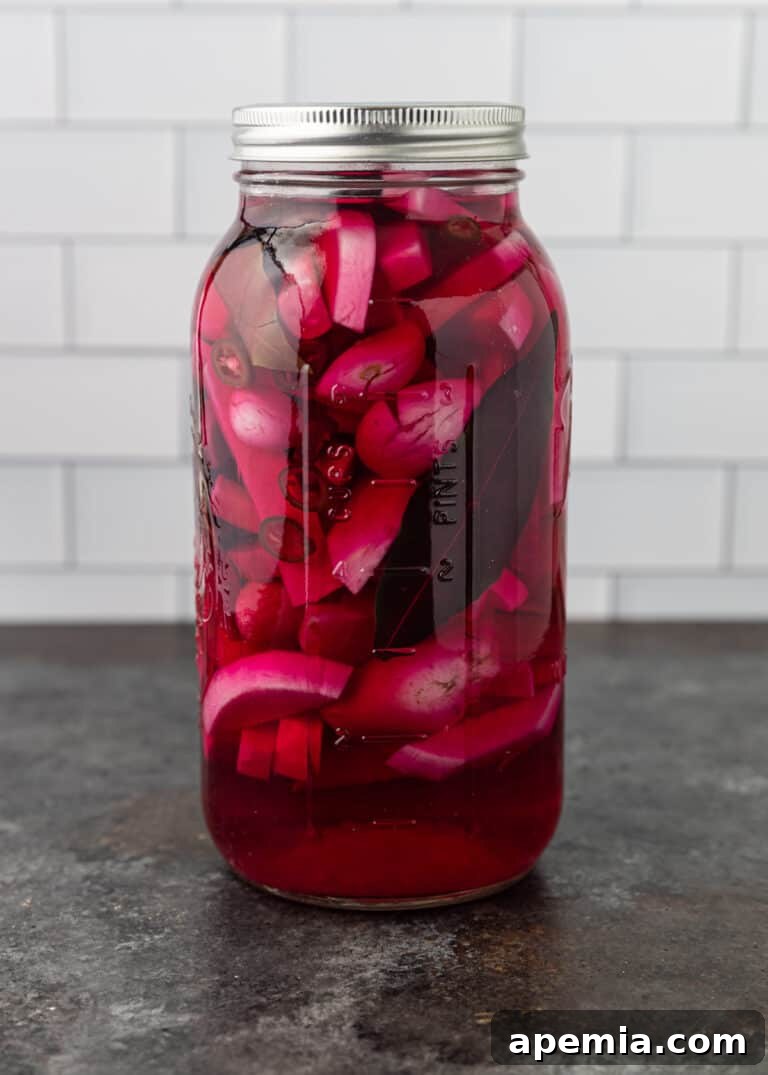
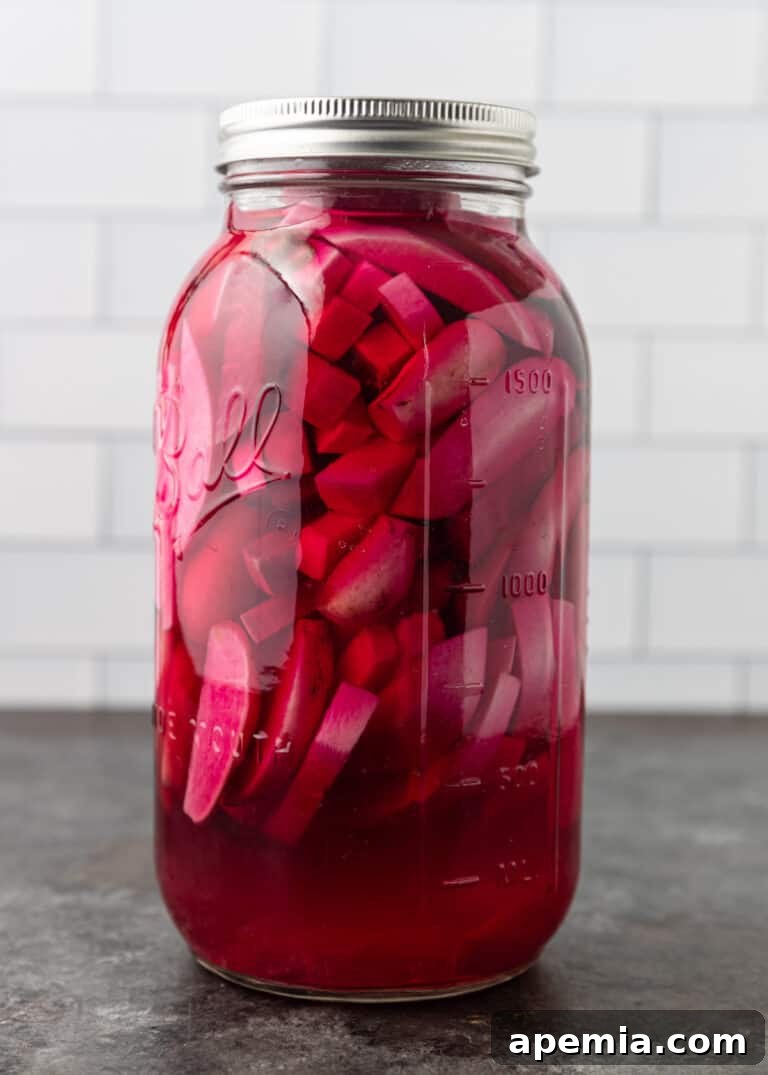
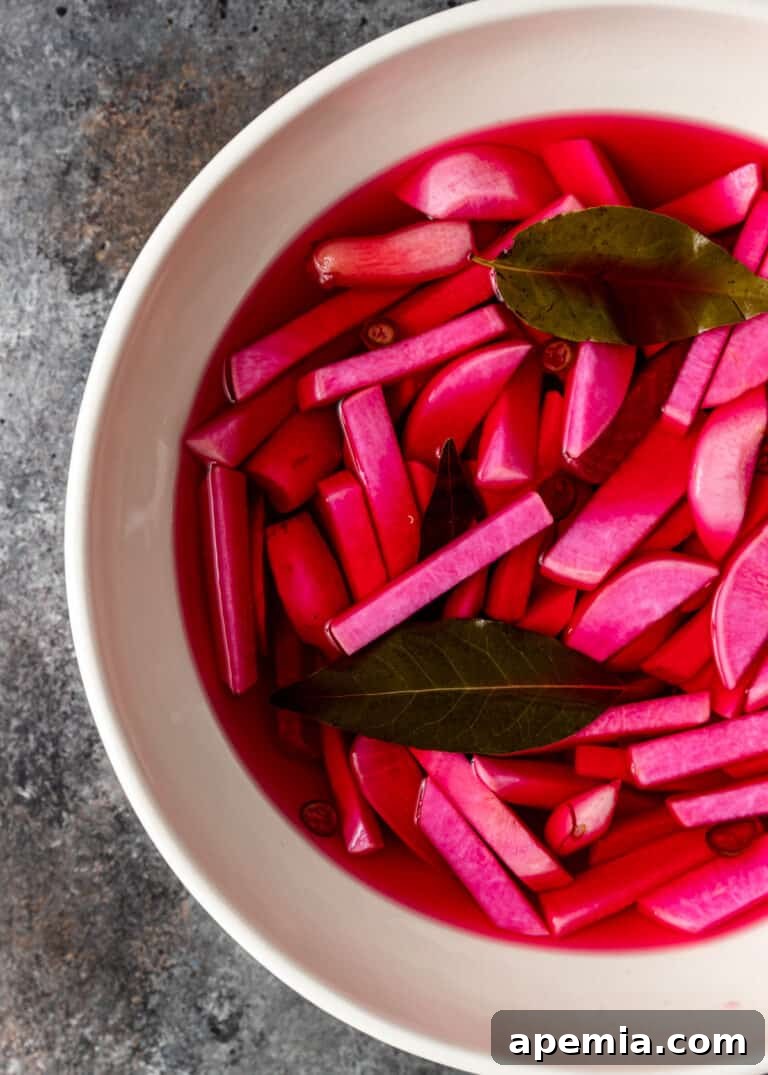
The Pickling Process
- Prepare the Garlic & Chile: Begin by peeling the garlic cloves. Place them on your cutting board and use the side of a chef’s knife to smash them slightly. This action helps to break down the cells and release their maximum flavor into the brine. Next, rinse the serrano chile, slice off the stem, and cut the chile into thin rounds.
- Make the Brine: In a medium saucepan, combine the smashed garlic, sliced chile, water, kosher salt, and bay leaves (reserving the vinegar for later). Bring this mixture to a full, rolling boil. It is vital to reach and maintain a strong boil for at least one minute to ensure any potential bacteria in the water are eliminated, creating a safe pickling environment. Once boiling, remove from heat, stir in the white vinegar, and reduce the heat to a simmer. Continue to stir for approximately 3 minutes, or until the kosher salt is completely dissolved. Set the brine aside and allow it to cool slightly while you prepare your vegetables.
- Add Vegetables to the Jar: Peel your turnips and beet. Then, uniformly chop the vegetables into ½-inch thick slices. You can cut them into rounds or sticks, whichever you prefer. For crisper pickles, you may opt for slightly thicker slices. Carefully add the sliced turnips and beets to a clean, dry, heat-proof glass jar. It’s important to pack them in tightly but without crushing them, as this helps keep them submerged in the brine and ensures even pickling. Pour the prepared and slightly cooled brine over the vegetables, making sure they are fully submerged.
- Pickle & Enjoy: Tightly close the lid of the jar. Place the jar in a cool, dry place on your kitchen countertop, away from direct sunlight. Allow the turnips to pickle undisturbed for a minimum of 5 days. During this time, the turnips will absorb the flavors of the brine and develop their vibrant pink color. After 5 days, they are ready to eat!
Expert Tips for Success
To ensure your Middle Eastern pickled turnips turn out perfectly crunchy, flavorful, and beautifully pink every time, consider these expert tips:
- Choosing Your Turnips: Look for firm, heavy turnips without soft spots or blemishes. Smaller to medium-sized turnips tend to be more tender and less fibrous.
- The Beet’s Role: One small beet is sufficient for a beautiful color. If you want a deeper red, you can add a little more beet, but be mindful that too much can overpower the turnip flavor with its earthiness.
- Adjusting Sweetness: As mentioned, I prefer my pickles less sweet. If you desire a sweeter profile, add 1-2 teaspoons of sugar to the brine along with the salt and other spices. Taste and adjust.
- Uniform Slices: Cutting your turnips and beet into uniform ½-inch slices (or thicker for extra crunch) ensures they pickle evenly. Inconsistent sizes can lead to some pieces being perfectly pickled while others are still too firm or too soft.
- Cleanliness is Key: While full sterilization for canning isn’t necessary for quick pickles, ensuring your jar is thoroughly washed with hot, soapy water and completely dry before adding vegetables is crucial to prevent spoilage.
- Submerging Vegetables: It’s important for the vegetables to remain fully submerged in the brine throughout the pickling process. This prevents exposure to air, which can cause discoloration or spoilage. If necessary, you can use a small glass fermenting weight or a zip-top bag filled with a little water to keep the vegetables under the brine.
- Experiment with Spices: While this recipe uses classic flavors, don’t be afraid to experiment. A few peppercorns, coriander seeds, or a pinch of dried dill can add interesting layers of flavor to your brine.
Recommended Tools
You don’t need fancy equipment to make these homemade pickled turnips. Here are the essential tools:
- Saucepan: A medium-sized saucepan is perfect for preparing and boiling the pickling brine.
- Glass Jar: You’ll need a large glass jar or another glass container with a tight-fitting, airtight lid. Before use, ensure it’s thoroughly washed with hot, soapy water and completely dry to disinfect it. While full sterilization (as required for traditional canning) isn’t necessary for a quick pickle, a clean environment is paramount.
- Sharp Knife and Cutting Board: For safely and uniformly slicing your turnips and beet.
Storage & Longevity
Once your turnips have finished pickling on the countertop for 5 days, they must be transferred to the refrigerator. Stored correctly in an airtight container in the fridge, these delightful pickles will maintain their crispness and flavor for up to one month. To maximize freshness, always use a clean utensil when removing pickles from the jar.
I do not recommend freezing these pickled turnips to extend their shelf life. Freezing and thawing will alter their texture significantly, making them soft and mushy, which detracts from their appealing crunch.
Share this recipe on Pinterest!
Love this recipe? Help others discover it by sharing on Pinterest.
Frequently Asked Questions
Can pickled turnips go bad?
Yes, absolutely. This Middle Eastern pickled turnip recipe produces a quick pickle, not a traditionally fermented product. This means the vegetables are not shelf-stable and rely on refrigeration for preservation. Therefore, it’s essential to consume them within approximately one month of preparation.
How can you tell when pickled turnips have gone bad?
It’s usually quite evident when your homemade pickles have spoiled. The brine will become noticeably discolored and cloudy, losing its vibrant pink hue and clarity. It will also develop a very strong, unpleasantly acidic, or off-sour smell, distinctly different from the fresh, tangy aroma of good pickles. Furthermore, the vegetables themselves will become soft and mushy rather than crisp. You might also observe mold growth on the surface of the brine or the vegetables. A bulging lid on the jar is a definitive sign that the pickles have gone bad and should be discarded immediately.
Should you peel vegetables before pickling?
For this particular pickled turnip recipe, I highly recommend peeling both the turnips and the beet before slicing and pickling. Peeling allows the flavorful brine to penetrate the vegetables more effectively and uniformly, ensuring a consistent and strong flavor throughout each piece. While it is certainly possible to pickle vegetables without peeling them, the flavor absorption may not be as intense, and you might need to extend the pickling time to achieve a similar vibrancy of taste.
Middle Eastern Pickled Turnips Recipe
Lebanese pickled turnips are tangy, colorful pickles soaked in a salt and vinegar brine with earthy, peppery Middle Eastern seasonings – a perfect homemade condiment.
Print Recipe
Ingredients
- 2 lbs turnips (peeled and cut into 1/2 inch fries)
- 1 small beet (peeled and cut into 1/2 inch fries)
Pickle Brine
- 3 cups water
- 1/3 cup kosher salt
- 3 bay leaves
- 3 cloves garlic (smashed)
- 1 serrano chile (optional, for heat)
- 1 cup white vinegar
Instructions
- Prepare Aromatics: Using the side of a chef’s knife, lightly smash the garlic cloves to help release their flavor. Trim the stem from the serrano chile (if using) and cut it into thin slices.
- Simmer Brine: In a medium saucepan, combine 3 cups of water, kosher salt, bay leaves, smashed garlic, and sliced chile. Bring the mixture to a full boil over medium-high heat. Once boiling, immediately add the white vinegar and reduce the heat to a gentle simmer. Stir continuously for about 3 minutes until the salt is fully dissolved. Remove the brine from the heat and allow it to cool slightly while you prepare the vegetables.
- Assemble Jar: While the brine cools, peel both the turnips and the small beet. Slice both vegetables into uniform ½-inch thick pieces. Carefully pack the sliced turnips and beets into a clean, dry, large glass jar with a tight-fitting lid. Once the brine has cooled down (it doesn’t need to be cold, just not boiling hot), pour it over the vegetables in the jar, ensuring all vegetables are fully submerged.
- Pickle & Serve: Secure the lid tightly on the jar. Place the jar on your countertop in a cool, dry spot, away from direct sunlight. Allow the turnips to pickle for 5 full days. During this time, the beets will naturally dye the turnips a beautiful pink color. After 5 days, they are ready to eat! For best results and to maximize their shelf life, store the pickled turnips in the refrigerator, where they will keep well for up to a month. I find they are particularly refreshing when served cold.
Nutrition
Calories: 22kcal | Carbohydrates: 4g | Protein: 1g | Fat: 1g | Saturated Fat: 1g | Sodium: 2400mg | Potassium: 129mg | Fiber: 1g | Sugar: 3g | Vitamin A: 6IU | Vitamin C: 13mg | Calcium: 21mg | Iron: 1mg
The information shown is an estimate provided by an online nutrition calculator. It should not be considered a substitute for a professional nutritionist’s advice.
Have You Made This Recipe? Let Me Know on Instagram
Tag @keviniscooking or use the hashtag #keviniscooking!