
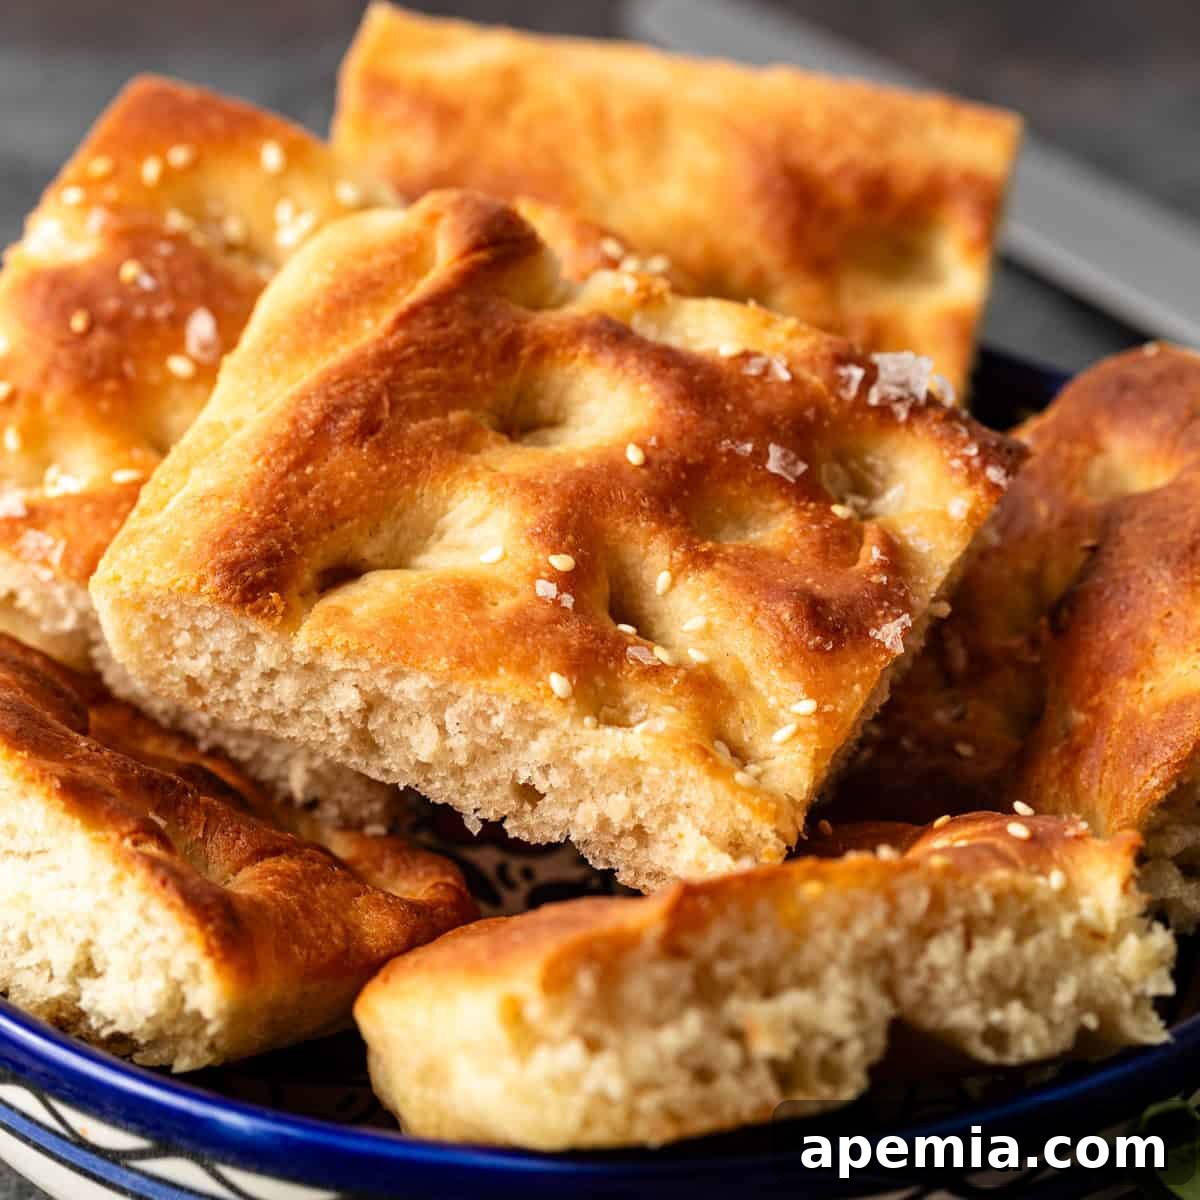
Imagine a warm, tender, and incredibly aromatic flatbread, kissed with golden olive oil and adorned with a symphony of flavors. That’s the magic of focaccia bread! This beloved Italian staple is deceptively simple to make at home, requiring just a handful of basic ingredients and a little patience. Whether you prefer it plain with a sprinkle of sea salt or dressed to impress with an array of gourmet toppings, this easy homemade focaccia recipe promises a delightful culinary experience.
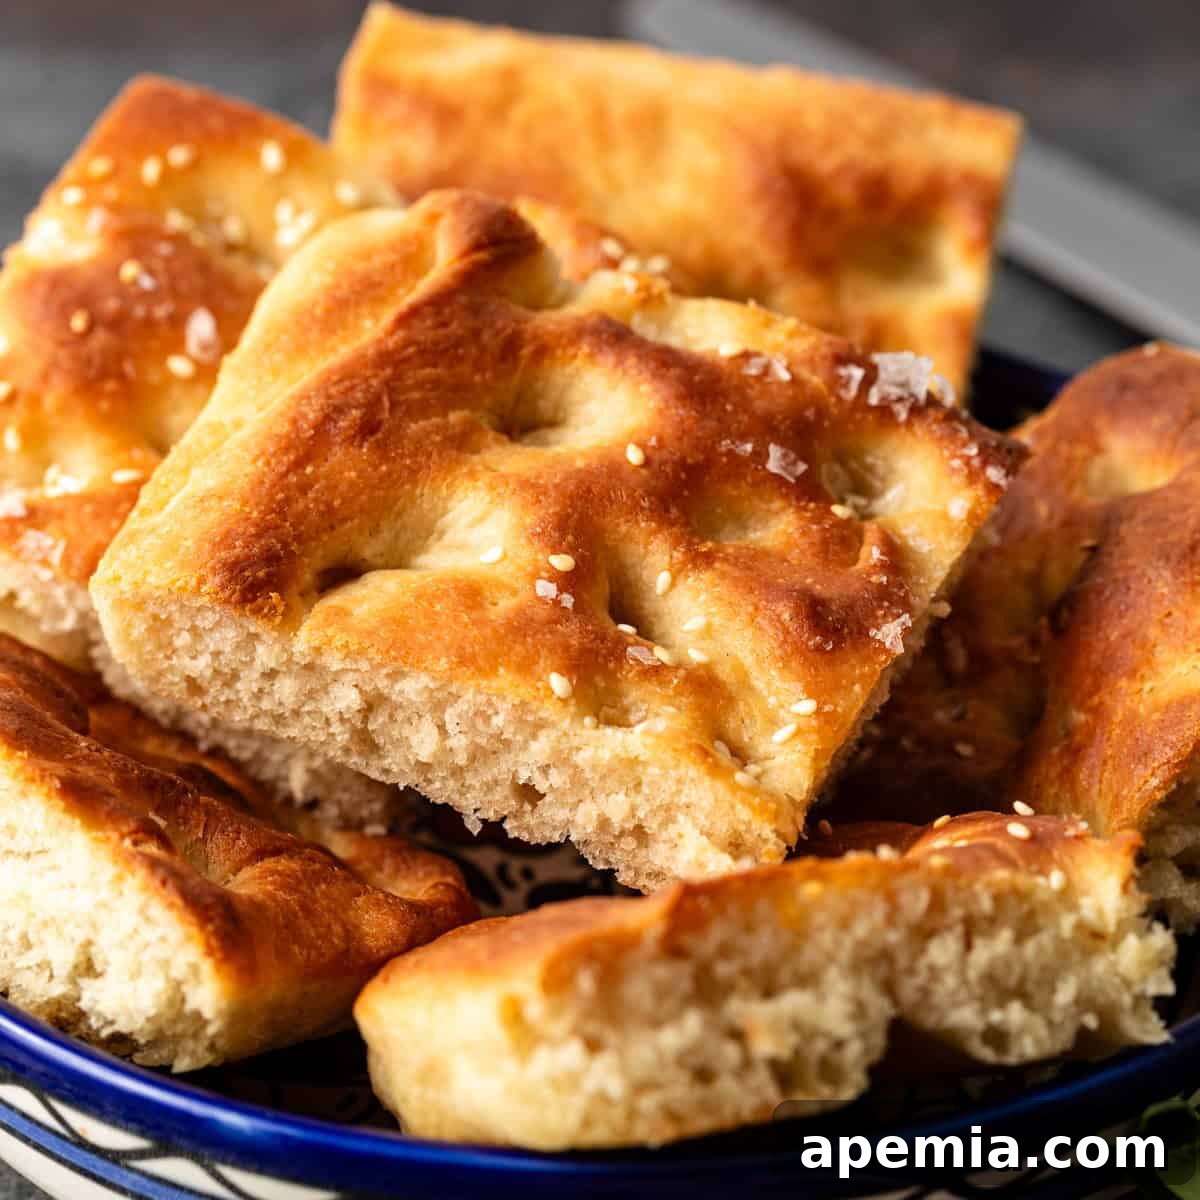
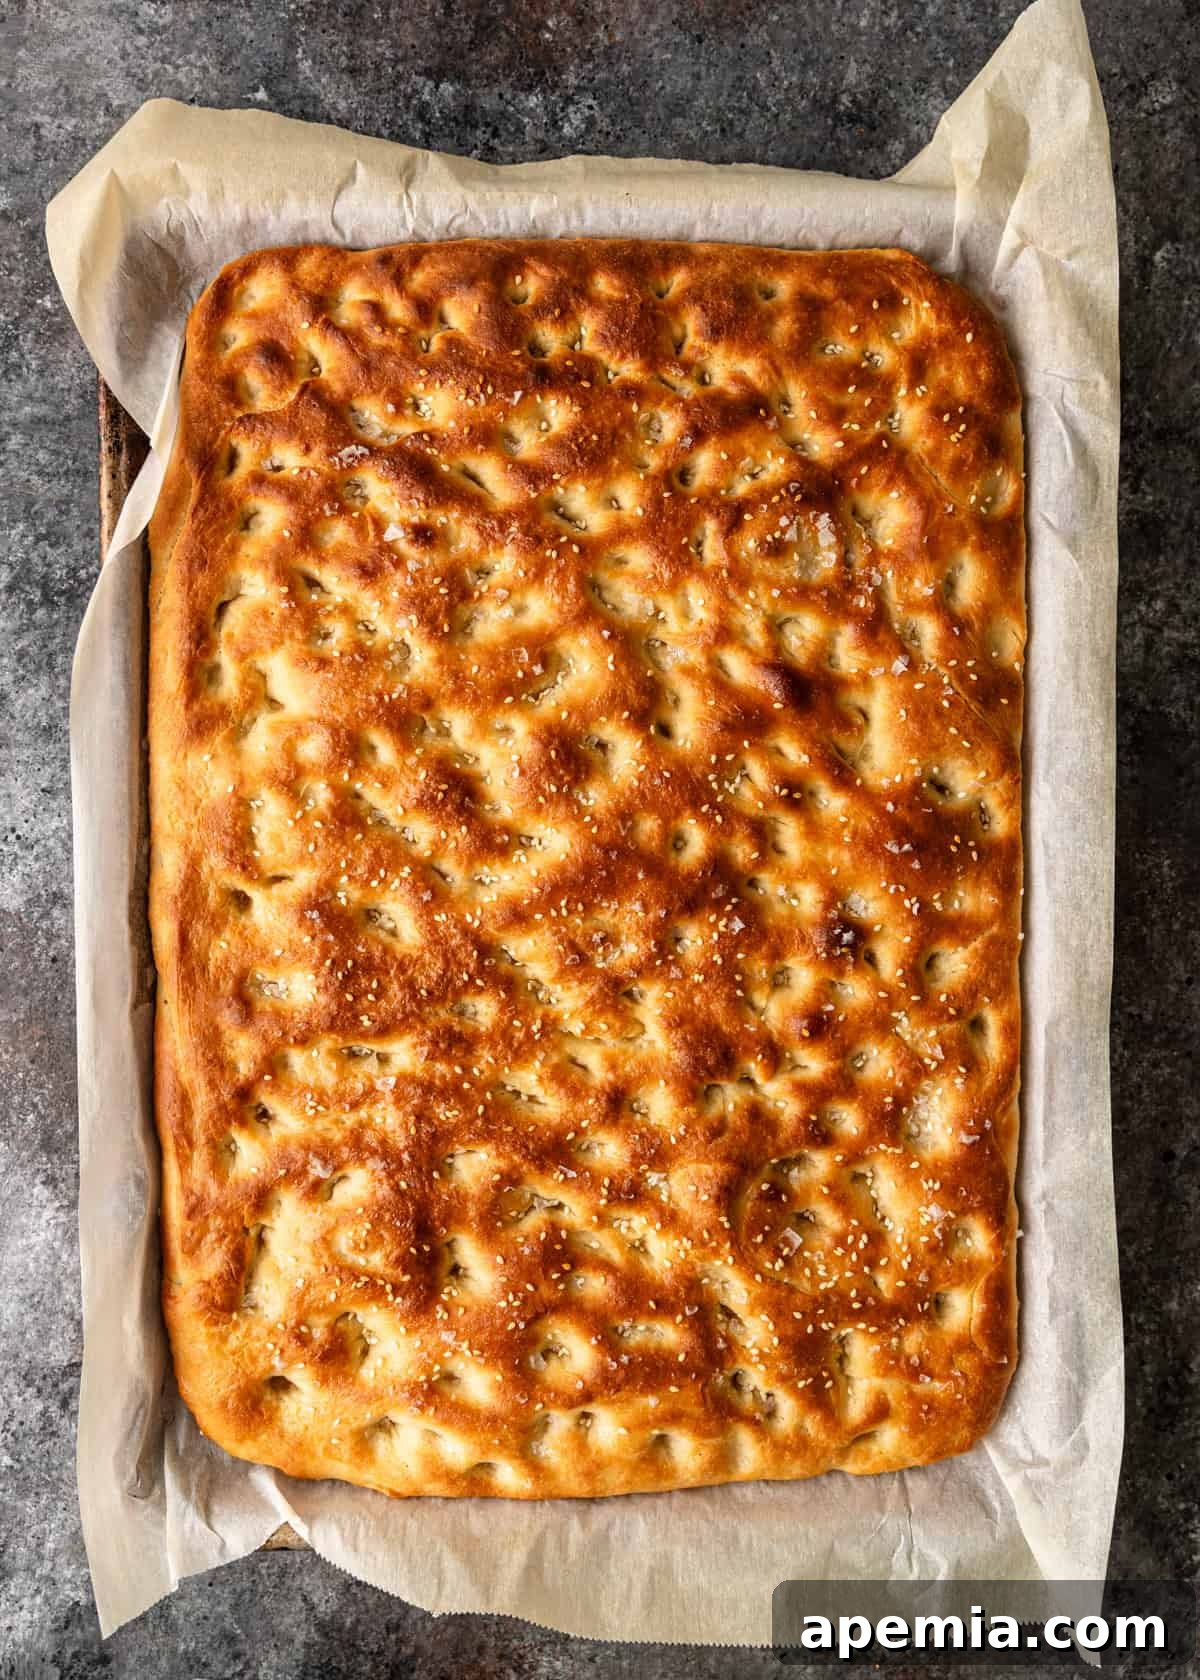
Focaccia bread isn’t just a treat for the taste buds; it’s a feast for the eyes. Its distinctive golden-brown crust, dotted with characteristic dimples, serves as a beautiful canvas for colorful, flavorful additions. From vibrant roasted vegetables and savory cured meats to creamy cheeses and fragrant herbs, focaccia captivates with its appearance alone. But one bite, and you’ll understand why everyone reaches for seconds. Its irresistible combination of a crispy exterior and an unbelievably soft, airy interior makes it a versatile bread for any occasion.
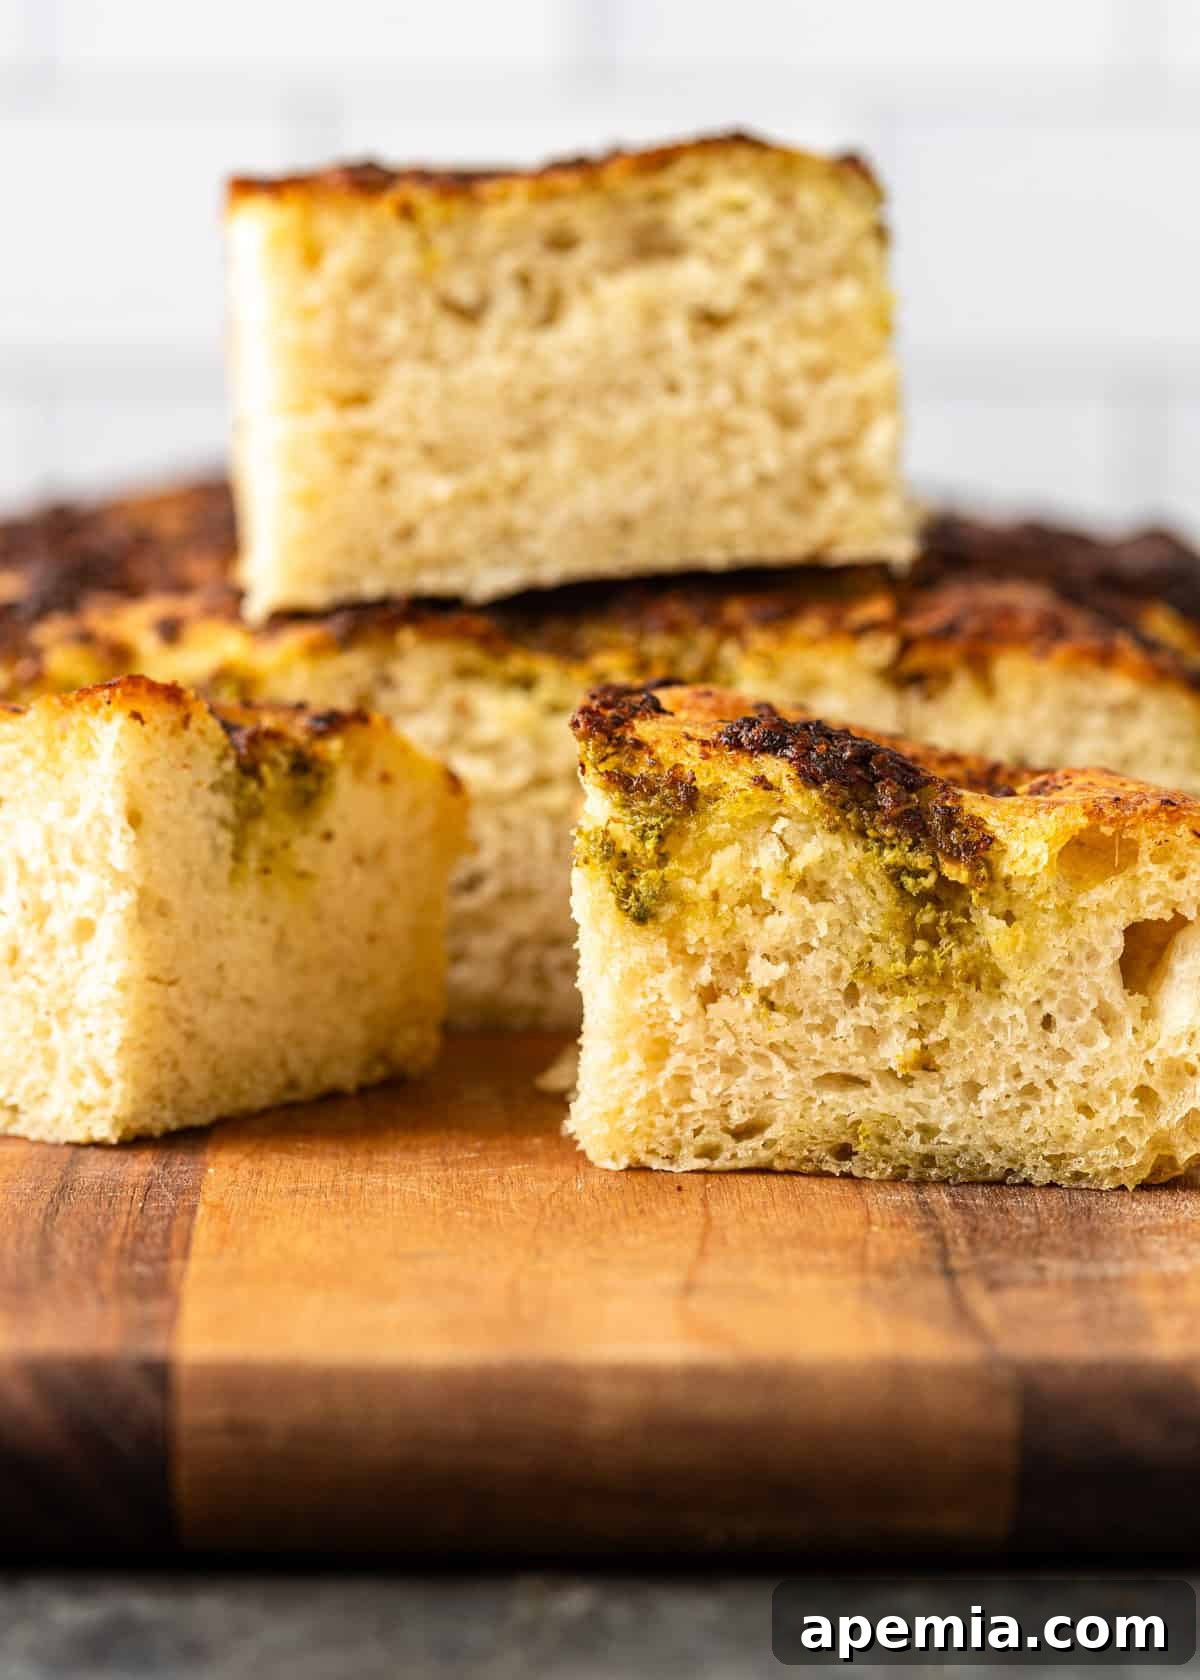
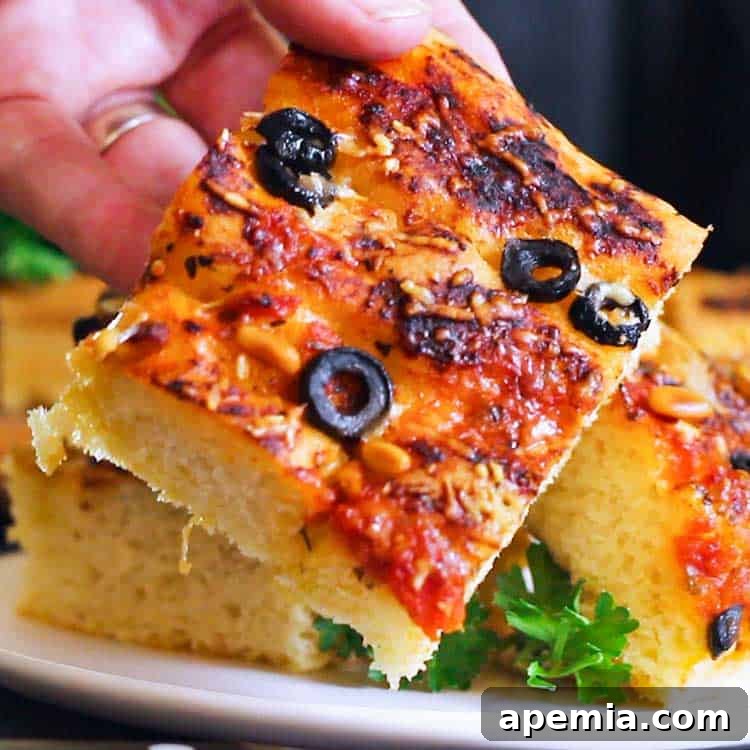
This homemade focaccia bread recipe is designed to be your ultimate blank canvas. While a simple drizzle of high-quality olive oil and a scatter of flaky sea salt is a classic choice, don’t hesitate to get creative. Consider topping your focaccia with a rich marinara sauce or a zesty arrabbiata sauce, then dotting it with Kalamata olives, fresh rosemary, or thinly sliced cured meats. Personally, I adore the combination of vibrant basil pesto, grated Parmesan, and crunchy pine nuts – it’s a wonderfully salty, herbal, and subtly nutty flavor profile that elevates the bread to new heights. However, there’s an undeniable charm in a warm slice of plain focaccia, simply topped with crunchy sea salt flakes, allowing the pure flavor of the bread to shine through.
When it comes to toppings, a general rule of thumb is to not overdo it. While it’s tempting to load up your focaccia, too many heavy or wet toppings can weigh down the dough or make the surface soggy. Aim for balance and let the natural flavors of the bread and its chosen accompaniments complement each other.
Table of Contents
- The Essence of Focaccia Bread
- Mastering Your Yeast
- Choosing the Right Pan for Your Focaccia
- Essential Ingredients & Smart Substitutions
- Step-by-Step Guide: How to Make Focaccia Bread
- Recommended Tools for Baking Focaccia
- Storing Your Focaccia for Lasting Freshness
- Frequently Asked Questions About Focaccia
- Authentic Italian Focaccia Bread Recipe
The Essence of Focaccia Bread
Focaccia, pronounced “foh-KAH-chah,” is a flat oven-baked Italian bread product, similar in style and texture to pizza dough. Its origins trace back to ancient Roman times, where it was originally baked on a hearth. The word “focaccia” itself comes from the Roman “panis focacius,” meaning “hearth bread.” Over centuries, this simple bread evolved, becoming a beloved staple across Italy, with each region developing its unique variations. Today, it’s celebrated worldwide for its simple yet profound deliciousness, often enjoyed as an appetizer, a side with meals, or even as a base for sandwiches.
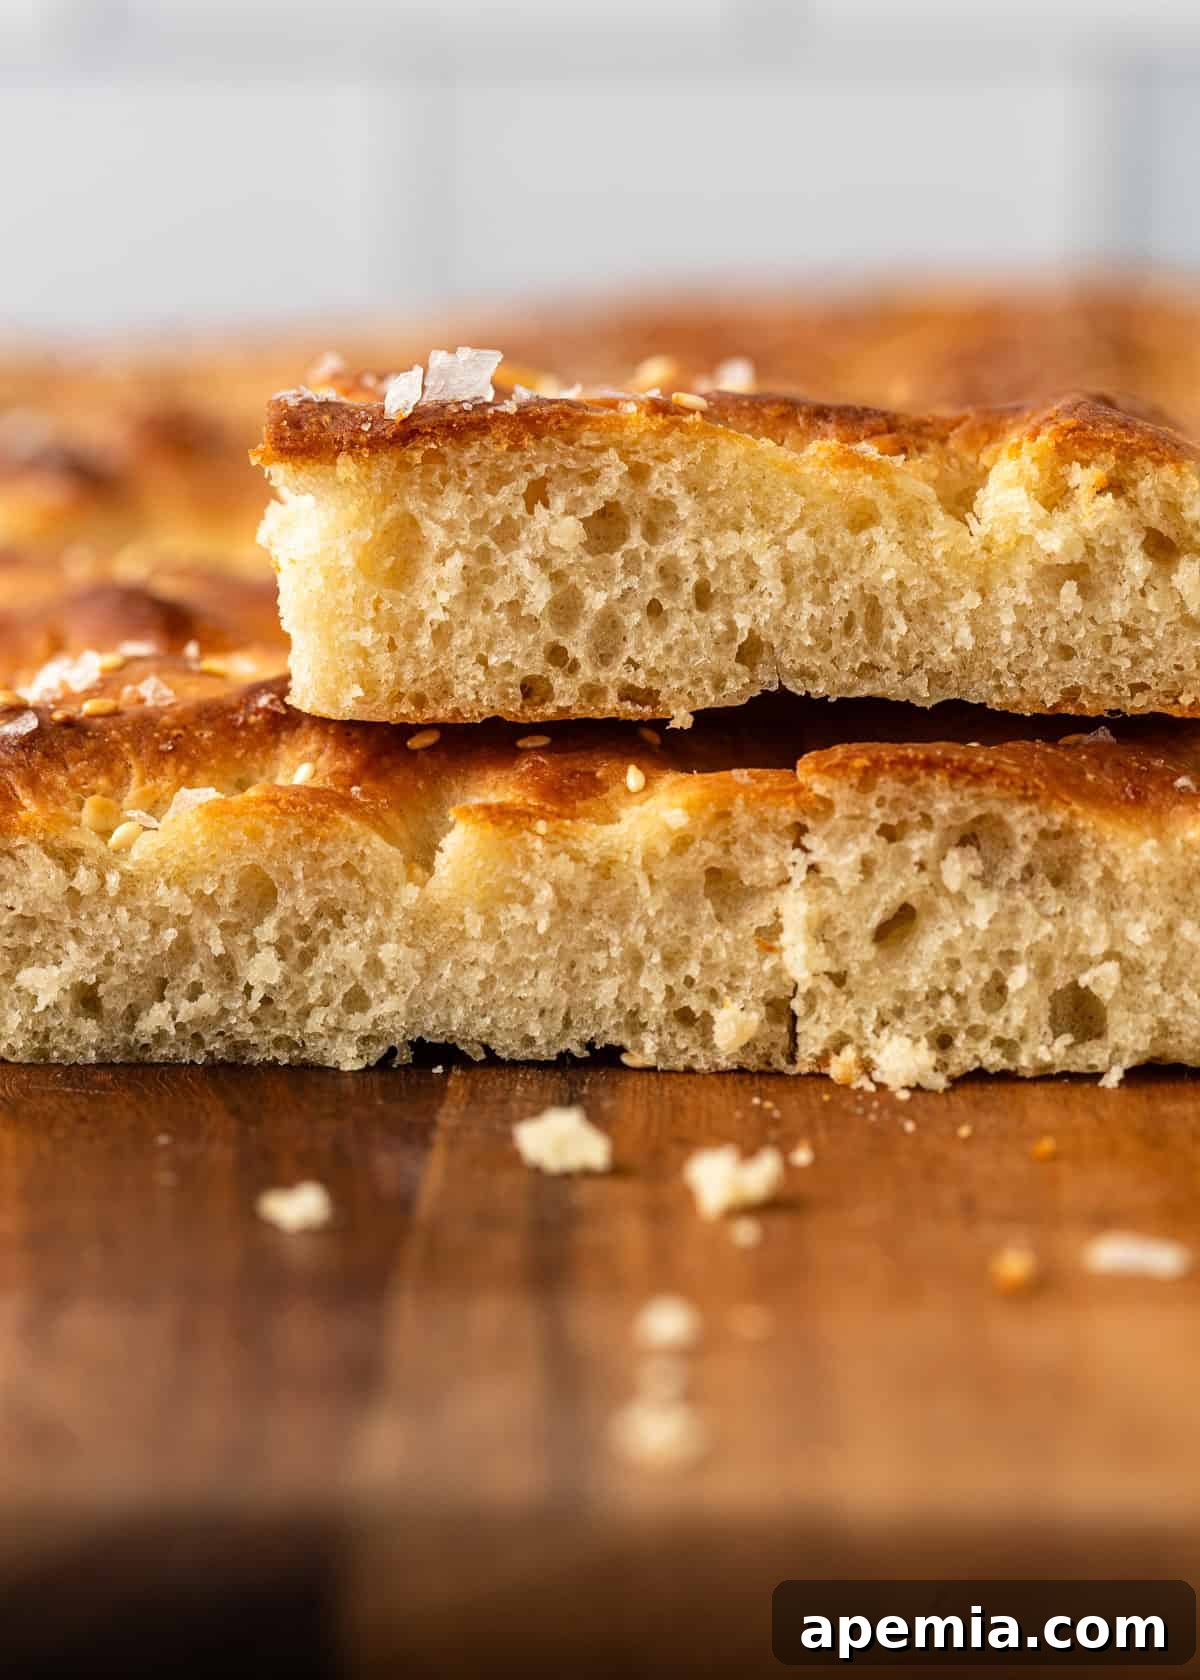
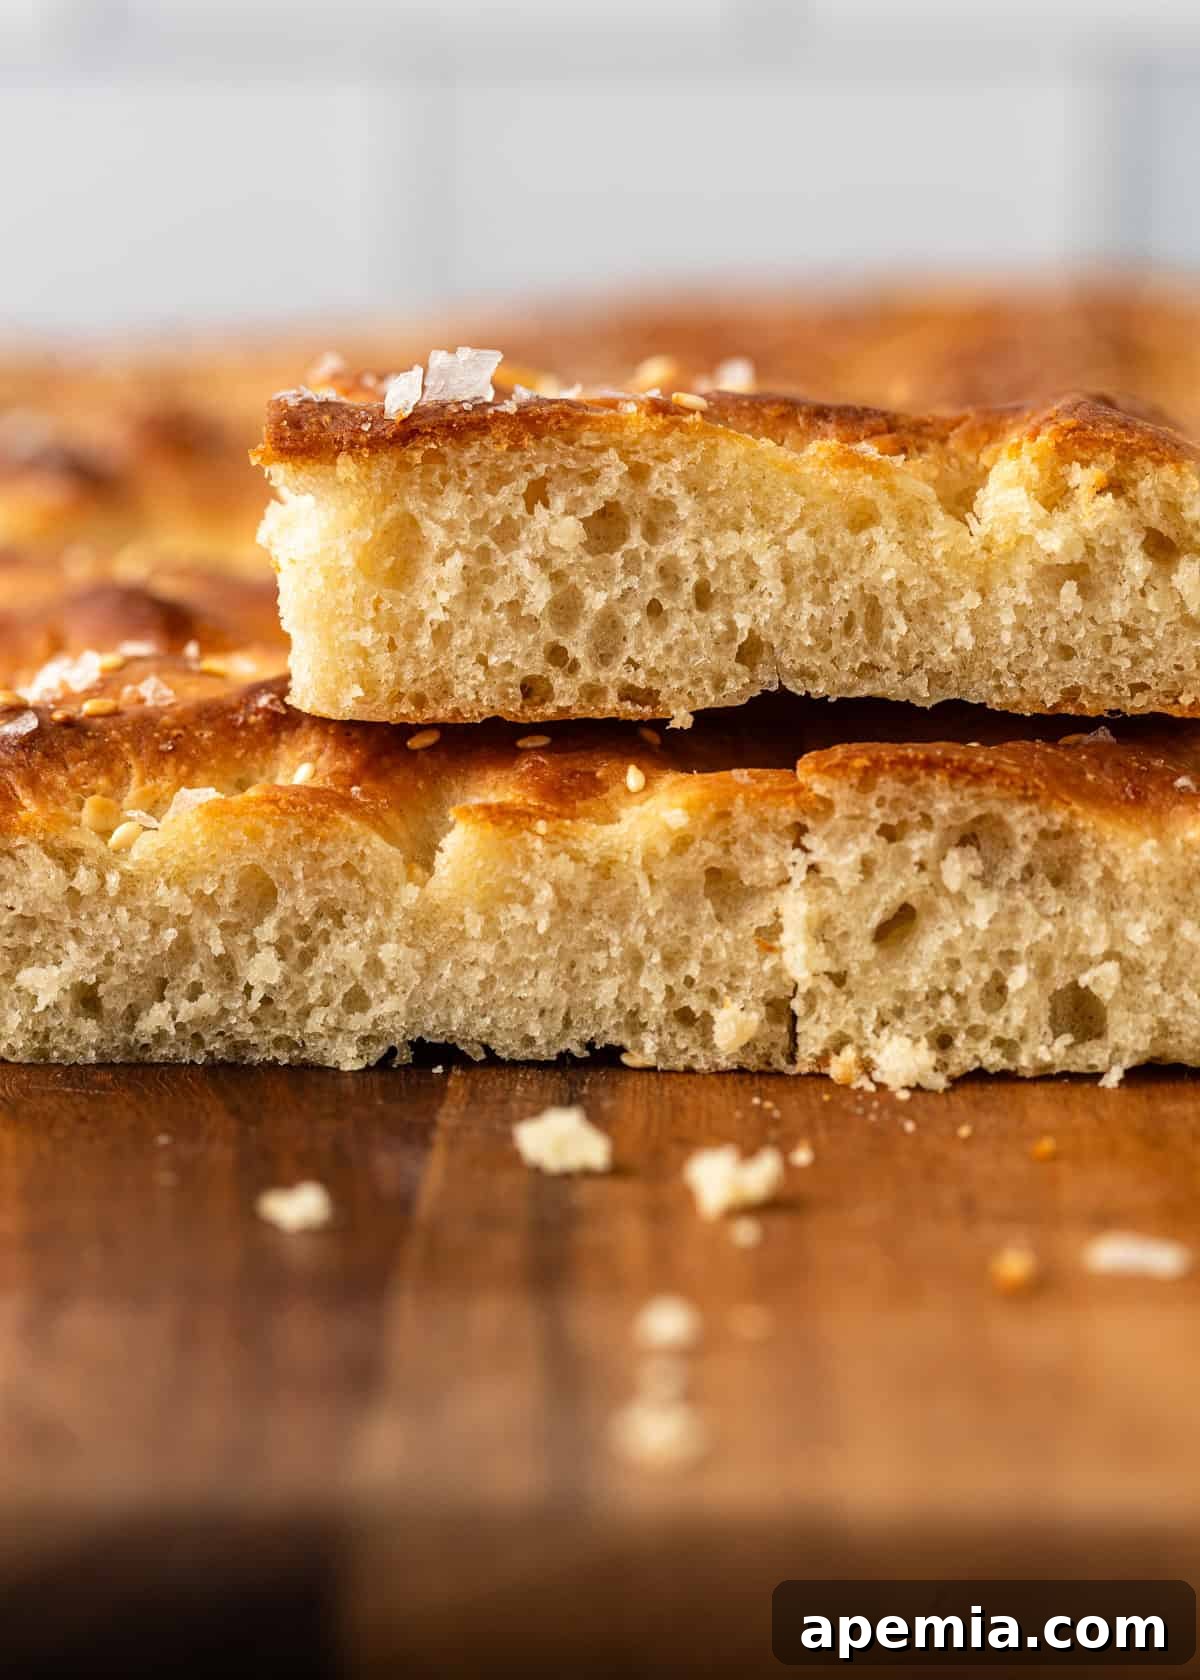
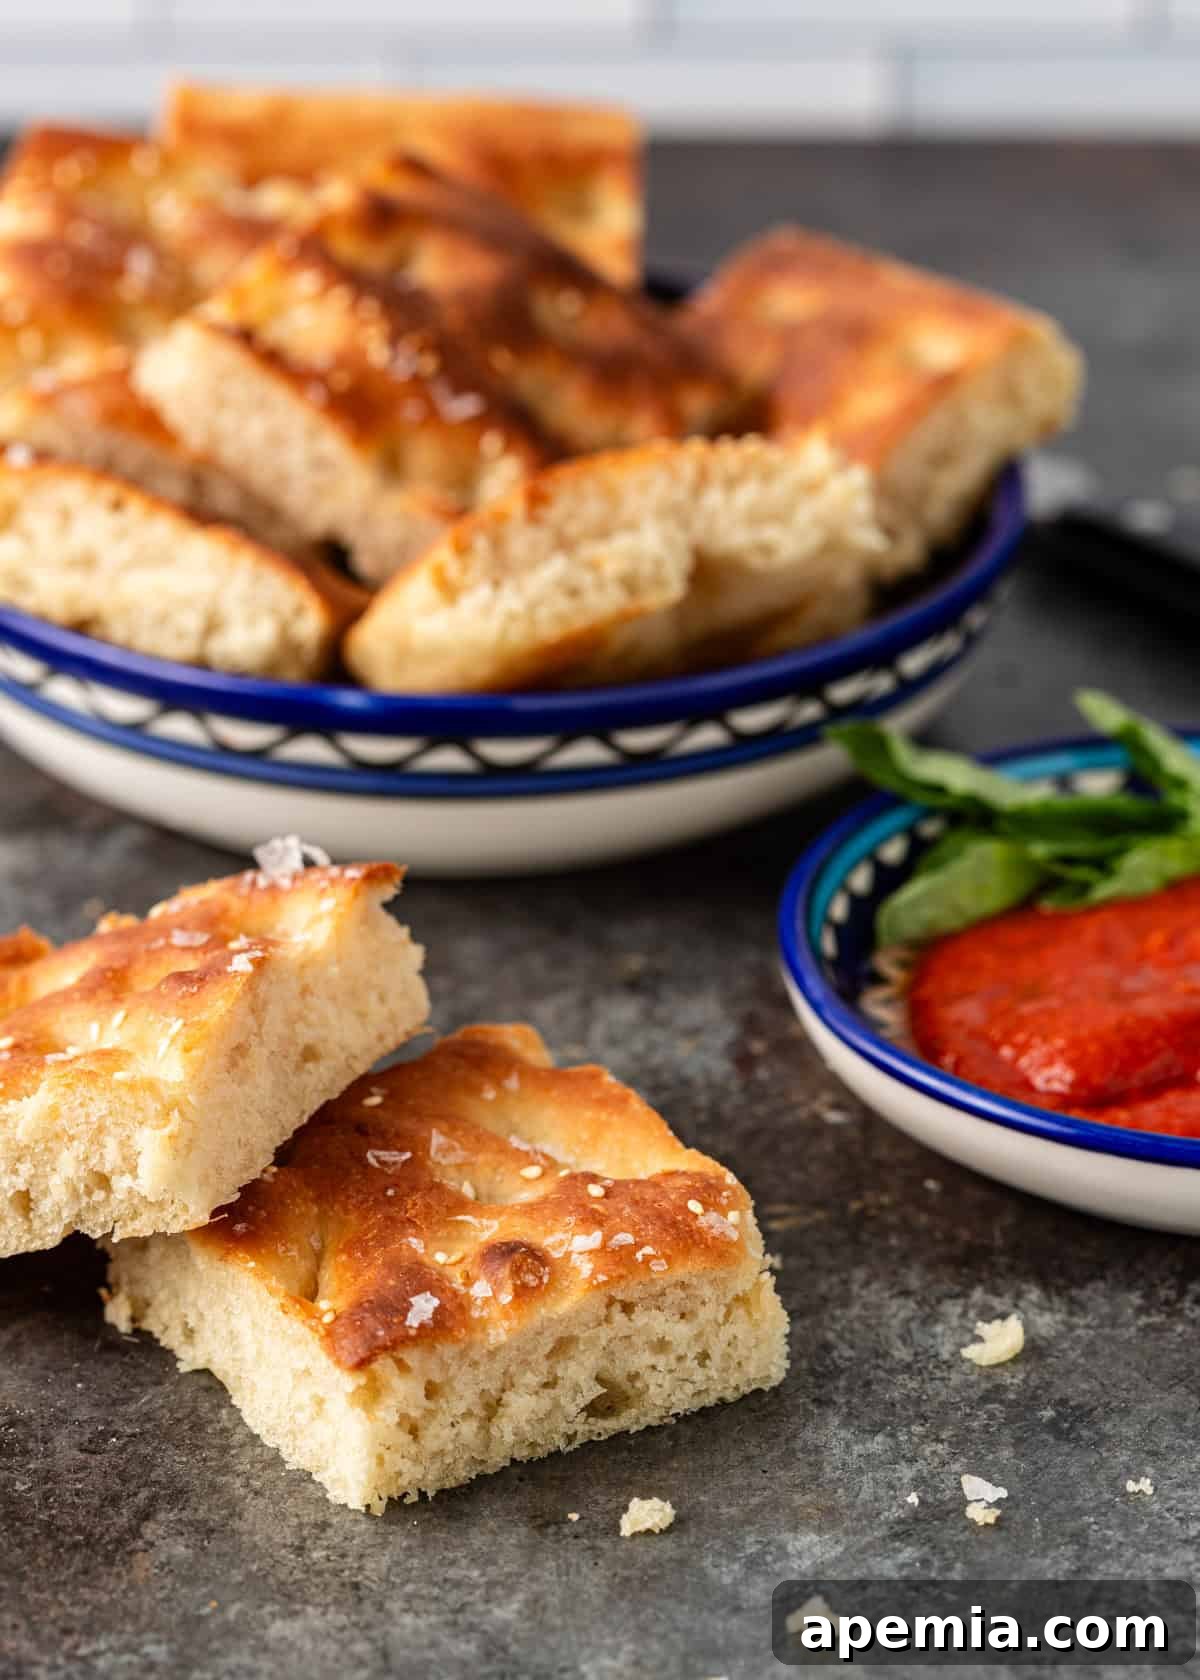
What makes focaccia truly stand out is its delightful texture: a crispy, slightly chewy crust giving way to an incredibly soft, airy, and moist interior. This is largely due to the generous use of olive oil, both in the dough and drizzled on top, which contributes to its characteristic rich flavor and tender crumb. The signature dimples on its surface are not just for aesthetics; they capture the olive oil and any toppings, creating pockets of intense flavor with every bite. Learning to bake focaccia at home is a rewarding experience, and with this easy recipe, you’ll be creating bakery-quality bread in no time!
Tip From Kevin
Mastering Your Yeast for Perfect Focaccia
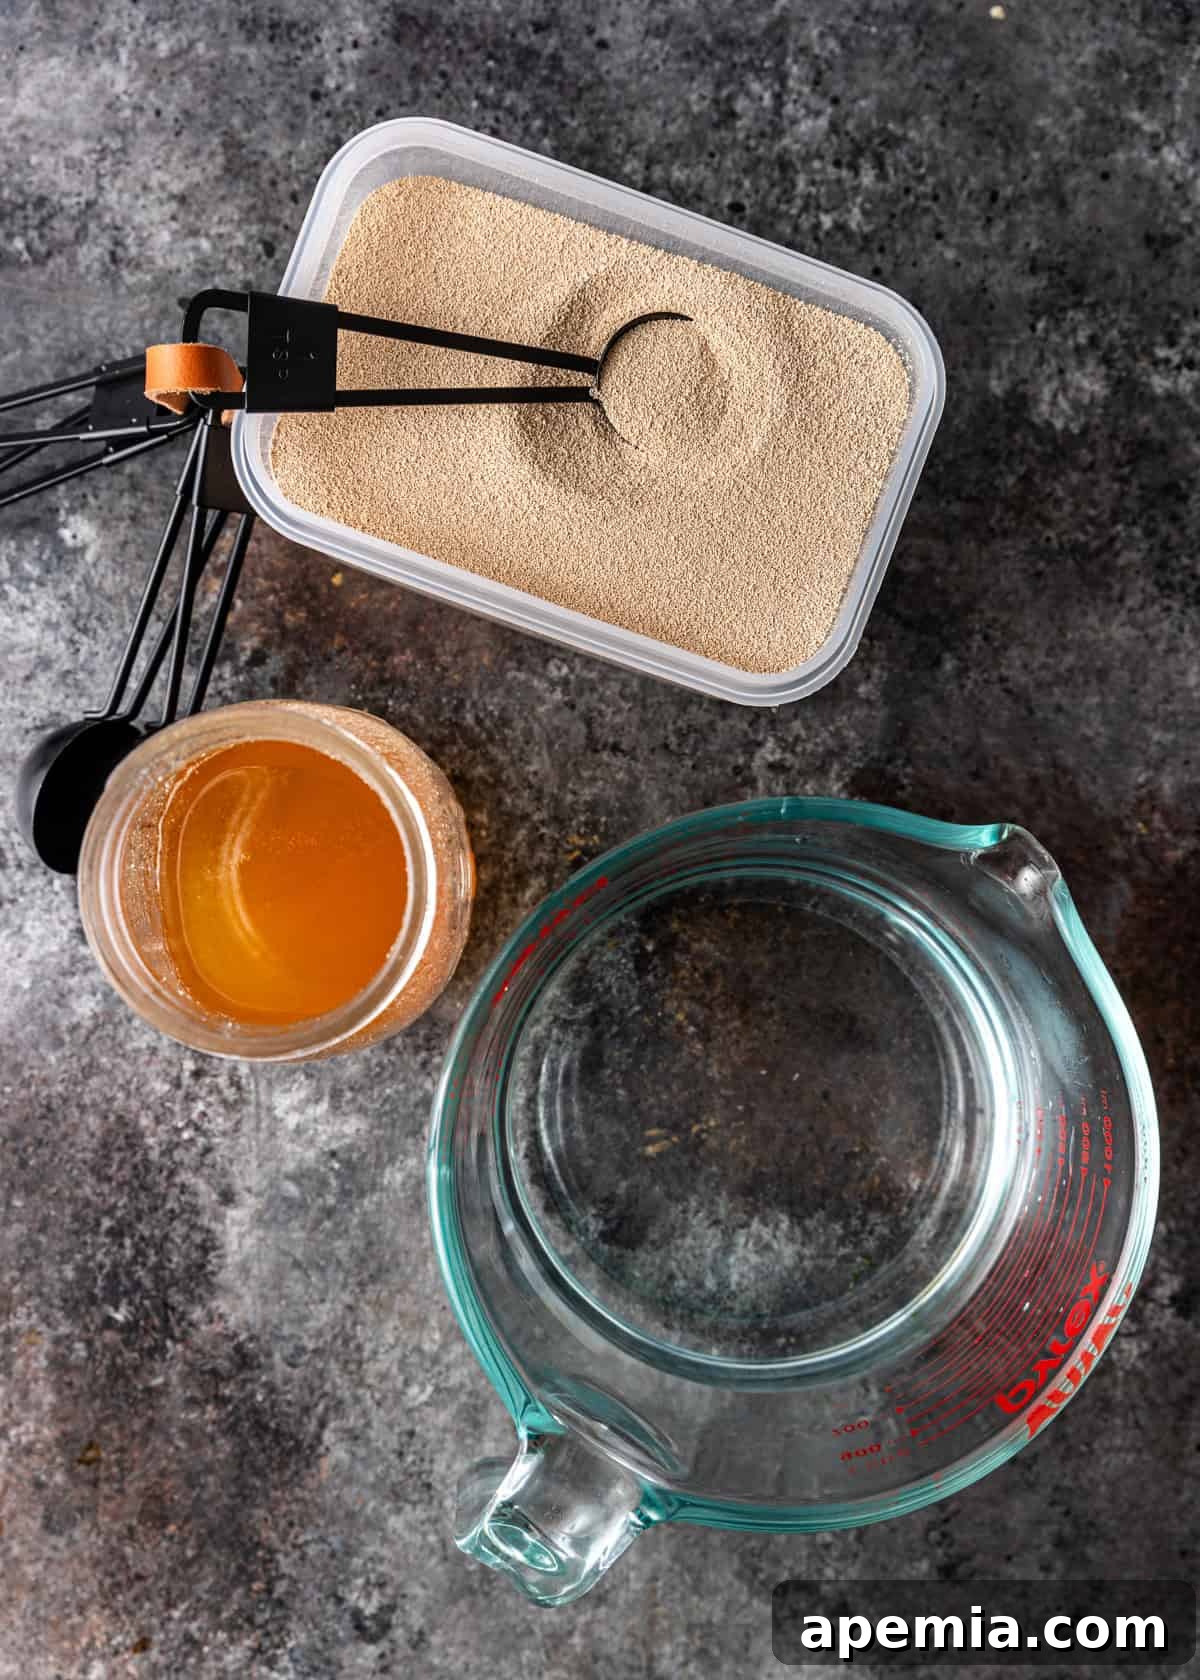
Yeast is the living heart of your focaccia dough, responsible for its airy texture and delightful rise. A standard 1/4 ounce (7g) packet of active dry yeast typically contains about 2 1/4 to 2 1/2 teaspoons. While yeast is usually packaged by weight, for consistency in this recipe, I highly recommend measuring out precisely 2 1/2 teaspoons of yeast. This ensures your dough gets the right amount of leavening power. Remember, one 1/4 ounce (7g) packet is generally sufficient to leaven approximately 4 cups (1 pound) of flour, and our recipe calls for 5 cups, making the precise measurement even more crucial for optimal results.
Always check the expiration date on your yeast. Old yeast may be inactive, leading to a dough that won’t rise. When activating, ensure your water is within the ideal temperature range (100-110°F or 38-43°C). Water that’s too cold won’t activate the yeast, while water that’s too hot can kill it. Look for a foamy, bubbly mixture after 10-15 minutes – this is a sign that your yeast is alive and ready to work its magic!
Tip From Kevin
Choosing the Right Pan for Your Focaccia
The type of pan you choose significantly impacts the final texture and thickness of your focaccia. For a traditional, thinner focaccia that’s perfect for dipping or as a light snack, an 18×13-inch baking sheet with raised edges (often called a half-sheet pan or jelly roll pan) is ideal. This size allows the dough to spread out, resulting in a bread with a crispier crust and a slightly chewier interior, as seen in many of our photos.
If you prefer a thicker, more substantial focaccia – one that’s fantastic for slicing horizontally to create hearty sandwiches – opt for a smaller 13×9-inch pan. This will result in a taller, fluffier bread with a more pronounced soft interior. Keep in mind that a thicker focaccia may require a slightly longer baking time to ensure it cooks through evenly. Always grease your chosen pan well and consider using parchment paper for easy removal and cleanup.
Essential Ingredients & Smart Substitutions
(Be sure to check the recipe card below for a full list of ingredients and precise quantities)
- Warm Water – This isn’t just any water; its temperature is critical for activating the yeast. Aim for a temperature between 100–110 degrees F (38-43°C). If it’s too cold, the yeast won’t wake up; too hot, and it will die. Think of it as a comfortable bath for your yeast!
- Active Dry Yeast – As mentioned in our tips, precise measurement is key. While a 1/4 ounce packet is standard, measure out the full 2 1/2 teaspoons to ensure your focaccia achieves its signature airy, pillowy texture. Good quality, fresh yeast makes all the difference.
- Honey – This isn’t just for sweetness; honey acts as food for the yeast, encouraging it to produce carbon dioxide, which helps the bread rise beautifully. It also imparts a subtle, delightful flavor to the focaccia. If you don’t have honey, 1 tablespoon of granulated white sugar can be used as a direct substitute.
- All-Purpose Flour – Unbleached all-purpose flour is your go-to for a consistently excellent focaccia. Its coarser texture and slightly higher protein content compared to bleached flour provide a better structure for yeasted breads, resulting in a superior chew and crumb. While bread flour can also be used for an even chewier texture, all-purpose is perfectly sufficient and widely available.
- Kosher Salt – The pure, unadulterated flavor of coarse kosher salt is always preferred in baking, especially for bread where salt plays a crucial role in enhancing flavor and controlling yeast activity. Its milder, less intense salinity compared to table salt ensures it blends harmoniously with the other ingredients, without overpowering the delicate flavors of honey and olive oil. Don’t skimp on the salt – it brings out the best in the bread!
- Olive Oil – This is arguably the most important ingredient after flour and yeast. Invest in a good quality extra virgin olive oil, as its flavor will shine through in the final product. We use a generous amount of it, both in the dough and for drizzling, contributing to focaccia’s moist interior, crispy crust, and rich Mediterranean aroma. The quality of your olive oil will directly impact the depth of flavor in your homemade focaccia.
Step-by-Step Guide: How to Make Homemade Focaccia Bread
- Activate the Yeast. In a small bowl, combine the warm water (100-110°F), active dry yeast, and honey. Whisk gently until combined. Place the bowl in a warm, draft-free spot, such as an unused microwave or an oven with just the light on, for about 15 minutes. This allows the yeast to activate; you should see a foamy, bubbly mixture, indicating it’s alive and thriving.
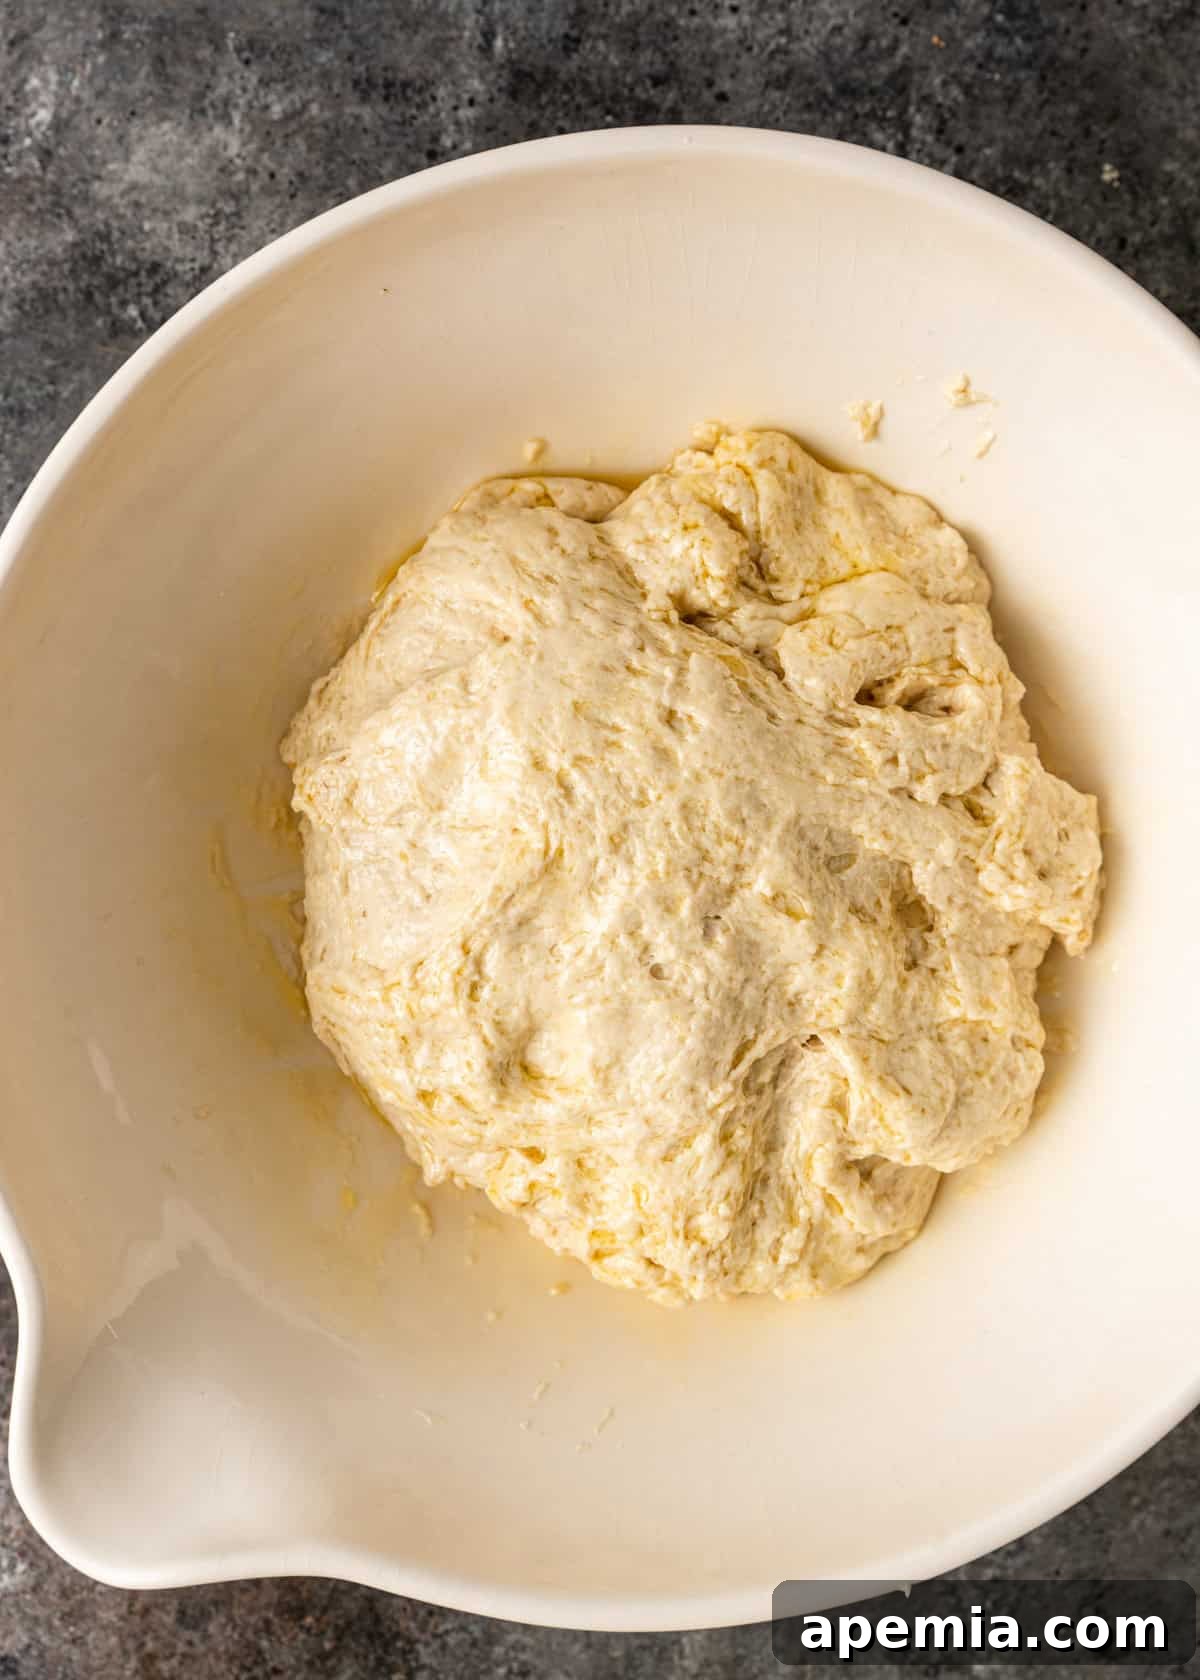
- Mix the Dough. Transfer the activated yeast mixture to the bowl of your stand mixer. Add the all-purpose flour, kosher salt, and ½ cup of olive oil. Using the dough hook attachment, beat on low speed until the ingredients come together and form a shaggy dough. Increase the speed to medium and continue kneading for about 5-7 minutes until the dough transforms into a soft, smooth, and elastic ball. If you’re kneading by hand, detailed instructions are provided in the recipe card below.
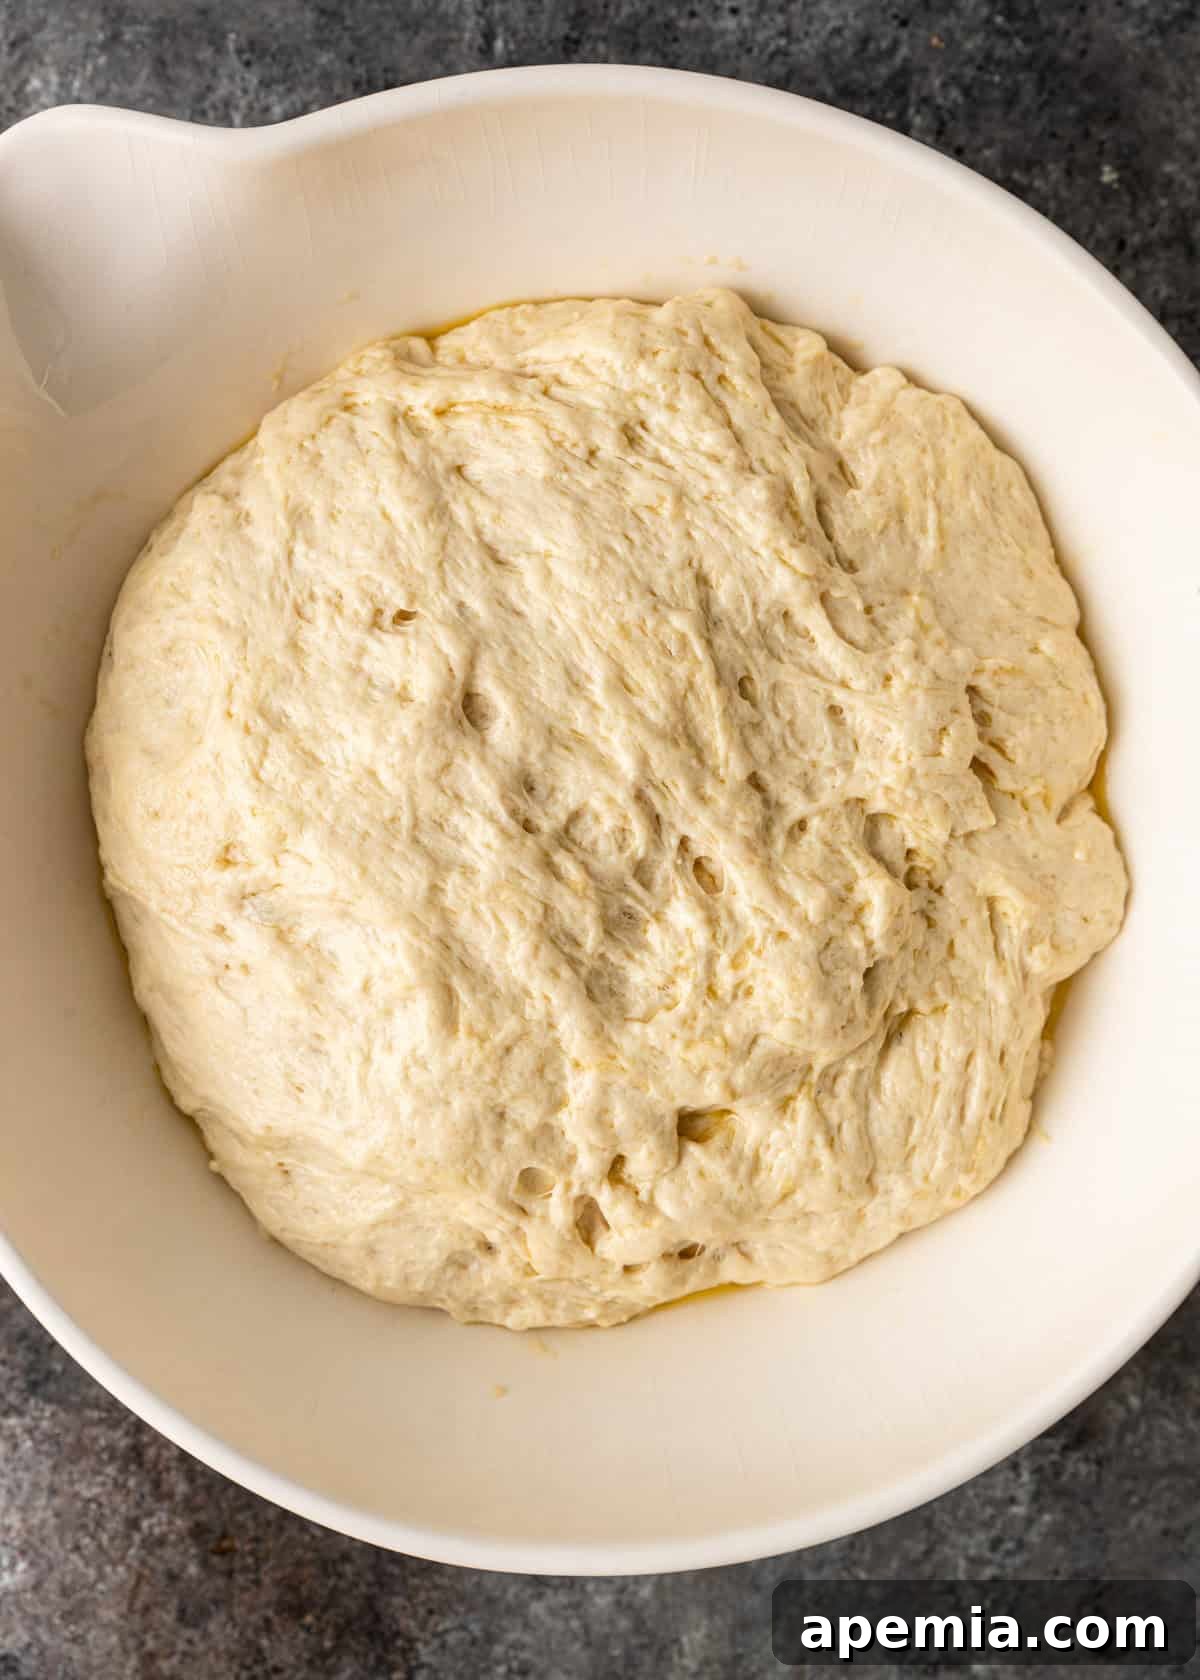
- First Rise. Lightly oil a large bowl. Place the smooth dough ball into the oiled bowl, turning it once to coat. Cover the bowl with a clean, light towel or plastic wrap. Transfer it to a warm, draft-free environment (like your warmed oven with the light on) to rise for 1 hour, or until it has visibly doubled in size. This first rise builds flavor and develops the gluten structure.
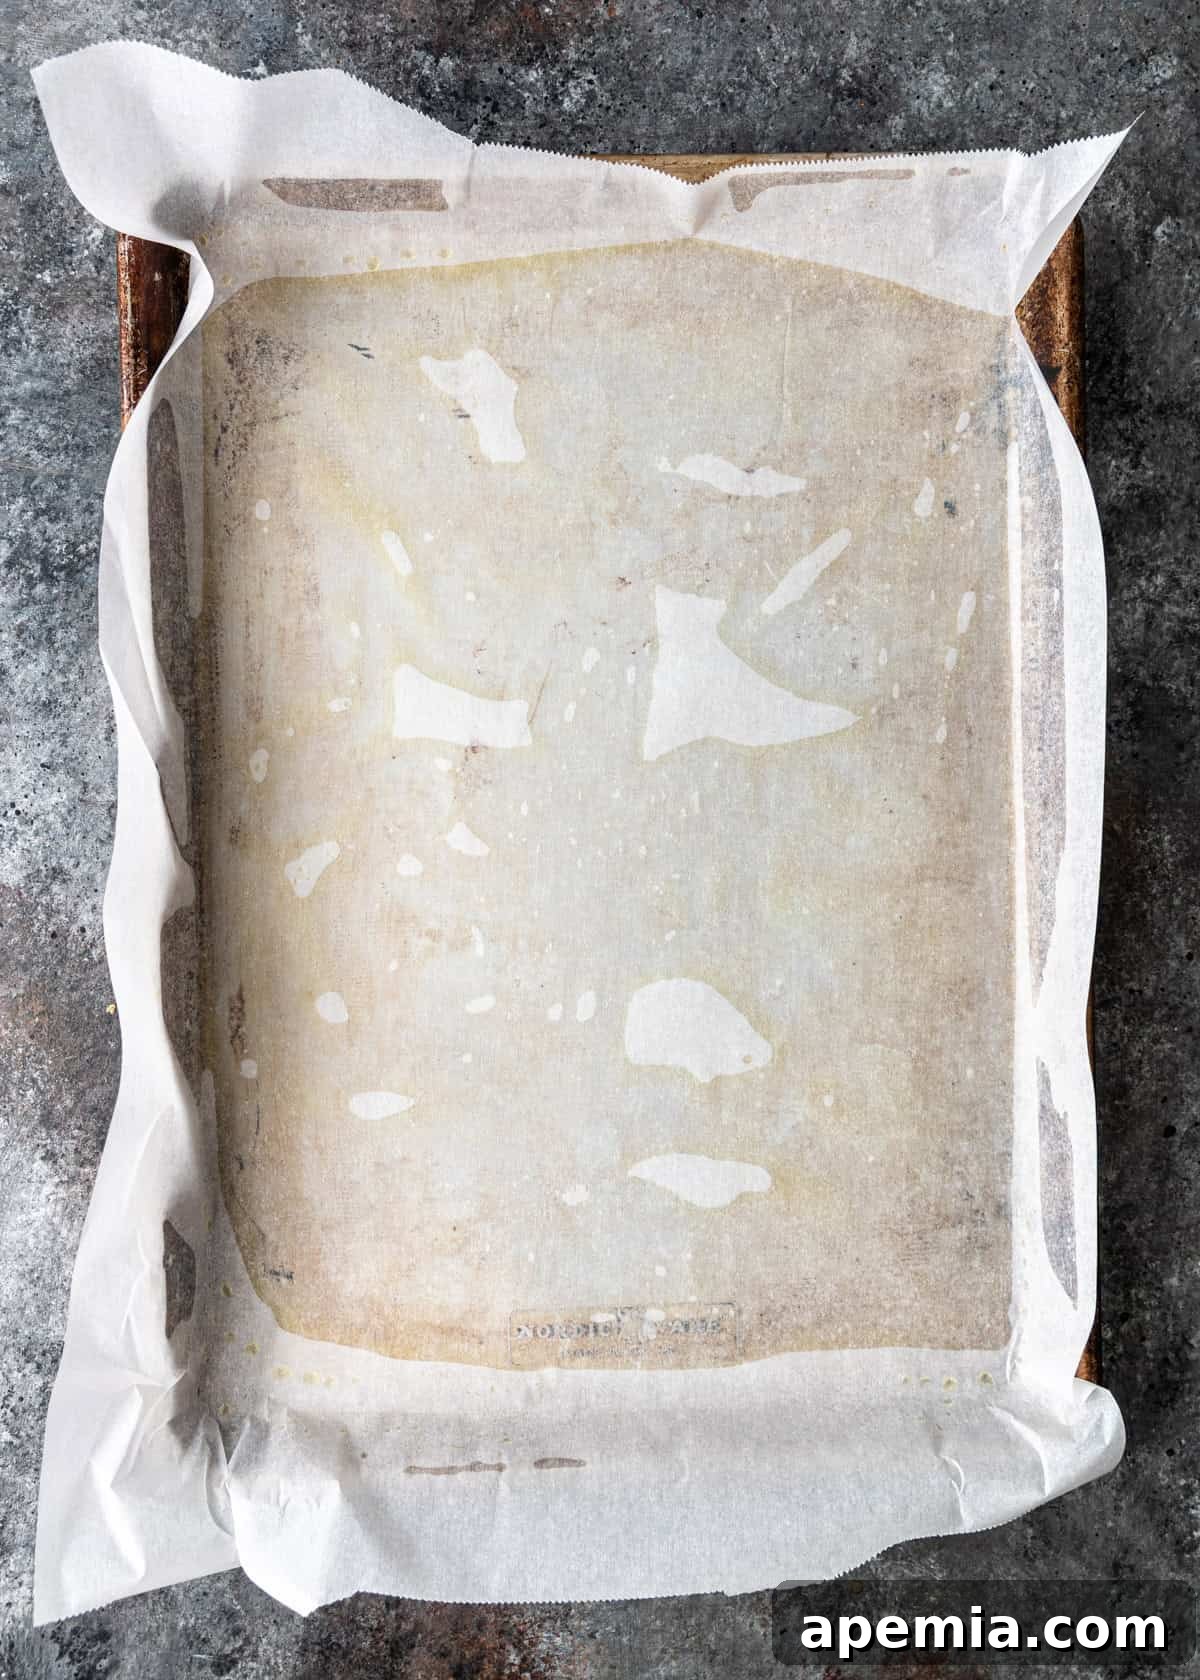
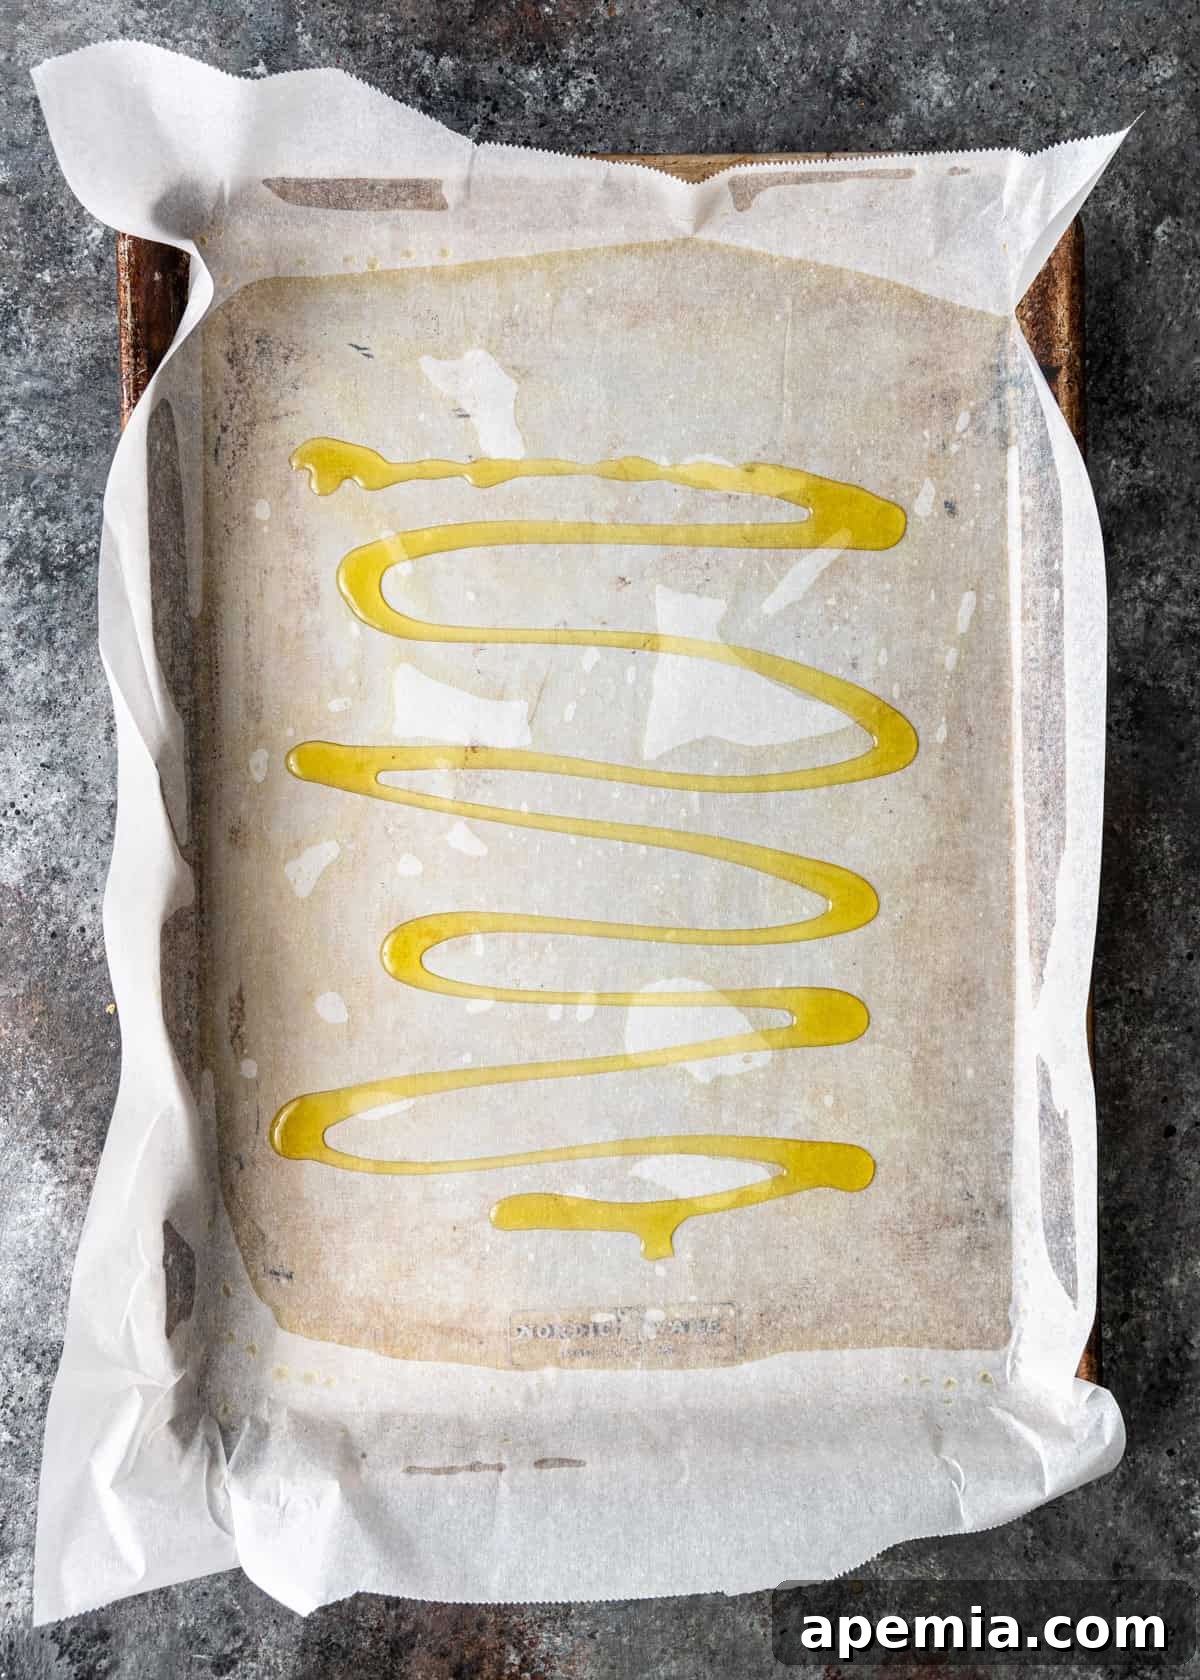
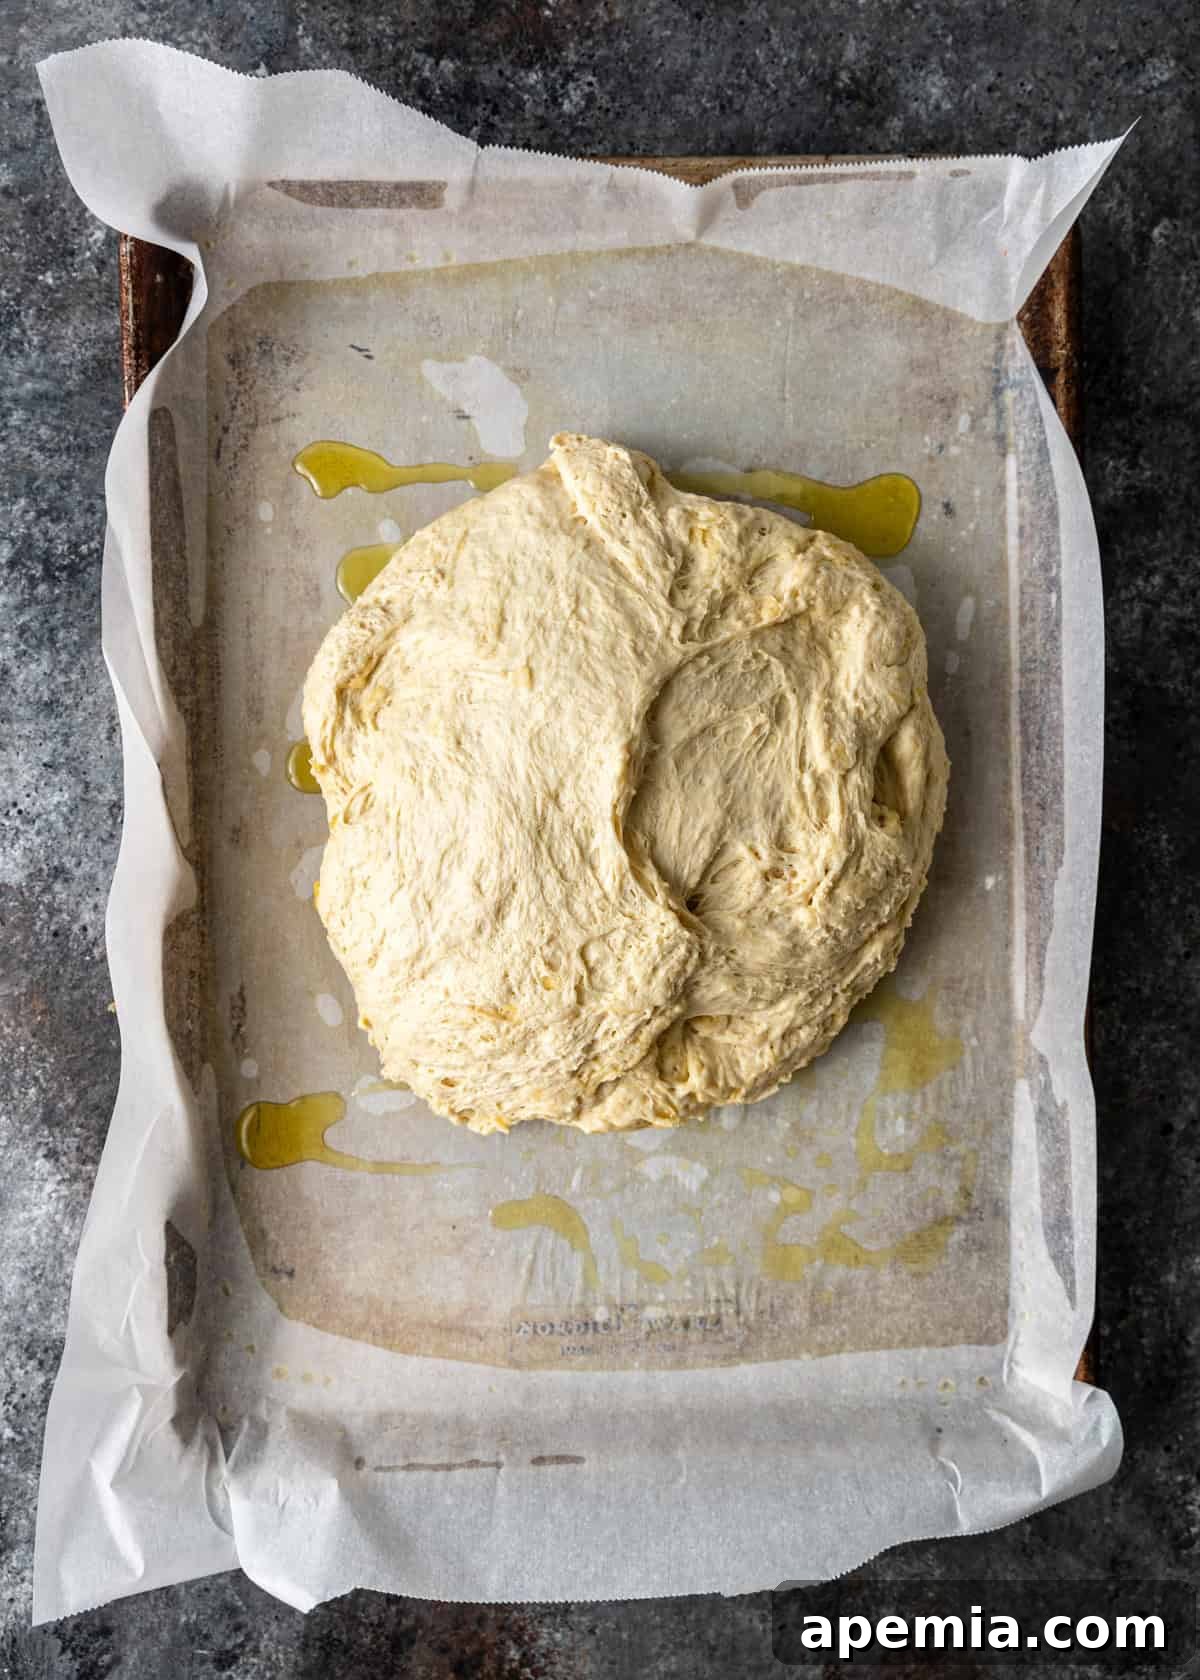
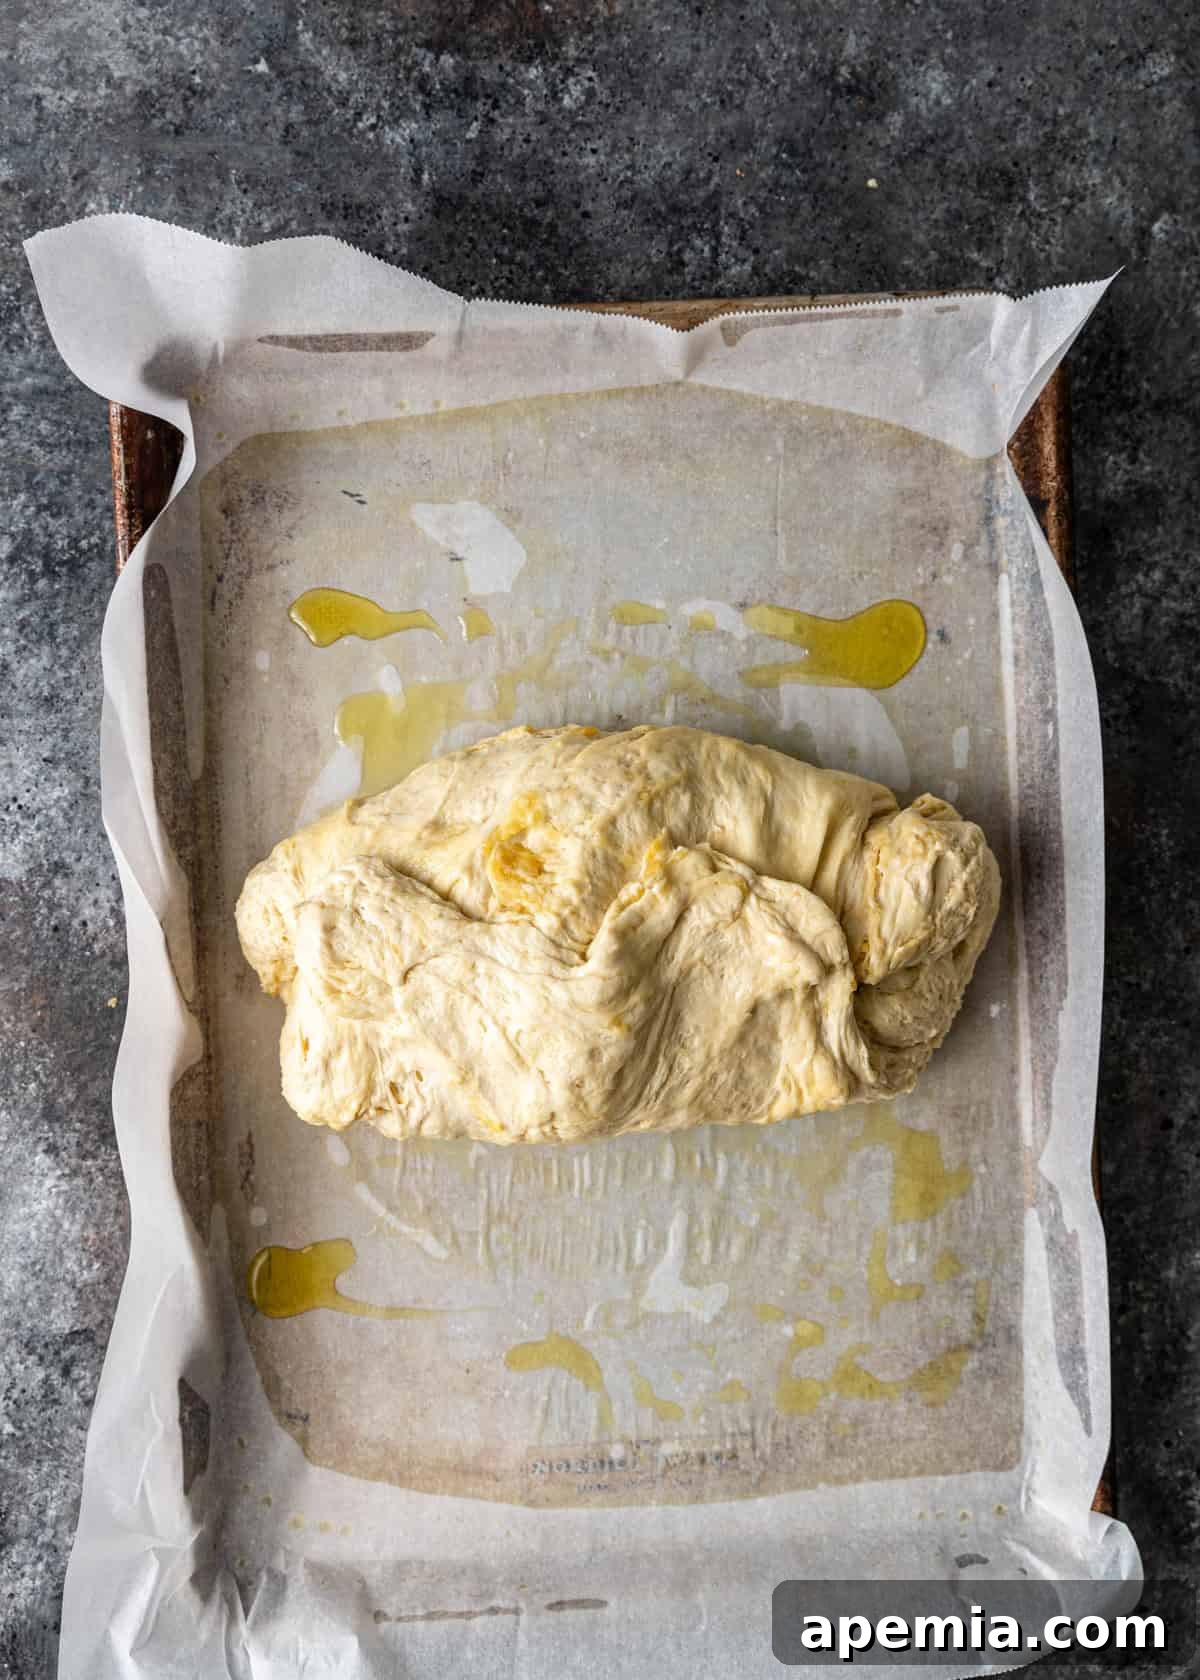
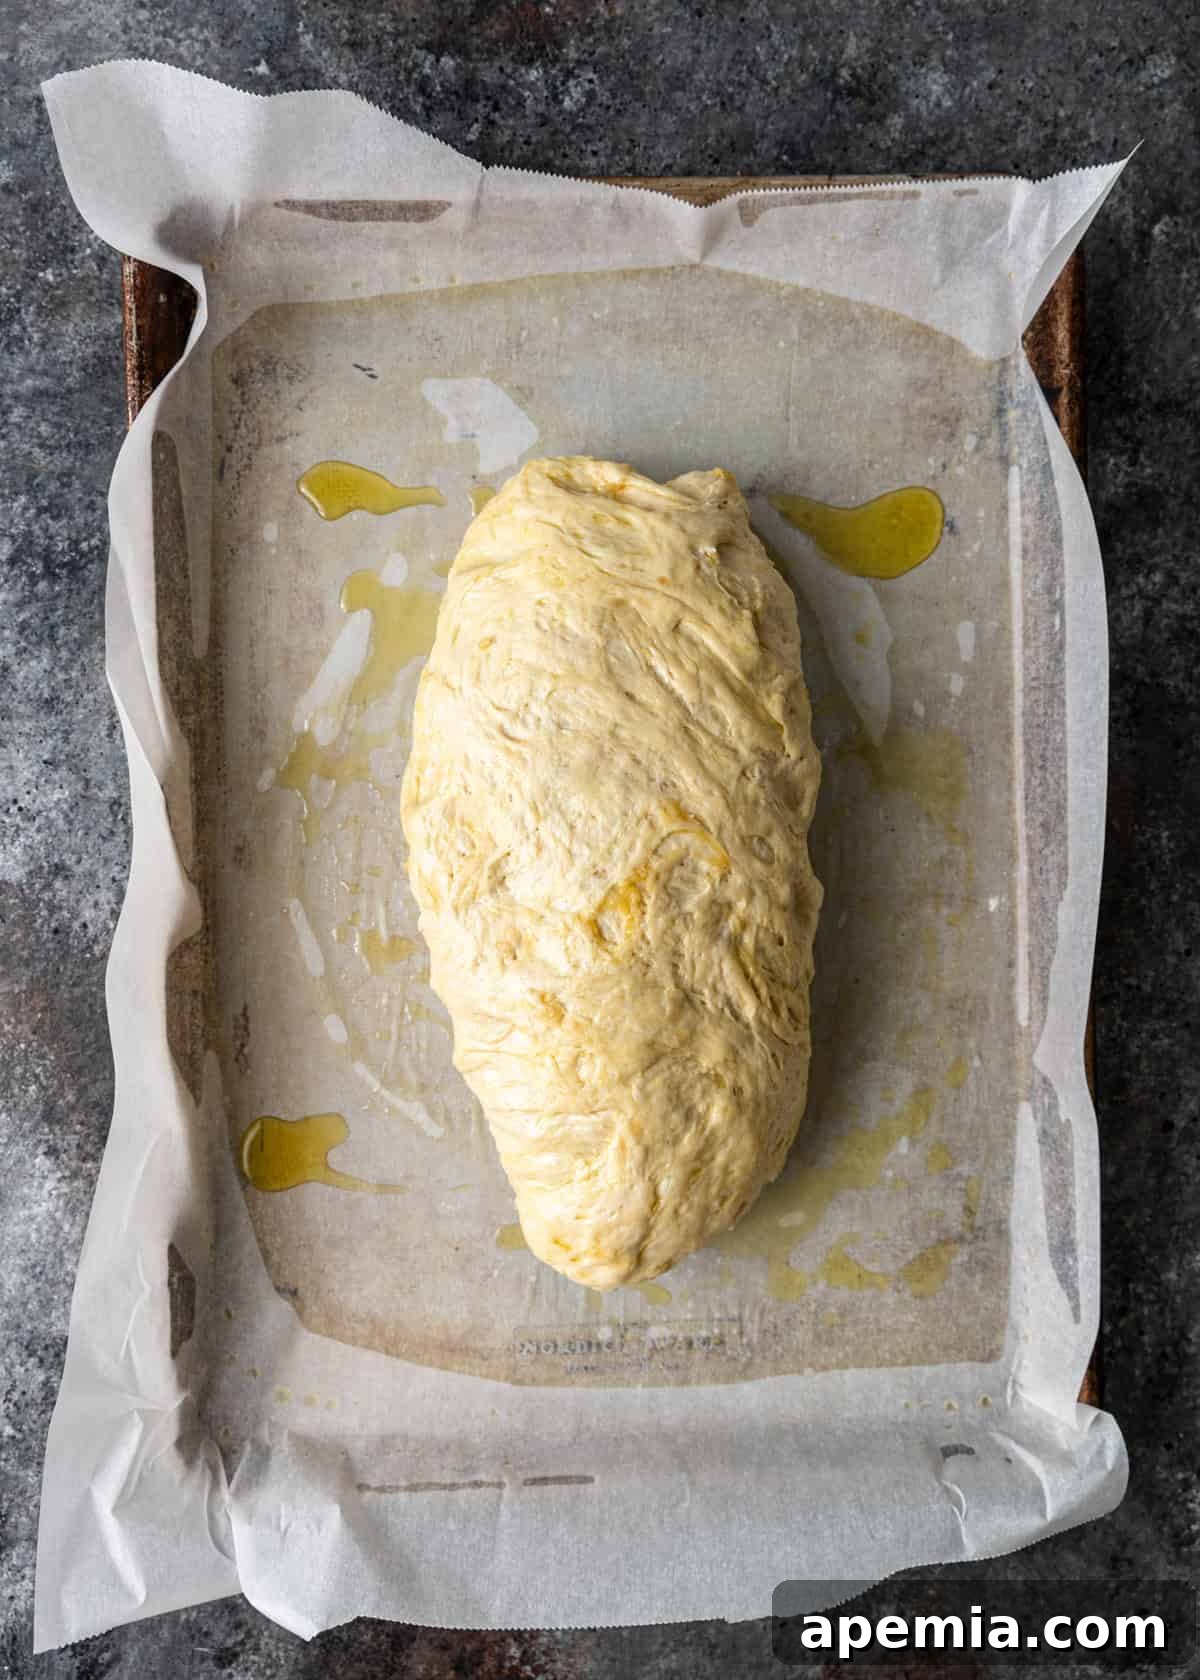
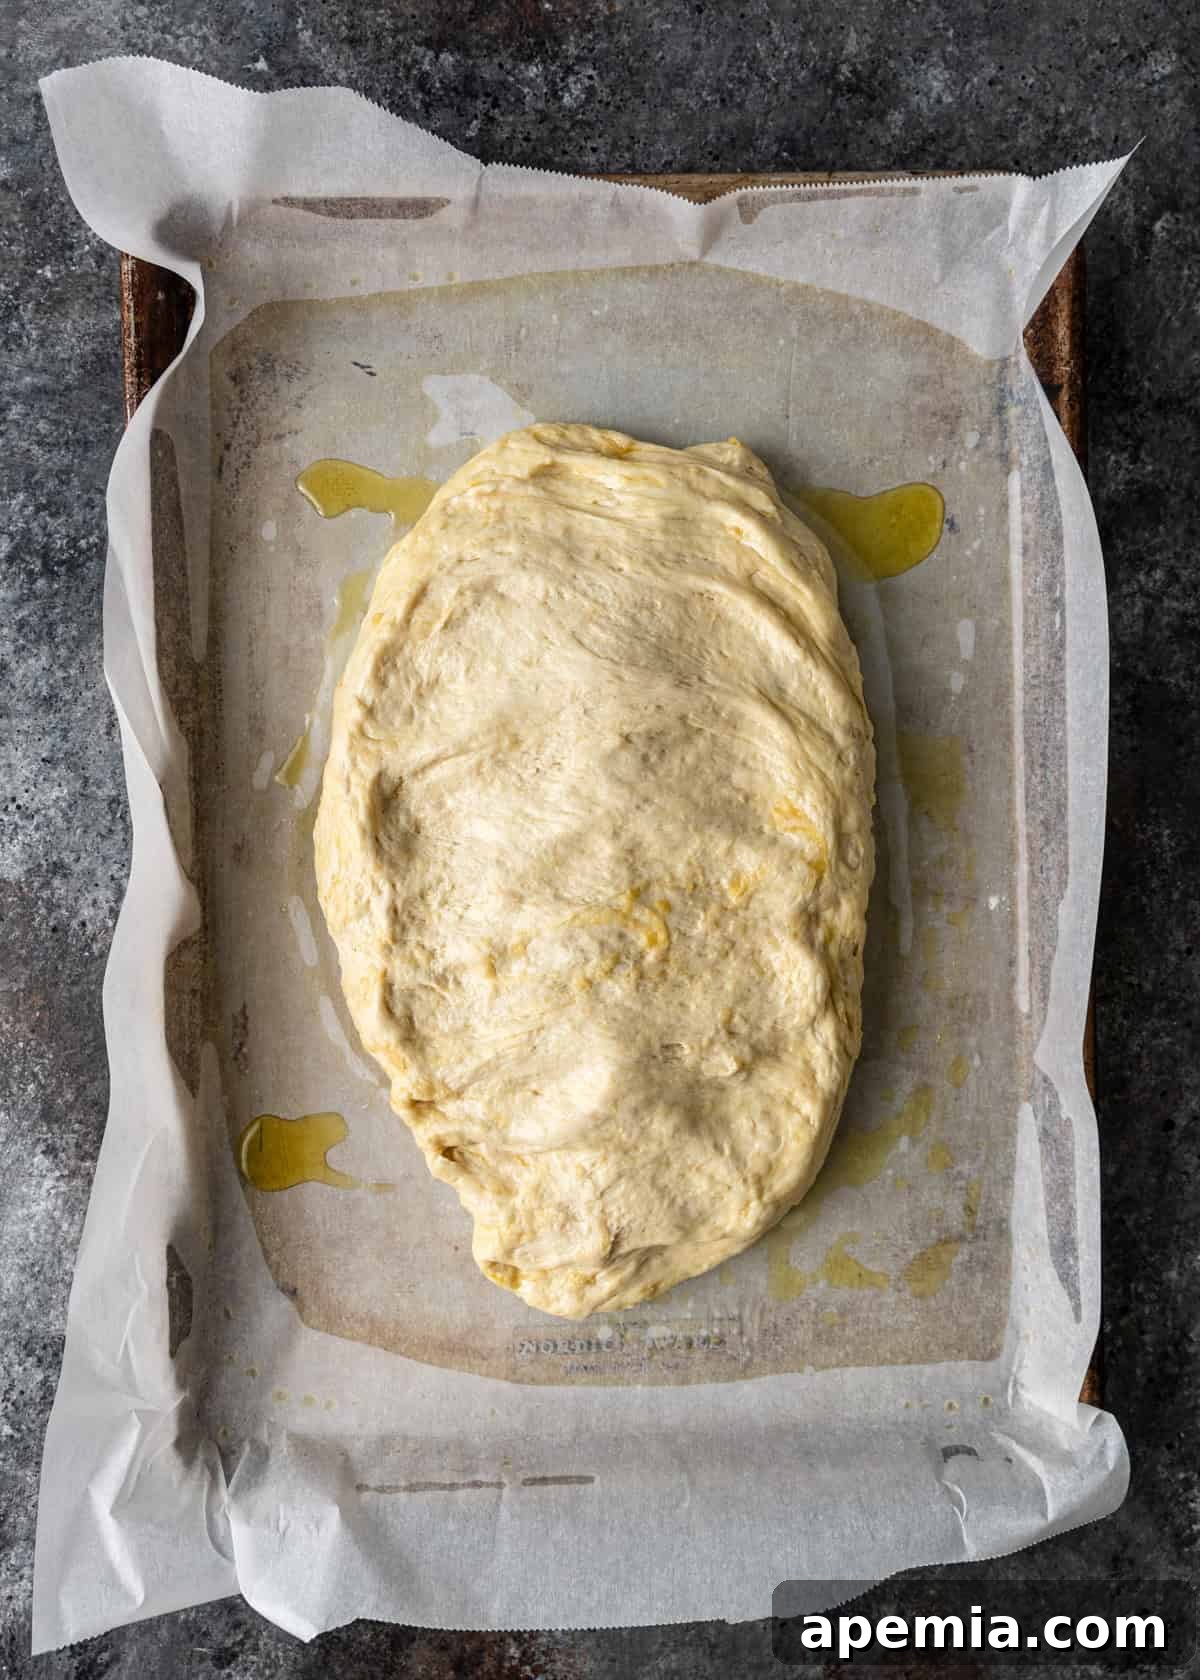
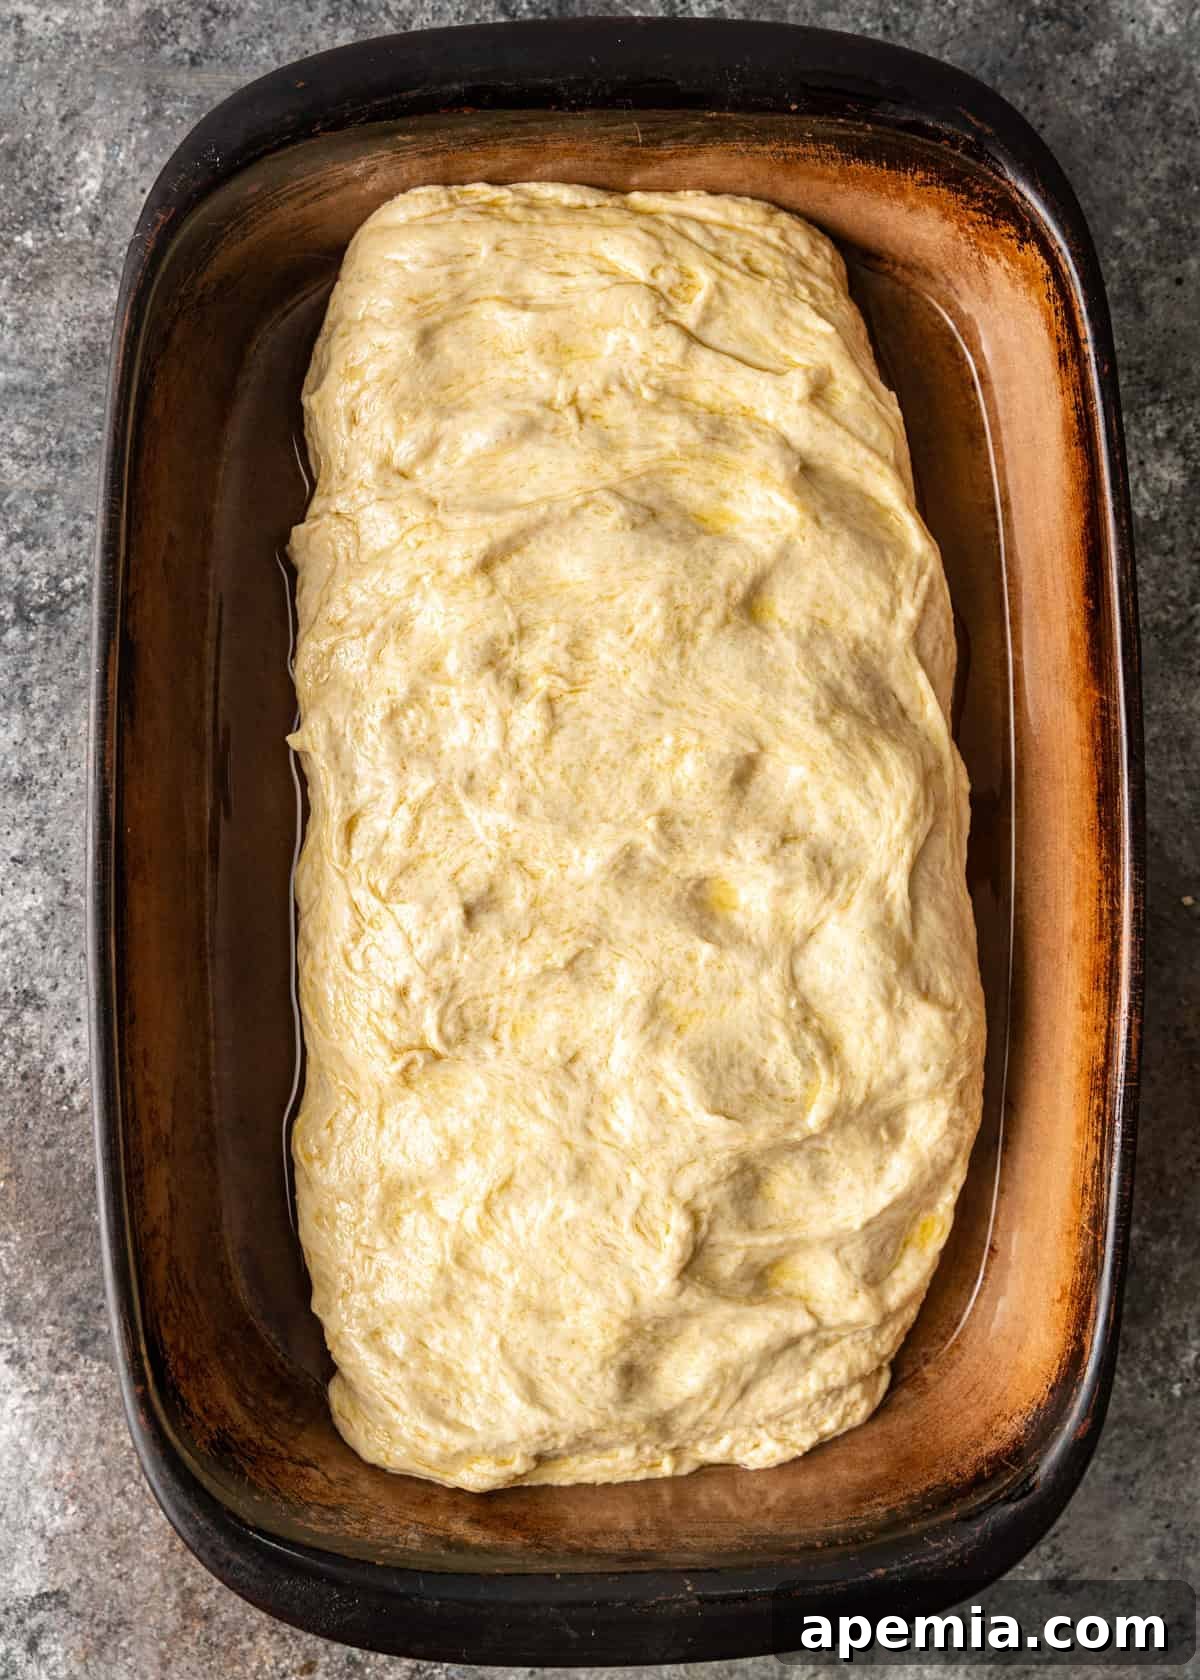
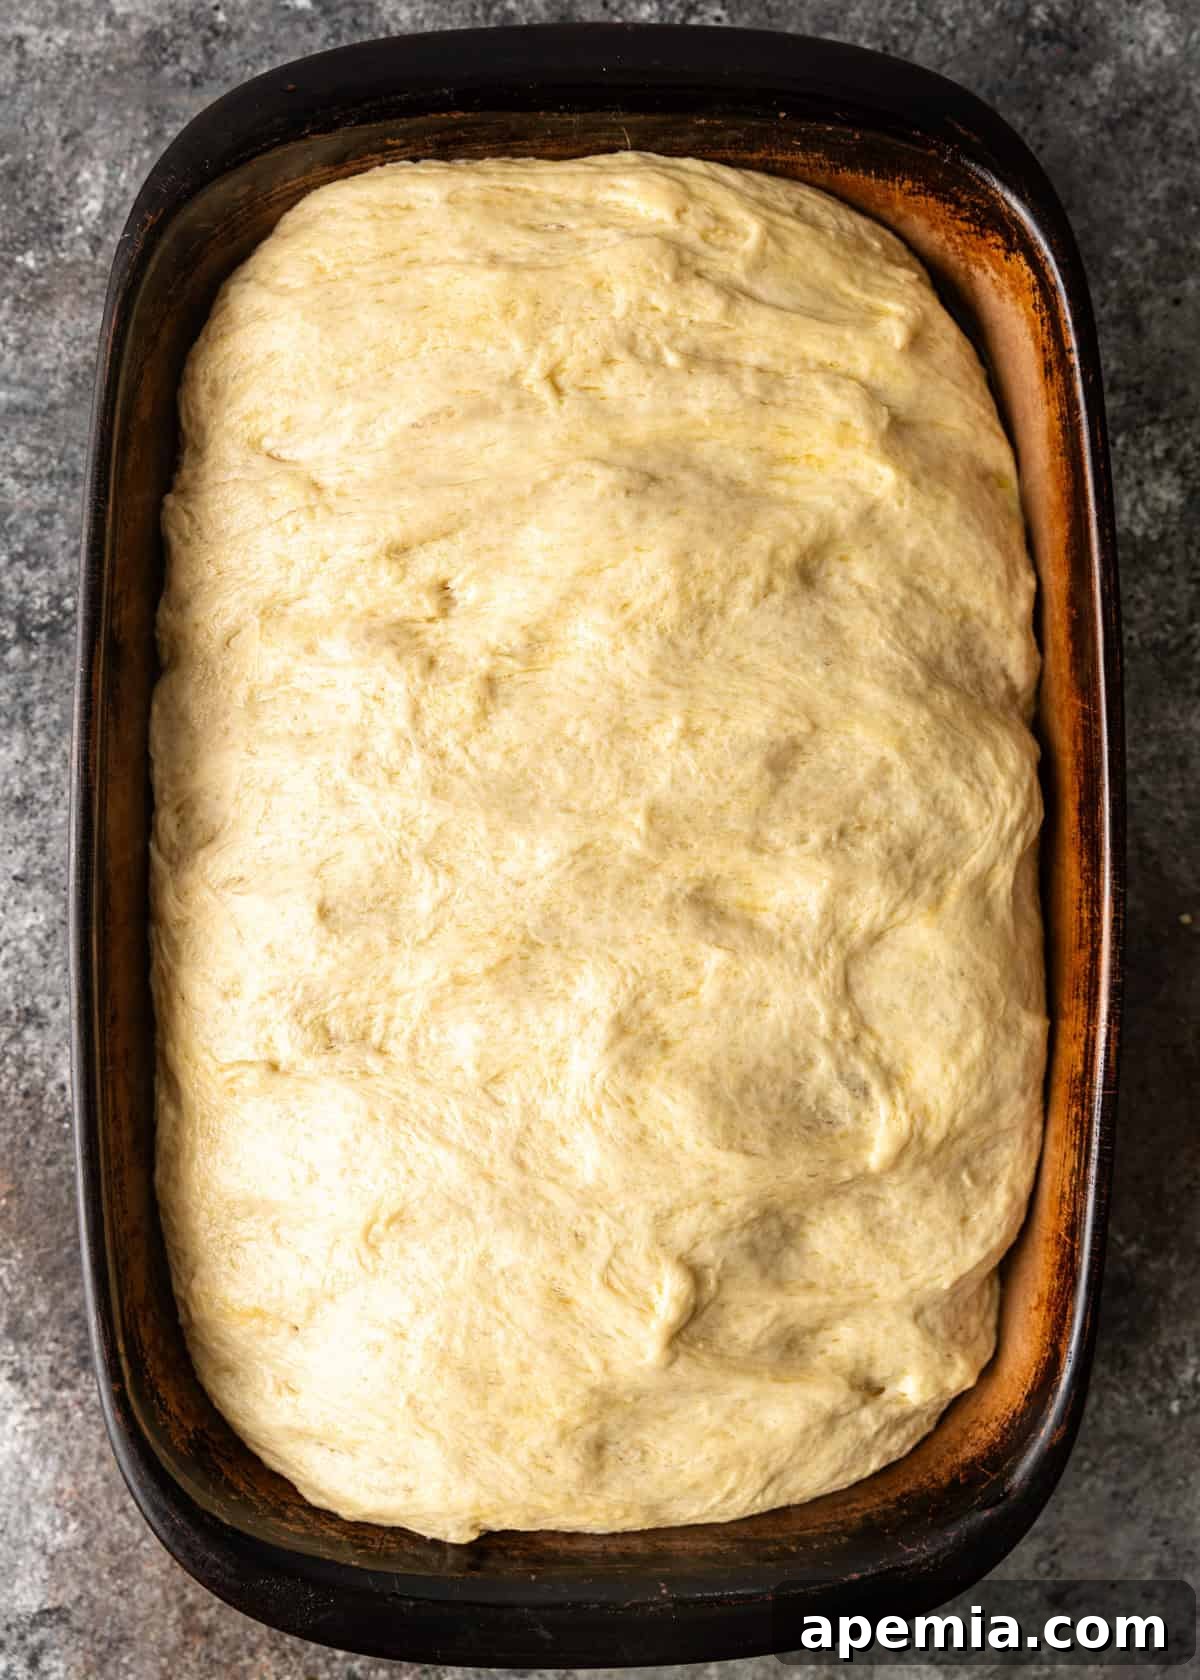
- Prepare the Pan & Second Rise. Drizzle 2 tablespoons of olive oil onto your chosen baking pan (an 18×13-inch baking sheet for thinner focaccia or a 13×9-inch pan for thicker). Line the pan with parchment paper, allowing some overhang for easy removal. Pour the remaining 1/4 cup of olive oil over the parchment paper and brush it evenly to the edges. Gently “plop” the risen dough onto the center of the prepared pan. Carefully fold the dough into thirds, creating a burrito-like shape. Then, slide it lengthwise and flip it over so the seam-side is down and the smooth side faces up. Gently press the dough a little towards the edges to flatten it slightly. Cover the pan with an inverted similar pan or a light towel and let it proof for another hour in a warm place. The dough should double in size again and completely fill the pan.
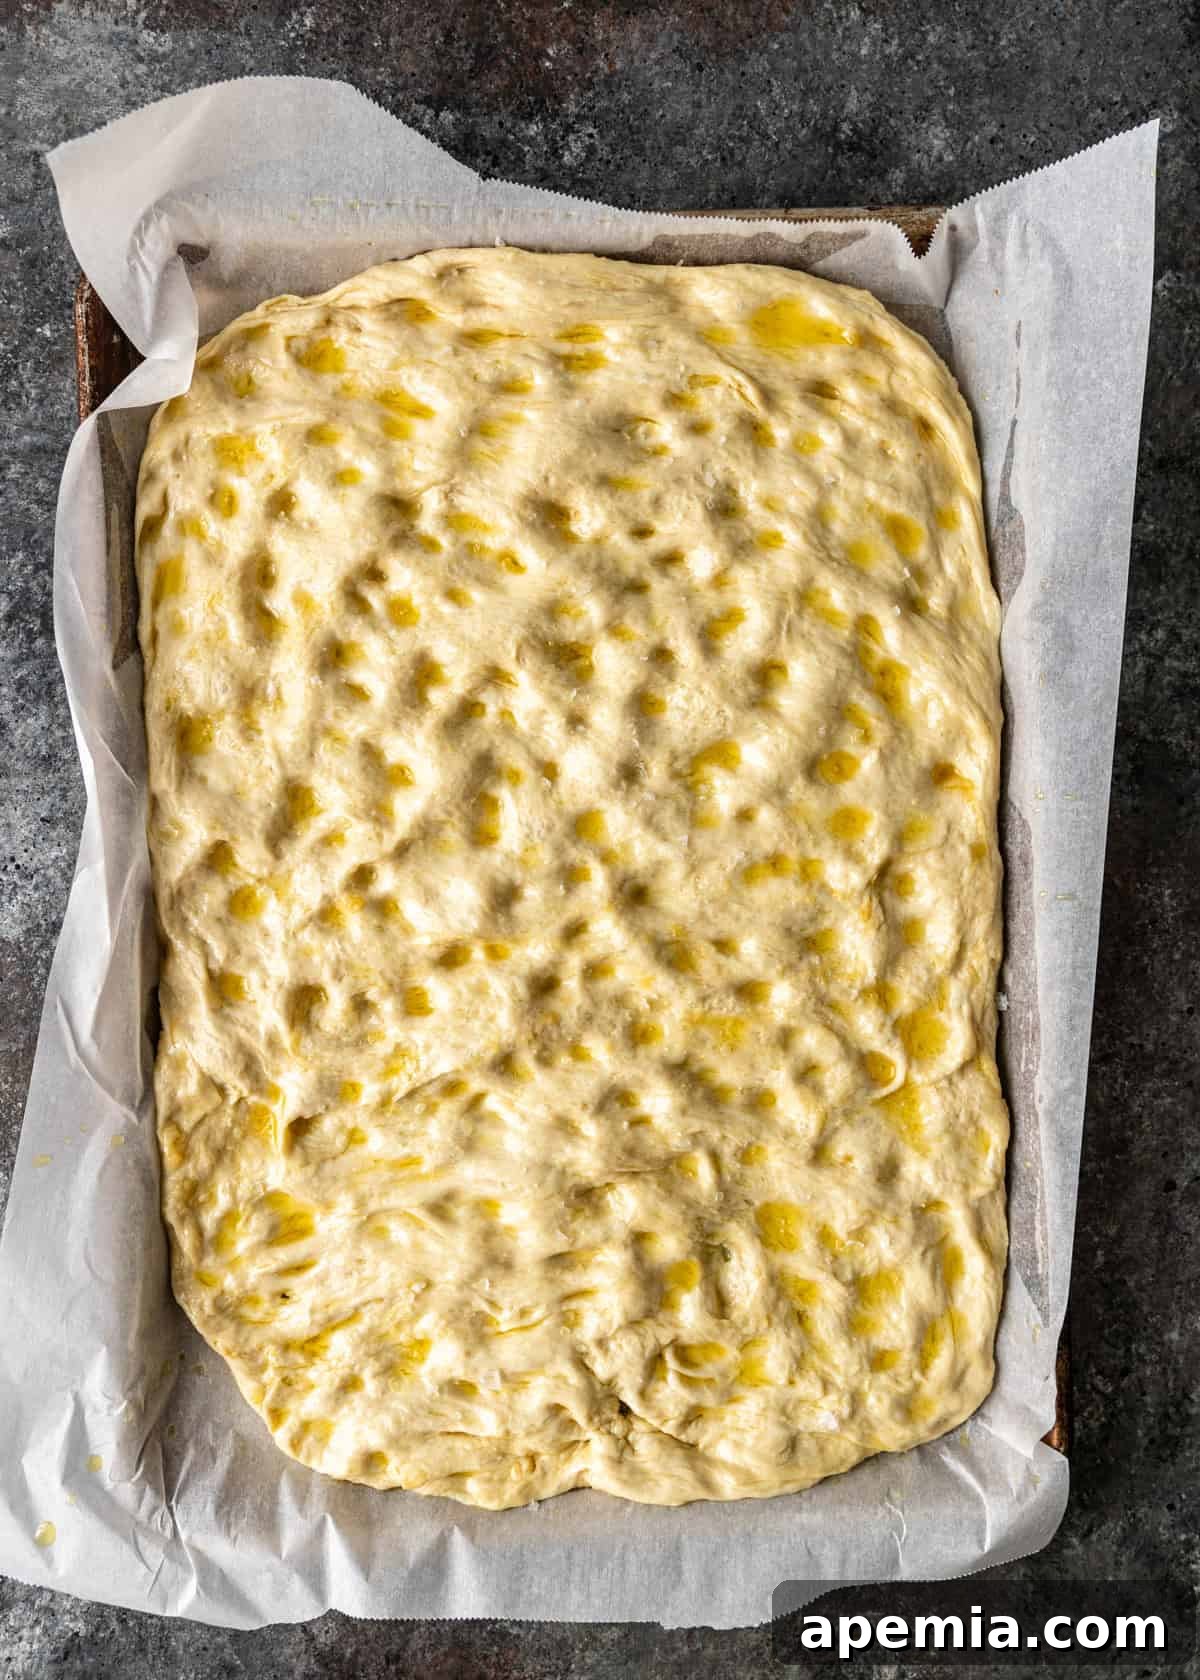
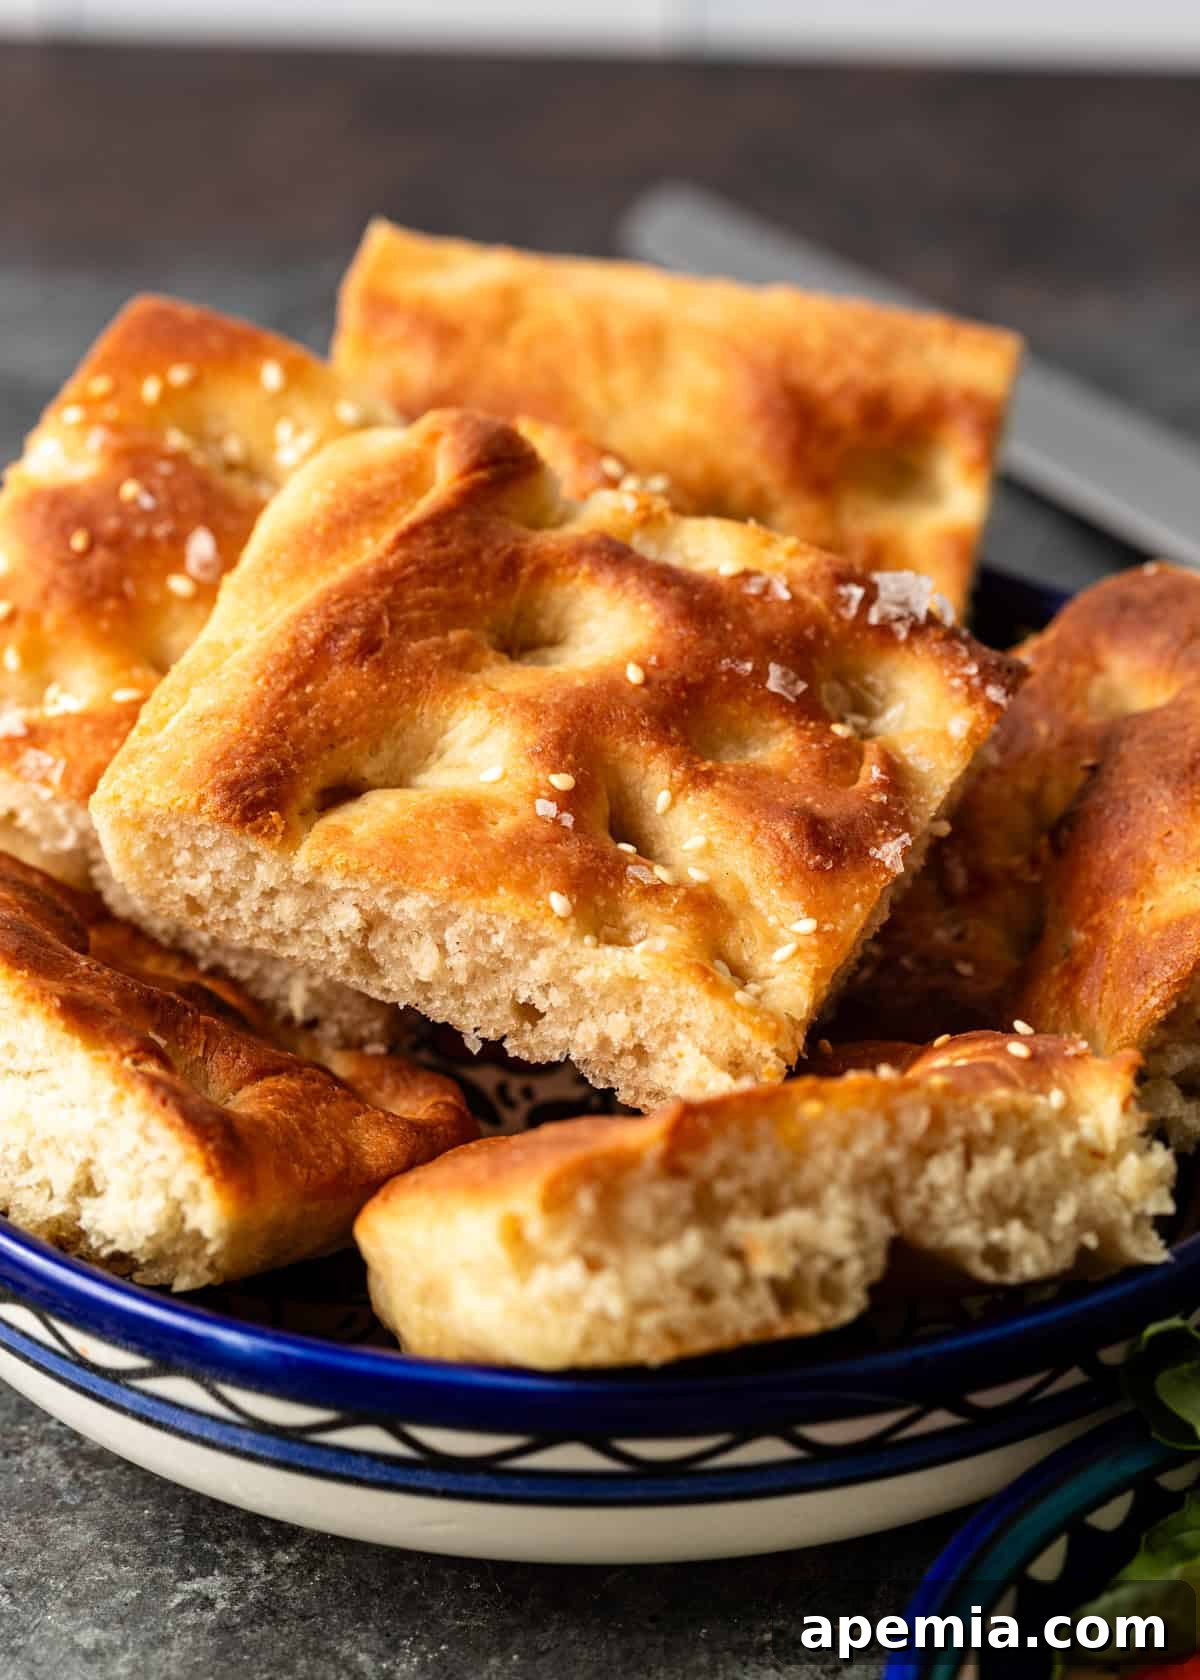
- Dimple and Top. Once the dough has completed its second rise, gently drizzle a little more olive oil over its surface. Using your fingertips, press firmly but gently all over the dough to create those characteristic dimples. Don’t worry if you make finger holes all the way through – that’s perfectly normal and part of focaccia’s charm! At this point, sprinkle generously with coarse sea salt, sesame seeds, fresh rosemary, or any other toppings of your choice.
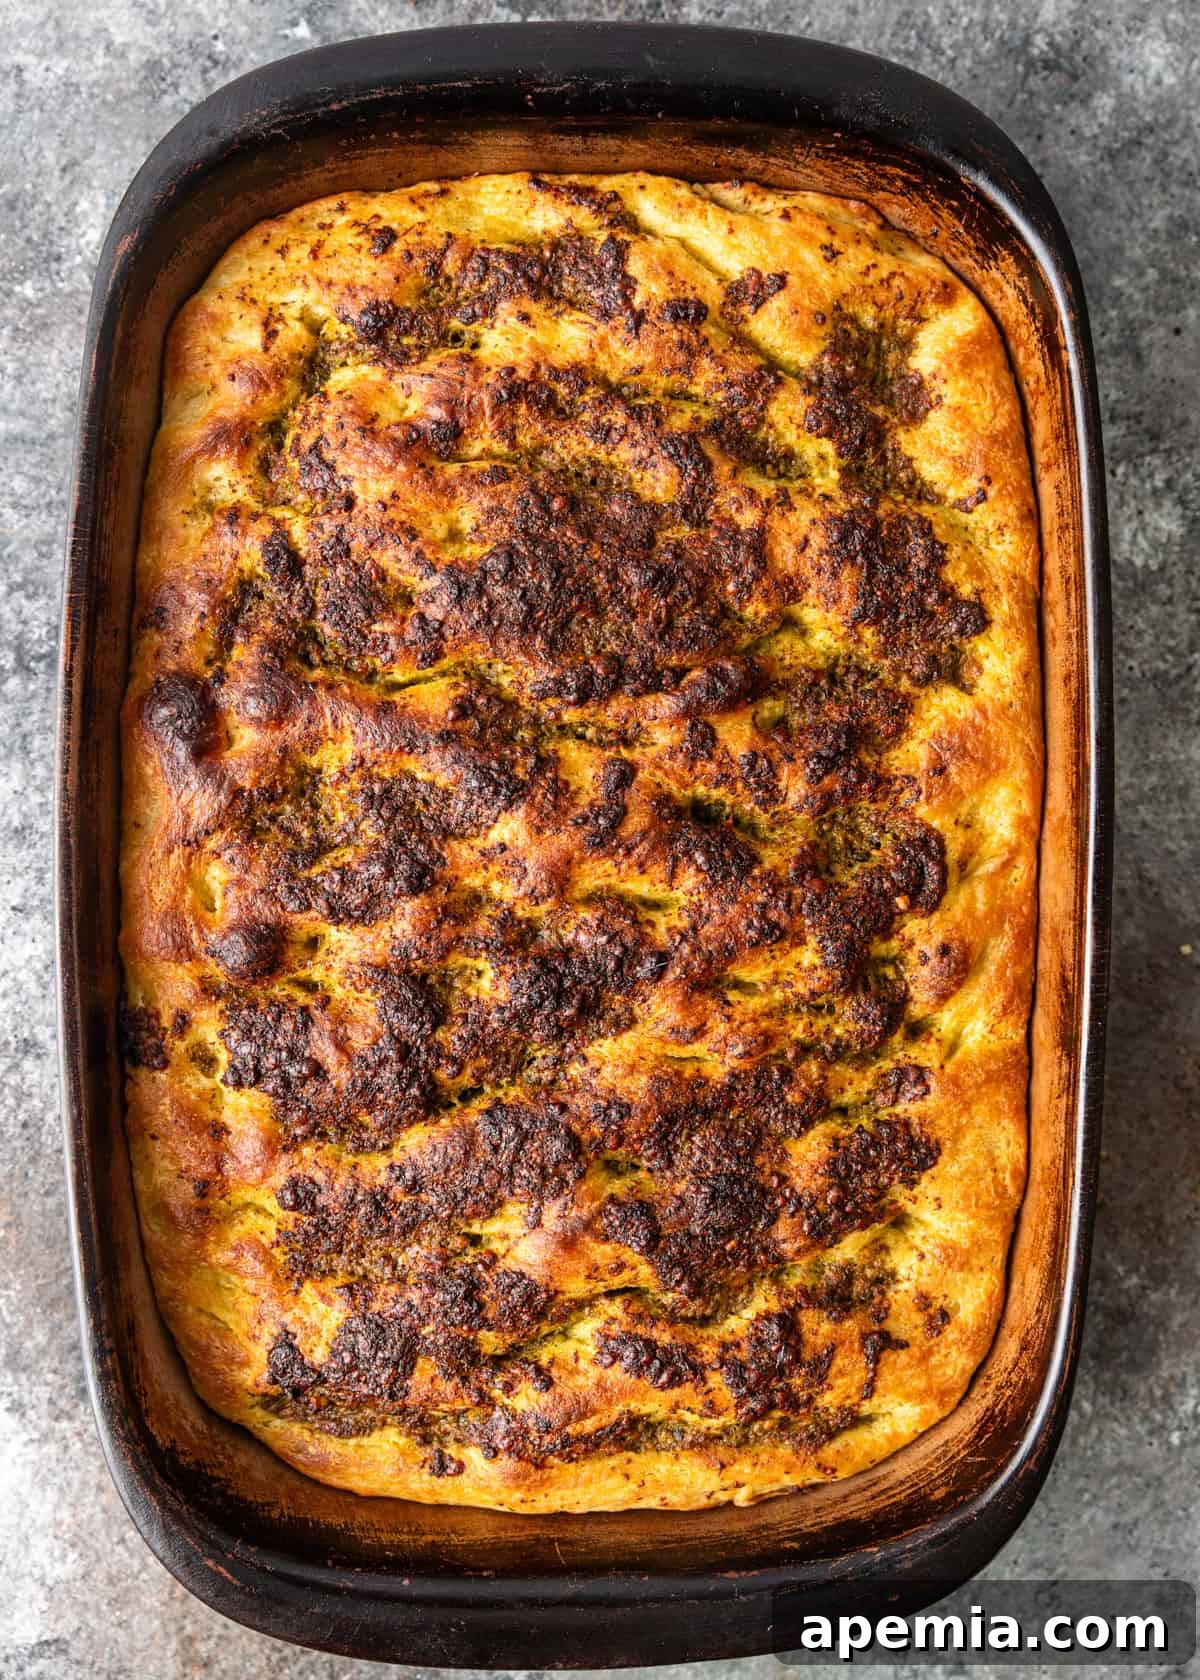
- Bake. Preheat your oven to 425°F (220°C). If your dough was proofing in the oven, remove it before preheating. Bake the focaccia for 18 to 20 minutes, or until the top is beautifully golden brown and the edges are crispy. Baking time may vary slightly depending on your oven and pan size. Once baked, remove the focaccia from the oven and let it cool in the pan for a few minutes before transferring it to a wire rack to cool completely. This prevents a soggy bottom and ensures optimal texture. Slice into squares or strips and serve warm or at room temperature.
Recommended Tools for Baking Focaccia
- Stand Mixer with Dough Hook – While focaccia dough can be kneaded by hand, a stand mixer significantly simplifies the process, saving time and effort. The dough hook ensures thorough mixing and proper gluten development, leading to a consistently soft and chewy focaccia.
- Large Mixing Bowls – Essential for the initial dough mixing and for providing ample space for the dough to rise and expand.
- Baking Sheet or Pan – As discussed, your choice of pan dictates the thickness of your focaccia. An 18×13” (half-sheet) baking sheet with edges is perfect for a thinner, crispier flatbread, while a 13×9” pan yields a thicker, more sandwich-friendly loaf. Ensure your pan has at least a 1-inch rim to contain the dough and olive oil.
- Parchment Paper – Highly recommended for preventing sticking and making cleanup a breeze. It also helps achieve a consistently golden bottom crust.
- Kitchen Scale – For precise measurement of flour and other dry ingredients, a kitchen scale ensures accuracy and consistent results, especially crucial in bread baking.
- Instant-Read Thermometer – Useful for checking the temperature of your warm water to ensure optimal yeast activation.
Storing Your Focaccia for Lasting Freshness
Freshly baked focaccia is best enjoyed on the day it’s made, as its texture is at its peak. However, if you have leftovers, proper storage can extend its deliciousness. Unless your focaccia is topped with perishable ingredients like fresh mozzarella or cooked meats, it can be stored at room temperature.
To keep it fresh, place the cooled focaccia in an airtight container or wrap it tightly in plastic wrap or aluminum foil. It will remain delicious for 2-3 days at room temperature. For longer storage, focaccia freezes exceptionally well! To prevent freezer burn and make it easier to thaw individual portions, slice the focaccia into desired pieces before freezing. Wrap each slice tightly in plastic wrap, then place them in a freezer-safe bag or container. It can be frozen for up to 2-3 months.
To reheat frozen focaccia, thaw it in the refrigerator overnight or at room temperature. For best results, gently warm it in a preheated oven (around 350°F / 175°C) for 5-10 minutes until warmed through and the crust crisps up again. You can also use a toaster oven for slices or a microwave for quick warming, though the microwave may soften the crust.
Share this recipe on Pinterest!
Love this recipe? Share it with the world on Pinterest.
Frequently Asked Questions About Focaccia
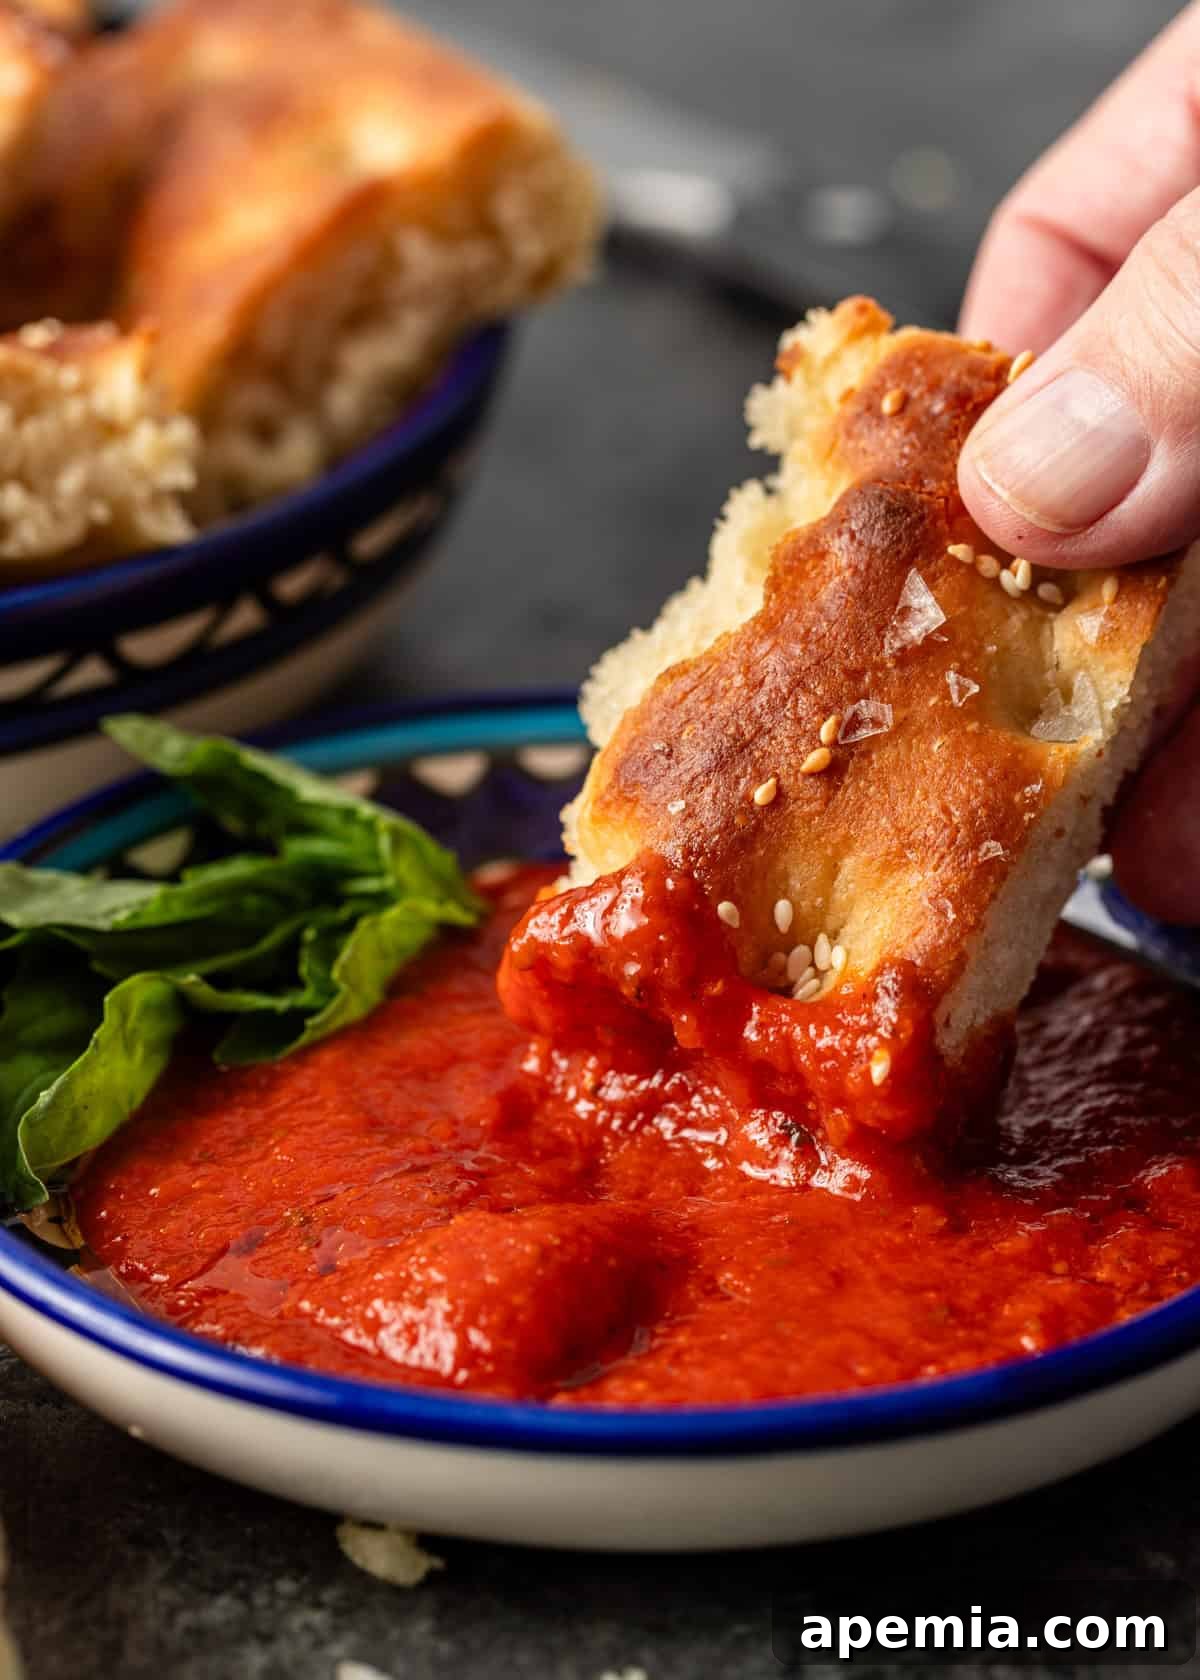
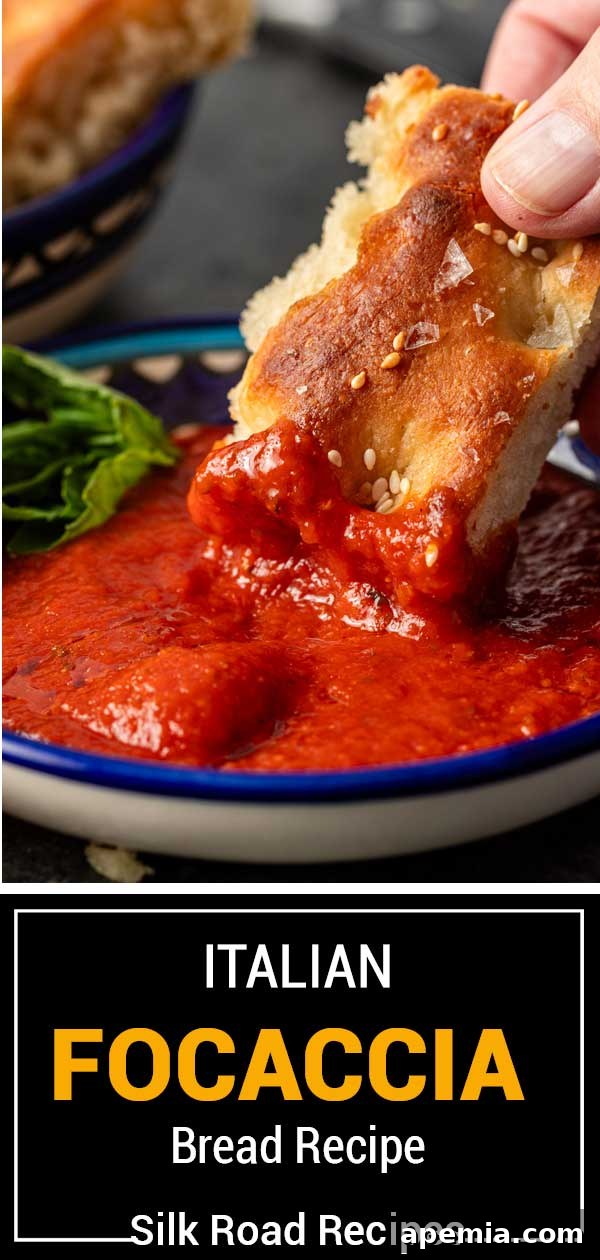
Focaccia’s versatility means it pairs wonderfully with a wide array of dishes. It’s often served as a delightful appetizer, simply with olive oil for dipping. As a side, it complements Italian classics like beef meatballs, chicken parmigiana, or hearty stews and soups. Its sturdy yet soft texture makes it an excellent choice for sopping up sauces. Beyond that, focaccia is fantastic when sliced horizontally and used as sandwich bread for gourmet paninis, cold cuts, or grilled vegetables, adding an extra layer of flavor and sophistication to your meal.
While both focaccia and ciabatta are beloved Italian breads and can be used in similar ways, they are distinctly different in their characteristics. Focaccia is typically a flatter, softer, and more airy bread, enriched with olive oil that contributes to its pillowy interior and crisp exterior. Ciabatta, meaning “slipper” in Italian, is known for its elongated, broader shape, a much chewier texture, and a more open, irregular crumb. It has a thicker, more robust crust and a less oily dough. I tend to dress up focaccia with various toppings, appreciating its soft texture, whereas ciabatta is my preferred choice for a truly hearty, rustic sandwich where its chewiness shines.
The beauty of focaccia lies in its adaptability to toppings, truly making it a blank canvas for culinary creativity. For a flavorful base, consider spreading marinara, arrabbiata, or pesto sauce. Of course, a simple foundation of high-quality olive oil with flaky sea salt is always exquisite. When it comes to cheeses, shredded Parmesan or Pecorino Romano add a salty, umami depth, while creamier and tangier options like feta or goat cheese pair beautifully, especially with a sweet balsamic glaze. Aromatic herbs such as fresh rosemary, thyme, or oregano not only add visual appeal but also an incredibly fragrant aroma. For heartier toppings, think about thinly sliced pepperoni, prosciutto, or salami. Vegetable options are endless: sweet cherry tomatoes, earthy mushrooms, briny artichoke hearts, bell peppers, or caramelized onions all work wonderfully. The truth is, there’s no single “best” topping – experiment with your favorites and enjoy the endless possibilities!
Authentic Italian Focaccia Bread Recipe
24
20 mins
18 mins
2 hrs
2 hrs 38 mins
PrintRecipe
Ingredients
- 2 cups warm water
- 2 1/2 tsp active dry yeast
- 2 tsp honey (or 1 tbsp white sugar)
- 5 cups all-purpose flour
- 1 tbsp kosher salt
- 3/4 cup olive oil divided
Instructions
-
Whisk together the warm water, yeast (See Note 1) and the honey in a small bowl. Place the bowl in a warm, draft-free place until the yeast is bubbling and aromatic, for 15 minutes (See Note 2). For best results, I often turn on my oven light to create a warm environment for the dough to rise later.
Hand Method – Option 1
-
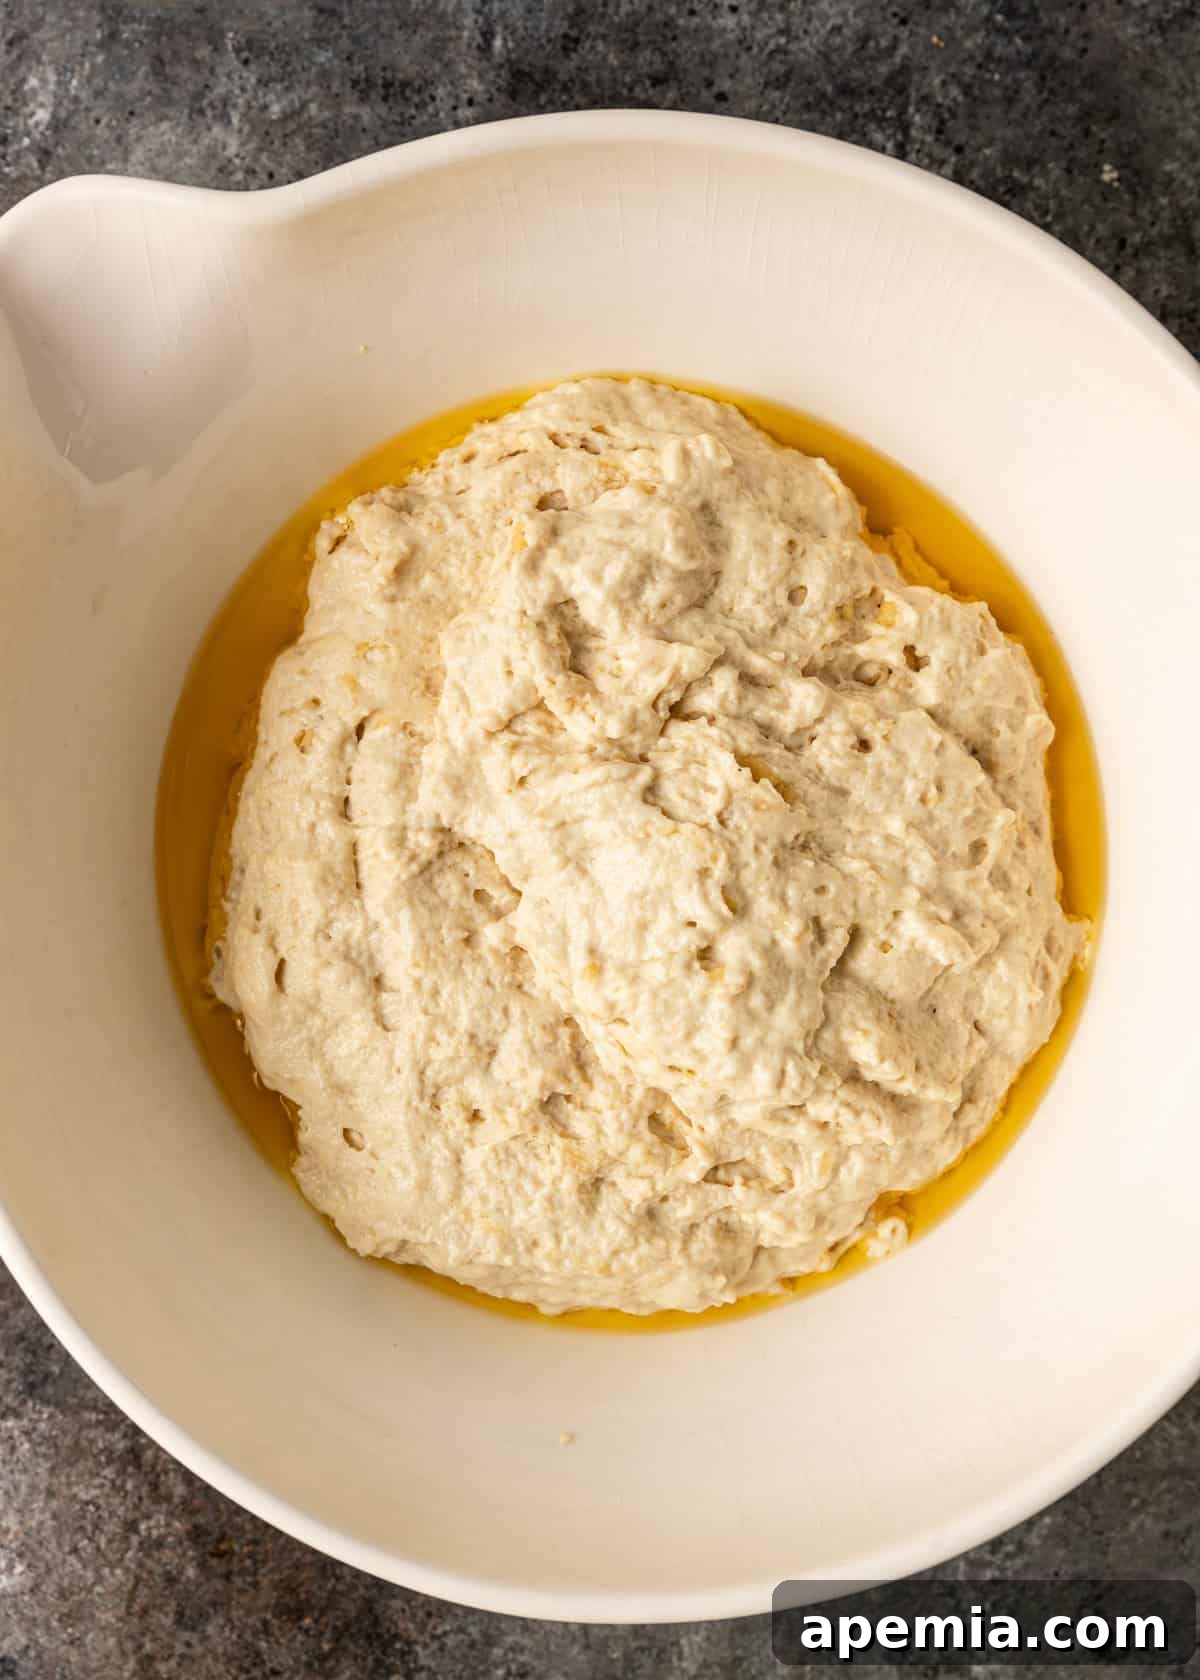
In a large bowl, combine the flour, kosher salt, 1/2 cup olive oil, and the activated yeast mixture. Mix thoroughly using a heavy spoon or rubber spatula until a shaggy, cohesive dough forms.
-
Lightly coat the inside of a large, clean bowl with olive oil. Transfer the dough to this bowl. Cover the bowl with a light towel and place it in a warm, draft-free area (like a microwave or an oven that is turned off). Allow it to rest for 15 minutes.
-
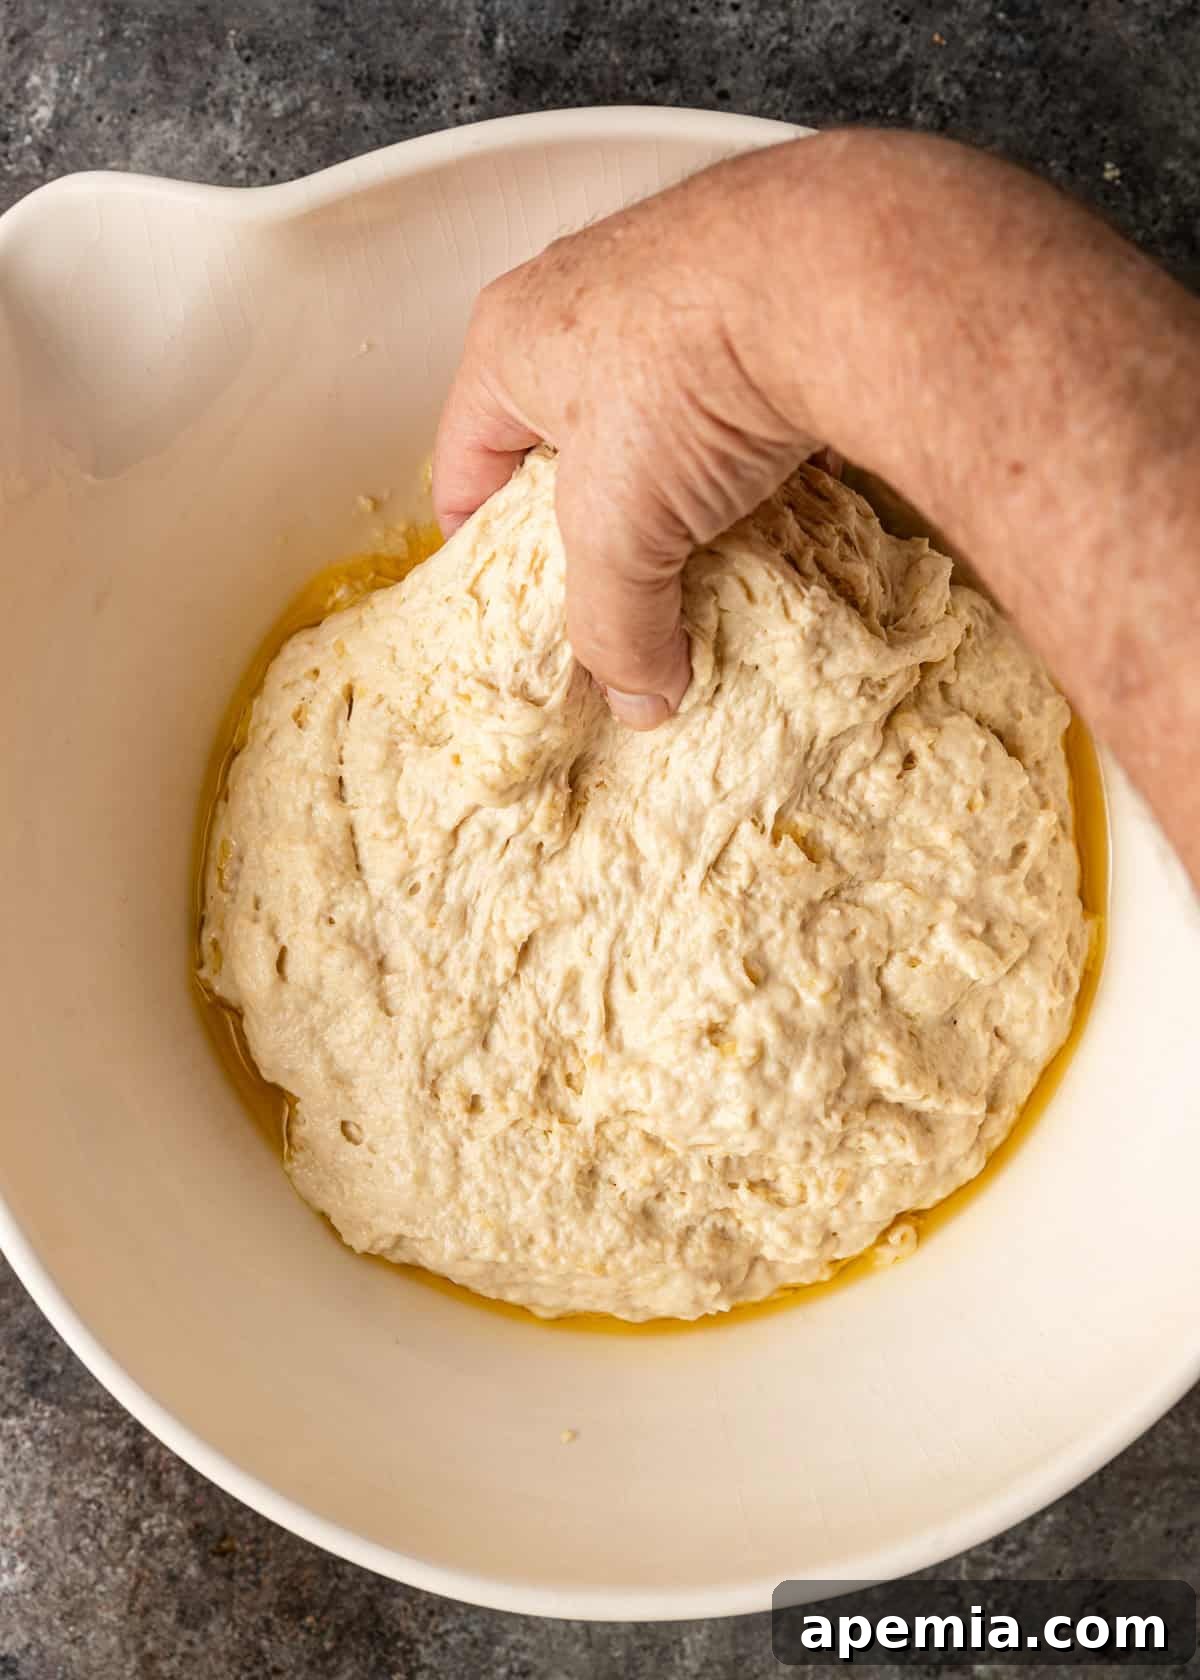
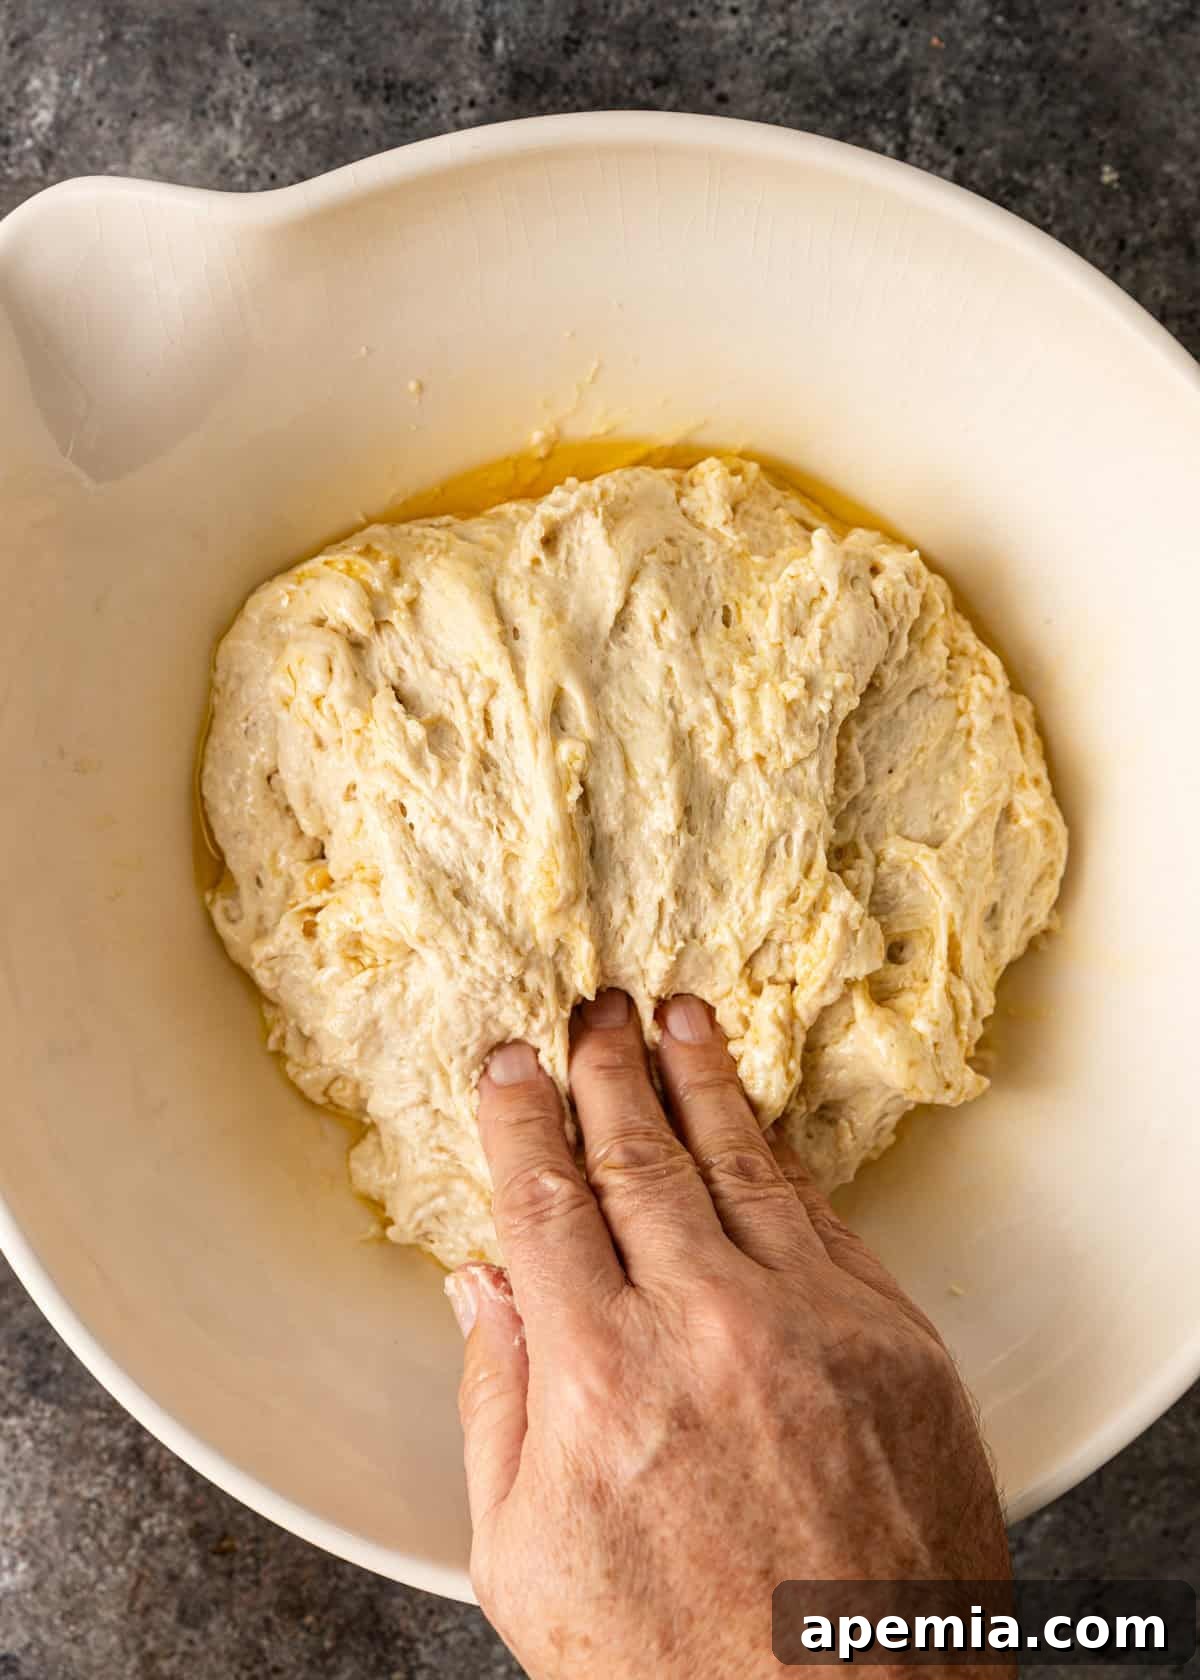
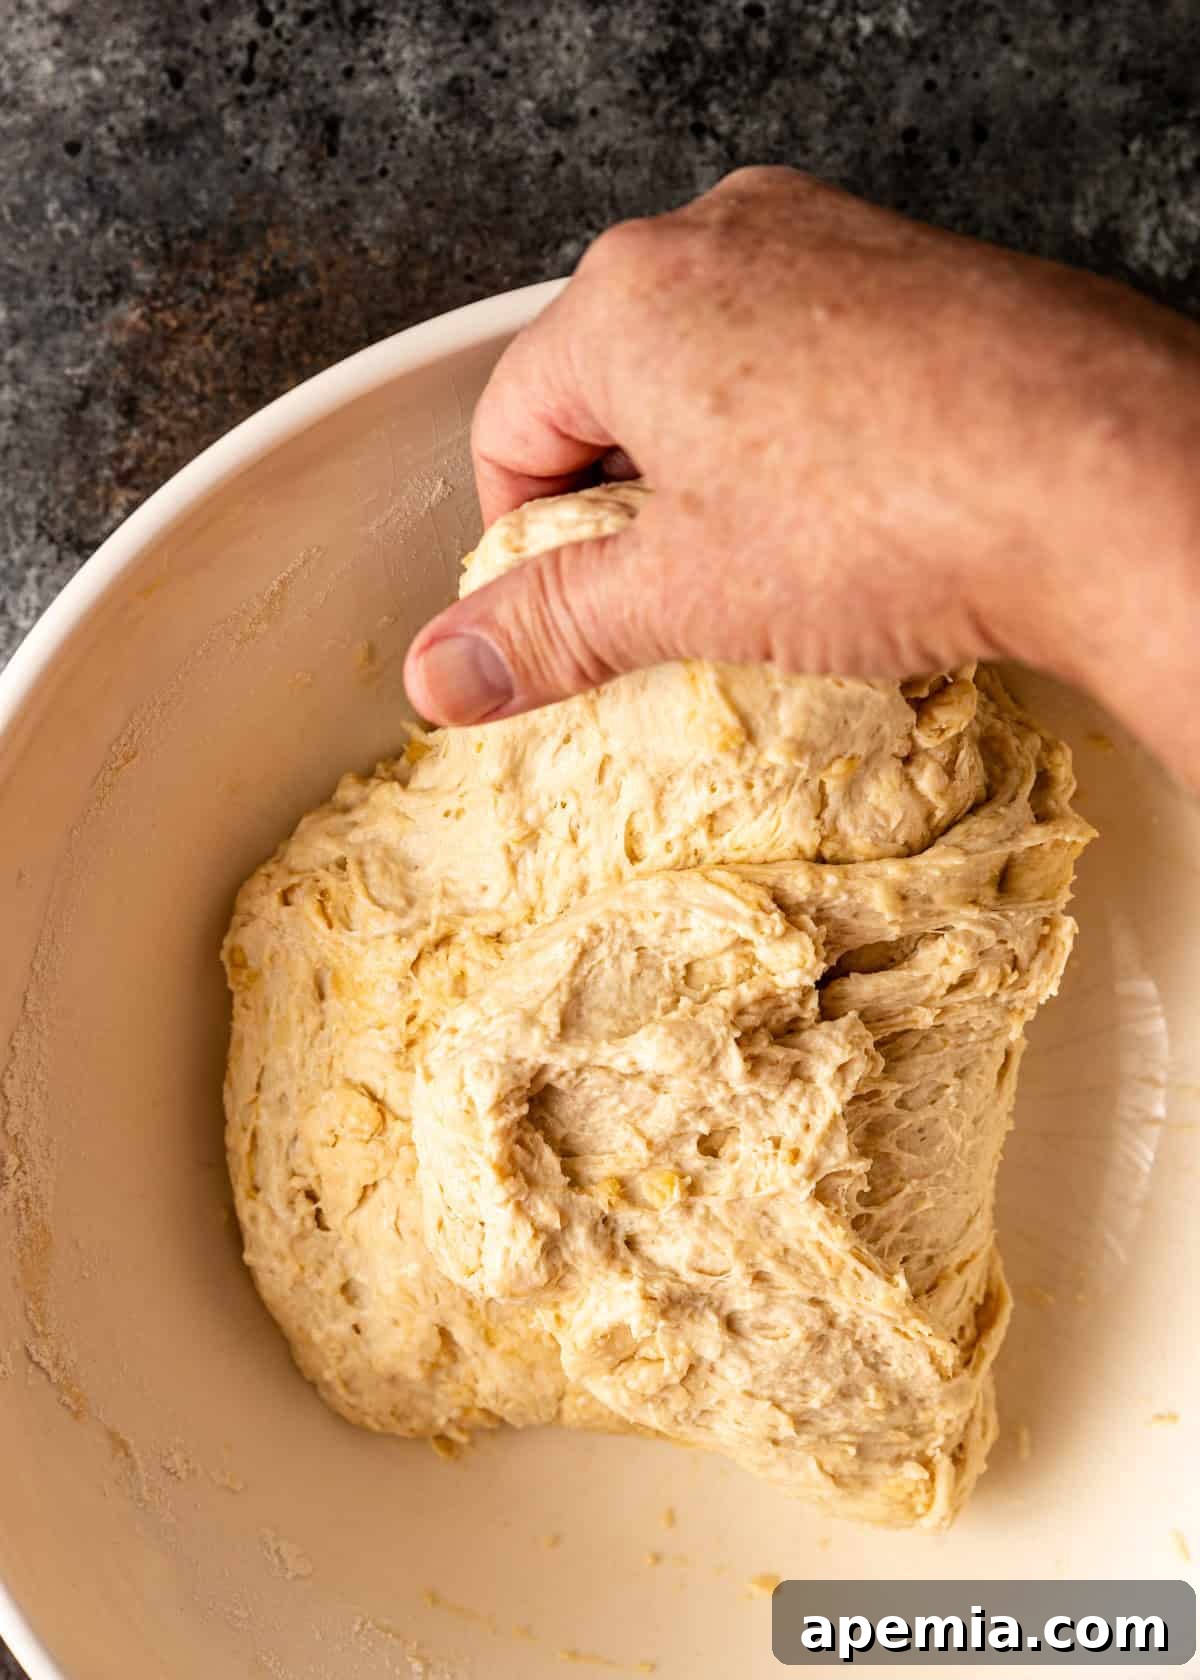
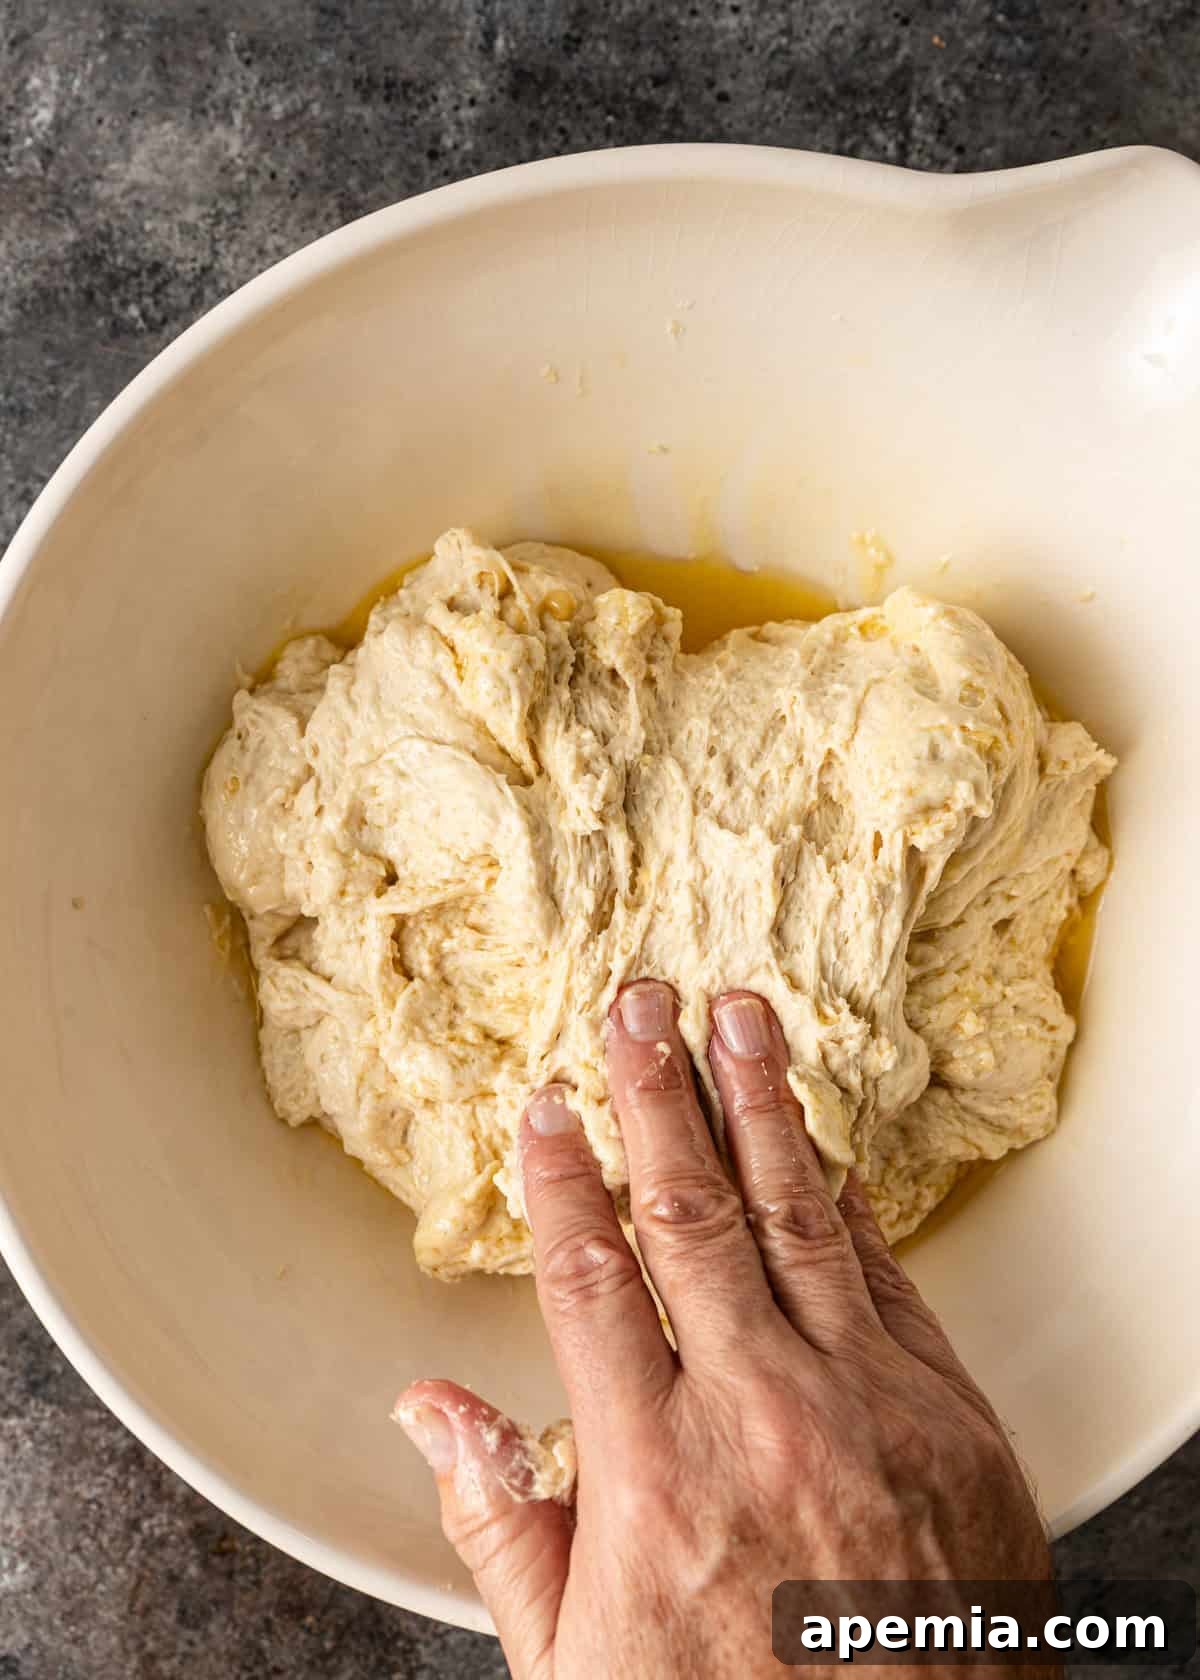
Perform the “stretch and fold” technique: Starting from one side of the bowl, gently grab a portion of the dough, stretch it upwards, and fold it over itself towards the center, pressing down lightly. Rotate the bowl 90 degrees and repeat this process three more times. This completes one round of stretch and folds. Cover the bowl again and let it rest in a warm place for another 15 minutes.
-
Repeat another full round of the stretch and fold technique. After the second round, cover the bowl and let the dough rest for a final 30 minutes in a warm, draft-free spot.
Proceed to the “Prep in Pan / Bake” section below.
Mixer Method – Option 2
-
In the bowl of a stand mixer fitted with the dough hook attachment, combine the flour, kosher salt, 1/2 cup olive oil, and the activated yeast mixture. Begin mixing on low speed until the dough comes together. Increase the speed to medium and continue kneading for about 3 minutes until the dough becomes smooth, soft, and elastic.
-
Lightly coat the inside of a large bowl with olive oil. Transfer the kneaded dough to this bowl. Cover with a light towel and place it in a warm, draft-free location (such as a microwave or an oven that is turned off) for at least 1 hour, or until the dough has impressively doubled in size.
Prep in Pan
-
Add 2 tablespoons of olive oil to the bottom of your chosen baking pan (an 18×13” baking sheet for thinner focaccia or a 13×9” pan for thicker). Line the pan with parchment paper, ensuring it covers the bottom and sides. Drizzle the remaining 1/4 cup of olive oil evenly over the parchment paper, spreading it to the edges. Gently pour the risen dough onto the center of the pan. Carefully fold the dough into thirds lengthwise (it should resemble a burrito shape). Slide it lengthwise and then flip it over, so the seam-side is down and the smooth side is on top. Gently press the dough a little towards the edges of the pan to help it spread. Cover the pan with an inverted similar pan or a light towel and place it in a warm, draft-free area to proof for 1 hour. During this time, the dough should double in size and completely fill the pan.
Bake
-
If your dough has been proofing in the oven with the light on, carefully remove it before proceeding. Now, preheat your oven to 425°F (220°C).
-
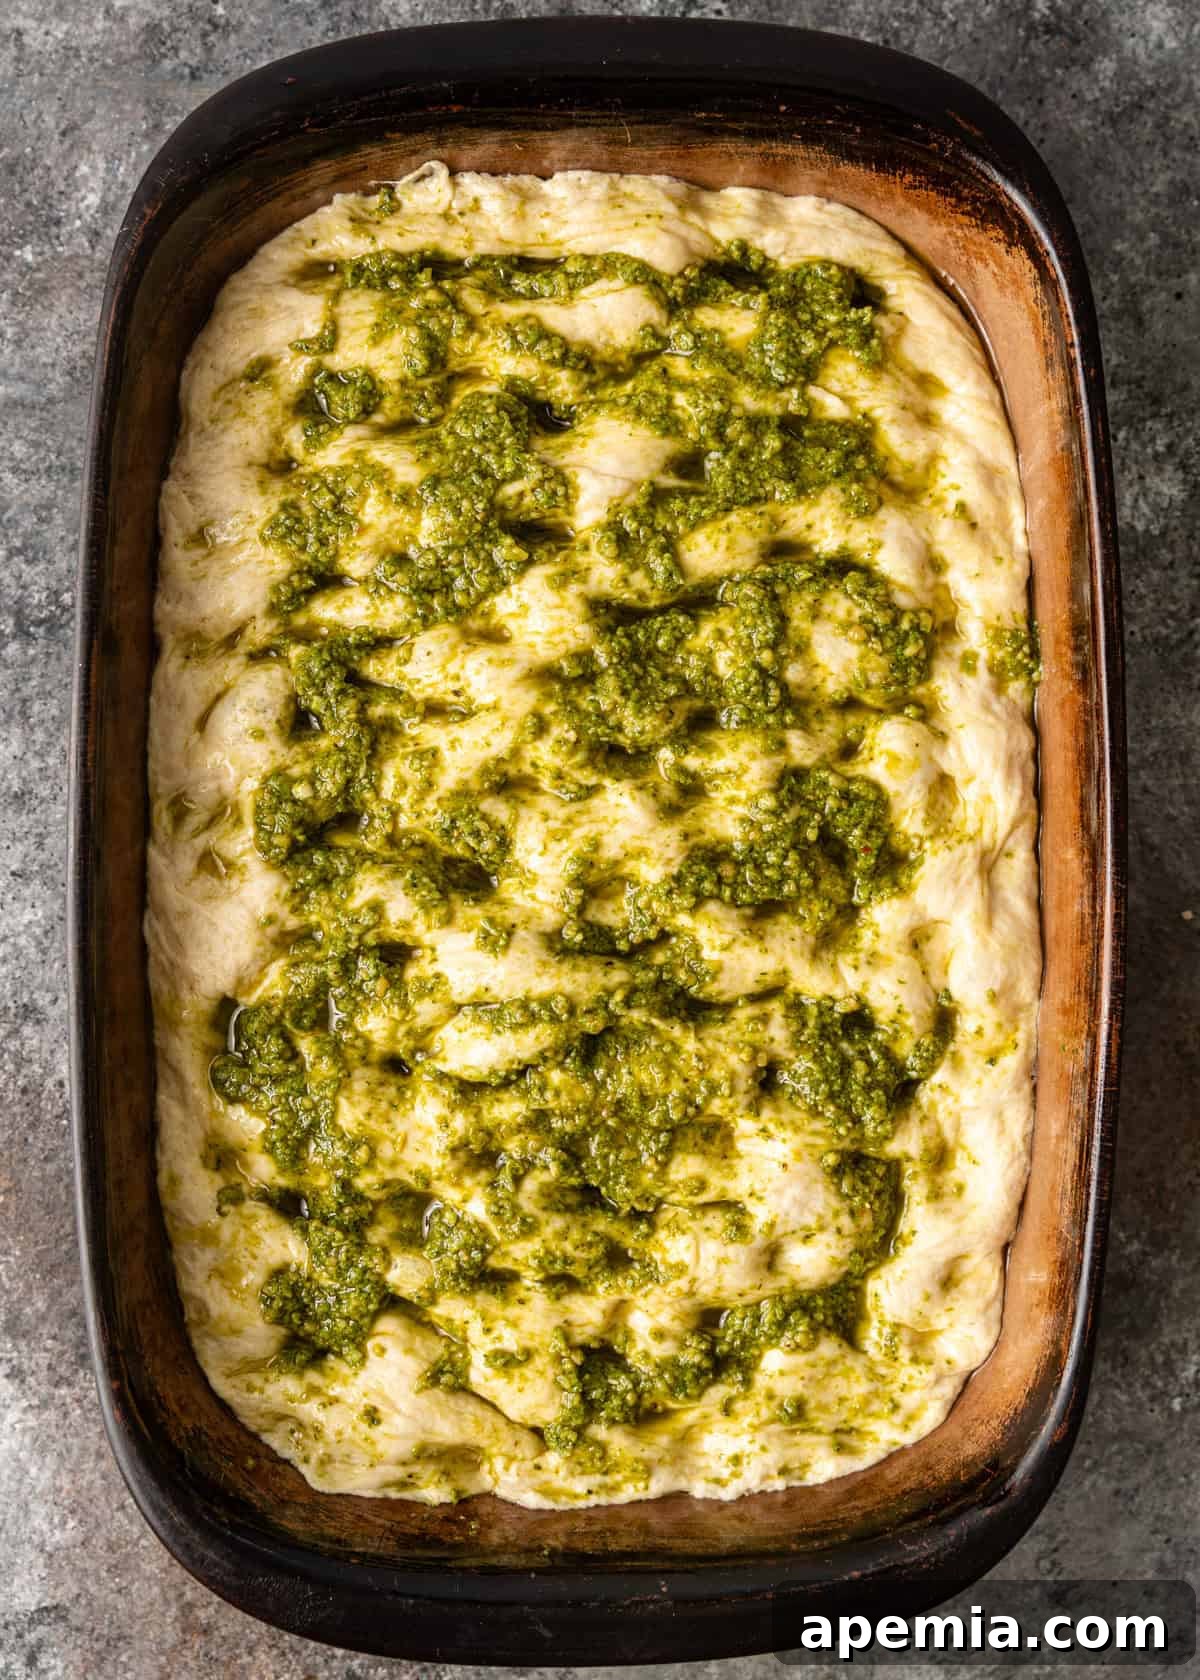
Drizzle a little more olive oil over the beautifully risen dough. Begin pressing firmly into the dough with your fingertips, creating the signature dimples all over the surface. Don’t be afraid to press through the dough – these little pockets are perfect for holding olive oil and flavor!
-
At this stage, you can sprinkle the top of the focaccia with coarse sea salt, sesame seeds, fresh herbs like rosemary, or any other toppings of your choice (See Note 3 for ideas). For an extra golden crust, lightly drizzle a touch more olive oil on top before baking. Bake the focaccia for about 18-20 minutes, or until the top is beautifully golden brown and sounds hollow when tapped. Remove from the oven and let it cool in the pan for a few minutes before carefully transferring it to a wire rack to cool completely. Once cooled, cut into 24 squares or desired serving pieces and enjoy!
Notes
- One 1/4 ounce (7g) packet of active dry yeast contains approximately 2 1/4 to 2 1/2 teaspoons. Since yeast is packaged by weight, the volume can vary slightly. For this recipe, I highly recommend accurately measuring out 2 1/2 teaspoons of yeast for consistent results.
- When activating yeast or proofing dough, I often place the bowl in my microwave and DO NOT turn it on. The enclosed space provides a warm, draft-free environment ideal for yeast activity.
- Focaccia is incredibly versatile! Beyond sea salt, some of my favorite toppings include spreading 1 cup of basil pesto all over the surface, or lightly brushing with marinara sauce and then adding sliced olives, grated Parmesan cheese, and pine nuts. Toppings are entirely optional and customizable!
- Nutrition information provided is based on a plain focaccia version. The addition of various toppings will alter the nutritional values.
Nutrition
Carbohydrates: 20g |
Protein: 3g |
Fat: 7g |
Saturated Fat: 1g |
Polyunsaturated Fat: 1g |
Monounsaturated Fat: 5g |
Sodium: 292mg |
Potassium: 31mg |
Fiber: 1g |
Sugar: 1g |
Vitamin C: 0.004mg |
Calcium: 5mg |
Iron: 1mg
The information shown is an estimate provided by an online nutrition calculator. It should not be considered a substitute for a professional nutritionist’s advice.
Have You Made This Recipe? Let Me Know on Instagram
Tag @keviniscooking or tag me #keviniscooking!
There you have it – a comprehensive guide to baking the perfect homemade focaccia bread. This versatile Italian flatbread is more than just a recipe; it’s an invitation to explore flavors, experiment with toppings, and delight your senses with every bite. Whether you serve it as a simple accompaniment, a canvas for gourmet creations, or the star of your next sandwich, this easy focaccia recipe is sure to impress. So roll up your sleeves, gather your ingredients, and get ready to enjoy the incredible aroma and taste of freshly baked focaccia from your own kitchen!