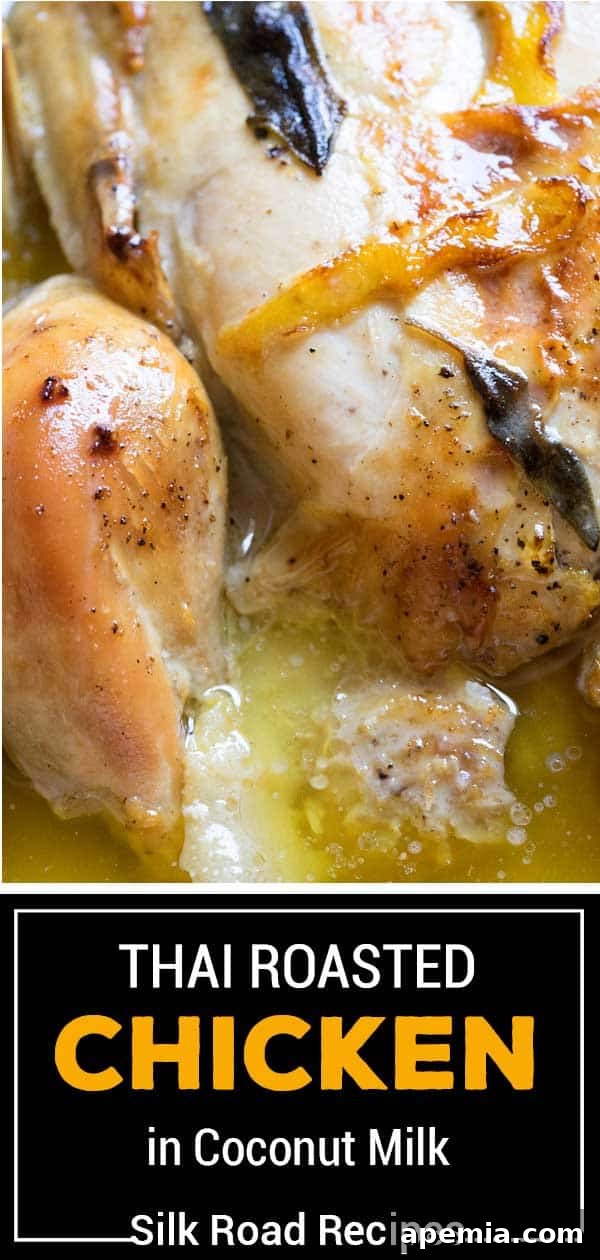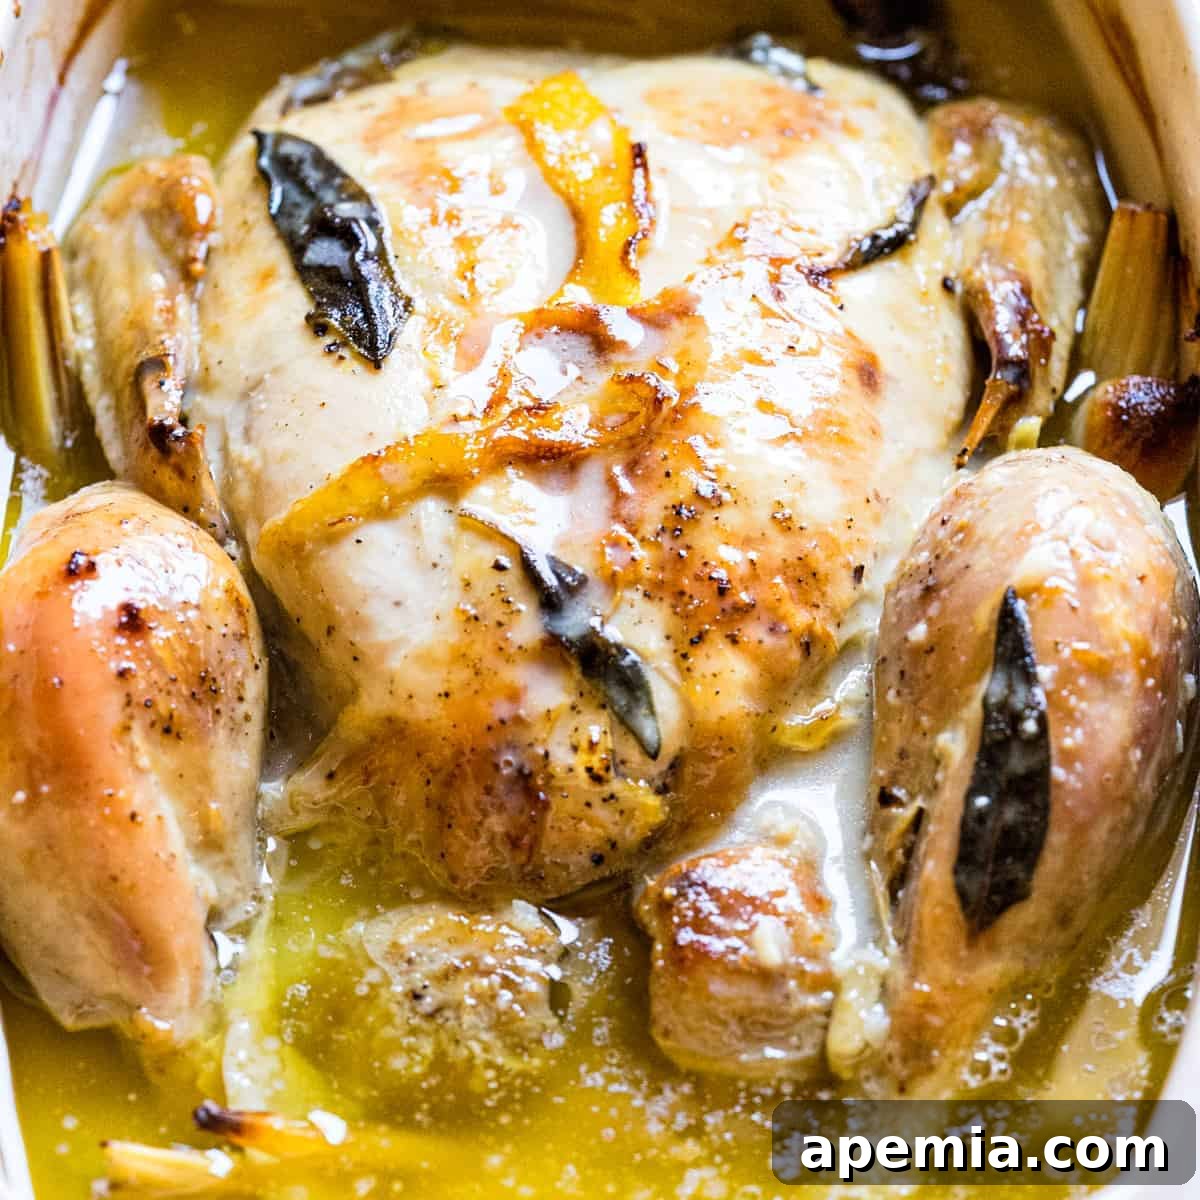
Exquisite Roasted Coconut Milk Chicken: A Thai-Inspired Culinary Journey
Transform your dinner routine with our succulent Roasted Coconut Milk Chicken, an exceptional dish that promises to infuse your kitchen with the vibrant aromas and rich flavors of Southeast Asia. This recipe masterfully combines the tenderizing power of creamy coconut milk with a symphony of aromatic spices and herbs, delivering a hearty and unforgettable meal.
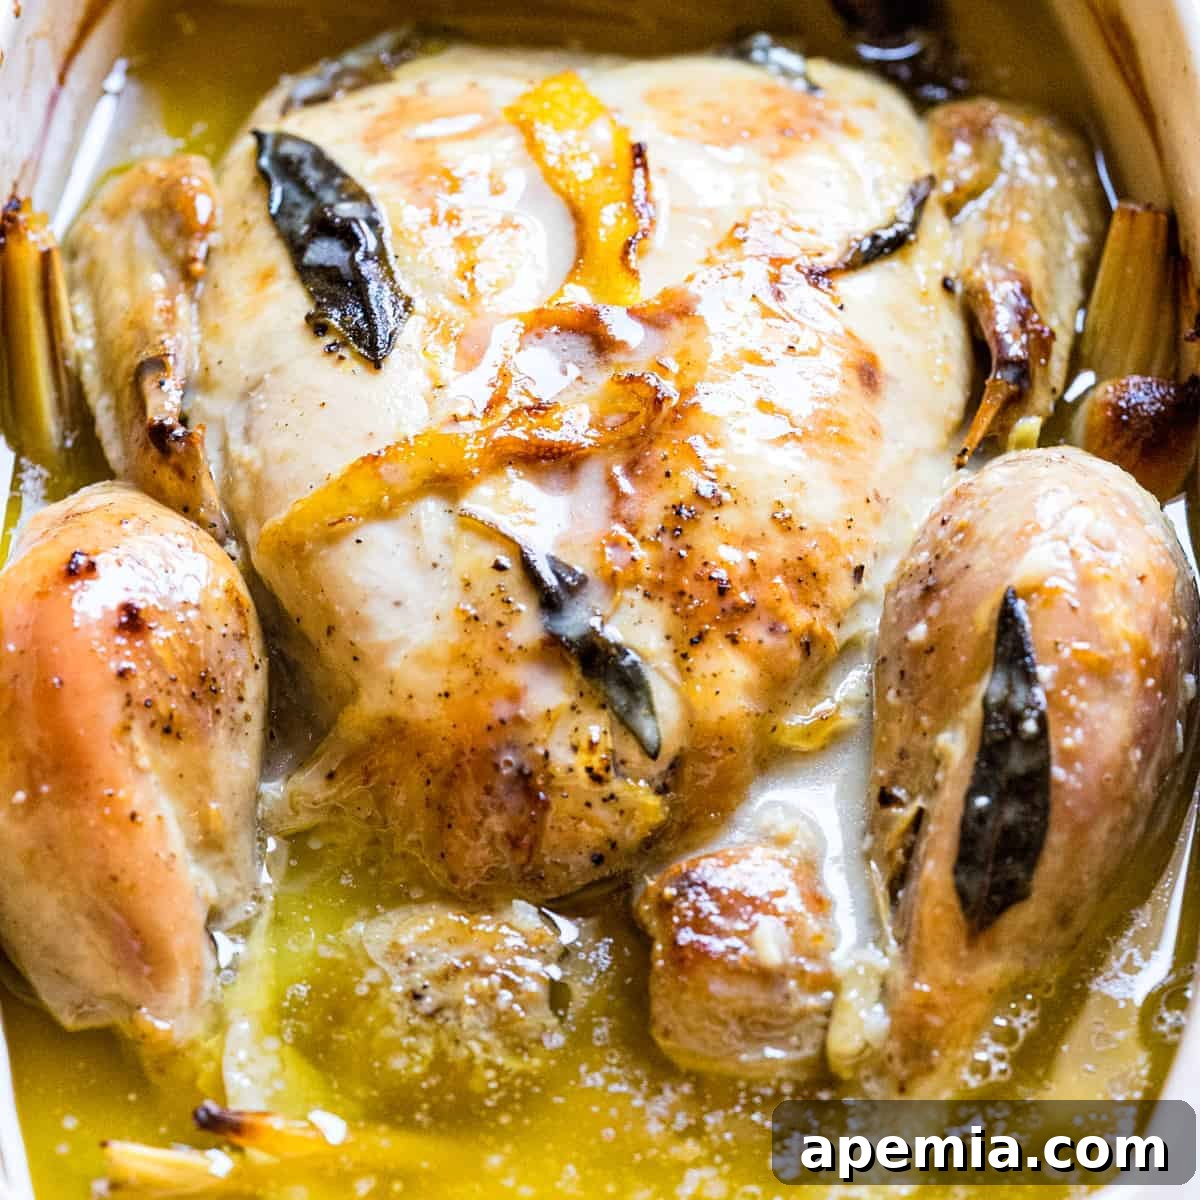
Every home chef occasionally finds themselves in a culinary rut, searching for fresh inspiration. For years, I’ve turned to esteemed chefs like Jamie Oliver for creative ideas that push the boundaries of traditional cooking. His innovative “chicken in milk” recipe, a classic for achieving incredibly tender poultry, recently caught my eye again. It sparked a new vision: what if we replaced conventional milk with the rich, creamy goodness of coconut milk? The result is nothing short of a revelation – a game-changer that elevates the dish with an exotic, Asian-inspired flair.
My kitchen is no stranger to the versatility of coconut milk. This tropical staple is a cornerstone of many beloved dishes, from savory to sweet. If you’re a fan of red meat, you must try my Malaysian Braised Beef Short Ribs, where coconut milk creates a luxuriously tender texture and deep flavor. Seafood lovers will adore the creamy, aromatic notes of this Thai Yellow Shrimp Curry. And for those seeking vegetarian options, our hearty Dal Makhani showcases how beautifully coconut milk integrates into plant-based cuisine. As you can see, coconut milk is an ingredient I wholeheartedly embrace, and for good reason.
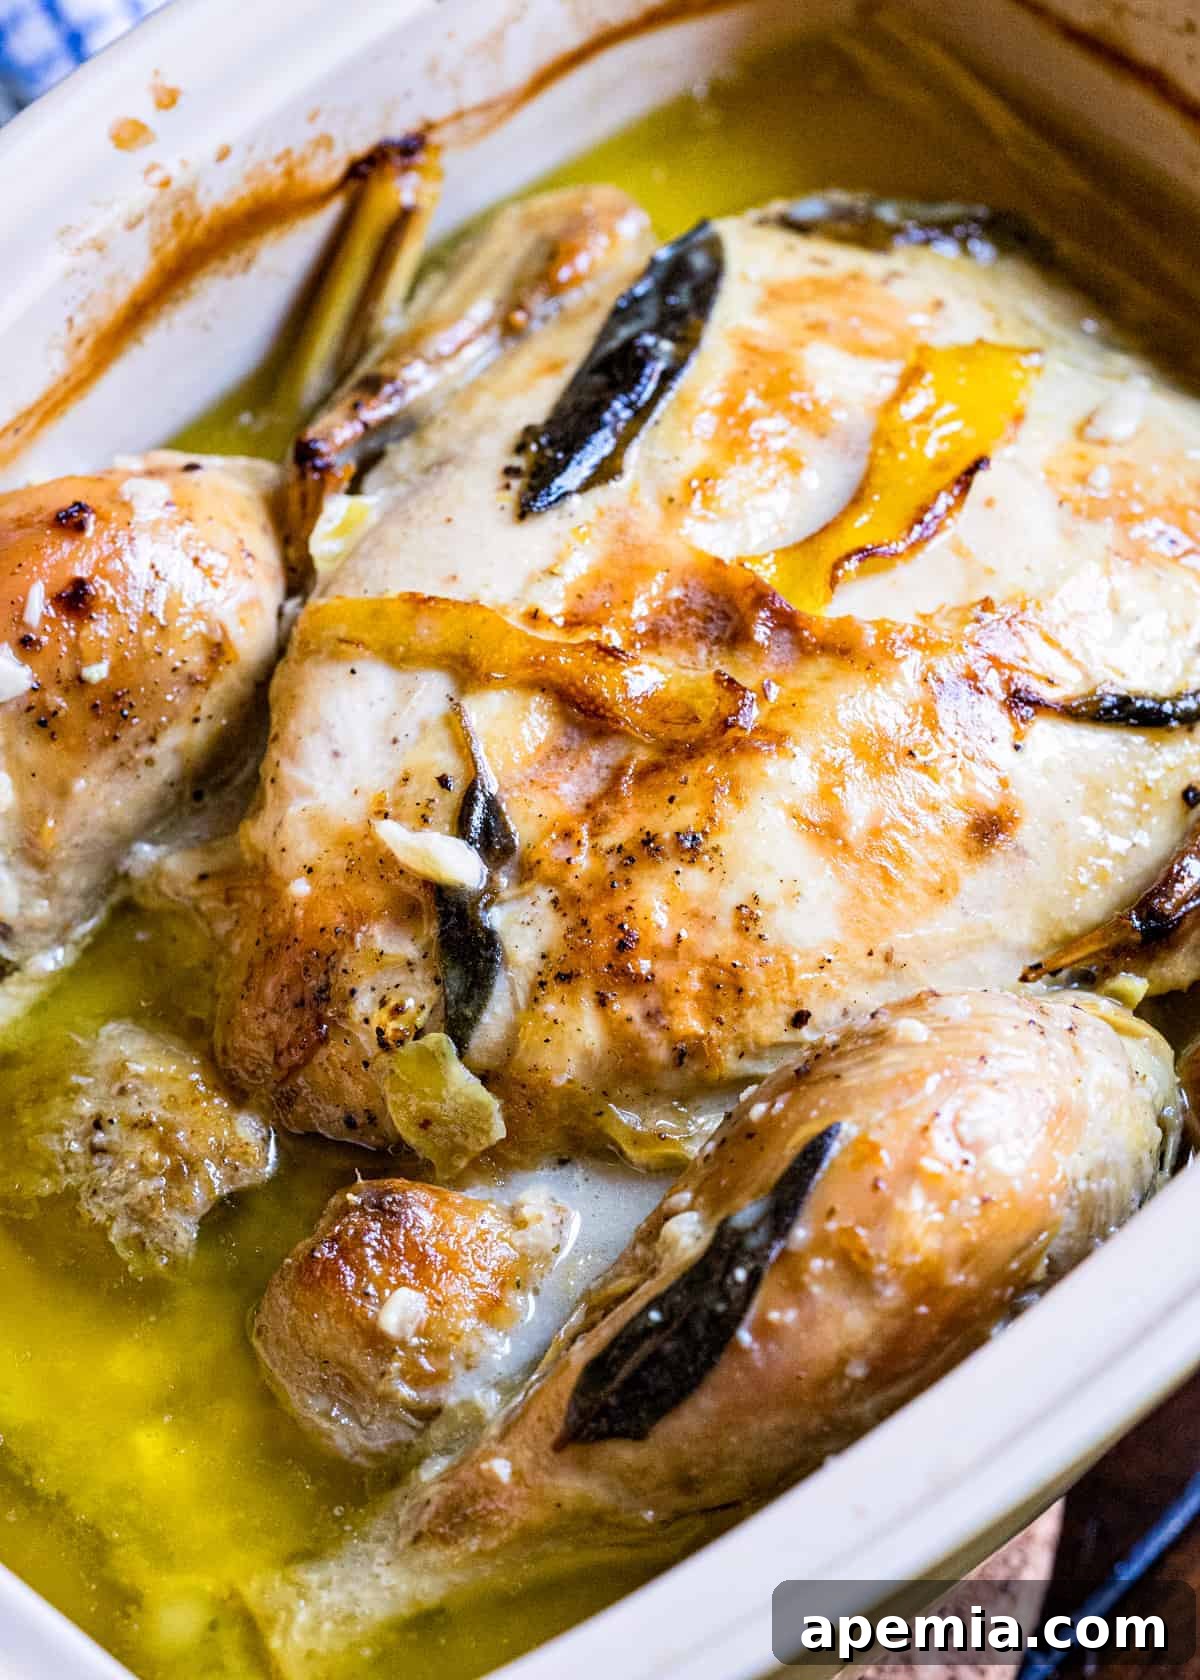
Returning to our star dish, the Roasted Coconut Milk Chicken, its preparation is surprisingly straightforward, belying the complex flavors it develops. While the roasting process requires a bit of patience, the reward is utterly worth it. The chicken emerges from the oven unbelievably tender, enveloped in a rich, fragrant sauce that begs to be savored. I love serving this dish with fluffy steamed rice, vibrant seasonal vegetables, a crisp green salad, and a side of crusty homemade bread to soak up every last drop of that incredible sauce. And don’t worry about leftovers – this chicken tastes even better the next day, making it perfect for meal prepping!

Course: Main Dish
Recipe Difficulty: Easy 🥄
Description:
Whether prepared in the oven or an Instant Pot, this whole chicken recipe guarantees incredibly tender and juicy meat. The fragrant blend of lemongrass, Thai basil, and creamy coconut milk will tantalize your taste buds and leave you yearning for a second helping!
Essential Ingredients for Your Thai-Inspired Chicken
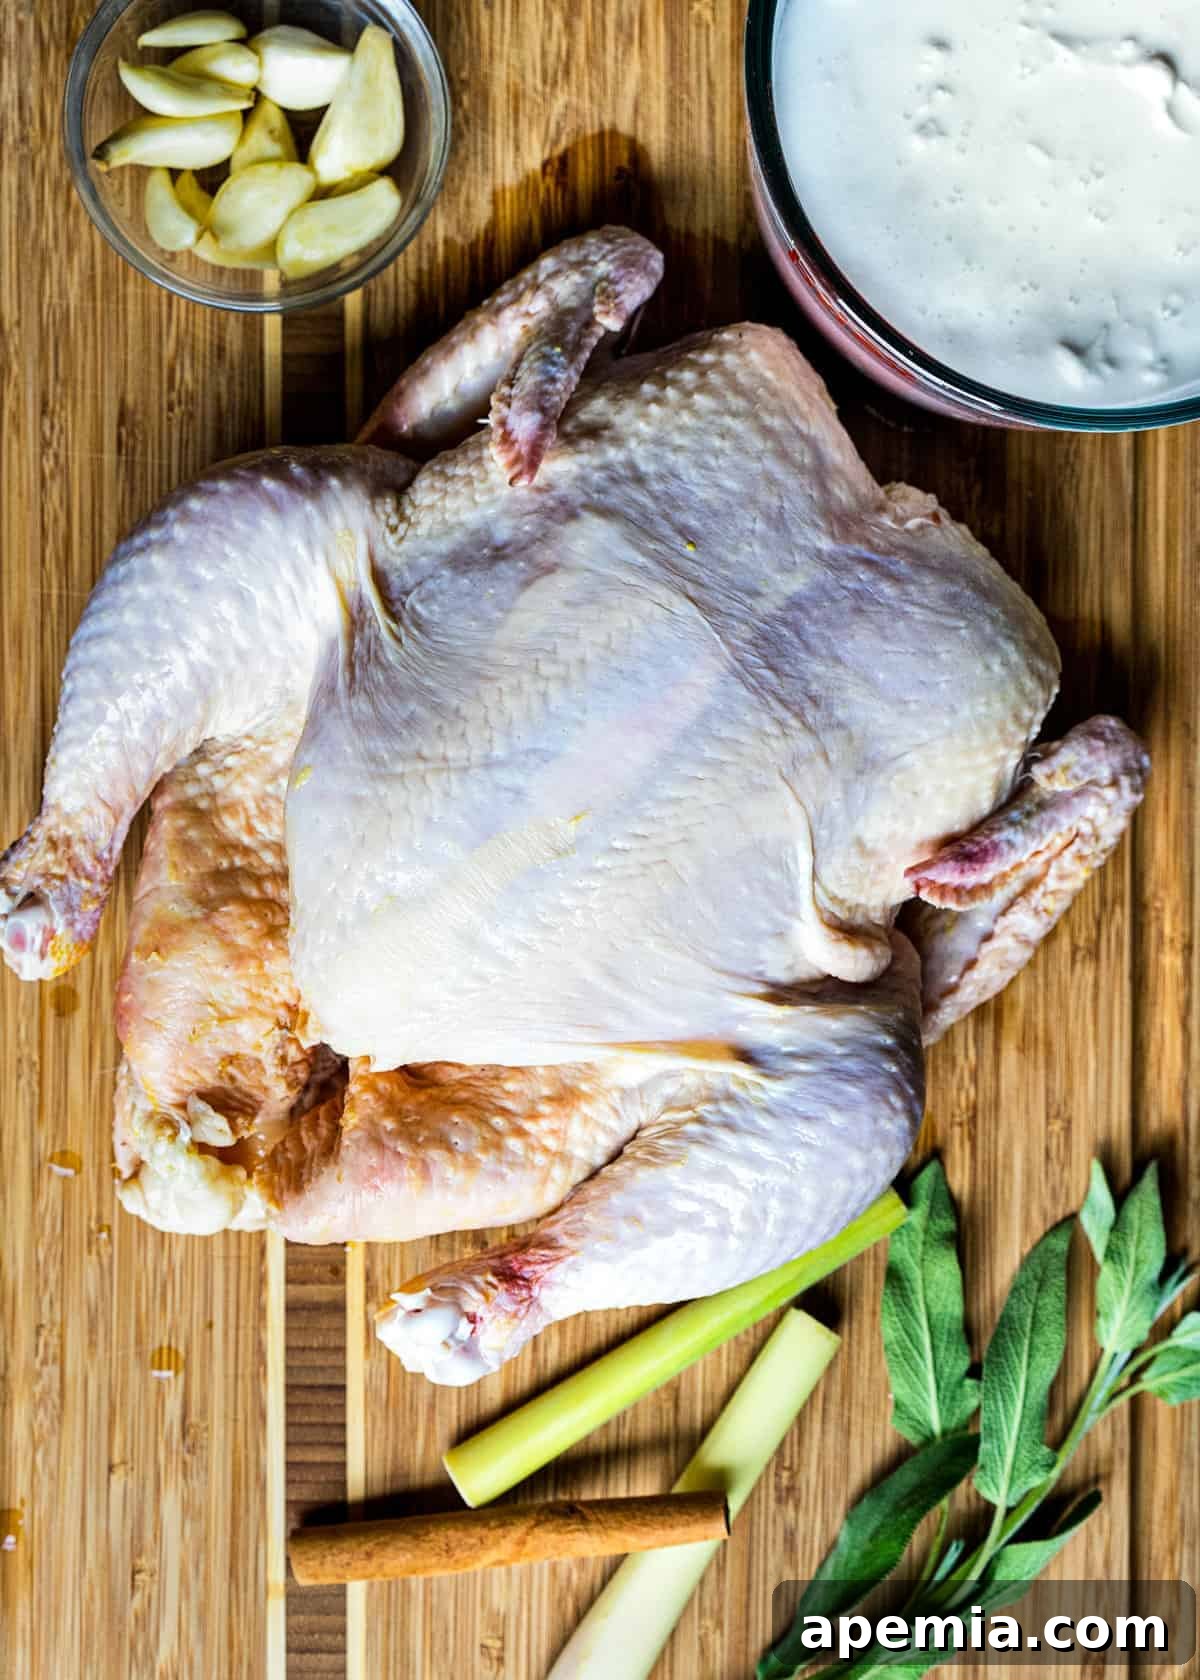
Crafting the perfect Roasted Coconut Milk Chicken begins with selecting the right ingredients. Each component plays a vital role in building the dish’s distinct flavor profile. Here’s a detailed look at what you’ll need and some helpful substitution tips:
- Whole Bone-In Chicken: For this recipe, a whole chicken with bones is highly recommended. The bones contribute significantly to the depth of flavor in the sauce, resulting in a richer, more profound taste. If you prefer, you can use bone-in chicken pieces such as drumsticks, thighs, or even wings, but be mindful that the cooking times will need to be adjusted accordingly to prevent overcooking or undercooking.
- Full-Fat Coconut Milk: This is a non-negotiable ingredient for achieving the signature creaminess and richness of the sauce. Opt for canned, full-fat coconut milk over light varieties or those in cartons, as they lack the necessary thickness and flavor. It provides a luxurious base that tenderizes the chicken while absorbing and complementing the spices.
- Lemongrass: This aromatic herb is the heart of the dish’s Thai essence, offering a unique citrusy, floral, and slightly minty flavor. If fresh lemongrass stalks are unavailable, you can substitute with 2 tablespoons of good quality lemongrass paste, often found in the produce section or international aisle of larger supermarkets. Ensure to bruise fresh stalks to release their essential oils before adding them to the pot.
- Lemon Zest: The bright, zesty notes from lemon peel perfectly complement the lemongrass, enhancing the overall citrusy freshness without adding excessive liquid. It provides a delightful counterpoint to the richness of the coconut milk.
- Fresh Sage Leaves: Sage brings an earthy, peppery, and slightly piney note that beautifully bridges the gap between traditional European roasting flavors and the exotic Thai spices. Its herbaceous character adds a sophisticated layer to the dish, making it truly unique.
- Cinnamon Sticks (or Ground Cinnamon): A touch of cinnamon introduces a warm, subtly spicy, and sweet undertone that deepens the sauce’s complexity. If using cinnamon sticks, remember to break them for better flavor release. For ground cinnamon, use about 1 teaspoon, adding it with the other spices.
- Garlic: As a fundamental flavor enhancer in virtually every savory cuisine, garlic is indispensable here. We call for a generous 12 cloves, which will mellow and sweeten during the long roast, infusing the chicken and sauce with an irresistible savory aroma. Don’t be shy with it!
- Kosher Salt & Freshly Ground Black Pepper: These basic seasonings are essential for drawing out the chicken’s natural flavors and creating a perfectly seasoned crust during the browning stage. Always season generously before cooking.
- Olive Oil: Used for browning the chicken, olive oil helps create a beautiful golden crust and renders some of the chicken fat, locking in moisture and building a foundational layer of flavor before roasting.
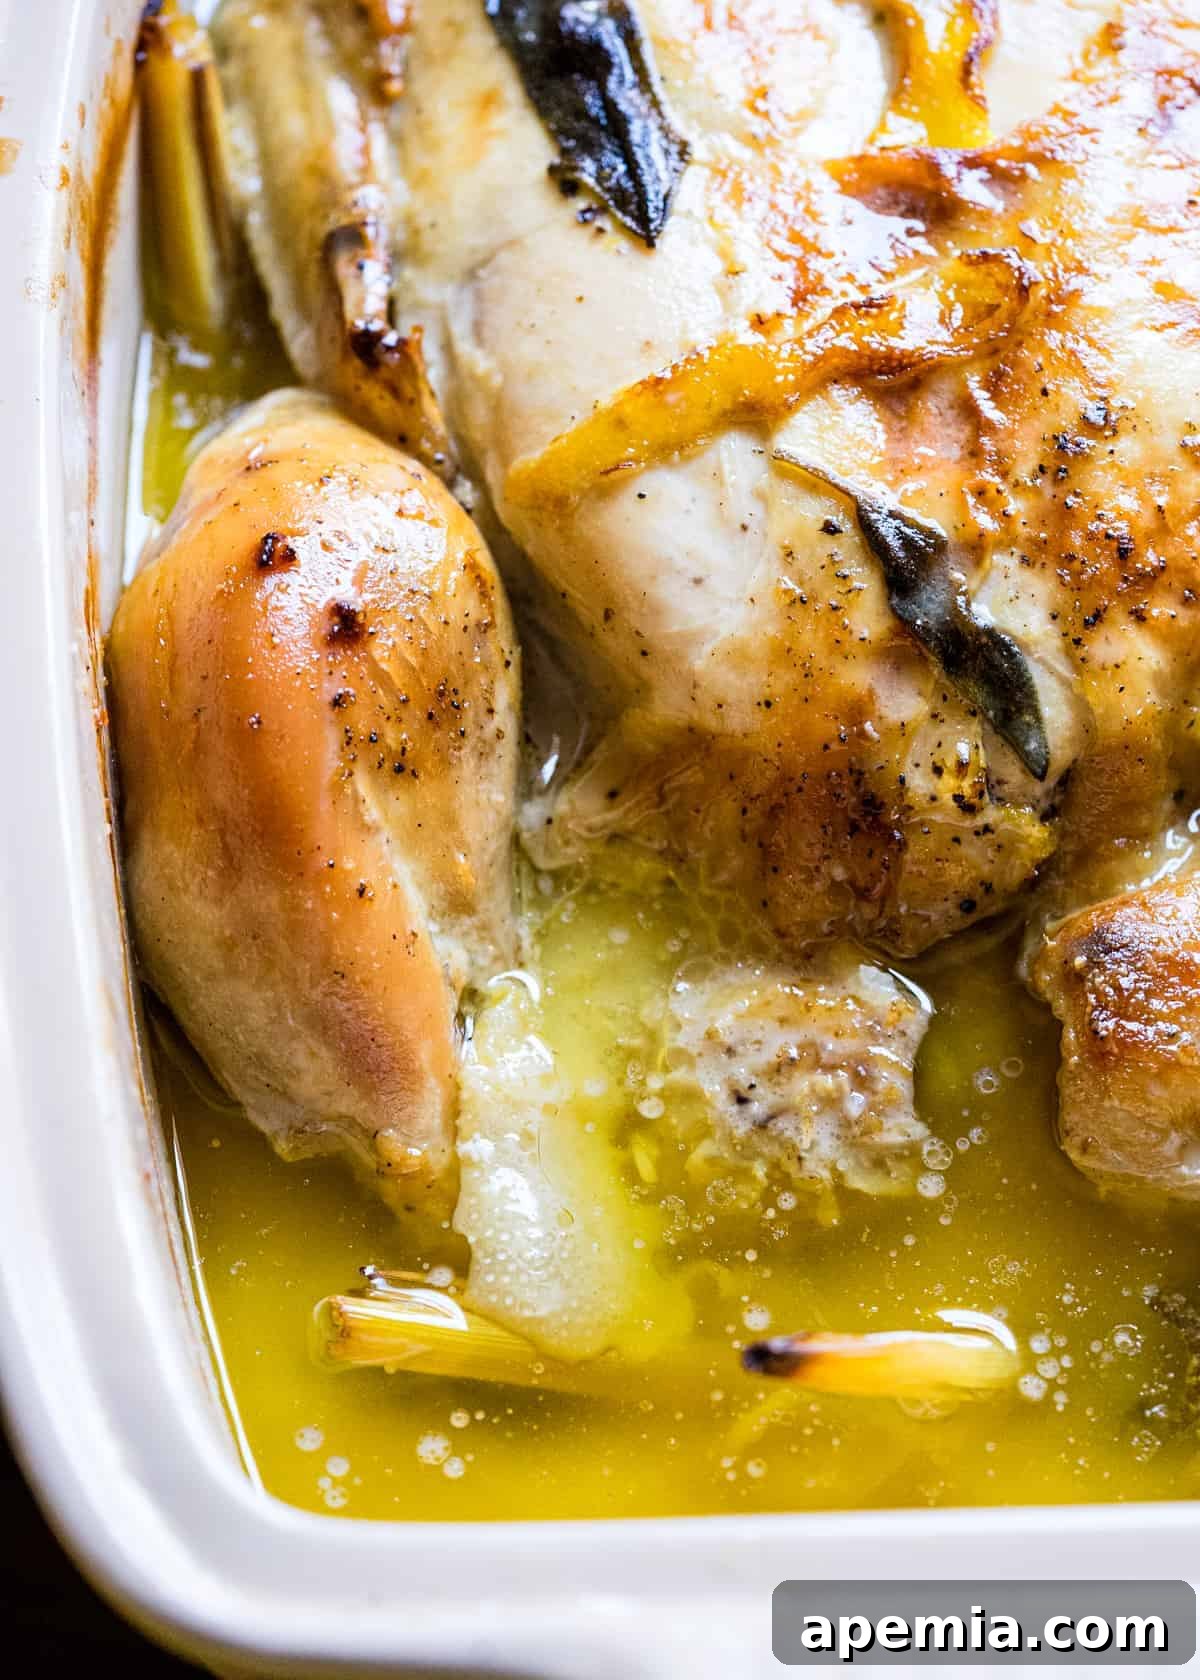
Visual Guide: Watch the Recipe in Action
To fully grasp the techniques and steps involved in preparing this delectable dish, be sure to watch the comprehensive video demonstration available in the recipe card at the conclusion of this post. It provides invaluable visual guidance for every stage of cooking.
Crafting Your Roasted Coconut Milk Chicken: Step-by-Step Guide
Follow these detailed steps to achieve a perfectly roasted, flavorful, and incredibly tender chicken:
- Prepare and Brown the Chicken: Begin by preheating your oven to 375 degrees F (190 degrees C). While the oven heats, take your whole chicken and pat it thoroughly dry with paper towels. This crucial step helps achieve a crispy skin. Season the entire bird generously with kosher salt and freshly ground black pepper. Next, heat the olive oil in a large, oven-proof pot over medium-high heat. A Dutch oven is ideal for this, as it retains heat beautifully and transitions seamlessly from stovetop to oven. Carefully place the chicken into the hot oil, breast-side down first if possible. Brown the chicken evenly on all sides, ensuring a beautiful golden crust develops. The goal here is to achieve color and render some fat, not to cook it through. Use tongs to gently turn the poultry frequently, preventing the skin from burning while ensuring a rich, even browning.
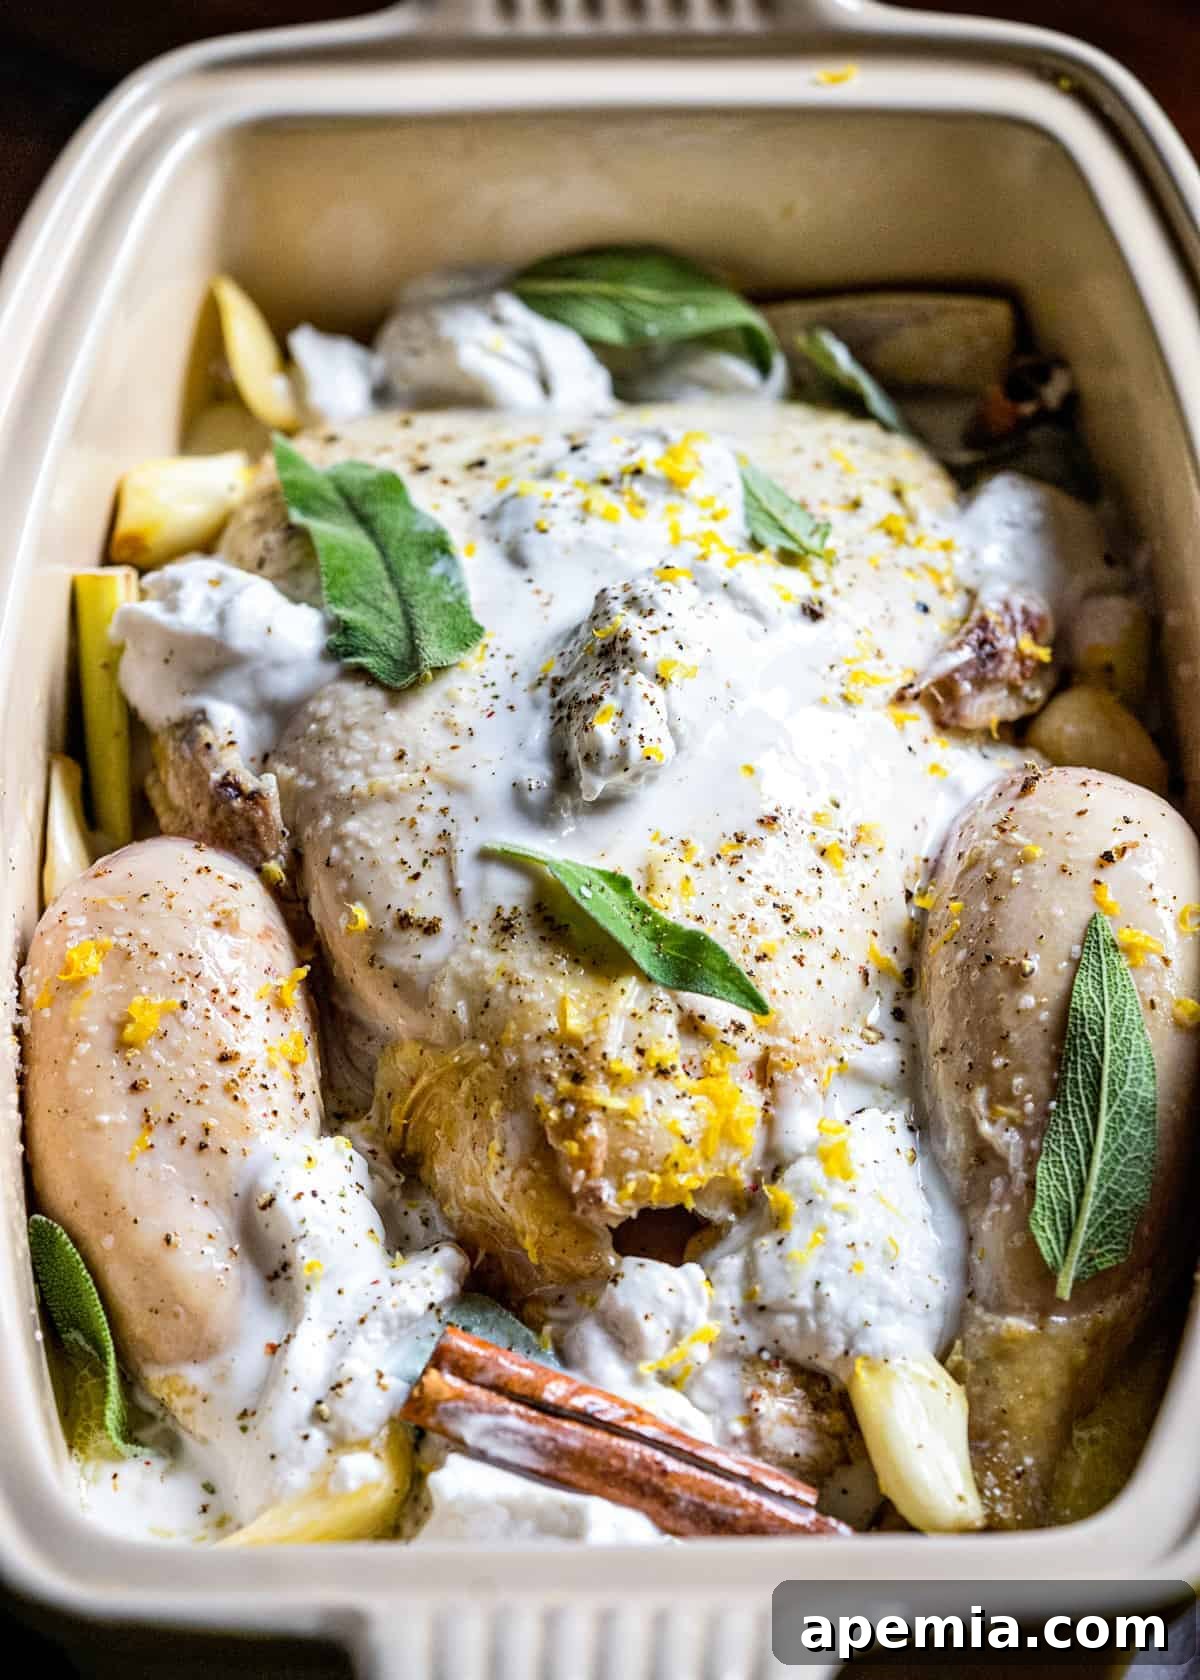
- Initiate the Roast with Aromatic Infusion: Once thoroughly browned, carefully remove the chicken from the pot and set it aside on a plate. If there’s a significant amount of excess fat in the pot, you can carefully pour some into a small heat-proof bowl. This flavorful fat can be reserved for roasting vegetables later, or you can discard it. Using a wooden spoon or spatula, gently scrape up any flavorful browned bits (fond) that may be stuck to the bottom of the pan – these are packed with flavor and should be incorporated into your sauce, not left to burn. Return the browned chicken to the pot. Now, add the remaining ingredients: the full-fat coconut milk, bruised lemongrass, bright lemon zest, fresh sage leaves, warm cinnamon sticks, and the generous amount of garlic cloves. Ensure the coconut milk partially covers the base of the chicken. Cover the pot tightly with its lid and transfer it to the preheated oven. Bake for a full 90 minutes, allowing the flavors to meld and the chicken to tenderize in the aromatic bath.
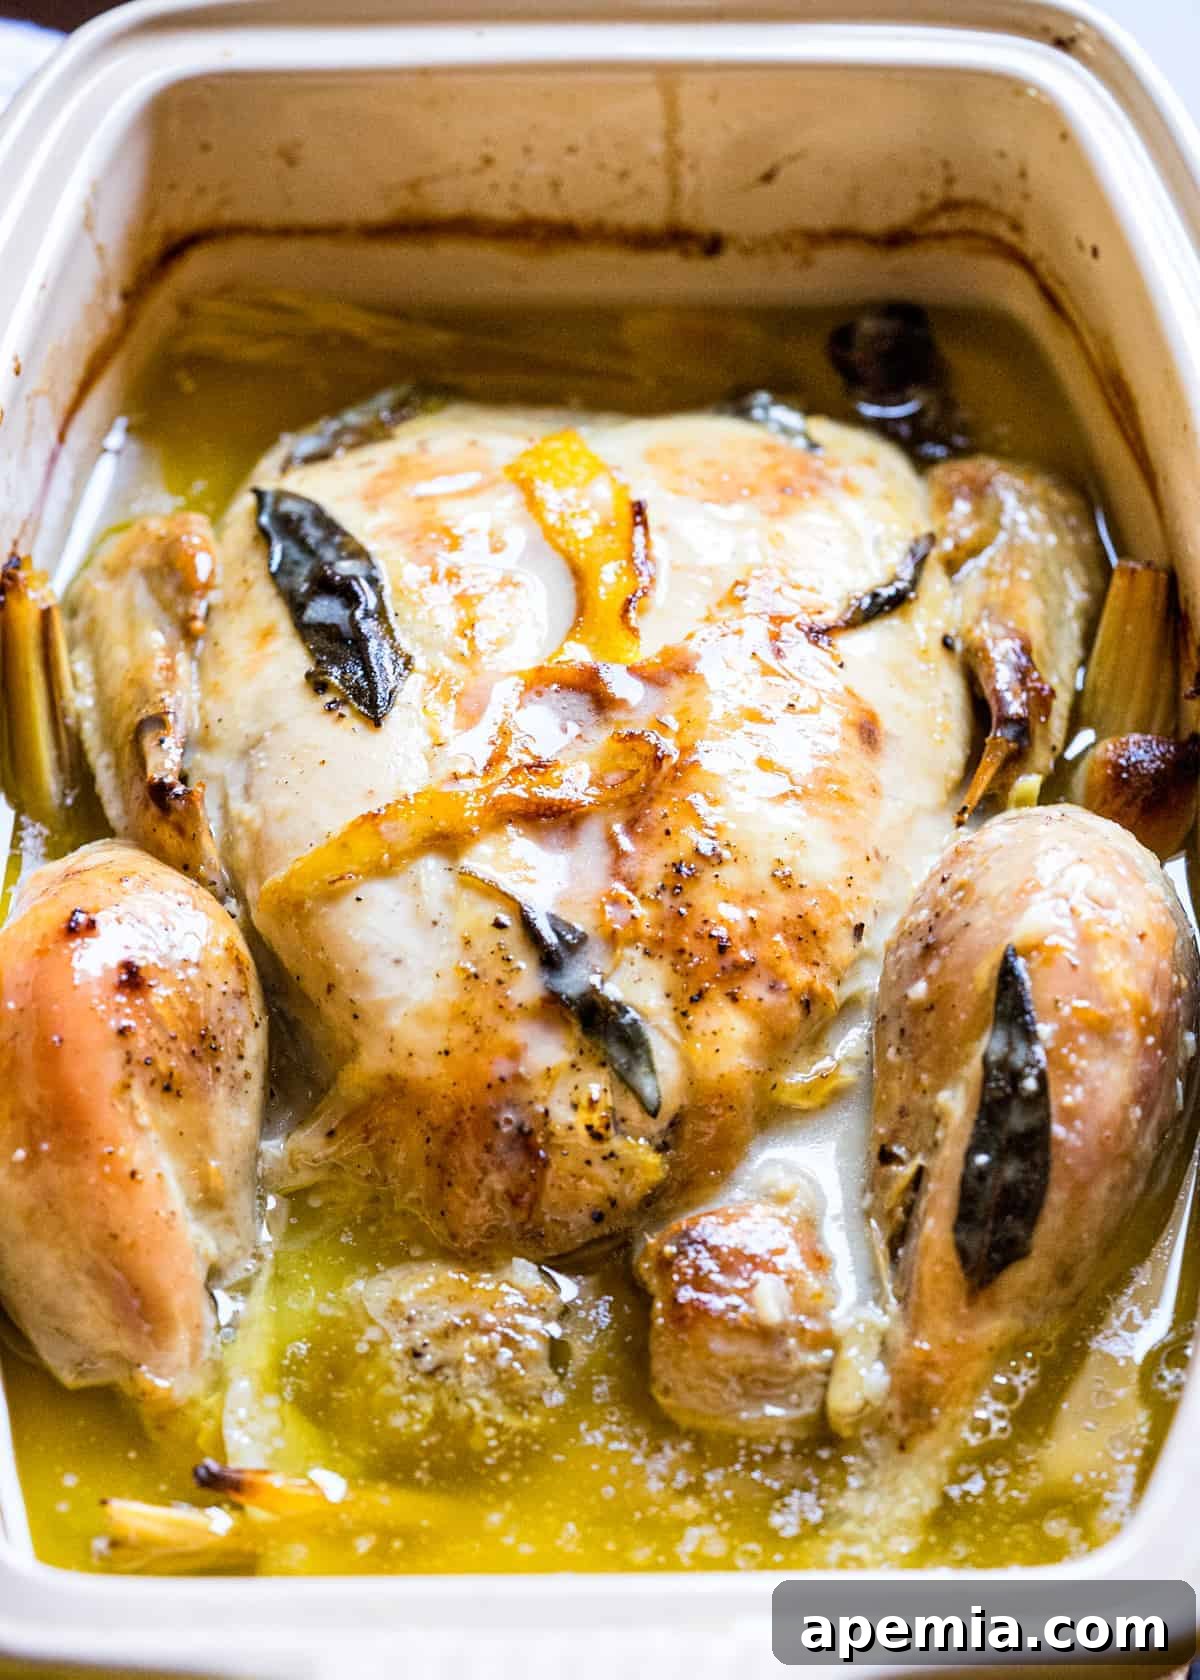
- Baste, Finish Roasting, and Serve: After 90 minutes, carefully remove the lid from the pot. The kitchen will already be filled with incredible aromas! Using a large spoon or ladle, baste the chicken generously with the rich, simmering juices and sauce from the pot. This step ensures the chicken remains moist and develops a beautiful exterior. Leave the pot uncovered and return it to the oven to bake for an additional 35 minutes. This final uncovered bake allows the skin to crisp up further and the sauce to reduce and thicken slightly. Once done, turn off the oven and let the chicken rest in the pot for 10 minutes before removing it. Resting allows the juices to redistribute, resulting in an even juicier chicken. At this point, you can discard the spent lemongrass stalks and cinnamon sticks from the sauce. Carefully carve the chicken into desired pieces or shred the meat from the bones. Serve immediately, drizzling generously with the luscious coconut milk sauce and accompanied by your chosen side dishes for a truly satisfying meal.
Mastering Instant Pot Whole Chicken with Coconut Milk: Key Considerations
For those who prefer the speed and convenience of an Instant Pot, this recipe is perfectly adaptable. However, there are a couple of essential points to keep in mind to ensure the best results:
- Utilize a Trivet: The use of a trivet is crucial for Instant Pot cooking. This accessory keeps the whole chicken elevated above the liquid, preventing it from becoming waterlogged or braised, which is not the desired outcome for a “roasted” style chicken. We want a Thai-inspired dish with distinct flavor, not a stew. Most Instant Pot brands include a trivet with the appliance; if yours didn’t, they are widely available wherever electric pressure cookers are sold.
Placing the chicken on the trivet ensures that it steams efficiently while the aromatics infuse the surrounding coconut milk, yielding incredibly tender meat without sacrificing texture.
- Achieving Crispy Skin (Post-Pressure Cooker): One limitation of the Instant Pot is its inability to produce crispy, golden-brown chicken skin. But fear not! This can be easily remedied under an oven broiler. Once the chicken is cooked in the Instant Pot, carefully use the trivet handles to lift the entire chicken out and transfer it onto a baking sheet lined with foil. Position it under a preheated oven broiler for 2-4 minutes.
This quick burst of high heat will transform the skin into a wonderfully crisp, appetizing layer, providing that satisfying texture contrast you desire. Ensure you watch it continuously during this process, as broiler heat can quickly turn golden to burnt.
NOTE:
Broiling requires constant vigilance. Food can transition from perfectly golden to unfortunately burnt in mere moments. Stay alert!
Can I Prepare Roasted Coconut Milk Chicken in the Instant Pot?
Absolutely! The Instant Pot offers a fantastic, time-saving alternative to oven roasting for this dish. You’ll find detailed Instant Pot instructions within the recipe card provided below. The pressure cooking method significantly reduces the overall cooking time, typically allowing you to have this flavorful meal ready in under an hour, making it ideal for busy weeknights.
Does Coconut Milk Tenderize Chicken?
Yes, coconut milk is an excellent natural tenderizer for chicken. Its slightly acidic nature and rich fat content work wonders on poultry, breaking down connective tissues and infusing the meat with moisture and flavor. Whether used as a marinade base, in braises, or for roasting, coconut milk consistently produces exceptionally tender and juicy results. In this roasted coconut milk chicken recipe, the milk, combined with the slow roasting process and aromatic spices, ensures every bite is incredibly soft and bursting with wonderful, complex flavors.
What is the Flavor Profile of Coconut Chicken?
Our roasted coconut milk chicken boasts a captivating, Asian-inspired flavor profile that is both rich and beautifully balanced. The dish is characterized by the luxurious creaminess of the coconut milk, which serves as the perfect canvas for a medley of vibrant tastes. You’ll experience the bright, citrusy notes of lemongrass and lemon zest, which provide an invigorating lift. Earthy, slightly peppery sage adds a wonderful herbaceous depth, while a hint of spicy cinnamon introduces a comforting warmth. The generous amount of garlic mellows into a sweet, savory foundation. This combination creates a harmonious blend that is deeply satisfying, aromatic, and truly unique.
Understanding the Fundamental Flavors of Thai Cuisine
Thai cuisine is renowned for its incredible balance of distinct flavor profiles, often creating a complex yet harmonious experience in a single dish. When enjoying Thai food, including our Roasted Coconut Milk Chicken, consider how these fundamental tastes contribute to its magic:
- SPICY: Heat is a hallmark of Thai cooking, often derived from fresh chilies, dried chilies, and potent Asian hot sauces or spicy curry pastes. It’s not just about intense heat; it’s about a vibrant kick that awakens the palate and balances other flavors. This dish offers a subtle warmth from cinnamon and can be easily enhanced with a touch of chili for those who crave more heat. Explore combinations like our Sweet and Spicy Shrimp Pizza for a delightful contrast.
- SWEET: Sweetness in Thai cuisine often comes from natural sources like palm sugar, fresh fruits such as mango, or the inherent sweetness of ingredients like coconut milk. This sweetness mellows the spicy and sour elements, creating a well-rounded taste. Our coconut milk chicken embodies this sweetness beautifully through the rich coconut milk, balanced by other savory and acidic notes. Consider pairing it with a refreshing Thai Mango Salad.
- SALTY: Saltiness is crucial for enhancing all other flavors. In Thai cooking, this is typically achieved through fish sauce, soy sauce, and sea salt. It adds depth and umami, making the dish more satisfying. The initial seasoning of our chicken provides a foundational saltiness that is further developed by the savory components of the sauce.
- SOUR: Bright and tangy flavors are indispensable in Thai cuisine, often provided by lime juice, tamarind, or vinegar. Sourness cuts through richness, adds zest, and stimulates the appetite. The lemon zest in our recipe brings a hint of this essential sour element, complementing the creamy coconut milk perfectly.
- BITTER: While less prominent, bitterness plays a sophisticated role, often stemming from fresh herbs, certain vegetables, or specific types of greens. It adds complexity and sometimes a palate-cleansing effect, preventing a dish from becoming one-dimensional. In our recipe, sage subtly hints at this, adding an earthy edge.
- UMAMI: Often called the “fifth taste,” umami provides a savory depth and richness. Ingredients like mushrooms, fermented sauces (fish sauce, soy sauce), and even the naturally occurring glutamates in proteins contribute to umami. This deep, savory satisfaction makes Thai dishes incredibly addictive and balanced, rounding out all other flavors into a cohesive whole. Our chicken, slow-roasted in a rich, spiced coconut milk, develops a profound umami flavor that is truly irresistible.
Roasted Coconut Milk Chicken
Pin Recipe
PrintRecipe
Video
Ingredients
- 5 1/2 lb whole bone-in chicken
- 2 1/2 tsp kosher salt
- 1 tsp black pepper
- 3 tbsp olive oil
- 2 sticks cinnamon broken
- 1/4 cup fresh sage leaves loosely packed
- 1 stalk lemongrass or lemongrass paste (See Note 1)
- 1 lemon zested
- 12 cloves garlic
- 28 oz full fat coconut milk 2 cans
Instructions
-
Preheat oven to 375°F (190°C). Pat the chicken thoroughly dry with paper towels to ensure crispy skin. Season the entire chicken generously with kosher salt and black pepper.
-
Heat olive oil in a heavy-based, oven-proof pot (such as a Dutch oven) over medium-high heat. Carefully brown the chicken on all sides until a rich, golden crust forms. Be attentive not to scorch the skin; constant gentle movement with tongs will help achieve even browning.
-
Carefully remove the browned chicken and set it aside on a plate. Pour out any significant excess fat from the pot; you can save it for roasting vegetables or discard it. Using a spoon, scrape up any flavorful browned bits (fond) stuck to the bottom of the pan and leave them in the pot. Return the chicken to the pot, then add the coconut milk, lemongrass, lemon zest, sage, cinnamon sticks, and garlic cloves. Cover the pot and bake for 90 minutes.
-
After 90 minutes, remove the lid and baste the chicken thoroughly with the juices from the pot. Leave the pot uncovered and continue to bake for an additional 35 minutes to allow the skin to crisp up and the sauce to thicken slightly.
-
Turn off the oven and let the chicken rest in the pot for 10 minutes before removing it. Discard the lemongrass and cinnamon sticks from the sauce. Carefully carve the chicken into pieces or shred the meat. Serve the chicken with the rich sauce on the side, accompanied by steamed rice and your choice of vegetables.
Instant Pot Method
-
Pat the chicken thoroughly dry with paper towels. Season the chicken generously with kosher salt and black pepper.
-
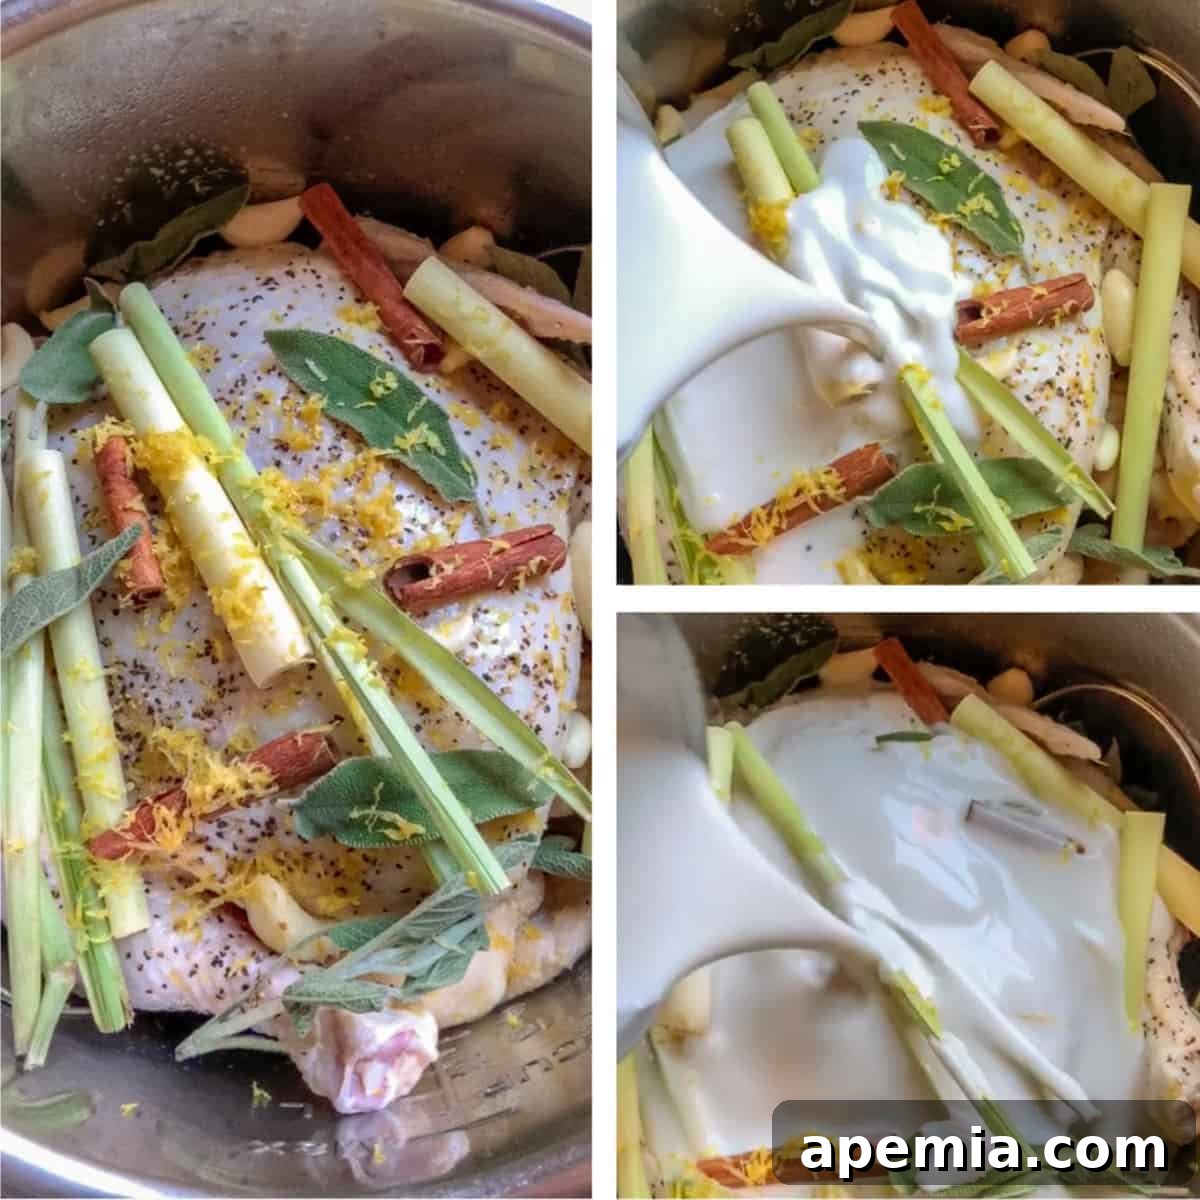
Place a trivet inside your Instant Pot. Position the seasoned whole chicken on the trivet. Add the cinnamon sticks, sage leaves, lemongrass, lemon zest, and garlic cloves around and over the chicken. Pour the full-fat coconut milk over everything.
-
Secure the lid and set the vent to sealing. Cook on the “Poultry” or “High Pressure” setting for 6 minutes per pound of chicken. Once cooking is complete, allow the pressure to naturally release for at least 10 minutes before carefully performing a quick release of any remaining pressure.
-
Carefully lift the chicken out of the Instant Pot using the trivet handles. Discard the cinnamon sticks, sage leaves, and lemongrass pieces. Strain the cooking liquid through a sieve, pressing the cooked garlic through to enrich the sauce. Return the strained cooking liquid to the Instant Pot and select the “Sauté” setting. Cook uncovered for about 10 minutes to reduce and thicken the sauce. Serve with the shredded chicken.
-
***For crispy skin on your Instant Pot chicken, it’s not achievable within the pot itself. However, you can achieve it under an oven broiler! Using the trivet handles, transfer the chicken from the Instant Pot to a baking sheet lined with foil. Place it under a preheated broiler for 2-4 minutes, watching very closely to prevent burning.
Notes
- For fresh lemongrass, remember to trim the ends and then lightly bruise the stalk with the back of a knife or a rolling pin to release its aromatic oils. You can also split it lengthwise. If fresh is unavailable, 2 tablespoons of lemongrass paste (found in the produce section of most supermarkets) makes an excellent substitute. Stir the paste in with the coconut milk before pouring it over the chicken.
- It is highly recommended to use a Dutch oven or any heavy-based pot that is both stovetop and oven safe. If you do not possess an ovenproof skillet or pot, you can brown the chicken on the stovetop in a regular pan, then carefully transfer it to a casserole dish or baking pan large enough to accommodate the chicken and all other ingredients before placing it in the oven.
- General Oven Cooking Times for Whole Chicken
As a general guideline, when roasting a whole chicken in the oven at 375ºF (190°C), allocate approximately 20 minutes of cooking time per pound of chicken, plus an additional 15 minutes to ensure it is cooked through and juicy.
- General Instant Pot Cooking Times for Whole Chicken
For Instant Pot whole chicken, a good rule of thumb for cooking time is 6 minutes per pound on high pressure, with an additional 3 minutes for every half-pound increment.
For example:
A 3-pound chicken: 18 minutes on high pressure.
A 4-pound chicken: 24 minutes on high pressure.
A 5-pound chicken: 30 minutes on high pressure.
Always allow for a natural pressure release for at least 10 minutes before performing a quick release for any remaining pressure. This helps in tenderizing the meat.
- Serving Yield
On average, a 5-pound whole chicken typically yields around 1.5 pounds of cooked meat. This quantity is generally sufficient to provide six generous 4-ounce servings. Adjust based on appetite and side dishes.
Nutrition
The nutritional information provided is an estimate calculated by an online nutrition calculator. It should not be considered a definitive substitute for professional nutritionist’s advice or official dietary analysis.