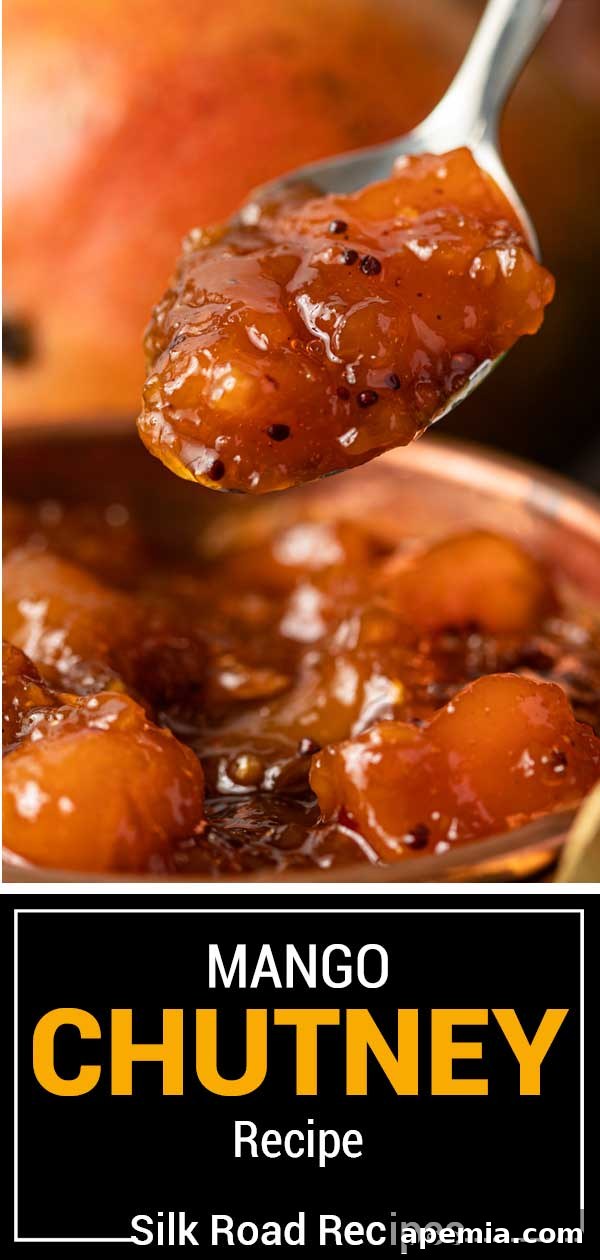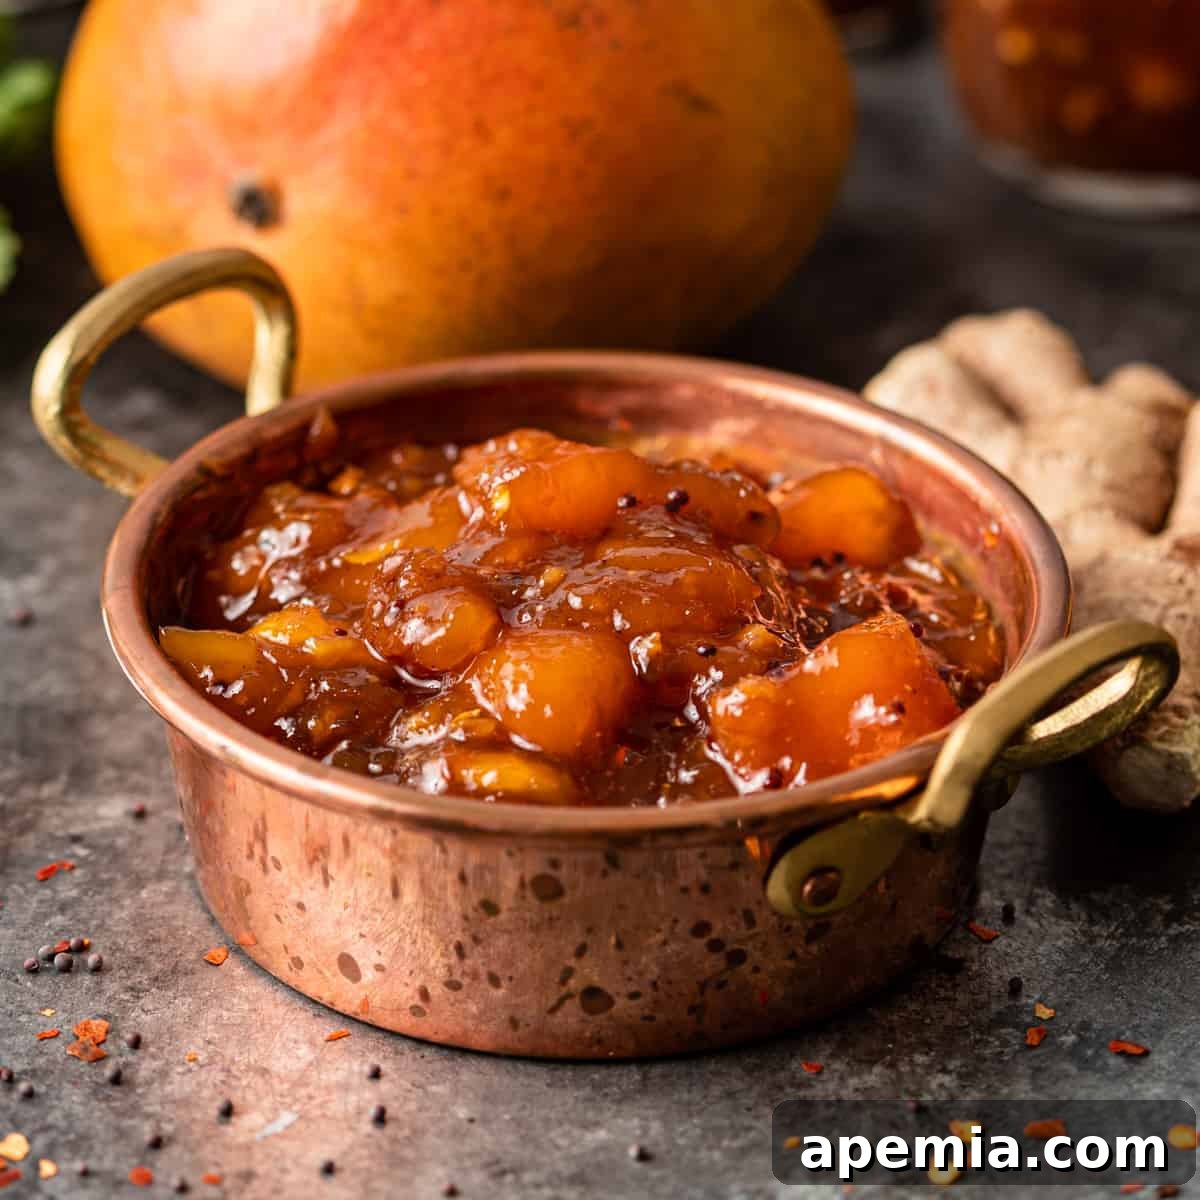
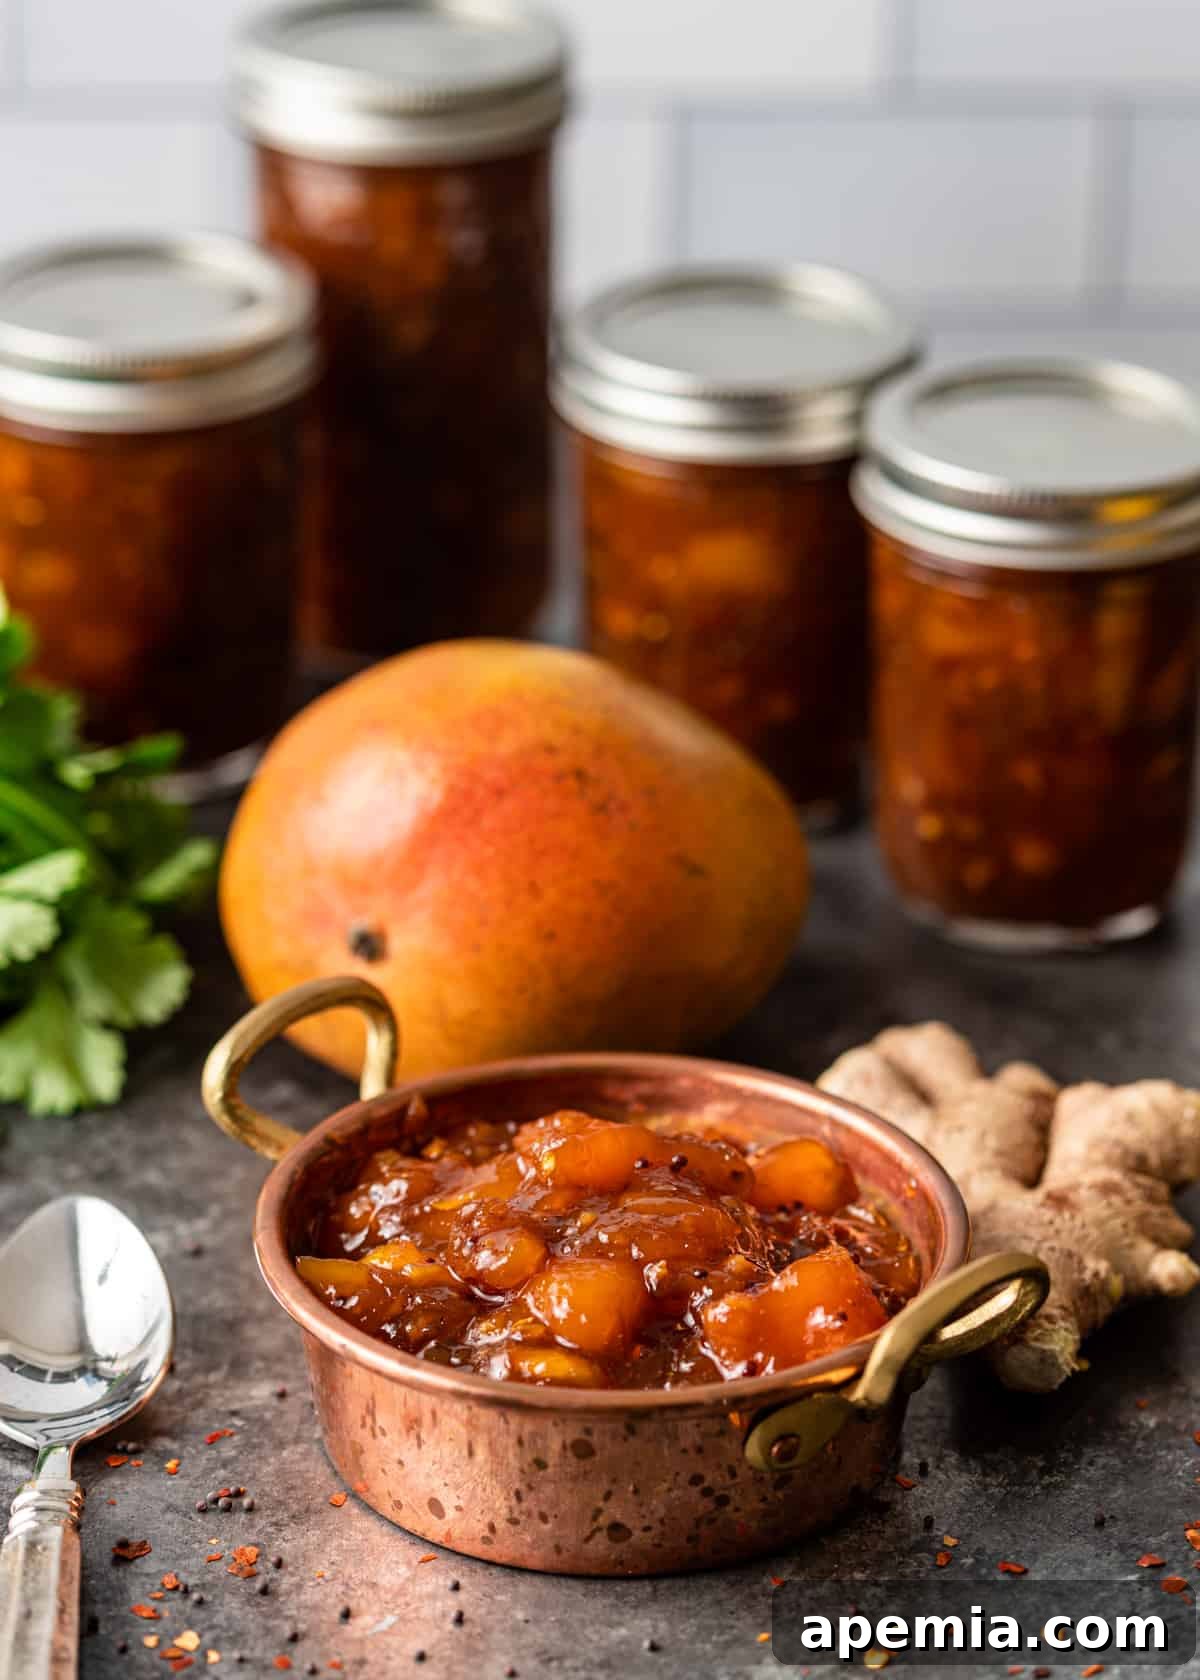
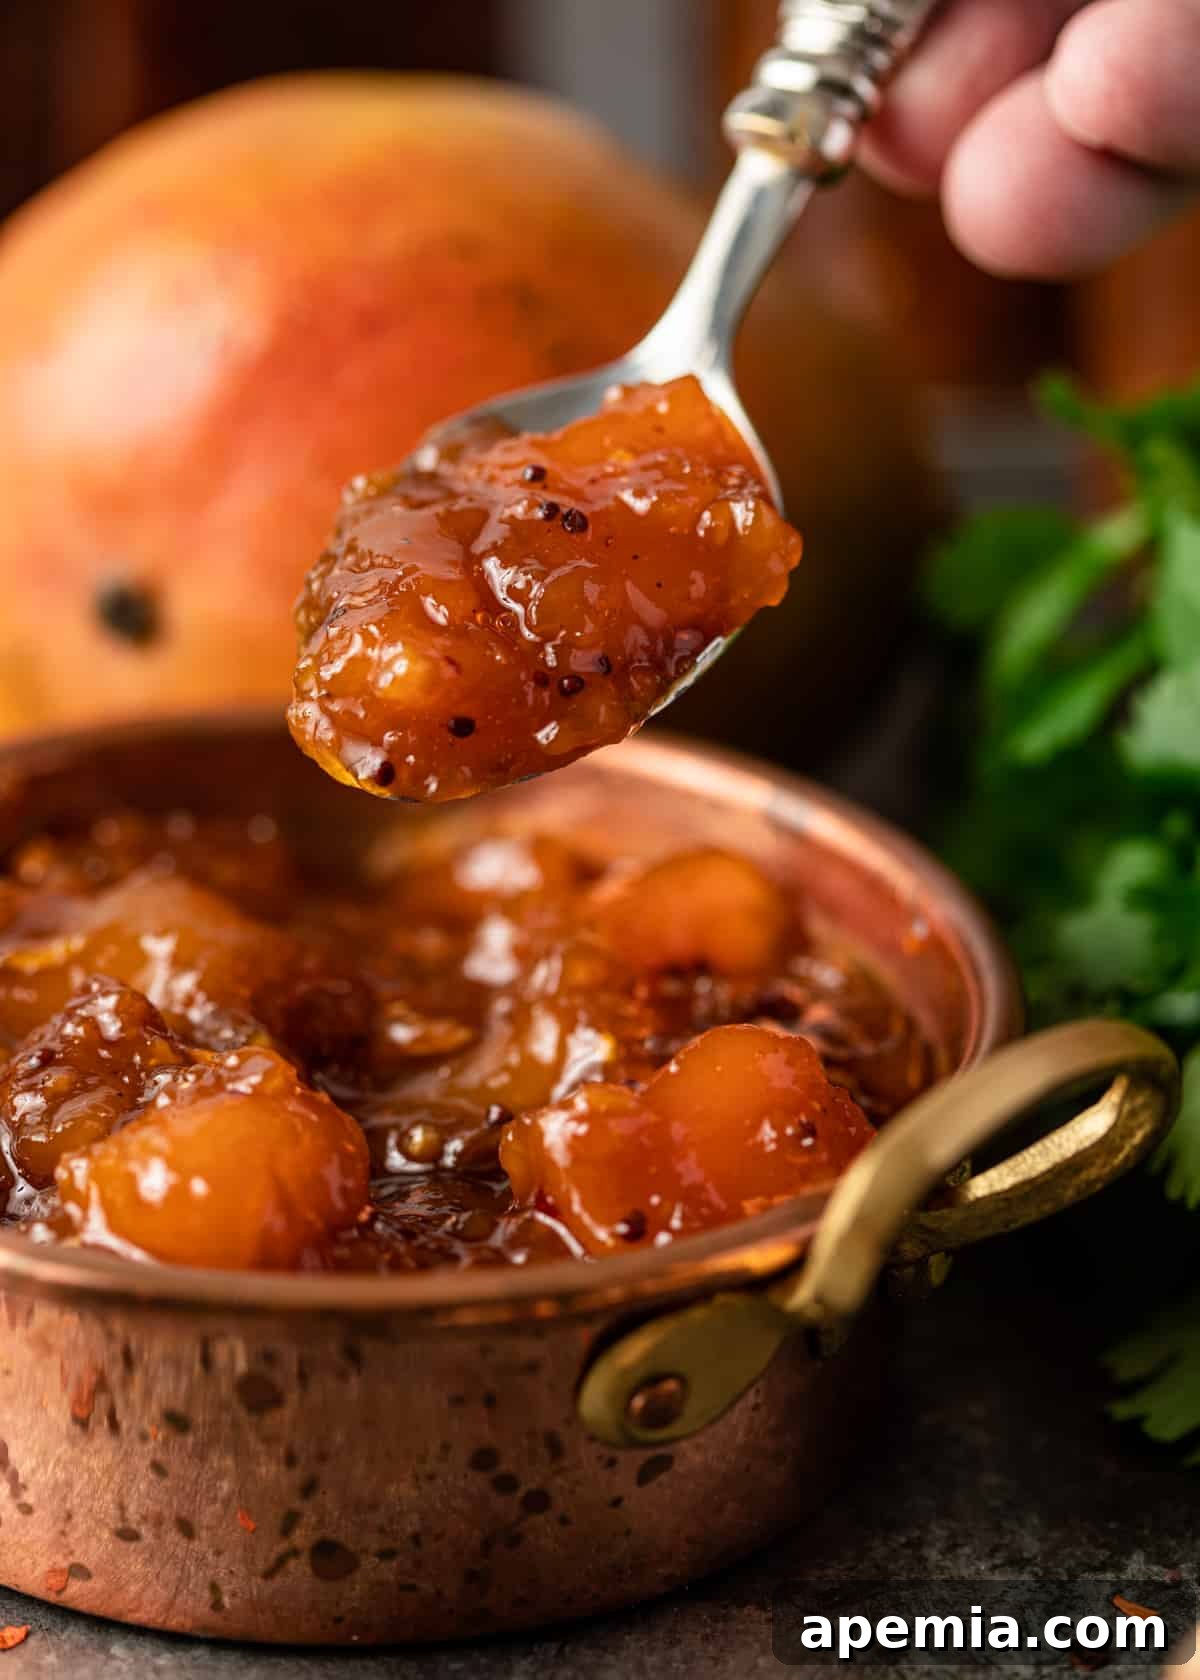
Savor the vibrant flavors of India with this exceptional homemade Spiced Mango Chutney. This delightful condiment is meticulously simmered with a blend of earthy, aromatic Indian spices, transforming fresh, ripe mangoes into a thick, sweet-and-spicy spread that promises to awaken your palate. Bursting with layers of fruitiness and a captivating warmth, this chutney is not just a side dish; it’s a culinary experience. Whether you’re looking to preserve summer’s bounty or simply elevate your everyday meals, mastering this mango chutney recipe is surprisingly simple, yet incredibly rewarding.
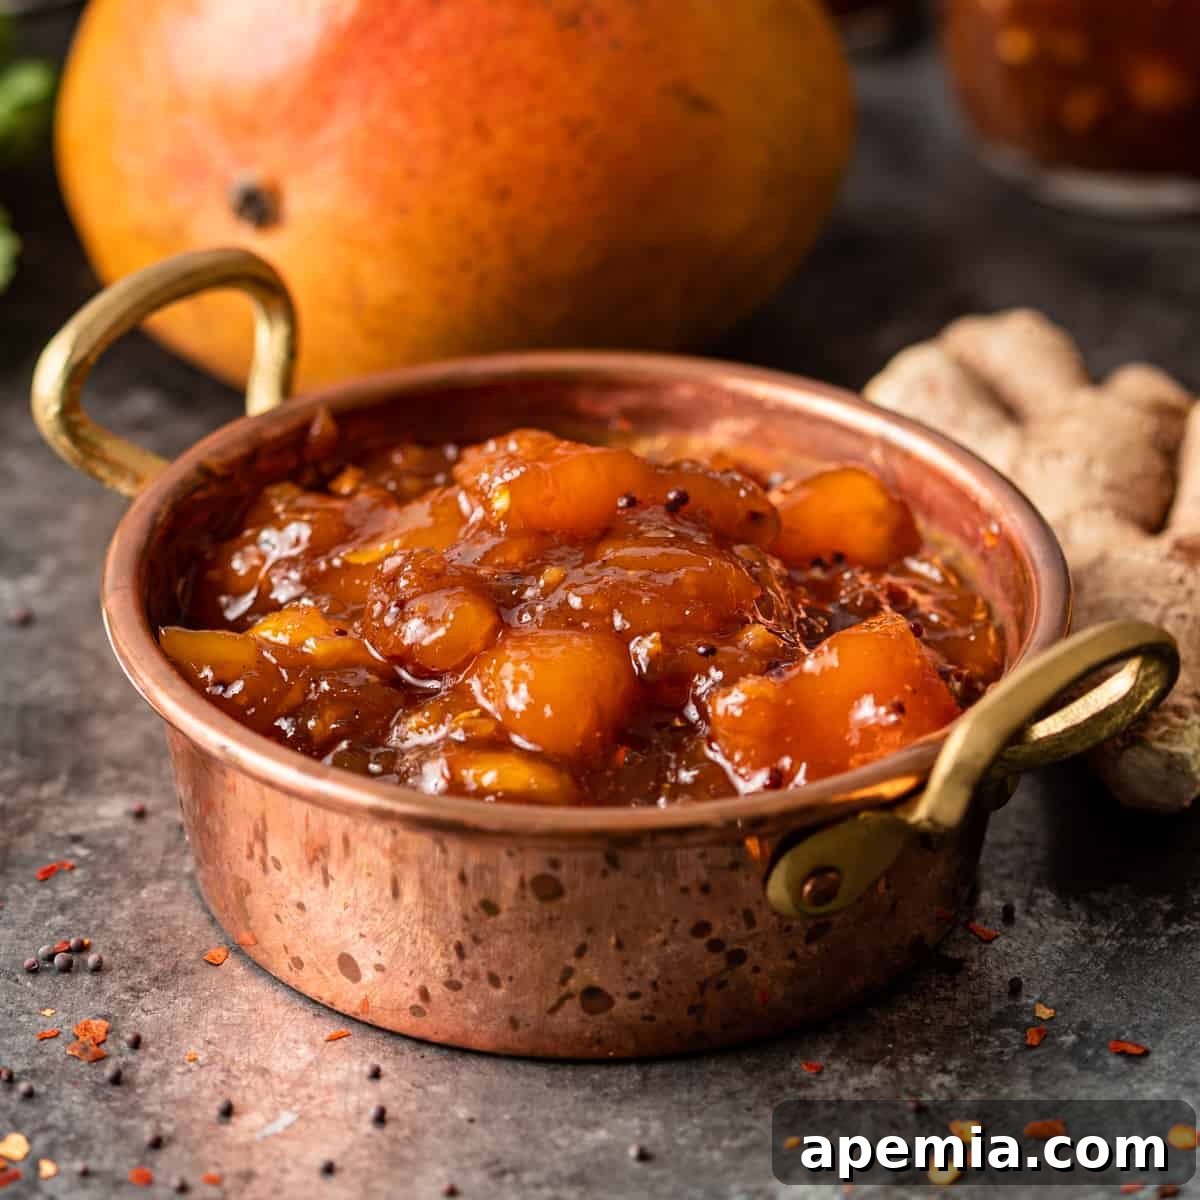
The thought of preparing and canning your own homemade mango chutney might sound intimidating, but I assure you, it’s a remarkably straightforward process. In essence, it’s as easy as combining all the ingredients in a pot, simmering them to perfection, and then carefully ladling the finished product into jars. However, while the steps are simple, precision in temperature and timing is crucial for achieving that ideal thick, syrupy consistency and ensuring safe preservation. Follow this detailed guide closely, and you’ll be rewarded with a batch of delicious mango chutney that rivals any store-bought variety.
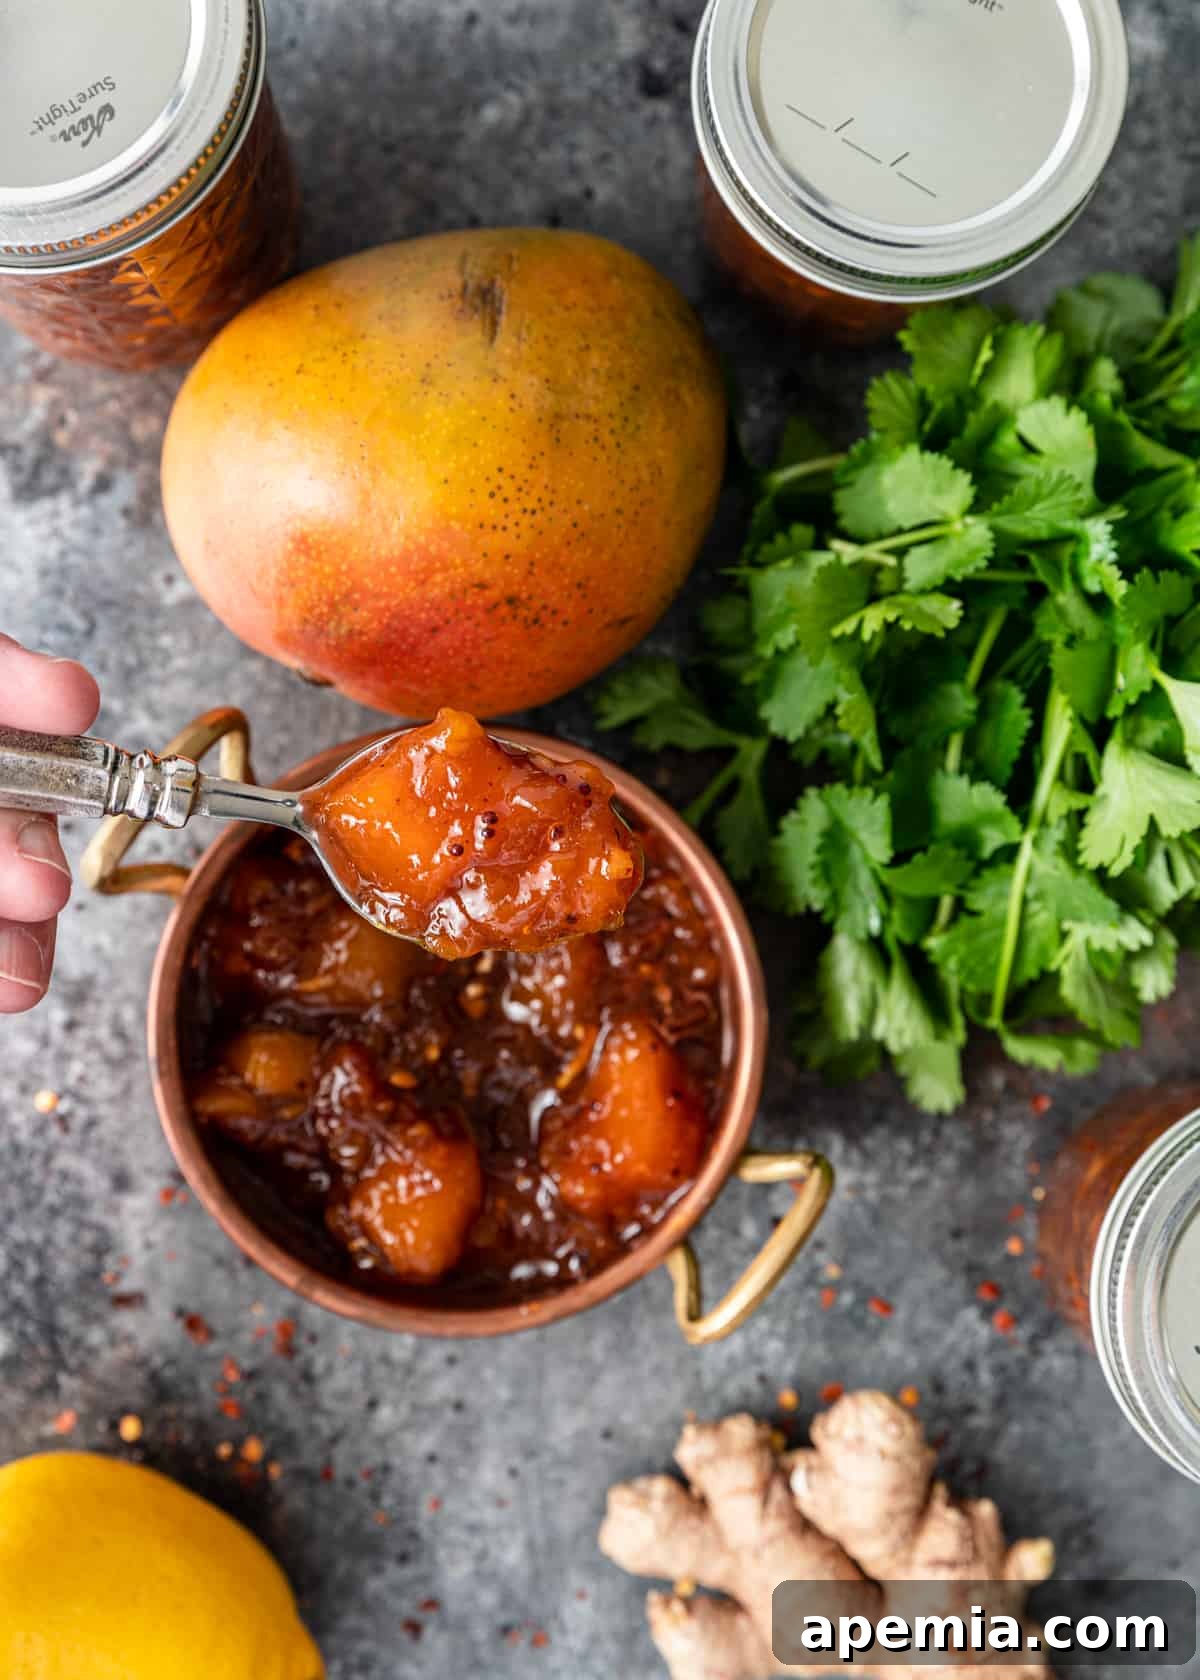
One of the many reasons I deeply admire Indian and other Asian cuisines is their ingenious ability to harmonize vibrant spices with the natural sweetness of fruit. This culinary philosophy creates a compelling dance of flavors that is truly unique and often absent in traditional Western dishes. Think about classic examples like mango curry chicken, the delightful sweetness of honey chicken, or the refreshing tang of a Thai mango salad. In these dishes, the refreshing, tropical notes of fruit beautifully complement and temper the warming, sometimes fiery, embrace of various spices. This interplay of sweet and savory, hot and cool, is what makes this homemade mango chutney recipe such a spectacular addition to your kitchen, offering a similar dynamic balance in every spoonful.
This mango chutney is incredibly versatile, making it a true kitchen staple. Its rich, complex flavor profile means it can be much more than just a condiment. Use it as an irresistible dipping sauce for crispy appetizers or grilled skewers. Dollop it generously alongside rich and spicy main courses to cut through the richness and add a burst of fruity acidity. It’s also phenomenal as a sandwich spread – try it with thinly sliced roasted chicken or turkey on whole wheat bread for a gourmet twist. For an elegant appetizer, simply spread it on a cracker with a smear of cream cheese. Its sweet, tangy, and spicy notes will elevate even the simplest pairings, making it an indispensable part of your culinary repertoire.
Tip From Kevin
Mastering the Art of Slicing a Fresh Mango
Slicing a fresh mango can sometimes feel like a daunting and messy task, but with the right technique, it becomes effortless. Getting the most yield and perfect cubes from your ripe mangoes is simple if you follow these steps. Proper mango preparation is the first step to creating not only this delicious chutney but also other treats, like refreshing mango paletas!
– Locate the Pit. Begin by holding the mango upright with the stem end facing up. Observe the mango’s shape; the pit runs vertically through the fruit, generally along its tallest, thinnest dimension. Feel for the flat, oblong pit inside.
– Remove the Pit. Using a small, sharp paring knife, make a slice parallel to the pit, as close to it as possible, going from the top to the bottom of the mango. Repeat this on the other side of the pit. You should now have two large, fleshy halves and a thin middle section containing the pit. Carefully trim any remaining edible flesh from around the pit and discard the pit.
– Slice Into Cubes. Take one of the mango halves, skin-side down, and gently score the flesh into a grid pattern. Make vertical cuts, then horizontal cuts, ensuring you don’t cut all the way through the skin. The goal is to create neat cubes of mango flesh.
– Turn & Scoop. Once scored, gently press on the skin side of each mango half from underneath. This will cause the scored mango flesh to “pop out” and turn inside out, exposing the beautiful cubes. Use a spoon or a small knife to carefully scoop the mango flesh away from the skin. Repeat with the second half.
– Use and Enjoy. Your perfectly diced fresh mango cubes are now ready! Incorporate them into this delightful mango chutney recipe, blend them for smoothies, add them to salads, or simply enjoy them as a sweet, healthy snack.
Key Ingredient Insights and Smart Substitutions
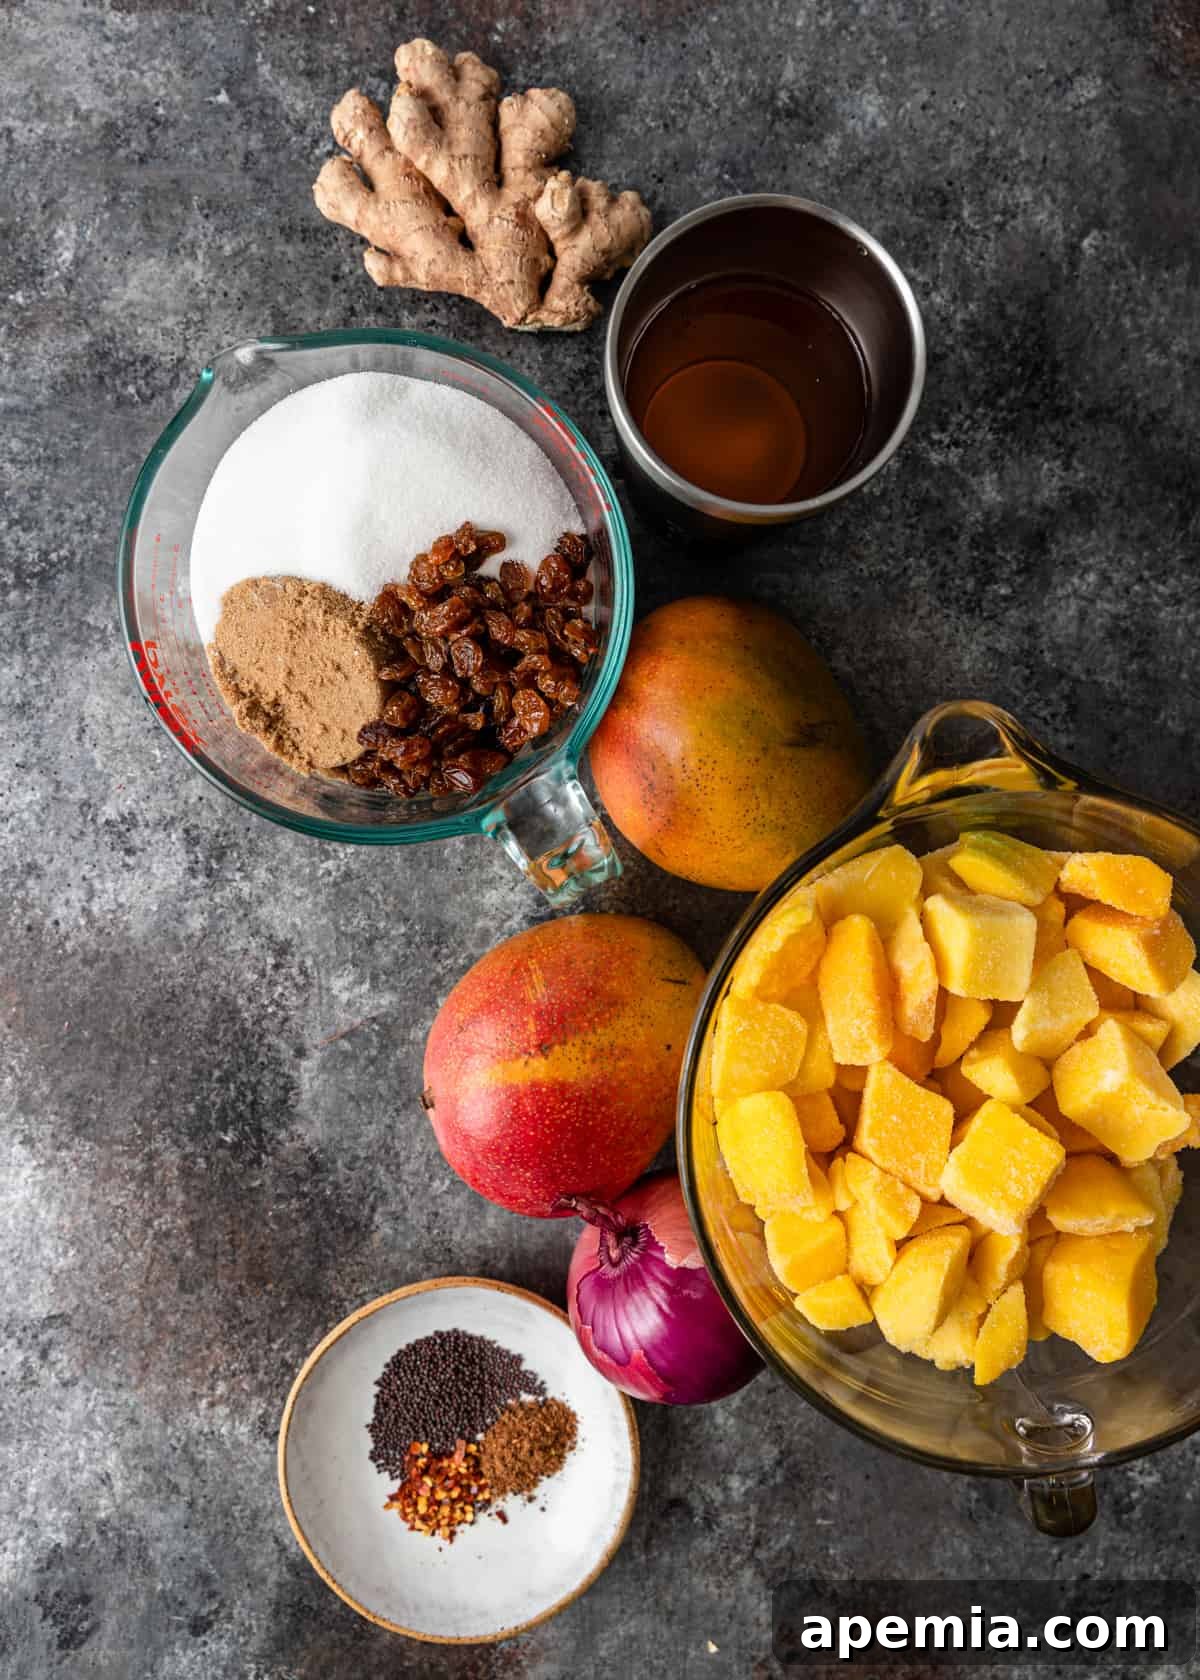
The heart of any great recipe lies in the quality and balance of its ingredients. For this Spiced Mango Chutney, each component plays a crucial role in building its distinctive sweet, tangy, and spicy profile. Understanding these ingredients and knowing possible substitutions can help you customize the chutney to your preference or adapt to what you have on hand.
- Mango: The star of our chutney! You can use either fresh or frozen mangoes. For the best flavor and texture, opt for firm, slightly under-ripe mangoes, as they hold their shape better during cooking and contribute a good balance of sweetness and tang. If using frozen mangoes, ensure you let them thaw completely in the refrigerator before adding them to the pot to avoid diluting the chutney and affecting cooking time. Varieties like Ataulfo (honey mango) or Tommy Atkins work wonderfully.
- Apple Cider Vinegar: This is my go-to vinegar for fruit-based chutneys. Its subtle fruity notes and mellow acidity beautifully complement the mango, enhancing its natural sweetness without overpowering it. It’s also vital for the chutney’s preservation. If apple cider vinegar is unavailable, distilled white vinegar can be used as an adequate substitute, though it will impart a sharper, less nuanced tang.
- Dark Brown & White Sugar: The combination of sugars is key to the chutney’s rich color and depth of flavor. Dark brown sugar, with its higher molasses content, offers a deeper, warmer, and more complex caramel-like sweetness. White sugar provides a clean, straightforward sweetness. If you don’t have dark brown sugar, light brown sugar is an acceptable substitute, or in a pinch, you can use all white sugar, though the flavor profile will be slightly less complex.
- Golden Raisins (Sultanas): While optional, I highly recommend including golden raisins. They are fantastic flavor absorbers, plumping up with the spices and vinegar, and adding delightful pockets of chewiness and concentrated sweetness that break up the chutney’s smooth texture. They also contribute to the beautiful amber hue of the finished product.
- Brown Mustard Seeds: These small seeds pack a pungent, earthy, and slightly spicy punch, characteristic of many Indian pickles and chutneys. When toasted and simmered, they release a wonderfully complex aroma. Yellow mustard seeds are much milder and can be used as a substitute if you prefer a less intense mustard flavor.
- Garam Masala: This iconic Indian spice blend is the backbone of our chutney’s aromatic profile. Aromatic and intensely flavorful, it typically includes warm spices like cinnamon, cardamom, cloves, and black pepper. My homemade garam masala recipe is perfectly balanced to complement the sweet and tangy notes of this mango chutney, infusing it with an authentic Indian warmth and depth.
- Red Chili Flakes: For that essential kick of heat, red chili flakes are ideal. Dried spices like chili flakes tend to infuse more consistently and deeply into canned and preserved goods, offering a sustained warmth. However, if you prefer a fresh, brighter heat and some textural contrast, a finely minced fresh red chili (such as a Fresno or Serrano) is an excellent alternative. Adjust the quantity to suit your preferred level of spiciness!
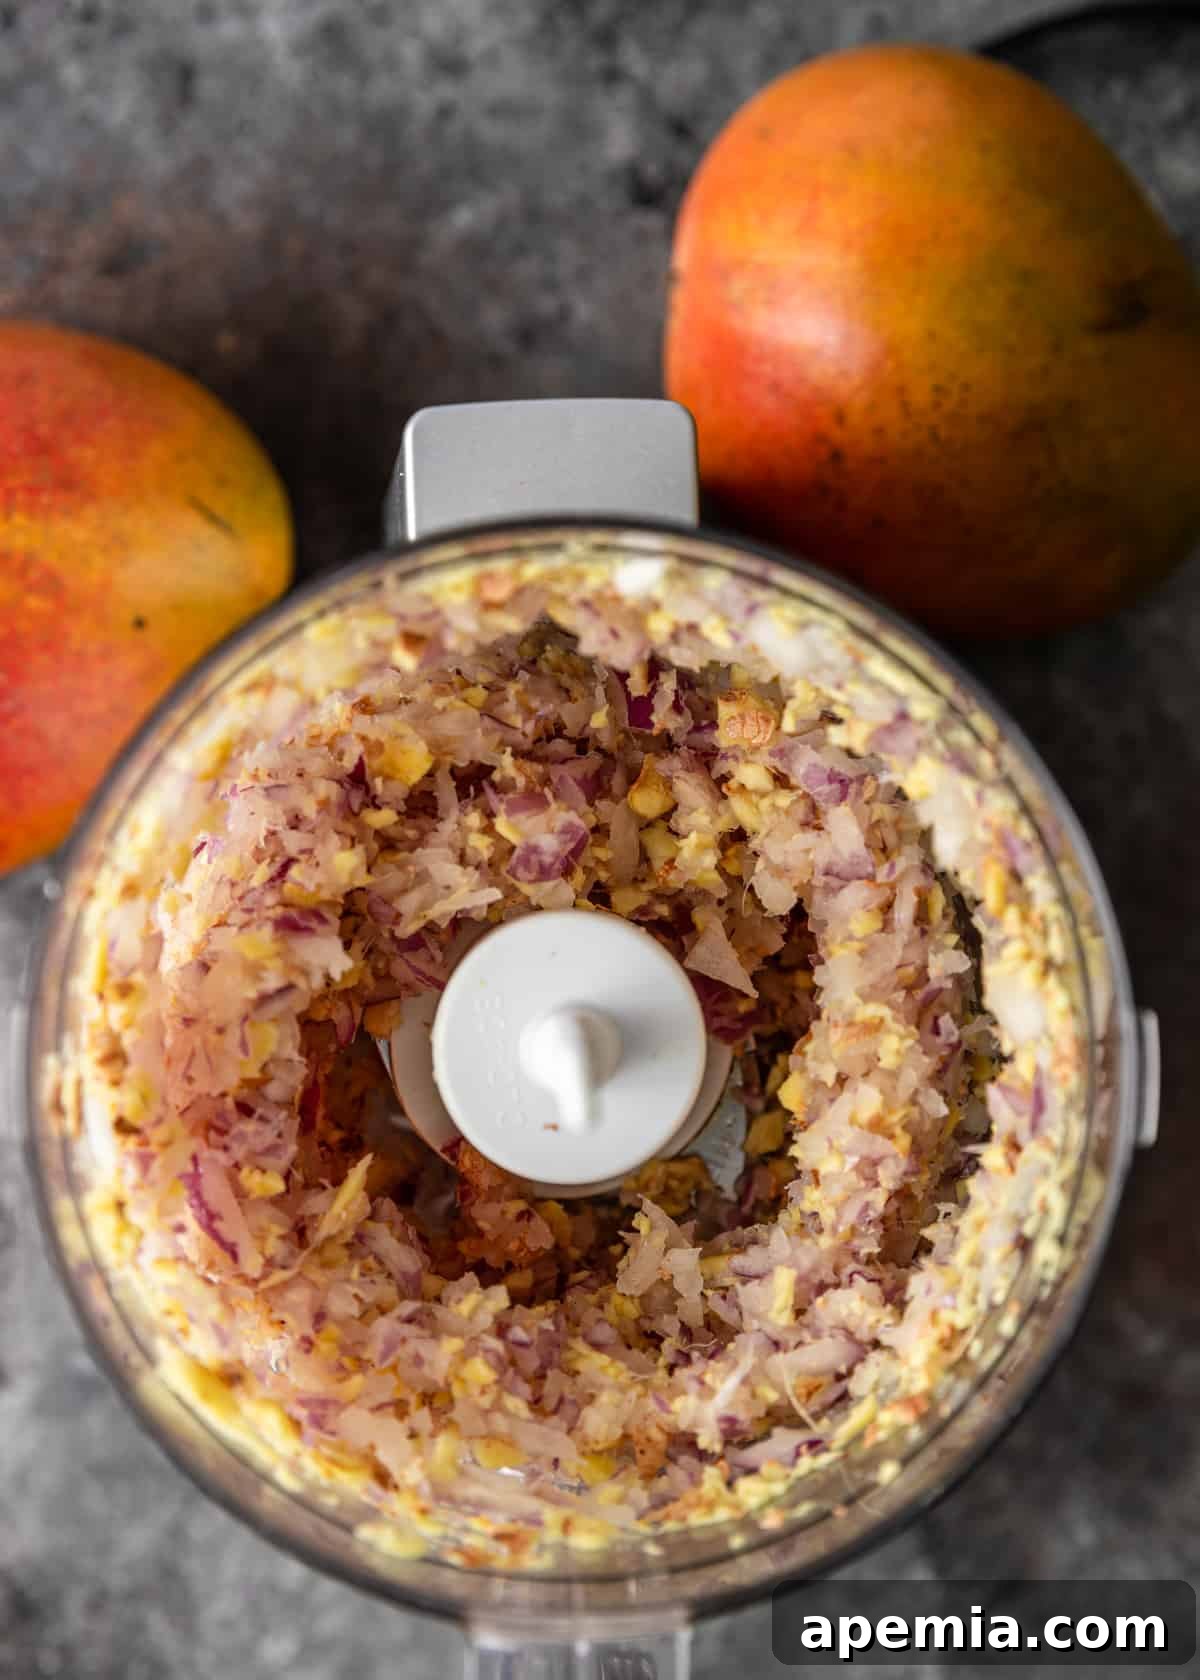
- Red Onion & Fresh Ginger: These aromatics provide a foundational layer of savory depth and freshness. The red onion offers a slight sharpness that mellows beautifully during cooking, while fresh grated ginger adds a bright, zesty warmth that is indispensable to Indian cuisine. Don’t skimp on these fresh components!
Simple Steps to Making Perfect Mango Chutney
Crafting your own batch of delicious mango chutney is a straightforward process, demanding more patience than culinary skill. With just a few key steps, you’ll transform simple ingredients into a vibrant condiment that will impress everyone.
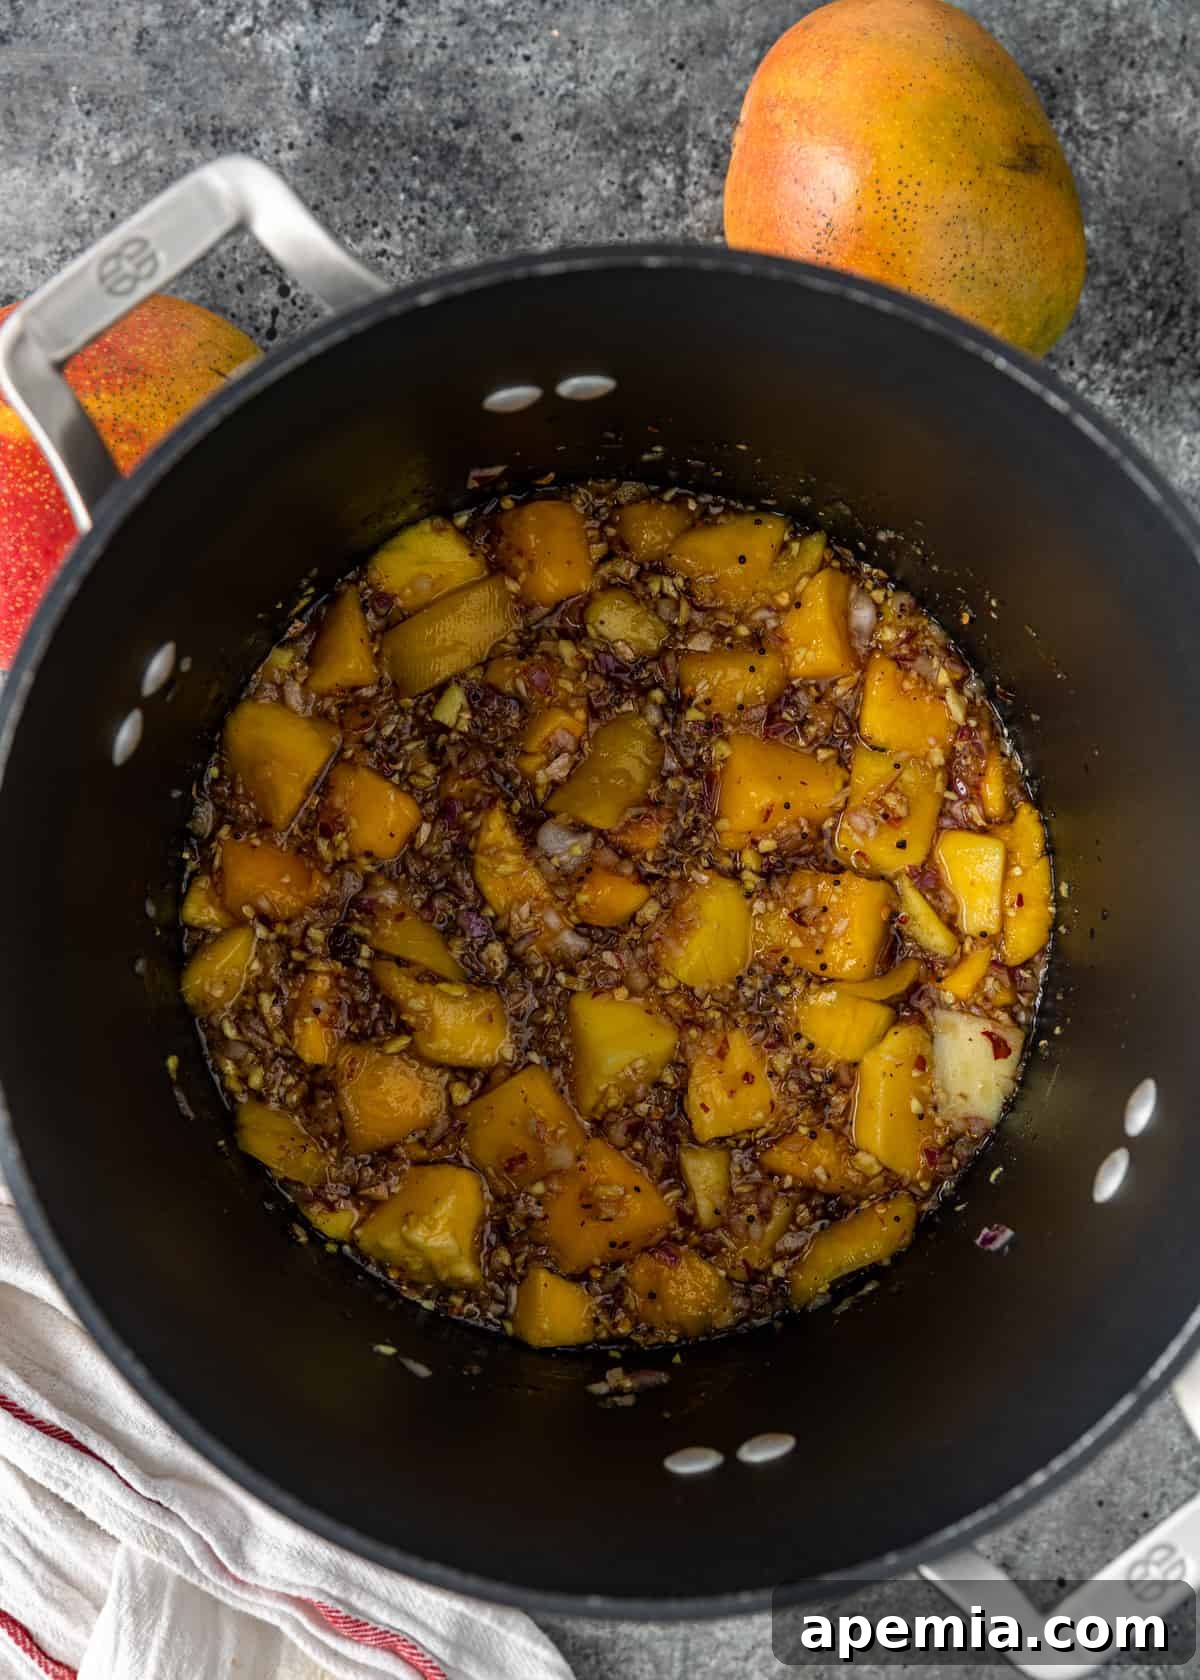
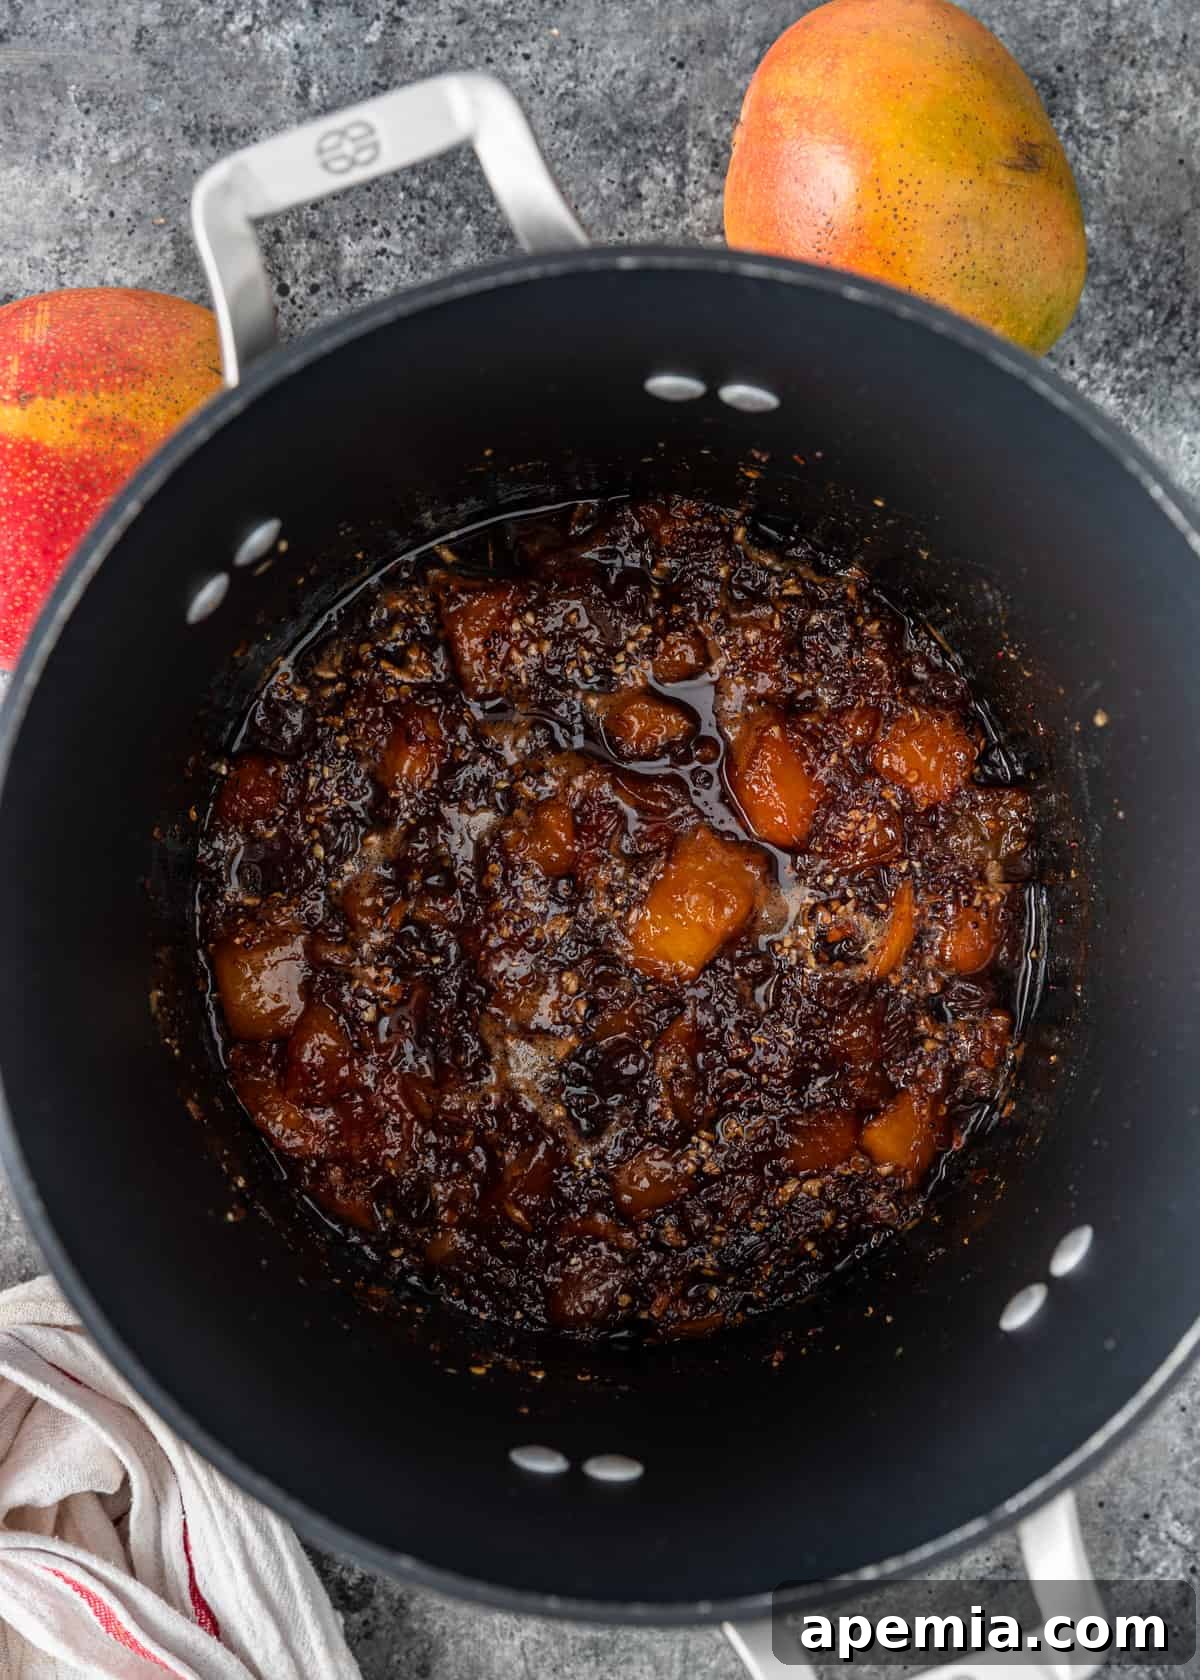
- Simmer Everything to Perfection. In a large, deep saucepan, combine all your prepped ingredients: the cubed mango, apple cider vinegar, both sugars, diced red onion, golden raisins, grated ginger, brown mustard seeds, garam masala, and red chili flakes. Stir everything thoroughly to ensure the sugars are well distributed and begin to dissolve. Place the saucepan over medium-high heat. Bring the mixture to a gentle simmer, stirring occasionally. Once it begins to bubble, reduce the heat to low. Continue to cook for approximately one hour, stirring regularly to prevent sticking and ensure even cooking. The chutney is ready when it has significantly thickened and developed a rich, syrupy consistency, similar to a jam or thick preserve. The mango pieces should be tender but still retain some form.
- Fine-Tune Flavor & Consistency. Once the chutney has reached your desired thickness, it’s time to taste and adjust. Depending on the sweetness of your mangoes and your personal preference, you might want to add a splash more vinegar for tang, or a squeeze of fresh lime or lemon juice to brighten the flavors. If you prefer a smoother chutney, use an immersion blender to pulse it a few times until it reaches your desired texture. For a slightly chunkier, yet less textured consistency, a potato masher works well. This step allows you to truly customize the chutney to your liking.
- Store for Freshness or Long-Term Enjoyment. Allow the freshly cooked chutney to cool briefly in the saucepan. While still warm, carefully ladle it into sterilized jars, leaving about ¼ inch of headspace at the top. For short-term storage, seal the jars and refrigerate for up to 4 weeks. This method is perfect if you plan to enjoy your chutney relatively quickly. If you wish to preserve your chutney for a much longer period, follow the detailed canning instructions provided below. Properly canned chutney can be stored in a cool, dark pantry for up to 18 months, allowing you to enjoy the taste of summer mangoes throughout the year.
Share this irresistible recipe on Pinterest!
Loved making this recipe? Spread the joy and share it with your friends on Pinterest!
Frequently Asked Questions About Mango Chutney
Mango chutney’s delightful balance of sweet, tangy, and spicy flavors makes it incredibly versatile. It’s a staple in Indian cuisine, often served with curries, samosas, pakoras, or tandoori dishes. Beyond Indian fare, it pairs beautifully with roasted meats like chicken, pork, or lamb, acting as a vibrant glaze or a flavorful accompaniment. It’s also fantastic on a cheese board, complementing both soft and hard cheeses, or as a gourmet sandwich spread. Don’t forget to try it with grilled fish or as an exciting dip for vegetable sticks and crackers. Its possibilities are endless!
Mango chutney can be enjoyed both hot and cold, depending on your preference and how it’s being served. It’s traditionally served at room temperature or chilled as a condiment, allowing its complex flavors to fully develop. When served alongside a hot curry or roasted meat, its cool temperature can provide a refreshing contrast. However, it can also be gently warmed if you’re using it as a glaze for cooked meats or incorporating it into a warm dish. For canning, it’s typically poured hot into sterilized jars. Generally, for a condiment or side, serve it cool or at room temperature for the best experience.
While both mango chutney and mango jam are fruit preserves, they differ significantly in flavor profile and ingredients. Mango jam is typically sweet, made primarily with mangoes and sugar, cooked until thick, and often used as a breakfast spread. Its focus is on the pure, unadulterated sweetness of the fruit. Mango chutney, on the other hand, is a savory-sweet condiment. In addition to mangoes and sugar, it incorporates a medley of spices (like ginger, mustard seeds, garam masala, chili flakes), vinegar, and sometimes onions or raisins. This blend gives chutney a complex flavor that is simultaneously sweet, tangy, spicy, and sometimes a little tart. Chutneys are intended to complement savory dishes, while jams are usually for sweet applications.
Tip From Kevin
Long-Term Storage: How to Safely Can Homemade Mango Chutney
Canning your mango chutney is an excellent way to extend its shelf life, allowing you to enjoy this flavorful condiment for months, or even over a year! This process ensures the chutney remains fresh and safe by creating an airtight seal. Follow these steps for successful water bath canning.
- Prepare the Jars and Equipment. Begin by thoroughly cleaning all your canning jars (half-pint or 8 oz jars are ideal for chutney) and lids with hot, soapy water. Inspect jars for any chips or cracks, as these can prevent a proper seal. Place a rack at the bottom of a large, deep stockpot (often called a canner) and arrange the clean jars on it. Fill the pot with enough water to cover the jars by at least 1 or 2 inches. Heat this pot on the stovetop over medium heat, keeping the jars warm until you are ready to fill them. This prevents thermal shock when filling with hot chutney.
- Fill the Jars with Hot Chutney. Once your chutney is cooked and still hot, carefully retrieve one warm jar at a time from the canner, shaking off any excess water back into the pot. Using a ladle, fill the hot chutney into the warm jars, ensuring you leave precisely ¼ inch of headspace from the rim of the jar. This headspace is critical for creating a vacuum seal. Use a clean, non-metallic utensil (like a plastic spatula) to gently remove any air bubbles trapped in the chutney. Wipe the rims of the jars clean with a damp paper towel to ensure no chutney residue interferes with the seal. Place a clean lid on each jar, then screw on the band until it’s finger-tight – meaning snug, but not overly tightened.
- Return to the Hot Water Bath. As each jar is filled, sealed, and banded, carefully place it back onto the rack in the hot water bath. Ensure the jars are not touching each other and are fully submerged under the water. If needed, add more boiling water to maintain the 1-2 inch water coverage over the jar tops.
- Process for Safety. Bring the water in the canner to a rolling boil. Once boiling, begin your processing time. The duration depends on your altitude, as atmospheric pressure affects boiling points.
- At sea level to 1,000 ft. above sea level: Process for 15 minutes.
- 1,001 – 3,000 ft. above sea level: Increase processing time by 5 minutes (total 20 minutes).
- 3,001 – 6,000 ft. above sea level: Increase processing time by 10 minutes (total 25 minutes).
- 6,001 – 8,000 ft. above sea level: Increase processing time by 15 minutes (total 30 minutes).
- 8,001 – 10,000 ft. above sea level: Increase processing time by 20 minutes (total 35 minutes).
Remember to adjust your processing time accurately for safety.
- Cool and Seal. Once the processing time is complete, turn off the heat and carefully remove the jars from the water bath using a jar lifter. Place them on a clean towel or cooling rack, ensuring there’s space between each jar for air circulation. Let them cool completely, undisturbed, for 12 to 24 hours. As they cool, you should hear a “pop” sound from the lids, which indicates a successful vacuum seal. After cooling, check the seals by pressing the center of each lid; if it doesn’t flex, the jar is sealed. Properly sealed jars can be stored in a cool, dark pantry for up to 18 months. Any jars that didn’t seal should be refrigerated and consumed within 4 weeks.

Homemade Spiced Mango Chutney Recipe
Mango Chutney offers a delightful fusion of sweet, tangy, and spicy notes, crafted from ripe mangoes and traditional Indian spices. This vibrant condiment is perfect for enhancing curries, roasted meats, or cheese boards, and can be made at home in just over an hour.
48
10 minutes
1 hour
1 hour
10 minutes
PrintRecipe
Ingredients
-
6
cups
firm mango
4 medium, fresh or frozen, cubed -
1 1/4
cup
apple cider vinegar
-
1 1/2
cups
dark brown sugar
-
1
cup
white sugar
-
1
medium red onion
diced (about 1 cup) -
1/2
cup
golden raisins
sultanas (optional) -
1
ginger root
2-inch piece peeled and grated -
1
tsp
brown mustard seeds -
1/2
tsp
garam masala
-
1/2
tsp
red chili flakes
or 1 red chili, minced
Instructions
-
Combine all the ingredients in a deep saucepan over a medium-high heat until the sugar has dissolved and it reaches a gentle simmer. Reduce heat to low and cook, stirring often, until thick and syrupy, about 1 hour. Season to taste with more vinegar or fresh lemon or lime juice.
-
If a smoother consistency is desired, pulse several times with an immersion blender, or use a potato masher.
-
Ladle into 4 clean and sterilized jars. Store in the fridge for up to 4 weeks or follow the canning instructions below to keep in your pantry for up to 18 months.
Canning Instructions
-
Clean the half-pint (8 oz) jars and lids with hot soapy water. Fill a large stockpot with enough water to cover your jars by 1-2 inches. Place your rack on the bottom of the pot and transfer to stovetop. Turn heat to medium and place your jars in the pot to keep them hot until ready to fill.
-
Carefully remove jars from hot water, shaking off excess water. Pour hot mango chutney into hot jars, leaving ¼-inch headspace. Remove any air bubbles. Wipe rims of jars with a damp paper towel to remove any spill residue. Place a lid on the jar and screw a ring on until finger-tight. Process jars for the specified time, depending on altitude.
The processing times below are for high-acid foods based on canning at sea level to 1000 feet. When processing at higher altitudes, adjust the processing time accordingly:
Altitude in Feet >> Increase Processing Time
1,001-3,000 ft above sea level = 5 min
3,001 – 6,000 ft above sea level = 10 min
6,001 – 8,000 ft above sea level = 15 min
8,001 – 10,000 ft above sea level = 20 min
Remove jars from water bath and allow to cool completely until lids pop, signaling they are sealed.
Notes
- This recipe yields approximately 6 cups total, which is 96 tablespoons. A suggested serving size is 2 tablespoons.
Nutrition Information
Calories:
62
kcal
|
Carbohydrates:
16
g
|
Protein:
0.3
g
|
Fat:
0.1
g
|
Saturated Fat:
0.02
g
|
Polyunsaturated Fat:
0.02
g
|
Monounsaturated Fat:
0.03
g
|
Sodium:
3
mg
|
Potassium:
64
mg
|
Fiber:
0.4
g
|
Sugar:
15
g
|
Vitamin A:
229
IU
|
Vitamin C:
8
mg
|
Calcium:
10
mg
|
Iron:
0.1
mg
The information shown is an estimate provided by an online nutrition calculator. It should not be considered a substitute for a professional nutritionist’s advice.
Condiments, Appetizers
Indian, Asian
Kevin
Have You Made This Recipe? Let Me Know on Instagram!
Tag @keviniscooking or use the hashtag #keviniscooking!