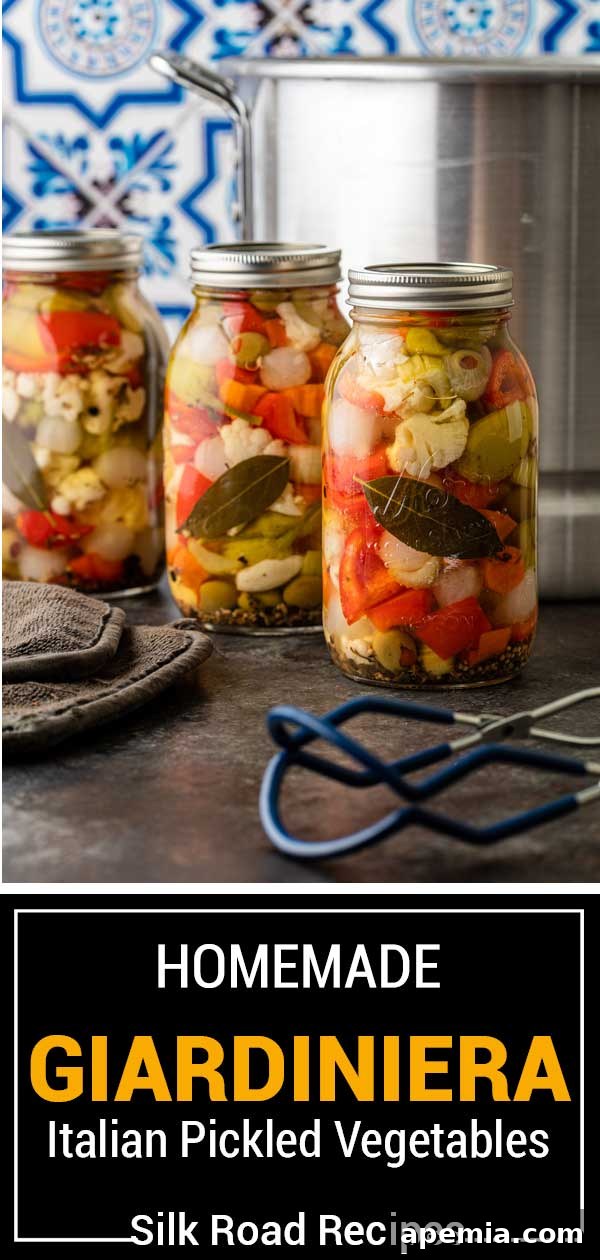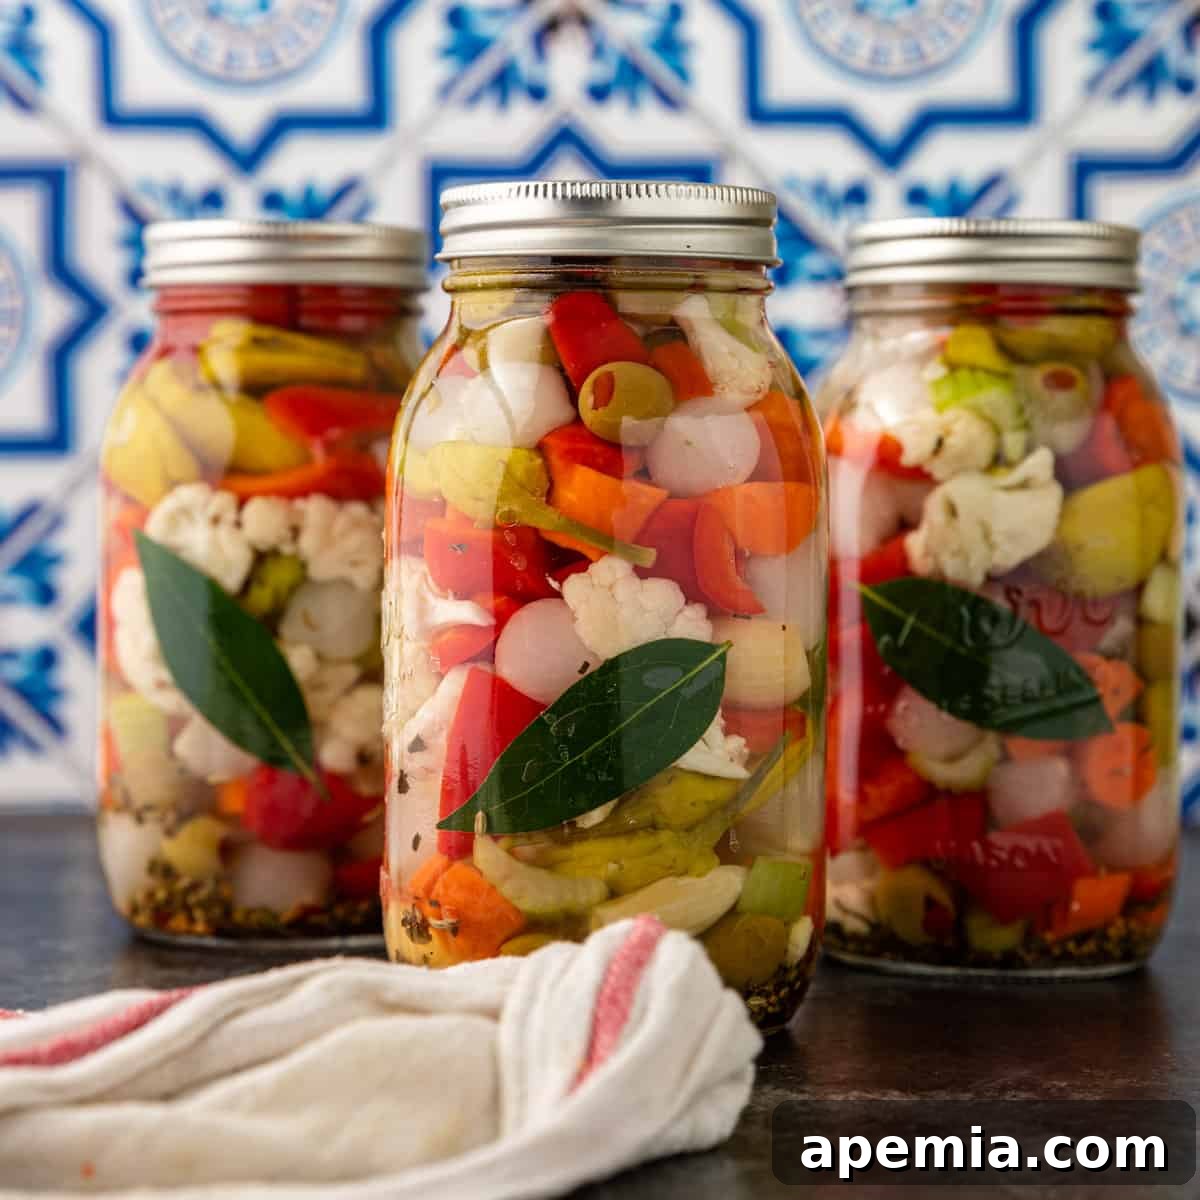
Embark on a delightful culinary journey into the world of pickling with this exceptional recipe for homemade giardiniera. This vibrant medley features an array of crisp vegetables including cauliflower, carrots, celery, bell peppers, olives, and onions, all brought to life with a thoughtfully curated blend of aromatic herbs and spices. The result is a spicy, tantalizingly tangy, and irresistibly flavorful Italian pickled vegetable mix that is guaranteed to become a household favorite!
For many, the art of pickling is more than just a kitchen task; it’s a source of pure joy and satisfaction. There’s an immense reward in transforming fresh, seasonal produce into perfectly preserved, flavor-packed delicacies. Today’s recipe for Mediterranean-inspired giardiniera offers an excellent entry point into this rewarding craft. Whether you’re a seasoned canner or have never ventured into pickling before, this comprehensive guide to making Italian pickled vegetables provides clear, easy-to-follow instructions that will empower you to create a culinary masterpiece.
We understand that the idea of pickling or canning can seem daunting, but please don’t be intimidated! We’ve meticulously broken down the process and included detailed instructions for both long-term canning and simply preparing a quick batch to enjoy within a few days. The choice is entirely yours, depending on your needs and experience level. And, speaking of choice, feel free to get creative with your garden’s bounty! The beauty of giardiniera lies in its versatility—the word itself translates literally to mean “gardener.” This means if you can grow it, you can almost certainly pickle it! Don’t hesitate to toss in whatever fresh, crisp vegetables you have on hand to customize your very own unique blend.
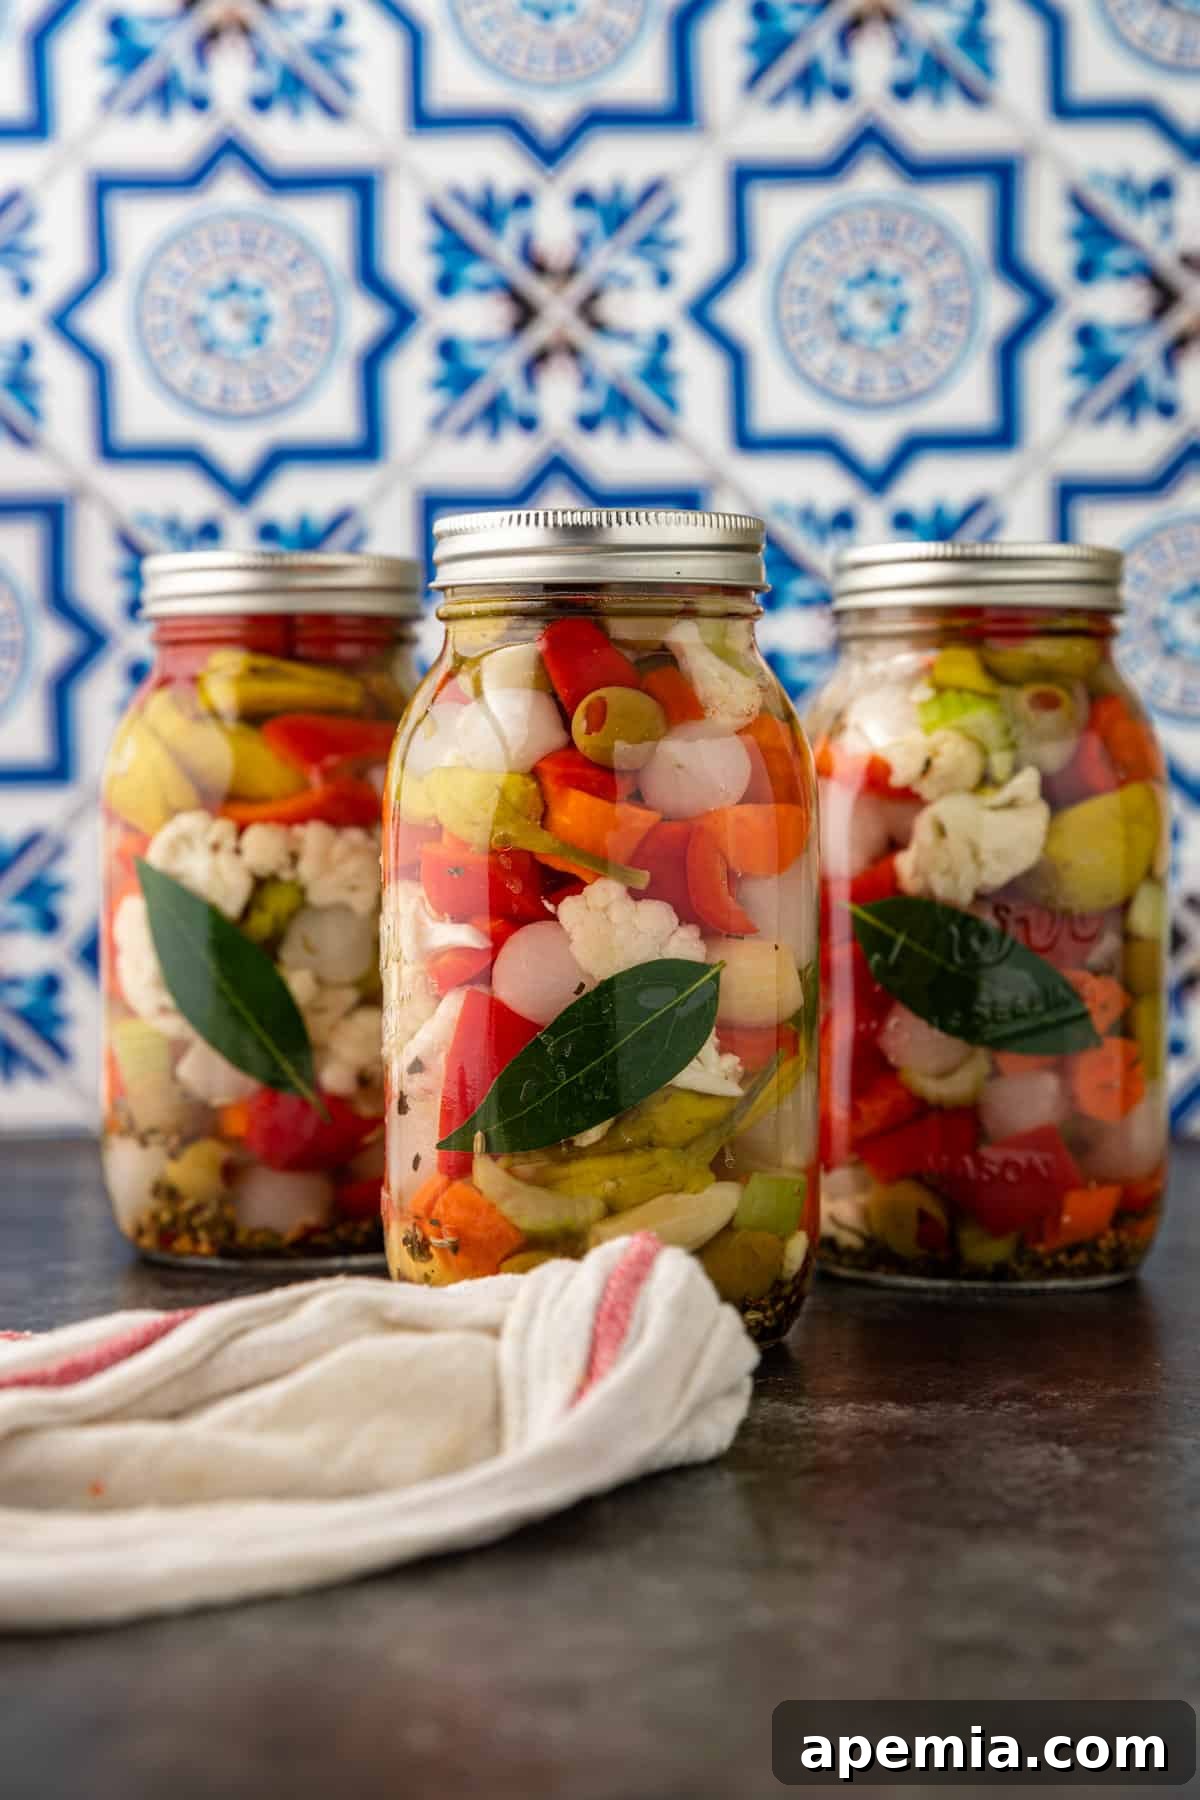
Table of Contents: Your Giardiniera Journey Awaits
- The Essence of Giardiniera: Ingredient Spotlight
- Canning vs. Quick Pickling: Preserving Your Giardiniera
- Step-by-Step: Mastering Homemade Giardiniera
- Frequently Asked Questions About Giardiniera
- Homemade Giardiniera (Italian Pickled Vegetables) Recipe
If you’re eager to explore more pickling adventures, be sure to check out our other popular recipes, such as Quick Lemon Pickles for a bright, citrusy twist, and Middle Eastern Pickled Turnips for a unique, earthy flavor profile.
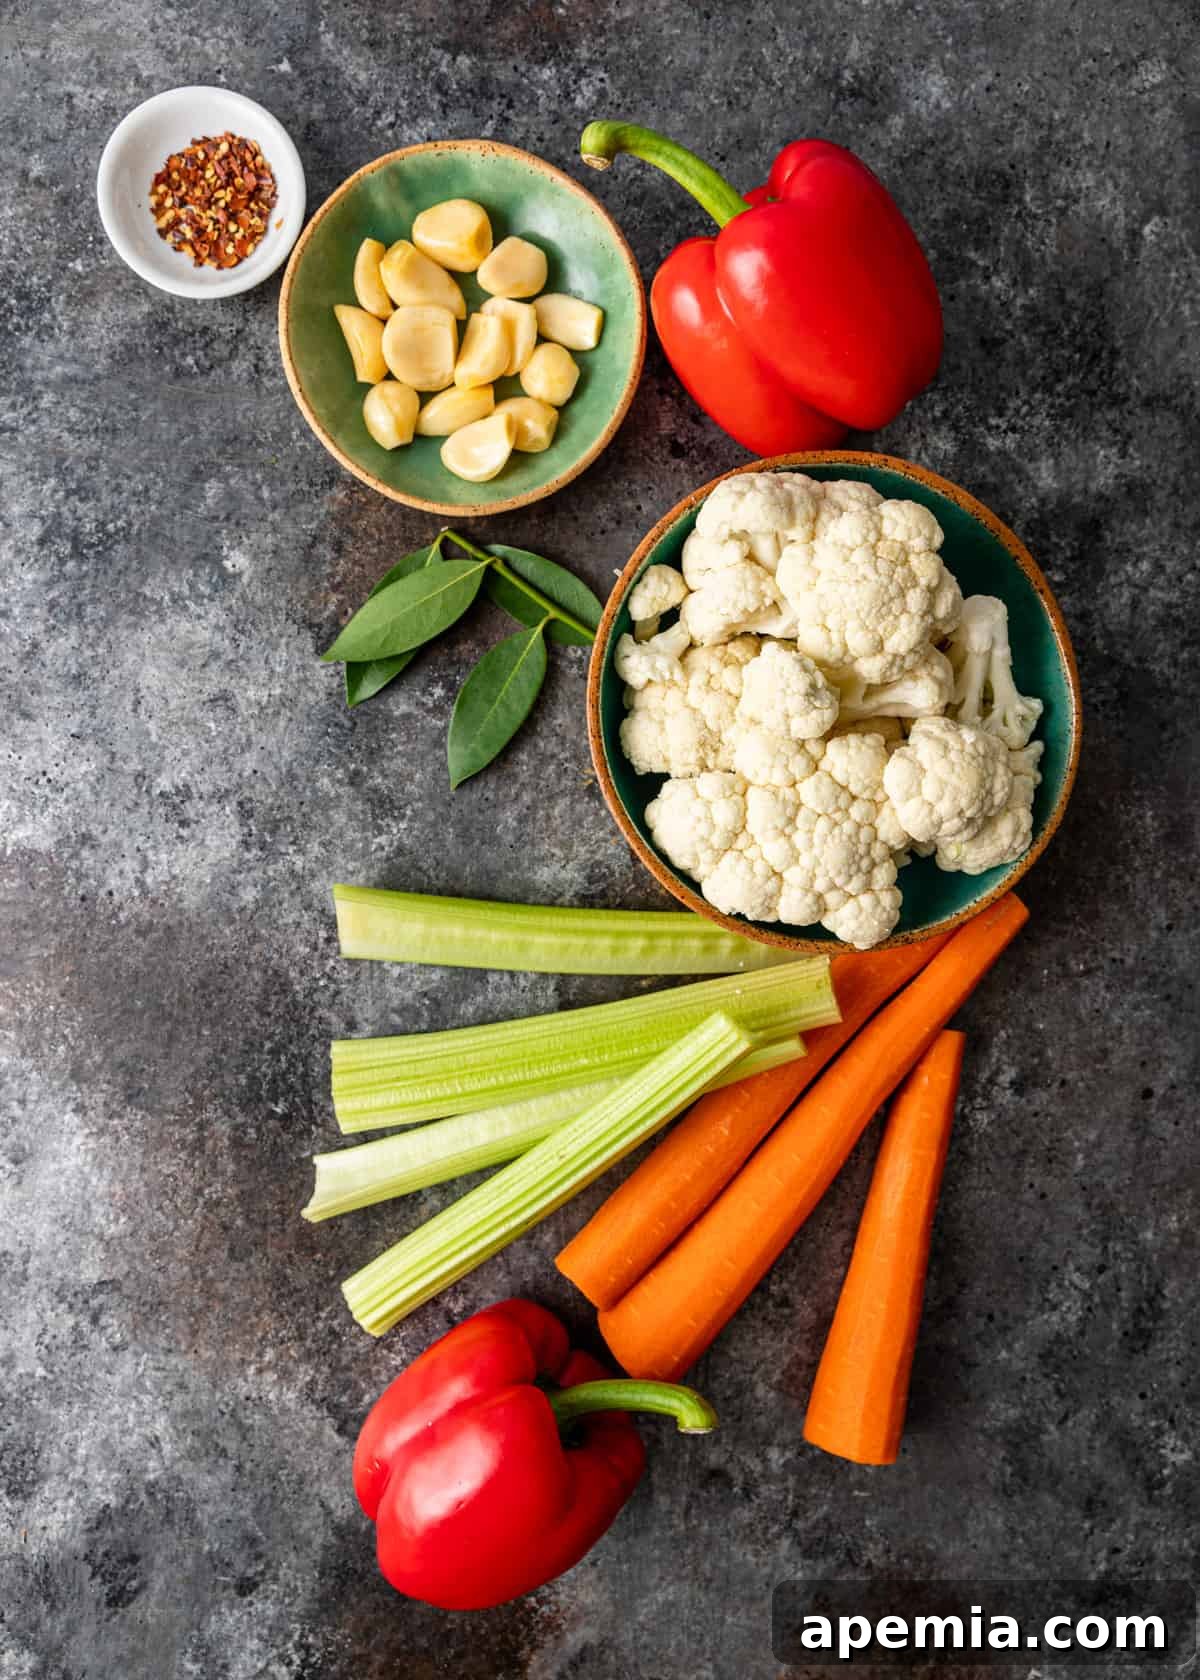
The Essence of Giardiniera: Ingredient Spotlight
The magic of giardiniera lies in its perfectly balanced blend of diverse ingredients, each contributing to its unique texture and bold flavor. Here’s a closer look at what goes into this Italian pickled vegetable delight:
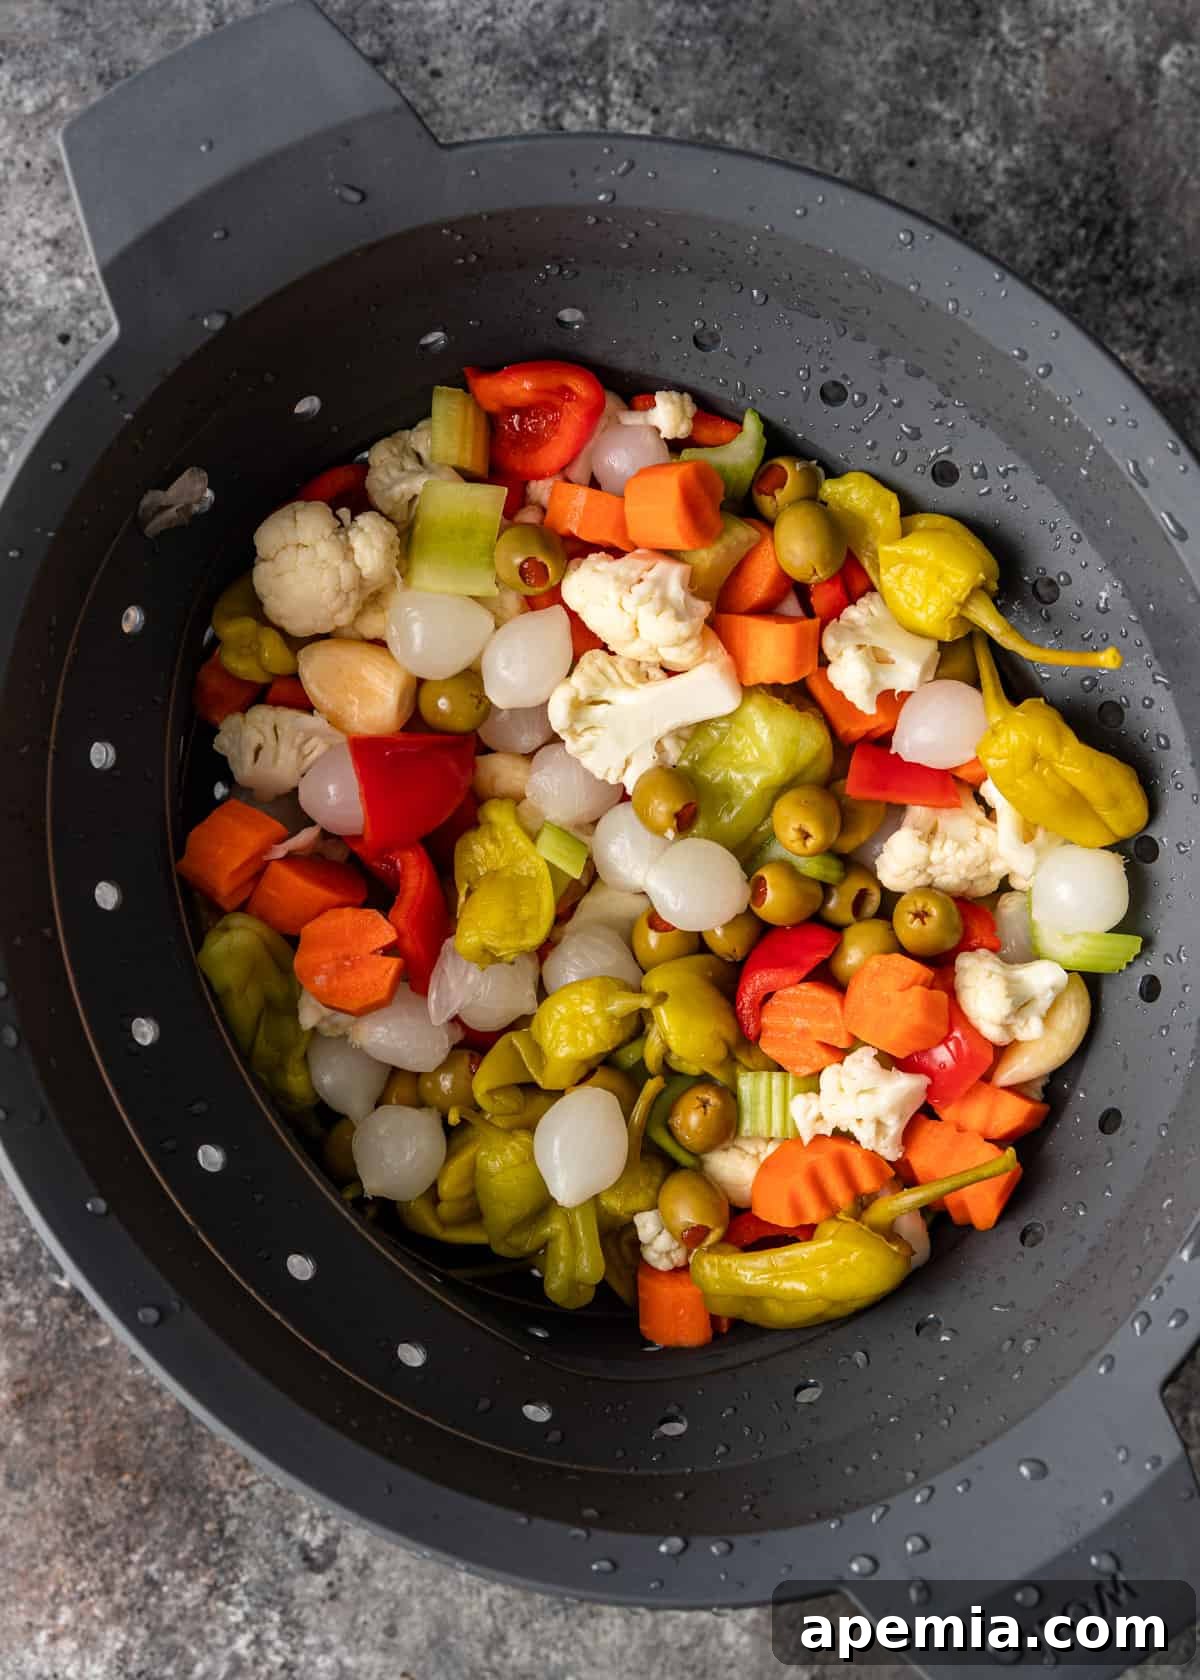
- Vibrant Vegetables – At its heart, giardiniera is a zesty medley of crisp and colorful vegetables. We typically use crunchy cauliflower florets, refreshing celery stalks sliced into half-inch pieces, sweet and earthy carrots, and vibrant bell peppers (red peppers add a lovely sweetness and color, but feel free to use a mix). For that authentic Italian kick, we incorporate mild pepperoncini and tangy cocktail onions. Briny pimento-stuffed green olives complete this diverse mix, adding a burst of Mediterranean flavor. You can also experiment with other firm vegetables like green beans, zucchini, or even pearl onions for a personalized touch.
- Aromatic Herbs and Spices – These Italian pickled vegetables are deeply infused with a symphony of flavors from an array of carefully selected herbs and spices. Pungent garlic cloves provide a robust base. Earthy dried oregano and spicy-sweet dried basil infuse the mixture with classic Italian notes. Distinctive licorice-laced fennel seeds add a unique aromatic depth. Tangy yellow mustard seeds, piney black peppercorns, and smoky red chili flakes contribute layers of warmth and a customizable heat. Finally, a dash of celery seeds and a fragrant bay leaf round out the complex flavor profile, making every bite an exciting experience. The precise amount of these spices per quart jar ensures consistent flavor throughout your batch.
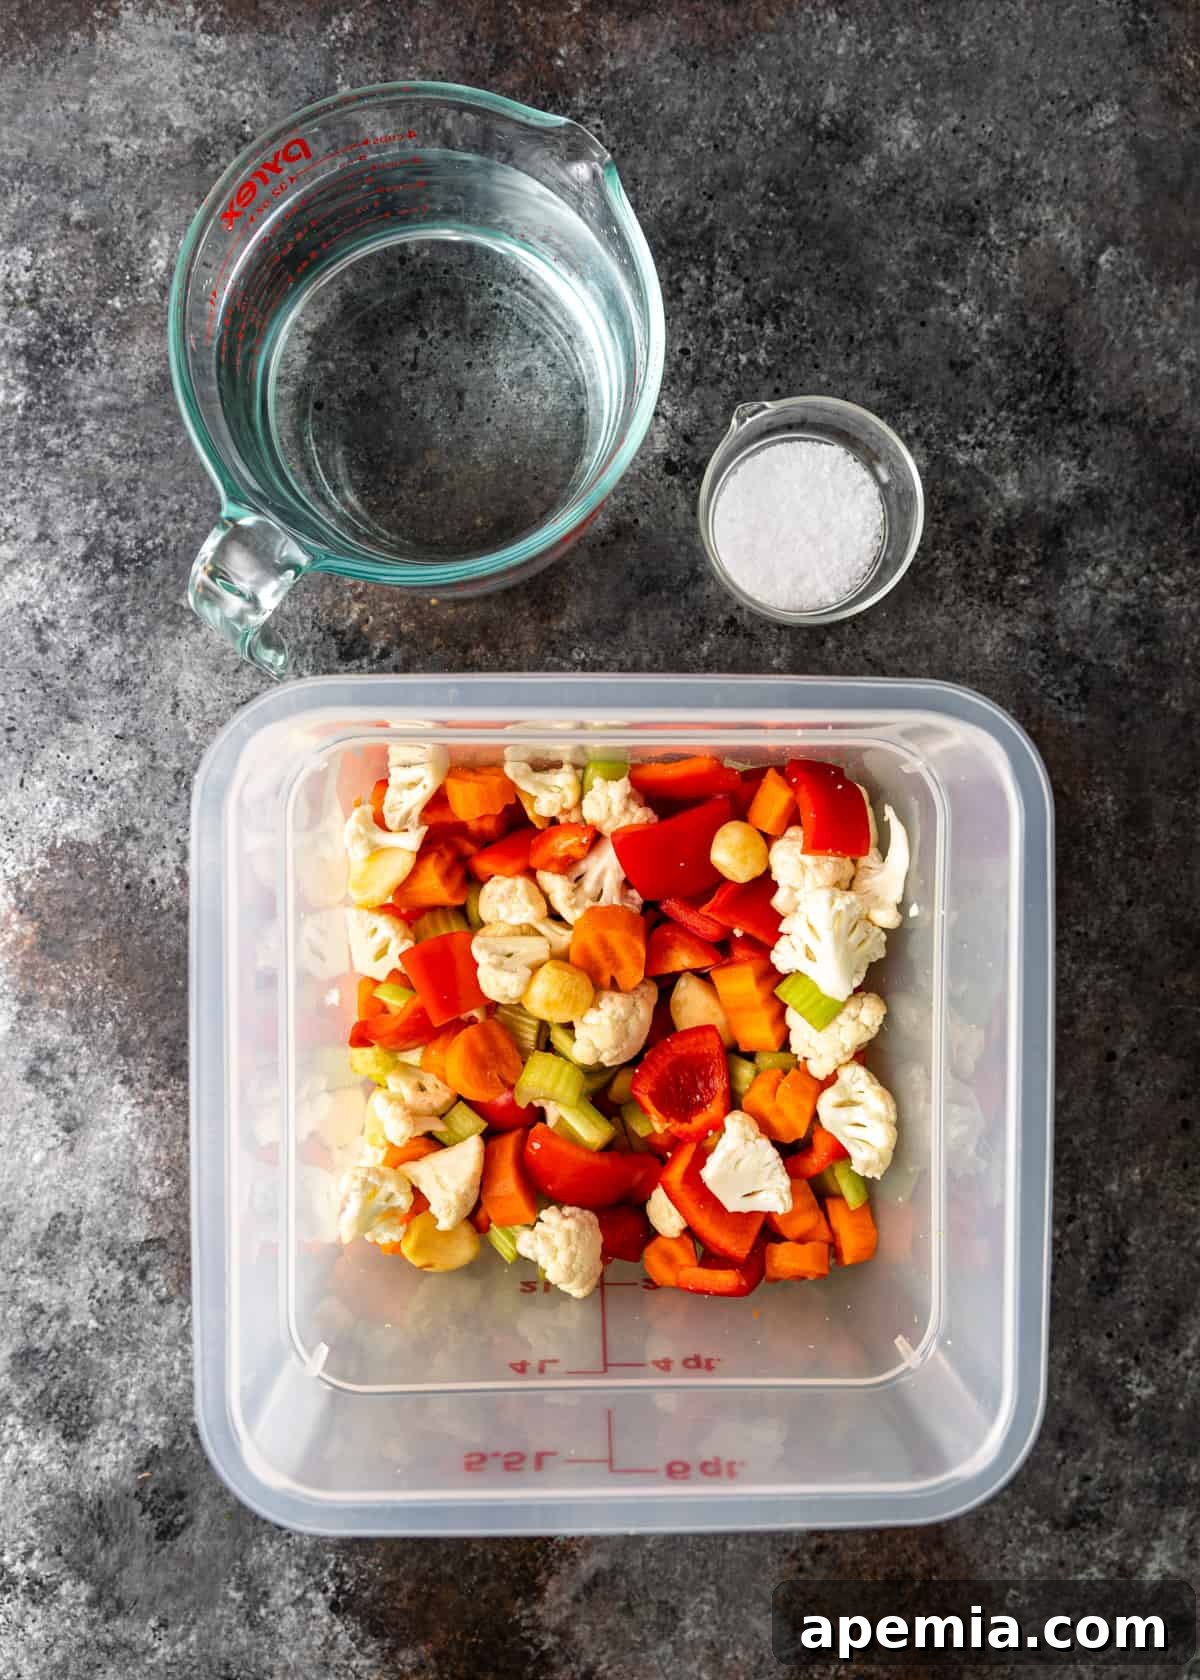
- The Perfect Brine – The soul of any good pickle is its brine, and for giardiniera, a perfectly balanced solution is key. Our beautiful brine is crafted from white wine vinegar, which provides the essential tang and acidity for preservation and flavor. Kosher salt is crucial not only for taste but also for its role in drawing out moisture from the vegetables during the initial salting process, ensuring a crisp final product. Filtered water dilutes the vinegar to the ideal strength and helps carry the vibrant flavors of the herbs and spices throughout the vegetables. The precise ratio of these three brine components is vital for both taste and food safety, especially if you plan on canning.
Tip From Kevin
Canning vs. Quick Pickling: Preserving Your Giardiniera
Deciding how to preserve your homemade giardiniera depends on how quickly you plan to enjoy it and your desire for long-term storage. Both methods yield delicious results, but it’s important to understand the distinctions and safety protocols for each.
Quick Pickling (Refrigerator Pickles): This method is perfect if you want to enjoy your giardiniera relatively soon without the extensive process of water bath canning. You simply combine the prepared vegetables and hot brine, allow them to cool, and then refrigerate. Quick-pickled giardiniera will be ready to eat in as little as two days, giving the flavors time to meld and deepen. They offer a fantastic fresh crunch and vibrant taste, but they must be stored in the refrigerator and will typically stay fresh for about two weeks. This is an ideal option for smaller batches or if you’re new to pickling and want to try it out.
Canning (Water Bath Method): If your goal is to enjoy your homemade giardiniera all year round, or to create shelf-stable gifts, canning is the superior method. By following proper water bath canning techniques, you can safely preserve your pickled vegetables for up to an entire year, storing them in your pantry at room temperature. This process involves sterilizing jars, filling them with vegetables and hot brine, and then processing them in a boiling water bath for a specific duration to create a vacuum seal. Canning requires attention to detail and adherence to safety guidelines, but the reward of a pantry stocked with homemade giardiniera is truly unparalleled. It’s a fantastic way to capture the bounty of the harvest and enjoy it long after the season ends. We’ve included full instructions below to guide you through making your pickled vegetables last for an entire year.
Step-by-Step: Mastering Homemade Giardiniera
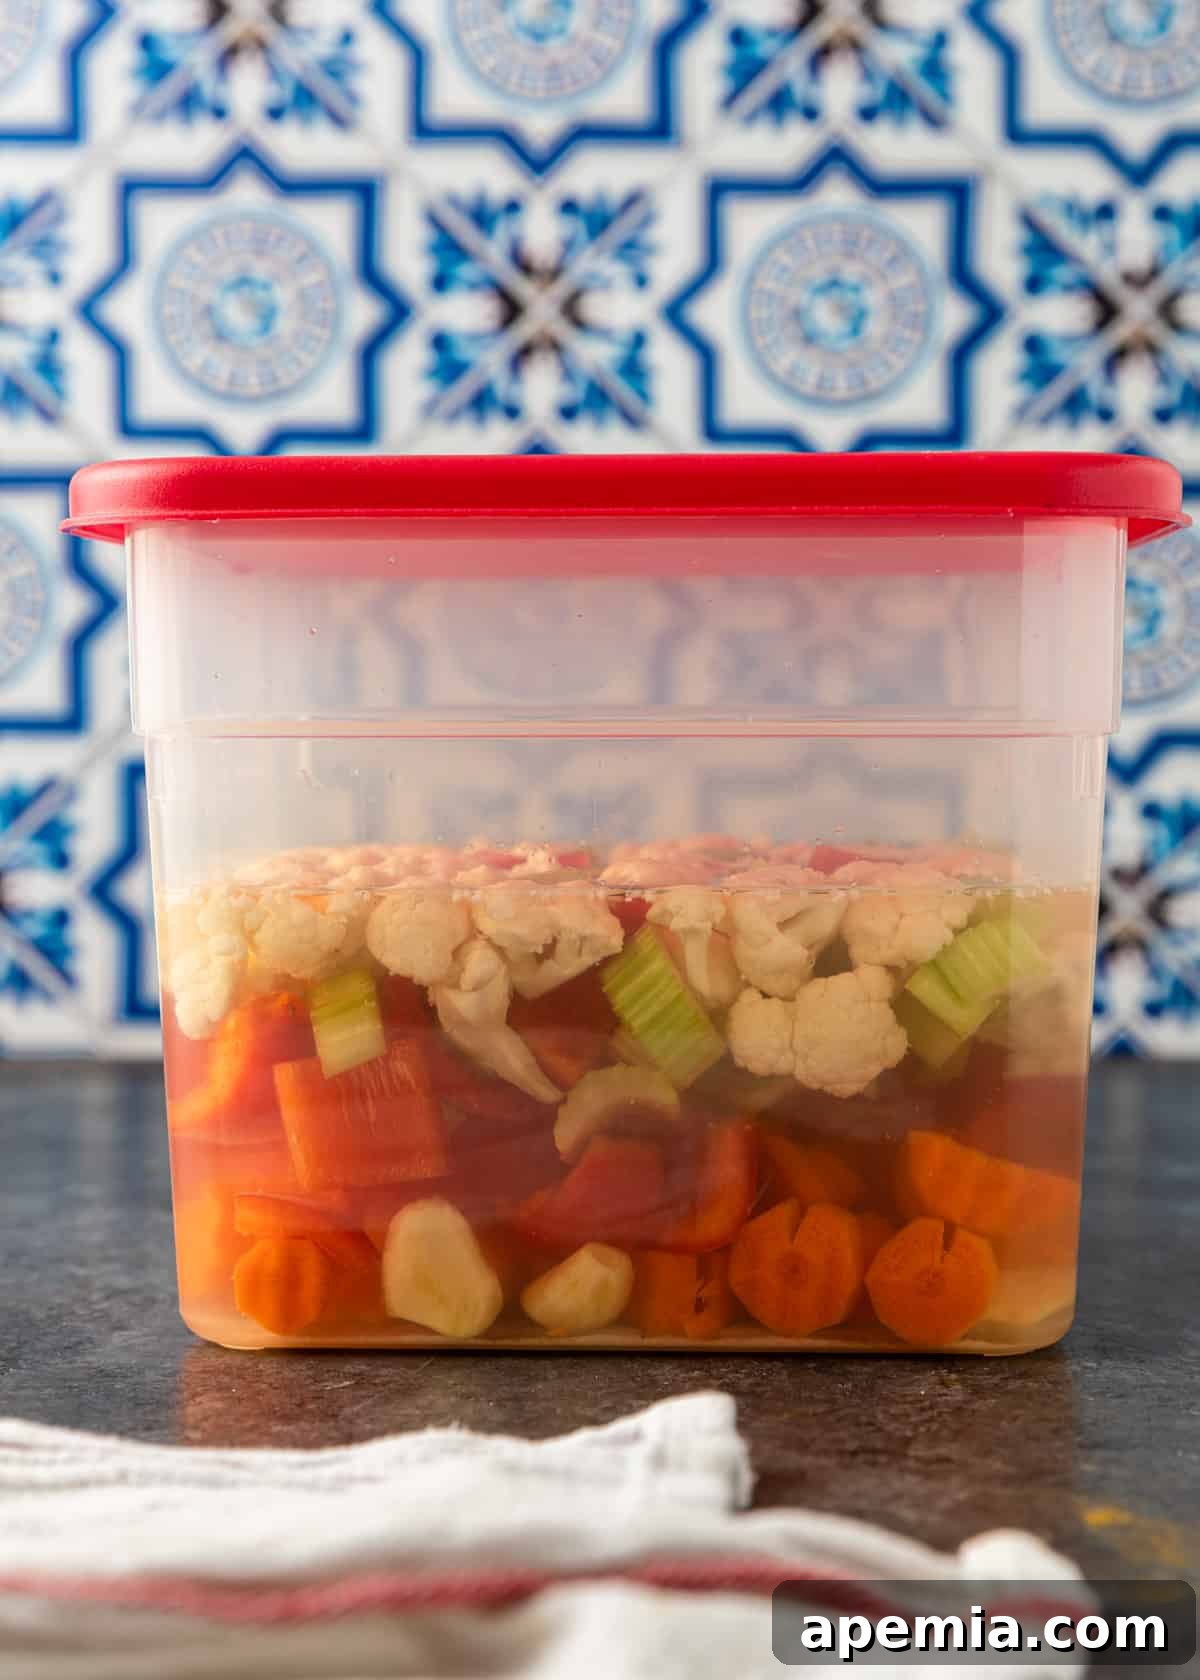
- Salt the Veggies. Begin by combining your freshly chopped bell peppers, crisp celery, sweet carrots, and florets of cauliflower in a large, non-reactive container. Add enough cold water to fully submerge the vegetables, then evenly sprinkle ¼ cup of kosher salt over them. Using both hands, gently toss and massage the mixture to ensure the salt is thoroughly distributed amongst all the vegetables. This crucial salting step helps draw out excess moisture, resulting in a wonderfully crisp pickled product. Cover the container and let the vegetables soak in this salt water solution for at least 8 hours, or ideally overnight, at room temperature.
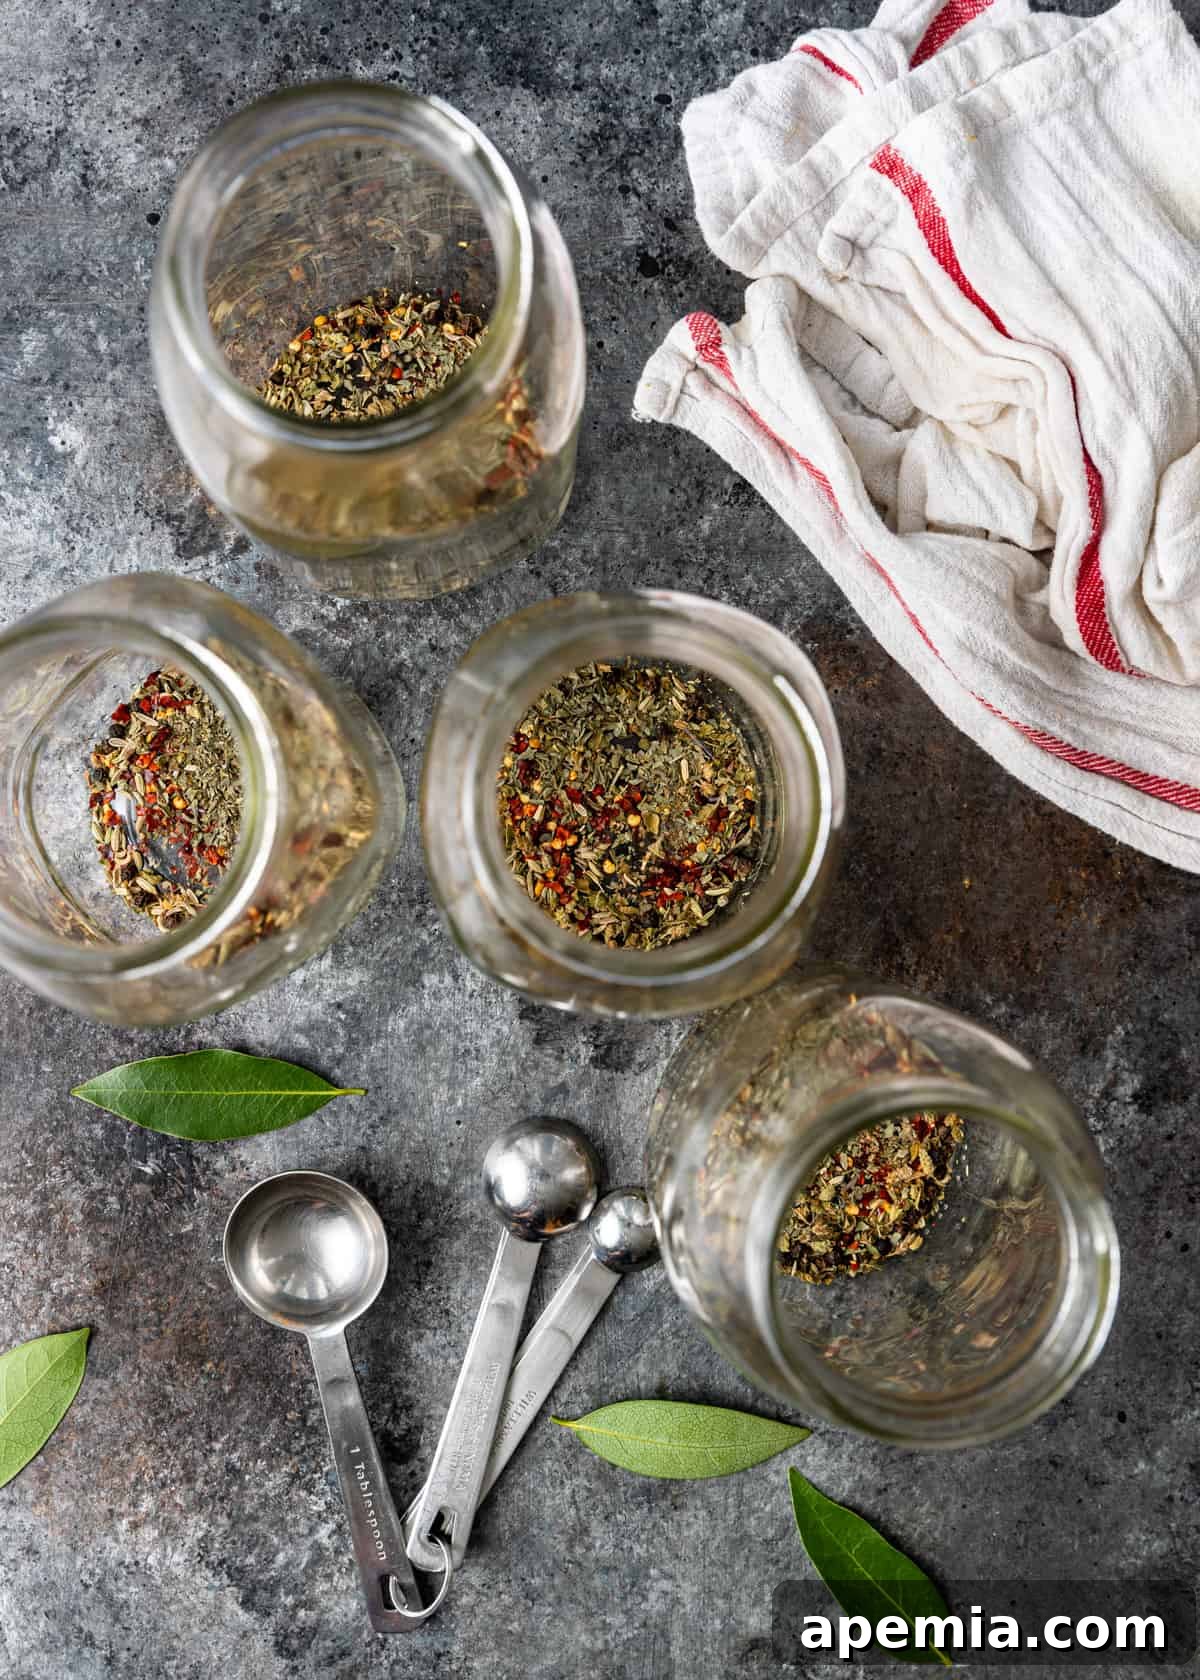
- Prepare the Jars. Proper jar preparation is paramount, especially if you plan on canning for long-term storage. If you are canning, take careful steps to sterilize your jars and lids. This can be done by boiling them in water for at least 10 minutes, running them through a sanitize cycle in a dishwasher, or heating them in an oven. Once sterilized and still warm, carefully place the specified herbs and spices for each quart jar at the bottom of each prepared jar. Ensure all jars are thoroughly clean and free of any cracks or chips before use, regardless of your chosen preservation method.
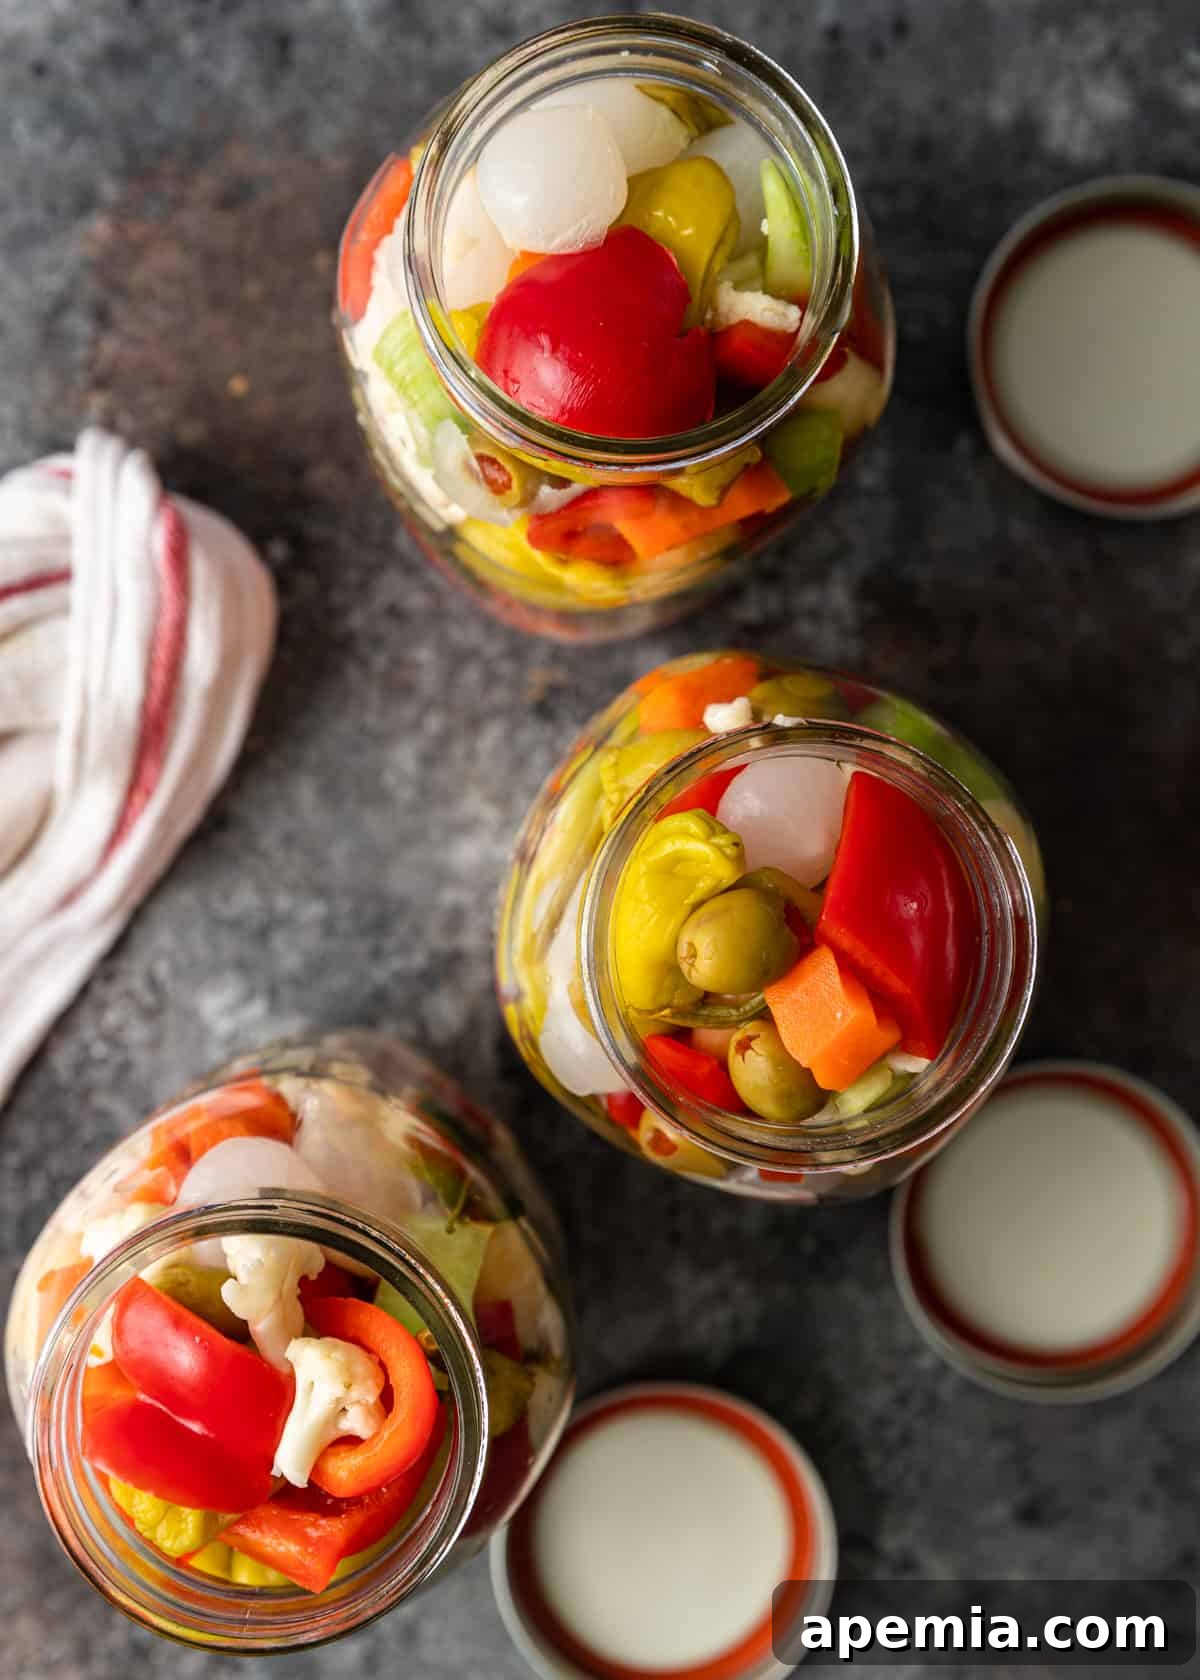
- Drain & Rinse. After the soaking period, carefully drain all the salted vegetables in a colander. It’s important to rinse them thoroughly under cold running water to remove any excess salt. This rinsing step is vital for achieving the perfect flavor balance in your giardiniera. Once rinsed, combine them with the drained pepperoncini, cocktail onions, and pimento-stuffed green olives. Then, carefully divide and distribute this vibrant mix of vegetables into your prepared jars, pressing them down firmly to pack them as tightly as possible without crushing them. This tight packing ensures that the brine can fully surround and flavor all the ingredients.
- Boil the Brine. In a large, non-reactive pot, combine the white wine vinegar, the remaining 2 tablespoons of kosher salt, and water. Bring this mixture to a rolling boil over medium-high heat, stirring occasionally to dissolve the salt. Once boiling, reduce the heat to maintain a gentle simmer. With extreme care, use a heat-proof ladle to transfer the hot brine liquid into the jars filled with vegetables. Gently pour it over the vegetables, ensuring there is about ½ inch of clearance from the top rim of the jar (this is known as “headspace”), which is crucial for proper sealing in canning.
- Remove Air & Cover. Once the brine is in the jars, gently jiggle each jar or use a non-metallic utensil (like a chopstick or plastic knife) to release any trapped air bubbles from between the vegetables. This step helps ensure a proper seal and even pickling. Use a clean, damp paper towel to meticulously wipe up any brine splatters or residue from the rims of the jars. A clean rim is essential for creating a strong, airtight seal. Finally, place a new, clean lid on each jar, followed by a screw band, tightening it only until “finger-tight” – meaning snugly but not overtightened.
- Cool & Stash (Quick Pickling). If you are making a quick batch of giardiniera and not planning to can it, allow the jars to cool completely at room temperature on your countertop. Once they have reached room temperature, transfer them directly to your refrigerator. It’s important to give your giardiniera at least two full days to marinate in the brine before enjoying it, allowing the flavors to fully develop and meld. When stored in the refrigerator, your quick-pickled giardiniera will stay fresh and delicious for at least two weeks.
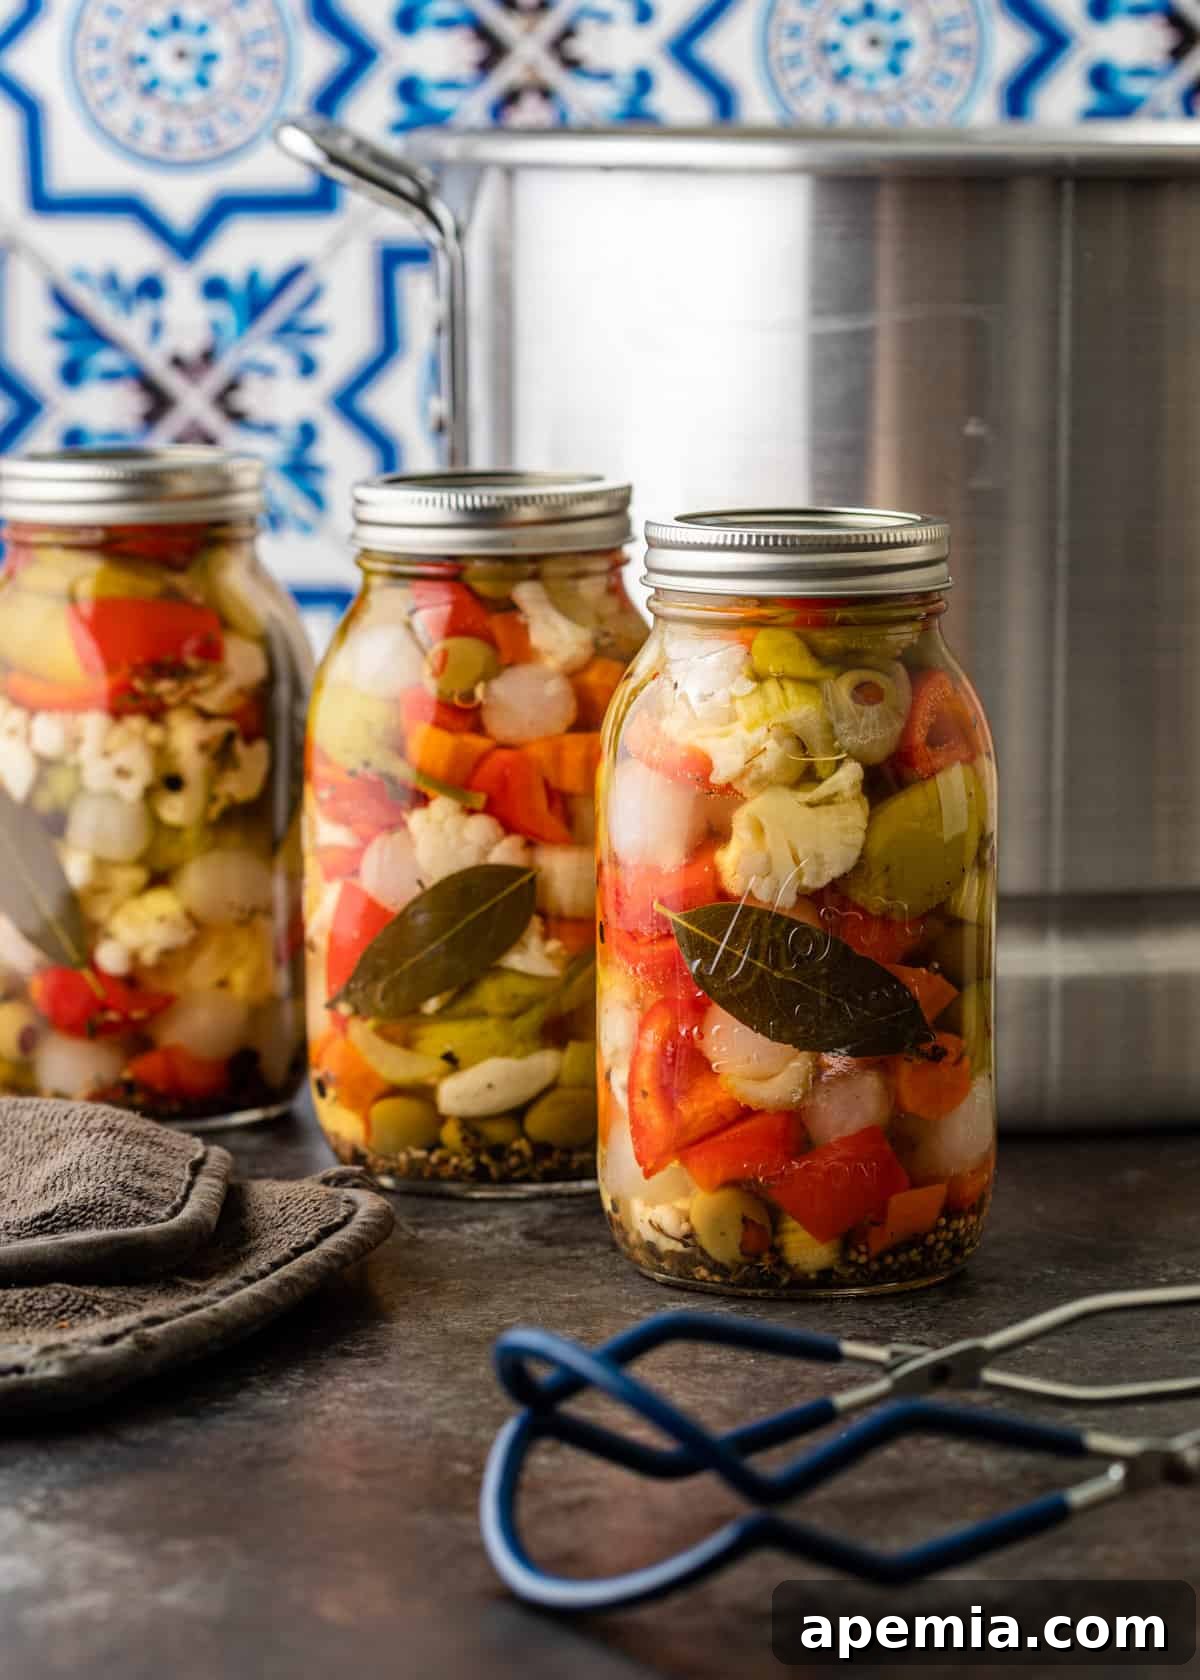
- Process to Preserve (Canning). For long-term preservation through canning, the process involves a few more crucial steps. After filling and sealing your jars, carefully place them into a boiling water bath canner, ensuring they are fully submerged by at least one inch of water. Bring the water back to a full, rolling boil. If you are making this recipe at sea level up to 1000 feet above sea level, you will want to process the jars for 10 minutes. This processing time is essential for creating a safe, shelf-stable product.
- Adjust for Altitude. The processing time for canning must be adjusted based on your altitude, as water boils at lower temperatures at higher elevations. This adjustment is critical for food safety. If you are canning at a higher altitude, please use the following specifications to accurately adjust your processing time:
- 1,001 – 3,000 ft above sea level = Add 5 minutes (Total 15 minutes)
- 3,001 – 6,000 ft above sea level = Add 10 minutes (Total 20 minutes)
- 6,001 – 8,000 ft above sea level = Add 15 minutes (Total 25 minutes)
- 8,001 -10,000 ft above sea level = Add 20 minutes (Total 30 minutes)
Once the processing time is complete, carefully remove the jars from the hot water bath using a jar lifter and transfer them to a clean towel on your countertop to catch any drips. Leave the jars undisturbed on the counter overnight (12-24 hours) to cool completely and allow the seals to fully set. You will often hear a “ping” sound as the lids seal. After cooling, check all seals. If any jar did not seal (the lid will not be concave and will move when pressed), refrigerate it and consume within two weeks. Properly sealed jars can then be stored in a cool, dry, dark area for up to a year.
- Open, Seal & Serve. When you’re ready to enjoy your delicious homemade giardiniera, simply pop open the lid. For an extra layer of flavor and to help maintain freshness once opened, you can add a small splash of good quality olive oil to the top of the jar before replacing the lid. This creates a protective layer and enhances the flavors. Always store opened jars in the refrigerator and consume them within a couple of weeks for the best quality and safety.
Frequently Asked Questions About Giardiniera
Giardiniera is incredibly versatile and can be enjoyed in a surprising variety of ways, truly enhancing many dishes with its bright, briny, and often spicy kick. On its own, it makes a fantastic snack or appetizer, perfect for an antipasto platter or charcuterie board. It’s an indispensable relish for hot dogs and various sausages, and a vibrant addition to any sandwich, burger, or wrap, offering a much-needed textural contrast and flavor boost. Beyond the obvious, these Italian pickled vegetables are amazing with breakfast and brunch items, complementing omelets and other egg dishes like hearty Moroccan Shakshuka. Its tangy profile also cuts through richness, making it an excellent pairing for savory stews, roasted meats, or even stirred into pasta salads and grain bowls. For an authentic Chicago experience, pile it high on an Italian beef sandwich! For those who love Mediterranean classics, giardiniera pairs wonderfully with dishes such as comforting Zuppa Toscana (Tuscan Soup), rich Creamy Tuscan Chicken, or savory Eggplant Moussaka. Don’t be afraid to experiment; its bright, briny flavor has the ability to elevate just about any dish!
The need for refrigeration depends entirely on how you’ve prepared and stored your giardiniera. If you opted for the quick pickling method and did not go through the full water bath canning process, it is absolutely essential to store your Italian pickled vegetables in the refrigerator as soon as they have cooled down to room temperature. When processed this way, they will maintain their freshness, vibrant flavor, and crisp texture for at least two weeks. However, if you chose to can your giardiniera using the proper water bath method, the sealed jars can be safely stored in your pantry at room temperature for up to a year. This makes them an excellent pantry staple for whenever a craving strikes! Upon opening any jar of giardiniera, regardless of how it was initially preserved, it is highly recommended to store it in the refrigerator. Once opened, aim to consume it within a couple of weeks for optimal taste and safety. While some older sources might suggest leaving opened jars on the counter, we always prefer to err on the side of caution and prioritize food safety by refrigerating. You can always take it out of the fridge in advance if you prefer to serve it at room temperature to bring out its full aromatic qualities.
Absolutely! Giardiniera is not only delicious but also offers several impressive health benefits, making it a smart addition to your diet. This crunchy, spicy, and colorful hodgepodge of cruciferous and other fresh vegetables is a fantastic source of health-promoting dietary fiber, which is crucial for digestive health and regularity. Many of these vegetables also contain prebiotics, which are compounds that feed the beneficial bacteria in your gut. Furthermore, giardiniera delivers a host of essential vitamins and minerals, including significant amounts of Vitamin A and C, calcium, and iron, contributing to overall well-being. And, since these Italian pickled vegetables are steeped in a fermented vinegar brine, they can also provide a gut-loving dose of probiotic power. Probiotics are live beneficial bacteria that can support a healthy gut microbiome, which in turn can influence everything from digestion and immunity to mood. Enjoying giardiniera is a flavorful way to increase your vegetable intake and boost your gut health simultaneously!
Share this recipe on Pinterest!
Love this homemade giardiniera recipe? Spread the joy and share it with the world on Pinterest to inspire others to try this delightful pickling project!
Homemade Giardiniera (Italian Pickled Vegetables)
6
quart jars
15 minutes
10 minutes
8 hours
8 hours
25 minutes
Pin Recipe
PrintRecipe
Ingredients
- 1 head cauliflower chopped into small florets
- 8 ribs celery 1/2-inch slices
- 6 carrots 1/2-inch slices
- 4 large red bell peppers seeded and 1-inch pieces
- 16 oz pepperoncinis drained
- 16 oz cocktail onions drained
- 4 oz pimento stuffed green olives drained
- 12 cloves garlic
Spices/Herbs for EACH Quart jar
- 1/2 tsp dried oregano
- 1/2 tsp dried basil
- 1/2 tsp fennel seeds
- 1/4 tsp yellow mustard seeds
- 1/4 tsp black peppercorns
- 1/4 tsp red chili flakes
- 1/8 tsp celery seeds
- 1 bay leaf
Brine
- 4 cups white wine vinegar
- 4 cups water
- 2 tablespoons kosher salt
Instructions
-
Transfer chopped cauliflower, celery, carrots and bell peppers to a large container. Sprinkle 1/4 cup kosher salt over the vegetables and enough cold water to cover them. Stir using both hands, cover and soak vegetables in the salt water for at least 8 hours.
-
Prepare the jars by making sure they are sterilized if canning. Place the herbs and spices into each of the jars.
-
Thoroughly rinse and drain the vegetables in a colander along with the pepperoncinis, cocktail onions and pimento stuffed green olives. Then divide between jars, packing the vegetables in as tightly as you can.
-
Bring the brine ingredients (white wine vinegar, water and salt) to a boil in a large pot. Using a ladle, carefully pour the hot brine over the vegetables leaving 1/2-inch headspace from the top. Remove any air bubbles. Wipe rims of jars with a damp paper towel to remove any spill residue. Place a lid on the jar and screw a ring on until finger-tight.
-
If you are not canning the giardiniera, leave at room temperature until jars are cool and transfer to refrigerator. Leave for 2 days before serving. These will keep for at least 2 weeks refrigerated.
-
If canning, the processing times is for high acid foods based on canning at sea level to 1000 feet (10 minutes). When processing at higher altitudes, adjust the processing time according to the below times.
-
Altitude in Feet >> Increase Processing Time
1,001-3,000 ft above sea level = 5 min
3,001 – 6,000 ft above sea level = 10 min
6,001 – 8,000 ft above sea level = 15 min
8,001 – 10,000 ft above sea level = 20 min
-
Boil the jars for 10 minutes and carefully remove from hot water bath and place on towel to catch drips. Leave overnight and then store. These will keep for 1 year.
-
Once a jar is opened add a little olive oil on top to “seal” it and then cover with lid and keep refrigerated.
Nutrition
Carbohydrates: 30g |
Protein: 6g |
Fat: 4g |
Saturated Fat: 1g |
Polyunsaturated Fat: 1g |
Monounsaturated Fat: 2g |
Sodium: 2735mg |
Potassium: 1074mg |
Fiber: 10g |
Sugar: 13g |
Vitamin A: 13062IU |
Vitamin C: 222mg |
Calcium: 122mg |
Iron: 3mg
The information shown is an estimate provided by an online nutrition calculator. It should not be considered a substitute for a professional nutritionist’s advice.
appetizers, condiment, side dish
Italian, Mediterranean
Kevin
Have You Made This Recipe? Let Me Know on Instagram!
Tag @keviniscooking or use the hashtag #keviniscooking!