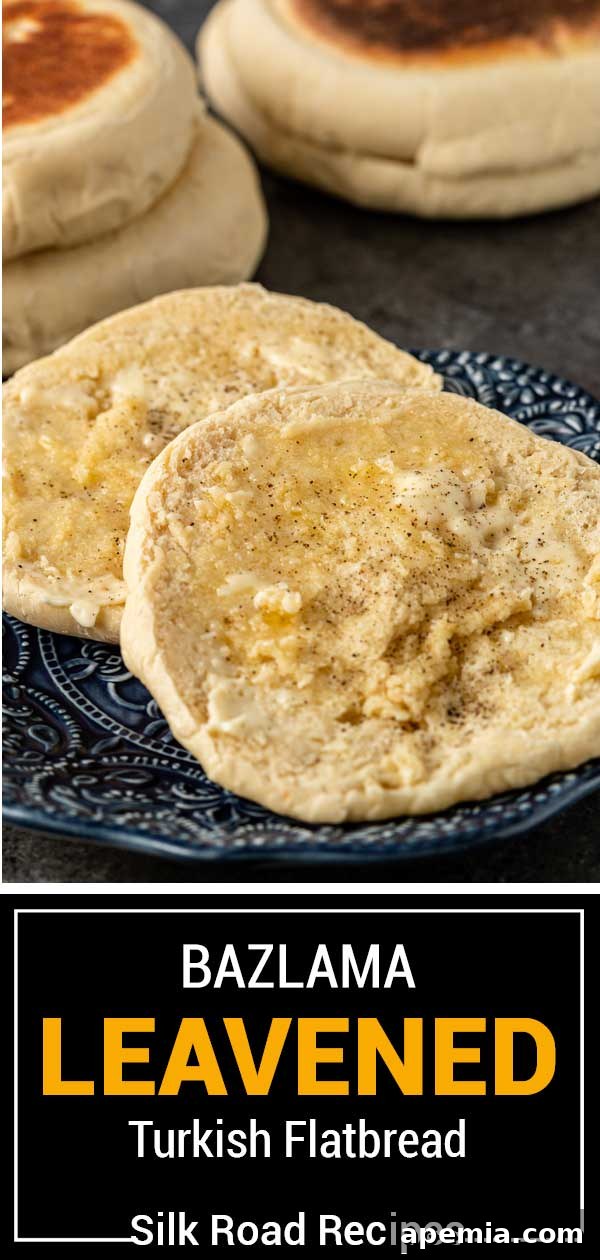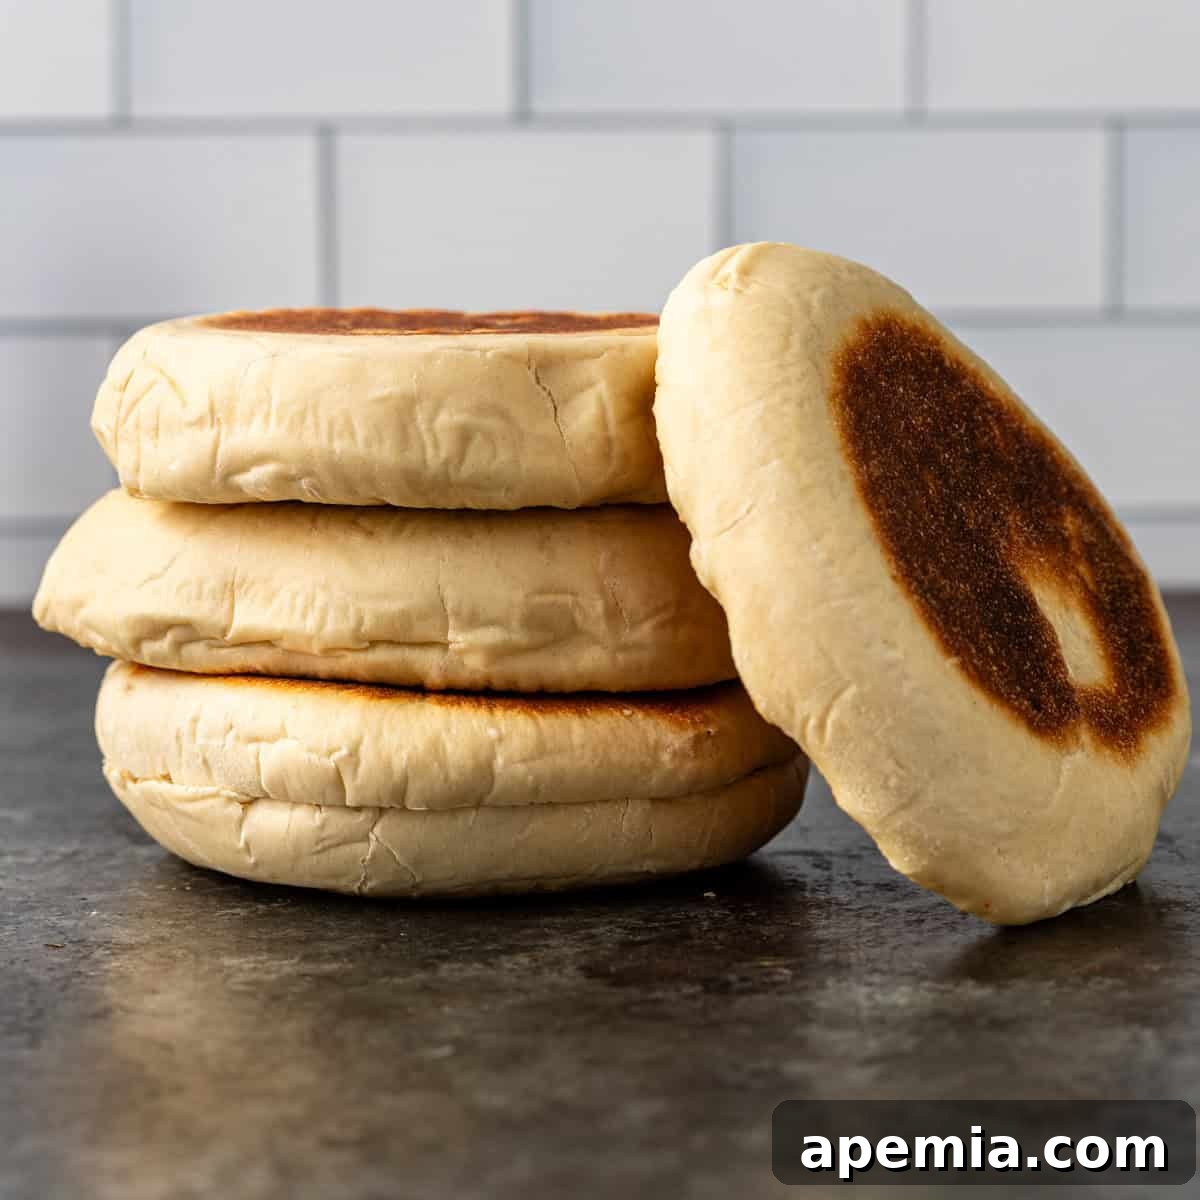
Traditional Turkish bazlama, a celebrated staple in Turkish cuisine, is typically prepared with rustic charm in an outdoor oven. However, the good news is that you can effortlessly achieve that same authentic, irresistible texture and fragrant aroma right in your own kitchen. This remarkably simple yet rewarding recipe allows you to create beautifully fluffy, wonderfully chewy leavened flatbread in approximately 30 minutes, making it an ideal choice for even the busiest home cooks. Its incredible versatility makes it a perfect foundation for crafting delightful wraps, innovative flatbread pizzas, satisfying sandwiches, or simply enjoying on its own with a simple spread. Prepare to impress your family and friends with this comforting taste of Turkey!
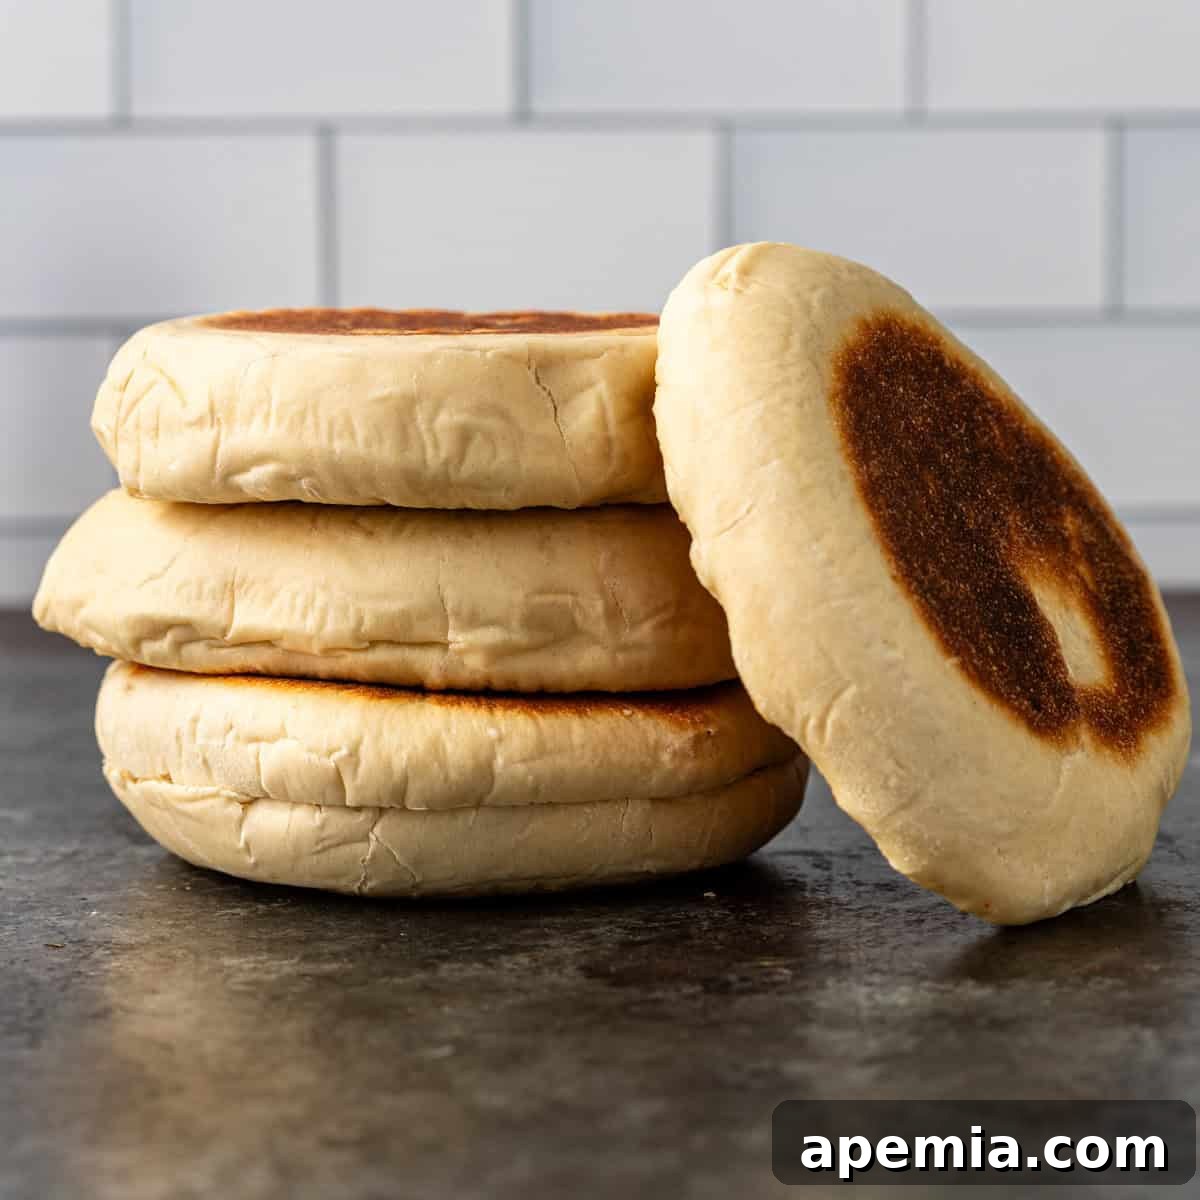
Bazlama distinguishes itself as a wonderfully rustic, traditional leavened bread, offering a unique and delightful experience that sets it apart from other well-known Turkish breads. It’s different from Pide, for instance, which is often a more substantial, boat-shaped or woven bread, frequently adorned with nigella seeds and sometimes topped with various ingredients like a Turkish pizza. Similarly, it stands apart from Simit, the iconic circular, sesame-coated bread sweetened with molasses, typically enjoyed as a popular street food or breakfast item. Bazlama, in contrast, boasts a tender, pillowy softness and a consistently fluffy interior, making it an exceptional accompaniment for a wide array of dishes.
This tender bread truly shines when served alongside rich dips, hearty stews, or very saucy meals where its absorbent quality can be fully appreciated. Imagine using it to perfectly scoop up every delicious drop of a vibrant dish like Çılbır (Turkish Eggs With Yogurt), or pairing it with succulent roasted meats and vegetables. Its ability to soak up rich flavors and provide a satisfying, slightly chewy texture makes it a foundational and much-loved element in countless Turkish meals, bringing warmth and comfort to the dining table.
Achieving the perfect bazlama involves understanding a few key techniques, particularly concerning its cooking method. While the dough preparation itself is relatively straightforward, mastering the cooking process is absolutely paramount to its success. The most critical step in this bazlama recipe is ensuring the bread cooks thoroughly from the inside out, without developing an overly browned, tough, or dry exterior. The secret to mastering this technique lies in a two-stage heat approach: you must initially get your pan incredibly hot, and then significantly reduce the heat once the dough is placed in it. This method creates a rapid initial puff, which helps to develop air pockets and a light texture, followed by a slower, more even cook that guarantees a fully cooked, irresistibly fluffy interior and a beautifully golden-brown exterior. Mastering this simple yet crucial heat management will elevate your homemade bazlama to restaurant-quality standards.
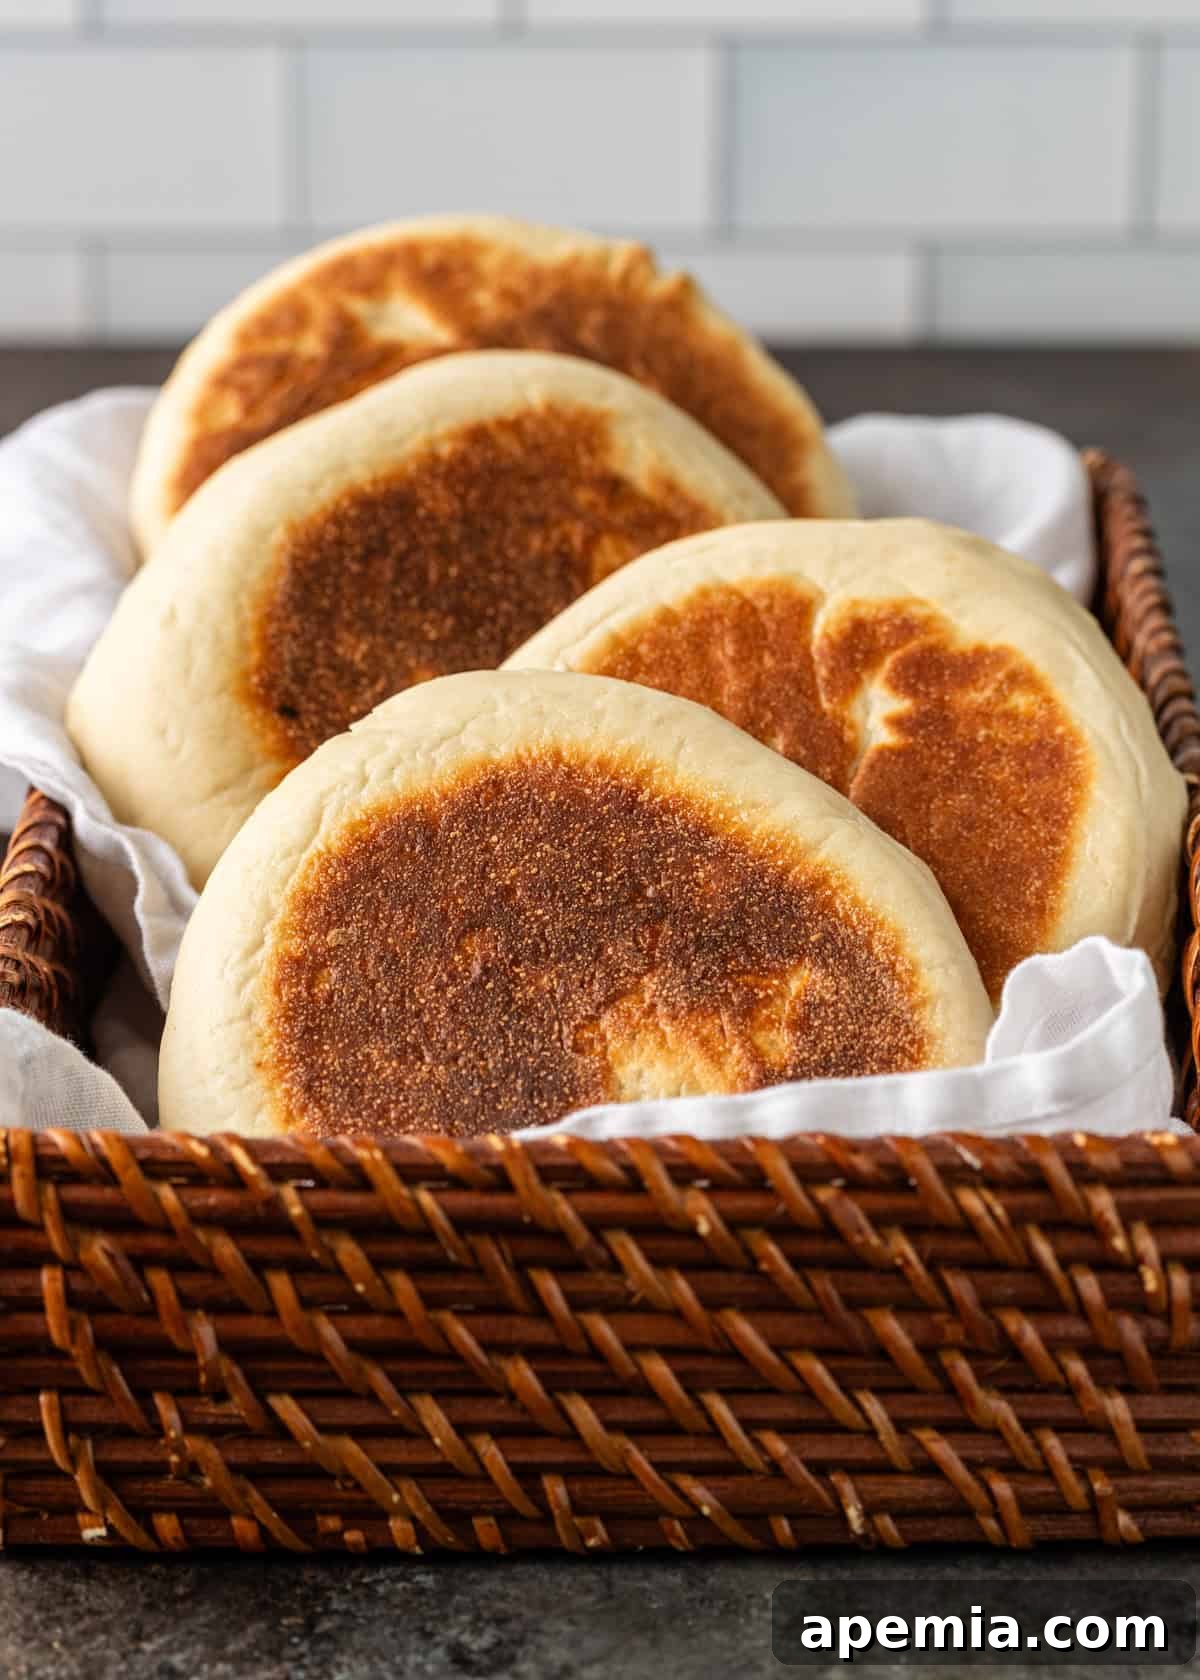
My approach to this Turkish flatbread recipe intentionally prioritizes simplicity, allowing the pure, natural flavors and exquisite textures of the bread to truly shine. However, Bazlama is an incredibly versatile canvas, and once you’ve successfully mastered the basic technique, you’ll find it remarkably easy to customize it to suit your personal preferences. Many traditional recipes, for instance, suggest brushing the cooked bread with a vibrant mixture of high-quality olive oil and fresh, finely chopped parsley, which adds an aromatic touch and a beautiful sheen. Other variations might incorporate ingredients like a spoonful of Greek yogurt into the dough, introducing an extra layer of richness, moisture, and a subtle tangy flavor profile that complements the bread beautifully. The true beauty of homemade bazlama lies in its adaptability: make it once to get a confident feel for the process and its core technique, then feel completely free to experiment. “Dress it up” as you like with your favorite fresh herbs, a pinch of different spices, or even a sprinkle of your preferred cheese added to the dough or on top for a creative twist. The culinary possibilities for your personalized bazlama are genuinely endless, encouraging you to make this recipe truly your own.
Table of Contents
- Size Matters: Choosing Your Bazlama Dimension
- Essential Ingredients and Clever Substitutions for Bazlama
- Mastering Homemade Bazlama: A Step-by-Step Guide
- Recommended Kitchen Tools for Perfect Flatbread
- Storing and Reheating Your Bazlama
- Frequently Asked Questions About Bazlama
- Bazlama (Leavened Turkish Flatbread) Recipe Card
The profound satisfaction of baking your favorite breads from scratch at home is a truly unparalleled experience, and this Turkish Bazlama recipe proudly joins a delightful lineup of remarkably easy-to-make flatbreads. If you thoroughly enjoy the rewarding process of creating delicious, warm bread from basic ingredients, you’ll discover similar joy and accomplishment in preparing homemade pita bread, the delightfully chewy Persian Barbari bread, or the universally popular Indian Naan. Each of these global flatbreads offers a unique cultural taste, distinct texture, and a fascinating glimpse into different culinary traditions. However, all share the immensely gratifying experience of bringing fresh, aromatic, and warm bread directly to your family’s table. Add Bazlama to your growing repertoire of homemade breads and prepare to impress your family and friends with this versatile, comforting, and utterly delicious Turkish delight, destined to become a new favorite.
Tip From Kevin
Size Matters: Choosing Your Bazlama Dimension
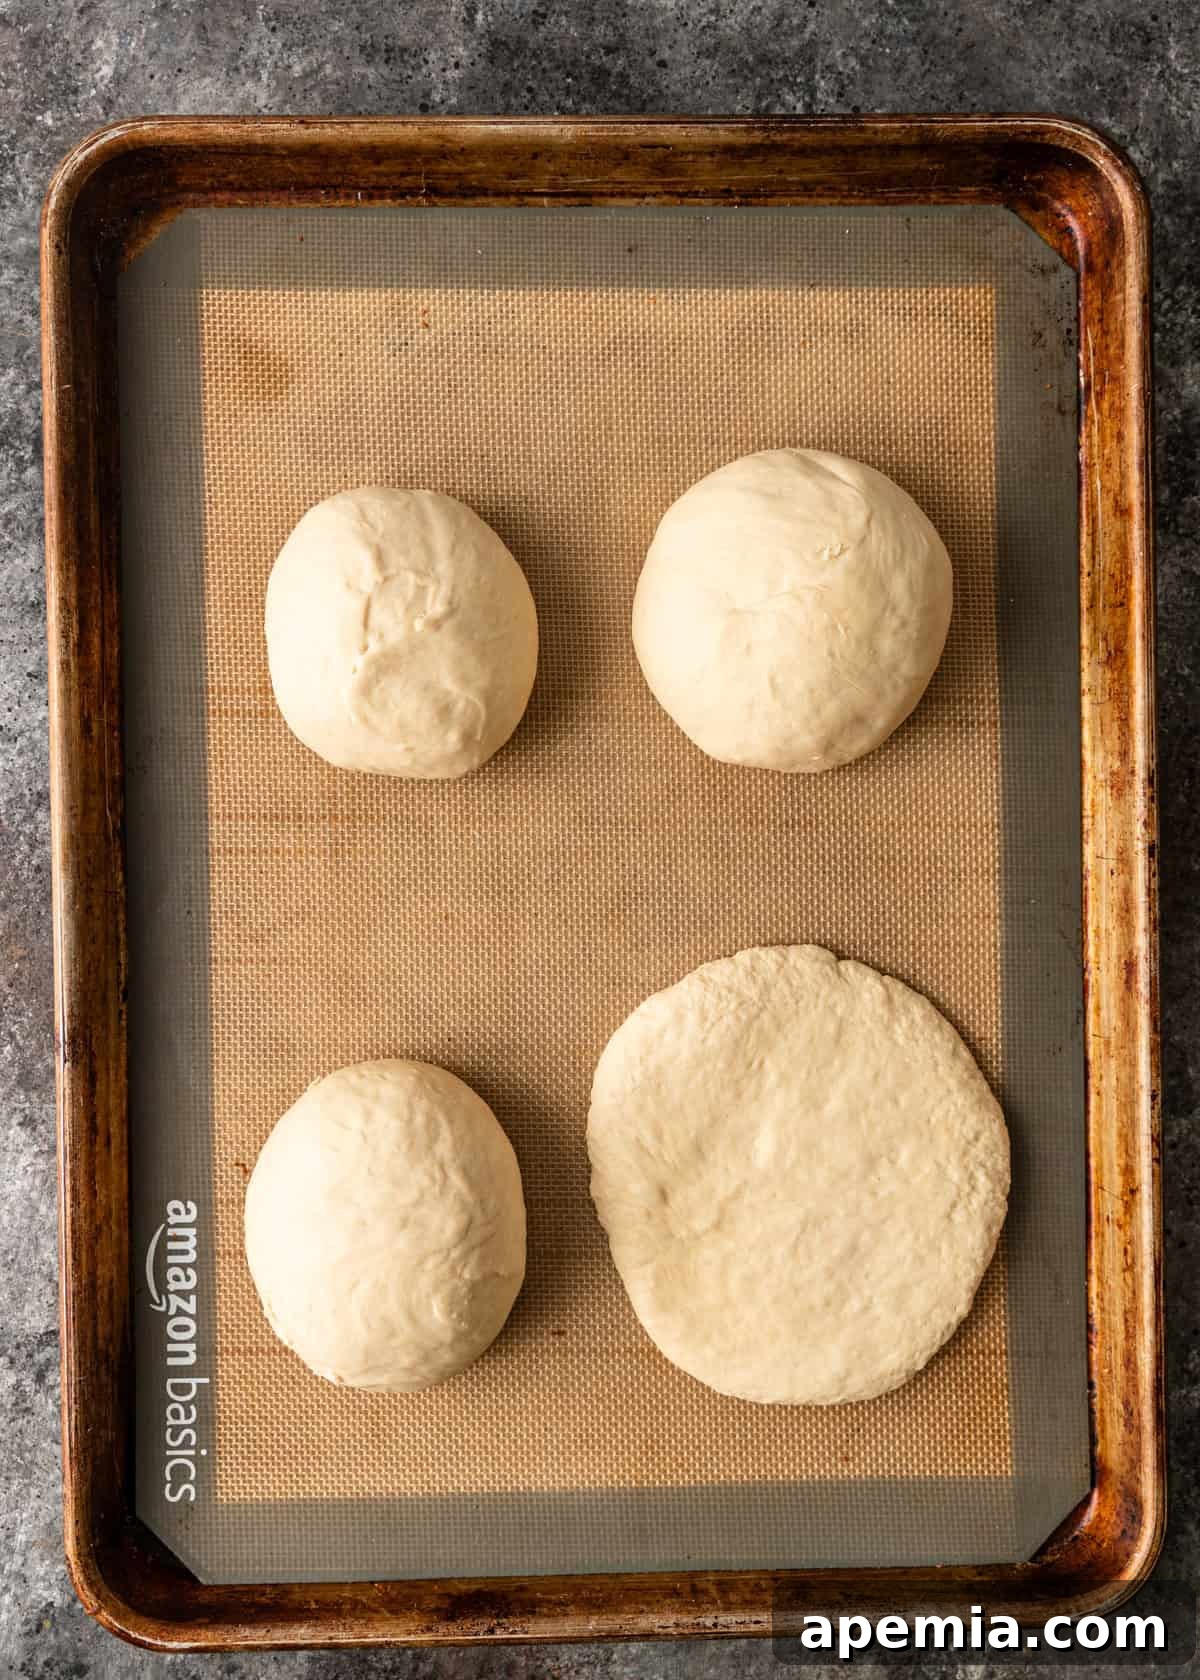
While the original recipe for these wonderfully pillowy soft flatbreads, affectionately known as Turkish Bazlama, often suggests that the dough yields 4 larger pieces, I’ve personally found that these can be quite substantial for many uses. For a more versatile and easily manageable serving size, I frequently prefer to take the exact same dough recipe and divide it into 6 pieces before proceeding with rolling and cooking. This simple adjustment results in slightly smaller flatbreads that are incredibly practical and adaptable.
The larger bazlama are absolutely fantastic if your intention is to split them open and generously fill them for a truly satisfying and hearty sandwich, offering a substantial meal in itself. However, the smaller versions prove to be perfect for a much wider range of purposes: they are ideal for serving alongside an array of delicious dips, using as a convenient base for individual flatbread pizzas, or simply enjoying as a complementary side bread with any meal. Ultimately, the choice between 4 larger or 6 smaller bazlama is entirely yours, based on how you envision using and enjoying your delicious homemade flatbreads!
Essential Ingredients and Clever Substitutions for Bazlama
(For a complete list of precise quantities, please refer to the detailed recipe card below.)
- All-Purpose Flour – This traditional Turkish flatbread recipe relies primarily on standard wheat all-purpose flour. Its balanced protein content (typically around 10-12%) is perfectly suited for achieving the signature chewy yet wonderfully fluffy texture that is characteristic of bazlama. While all-purpose flour yields the classic result, for those seeking a slightly healthier or more rustic twist, you could experiment with substituting a small percentage (e.g., 10-20%) of whole wheat flour. Be mindful that this might slightly alter the final texture, potentially making it a bit denser, and could affect the overall rise.
- Milk – The inclusion of milk in the bazlama dough is an absolute game-changer, serving multiple vital functions. Milk not only allows the dough to absorb significantly more moisture, which directly contributes to an incredibly soft and tender crumb, but it also helps the bread to fluff up beautifully during the cooking process, creating those desirable internal air pockets. Beyond its textural benefits, milk imparts a subtle, pleasing sweetness that perfectly complements the rustic nature of the bread. You can confidently use any type of dairy milk you have readily available — whole, 2%, or skim milk will all yield excellent results. For those seeking dairy-free options, plant-based milk substitutes like almond, soy, or oat milk can be used just as effectively, ensuring that everyone, regardless of dietary preference, can enjoy this delicious flatbread.
- Instant Yeast & Granulated Sugar – As a leavened bread, bazlama relies fundamentally on yeast for its characteristic rise and airy, tender texture. This recipe specifically calls for instant yeast, which is incredibly convenient for home bakers as it doesn’t require prior proofing and can be mixed directly with the dry ingredients. This makes the bread-making process quicker and simpler. While instant yeast is quite efficient on its own, a small amount of granulated sugar is added to the mixture. This sugar serves as readily available food for the yeast, helping to activate it more quickly and significantly accelerating the proofing process. This synergy ensures your dough rises beautifully and consistently, ultimately leading to that highly desirable fluffy and light result in your finished bazlama.
- Salt – Never underestimate the profound power and importance of a simple pinch of salt in any bread-making endeavor! In the context of bazlama, salt plays a crucial dual role. Firstly, it provides a vital and often understated contrast to the subtle sweetness imparted by the milk and sugar, effectively enhancing the overall flavor profile of the bread and preventing it from tasting bland or one-dimensional. Secondly, and equally critical from a structural perspective, salt contributes significantly to the dough’s strength and elasticity by binding and strengthening the gluten network. This results in a more cohesive, workable dough that is easier to handle and shape, and a finished flatbread that holds its form beautifully, possessing a satisfying chew. It is, without a doubt, an indispensable ingredient in any truly successful homemade bread.
- Warm Water – The precise temperature of your water is an absolutely critical factor for optimally activating the yeast. Since we are utilizing instant yeast in this recipe, it is generally more forgiving than active dry yeast, allowing for a slightly warmer water temperature. The ideal range to aim for is between 120-130 degrees F (49-54 degrees C). Water that is too cold will severely inhibit yeast activity, leading to a slow or potentially non-existent rise, which can result in dense, heavy flatbread. Conversely, water that is too hot can tragically kill the delicate yeast organisms entirely, preventing any rise whatsoever. Using a reliable kitchen thermometer is highly recommended to ensure you hit that perfect temperature, guaranteeing optimal yeast performance and a beautifully risen bazlama.
Mastering Homemade Bazlama: A Step-by-Step Guide
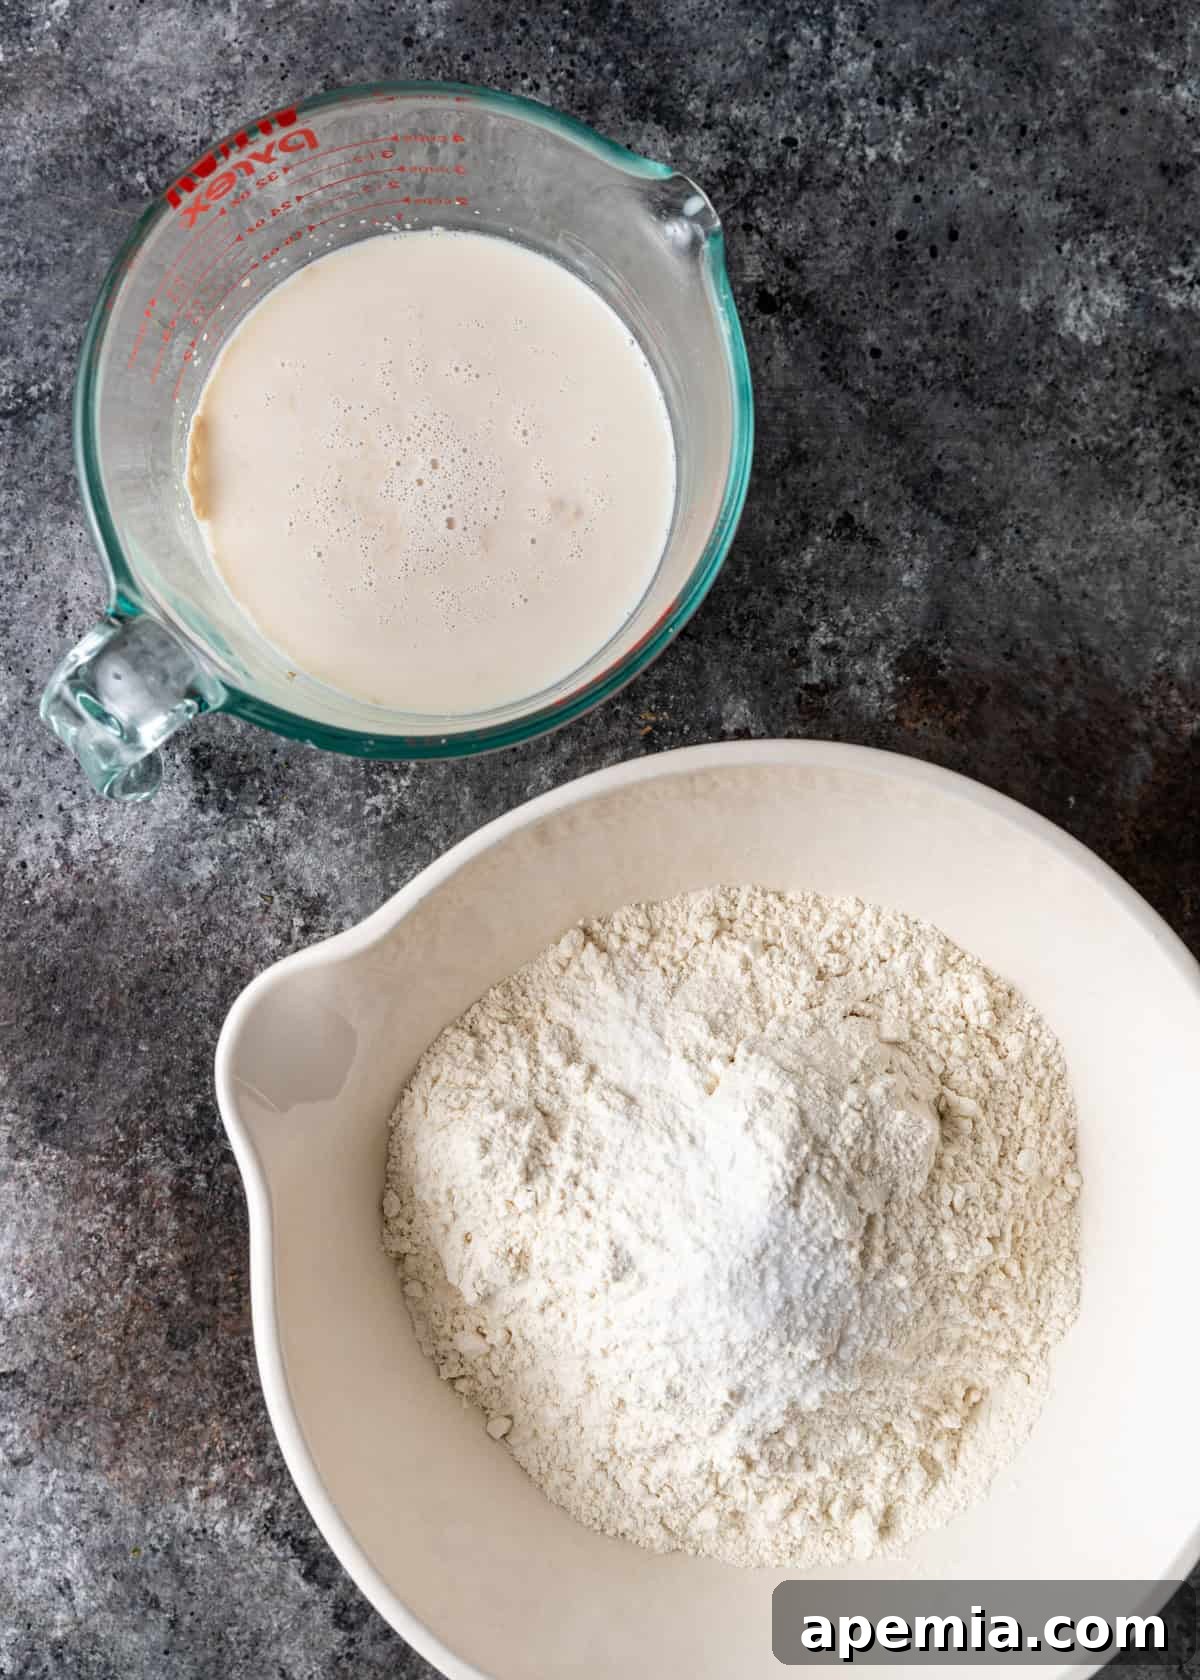
- Activate the Yeast. In a medium-sized mixing bowl, gently combine the warm milk, warm water, granulated sugar, and instant yeast. Give the mixture a quick but thorough stir with a wooden spoon or whisk until everything is well incorporated. Set this mixture aside for a brief period of about 3 minutes. During this short time, the yeast should “bloom,” which means it will become visibly foamy or bubbly on the surface. This effervescence is a clear indication that your yeast is active, healthy, and ready to begin its magical work of leavening the dough.
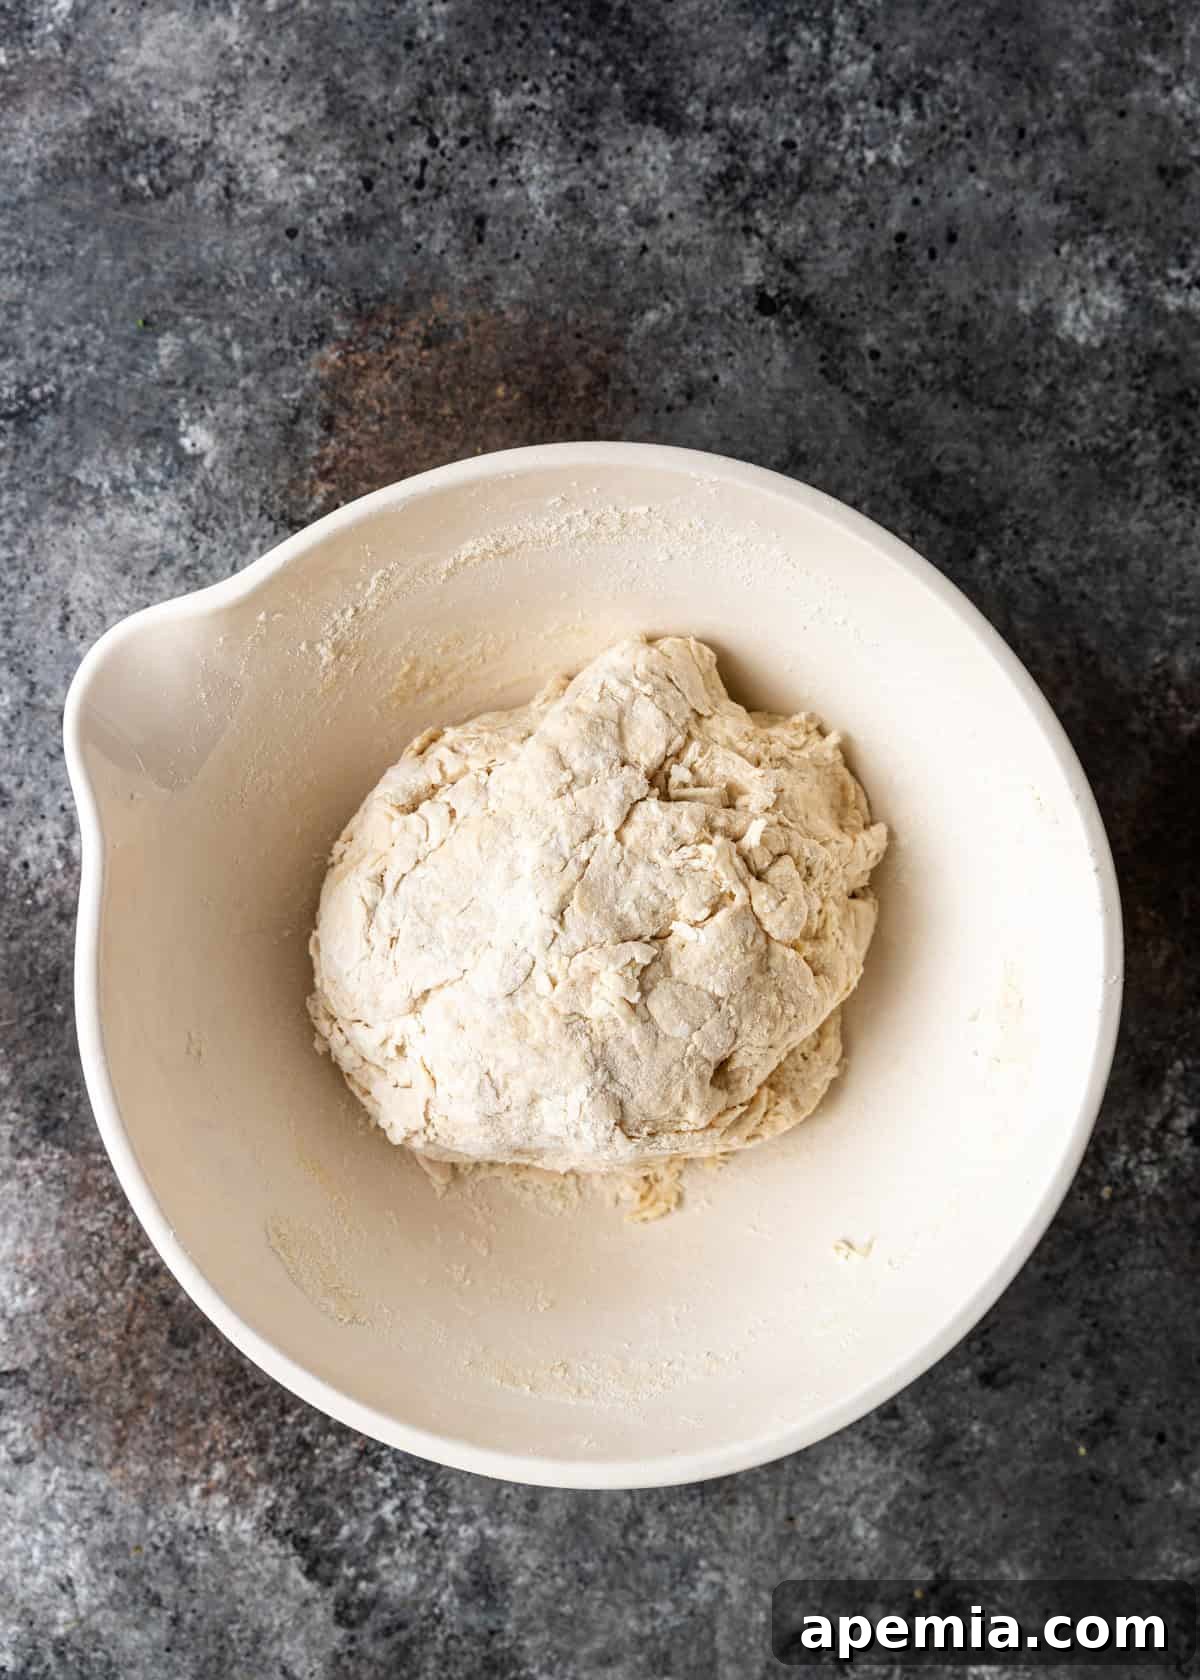
- Combine Wet and Dry Ingredients. In a separate, large mixing bowl, thoroughly whisk together the all-purpose flour and salt. Ensure they are evenly distributed. Create a deep well in the center of these dry ingredients. Carefully pour the entire bloomed yeast mixture into this well. Begin mixing with a sturdy spoon or a durable spatula, gradually incorporating the dry ingredients into the wet ones. Continue mixing just until the dough starts to come together in a rough, shaggy mass. Once the dough becomes too thick and heavy to effectively mix with a spoon, it’s time to switch to kneading by hand. This is also the crucial point where you’ll begin to gauge the dough’s consistency. If it feels excessively dry and crumbly, gradually add a little more warm water or milk, one tablespoon at a time, until it becomes more pliable. Conversely, if the dough is overly sticky and difficult to handle, incorporate an additional tablespoon of flour, again one at a time, until it reaches a manageable, slightly tacky consistency that is easy to work with.
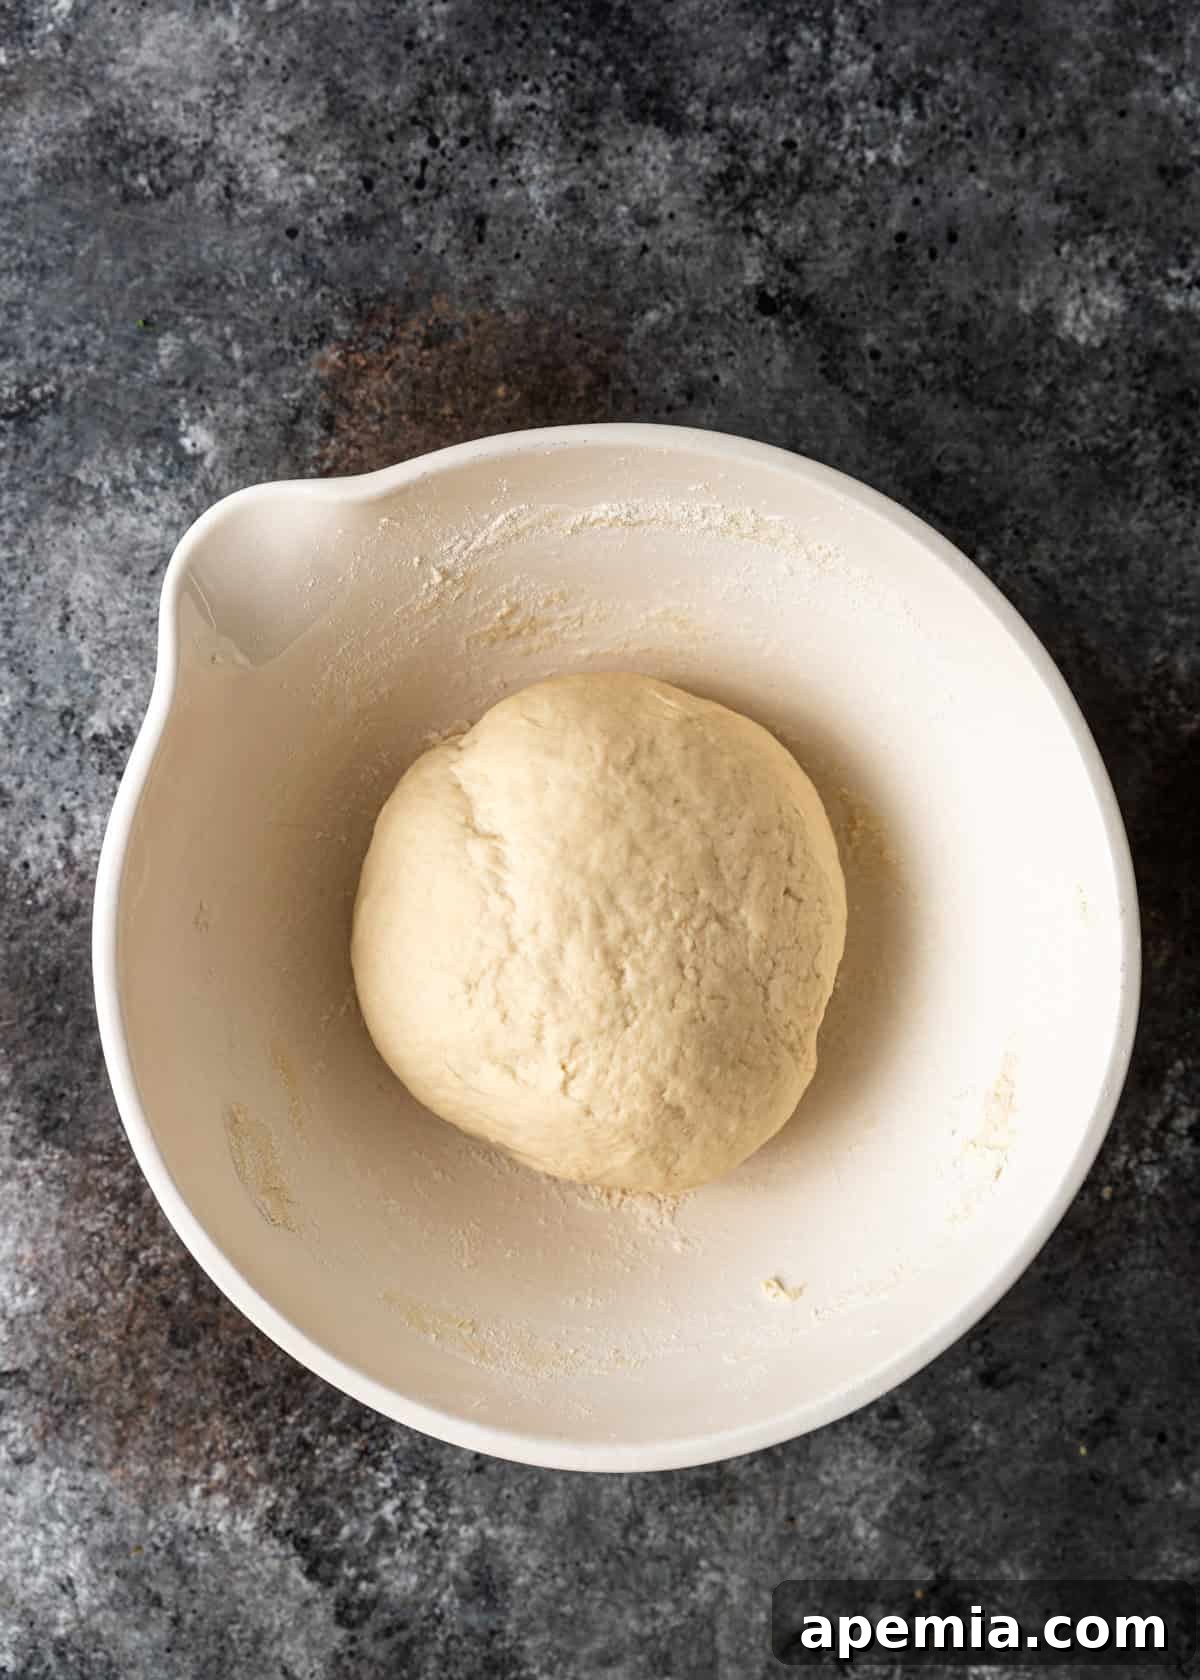
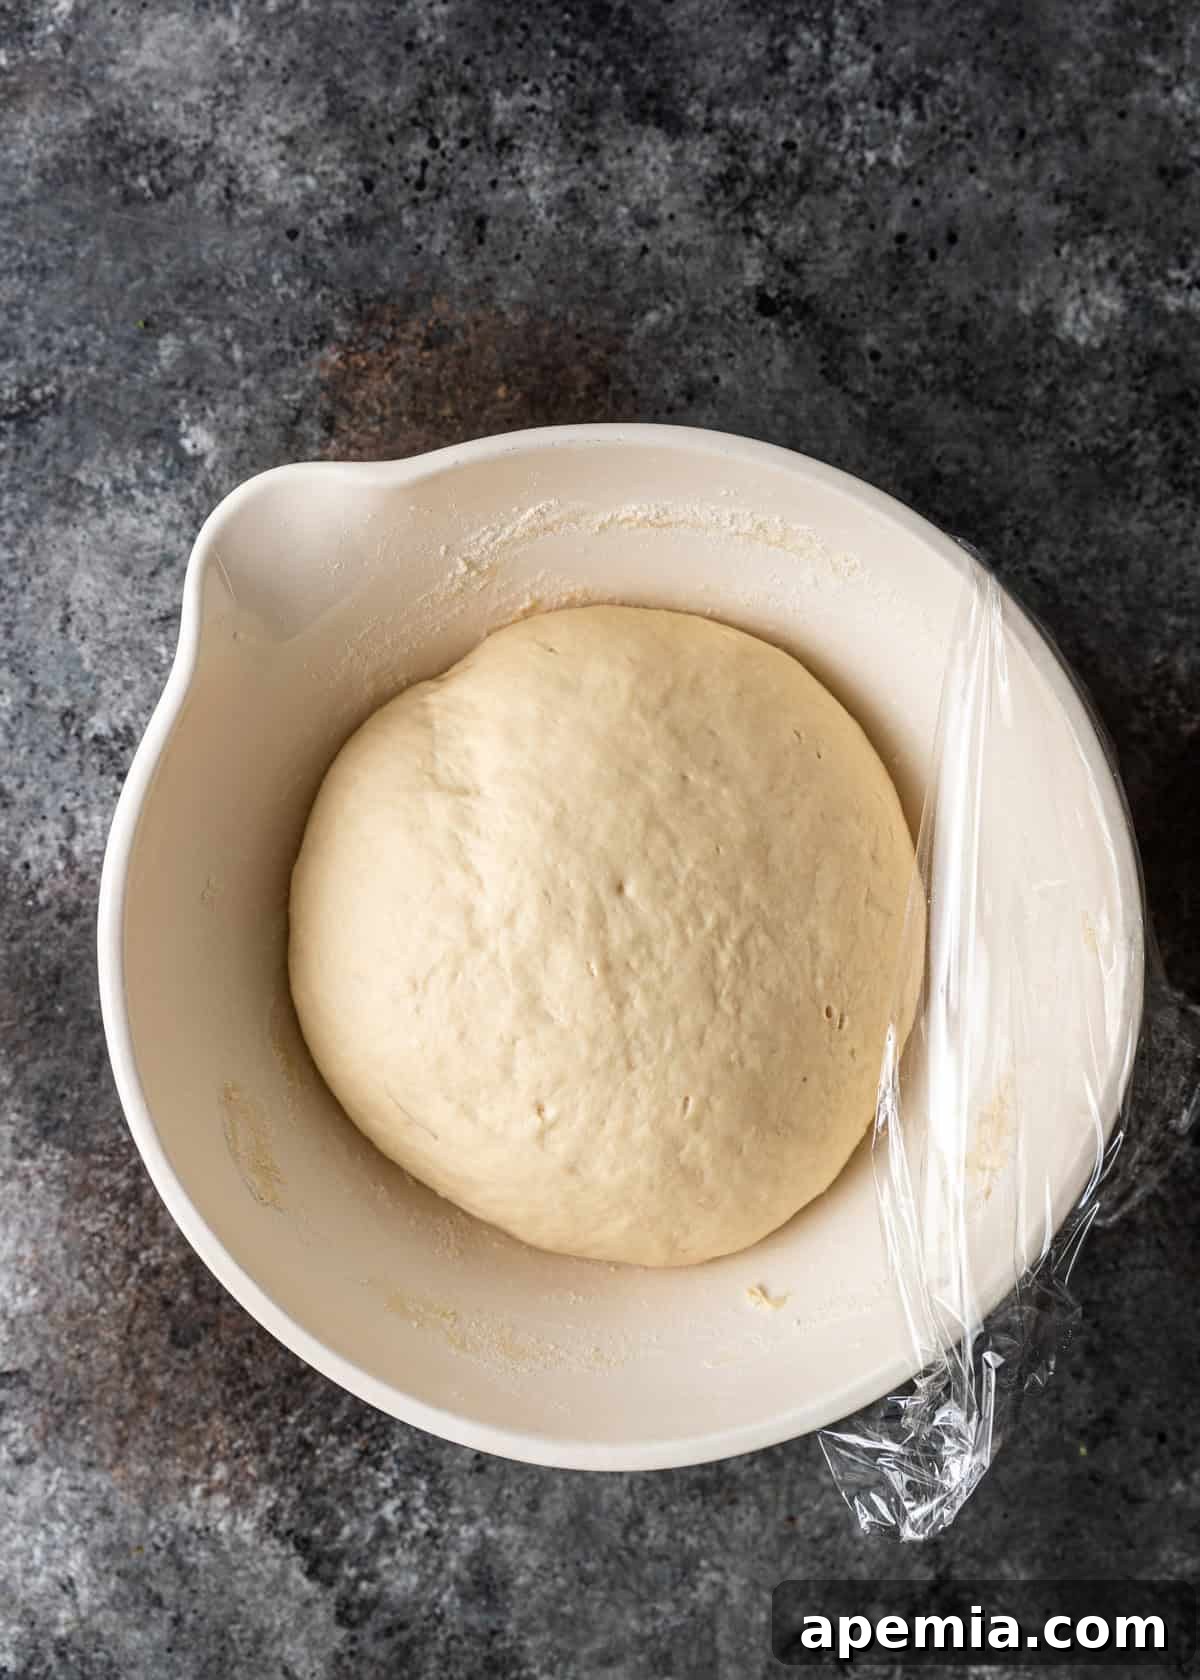
- Knead and Rest for Perfection. Transfer the dough from the bowl to a clean, lightly floured work surface. Continue to knead the dough vigorously and consistently for approximately 5 minutes. During this process, you will observe the dough transforming from its initial rough state into a smooth, elastic, and supple mass. A well-kneaded dough will feel smooth to the touch, spring back gently when poked, and should be only slightly tacky, not sticky. Once adequately kneaded, return the dough to the mixing bowl. Cover the bowl tightly with plastic wrap or a clean, damp kitchen towel, ensuring no air can dry out the surface. Place the covered bowl in a warm, draft-free spot (such as a slightly warm oven, or simply a warm corner of your kitchen). Allow the dough to rest and rise for about 12 minutes, or until it has visibly doubled in size. This crucial proofing period is essential for developing both the rich flavor and the signature light, airy texture of your bazlama.
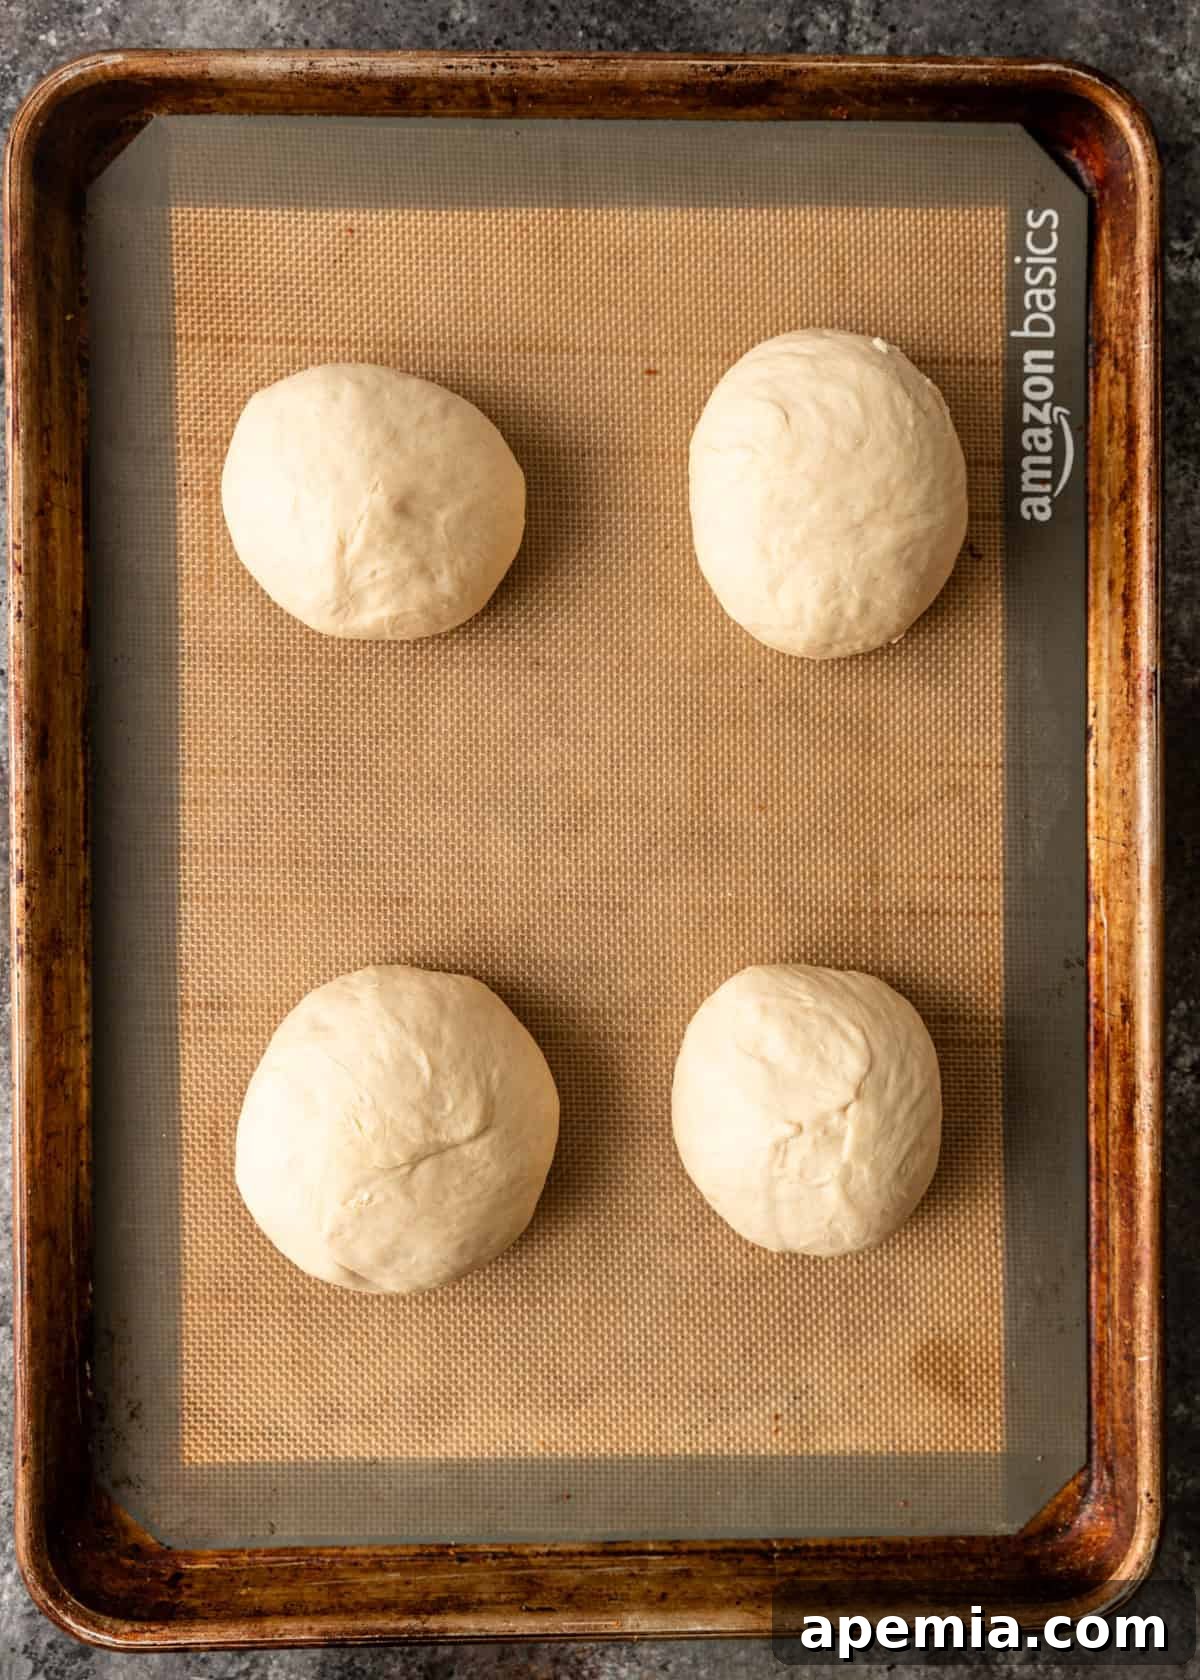
- Shape the Flatbreads. Gently transfer the beautifully risen dough back to your lightly floured workspace. Carefully divide the dough into 4 equal pieces. (As per Kevin’s tip, for smaller, more versatile bazlama, you can divide it into 6 pieces.) Take each individual piece of dough and roll it into a smooth, tight ball. A helpful technique for this is to cup the palm of your hand over one portion at a time and move your hand in a gentle circular motion on the counter; the friction helps to form a perfectly round, taut ball. Once all portions are balled, gently press or roll each ball using a rolling pin into a circular shape. Aim for a diameter of about 6 inches and a consistent thickness of approximately ¾-inch. As you work through shaping each circle, it’s important to keep the un-cooked dough circles covered with a damp cloth. This prevents them from drying out and forming a skin, ensuring they remain soft, pliable, and ready for optimal cooking.
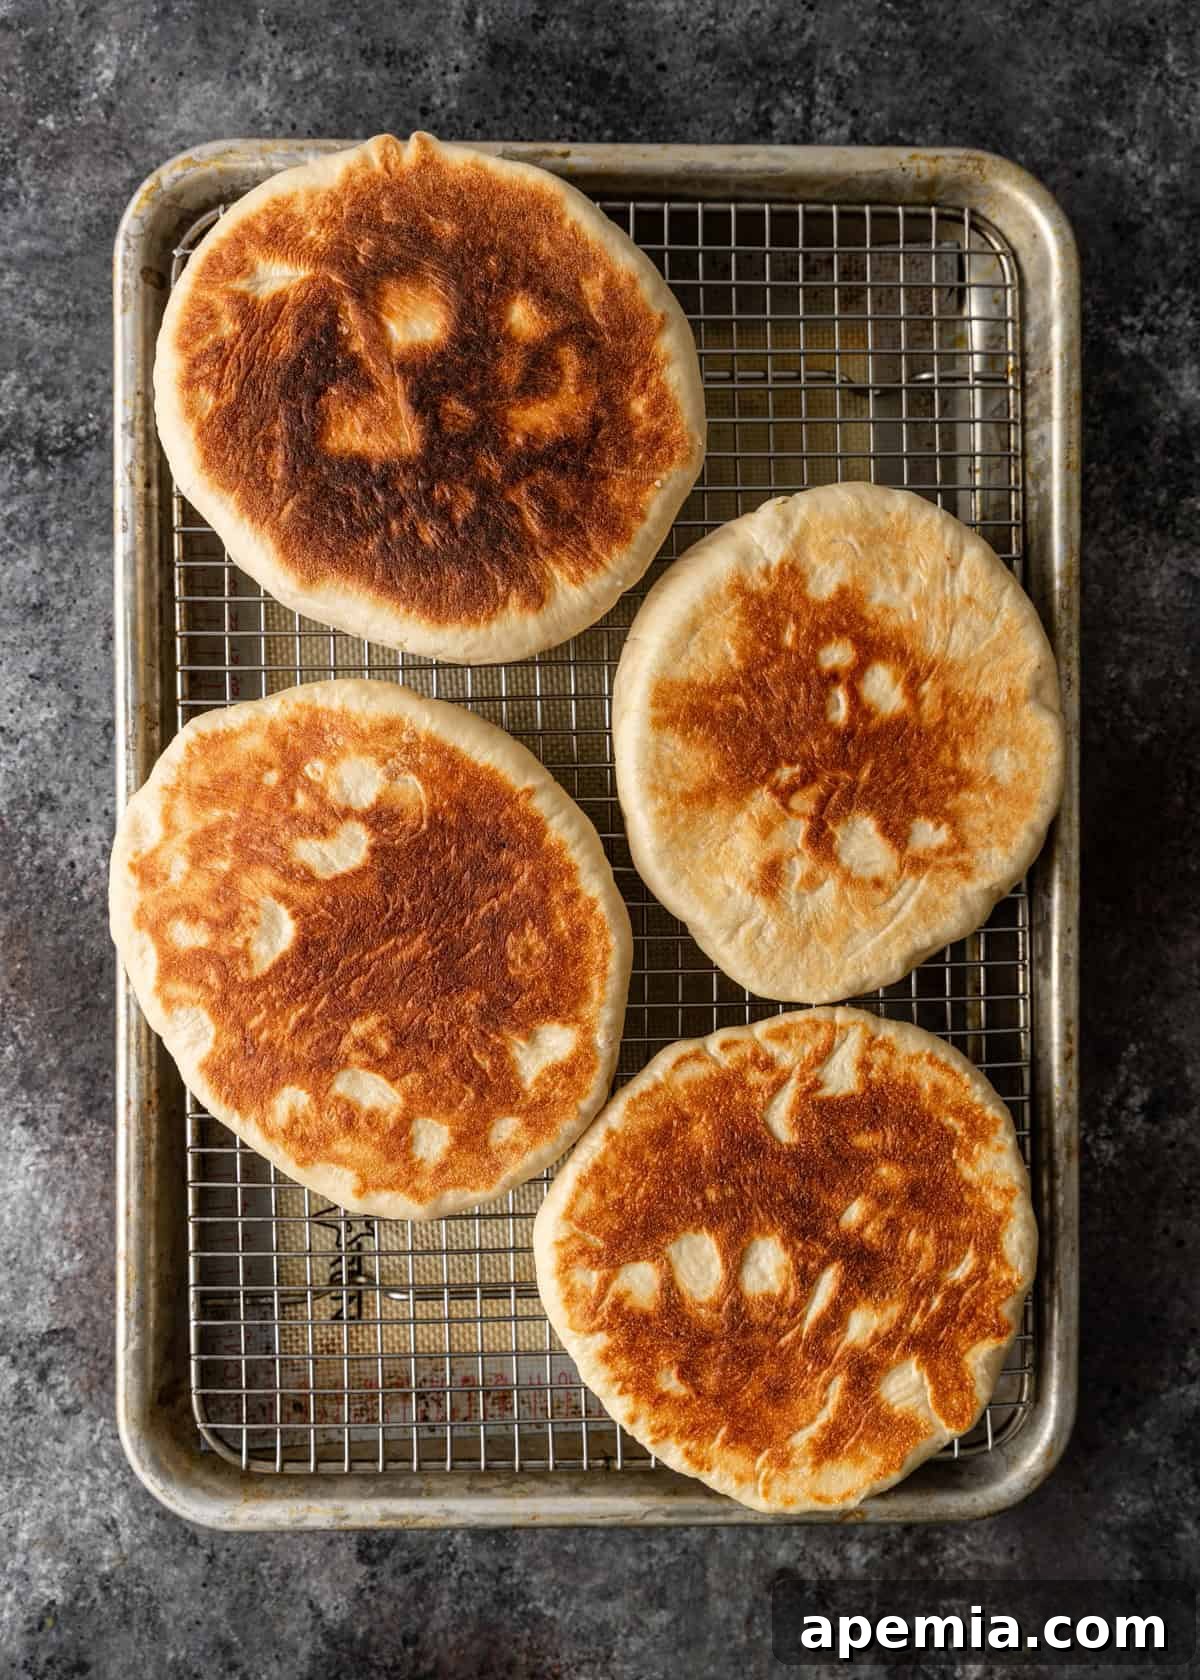
- Cook to Golden Perfection. Place your preferred cooking pan (a stainless steel, cast iron, or a good quality non-stick enamel pan all work well) over medium-high heat. Allow the pan to preheat thoroughly for several minutes until it is quite hot – a few drops of water should sizzle and evaporate quickly. Once the pan is sufficiently hot, carefully place one shaped dough circle into the pan. Immediately reduce the heat to low. This initial blast of high heat is crucial for helping the bread to puff up, creating those characteristic air pockets, while the subsequently reduced heat ensures it cooks through evenly and slowly without burning the exterior. Cook for approximately 3 minutes on the first side, until it develops attractive light golden-brown spots and begins to puff. Flip the bazlama carefully and cook for another 3 minutes on the second side. For a perfectly cooked center and enhanced texture, flip the bread again and cook the first side for an additional minute, then flip one last time and cook the second side for a final minute. The goal is a light golden-brown, slightly crispy exterior and a fully cooked, irresistibly fluffy interior. Transfer the cooked bazlama to a plate or a wire rack while you repeat the process with the remaining dough circles.
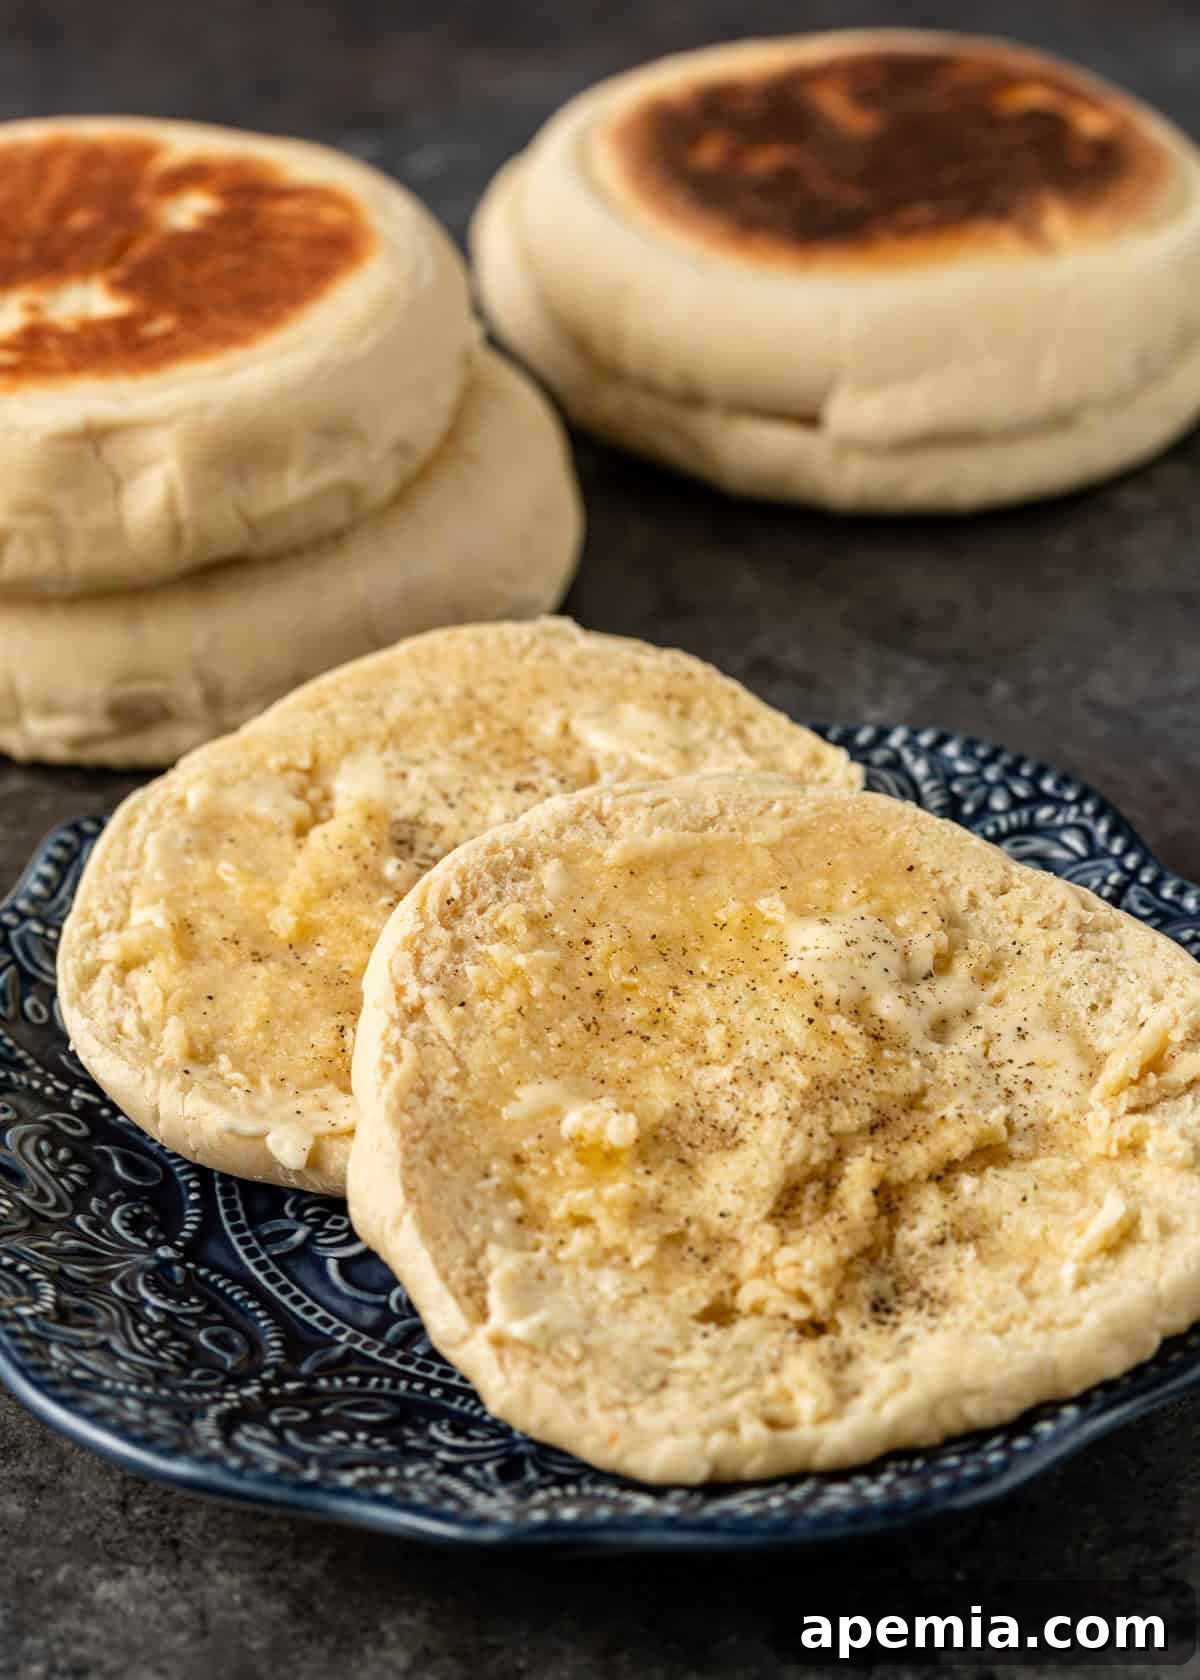
- Serve Immediately. For the absolute best and most authentic experience, serve your homemade bazlama while it is still wonderfully warm, straight from the pan. It’s absolutely divine simply spread with a generous knob of butter, allowing its tender texture to melt into every bite. Alternatively, its versatile nature makes it a fantastic vehicle for your preferred condiment, dip, or a hearty filling, effortlessly transforming into a delicious sandwich, wrap, or a savory base for small bites.
Recommended Kitchen Tools for Perfect Flatbread
Having the right tools at hand can significantly enhance your bazlama baking experience, making it more efficient, enjoyable, and ultimately more successful:
- Large Mixing Bowls: You’ll need at least two – one for blooming the yeast and one for combining the main dough ingredients and allowing it to rise comfortably.
- Sturdy Spoon or Spatula: Essential for the initial mixing stages of the dough before you transition to hands-on kneading.
- Kitchen Scale: For unparalleled precision, especially when measuring flour (which can vary greatly by volume), a kitchen scale ensures consistent results every time.
- Measuring Cups and Spoons: For accurately portioning liquids and smaller quantities of ingredients like sugar, salt, and yeast.
- Kitchen Thermometer: Crucial for ensuring your water temperature is within the ideal range (120-130°F or 49-54°C) for optimal yeast activation. This prevents killing the yeast with hot water or having a sluggish rise with cold water.
- Plastic Wrap or Damp Kitchen Towel: Indispensable for covering the dough during its resting and rising periods, preventing it from drying out and forming an undesirable skin.
- Rolling Pin: A good quality rolling pin is key for evenly flattening the dough balls into perfect, uniformly thick circles, which ensures even cooking.
- Large Skillet or Griddle: The pan is where the magic happens! You can successfully cook the flatbread on a heavy-bottomed stainless steel pan, a cast iron skillet, or a quality non-stick enamel pan. A cast iron skillet is particularly excellent for its superior heat retention and even heat distribution, helping to achieve a beautiful, slightly crispy crust. A large griddle can also be very efficient, allowing you to cook multiple bazlama simultaneously.
- Wire Cooling Rack: Once cooked, transfer your bazlama to a wire cooling rack placed over a baking sheet. This allows air to circulate freely around the bread, preventing the bottom from becoming soggy from residual steam.
Storing and Reheating Your Bazlama
One of the many appealing aspects of this bazlama recipe is its inherent flexibility when it comes to advance preparation and storage, making it a convenient option for any schedule. To get a delightful head start, you can easily prepare the dough in advance: simply mix the dough, allow it to complete its first rise, then cover it tightly with plastic wrap and refrigerate for up to two full days before you plan to cook your flatbreads. This thoughtful preparation allows you to enjoy fresh, warm bazlama even on the busiest of weeknights, with minimal effort required right before mealtime.
For cooked bazlama, proper storage is key to maximizing its freshness and ensuring it retains its tender texture. Once your bazlama has cooled completely, store it in an airtight baggie, a sealed container, or wrapped snugly in foil. When stored correctly at room temperature, it will maintain its delicious texture and flavor for up to 3 days. If you wish to extend its shelf life further, transfer it to the refrigerator, where it will comfortably last for a few more days, ready for whenever a craving strikes.
To truly revive and enjoy leftover bazlama as if it were just freshly made, reheating it correctly is crucial. The secret lies in reintroducing a little moisture: lightly sprinkle the flatbread with just a few drops of water – this helps to prevent it from drying out during reheating. Wrap it gently yet completely in a paper towel, and then microwave for approximately 20-30 seconds, depending on your microwave’s power. This simple method works wonders, breathing new life into its soft, fluffy texture and bringing back that irresistible fresh-baked warmth and appealing aroma.
Love this recipe? Share it with the world on Pinterest!
Help spread the word about this amazing Turkish flatbread recipe. Pin it now!
Pin Recipe on Pinterest
Frequently Asked Questions About Bazlama
Bazlama’s incredible versatility is precisely what makes it such a beloved and widely used staple in Turkish cuisine. It’s frequently enjoyed as a satisfying yet light vegetarian wrap or sandwich, often generously filled with creamy hummus, an assortment of fresh, crisp vegetables, and various types of cheese. For those desiring a more substantial, protein-packed meal, succulent grilled or roasted meats are frequently added to bazlama, creating a hearty and immensely flavorful experience.
Beyond serving as a wrapper, bazlama is also an excellent and indispensable companion to main courses, serving as the perfect, absorbent vehicle to scoop up rich sauces, flavorful gravies, and tender ingredients from dishes like savory roasted chicken and vegetables. It can also be conveniently sliced into several inviting triangles and elegantly presented alongside an array of delicious dips and vibrant spreads, such as creamy Mediterranean hummus, tangy and light whipped feta dip, or smoky and rich baba ganoush. Its wonderfully soft texture truly makes every bite an absolute delight.
Absolutely! Bazlama dough is remarkably freezer-friendly, offering a fantastic solution for advance meal preparation and saving precious time later. You can confidently freeze the prepared dough for up to a couple of months without compromising its quality or the final texture of the baked flatbread. For maximum convenience when you’re ready to cook, I highly recommend shaping the dough into individual circles or rounds before freezing them. This way, when you’re craving fresh bazlama, you can simply grab the desired number of rounds. Make sure to let the frozen dough rounds thaw completely in the refrigerator, ideally overnight, and then bring them to room temperature before attempting to cook them. This crucial step ensures they cook through evenly and achieve that perfect fluffy texture without the exterior burning or becoming tough due to uneven heating.
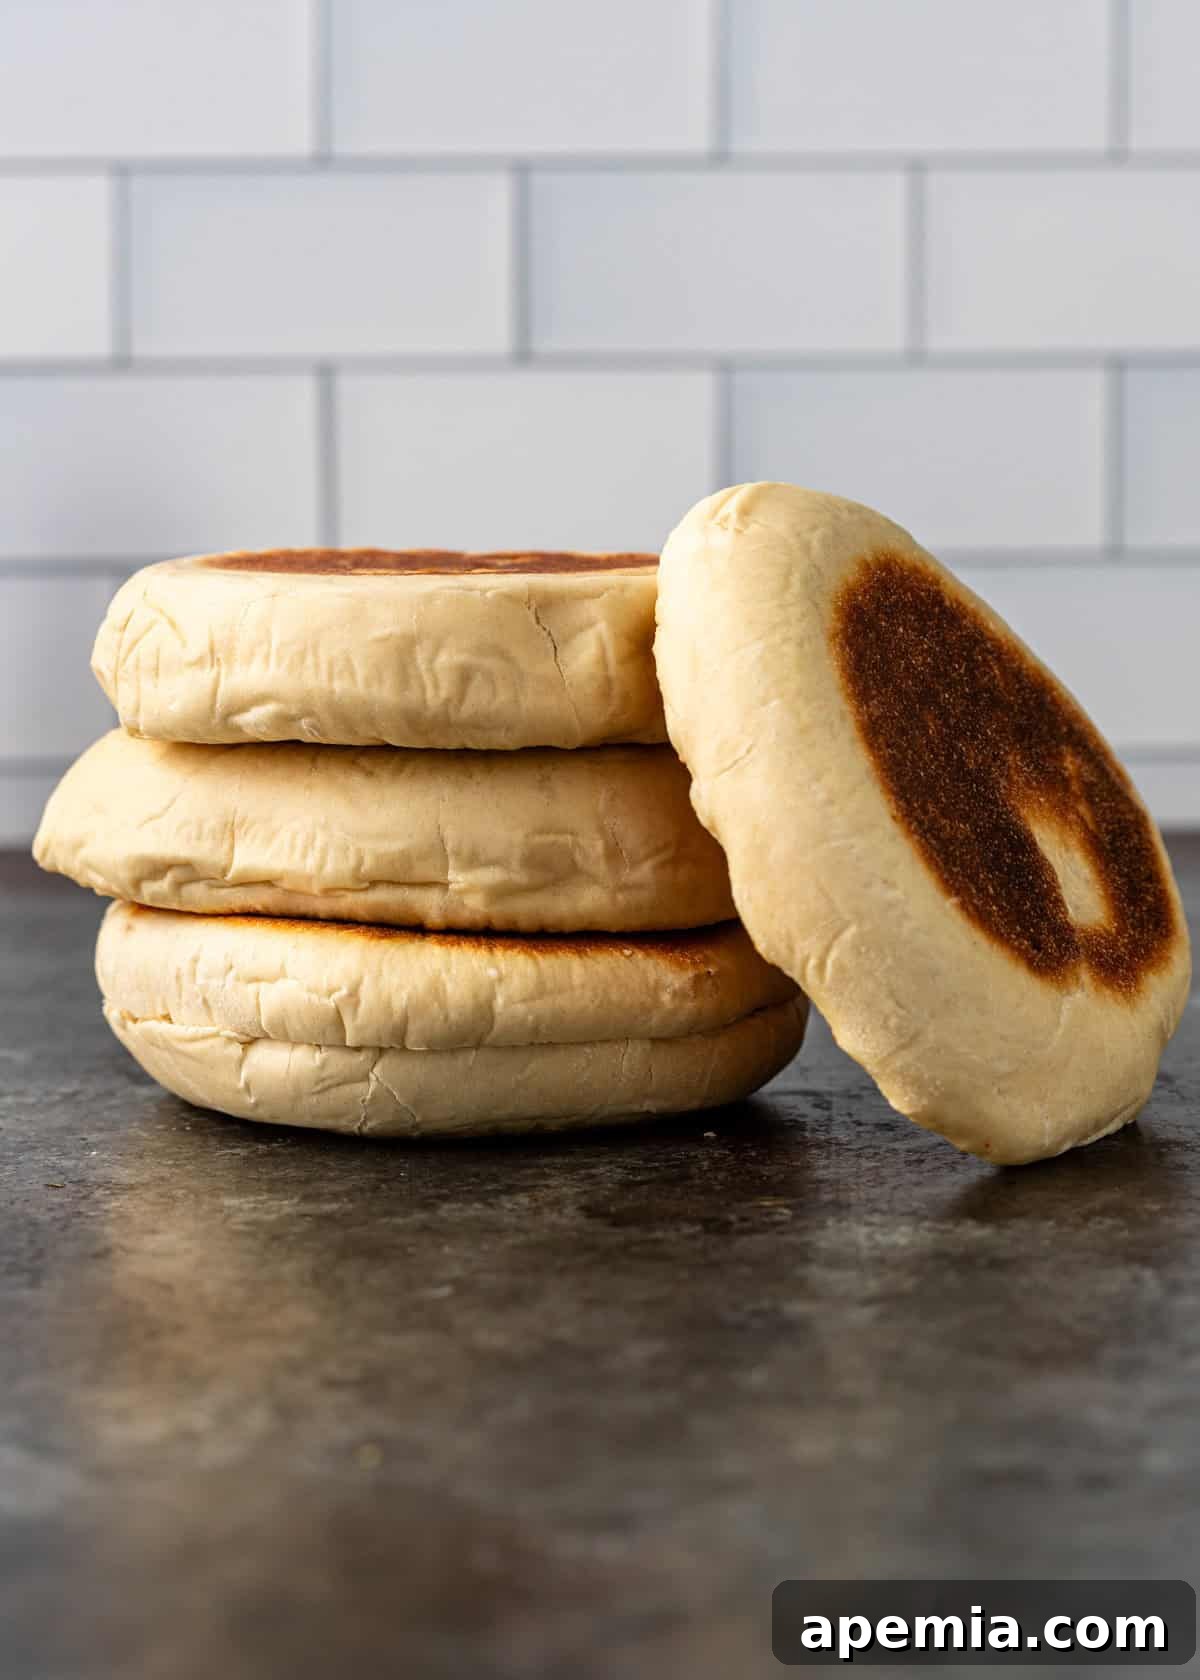
While both bazlama and pita are indeed types of flatbreads, they possess notable and distinct differences in both flavor and texture. Pita bread is typically characterized by its thinner profile and a generally drier consistency, often relying heavily on accompanying sauces and dips to provide much-needed moisture. A defining characteristic of pita is its unique hollow center, which makes it exceptionally well-suited for stuffing with various fillings to create pockets. In stark contrast, Turkish bazlama is celebrated for its exceptionally soft, pillowy texture that is consistently fluffy all the way through, lacking any distinct internal pocket.
Given its remarkably soft and tender crumb, I would confidently argue that bazlama shares more textural similarities with Indian Naan bread than with traditional pita, although bazlama generally tends to be noticeably thicker and more substantial than both. These clear differences delightfully highlight the rich diversity within the expansive world of flatbreads, with each offering a truly unique and cherished culinary experience.
Bazlama, Pide, and Simit are all deeply cherished Turkish breads, yet each holds its own unique place and identity within Turkish culinary tradition. Bazlama is characterized as a simple, round, leavened flatbread, primarily known for its incredibly soft, fluffy, and slightly chewy interior, without any specific decorative toppings or intricate shaping. It functions as an everyday bread, perfectly suited for dipping into sauces or as a versatile base for various fillings. Pide, conversely, is typically a boat-shaped or oval bread, often topped generously with ingredients such as seasoned minced meat, melting cheese, cracked eggs, or fresh vegetables, making it more akin to a rustic Turkish pizza or a hearty savory pie. It generally features a slightly denser crust and a more substantial feel, and is frequently seasoned with aromatic nigella or sesame seeds. Simit, on the other hand, is a distinct circular bread, heavily coated in sesame seeds and notably sweetened with a molasses dip before baking. This process gives it a characteristic shiny, slightly crisp crust and a delightful sweet-nutty flavor, commonly enjoyed as a beloved breakfast item or a popular street food snack. The enduring charm of Bazlama lies in its humble, adaptable nature and its pure, unadorned, comforting texture, making it a foundational bread for countless meals.
While a heavy-bottomed cast iron skillet or a good quality, thick stainless steel pan is highly recommended for optimal results, primarily due to their superior heat retention and ability to distribute heat very evenly, you can certainly make delicious bazlama using other types of pans. A standard non-stick pan can also work quite effectively, though you might need to make slight adjustments to the heat settings and monitor the cooking process more closely to prevent over-browning, as non-stick pans can sometimes heat unevenly or too quickly. The most crucial factor, regardless of the pan type, is ensuring the pan gets very hot initially (to create that characteristic puff and develop a good crust) and then reducing the heat to low to allow the bread to cook thoroughly from the inside out. As long as your chosen pan can distribute heat relatively evenly and is capable of reaching and maintaining high temperatures, you can absolutely achieve wonderfully delicious homemade bazlama.
Bazlama (Leavened Turkish Flatbread)
Rating: 4.5 out of 5 stars (based on 2 votes)
Bazlama is a delightfully soft, fluffy, and chewy Turkish flatbread that’s incredibly versatile. It’s perfect as a hearty sandwich bread, an absorbent accompaniment to saucy dishes, or simply enjoyed plain with a generous spread of butter.
Servings: 6
Prep Time: 10 mins
Cook Time: 8 mins
Dough Rise Time: 12 mins
Total Time: 30 mins
Ingredients
- 500 g all-purpose flour (~18 oz, 3 and 2/3 cups)
- 1 teaspoon salt
- 200 ml milk (4/5 cup, ~6.8 fl. oz)
- 100 ml warm water (2/5 cup, ~3.4 fl. oz, 120-130°F)
- 1/2 teaspoon granulated sugar
- 1 tbsp instant yeast
Instructions
- In a bowl, mix together the milk, warm water, granulated sugar, and instant yeast. Stir gently with a wooden spoon and let the mixture rest for 3 minutes until it becomes foamy, indicating the yeast is active.
- In a large separate bowl, combine the all-purpose flour and salt. Create a well in the center of the dry ingredients and pour in the activated yeast mixture.
- Mix with a spoon until the dough just starts to come together. Then, transfer the dough to a clean, lightly floured surface and begin kneading by hand. Adjust consistency as needed: add a tablespoon of warm water or milk if too dry, or a tablespoon of flour if too sticky.
- Continue kneading the dough for 5 minutes until it is smooth, elastic, and no longer sticky. Place the dough back into the bowl, cover it with plastic wrap or a damp cloth, and let it rise in a warm place for about 12 minutes, or until it has doubled in size.
- Once risen, transfer the dough to a floured work surface. Divide the dough into 4 equal pieces (or 6 for smaller flatbreads) and shape each into a smooth ball. Flatten or roll each ball into a circle approximately 6 inches in diameter and about ¾-inch thick. Keep the un-cooked dough circles covered with a damp cloth to prevent them from drying out.
- Preheat a stainless steel, cast iron, or enamel pan over medium-high heat until hot. Place one flattened dough circle into the hot pan and immediately reduce the heat to low. Cook for 3 minutes on the first side until golden spots appear, then flip and cook for another 3 minutes on the second side. To ensure the center is cooked through, flip it again and cook for an additional minute on the first side, then flip once more and cook for a final minute on the other side. Transfer the cooked bazlama to a plate and repeat with the remaining dough.
- Serve your delicious bazlama immediately. You can cut it in half and spread with butter, or use it as a versatile base for your favorite condiments and fillings to create a sandwich or wrap.
Notes
Adapted from Refika’s Kitchen. For the best rise, ensure your warm water is between 120-130°F (49-54°C). Adjust flour/liquid slightly as needed for perfect dough consistency, which can vary with humidity.
Nutrition Information (Estimate Per Serving)
Calories: 327kcal | Carbohydrates: 66g | Protein: 10g | Fat: 2g | Saturated Fat: 1g | Polyunsaturated Fat: 0.4g | Monounsaturated Fat: 0.3g | Cholesterol: 4mg | Sodium: 403mg | Potassium: 147mg | Fiber: 2g | Sugar: 2g | Vitamin A: 56IU | Vitamin C: 0.002mg | Calcium: 56mg | Iron: 4mg
The information shown is an estimate provided by an online nutrition calculator. It should not be considered a substitute for a professional nutritionist’s advice.
Course: Breads, Appetizer, Side Dish, Breakfast
Cuisine: Turkish
Author: Kevin
Have You Made This Recipe? Let Me Know on Instagram!
Tag @keviniscooking or use the hashtag #keviniscooking!