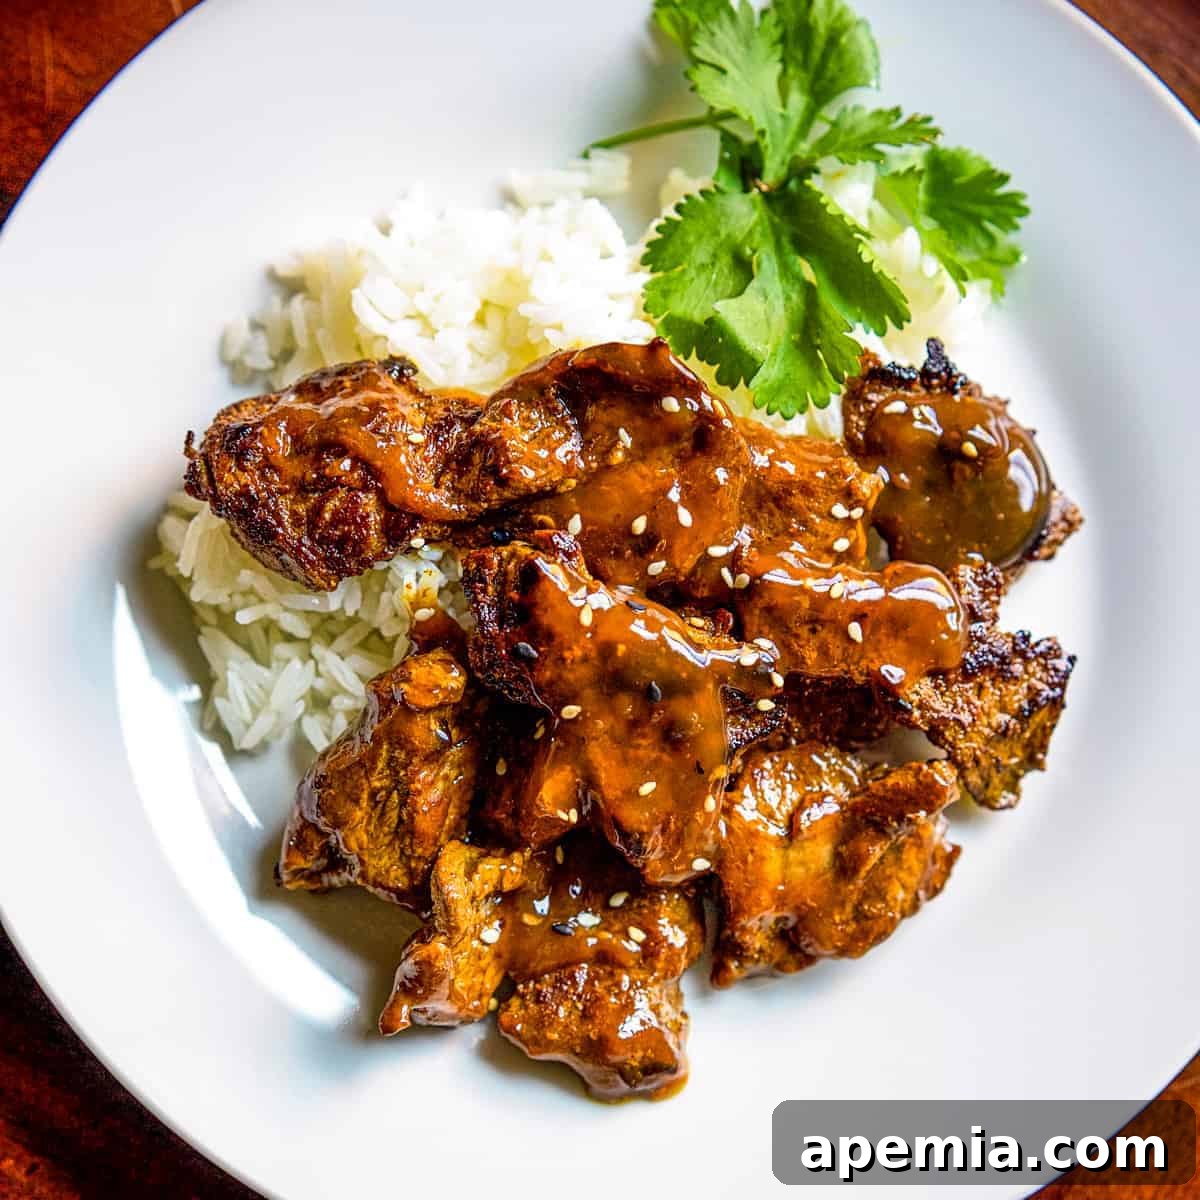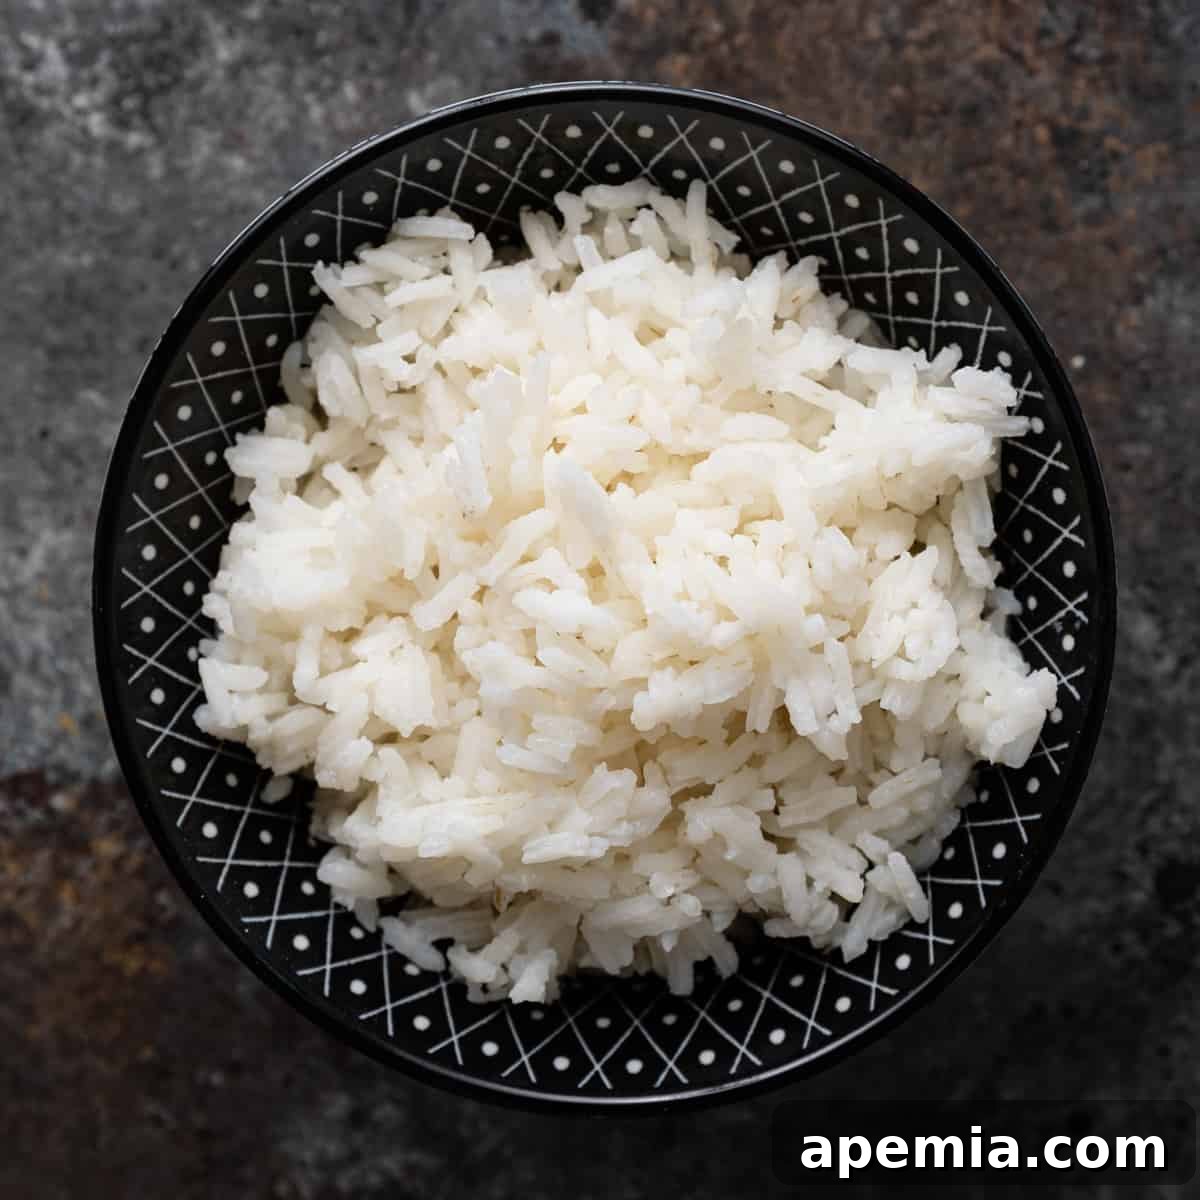
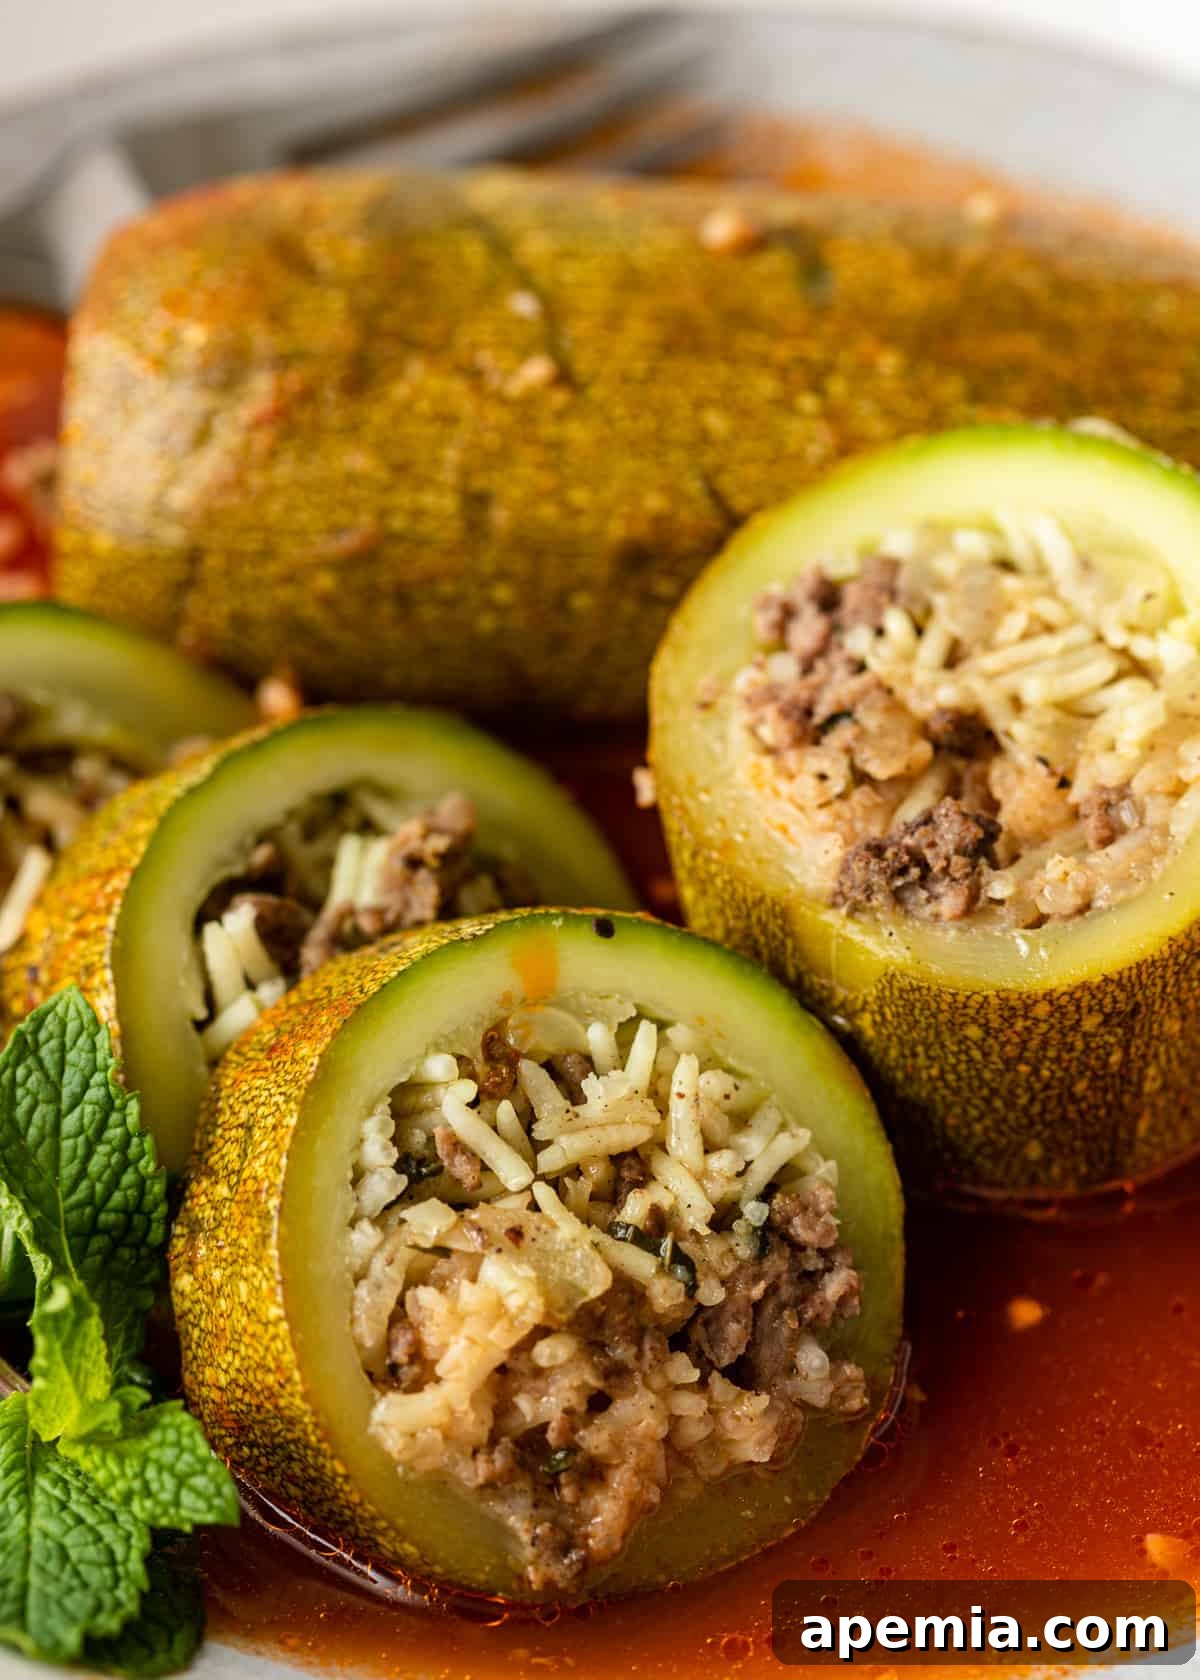
White rice: a humble staple, yet an incredibly versatile culinary foundation that graces tables across the globe. For me, it’s not just a side dish; it’s a blank canvas, ready to absorb the flavors of countless cuisines and complement an astonishing array of main courses. From the vibrant Mediterranean notes of stuffed zucchini (kousa mahshi), to the aromatic spices of Thai baked halibut, or the savory richness of Chinese curry beef stir fry, its beautifully neutral flavor makes it the undisputed champion for rounding out any meal. Beyond main courses, its wholesome and satisfying nature makes it a fantastic addition to fresh salads, comforting soups, and even delightful desserts. Cooked perfectly, white rice is light, fluffy, and utterly irresistible.
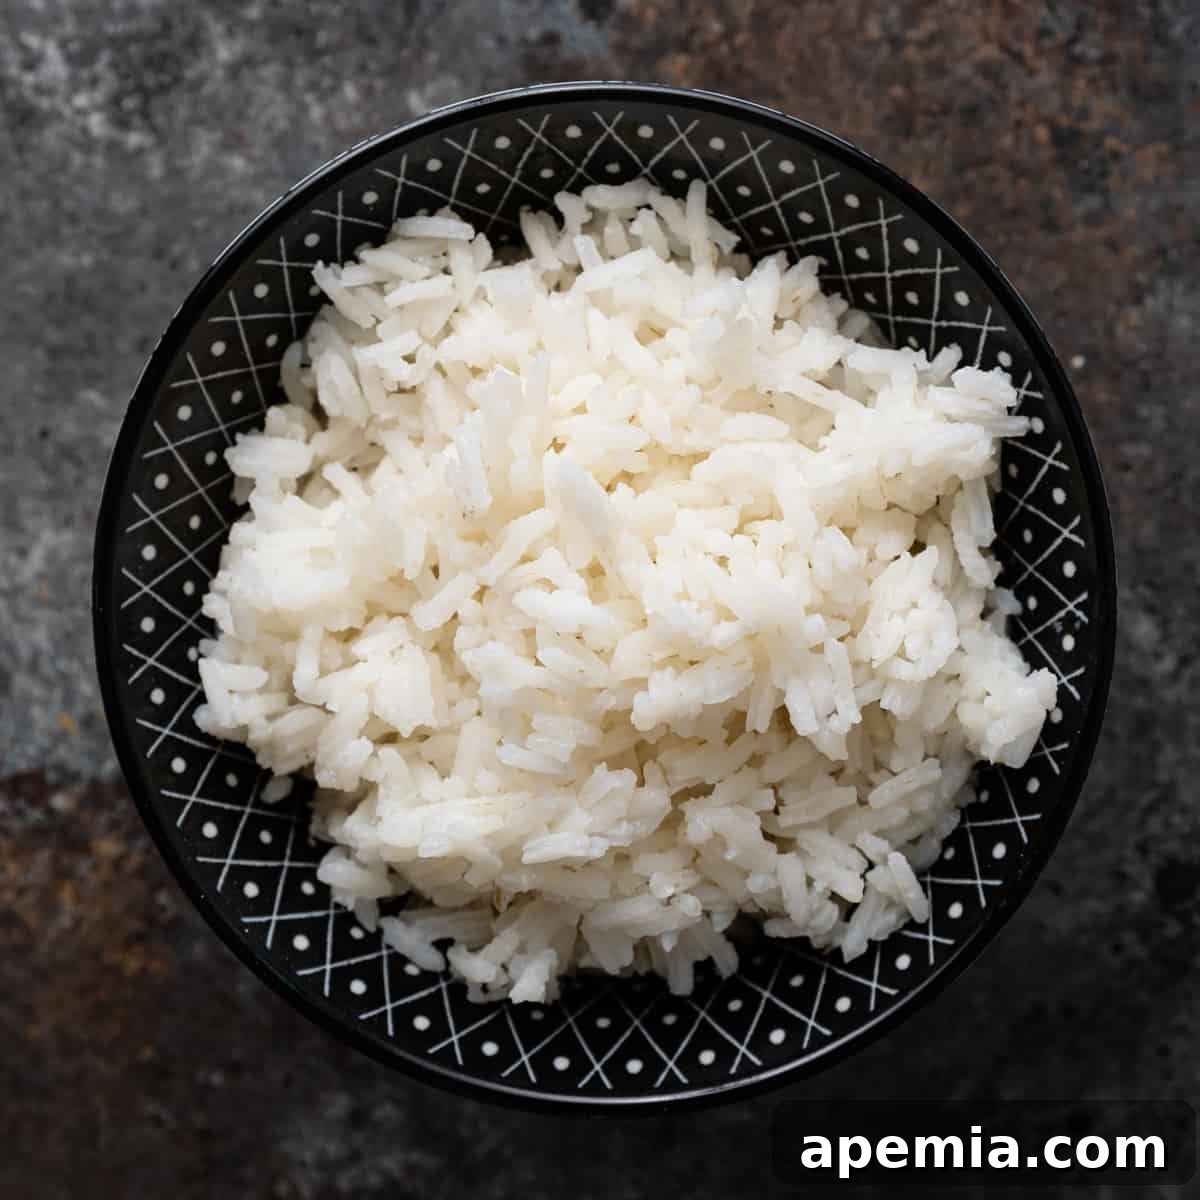
Given its universal appeal and numerous benefits, it’s no wonder many home cooks want to master the art of how to cook white rice perfectly every time. While the process is fundamentally simple, there are crucial details that often get overlooked, leading to less-than-ideal results. If you’ve ever found yourself with rice that’s either too hard, overly sticky, or a mushy mess at the bottom of the pot, you’re not alone. This comprehensive guide is designed to demystify white rice cooking, providing you with all the essential knowledge and techniques to achieve light, fluffy, and impeccably cooked grains consistently.
One of the first concepts to understand when cooking rice is the impact of grain length on texture. Generally, the shorter the rice grain, the higher its starch content, resulting in a stickier texture where grains cling together rather than remaining individual and crumbly. Conversely, longer grain varieties typically have less starch, yielding a drier, more separated grain when cooked. This inherent characteristic dictates how we might approach different dishes.
For instance, short-grain rice is a staple in many Asian cuisines, particularly popular in Chinese and Japanese cooking, where its stickiness makes it ideal for eating with chopsticks or shaping into sushi. On the other hand, long-grain varieties like jasmine or basmati, which produce distinct, separate grains, would be a bit more challenging to manage with chopsticks due to their non-clumping nature. Understanding this fundamental difference is key to selecting the right rice for your culinary creations.
In this ultimate guide to cooking perfect white rice, you’ll discover:
- Diverse and effective methods for cooking white rice, suitable for any kitchen setup.
- The exact water-to-rice ratios tailored for each cooking technique.
- Expert tips and clever tricks to ensure consistently perfect results.
- Inspiring serving suggestions and creative ways to incorporate white rice into your meals.
I’ll also share some of my all-time favorite recipes that truly highlight the delicious potential of perfectly cooked white rice. Let’s embark on this journey to rice-cooking mastery!
Mastering the Art: How to Cook White Rice Flawlessly
Achieving perfectly cooked white rice at home doesn’t require an arsenal of specialized kitchen gadgets. In fact, if you possess a stovetop, an oven, a pressure cooker (like an Instant Pot), or even just a microwave, you already have all the necessary tools! There’s no need to rush out and invest in an expensive, single-purpose rice cooker to get it right. With the proper technique, a simple pot or dish will suffice.
Before diving into the cooking methods, it’s beneficial to understand the primary types of white rice, as their inherent characteristics influence their texture and best uses:
- Short-grain rice: These plump, almost round grains are high in starch. When cooked, they become soft, moist, and sticky, making them ideal for dishes like sushi, rice puddings, and some types of risotto.
- Medium-grain rice: Falling between short and long grains in length, medium-grain rice (such as Arborio or Calrose) tends to be moist, tender, and slightly chewy when cooked. They also stick together a bit, making them good for dishes like paella or sticky rice desserts.
- Long-grain rice: Characterized by slender, elongated grains, long-grain varieties like jasmine, basmati, and American long-grain white rice have a lower starch content. They cook up light, fluffy, and separate, which makes them perfect as a side dish, in pilafs, or stir-fries.
The beauty of the methods detailed below is their adaptability – they will yield excellent results regardless of the type of white rice grain you choose to cook. While some recipes might specifically call for a certain grain due to its unique texture, the fundamental principles of cooking remain consistent. Now you understand the nuances, you’re ready to proceed with confidence!
The Golden Rule: Understanding the Perfect Rice-to-Water Ratio
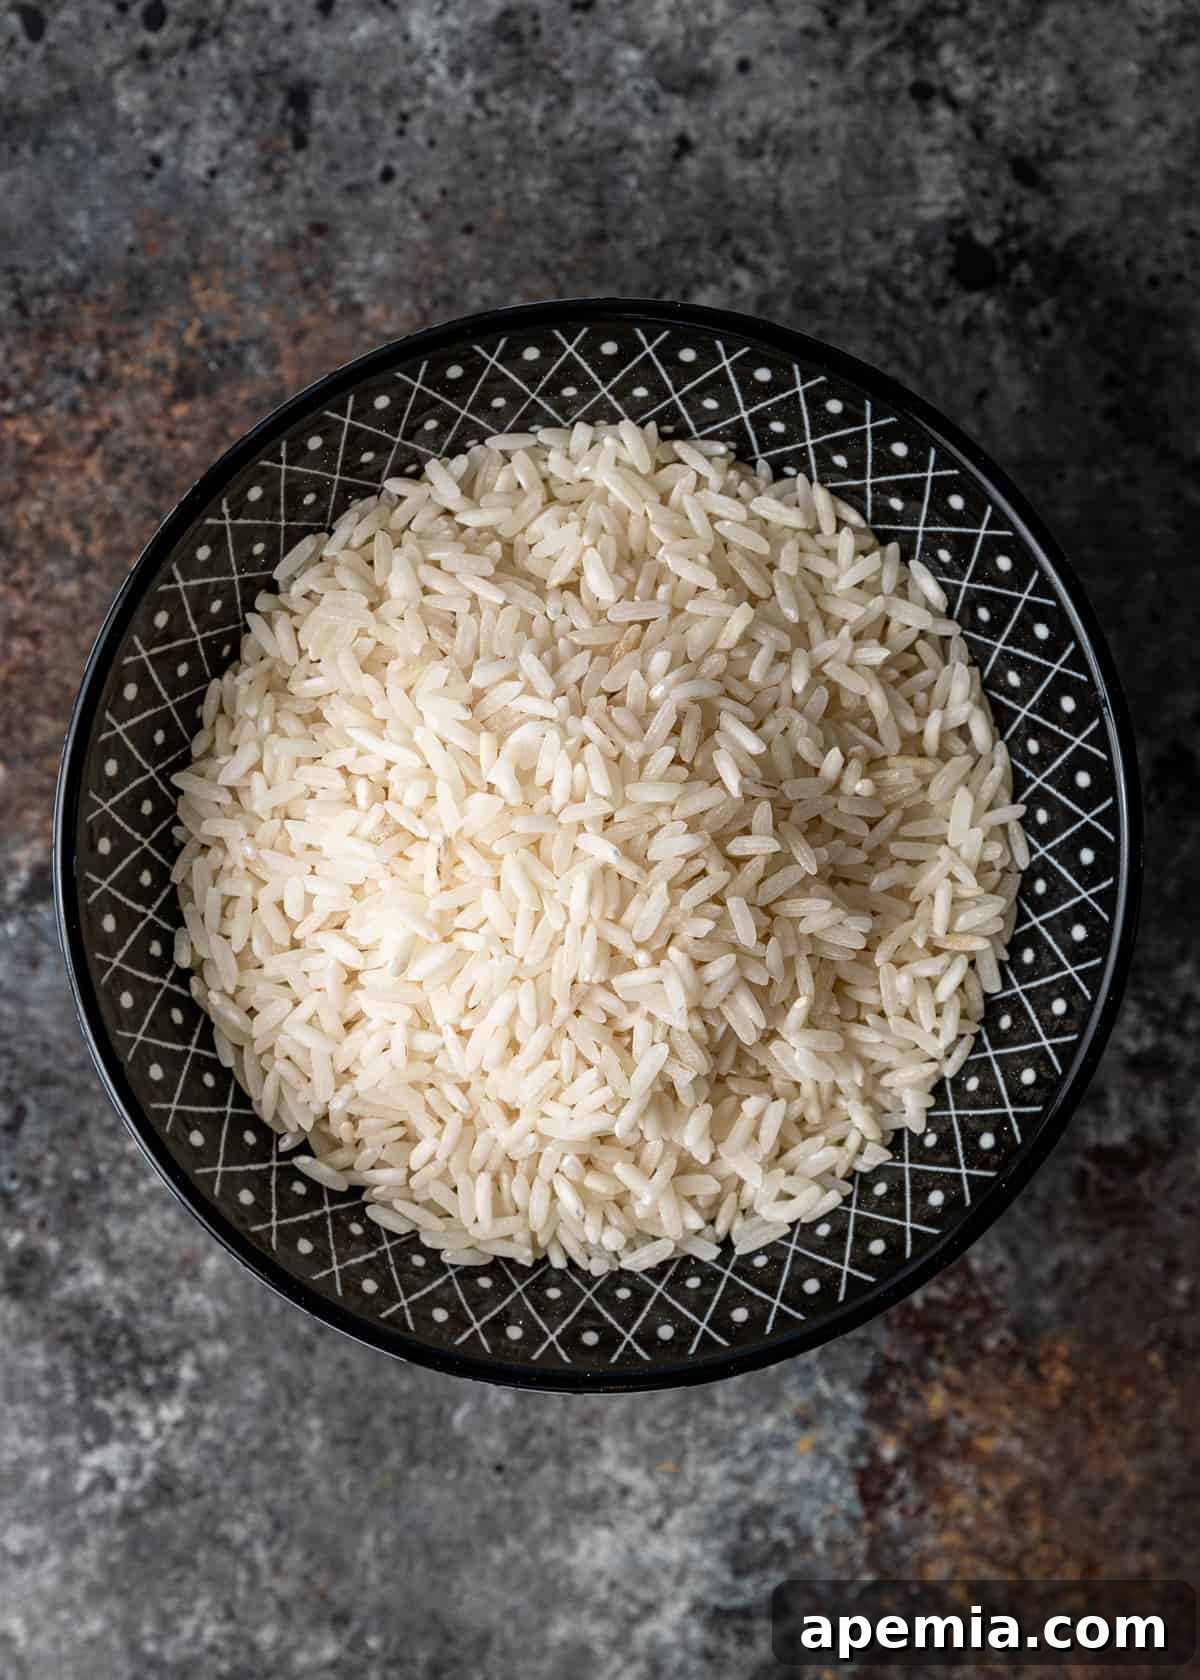
The single most critical factor in learning how to cook white rice perfectly is getting the rice-to-water ratio precisely right. This ratio dictates whether your rice will be tender and fluffy or turn out hard, sticky, or mushy. While some slight adjustments might be needed based on factors like altitude, rice age, or your personal preference for texture, here are the generally accepted guidelines I follow, especially for my preferred stovetop and oven methods:
For stovetop or oven cooking: Use 1.5 cups of water for every 1 cup of dry white rice.
This 1:1.5 ratio ensures the rice fully absorbs the water, cooking through evenly without becoming waterlogged. However, this ratio changes based on the cooking environment:
- Microwave: Because microwaves cause water to evaporate more rapidly and less efficiently, you’ll need to increase the water. Use 2 cups of water for every 1 cup of dry white rice when cooking in the microwave.
- Pressure Cooker: Pressure cookers create a sealed environment that prevents steam from escaping, making them incredibly efficient. For this method, you can opt for a 1:1 ratio (1 cup of water for every 1 cup of dry white rice). Keep in mind that every pressure cooker, especially newer electric models, can vary slightly. Don’t be afraid to experiment with the water amount in small increments (e.g., ⅞ cup to 1 cup per cup of rice) until you find the exact balance that yields your ideal texture.
A helpful tip: The exact measuring cup you use doesn’t matter as much as consistency. If you use a coffee cup to measure your rice, use the same coffee cup (at the appropriate ratio) to measure your water. This ensures proportionality, regardless of the vessel’s actual volume. Once you master these ratios, perfect rice is well within your grasp! Now, let’s dive into the specifics for each cooking method.
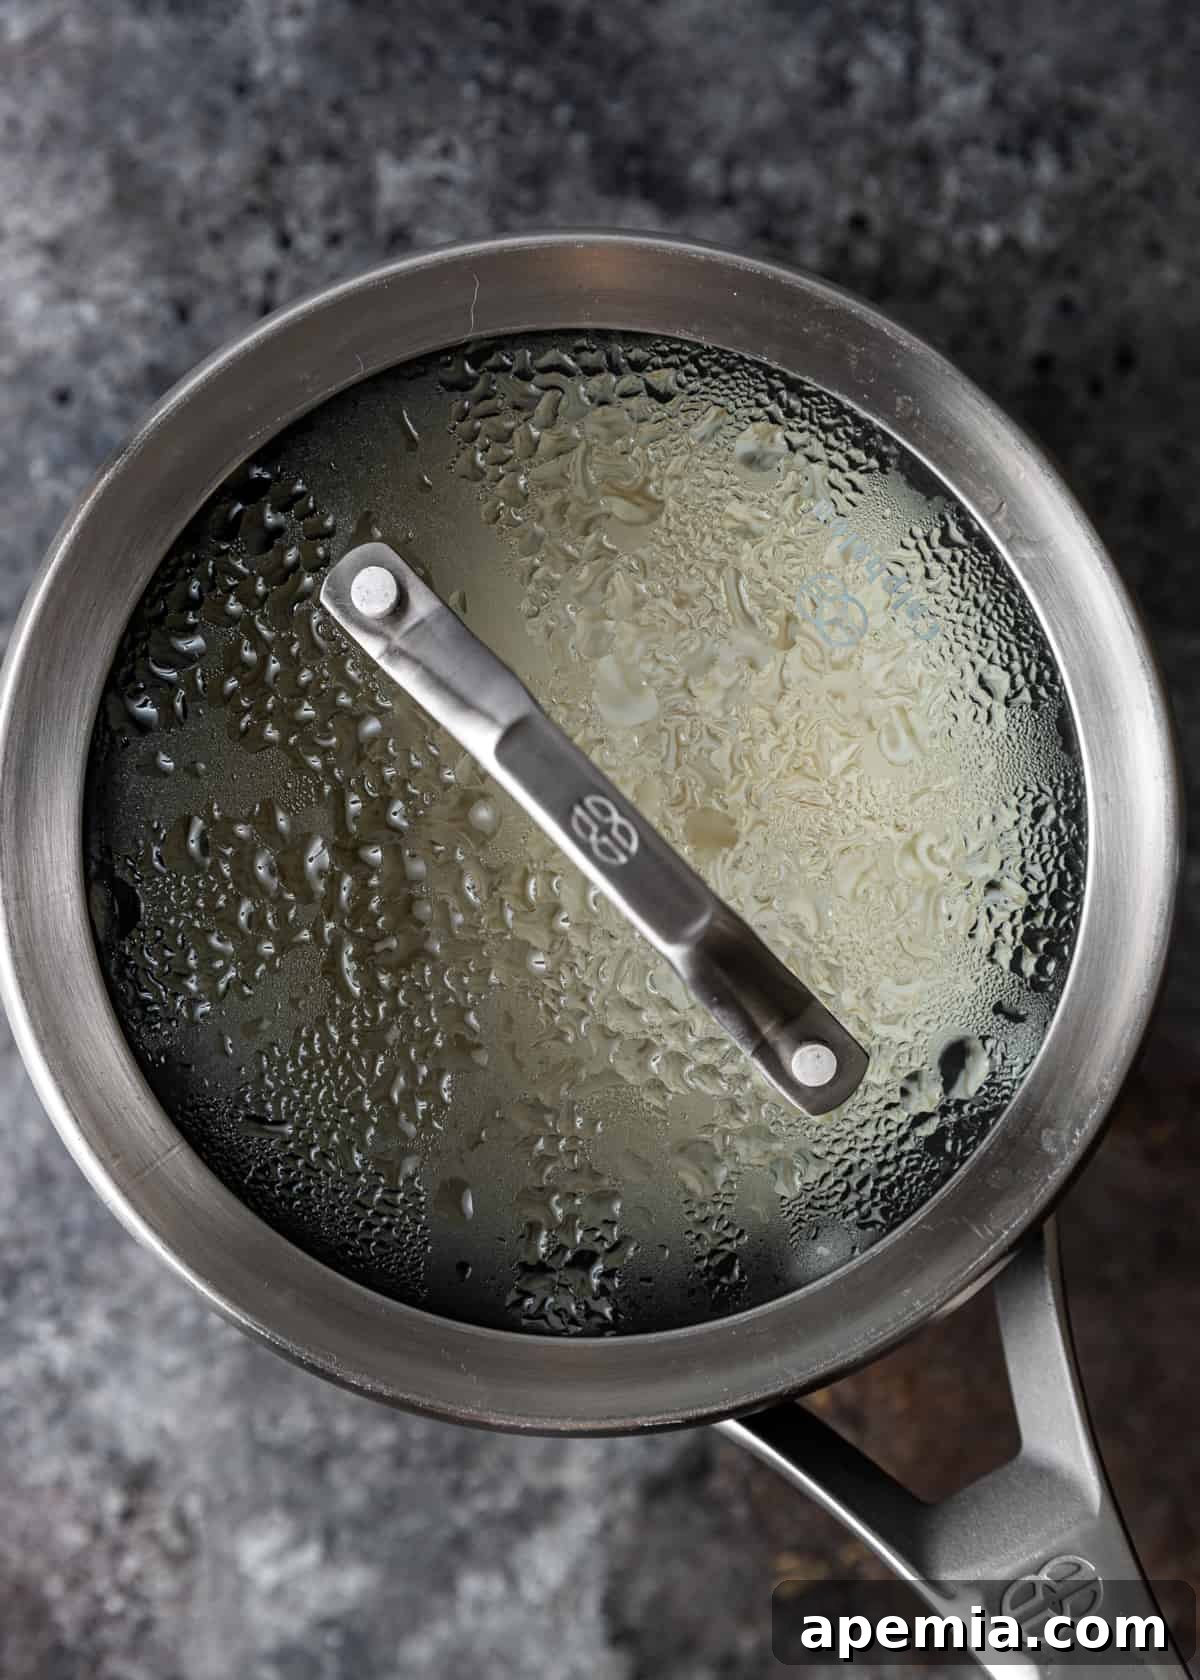
The Classic Approach: How to Cook White Rice on the Stove
Cooking white rice on the stovetop is arguably the most traditional and frequently used method, and for good reason. It’s straightforward, requires minimal equipment, and yields consistently excellent results with proper attention. It typically takes about 20 minutes from start to finish, making it a quick and reliable option for any meal.
Step-by-Step Stovetop Method:
Step 1: Combine and Bring to a Gentle Boil. In a medium-sized saucepan with a well-fitting lid, combine 1 cup of dry white rice with 1.5 cups of cold water. You can also add a pinch of salt (about ¼ teaspoon per cup of rice) for flavor and a small pat of butter or a teaspoon of oil (optional) to prevent sticking and add richness. Place the saucepan over medium-high heat and bring the water to a gentle boil. This means you should see small, consistent bubbles forming across the surface, with a slight frothy appearance, but not a vigorous, rolling boil that might cause boil-overs once covered.
Step 2: Simmer, Covered. Once you’ve reached a gentle boil, immediately reduce the heat to the lowest setting possible. Cover the saucepan tightly with its lid. The tight-fitting lid is crucial here, as it traps the steam, allowing the rice to cook evenly and absorb all the liquid. Resist the urge to lift the lid during this stage! Allow the rice to simmer undisturbed for exactly 15 minutes. Peeking or stirring will release precious steam and can disrupt the cooking process, leading to unevenly cooked grains.
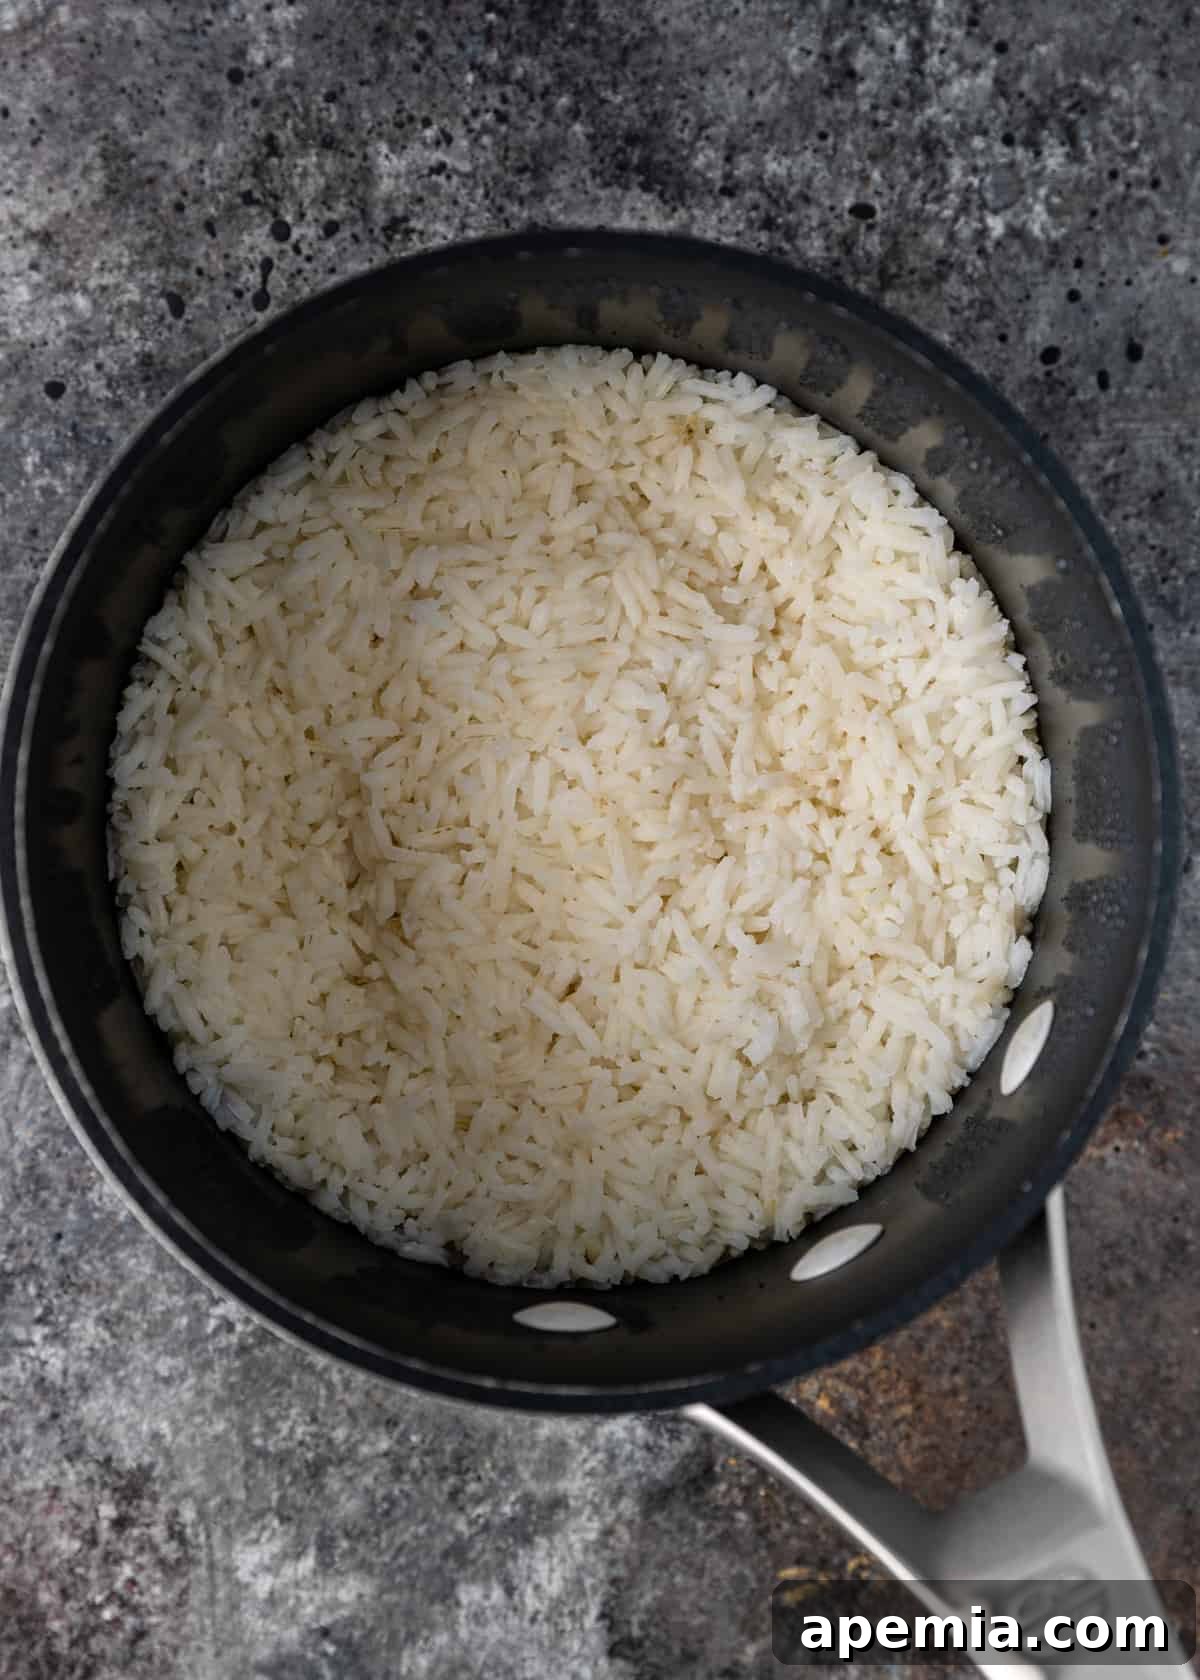
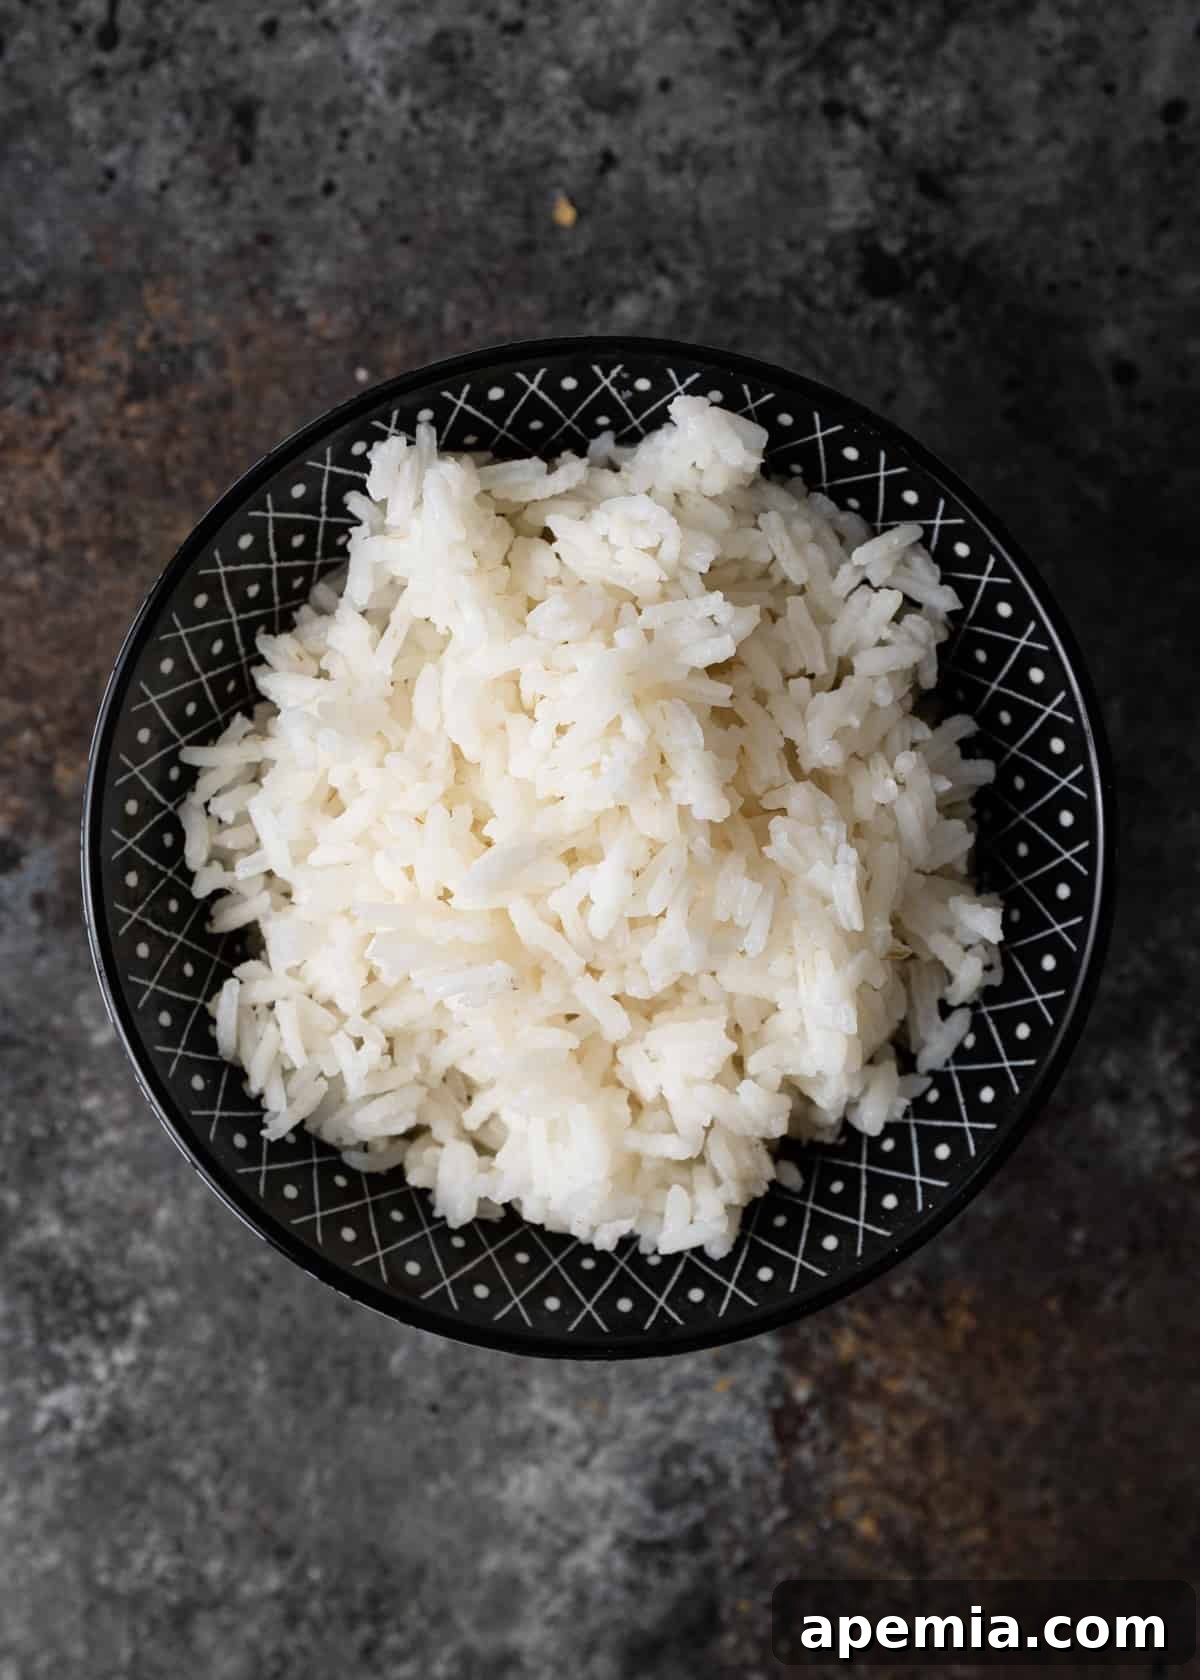
Step 3: Rest and Fluff. After 15 minutes, remove the saucepan from the heat, but leave the lid on without peeking. This resting period is incredibly important; it allows the residual steam to continue cooking the rice, ensuring any remaining moisture is absorbed and the grains become perfectly tender and separate. Let it rest for a full 5 minutes. Once rested, carefully remove the lid and use a fork to gently fluff the rice. This separates the grains and releases any trapped steam, giving you that beautiful, light, and airy texture you desire. Serve immediately.
Hands-Off Perfection: How to Cook White Rice in the Oven
Cooking white rice in the oven is another fantastic method, particularly appealing for its hands-off nature and consistent results. It’s also an excellent choice when you’re preparing a larger batch or when stovetop burners are already occupied with other dishes. Just like the stovetop method, it requires minimal work and standard kitchen equipment.
Step-by-Step Oven Method:
Step 1: Combine and Cover. Preheat your oven to 350°F (175°C). In a small baking dish or an oven-safe pot with a tight-fitting lid, combine 1 cup of dry white rice with 1.5 cups of boiling water. Using boiling water from the start helps to kick-start the cooking process immediately once it enters the oven, ensuring even heat distribution from the get-go. If your baking dish doesn’t have a lid, cover it tightly with aluminum foil, crimping the edges securely to create a sealed environment. This seal is crucial for trapping steam and allowing the rice to cook through properly.
Step 2: Bake. Carefully transfer the covered baking dish to the preheated oven. Bake for approximately 35 minutes. The consistent, circulating heat of the oven provides a gentle and even cooking environment, making it difficult to scorch the rice, a common issue with stovetop cooking if the heat is too high.
Step 3: Rest and Fluff. Once the baking time is complete, remove the dish from the oven. Keep the cover (or foil) intact and allow the rice to rest undisturbed for 10 minutes. This resting period is just as vital for oven-cooked rice as it is for stovetop rice; it allows the grains to finish absorbing any remaining moisture and become fully tender and fluffy. After resting, remove the lid or foil, and gently fluff the rice with a fork before serving. You’ll be delighted by the perfectly separated, tender grains.
Speed and Efficiency: How to Cook White Rice in a Pressure Cooker
For those seeking speed and incredible efficiency, cooking white rice in a pressure cooker – especially a modern electric one like an Instant Pot – is an absolute game-changer. This method drastically reduces cooking time while consistently delivering perfectly cooked rice, making it an ideal choice for busy weeknights or when you need rice in a flash.
Step-by-Step Pressure Cooker Method:
Step 1: Prepare Ingredients. Place 1 cup of dry white rice and 1 cup of water into the inner pot of your pressure cooker. Remember, for pressure cooking, we use a 1:1 ratio because the sealed environment prevents virtually any evaporation. For enhanced flavor, you can also add 1 tablespoon of butter or a teaspoon of oil and a pinch of salt (about ¼ teaspoon per cup of rice) at this stage.
Step 2: Cook Under Pressure. Securely lock the lid of your pressure cooker and ensure the steam release valve is set to the “Sealing” position. Select the “Pressure Cook” or “Manual” setting and set the cooking time to 5 minutes on High pressure. It’s important to note that the actual cooking time begins only after the pressure cooker builds up to full pressure, which can take an additional 8-10 minutes depending on the model and quantity of ingredients. So, while the active cooking time is 5 minutes, the total time from start to finish will be closer to 15-20 minutes.
Step 3: Release Pressure and Fluff. Once the cooking cycle is complete, allow the pressure to naturally release for 10 minutes. This “Natural Release” (NR) phase is crucial for perfectly cooked rice; it allows the rice to fully absorb the steam and moisture, preventing it from becoming hard or clumpy. After 10 minutes of natural release, if any pressure remains, perform a “Quick Release” (QR) by carefully turning the steam release valve to the “Venting” position (use a kitchen towel or oven mitt to protect your hand from the steam). Once all the pressure has been released and the float valve drops, open the lid. Fluff the rice gently with a fork before serving to separate the grains and release any residual steam.
Convenience in a Flash: How to Cook White Rice in the Microwave
While often overlooked, cooking white rice in the microwave is a perfectly legitimate and incredibly convenient method, especially when stovetop space is limited, or you need a small portion quickly. Don’t laugh – it’s a technique many experienced cooks use! It’s an excellent choice if you’re looking for a hands-off approach without the need to monitor a pot on the stove constantly.
Step-by-Step Microwave Method:
Step 1: Combine Ingredients. Choose a large, microwave-safe container or bowl that has enough capacity to prevent boil-over. Rice tends to expand and bubble quite a bit in the microwave, so ample space is key. Combine 1 cup of dry white rice with 2 cups of boiling water. Remember, for microwave cooking, we increase the water ratio to account for increased evaporation. You can also add a pinch of salt for flavor at this point.
Step 2: Microwave on High. Place the uncovered bowl into the microwave. You don’t need to cover it, as this allows for the necessary evaporation. Microwave on High power for 12 minutes. Be sure to keep an eye on it, especially during the first few minutes, to ensure it doesn’t boil over. If it starts to bubble excessively, you can pause, stir lightly, and continue cooking.
Step 3: Rest and Fluff. Once the 12-minute cooking cycle is complete, carefully remove the hot bowl from the microwave. The rice will still be quite moist and may appear slightly wet. Critically, allow the rice to sit, still uncovered, for 10 minutes. This crucial resting period enables the rice grains to absorb the remaining moisture, steam through, and become perfectly tender and fluffy. After resting, use a fork to gently fluff the rice, separating the grains and making it ready for serving.
Expert Cooking White Rice Tips for Consistent Success
While the step-by-step instructions for each method will guide you to excellent results, incorporating these expert tips will elevate your rice-cooking game, ensuring perfectly cooked white rice every single time. These insights address common pitfalls and nuances that make all the difference:
- Rinsing the Rice: To Rinse or Not to Rinse? Many traditional recipes and chefs advocate for rinsing dry rice before cooking. The primary purpose of rinsing white rice is to remove excess surface starch, which can contribute to stickiness and cloudiness. While rinsing is crucial for certain types of rice, like sushi rice where a specific texture is desired, for most everyday white rice dishes, it’s generally optional if you’re using the correct rice-to-water ratio. With the precise ratios provided in this guide, you can confidently skip this extra step without sacrificing fluffiness. If you prefer a truly separate, less sticky grain, a quick rinse under cold running water until the water runs clear can still be beneficial.
- The Peril of Too Much Water: This is perhaps the most common mistake made when cooking rice. It’s tempting to add a little extra water “just in case,” but overdoing it is the surest way to end up with mushy, gluey, or gummy rice. The grains become waterlogged and lose their distinct texture. Always adhere strictly to the recommended rice-to-water ratios for your chosen cooking method. Don’t underestimate the power of precision in this fundamental step!
- Consistency in Measurement: As mentioned before, the actual size of your measuring cup isn’t as important as using the *same* measuring device for both rice and water. Whether it’s a standard measuring cup, a coffee mug, or even a small bowl, maintain consistency. For example, if you use one level coffee cup of rice, use 1.5 coffee cups of water for stovetop cooking. This ensures the correct proportional ratio is always met, leading to reliable results.
- Achieve a Gentle Boil, Not a Roaring Inferno (Stovetop): When cooking rice on the stovetop, it’s crucial to bring the water to a *gentle* boil or a lively simmer before covering and reducing the heat. A rapid, heavy boil will cause the water to evaporate too quickly and can also lead to the pot boiling over once the lid is on, creating a starchy mess. Look for large, gentle bubbles forming on the surface and perhaps a slight foamy appearance – this is your signal to reduce the heat and cover.
- The Indispensable Resting Period: Every single cooking method outlined here emphasizes a resting period after the active cooking time. Do not skip this! Allowing the rice to rest, still covered, for 5-10 minutes off the heat is vital. During this time, the residual steam evenly distributes moisture throughout the grains, allowing them to fully hydrate, plump up, and become perfectly tender and separate. It’s the secret to achieving that coveted light and fluffy texture, rather than sticky or wet rice.
- Resist the Urge to Peek or Stir: While the rice is simmering (stovetop) or baking (oven), avoid lifting the lid or stirring the rice. Lifting the lid releases precious steam, which is essential for even cooking, and stirring can agitate the starch, leading to stickier rice. Let the rice do its work undisturbed until the resting period begins.
- Flavor Boosters: Salt and Fat: Adding a pinch of salt (about ¼ teaspoon per cup of dry rice) to the cooking water significantly enhances the rice’s flavor. For an even richer taste and to help prevent sticking, a small amount of butter or a neutral oil (like olive or vegetable oil) can be added to the water before cooking, especially for stovetop or pressure cooker methods.
- Storing Cooked White Rice: Proper storage is key for food safety and freshness. Once cooled, cooked white rice should be transferred to an airtight container or a sealed Ziploc bag and stored in the refrigerator. It will keep well for 4-5 days.
- Freezing Cooked Rice: Yes, you can absolutely freeze cooked rice! This is an excellent tip for meal prepping. Rice freezes remarkably well and can maintain its quality for 3 to 4 months in the freezer. To freeze, spread cooled rice on a baking sheet to quickly chill, then transfer to freezer-safe bags or containers. When ready to use, simply reheat with a splash of water in the microwave, on the stovetop, or in a steamer.
Beyond the Side Dish: Creative Ways to Use White Rice — Serving Suggestions
Once you’ve mastered how to cook white rice perfectly, a world of culinary possibilities opens up. Its versatility is truly unmatched! Here are some of my favorite ways to incorporate this humble grain into a variety of delicious dishes:
- The Ultimate Side Dish: This is arguably its most common and beloved role. White rice’s neutral, subtly earthy flavor makes it the perfect accompaniment to virtually any savory main course you can imagine. Whether you’re serving succulent seafood, robust beef, tender pork, or flavorful poultry, rice provides a comforting and absorbent base. Don’t stop at plain rice; consider adding a knob of butter, fresh herbs (like parsley or cilantro), a squeeze of lemon juice, or a pinch of your favorite spices (turmeric for color, cumin for warmth) to the cooked rice to enhance its flavor and perfectly complement the main dish. It pairs beautifully with Asian stir-fries, Mediterranean stews, Latin American grilled meats, and classic American comfort foods alike.
- Hearty Additions to Salads & Soups: White rice is a fantastic way to add substance, texture, and a satisfying heartiness to otherwise light salads and soups. Its filling nature makes it a great alternative to noodles or pasta, providing a gluten-free option that still bulks up your meal. Think of adding cooked rice to a vibrant chicken and rice soup, a robust Lebanese lentil soup, or creating a delicious cold rice salad packed with fresh vegetables, herbs, and a zesty vinaigrette. It transforms simple dishes into more substantial, satisfying meals.
- Sweet Delights: In Desserts: Don’t limit rice to savory applications! Rice forms the foundation for many beloved desserts around the world. Rice pudding, with its creamy texture and comforting sweetness, is a classic example. I adore making my own homemade rice pudding, and it all starts with perfectly cooked white rice as the base. Beyond pudding, explore sweet sticky rice with mango, or various regional rice cakes and pastries that celebrate the grain’s unique texture in a dessert context.
- Efficient Meal Prep: Cook a large batch of white rice at the beginning of the week, and you’ll have a versatile ingredient ready for quick meals. Use it for stir-fries, bowl meals, or simply reheat it as a convenient side whenever needed. This saves valuable time during busy weekdays.
My Favorite Recipes Featuring White Rice
Now that you’re equipped with the knowledge and techniques to cook white rice flawlessly, it’s time to put your skills to delicious use! Here are some of my go-to recipes that brilliantly feature and celebrate the versatility of perfectly cooked white rice:
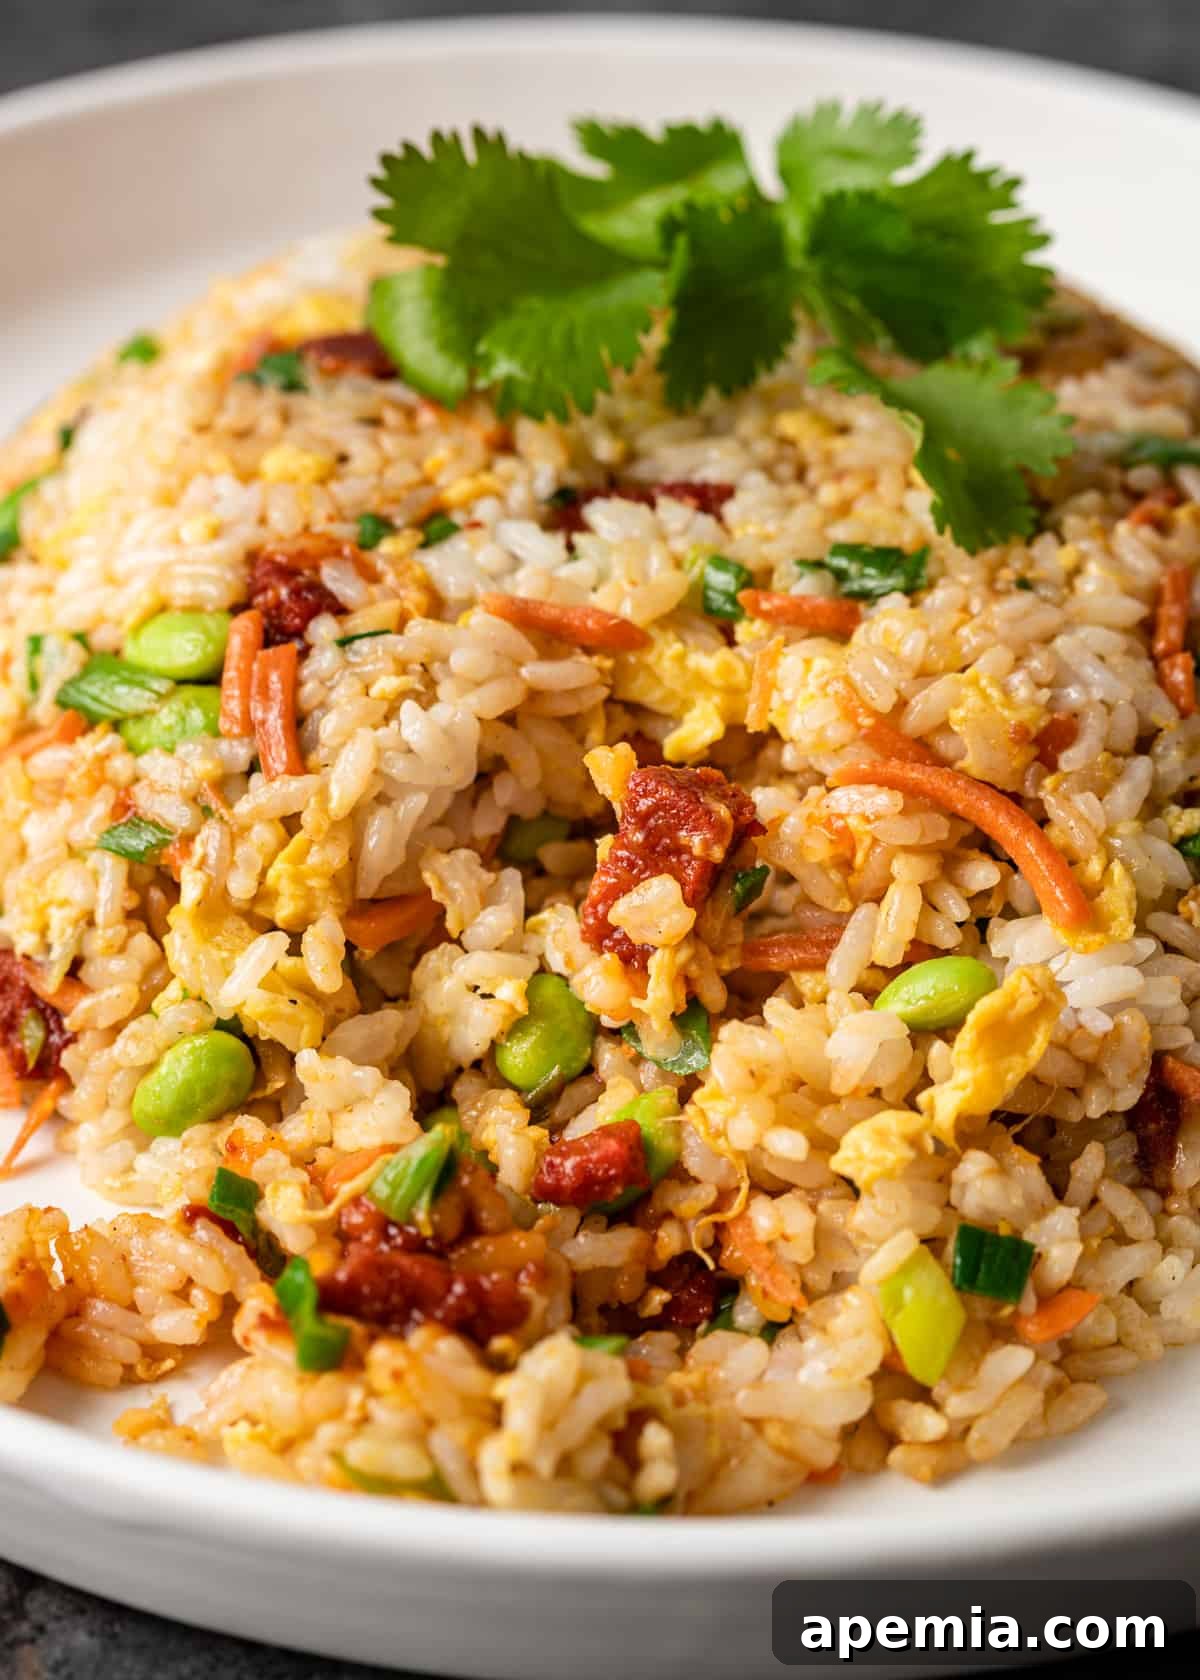
- Hibachi Fried Rice: A classic, flavorful dish where perfectly cooked rice is the star.
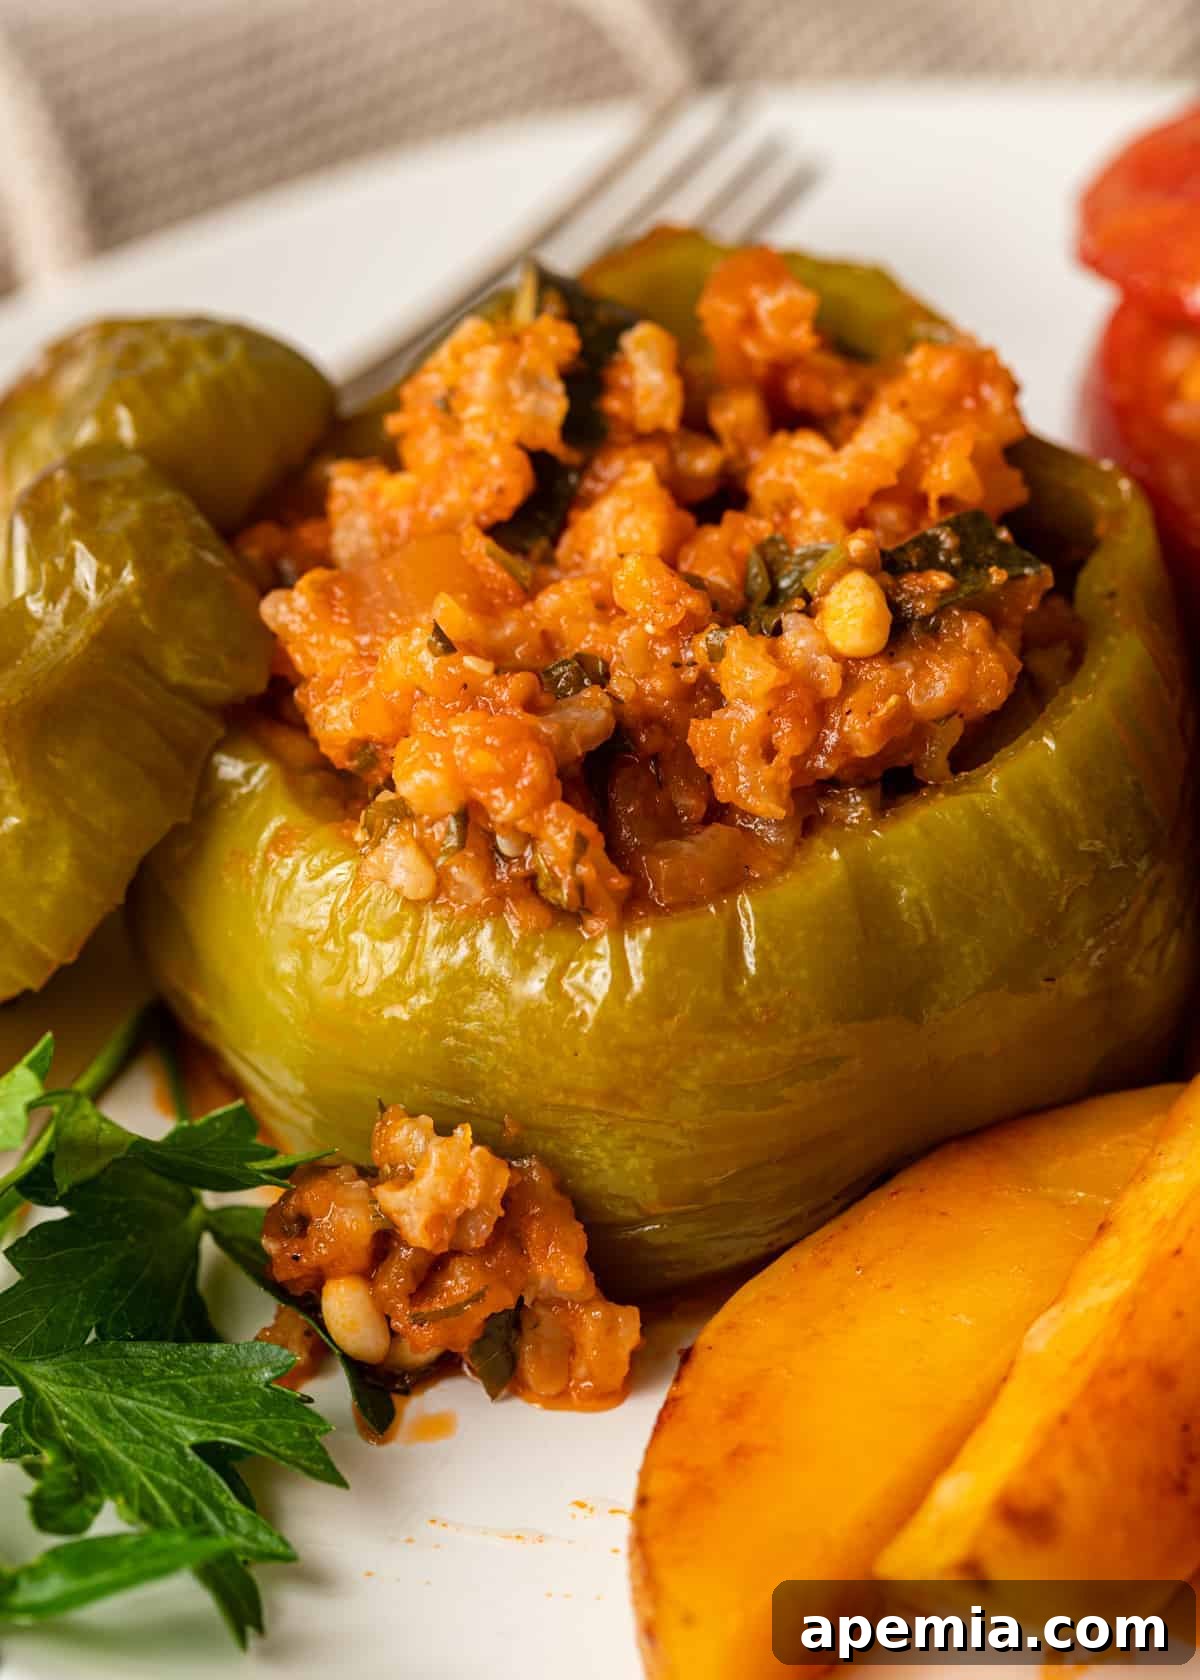
- Greek Stuffed Peppers with Chicken: A hearty and aromatic meal where rice acts as the ideal stuffing.
- Greek Lemon Rice: A simple yet vibrant side dish that highlights the clean flavor of rice.
- Chinese Curry Beef Stir Fry: The perfect savory accompaniment for fluffy white rice.
- Lebanese Lentil Soup: Rice adds body and substance to this comforting and nutritious soup.
- Greek Avgolemono Soup with Chicken: A creamy, tangy soup where rice provides a satisfying base.
Frequently Asked Questions About Cooking White Rice
Here are answers to some of the most common questions regarding how to cook white rice, designed to further clarify and reinforce your understanding.
What is the optimal white rice to water ratio?
The ideal white rice to water ratio depends significantly on your chosen cooking method. For stovetop and oven cooking, aim for 1.5 cups of water for every 1 cup of dry white rice. If you’re using a microwave, increase this to 2 cups of water per 1 cup of rice. For pressure cookers (like an Instant Pot), a 1:1 ratio (1 cup water to 1 cup rice) is typically recommended due to the sealed cooking environment.
How long does it take to cook white rice on the stovetop?
Cooking white rice on the stovetop generally takes about 20 minutes in total. This includes approximately 15 minutes of active simmering time with the lid on, followed by a crucial 5-minute resting period off the heat, during which the rice continues to steam and absorb any remaining moisture for a perfectly fluffy texture.
Do you put white rice in boiling water or cold water?
The initial water temperature depends on your cooking method. For stovetop cooking and in a pressure cooker, it’s generally best to start with cold water. For cooking white rice in the oven and in the microwave, starting with boiling water is preferred, as it helps to kick-start the cooking process more quickly and evenly in those specific environments.
Why is my cooked rice mushy or sticky?
Mushy or overly sticky rice is almost always a result of using too much water, not allowing sufficient resting time, or lifting the lid too often during cooking. Excess water prevents the grains from maintaining their structure, while premature lid-lifting releases steam, disrupting even cooking. Ensure you follow the correct water-to-rice ratio for your method and let the rice rest undisturbed after cooking.
Should I rinse white rice before cooking?
Rinsing white rice is optional for most everyday cooking. It helps remove excess surface starch, which can lead to stickier, cloudier results. However, if you accurately follow the recommended water-to-rice ratios, you can often skip this step without negatively impacting the fluffiness. For specific dishes like sushi, where a particular texture is desired, rinsing is more critical.
Can I add seasonings to my rice while it cooks?
Absolutely! Adding a pinch of salt to the cooking water is highly recommended to enhance the natural flavor of the rice. You can also incorporate other seasonings like a bay leaf, a pat of butter, a teaspoon of oil, or a few whole spices (e.g., cardamom pods, star anise) into the water for infused flavor. Just be mindful not to overpower the rice if it’s intended as a neutral side.
How do I reheat leftover cooked rice?
To reheat cooked rice, it’s best to add a small splash of water (about 1-2 tablespoons per cup of rice) to help rehydrate it. You can then reheat it in the microwave (covered, for 1-2 minutes per cup), on the stovetop (in a covered saucepan over low heat), or in a steamer until it’s hot throughout. Adding a bit of moisture prevents it from drying out.