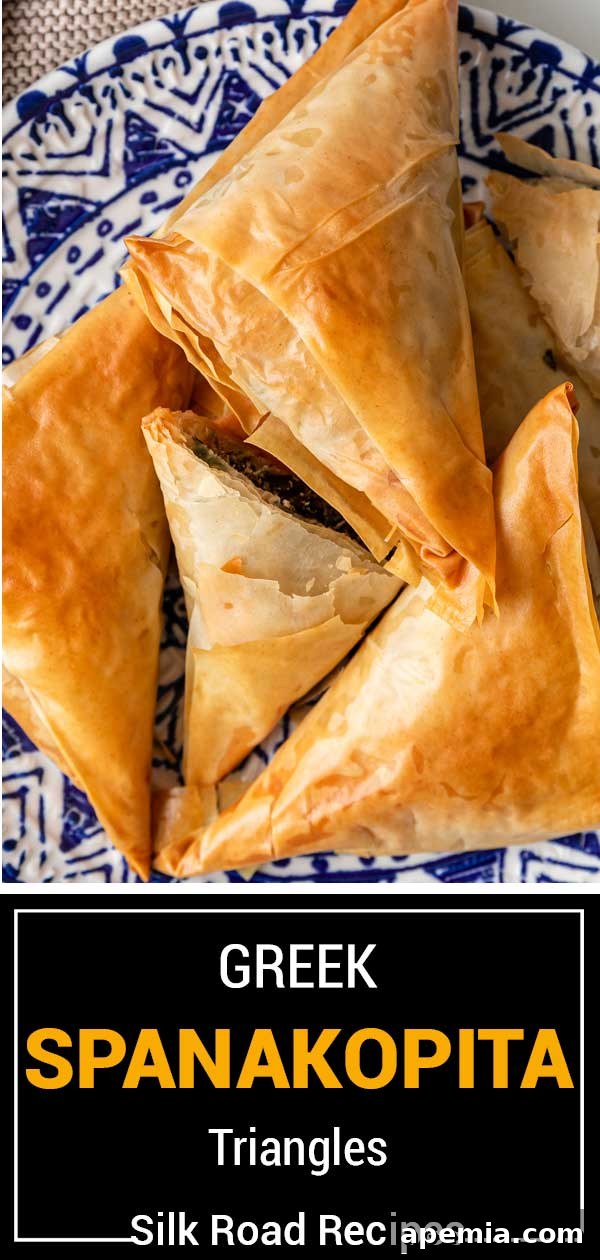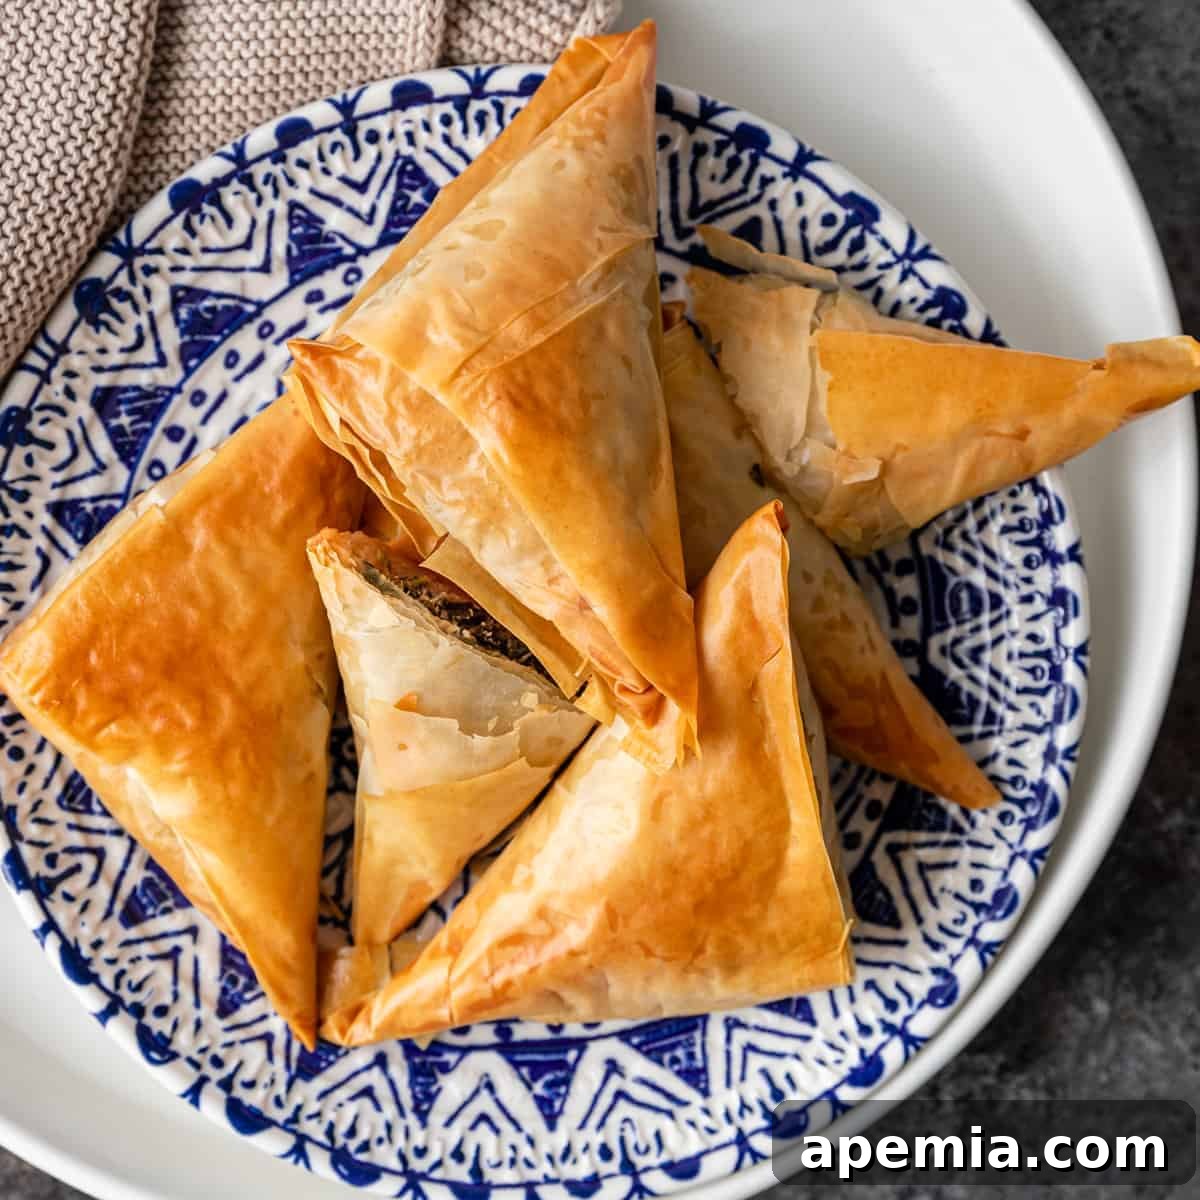
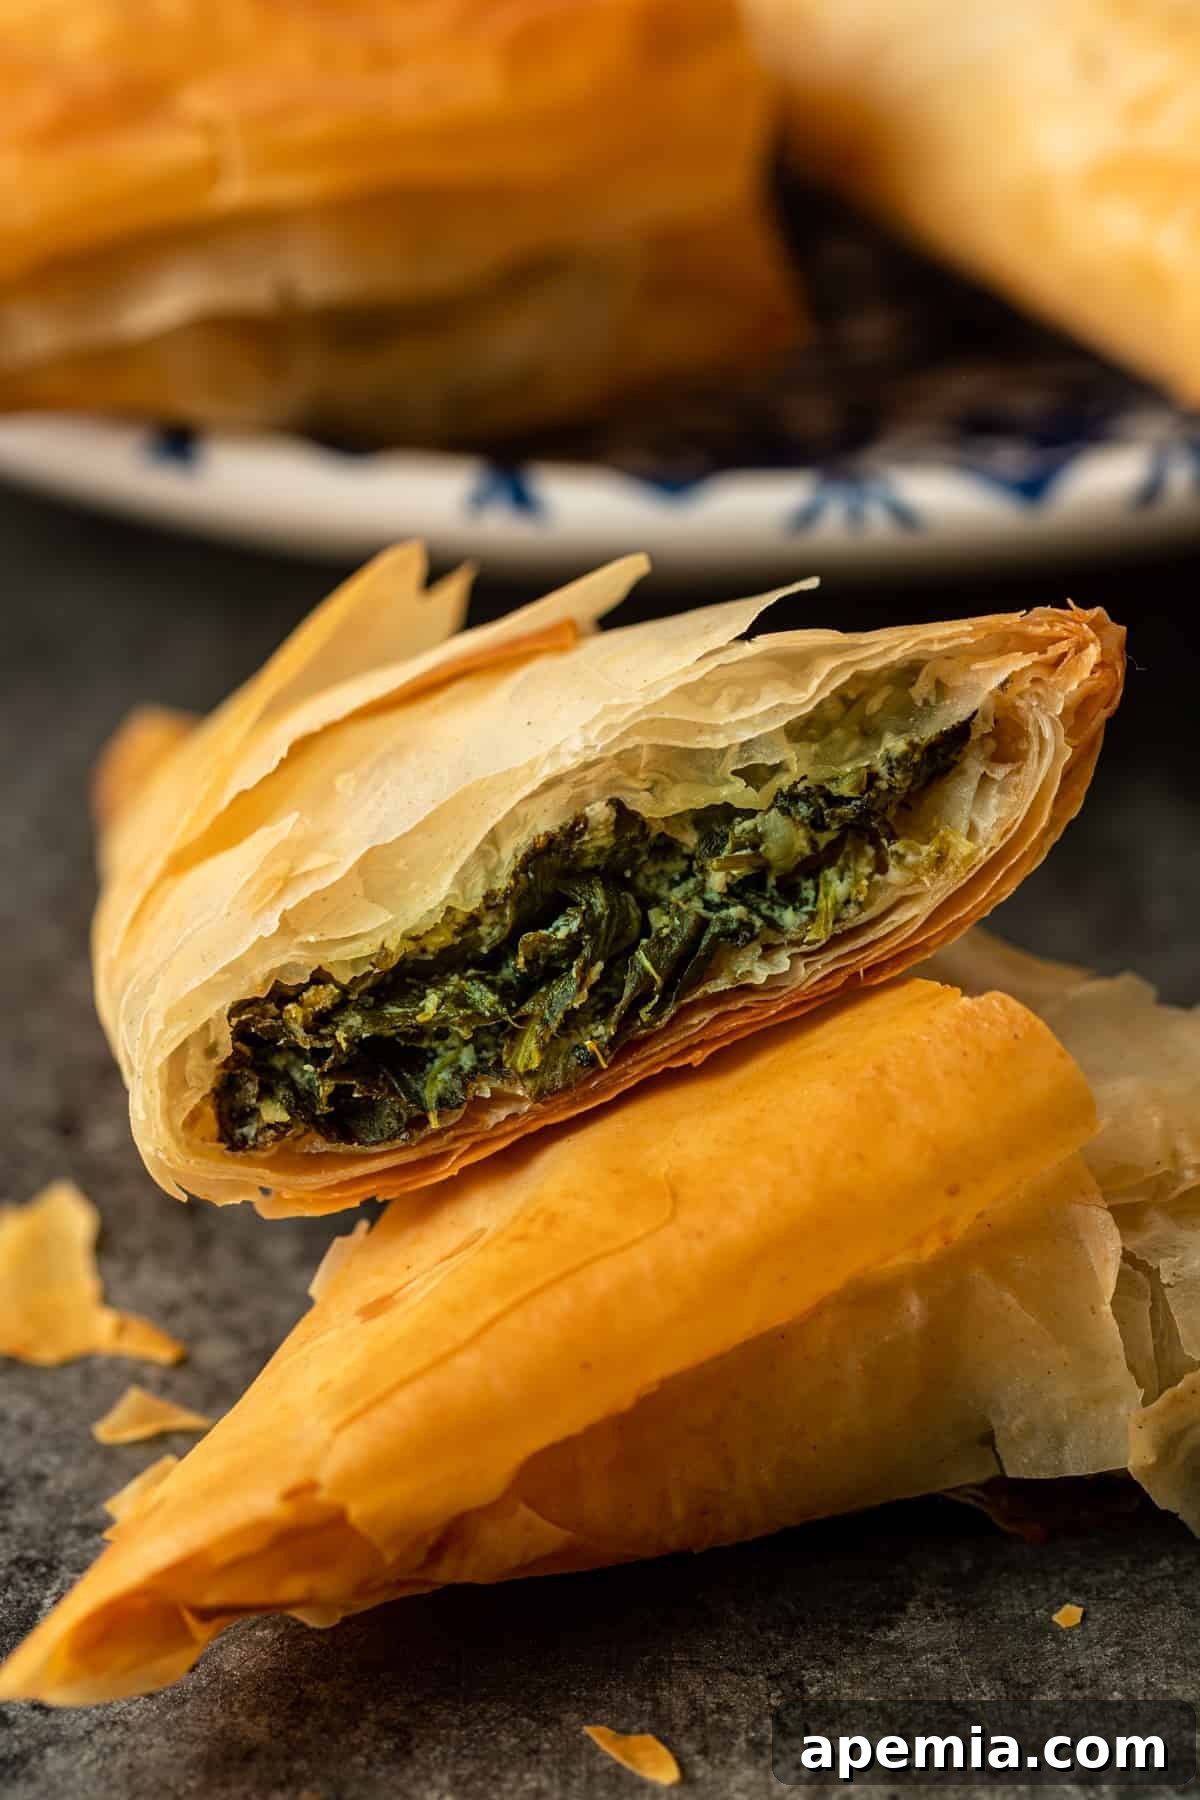
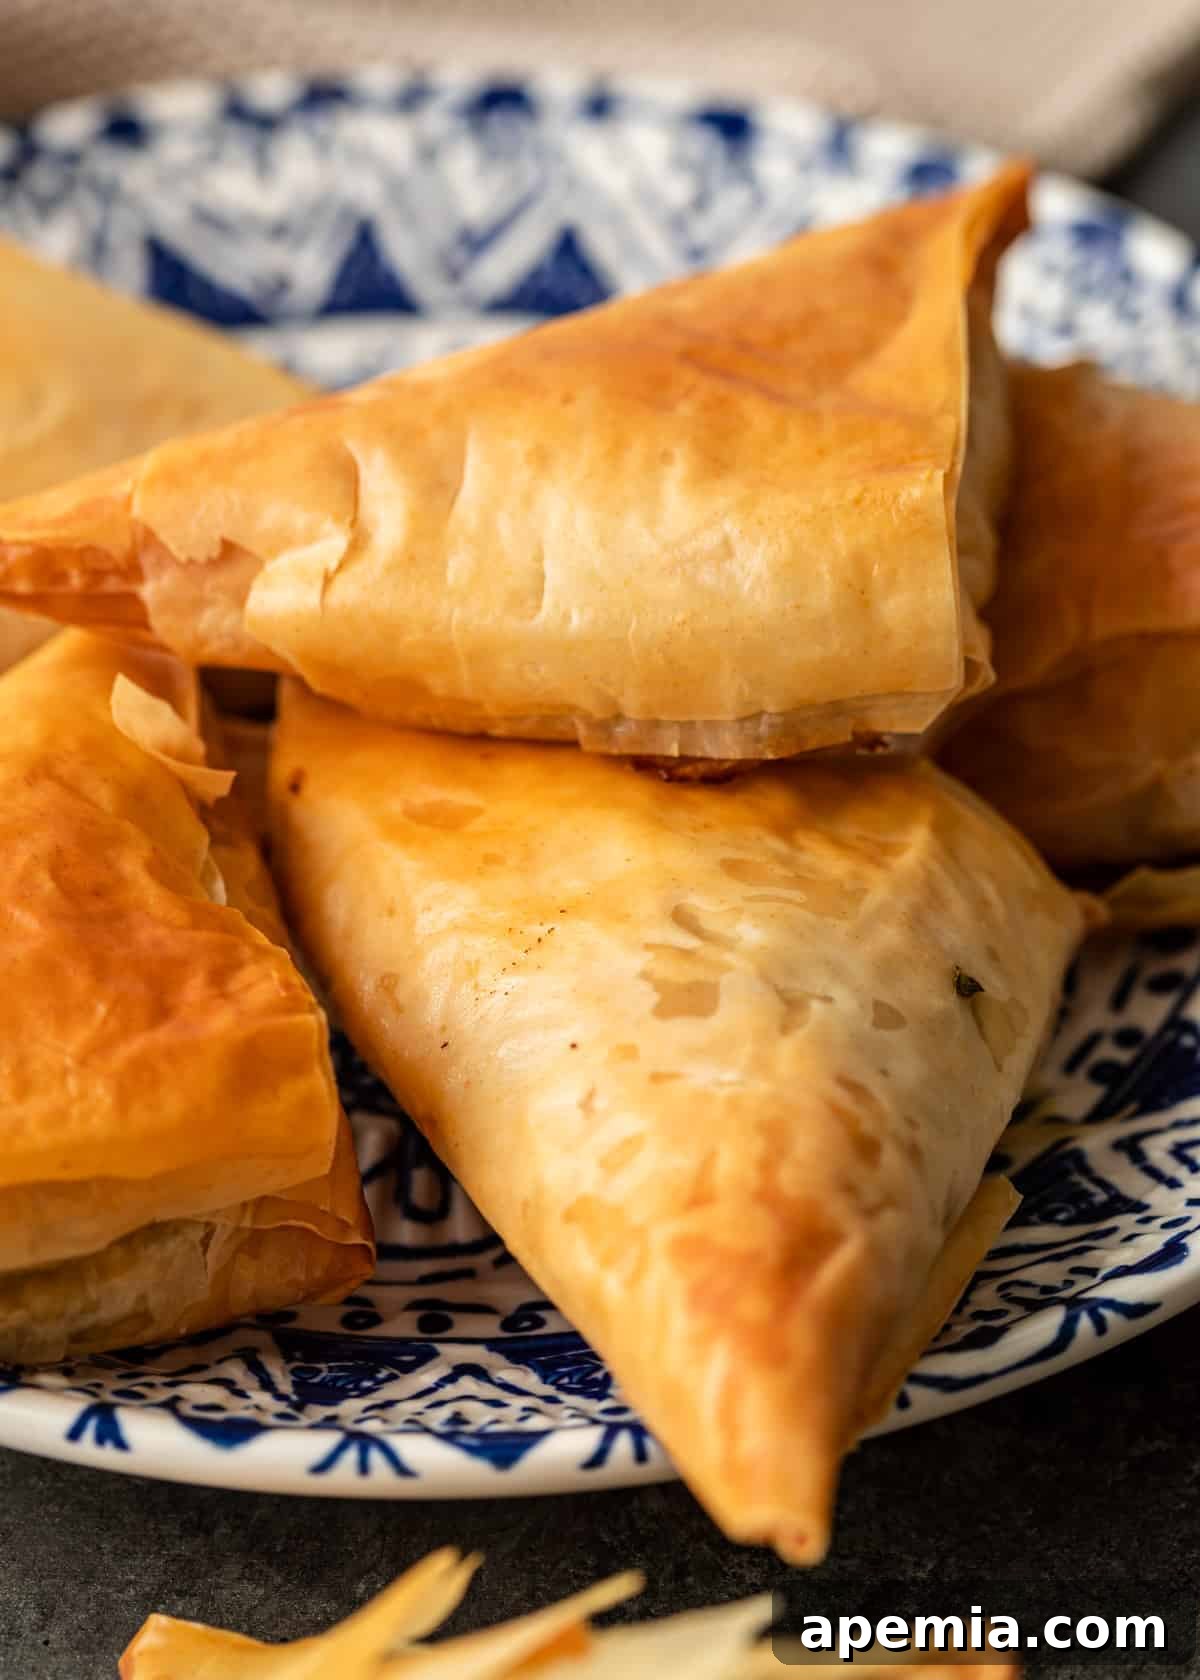
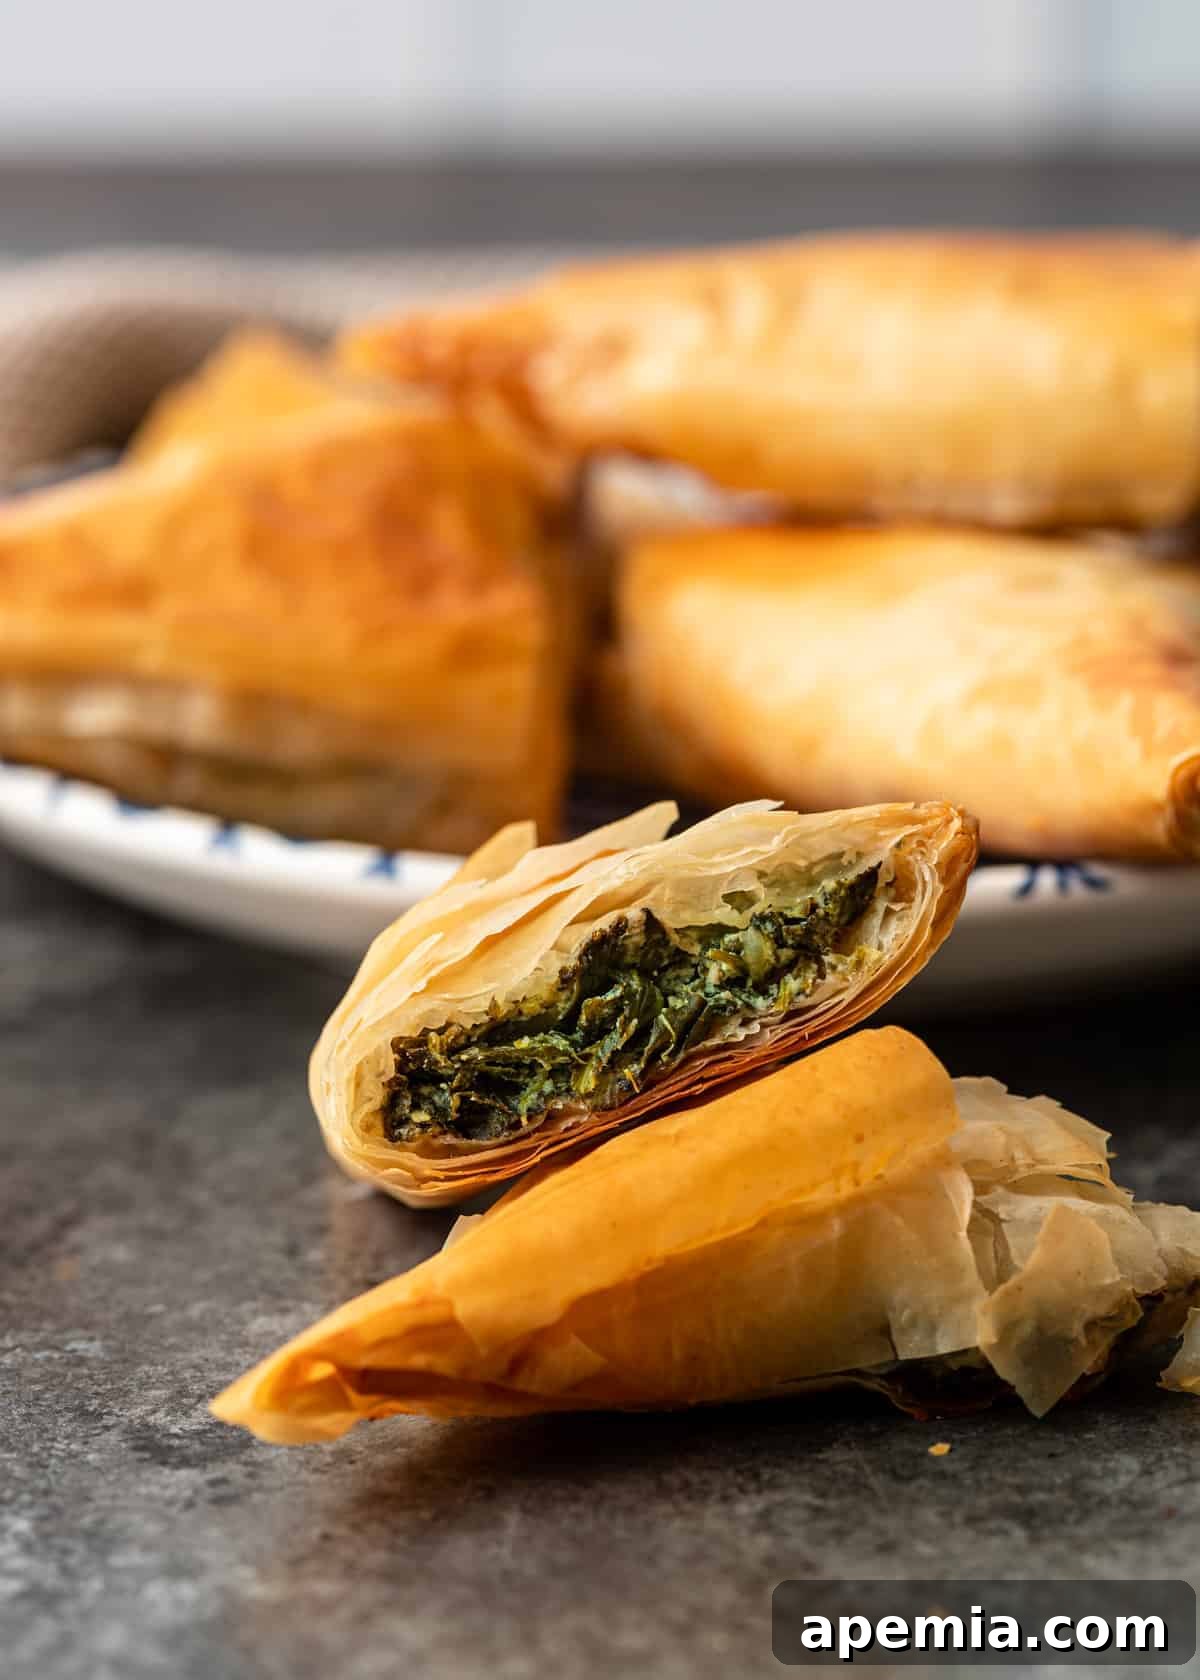
Greek spanakopita triangles are a beloved culinary treasure, offering a symphony of textures and flavors. These buttery and crispy delights encase a rich, savory, and cheesy center, making them an irresistible staple of Mediterranean cuisine. Crafted with delicate phyllo dough, tangy feta cheese, creamy Greek yogurt, and a vibrant blend of fresh herbs and spinach, each triangle delivers a burst of authentic Greek taste. Perfect as an appetizer, a light snack, or a sophisticated side dish, spanakopita embodies the heartwarming essence of Hellenic gastronomy.
Why You’ll Love These Greek Spanakopita Triangles
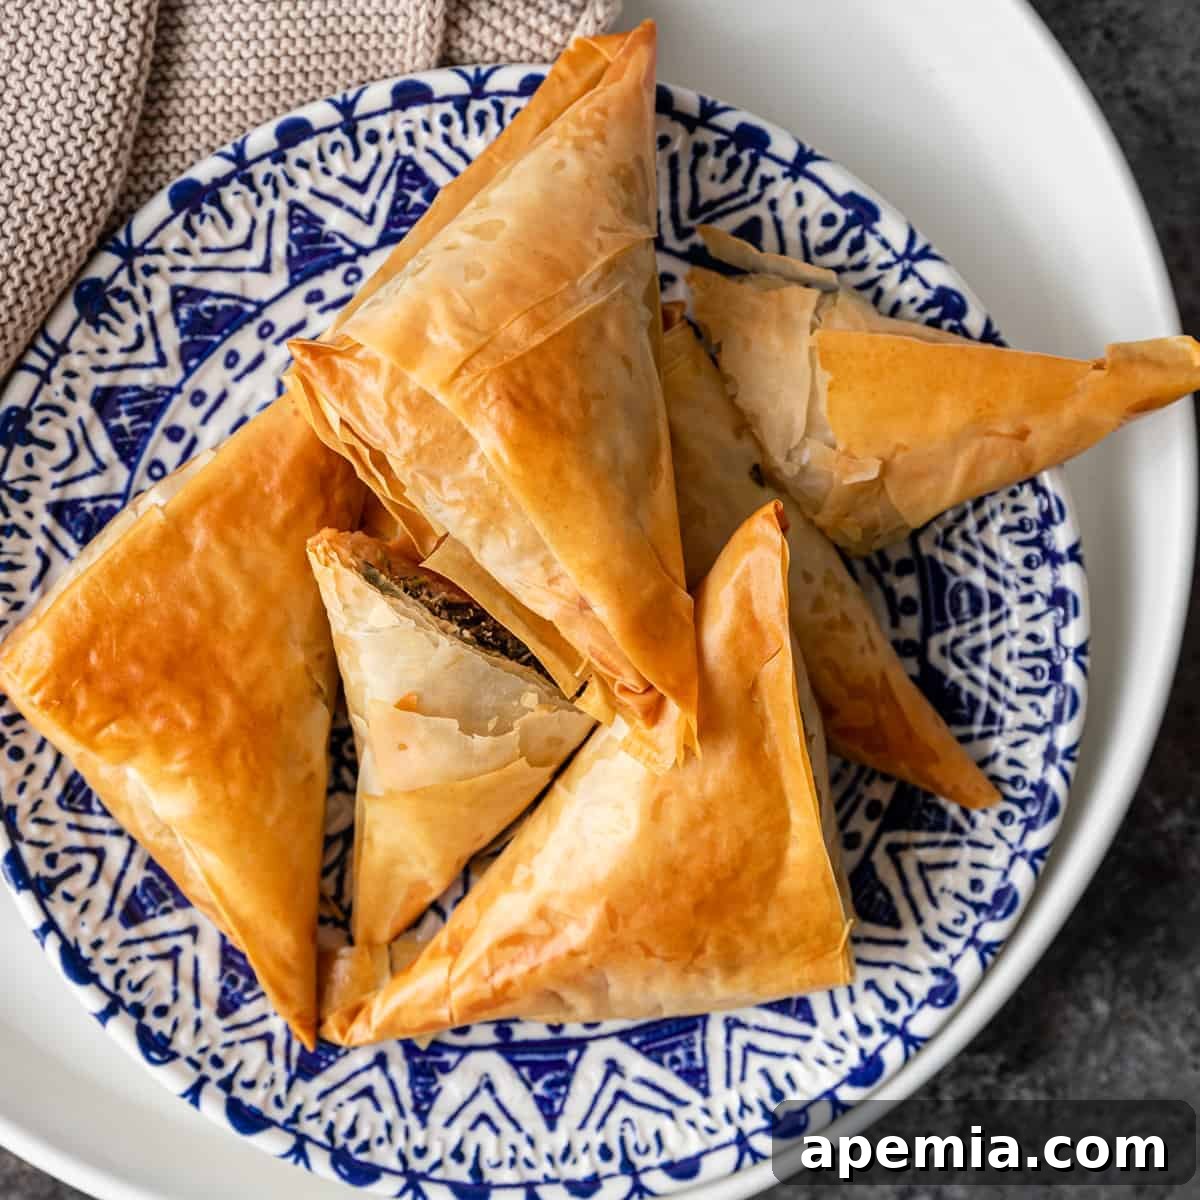
These mouthwatering mini spinach pies are not only bursting with authentic Greek flavor but are also surprisingly enjoyable to prepare. Each bite offers the crispy, heavenly texture of golden phyllo dough, complemented by a robust filling of cheesy, garlicky, and herb-infused spinach. It’s a dish that truly excites the palate and leaves a lasting impression!
This spanakopita triangles recipe strikes the perfect balance, being elegant enough for celebratory festive occasions yet straightforward enough to whip up on any given weekday. Its adaptability is another major advantage; for instance, you can easily transform this delightful appetizer into a hearty main course by incorporating shredded chicken, ground lamb, or other meats. The culinary possibilities are truly endless, allowing you to tailor this classic to your taste and occasion.
Table of Contents
- Key Ingredients for Perfect Spanakopita Triangles
- Step-by-Step Guide: Crafting Your Own Spanakopita Triangles
- Expert Tips for Flawless Phyllo Dough
- Your Spanakopita Questions Answered
- Spanakopita Triangles Recipe Card
Exploring More Greek & Mediterranean Delights
If you’re fond of savory pastries using phyllo dough, you must try this Tiropita (Greek Cheese Pie), a delightful cousin to spanakopita. For those with a sweet tooth, explore these exquisite Greek Baklava Rolls (Saragli) or our Easy Greek Baklava for a truly authentic dessert experience.
Key Ingredients for Perfect Spanakopita Triangles
Crafting exceptional spanakopita relies on selecting and preparing the right ingredients. Here’s a closer look at what makes this recipe sing:
- Phyllo Dough: This paper-thin pastry is the secret to our spinach pie’s irresistibly crispy and buttery flakiness. It’s usually found in the freezer section of most supermarkets. Remember to thaw it thoroughly in the refrigerator overnight before use, or according to package instructions, to prevent tearing.
- Unsalted Butter: Melted butter is brushed between each phyllo layer, adding a rich, savory depth and helping the dough achieve its signature golden crispiness. Using unsalted butter gives you better control over the overall saltiness of the dish.
- Onion & Garlic: These foundational aromatics provide a sharp, zesty, and pungent base flavor for the filling. While red onions offer a slightly sweeter, milder taste, white or yellow onions work perfectly well too. Freshly minced garlic is always preferred for its vibrant flavor.
- Red Pepper Flakes: A small pinch of red pepper flakes adds a subtle yet spicy heat that beautifully cuts through the richer, heavier flavors of the cheese and spinach, adding an extra layer of complexity. Adjust the amount to your spice preference.
- Feta Cheese: The star of the filling, feta cheese brings the triangles to life with its iconic bright, tangy, and briny flavor. Opt for authentic Greek feta, preferably stored in brine, for the best taste and texture. Crumbled feta integrates easily into the filling.
- Greek Yogurt: Essential for a rich, harmonizing creaminess and a delightful pop of tanginess. Greek yogurt is crucial here because its thick consistency holds the filling together perfectly. Regular (non-Greek) yogurt is too thin and will make your filling watery, so if Greek yogurt isn’t available, full-fat sour cream can be a suitable alternative.
- Fresh Greens: The vibrant heart of our filling consists of tender spinach, peppery fresh parsley, and bright, lemony dill. While frozen spinach (thawed and thoroughly drained) is convenient, fresh spinach can also be used after wilting and draining. Always use fresh herbs for parsley and dill for their superior aroma and flavor.
- Walnuts (Optional): Finely chopped walnuts introduce a wonderful earthy flavor and a subtle nutty richness, adding an extra dimension of texture and taste to the filling. If you have nut allergies or prefer without, they can be omitted, but they are highly recommended for their complementary crunch.
Step-by-Step Guide: Crafting Your Own Spanakopita Triangles
Follow these detailed steps to create perfectly crispy and flavorful Greek spanakopita triangles:
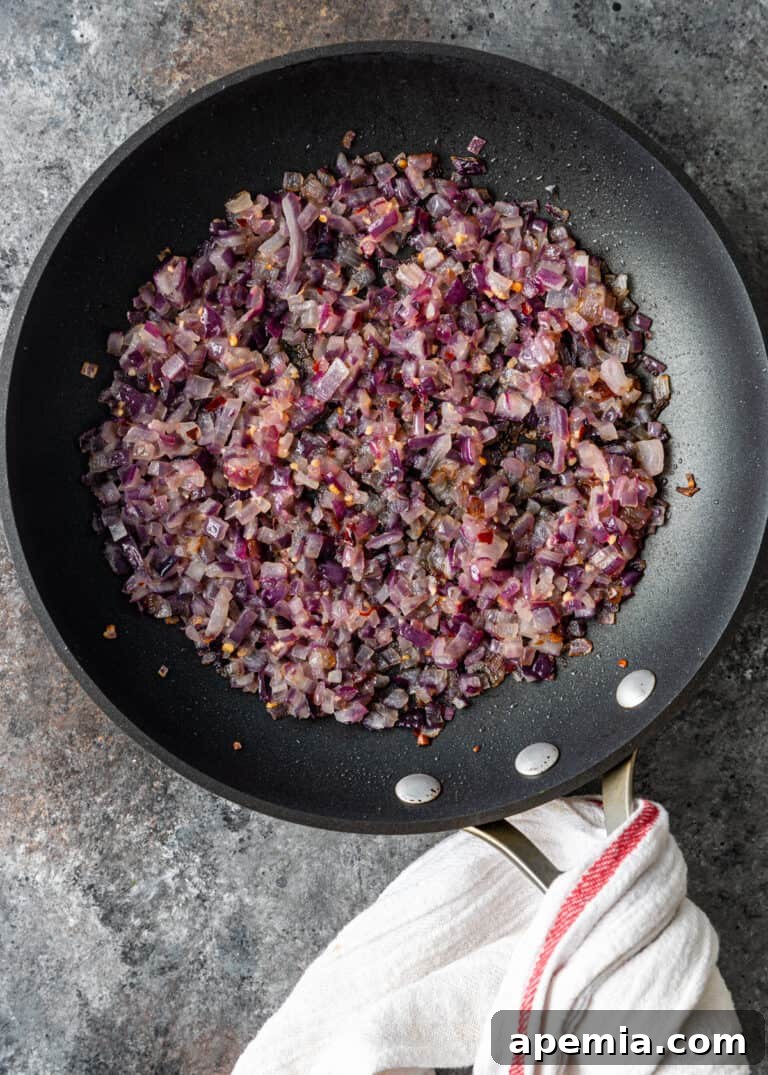
- Sauté the Aromatics: Begin by heating the olive oil in a skillet over medium heat. Add the diced onions and sauté them gently until they turn soft and golden brown, typically taking about 5-7 minutes. Then, stir in the minced garlic, red pepper flakes, and salt. Continue to cook for another 2 minutes until fragrant. Remove the skillet from the heat and set the mixture aside to cool completely. This cooling step is crucial to prevent the onions from cooking the egg in the filling prematurely.
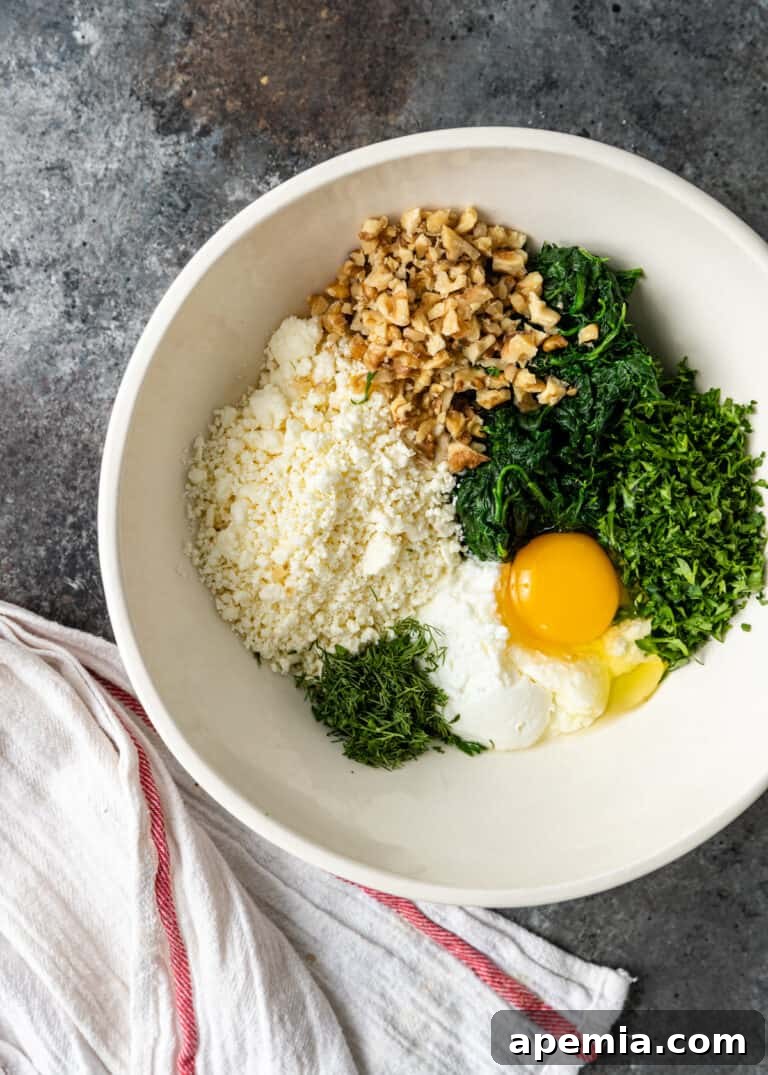
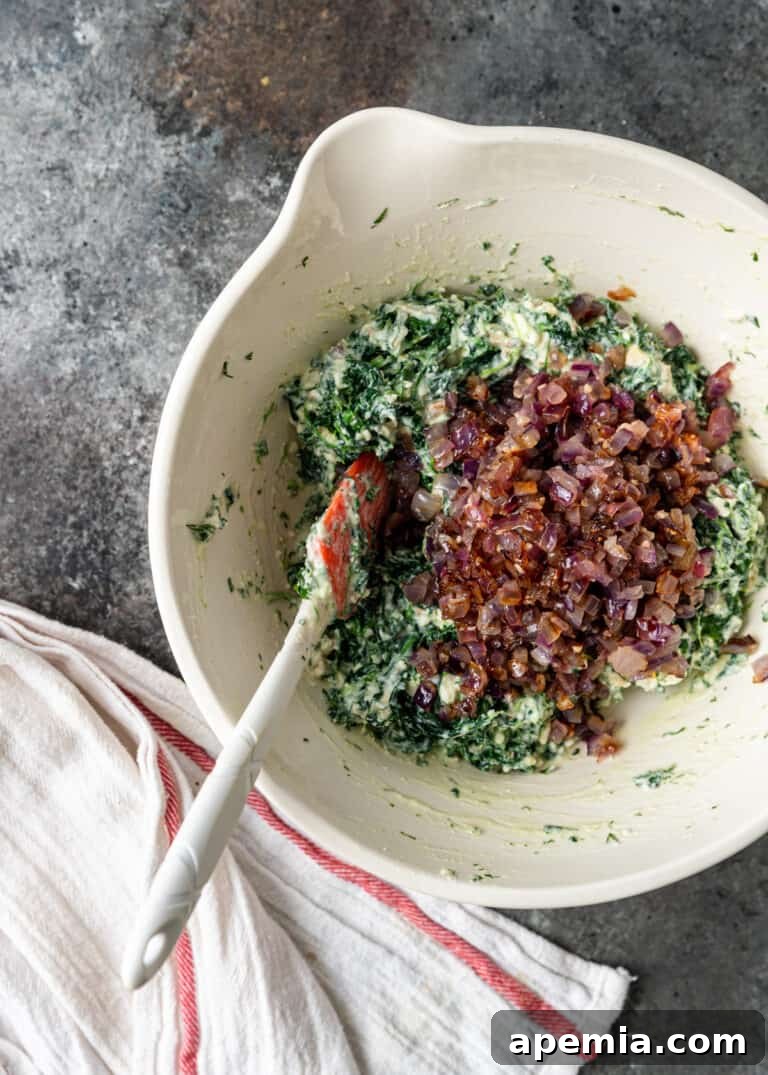
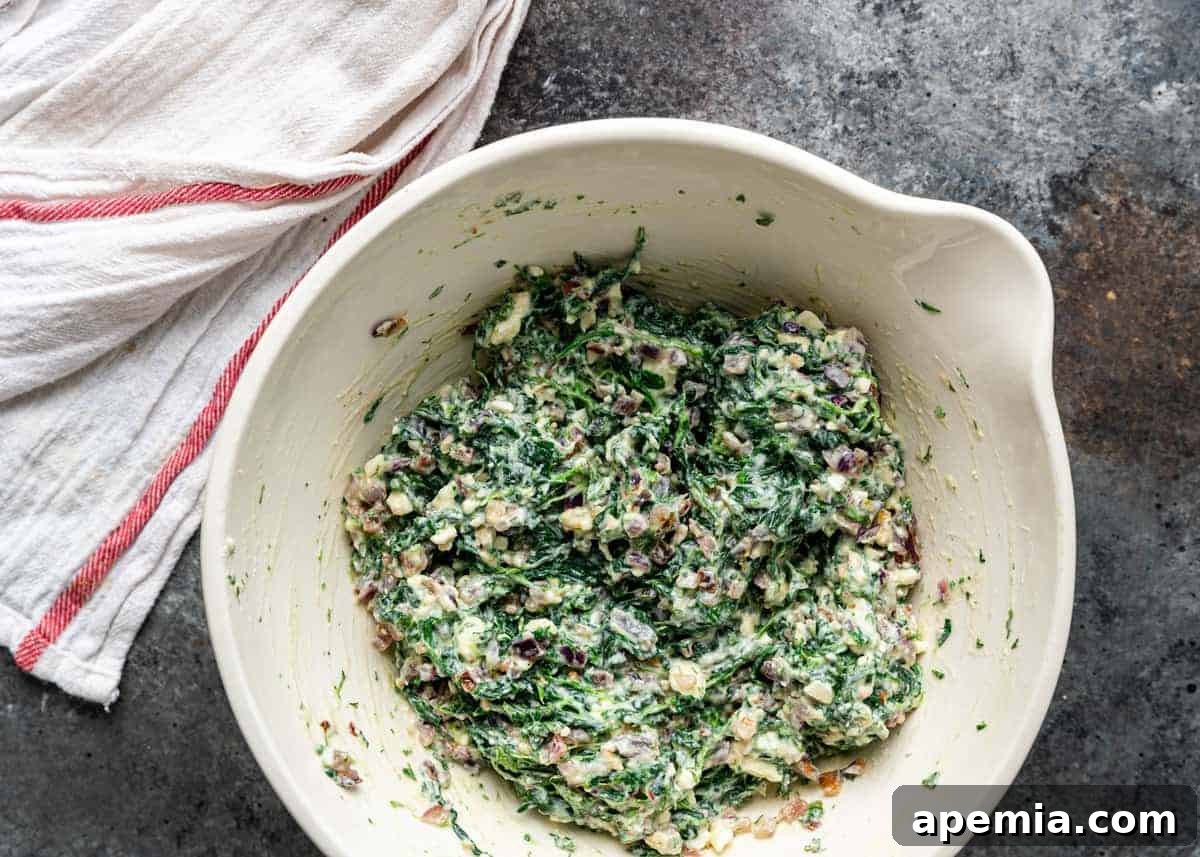
- Prepare the Filling: In a large mixing bowl, combine the thawed and well-drained spinach, fresh dill, chopped parsley, crumbled feta cheese, thick Greek yogurt, and the large egg. Mix these ingredients thoroughly until they are well combined and smooth in texture. Once the sautéed onion and garlic mixture has cooled, fold it into the spinach and feta mixture, ensuring it’s evenly distributed.
- Set Up Your Workstation: Preheat your oven to 350°F (175°C). Line a large baking sheet with parchment paper to prevent sticking and ensure even baking. Lay your phyllo dough sheets on a clean, flat surface. Crucially, keep the remaining phyllo sheets covered with a lightly damp kitchen towel to prevent them from drying out, which makes them brittle and prone to cracking.
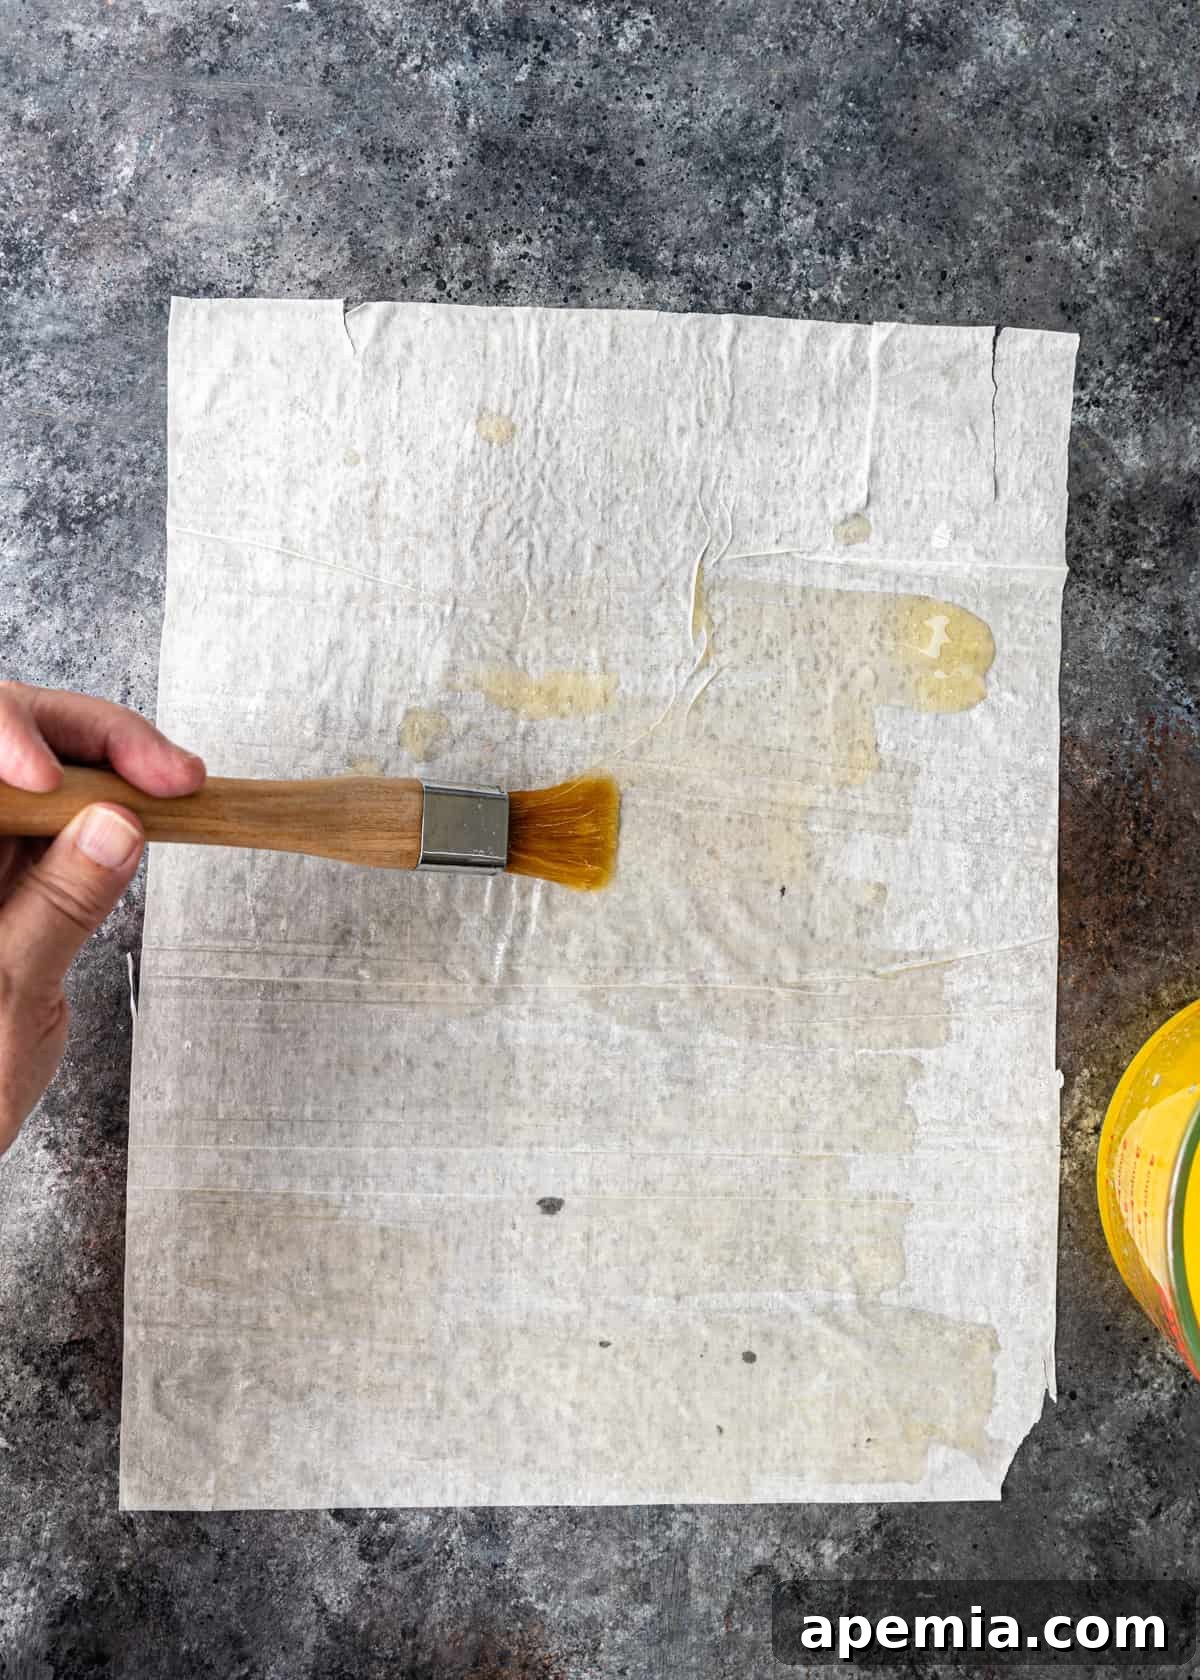
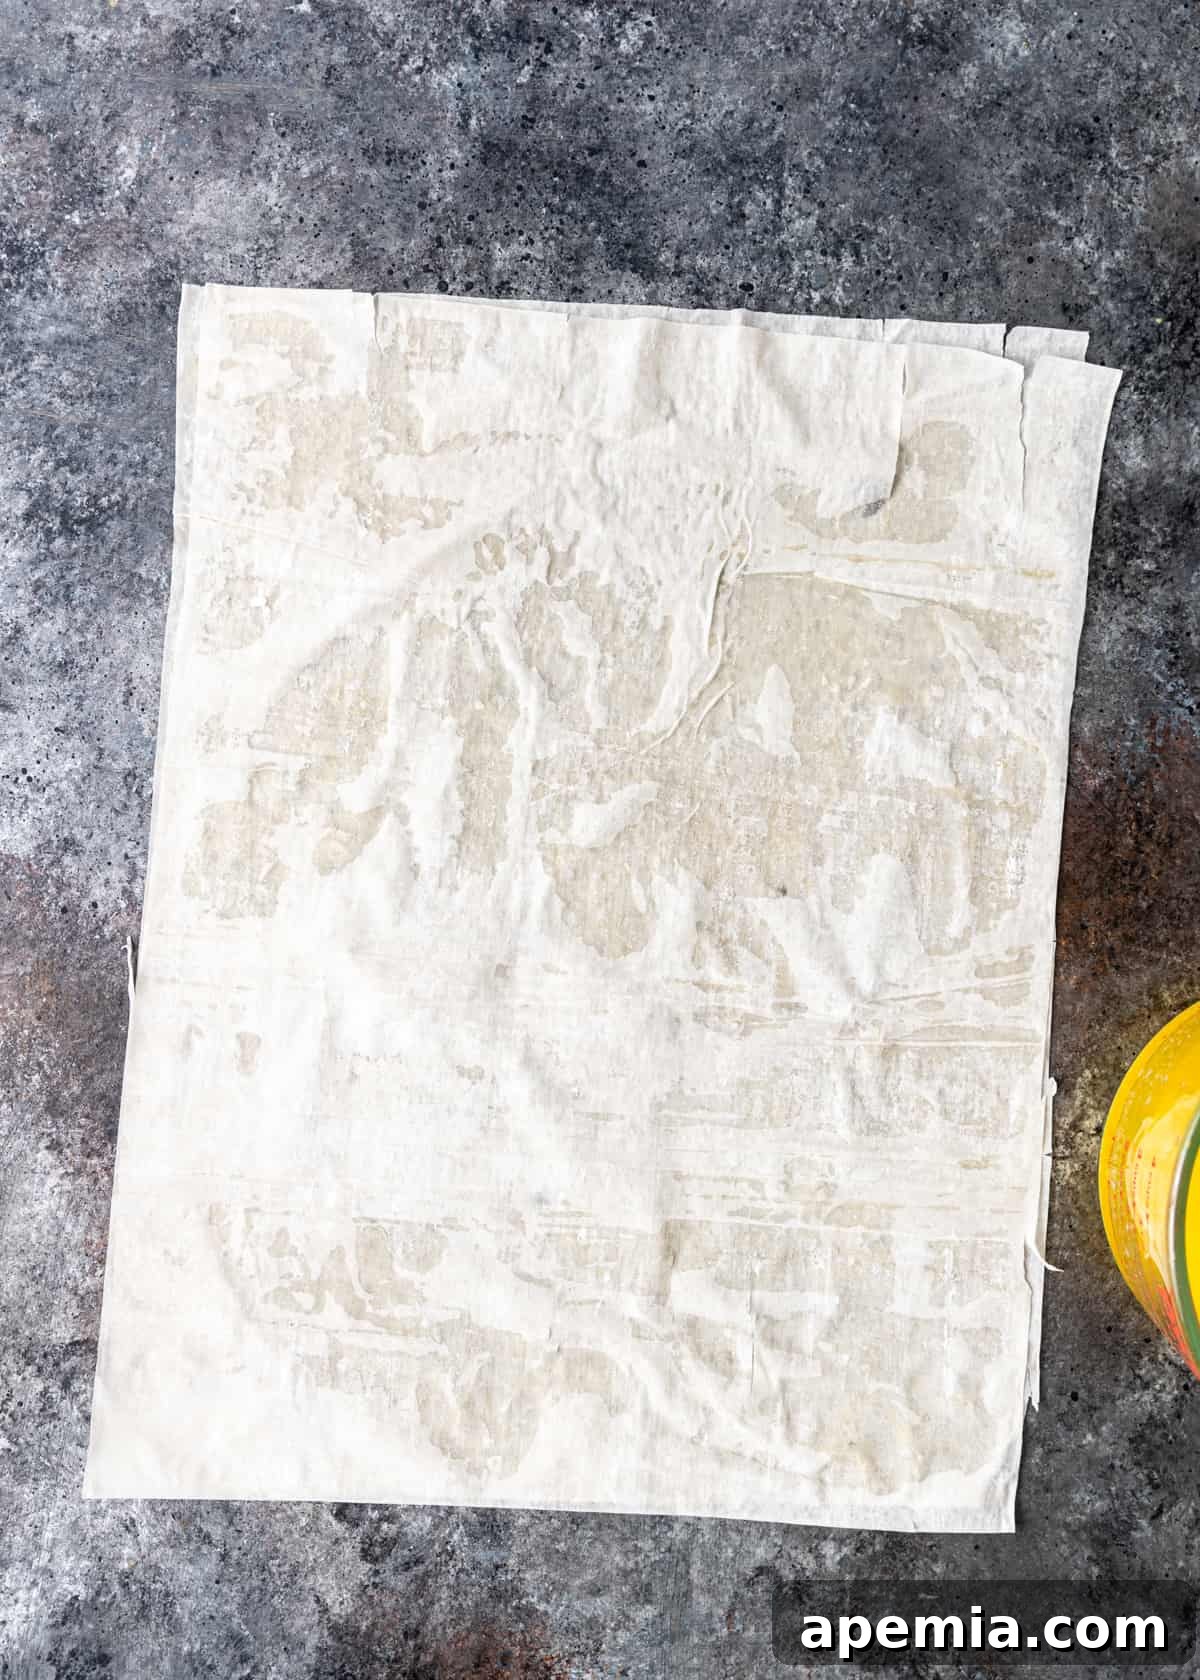
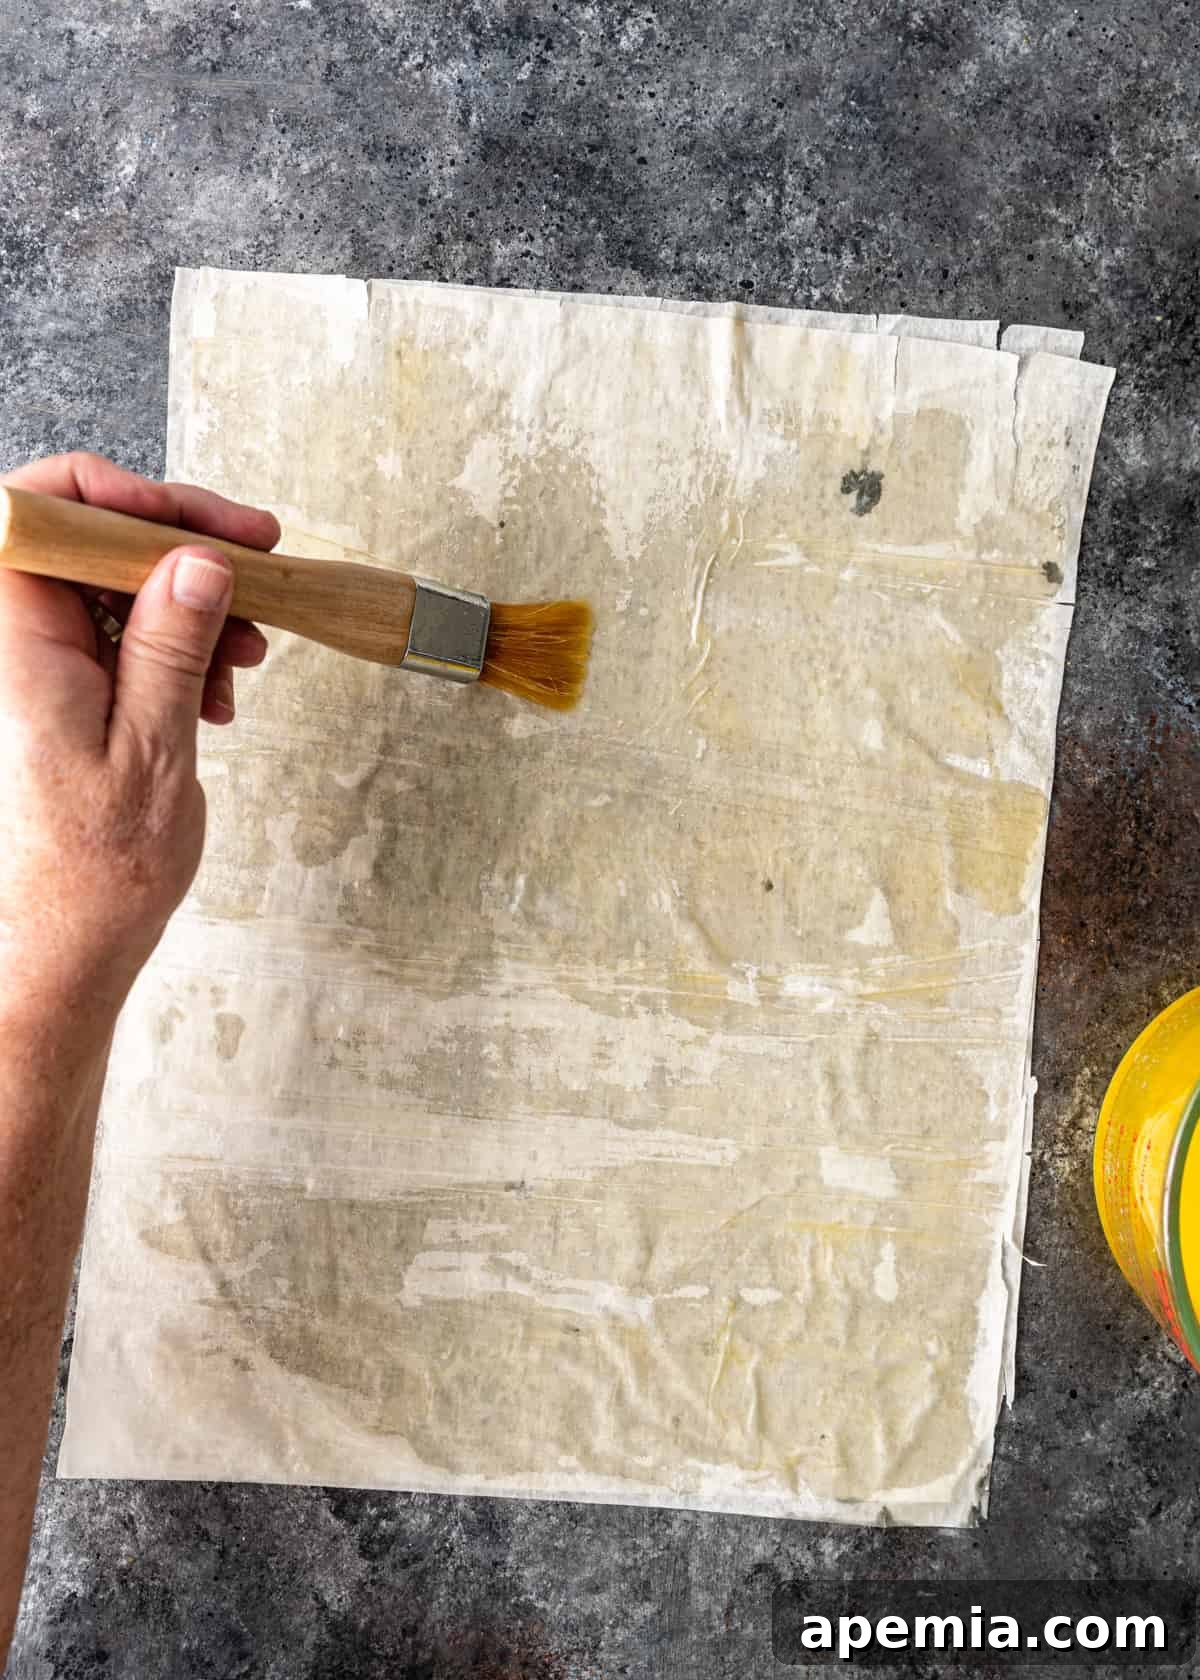
- Layer and Butter the Dough: Take one sheet of phyllo dough and carefully lay it flat. Lightly brush the entire top surface with melted butter. Place a second sheet of phyllo directly on top of the first, aligning the edges. Brush this second sheet generously with melted butter as well. This double layering and buttering technique creates the ideal flaky foundation for your spanakopita.
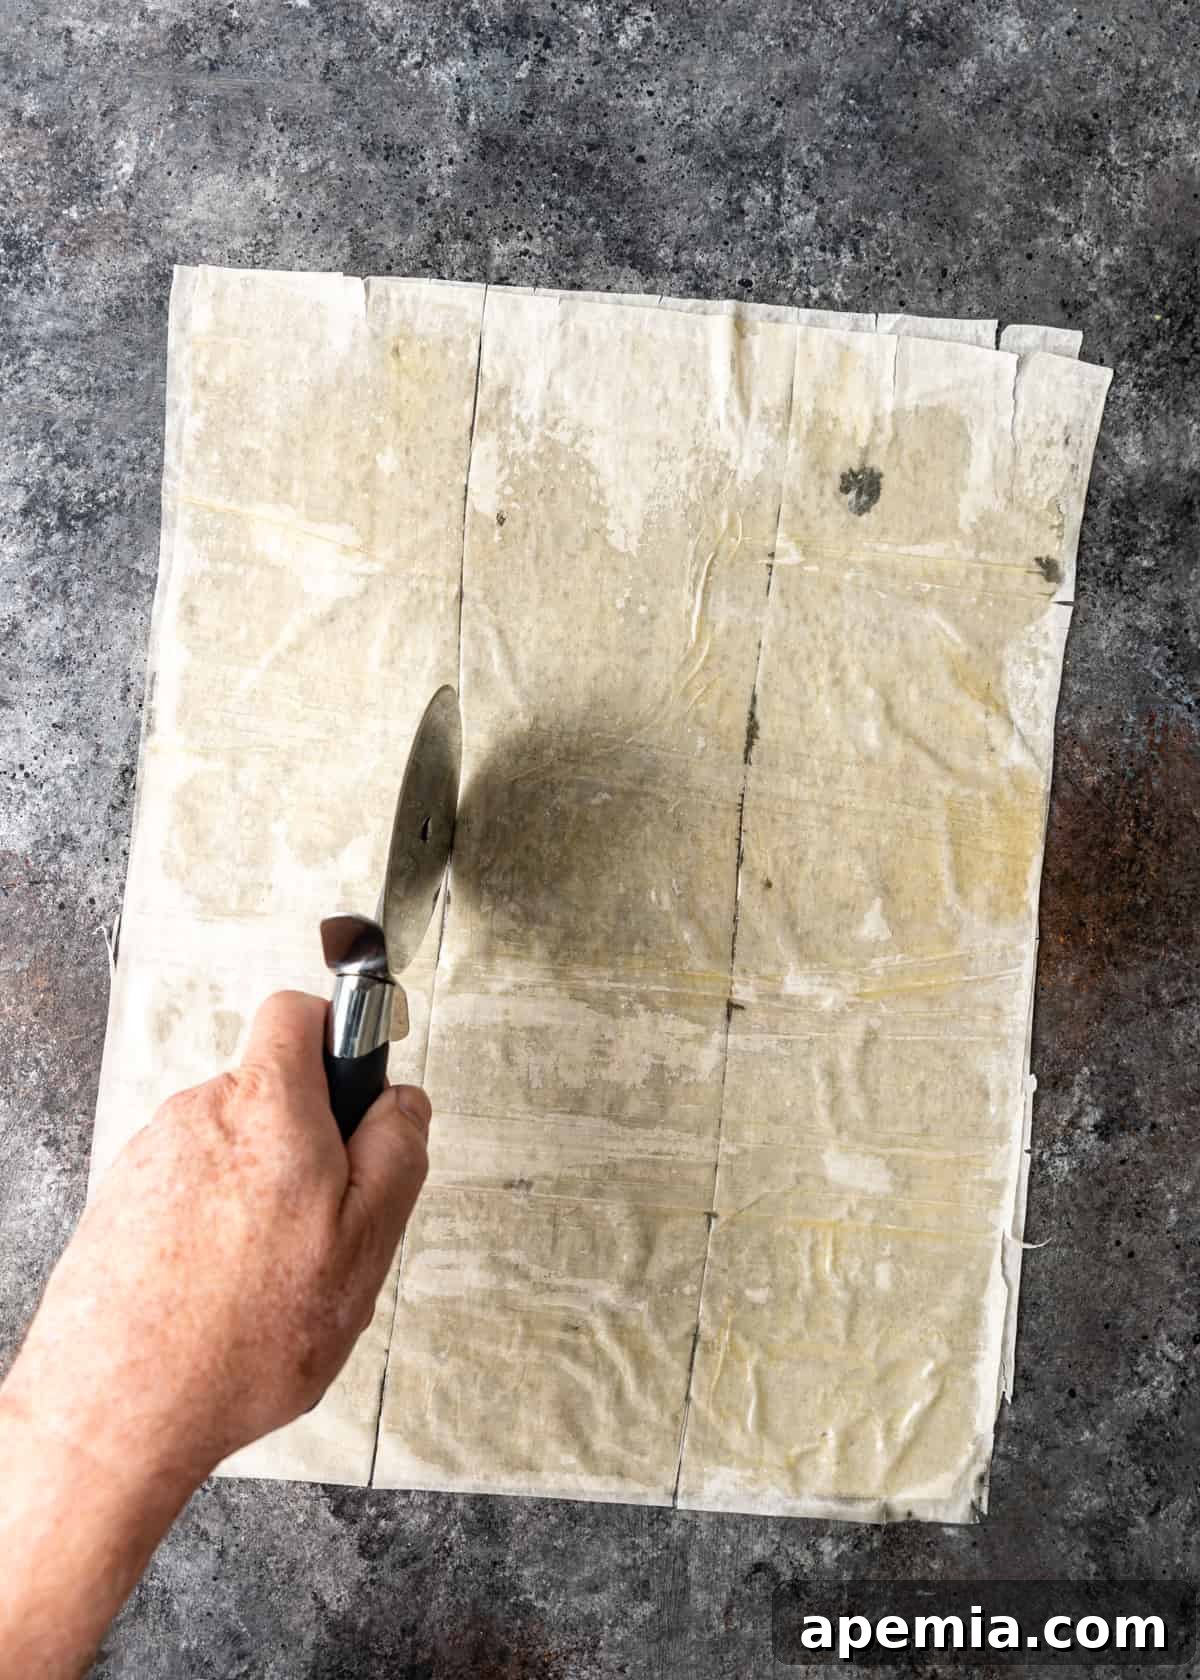
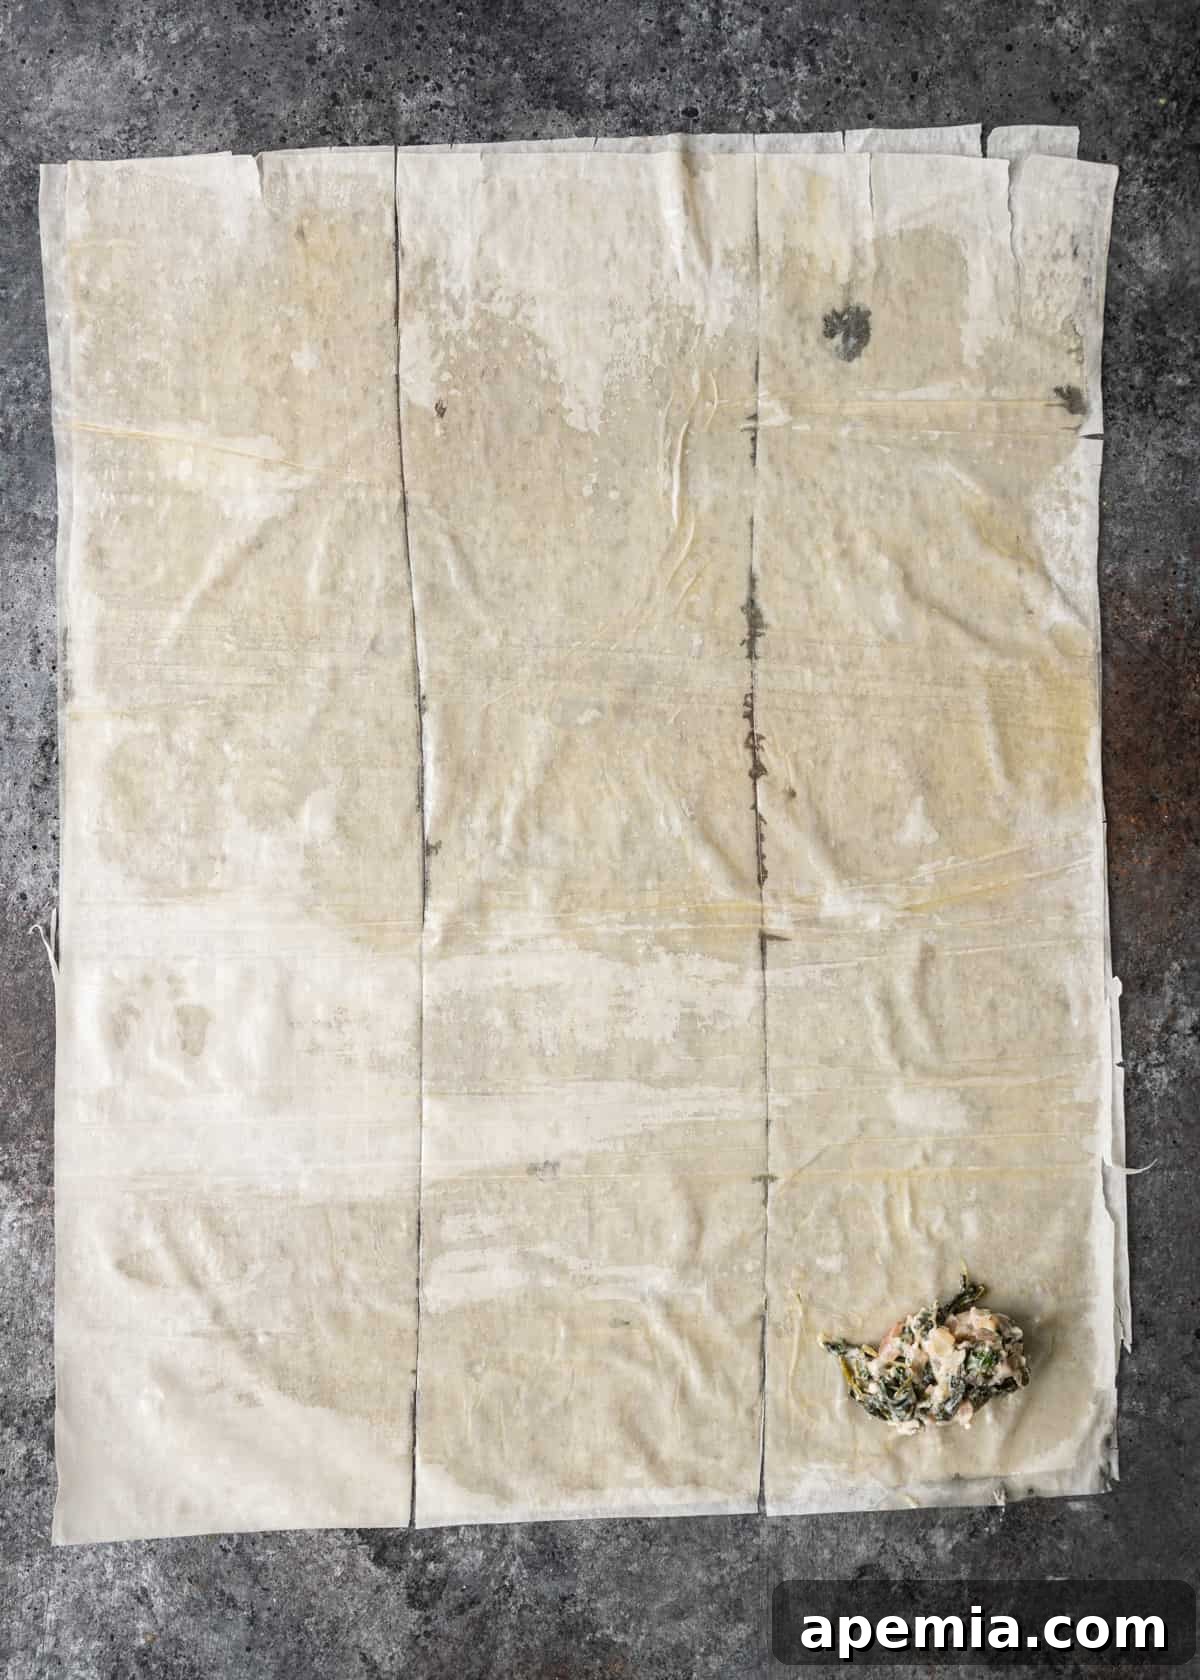
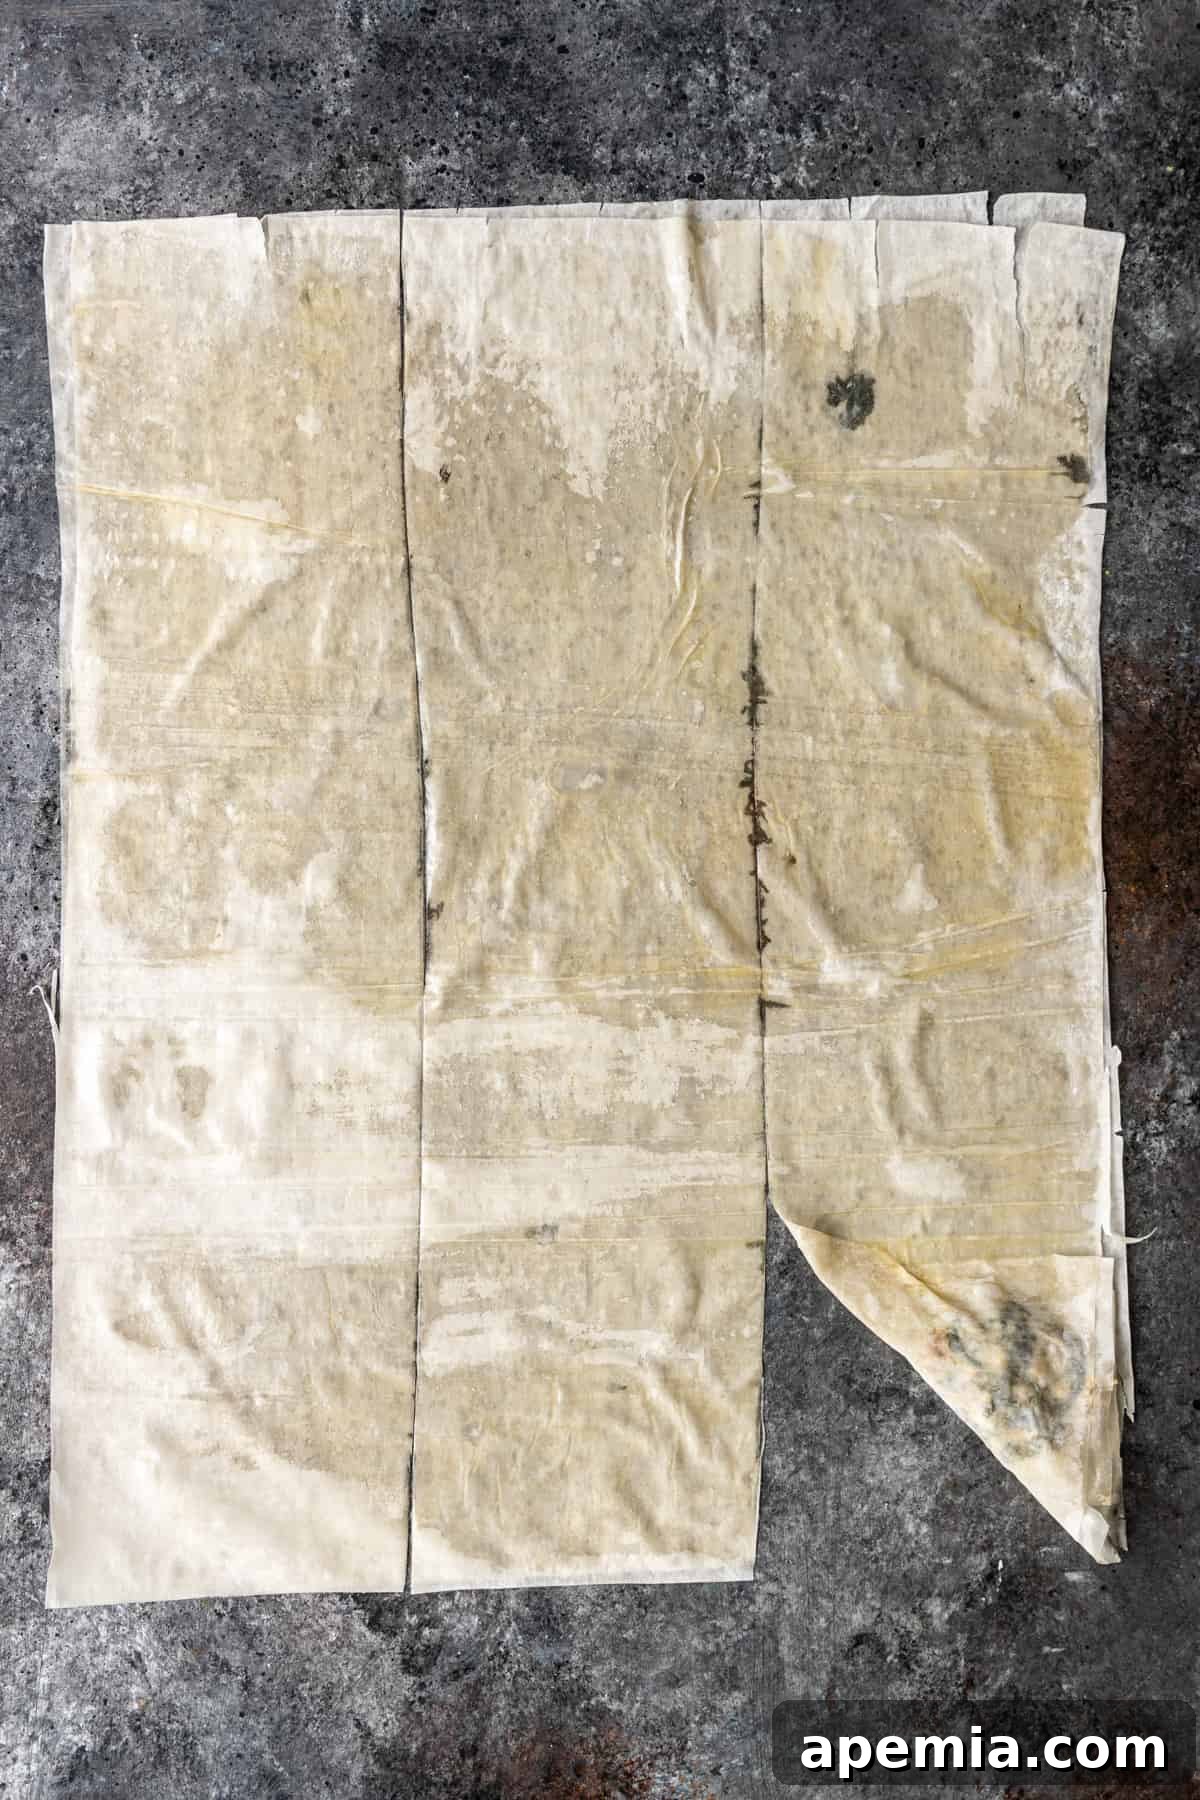
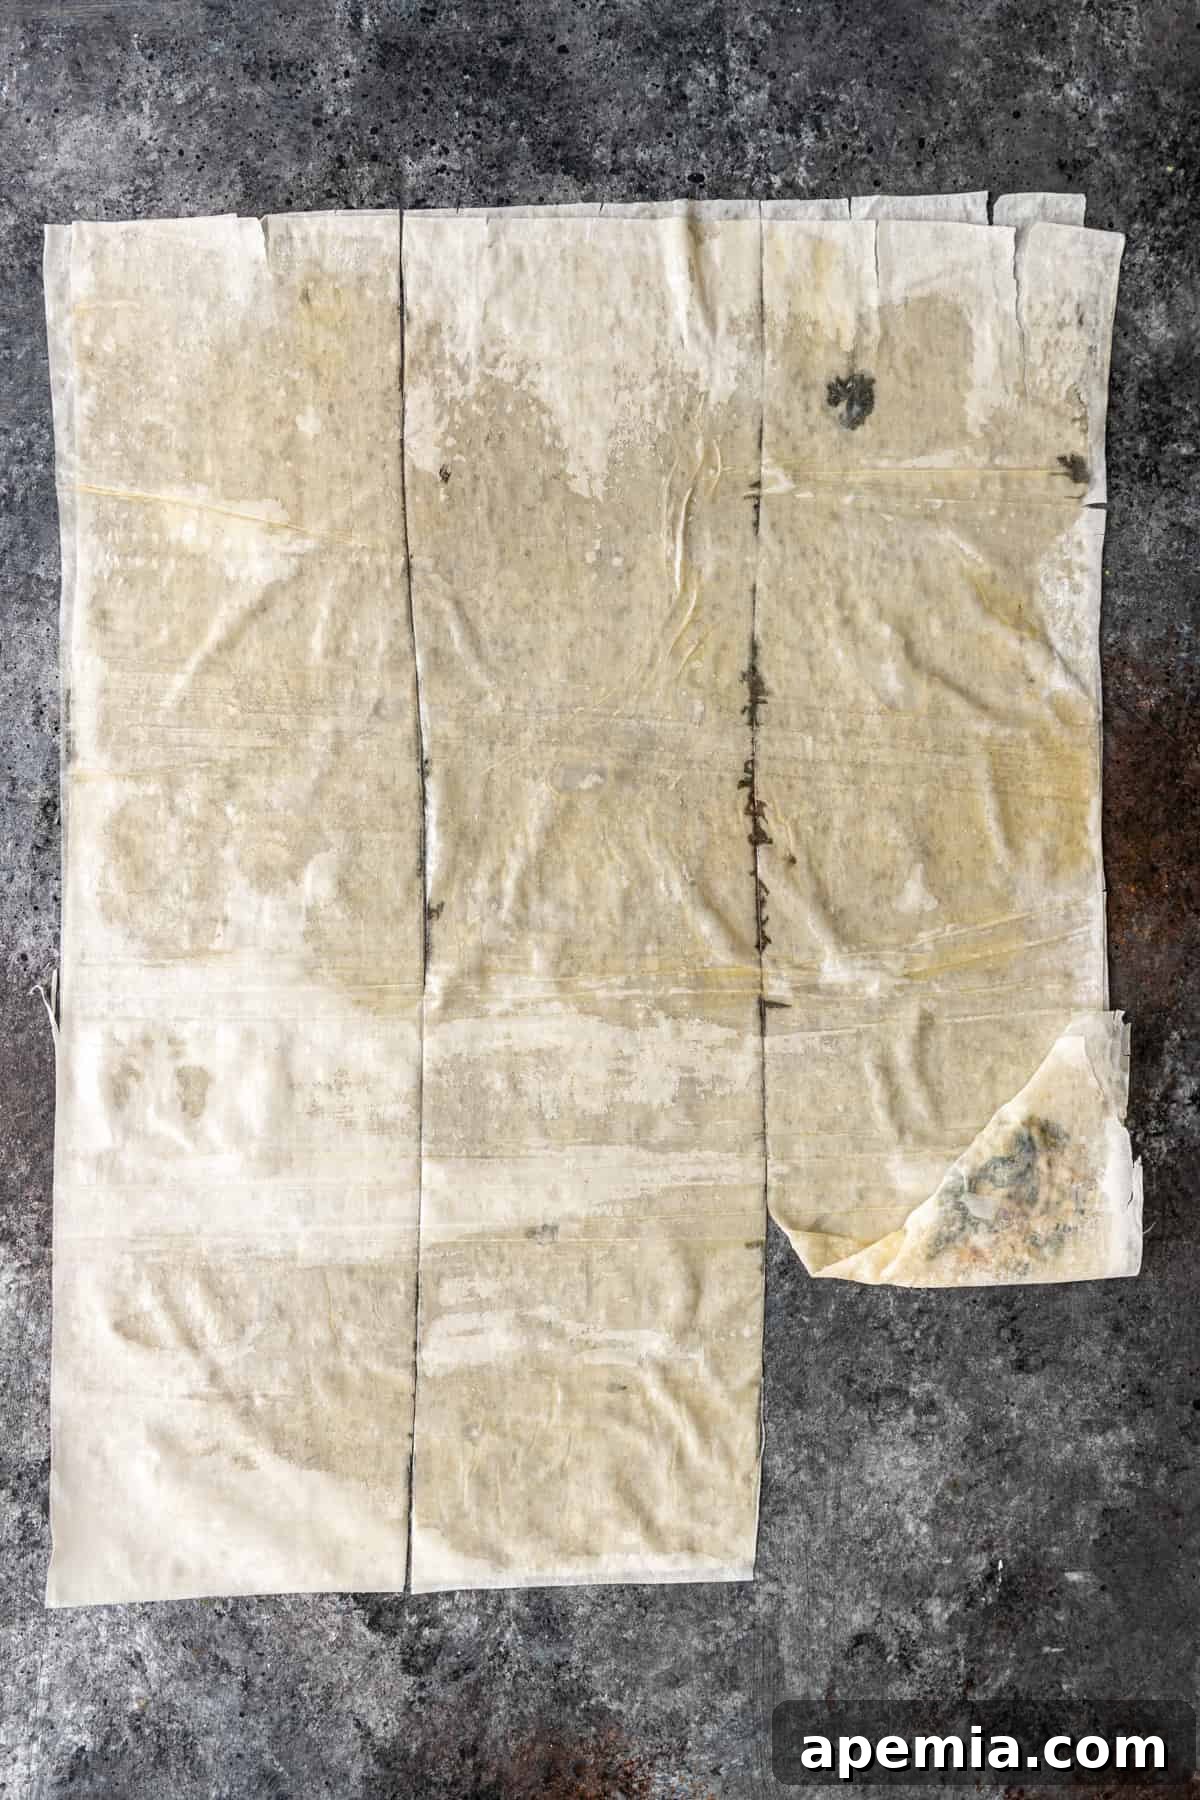
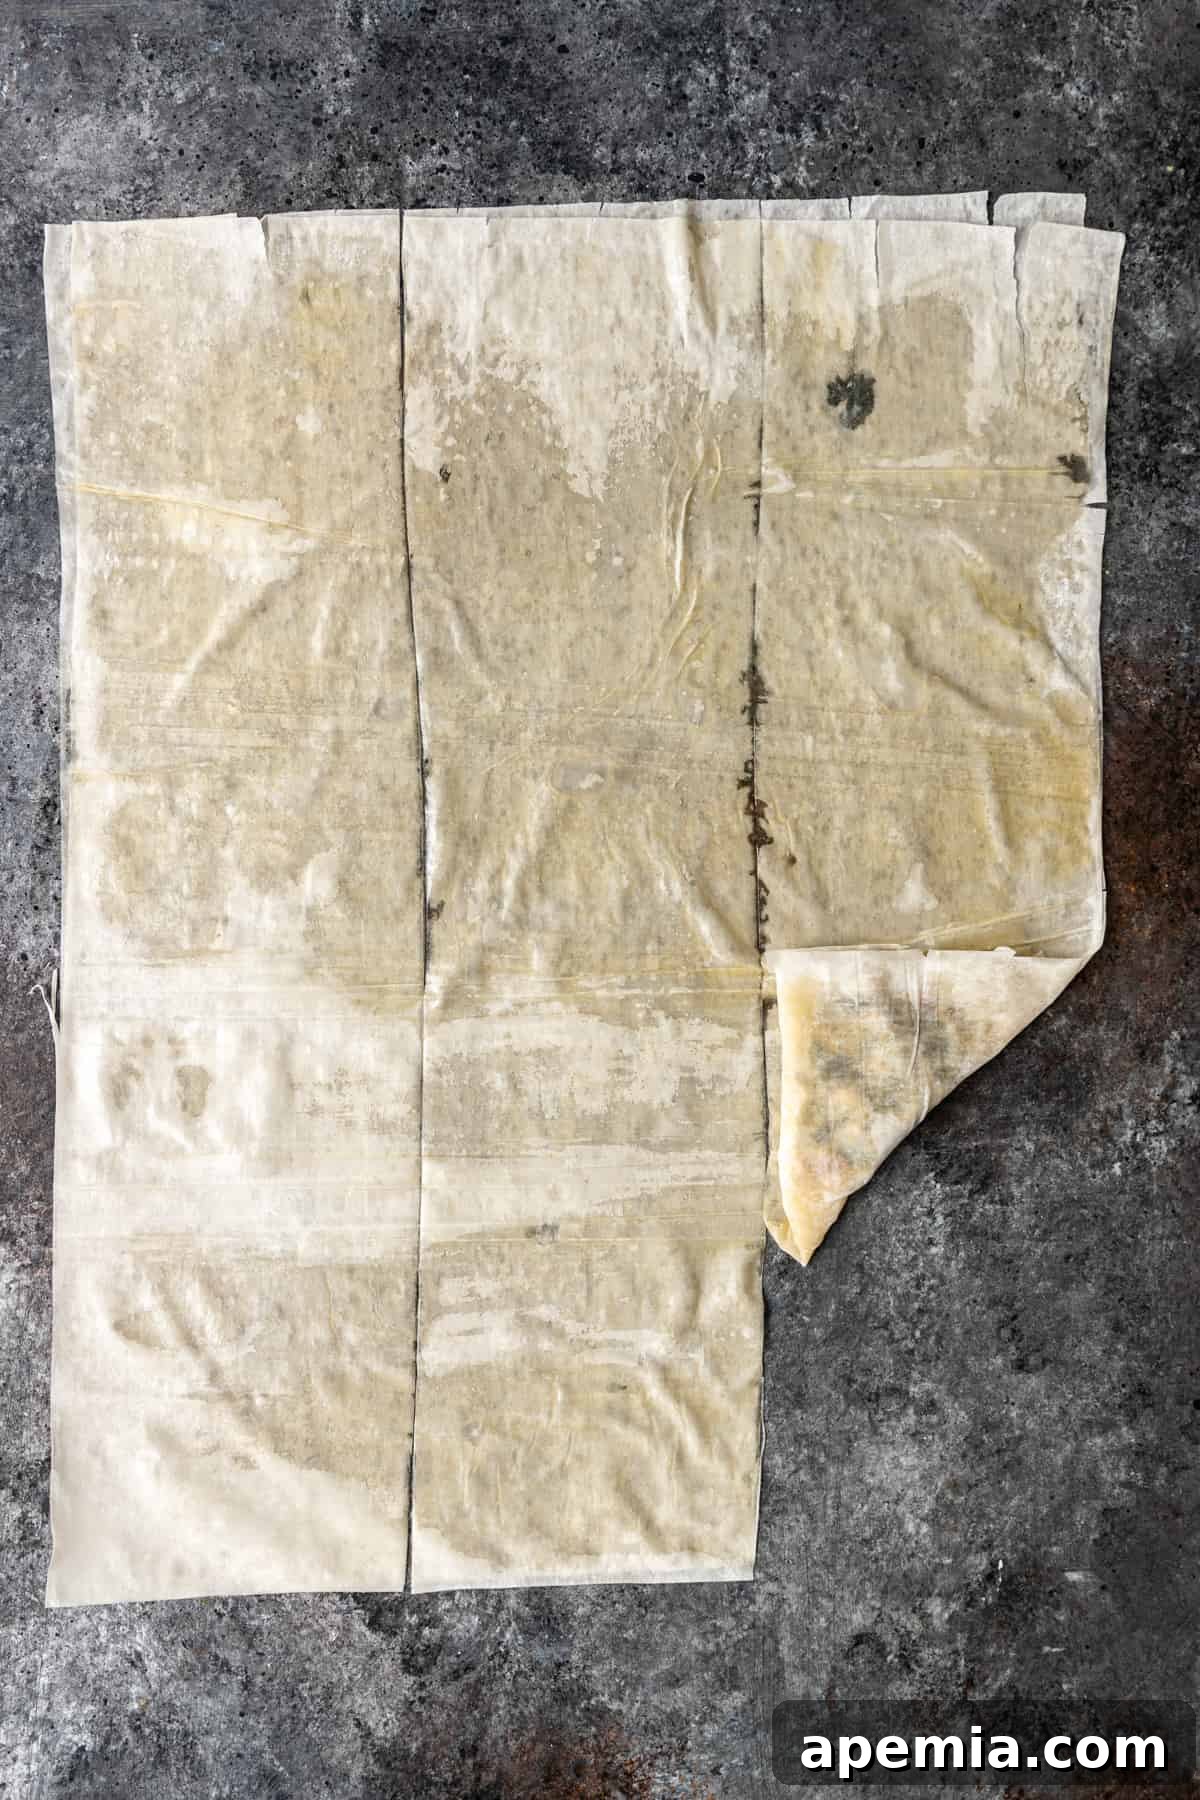
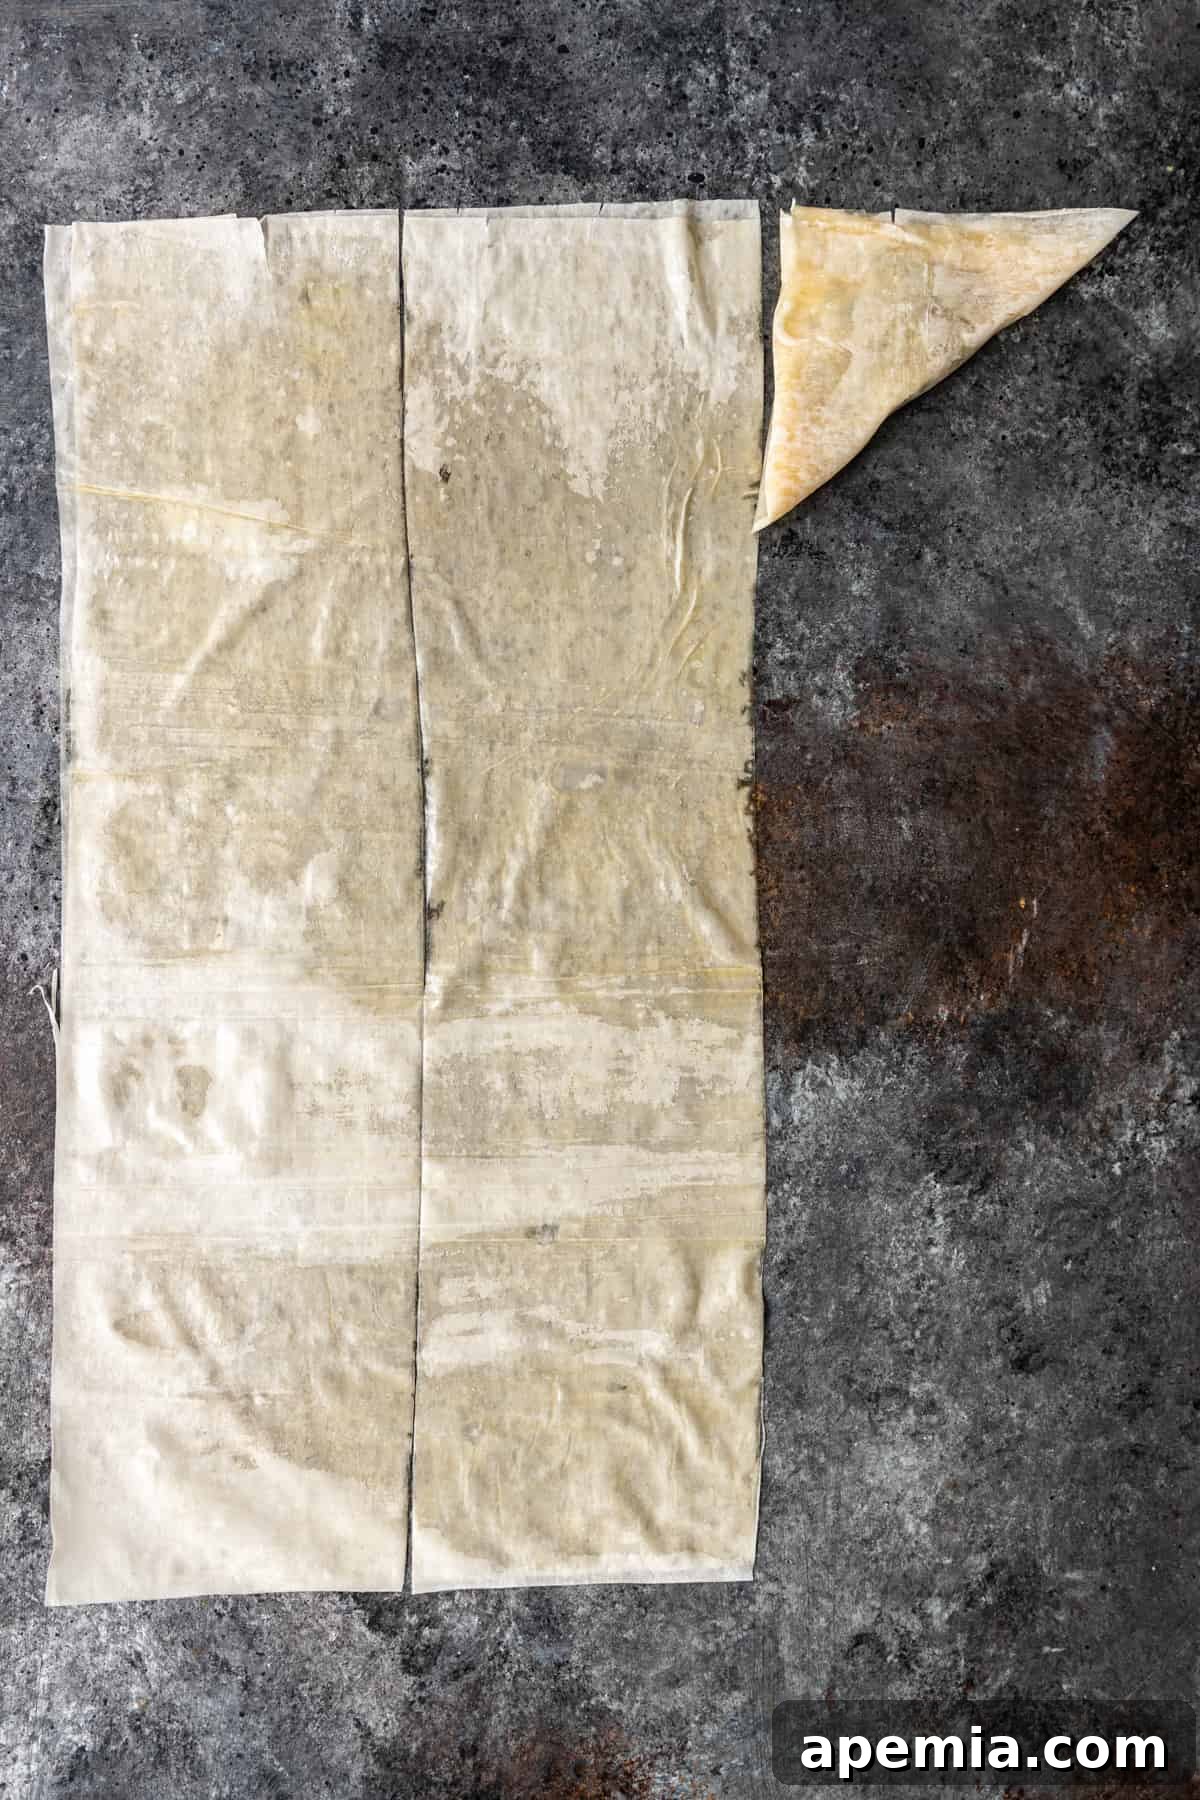
- Fill & Fold the Triangles: Using a very sharp knife or a pizza cutter, cut the buttered phyllo sheets lengthwise into 4 equal strips (approximately 2-3 inches wide, depending on your phyllo sheet size). Place about one tablespoon of the prepared spinach and feta filling at one end of each strip. To form a triangle, fold one corner of the strip diagonally over the filling, aligning the bottom edge with the side edge. Continue folding the triangle over itself, maintaining the triangular shape, until you reach the end of the phyllo strip. Gently pinch the edges to seal the filling inside. Repeat this process with the remaining phyllo strips and filling.
- Bake to Golden Perfection: Carefully arrange the assembled spanakopita triangles on your parchment-lined baking sheet, leaving a little space between each. Brush the tops of all the triangles with a final light coating of melted butter. Transfer the baking sheet to the preheated oven and bake for approximately 25 minutes, or until the phyllo turns a beautiful golden brown and becomes wonderfully crispy. Serve warm and enjoy!
Expert Tips for Flawless Phyllo Dough
Phyllo dough is renowned for its delicate texture, but it can be a bit temperamental, tending to dry out very quickly. Mastering its handling is key to perfectly crispy spanakopita. Here are some essential tips:
- Thaw Properly: Always thaw frozen phyllo dough in the refrigerator overnight. Never attempt to rush thawing at room temperature or in the microwave, as this can make it gummy and difficult to separate.
- Keep it Covered: The single most important rule when working with phyllo is to keep it covered. Once you remove it from its packaging, place the entire stack under a slightly damp (but not wet!) kitchen towel. This creates a humid environment that prevents the sheets from drying out and becoming brittle.
- Work Quickly: While keeping it covered helps, phyllo still dries out over time. Try to work efficiently, especially when layering and brushing with butter.
- Butter Generously: Don’t skimp on the melted butter! Each layer needs to be lightly but thoroughly coated. The butter not only adds flavor but also helps create that signature crispiness and acts as a barrier against drying.
- Gentle Handling: Phyllo is fragile. Handle each sheet with care, peeling it off the stack slowly to avoid tearing. Don’t worry if a sheet tears a little; once buttered and layered, it usually won’t be noticeable in the final product.
- Cool the Filling: Ensure your spinach and onion filling has cooled completely before adding it to the phyllo. Hot filling will steam the phyllo, making it soggy instead of crispy.
- Patience Pays Off: Working with phyllo takes a little practice and patience, especially when folding the triangles. Take your time with each one. The delicious, flaky results will be well worth the effort!
Your Spanakopita Questions Answered
How do you keep Greek spanakopita triangles crispy?
Achieving that coveted crispy phyllo is all about managing moisture. First and foremost, ensure there isn’t any excess liquid from the spinach. If using frozen greens, it’s vital to fully thaw and then aggressively drain them. I recommend squeezing out the water with your hands, or using a cheesecloth, to remove as much moisture as possible. Fresh spinach leaves should be sautéed or wilted and then thoroughly drained before adding to the filling. Any residual water will make your phyllo soggy.
Secondly, generous buttering is key. Brush each individual piece of phyllo with melted butter. This creates a barrier that helps each layer crisp up beautifully in the oven, resulting in those perfectly flaky bites you desire.
What do you serve with Greek spanakopita triangles?
This versatile spanakopita triangles recipe makes a wonderful snack, elegant appetizer, or a delightful side dish. Here’s a comprehensive list of ideas to inspire your next Greek feast:
- As Part of a Mezze Platter: Serve them alongside classic Greek and Mediterranean dips such as creamy Mediterranean Hummus, refreshing Tzatziki, pungent Greek Skordalia Dip, and smoky Baba Ganoush. Add olives, cherry tomatoes, and warm pita bread for a complete spread.
- Vegetarian Pairings: Complement them with other Mediterranean vegetable dishes like Briam Roasted Vegetables (Greek roasted vegetables) or savory Greek Fasolakia (green beans in tomato sauce).
- Lunchtime Delights: For a light yet satisfying lunch, enjoy spanakopita with fresh, vibrant salads. Try Tabouli Salad, a refreshing Chopped Vegetable Salad, or a classic Greek Feta Salad.
- Main Course Companions: Spanakopita pairs wonderfully with a variety of Greek main dishes such as juicy Chicken Souvlaki, crispy Falafel, or traditional gyros. They also make an excellent dinner side dish for succulent Lamb Shawarma, flavorful Mediterranean Grilled Chicken, or any other roasted meats.
What is the best way to store spanakopita?
Proper storage ensures your delicious spanakopita stays fresh and enjoyable. Store any fully cooked leftovers in an airtight container in the refrigerator for up to 3 days. While they are delightful at room temperature or chilled, reheating brings back their crispy glory.
To reheat, preheat your oven to 350°F (175°C). Arrange the triangles on a parchment paper-lined baking sheet and bake for about 15 minutes, or until warmed through and the phyllo has re-crisped.
Cooked spanakopita is not ideal for freezing as the phyllo can become soggy upon thawing. However, you can absolutely freeze prepared but uncooked triangles! Place them in a single layer on a baking sheet and freeze until solid, then transfer them to an airtight freezer bag or container. They will keep for up to 3 months. When ready to bake, place them directly from frozen onto a lined baking sheet and bake, adding an extra 10-15 minutes to the cooking time, or until golden brown and crispy.
Can I make spanakopita ahead of time?
Absolutely! The filling can be prepared one day in advance and stored in an airtight container in the refrigerator. Just make sure it’s completely cooled before refrigeration. For assembly, you can prepare the uncooked triangles and freeze them as described above, or assemble them up to a few hours before baking and keep them loosely covered in the refrigerator. This makes them a fantastic option for entertaining!
Can I use fresh spinach instead of frozen?
Yes, you can! If using fresh spinach, you’ll need approximately 1.5 to 2 pounds of fresh leaves to yield the same amount as 10 ounces of frozen spinach once wilted and drained. Sauté the fresh spinach in a pan until it wilts down, then allow it to cool and squeeze out all excess moisture before adding it to the filling. This step is critical for preventing a watery filling.
Share this recipe on Pinterest!
Love this recipe? Share it with your friends and followers on Pinterest!

Spanakopita Triangles
5 from 2 votes
27 pieces
30 mins
25 mins
55 mins
Print Recipe
Video
Learn how to make Spanakopita triangles by watching our detailed video guide below:
Video: Spanakopita triangles are flaky phyllo pastry with spinach and cheese filling. Make this recipe for a delicious, classic Greek appetizer!
Ingredients
Filling
- 1 red onion, diced
- 2 cloves garlic, minced
- 1 tbsp olive oil
- 1 tsp kosher salt
- 1/8 tsp red pepper flakes
- 6 oz feta cheese crumbles
- 1/2 cup Greek yogurt, plain (full-fat recommended)
- 1 large egg
- 1 tbsp fresh dill, chopped
- 10 oz frozen spinach, thawed and thoroughly drained (or 1.5-2 lbs fresh, wilted and drained)
- 1/2 cup fresh parsley, chopped fine
- 1 cup walnuts, chopped fine (optional, but recommended)
Assembly
- 1 package Phyllo pastry, thawed per package instructions
- 1 cup unsalted butter, melted
Recipe is provided in US Customary units.
Instructions
- In a skillet over medium heat, add the olive oil. Sauté the diced red onions until they are soft and golden, about 5-7 minutes. Add the minced garlic, kosher salt, and red pepper flakes, cooking for another 2 minutes until aromatic. Remove from heat and set aside to cool completely.
- In a large bowl, combine the crumbled feta, Greek yogurt, egg, chopped fresh dill, thoroughly drained spinach, and finely chopped parsley. Mix until well combined and relatively smooth.
- Once the onion and garlic mixture has cooled, fold it into the spinach and feta mixture. Set the filling aside. Preheat your oven to 350°F (175°C) and line a baking pan with parchment paper.
- Lay the thawed phyllo sheets on a clean working surface. Keep the remaining phyllo sheets covered with a lightly damp kitchen towel to prevent them from drying out. Working with one phyllo sheet at a time, lightly brush its top surface with melted butter. Place another sheet directly on top and brush it again with melted butter.
- Using a sharp knife, cut the layered and buttered phyllo sheets into 4 equal strips lengthwise. At one end of each strip, place approximately one tablespoon of the prepared filling.
- To form a triangle, fold one corner of the strip over the filling, creating a triangle shape. Continue folding the triangle over itself, maintaining the triangular form, until you reach the end of the phyllo strip. Gently pinch the edges to seal. Repeat this process with the remaining strips and filling.
- Arrange the finished triangles on the parchment-lined baking pan. Brush the tops of all the triangles with a little of the remaining melted butter.
- Bake for 25 minutes, or until the spanakopita triangles are golden brown and crispy. Serve warm.
Nutrition
Calories: 170kcal |
Carbohydrates: 11g |
Protein: 4g |
Fat: 13g |
Saturated Fat: 6g |
Trans Fat: 1g |
Cholesterol: 30mg |
Sodium: 310mg |
Potassium: 95mg |
Fiber: 1g |
Sugar: 1g |
Vitamin A: 1575IU |
Vitamin C: 2mg |
Calcium: 61mg |
Iron: 1mg
The information shown is an estimate provided by an online nutrition calculator. It should not be considered a substitute for a professional nutritionist’s advice.
Appetizer, Side Dish
Greek, Mediterranean
Kevin
Have You Made This Recipe? Let Me Know on Instagram!
Tag @keviniscooking or use the hashtag #keviniscooking!