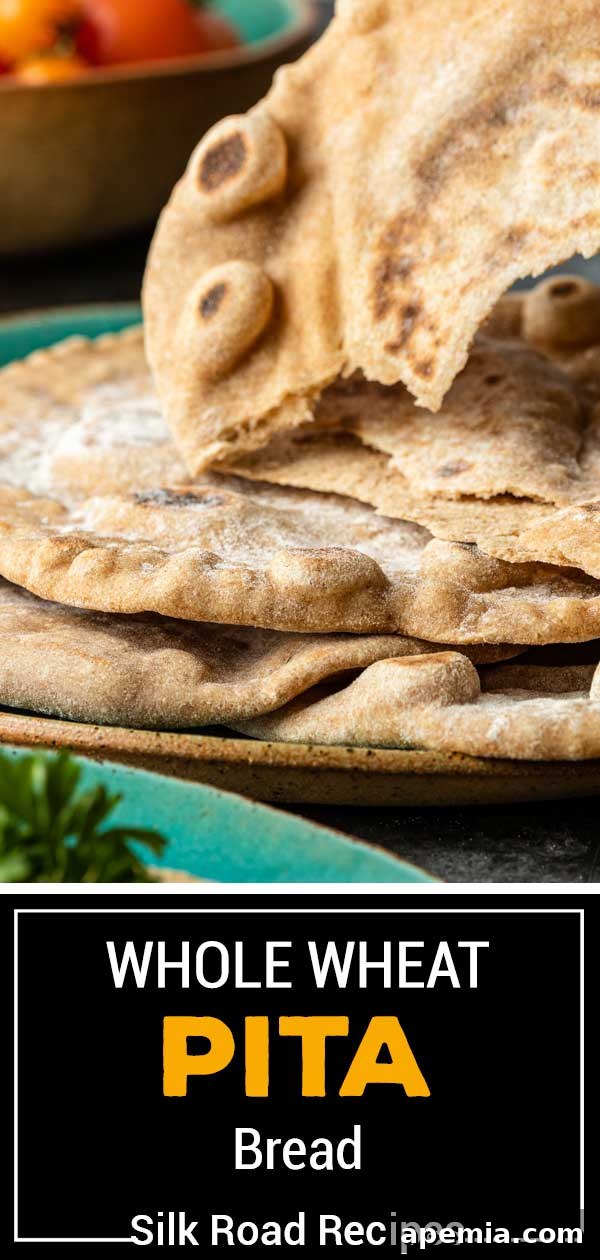
Authentic Homemade Pita Bread (Khubz) Recipe: Your Guide to Perfect Puffy Flatbread
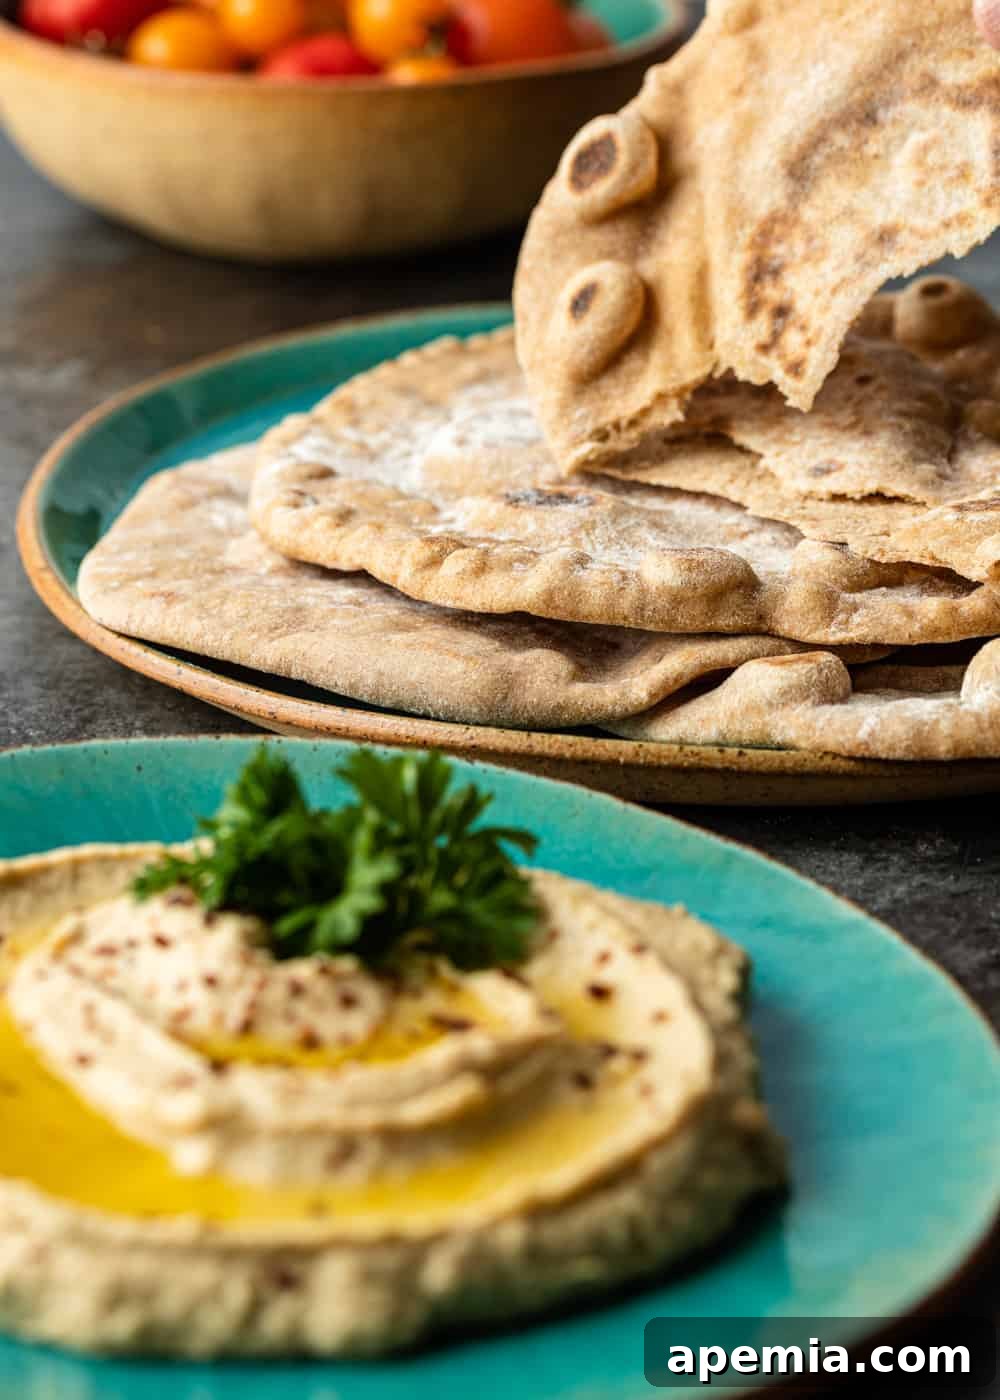
There’s an undeniable magic in baking bread from scratch, and few experiences rival the simple pleasure of fresh, warm pita bread. Also known as khubz, this iconic flatbread is a cornerstone of Middle Eastern and Mediterranean cuisine, celebrated for its unique ability to puff up and form a convenient “pocket.” Our comprehensive guide will walk you through crafting your own batch of soft, pliable, and perfectly puffy pita bread right in your kitchen, transforming simple ingredients into a truly delightful culinary experience that far surpasses any store-bought alternative.
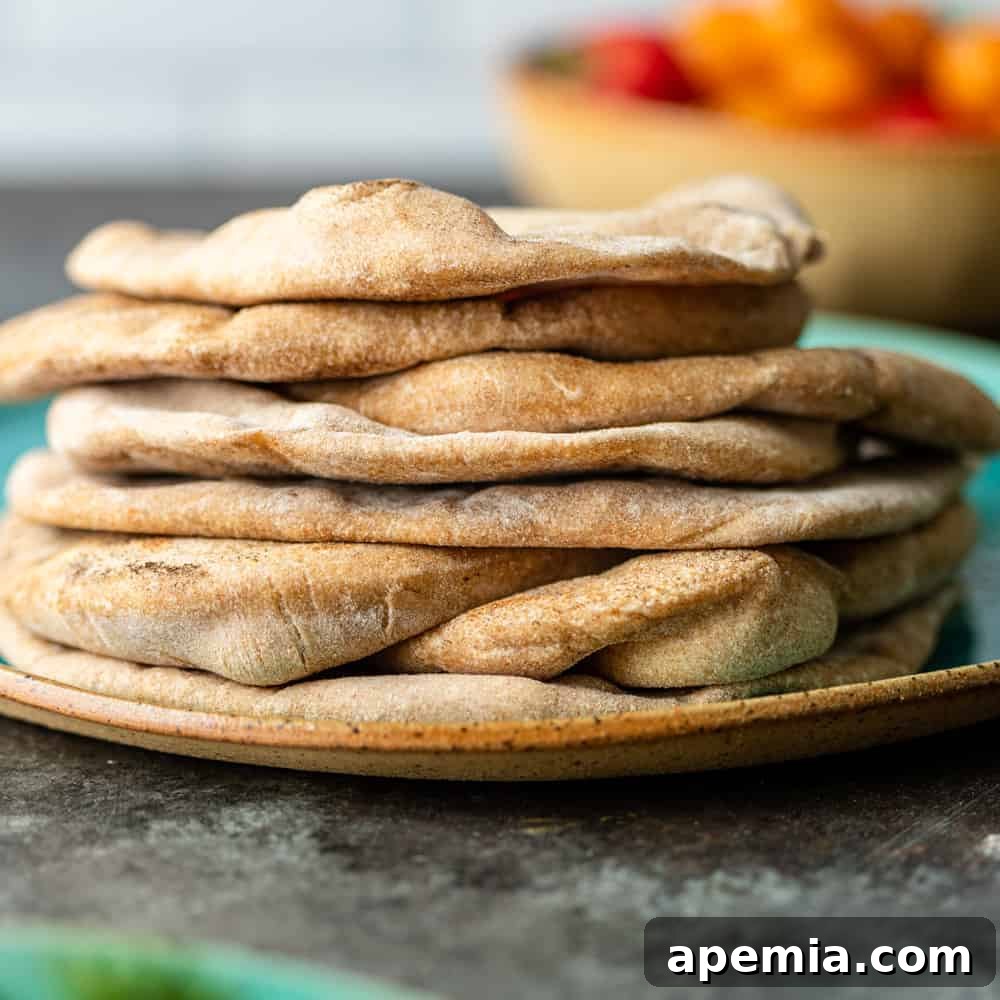
Across continents and centuries, bread has held a revered place at the heart of every culture, serving as both sustenance and a symbol of hospitality. Along the historical Silk Road, this tradition flourished, giving rise to an incredible diversity of flatbreads. We’ve explored the rich, buttery textures of Indian Naan Bread, the aromatic delight of Turkish Sesame Bread (Simit), and the cheesy indulgence of Khachapuri Georgian Cheese Bread. Today, our journey brings us to the beloved Arabic pita bread, a testament to the enduring appeal of traditional baking. Once you master this authentic recipe, you’ll discover a world of flavor and texture that makes commercial pita a distant memory.
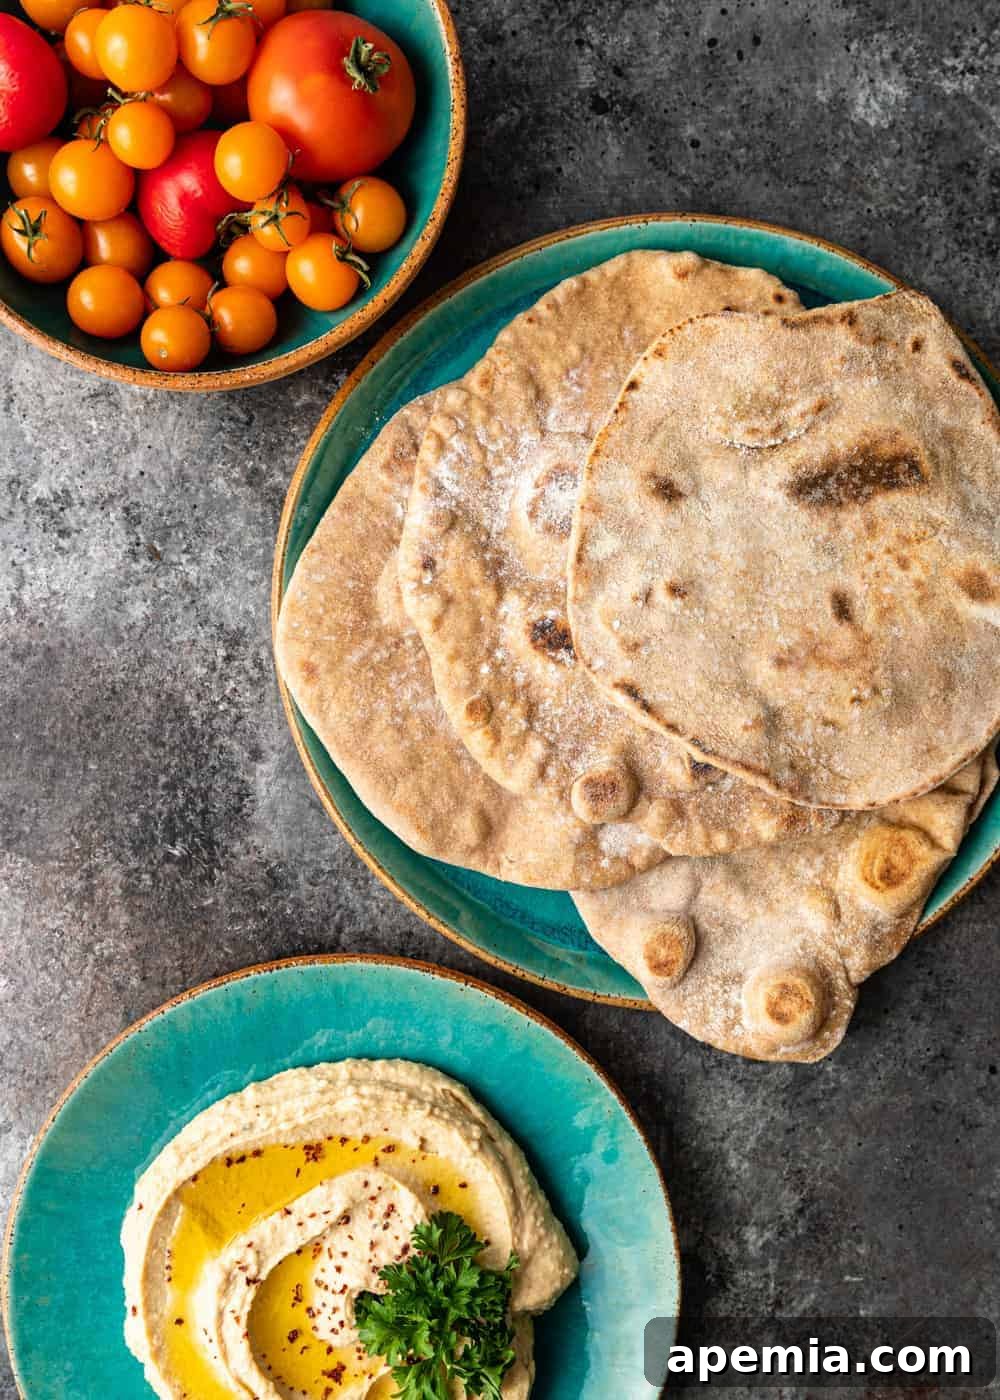
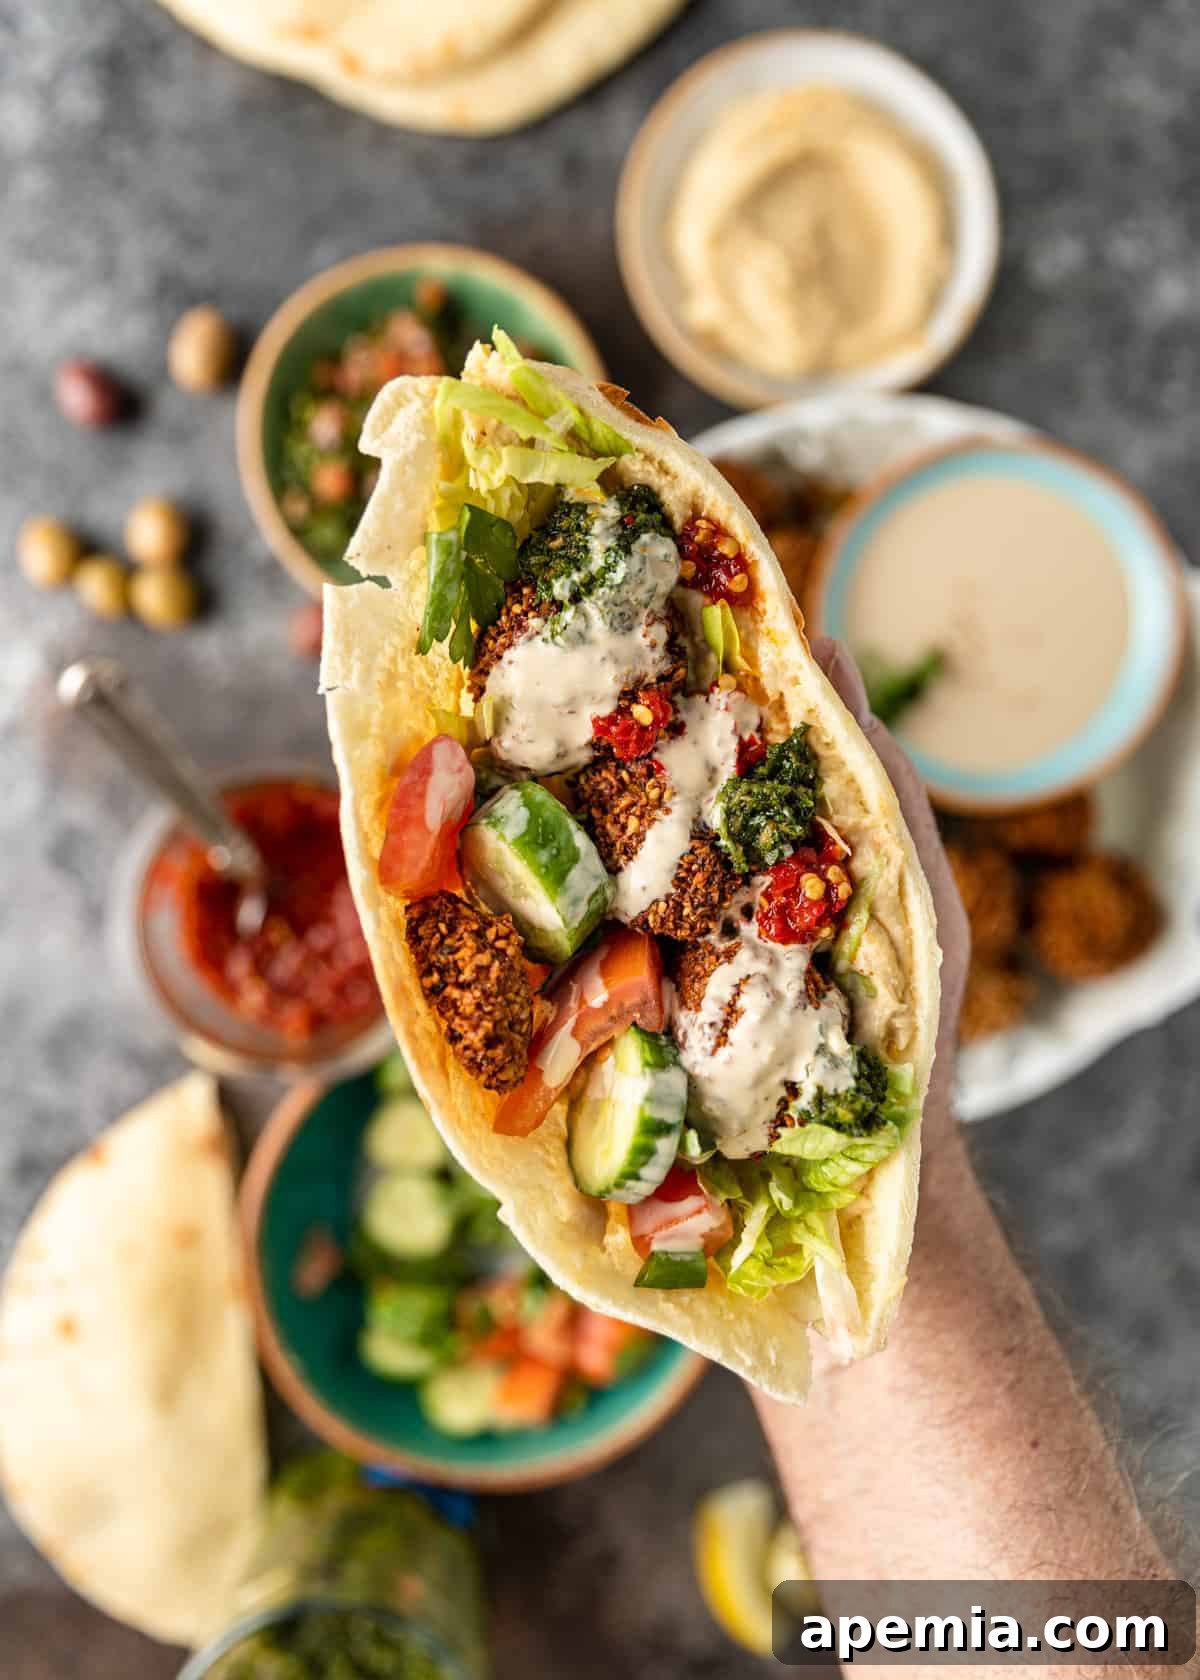
This versatile Middle Eastern flatbread is more than just an accompaniment; it’s an integral part of countless dishes and social gatherings. Imagine serving a tray of vibrant, freshly baked khubz with an array of dips and spreads. It’s the ideal vessel for scooping up a silky White Bean Hummus, or the savory indulgence of Kawarma (Hummus with Lamb). Beyond appetizers, pita bread seamlessly integrates into main meals, perfect for enjoying alongside aromatic Kabsa (Arabic Chicken and Rice), or as the foundation for hearty sandwiches. Its signature pocket makes it the ultimate vehicle for stuffing with classic fillings like tender Lamb Shawarma, crisp falafel, fresh salads, and a drizzle of tangy sauce, creating a satisfying and portable meal for any occasion.
What is Khubz? Understanding the Essence of Middle Eastern Pita Bread
The term “khubz” (often transliterated as khoubz, khobez, khubez, or khubooz) is simply the Arabic word for “bread.” However, in the context of Middle Eastern cuisine, it most commonly refers to the round, flat, and typically pocket-forming bread that is universally known as pita. This essential flatbread boasts a rich history and numerous regional identities, reflecting its widespread popularity across the Levant and beyond. While “pita bread” is the most recognized English term, it’s also known by several descriptive names:
- Arabic bread or Arab bread, highlighting its cultural origins.
- Syrian bread, acknowledging its prevalence in Syrian culinary traditions.
- Lebanese flatbread, pointing to its significance in Lebanese cuisine.
The defining characteristic of khubz is its ability to puff up dramatically during baking, creating an airy, hollow interior. This “pocket” forms as steam rapidly expands within the dough, separating the top and bottom layers. This unique feature makes it exceptionally practical for filling with a myriad of ingredients, from savory meats and falafel to fresh vegetables and creamy spreads. Its soft, slightly chewy texture and subtle flavor make it a beloved staple, perfect for dipping, wrapping, or serving alongside almost any Middle Eastern dish.
Essential Ingredients for Perfect Homemade Pita Bread
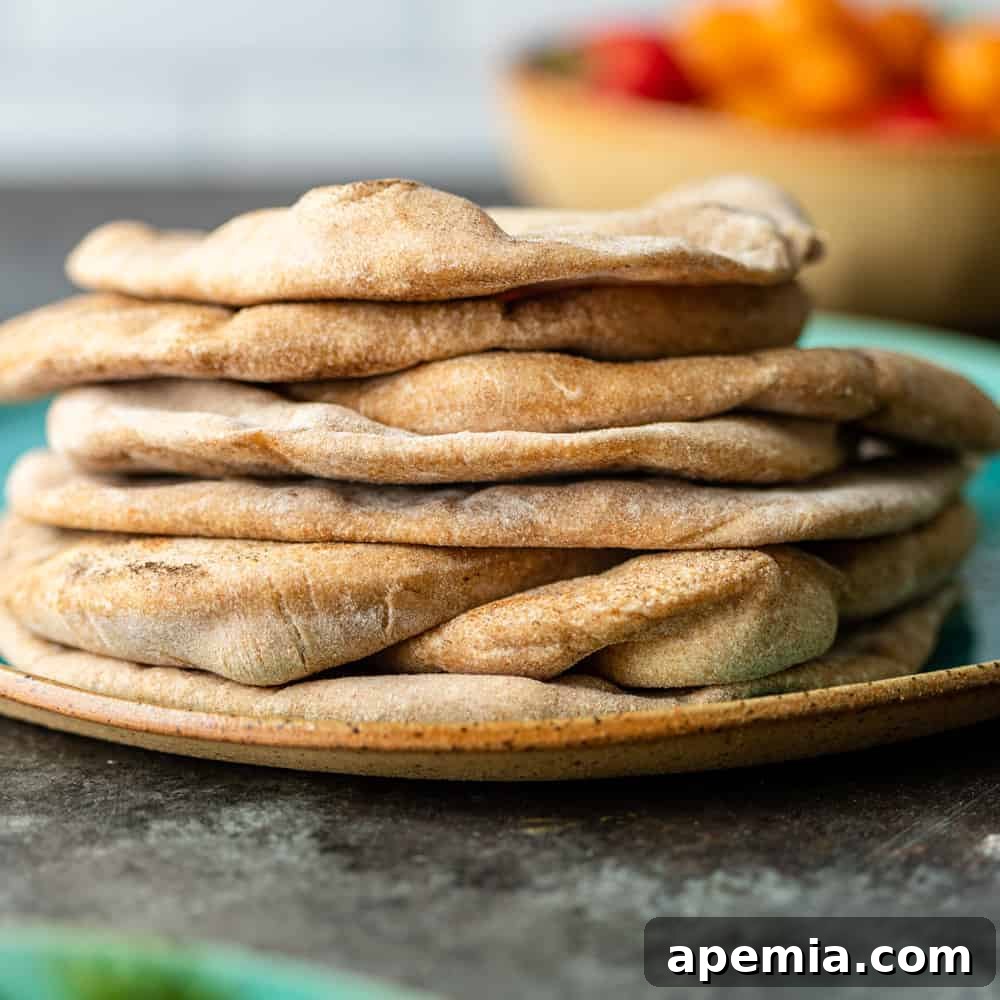
Creating exceptional homemade pita bread requires a mindful approach to a few basic ingredients. The beauty of this recipe lies in its simplicity, relying on fundamental pantry staples to produce extraordinary results. Each component plays a crucial role in achieving the desired soft texture, elasticity, and iconic puff. Here’s a detailed breakdown of what you’ll need, along with essential notes and potential substitutions:
- Active Dry Yeast: This is the powerhouse behind pita’s signature rise. Active dry yeast, sometimes referred to as “double-rise yeast,” requires activation in warm liquid and typically undergoes two distinct proofing periods, crucial for developing complex flavors and a robust, airy structure. It’s imperative not to substitute rapid-rise or instant yeast, as their faster activation and single-rise properties will not yield the same traditional results for this recipe.
- Lukewarm Water: The temperature of your water is critical for yeast activation. It must be warm enough to awaken the yeast, but not so hot that it kills the delicate microorganisms. Aim for a temperature between 105-115°F (40-46°C)—it should feel pleasantly warm to the touch, similar to a baby’s bathwater. Water that is too cold will inhibit yeast activity, resulting in a dense, unrisen dough.
- Granulated Sugar: A small amount of white sugar serves as vital fuel for the yeast, accelerating its activity and ensuring a vigorous rise. Beyond its role in fermentation, sugar also contributes to the bread’s beautiful golden-brown crust during baking and subtly enhances the overall flavor profile.
- Flour: The type of flour profoundly influences the final texture of your pita. For a balanced outcome, we highly recommend an equal blend of whole wheat flour and bread flour. Whole wheat flour introduces a delightful nutty flavor and boosts the fiber content, while bread flour, with its higher protein levels, develops stronger gluten, resulting in a chewier texture and a more robust structure essential for the pita’s pocket formation. If you prefer a lighter, more classic white pita, using solely bread flour is a perfectly acceptable alternative. While all-purpose flour can be used, it may yield a slightly less chewy and less structurally sound pita.
- Salt: Salt is indispensable for both flavor and dough structure. Kosher salt or sea salt are preferred choices as they dissolve evenly and provide a clean, balanced taste. Regular table salt, often containing iodine or anti-caking agents, can sometimes impart an undesirable metallic note and may interfere with yeast activity, so it’s best avoided for this recipe.
- Olive Oil: A modest addition of olive oil contributes significantly to the pita’s tenderness, moisture, and adds a subtle, pleasant aroma. It also aids in creating a desirable golden crust. If extra virgin olive oil is too strong, or if you prefer a neutral flavor, other light-flavored oils such as canola, vegetable, or sunflower oil can be used interchangeably.
How to Make Homemade Pita Bread: A Step-by-Step Guide for Perfect Pockets
Embarking on the journey to make homemade pita bread is a truly gratifying culinary adventure. The process, while requiring a bit of patience for rising, is straightforward and yields incredibly satisfying results. Follow these detailed steps to achieve soft, chewy, and beautifully puffed khubz every single time:
- Activate the Yeast (Proofing): Begin by dissolving one packet of active dry yeast in ¼ cup of lukewarm water in a large mixing bowl. Add the 1/8 teaspoon of granulated sugar and gently stir. Allow this mixture to sit undisturbed for 5 to 10 minutes. It should become visibly foamy and bubbly on the surface, indicating the yeast is active and ready to work. Once frothed, add the remaining 1 ¼ cups of lukewarm water to the bowl, ensuring a total of 1 ½ cups of water has been added.
- Create the “Sponge” Mixture: If using a stand mixer, attach the dough hook. Gradually add 1 ½ cups of flour to the yeast mixture in the bowl. Mix on low speed until a wet, “sponge-like” batter forms, with a consistency similar to thick pancake batter. Cover the bowl loosely with plastic wrap or a clean kitchen towel and let this sponge rest for 10 minutes. This crucial resting period allows the flour to fully hydrate and jumpstarts gluten development.
- Incorporate Remaining Ingredients: To the rested sponge, add the 1 teaspoon of kosher salt and one tablespoon of olive oil. Begin to gradually incorporate the remaining 1 ½ cups of flour, mixing on low speed with the dough hook. Continue mixing until all the flour is combined and the dough begins to form a cohesive, shaggy mass.
- Knead the Dough to Perfection: Increase the mixer speed to medium-low and continue to knead the dough for a full 10 minutes. During this sustained kneading, the dough will transform: it will become noticeably smooth, elastic, and take on a slightly shiny appearance, pulling away cleanly from the sides of the bowl. If kneading by hand, turn the dough out onto a lightly floured surface and knead vigorously for 12-15 minutes until it achieves this smooth and elastic texture.
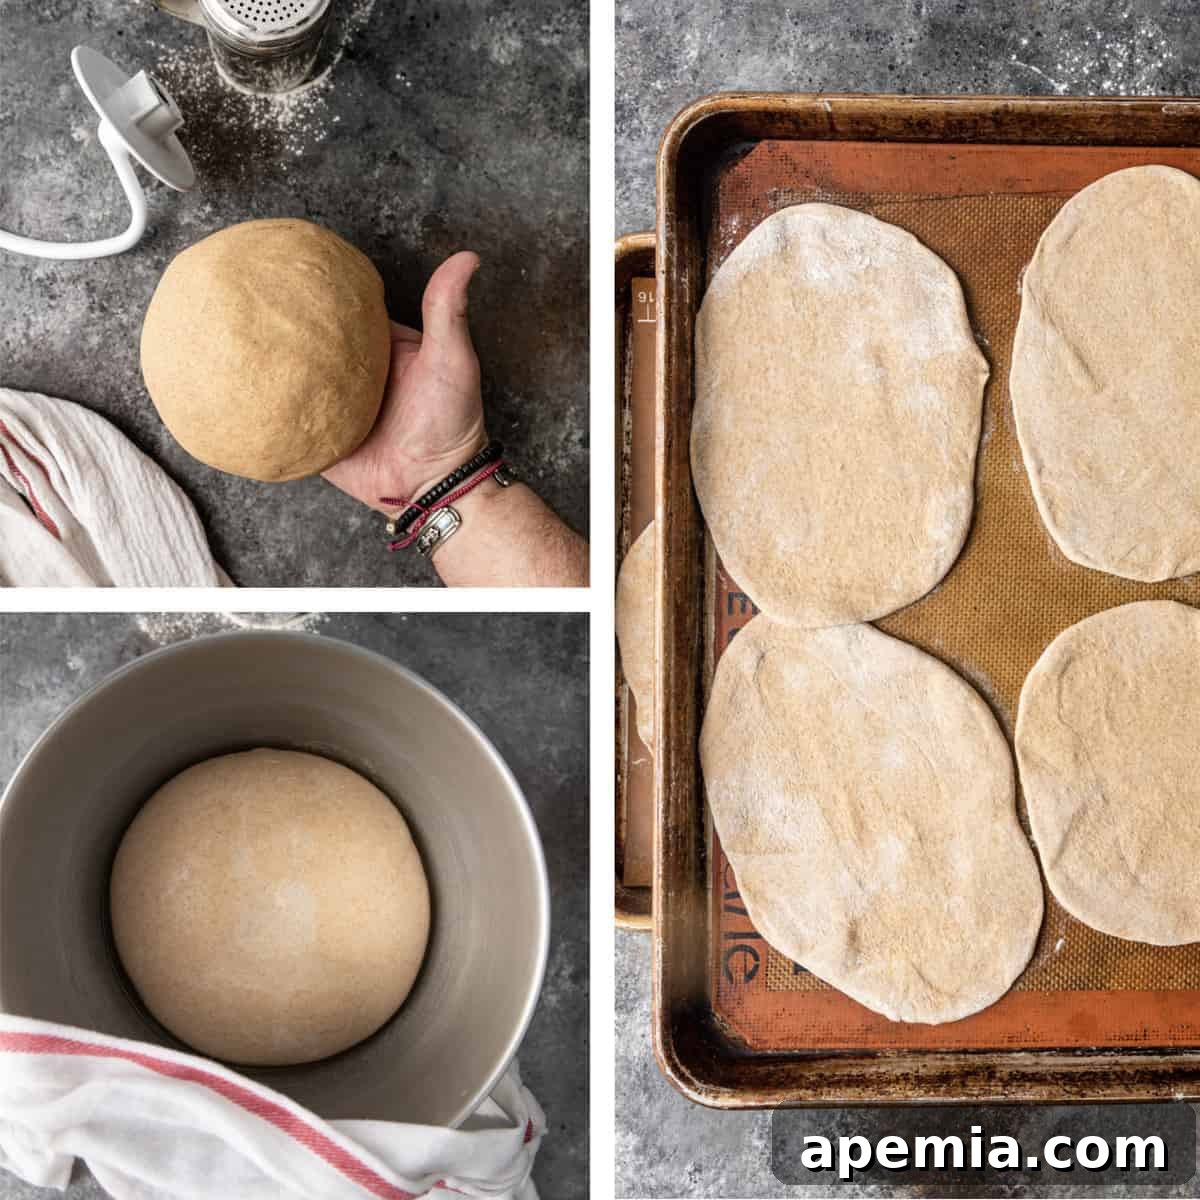
- First Rise (Bulk Fermentation): Lightly coat the inside of a clean mixing bowl with the remaining tablespoon of olive oil. Transfer the kneaded dough ball into the oiled bowl, turning it once to ensure it’s fully coated. Cover the bowl tightly with plastic wrap or a damp tea towel. Place the bowl in a warm, draft-free environment for its first rise. Allow it to rise for approximately 2 hours, or until the dough has impressively doubled in size. A slightly warmed (then turned off) oven or a microwave can provide an ideal, consistent temperature for rising.
- Punch Down, Divide, and Shape: Once the dough has doubled, gently punch it down to release the trapped air. Turn the dough out onto a lightly floured work surface and knead it briefly for about 3 minutes to redistribute the gases. Divide the dough into two equal halves. Cover one half with the damp tea towel to prevent it from drying out. Divide the working half into 4 equal pieces. Roll each of these pieces into a smooth, tight ball. Repeat this process with the second half of the dough, resulting in 8 uniform dough balls in total.
- Flatten and Second Rise (Proofing): On a lightly floured surface, take each dough ball and flatten it evenly using a rolling pin. Roll it into a disc approximately 7-8 inches in diameter and about ⅛ to ¼ inch thick. It’s crucial not to roll them too thin or too thick. Lightly dust each flattened disc with a little flour and carefully transfer it to a floured towel or a baking tray lined with a silicone mat, ensuring there is ample space between each disc. Cover them loosely and allow these flattened pitas to rest and rise for a second time, for about 20 minutes at room temperature. This final short proofing is vital for achieving that signature puff during cooking.
- Cook the Pita – Skillet Method: For a traditional and efficient cooking method, place a heavy-bottomed cast iron skillet (or another thick-bottomed pan) over high heat and allow it to preheat thoroughly until it is very hot. Place one flattened pita disc directly into the hot, dry skillet. Cook for 1 to 1 ½ minutes per side. You will observe the remarkable transformation as the pita rapidly puffs up like a balloon. Flip it and cook the second side until it’s lightly golden-brown and fully puffed. As each pita finishes cooking, immediately transfer it to a clean kitchen towel and wrap it to keep it soft, pliable, and warm. Continue with the remaining dough discs.
- Cook the Pita – Oven Method: Alternatively, preheat your oven to its highest setting, typically 500°F (260°C), with an empty baking sheet placed on the center rack. Allow the oven and baking sheet to thoroughly preheat for at least 20-30 minutes. Carefully remove the very hot baking sheet from the oven. Lightly sprinkle it with flour (or use parchment paper). Quickly place 2 flattened pita discs onto the hot sheet, ensuring they have space. Bake for 3-5 minutes, or until they puff up impressively and are lightly browned. Immediately remove and wrap in a clean towel to maintain softness. Repeat with the remaining pitas.
- Maintain Softness: As each pita bread finishes cooking, it’s essential to immediately wrap it in a clean kitchen towel. This simple step traps the steam, which is key to keeping the bread wonderfully soft, flexible, and warm until all the pitas are cooked and ready to be served.
How Do You Keep Pita Bread From Getting Hard and Dry?
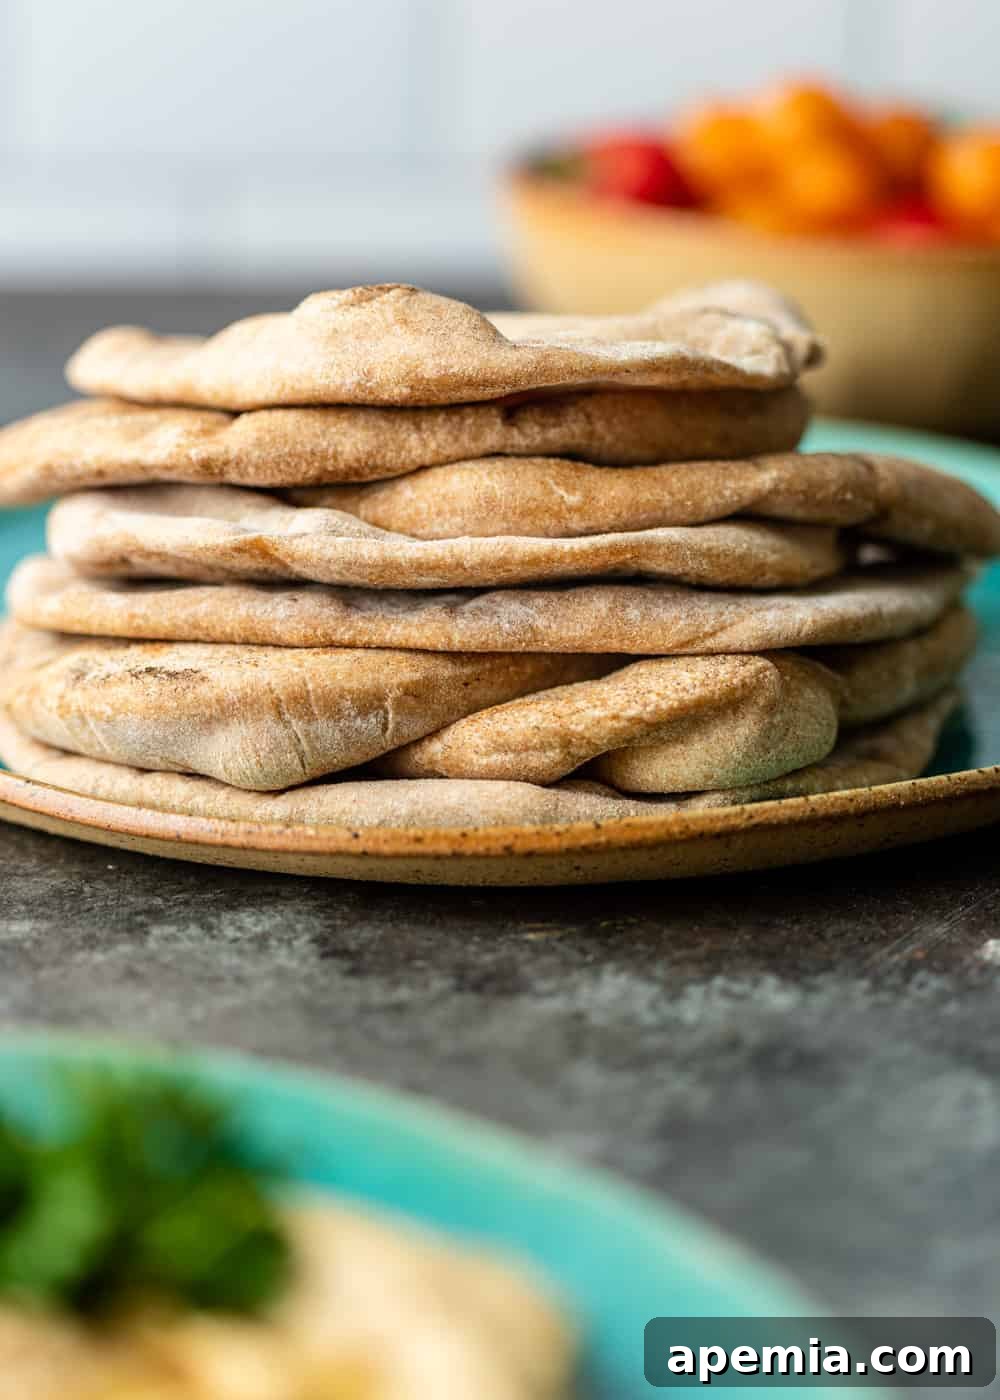
One common challenge with pita bread is its tendency to dry out and harden quickly due to its thin structure. To ensure your homemade khubz remains soft, pliable, and delicious for as long as possible, proper storage and reheating techniques are key:
- Short-Term Storage (Room Temperature): For best results within 1-3 days, allow your cooked pita bread to cool completely. Then, store it in an airtight container or a sealed plastic bag at room temperature. The airtight seal prevents moisture loss, keeping the bread fresh and soft.
- Long-Term Storage (Freezer): Pita bread freezes exceptionally well, making it perfect for meal prep. Once cooled, wrap individual pita breads tightly in plastic wrap or aluminum foil, then place them in a heavy-duty freezer bag or airtight container. They can be stored in the freezer for up to 3 months. Thaw frozen pita at room temperature for an hour or two before reheating.
- Reheating for Freshness: To revive refrigerated or thawed pita and restore its original softness, wrap each flatbread in a slightly damp paper towel. Microwave it for about 30-60 seconds, or until warm and flexible. Alternatively, you can lightly dampen the pitas and warm them in a preheated oven (350°F/175°C) for a few minutes, or briefly on a hot, dry skillet. The added moisture from the paper towel or damp surface helps to rehydrate the bread, bringing back its tender texture.
Why Did My Pita Bread Not Puff Up? Common Troubleshooting Tips
The exhilarating moment when your pita bread puffs up into a perfect pocket is truly satisfying. If your pitas aren’t achieving this iconic balloon-like inflation, several factors could be at play. Don’t be discouraged; troubleshooting is part of the baking process, and these common issues are often easily remedied:
- Insufficient Heat: This is by far the most common reason for flat pitas. High heat is absolutely non-negotiable for success. Whether you’re using a cast-iron skillet on the stovetop or a baking sheet in the oven, it must be preheated to its maximum temperature. The intense, rapid heat instantly vaporizes the moisture within the dough, creating a burst of steam that forcibly separates the layers and forms the pocket. If the heat is too low, the dough will bake slowly and dry out before enough steam can build up.
- Incorrect Dough Thickness: The thickness of your rolled pita discs is crucial. If the dough is rolled too thick, the heat may not penetrate quickly enough to generate the necessary steam for a full puff. If it’s rolled too thin, the dough might become brittle and crack, preventing the pocket from forming, or it might just crisp up rather than puff. Aim for that ideal ⅛ to ¼ inch thickness.
- Insufficient Resting Time (Second Rise): After flattening, the pita discs need a second short rest, typically about 20 minutes. This allows the gluten to relax after rolling and gives the yeast a final chance to produce a bit more carbon dioxide. This makes the dough pliable and elastic enough to expand dramatically when hit with high heat. Rushing this step can result in stiff dough that resists puffing.
- Dough Consistency (Over or Under-Kneading): Proper kneading develops the gluten network, which is essential for trapping the steam that creates the pita pocket. Under-kneaded dough lacks the necessary structure to hold the steam, while over-kneaded dough can become too tight and tough, making it resistant to puffing and expansion.
- Inactive Yeast: If your yeast wasn’t properly activated during the proofing step (e.g., no foam developed), it won’t produce enough carbon dioxide gas to make the bread rise or puff. Always double-check that your active dry yeast is fresh and that your water is within the ideal lukewarm temperature range (105-115°F/40-46°C) to ensure vigorous activity.
Pita Bread vs. Naan Bread: What’s the Difference Between These Popular Flatbreads?
While both pita bread and Naan bread are celebrated flatbreads enjoyed worldwide, they hail from distinct culinary traditions and possess unique characteristics that set them apart. Understanding these differences can enhance your appreciation for each:
- Origin and Cuisine: Pita bread is a staple of Middle Eastern and Mediterranean cuisines, with variations found across the Levant, North Africa, and Greece. Naan, on the other hand, is a traditional Indian flatbread, prominent in Indian, Pakistani, and Central Asian cuisines, often cooked in a tandoor oven.
- Ingredients and Texture: Naan typically features a richer dough, often including ingredients like eggs, yogurt, and ghee (clarified butter). These additions contribute to its characteristic soft, moist, and slightly chewy texture, often with a pleasant elasticity. It’s frequently brushed with butter and sometimes garnished with herbs like cilantro. Pita bread, in contrast, is a much leaner bread. Its dough is usually made with simpler ingredients: flour, water, yeast, salt, and a touch of olive oil. This results in a lighter, slightly drier, and often chewier texture, designed to be robust enough to hold fillings.
- Signature Pocket vs. Flat Surface: The most distinguishing feature of pita bread is its famous “pocket.” This hollow interior forms as steam expands rapidly within the dough during high-heat baking, separating the top and bottom layers. This pocket makes pita ideal for stuffing with various fillings. Naan, while it can occasionally puff slightly, typically bakes into a flatter, often teardrop-shaped bread with a bubbly surface. It’s designed for tearing and scooping up curries, stews, or grilled meats rather than being stuffed.
- Traditional Cooking Methods: Naan is traditionally cooked by slapping the dough onto the scorching hot walls of a tandoor, a cylindrical clay oven. This method imparts a distinctive smoky flavor and charred spots. Pita bread is typically cooked on a very hot griddle (like a cast-iron skillet) or in a extremely hot oven, where the intense heat is crucial for the pocket to form.
Both pita and naan are incredibly versatile and delicious in their own unique ways, serving different purposes within their respective culinary landscapes. Exploring both offers a fantastic journey through the world of flatbreads.
This comprehensive recipe post, originally published on Silk Road Recipes in January 2021, has been thoroughly reviewed and updated in May 2023. We’ve added enhanced content, new illustrative photos, and detailed tips to ensure you have the most successful and enjoyable experience making this authentic pita bread at home.
Authentic Homemade Pita Bread (Khubz) Recipe
Master this easy recipe for authentic Middle Eastern pita bread, yielding soft, perfectly puffy flatbreads ideal for dipping, stuffing, or serving with any meal. Experience the unparalleled taste and texture of homemade khubz.
Yields: 8 delicious pitas
Prep time: Approximately 2 hours 45 minutes (includes crucial dough rising periods)
Cook time: 3-5 minutes per pita (total cooking for 8 pitas is approximately 30-40 minutes)
Total time: Approximately 3 hours 15 minutes
Ingredients
- 1 packet active dry yeast (equivalent to 1/4 ounce or 2 1/4 tsp)
- 1 1/2 cups lukewarm water (divided: 1/4 cup for proofing yeast, 1 1/4 cups for the dough)
- 1/8 tsp granulated sugar
- 3 cups flour (see Note 1 for recommended flour types)
- 1 tsp kosher salt or sea salt
- 2 tbsp olive oil, divided (1 tbsp for dough, 1 tbsp for greasing the bowl)
Instructions
- Proof the Yeast: In a large mixing bowl, combine ¼ cup lukewarm water with the active dry yeast. Stir in the 1/8 tsp sugar. Let this mixture stand for 5-10 minutes until it becomes foamy, indicating the yeast is active. Then, add the remaining 1 ¼ cups lukewarm water.
- Form the Sponge: Add 1 ½ cups of flour to the yeast mixture. Using a stand mixer fitted with a dough hook, mix on low speed until a wet, pancake-like “sponge” forms. Cover the bowl loosely and let it rest for 10 minutes.
- Combine Dough: To the sponge, add the 1 tsp salt and one tablespoon of olive oil. Gradually incorporate the remaining 1 ½ cups of flour. Mix on low speed with the dough hook until the dough comes together into a shaggy mass.
- Knead Until Smooth: Increase the mixer speed to medium-low and continue to knead the dough for 10 minutes. The dough should become smooth, elastic, and slightly shiny. Transfer the kneaded dough to a lightly floured surface.
- First Rise: Lightly coat the mixing bowl with the remaining tablespoon of olive oil. Place the dough ball in the bowl, turning to coat all sides. Cover the bowl tightly with plastic wrap or a damp tea towel and let it rise in a warm, draft-free place for 2 hours, or until it has doubled in size (refer to Note 2 for tips on creating a warm environment).
- Punch Down & Divide: Gently punch down the risen dough to deflate. Knead it briefly on a lightly floured surface for about 3 minutes. Divide the dough into two equal halves. Cover one half with a damp tea towel to prevent drying. Divide the working half into 4 equal pieces. Roll each piece into a smooth ball. Repeat this process with the second half, yielding 8 dough balls in total.
- Flatten & Second Rise: On a lightly floured surface, use a rolling pin to flatten each dough ball into a disc, approximately 7-8 inches in diameter and between ⅛ to ¼ inch thick. Lightly dust each flattened disc with flour and place them on a floured towel or a silicone mat-lined tray, ensuring there’s space between each. Cover loosely and allow them to rest and rise for a second time, for about 20 minutes at room temperature.
- Skillet Baking Method: Heat a heavy-bottomed cast iron skillet over high heat until it is very hot. Place one flattened pita disc directly into the hot, dry skillet. Cook for 1 to 1 ½ minutes per side. The pita will dramatically puff up like a balloon. Flip and cook the other side until lightly browned and fully puffed. As each pita cooks, immediately wrap it in a clean kitchen towel to keep it soft and warm. Repeat with the remaining dough discs.
- Oven Baking Method: Alternatively, preheat your oven to 500°F (260°C) with an empty baking sheet placed on the center rack. Allow the oven and baking sheet to thoroughly preheat. Carefully remove the very hot baking sheet. You can lightly sprinkle it with flour or use parchment paper. Quickly place 2 flattened pita discs onto the hot sheet. Bake for 3-5 minutes, or until they puff up impressively and are lightly browned. Immediately remove and wrap the cooked pitas in a clean towel.
Notes
- For the 3 cups of flour, a highly recommended combination for both flavor and texture is 1 1/2 cups bread flour and 1 1/2 cups whole wheat flour. However, if you prefer a lighter, more traditional white pita, you can opt to use 3 cups of bread flour exclusively.
- To create an optimal warm, draft-free environment for your dough to rise, consider placing the covered mixing bowl in a microwave (ensuring it is turned off). Another creative method is to briefly warm your clothes dryer for about a minute, then turn it off and place the covered bowl inside (making absolutely certain the dryer remains off while the dough is rising).
- This authentic pita bread recipe has been lovingly adapted from Claudia Roden’s esteemed recipe, found in her seminal work, The New Book of Middle Eastern Food.
Nutrition (Estimated Per Serving)
The following nutritional information is an estimate provided by an online nutrition calculator and should not be considered a substitute for personalized professional nutritionist’s advice.
- Calories: 209 kcal
- Carbohydrates: 37g
- Protein: 6g
- Fat: 4g
- Saturated Fat: 1g
- Sodium: 295mg
- Potassium: 72mg
- Fiber: 2g
- Sugar: 1g
- Calcium: 7mg
- Iron: 2mg
Recipe Details
- Course: Bread, Appetizer, Side Dish
- Cuisine: Middle Eastern, Arabic, Mediterranean
- Author: Kevin
Have you made this delightful homemade pita bread? We’d absolutely love to see your creations! Share your photos and tag @keviniscooking or use the hashtag #keviniscooking on Instagram!