
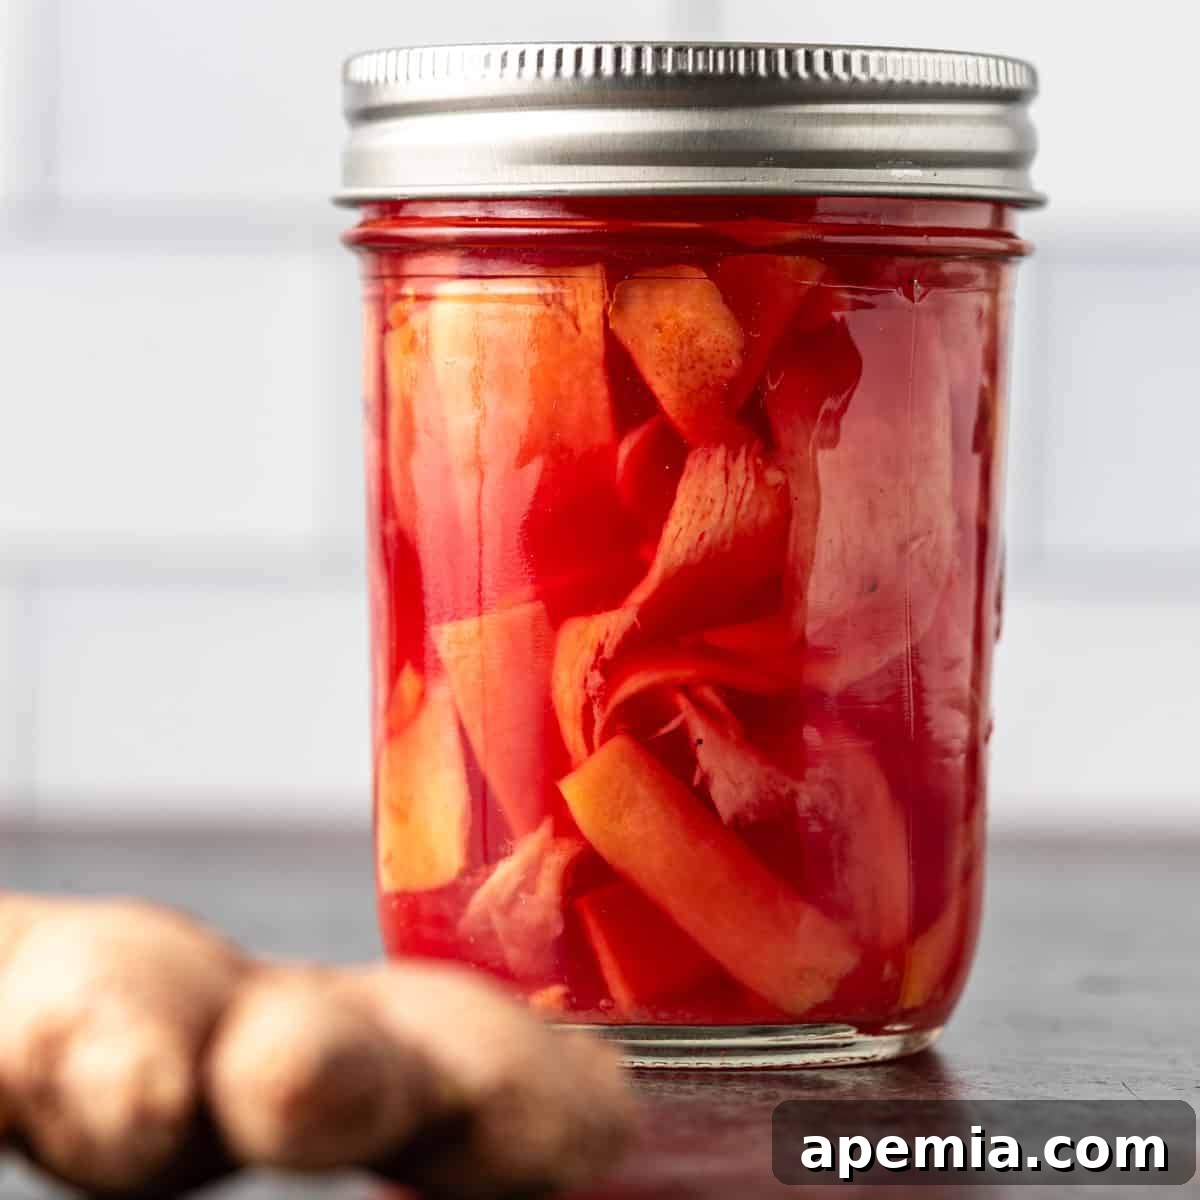
Sushi pickled ginger, known in Japan as gari or amazu shoga, is far more than just a colorful garnish. For centuries, this vibrant, zesty, and delicately crunchy condiment has been an indispensable part of the Japanese dining experience, particularly when enjoying sushi and sashimi. Its unique ability to cleanse and refresh the palate between bites makes it an essential companion, preparing your taste buds for the next delicate flavor.
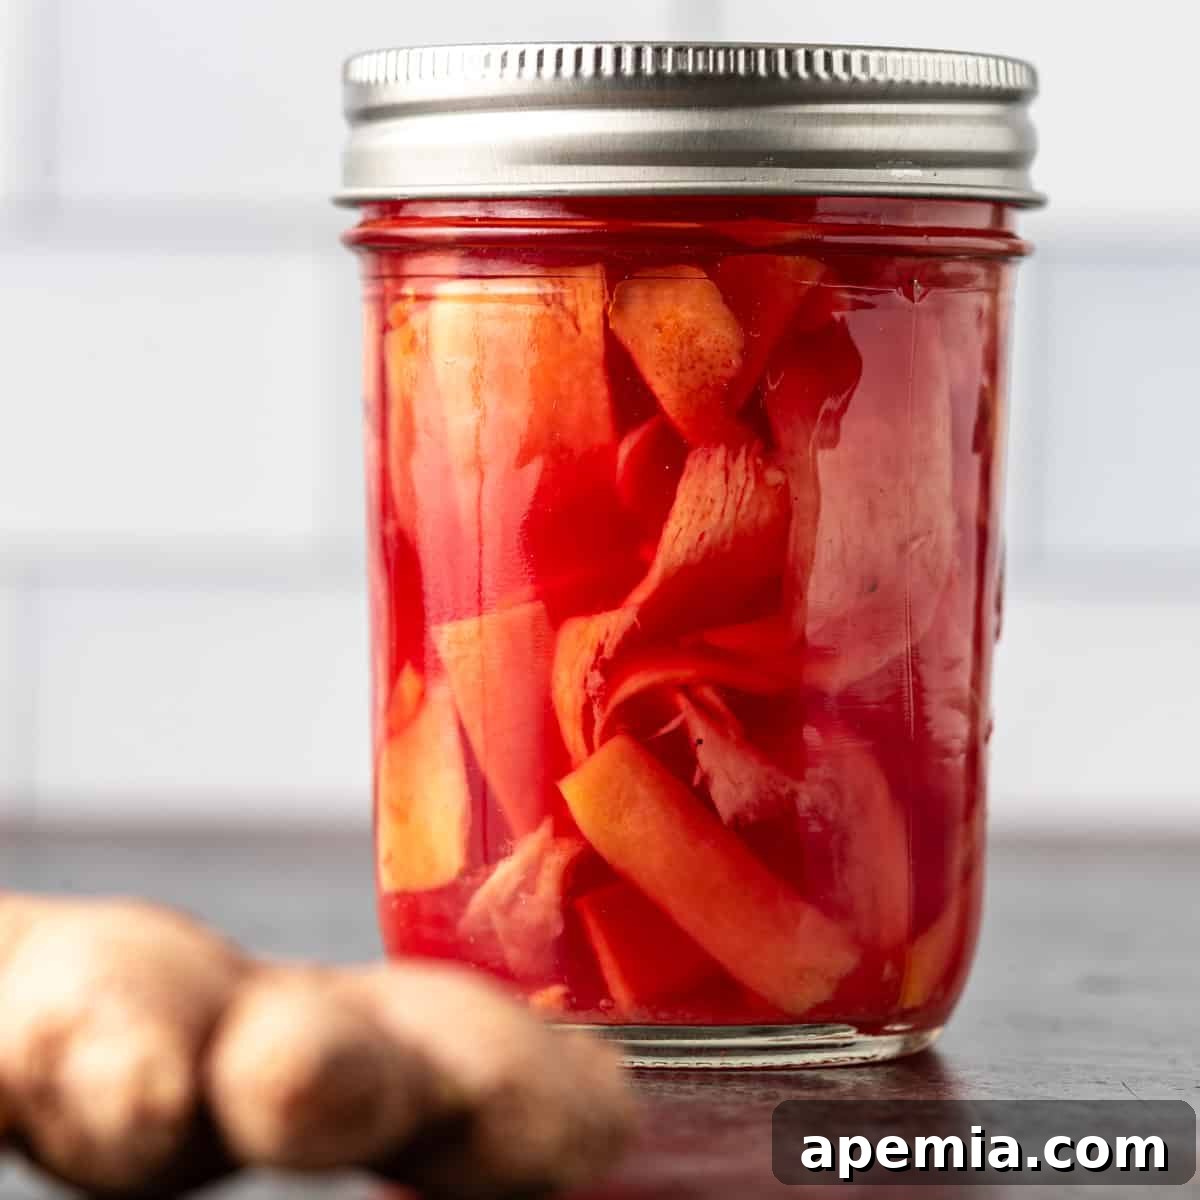
At its heart, pickled ginger is crafted from young ginger root, meticulously sliced into translucent pieces and then submerged in a perfectly balanced brine of salt, vinegar, and sugar. This traditional preparation results in a condiment that offers a complex symphony of tastes: a gentle heat from the ginger, a refreshing brininess, a sharp tanginess, and a subtle sweetness, all complemented by its signature tender-crisp texture. It’s a true culinary art form that awakens the senses.
The lively combination of textures and tastes in gari makes it an unparalleled palate cleanser and flavor enhancer. Imagine the delicate taste of fresh fish, followed by the refreshing zest of ginger, clearing the way for a new profile. For many, including myself, a sushi dinner simply isn’t complete without the bright counterpoint of homemade pickled ginger!
While this recipe for **homemade pickled ginger** is refreshingly straightforward, a little foresight goes a long way. To allow the complex flavors to fully meld and the beautiful pink hue to deepen, you’ll need to plan for at least 24 hours of curing time. Trust me, the patience is well worth it – this DIY version is destined to be far superior and more flavorful than any store-bought alternative you’ve encountered at a restaurant.
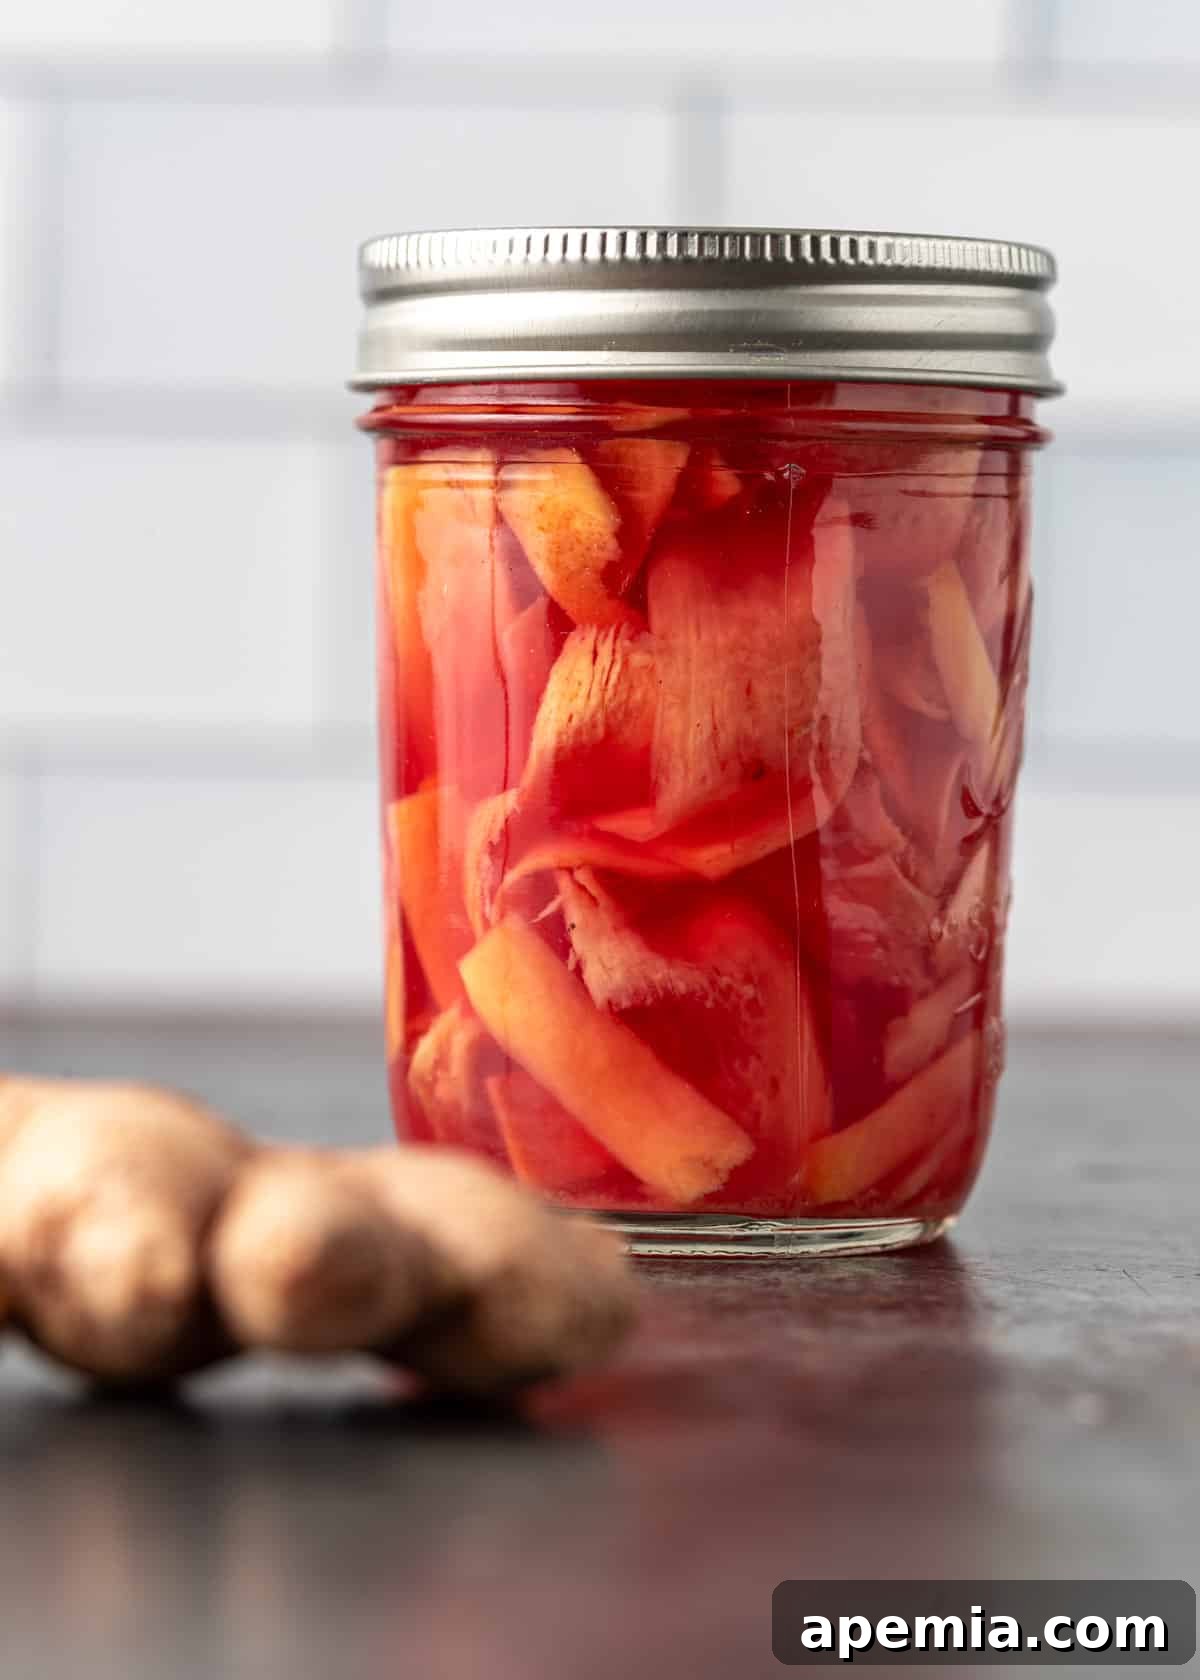
Table of Contents
- The Art of Pickled Ginger (Gari) Explained
- Why Make Your Own? The Benefits of Homemade Sushi Ginger
- Essential Ingredients for Perfect Pickled Ginger
- Slicing Techniques: Achieving Super Thin Ginger
- How to Make Sushi Pickled Ginger: A Step-by-Step Guide
- Storage Tips for Your Homemade Gari
- Creative Ways to Enjoy Pickled Ginger Beyond Sushi
- Health Benefits of Pickled Ginger
- Frequently Asked Questions About Pickled Ginger
- Homemade Sushi Pickled Ginger Recipe
The Art of Pickled Ginger (Gari) Explained
Known affectionately as gari or amazu shoga, Japanese pickled ginger is a traditional condiment with deep roots in culinary history. Its primary role in Japanese cuisine is to act as a crucial palate cleanser. When you indulge in a variety of sushi or sashimi, the subtle nuances of each piece can easily become muddled. A small bite of gari in between distinct pieces of fish resets your taste receptors, allowing you to fully appreciate the unique flavors and textures of the next offering. This is why it’s always served alongside your favorite sushi stacks or poke bowls.
But gari offers more than just palate cleansing. It also provides a delightful contrast to the richness of fish and rice. The delicate spice of the ginger, combined with the sweet and sour notes of the pickling liquid, cuts through heavier flavors and adds a refreshing brightness. This balance is key to the harmony found in traditional Japanese meals. The texture is equally important – the tender, crisp slices provide a satisfying crunch that complements the soft textures of sushi and sashimi.
Why Make Your Own? The Benefits of Homemade Sushi Ginger
While store-bought pickled ginger is readily available, preparing your own at home offers numerous advantages that truly elevate the experience. Firstly, you have complete control over the ingredients, ensuring that only the freshest, highest-quality ginger and natural components go into your gari. This means no artificial colors, no high-fructose corn syrup, and no unnecessary preservatives often found in commercial brands.
Secondly, the flavor profile of homemade pickled ginger is simply unmatched. The subtle nuances of fresh ginger, the precise balance of sweetness and tanginess, and the crisp texture are far more pronounced and refined when made from scratch. You can also customize the recipe to your liking, adjusting the sweetness, acidity, or even the spice level to perfectly suit your palate.
Finally, there’s an immense satisfaction that comes from creating something so delicious and authentic in your own kitchen. It’s an easy pickling project that yields impressive results, adding a gourmet touch to your home-cooked Japanese meals. Beyond sushi, this versatile condiment can enhance a wide array of dishes, transforming everyday meals into extraordinary culinary adventures.
For more easy and delightful pickling projects, don’t miss my Quick Lemon Pickle, the uniquely flavorful Middle Eastern Pickled Turnips, and this vibrant Homemade Giardiniera.
Essential Ingredients for Perfect Pickled Ginger
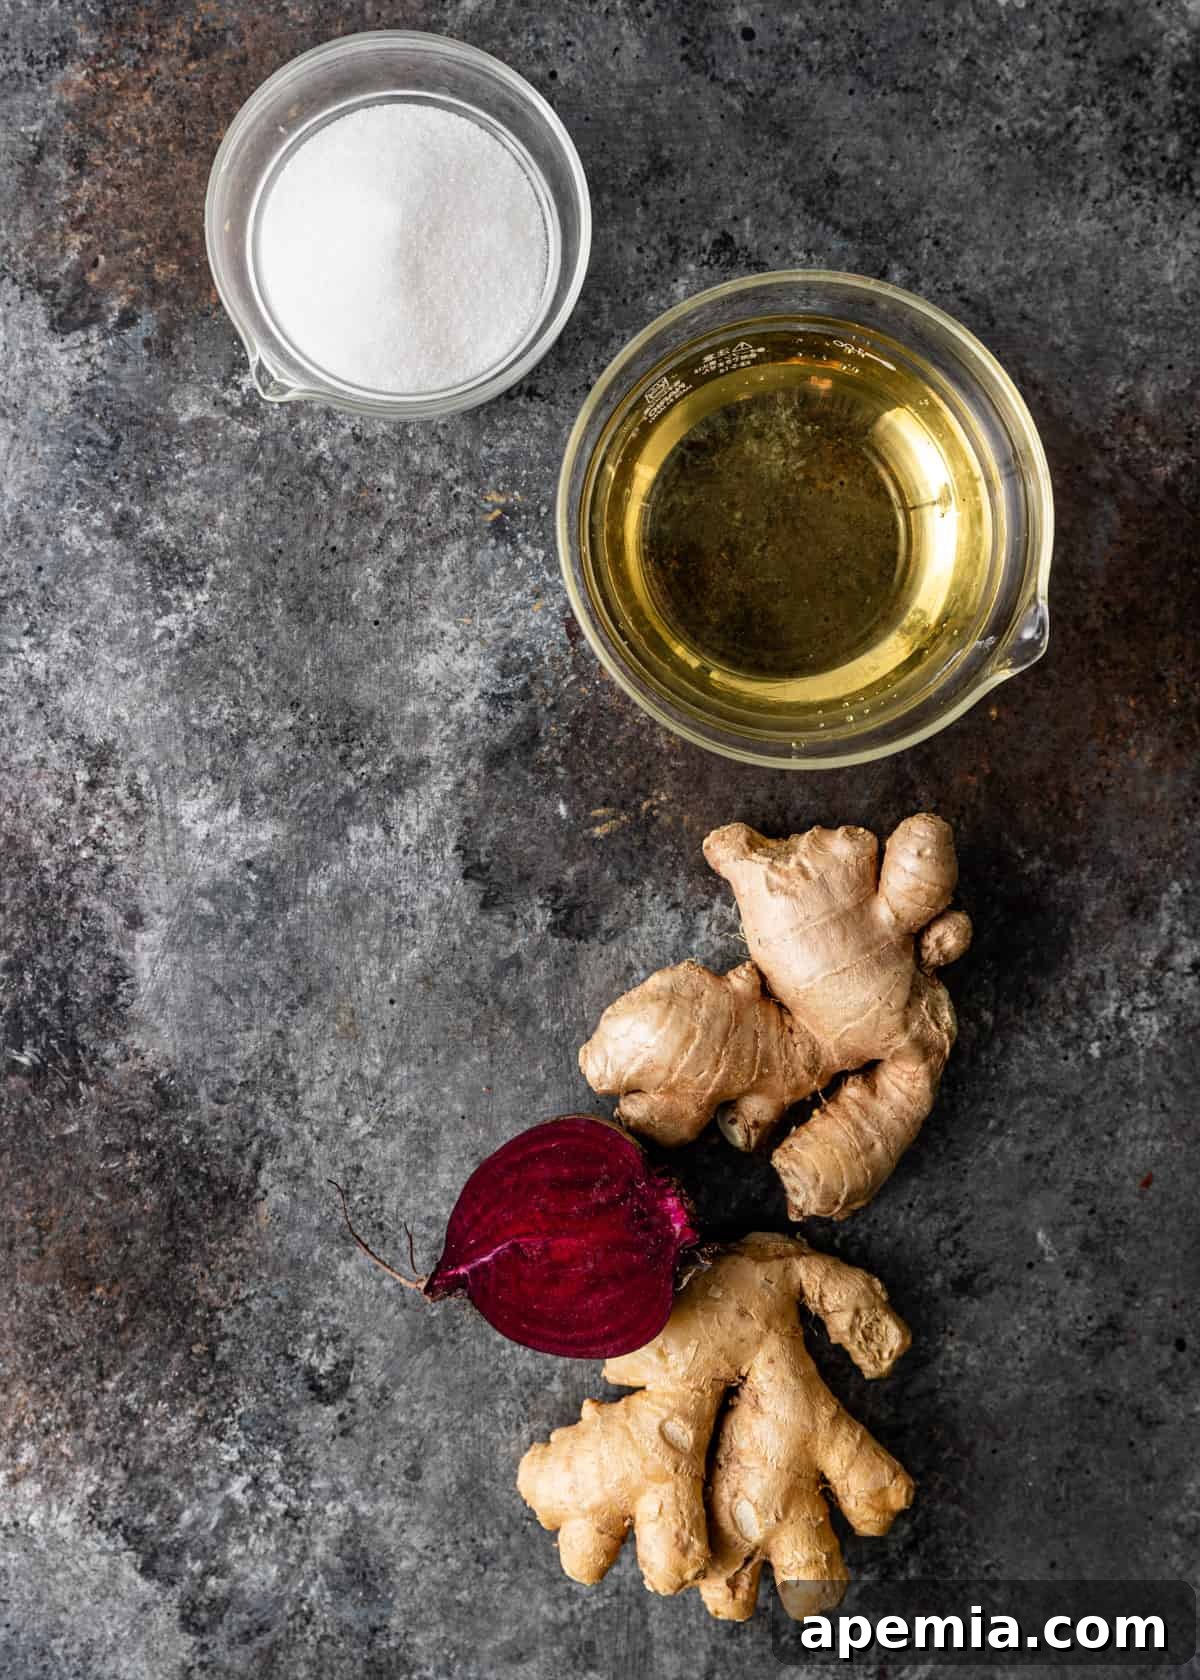
- Ginger: The star of our show! For the best gari, seek out young ginger roots. These are characterized by their pale, smooth skin and a delicate pinkish tint, especially around the tips. Young ginger is less fibrous, more tender, and possesses a milder spice level compared to mature ginger. Its thin skin is also easier to peel. While mature ginger can be used, it may result in a more fibrous texture and a stronger, spicier flavor, and it typically won’t develop the natural pink hue as readily.
- Kosher Salt: Essential for drawing out excess moisture from the ginger and beginning the softening process. Kosher salt, or other coarse-ground varieties like sea salt or pickling salt, are preferred over fine table salt as they contain no anti-caking agents that can cloud your brine and have a more consistent crystal size for measurement. The salting process also helps to mellow some of ginger’s initial pungency.
- Beets: A small piece of fresh beet is included not just for a touch of sweet earthiness, but primarily to impart that characteristic lovely purple-red hue to your pickled ginger. This natural coloring agent provides a beautiful, appetizing appearance without the need for artificial dyes. You’ll only need a small portion, so save the rest for another culinary endeavor!
- Rice Vinegar: This is the foundation of our pickling brine, bringing a bright, distinct tanginess and a mild, subtle sweetness that is characteristic of authentic gari. Its delicate flavor perfectly complements the ginger without overpowering it. If rice vinegar is unavailable, you can substitute with apple cider vinegar for a slightly fruitier tang or plain white vinegar for a sharper, more acidic profile. Adjust sugar levels slightly if using alternative vinegars to maintain balance.
- Sugar: Crucial for harmonizing the strong spicy notes of the ginger and the sharp acidity of the vinegar. It adds a touch of sweetness, creating a well-rounded and balanced flavor profile that makes the sushi ginger so addictive. White granulated sugar is standard, but you could experiment with a tiny bit of raw cane sugar for a deeper note, though it might affect the color.
- Water: Used to dilute the vinegar and sugar, forming the pickling brine. Fresh, filtered water is always recommended for the purest flavor.
Tip From Kevin
Slicing Techniques: Achieving Super Thin Ginger
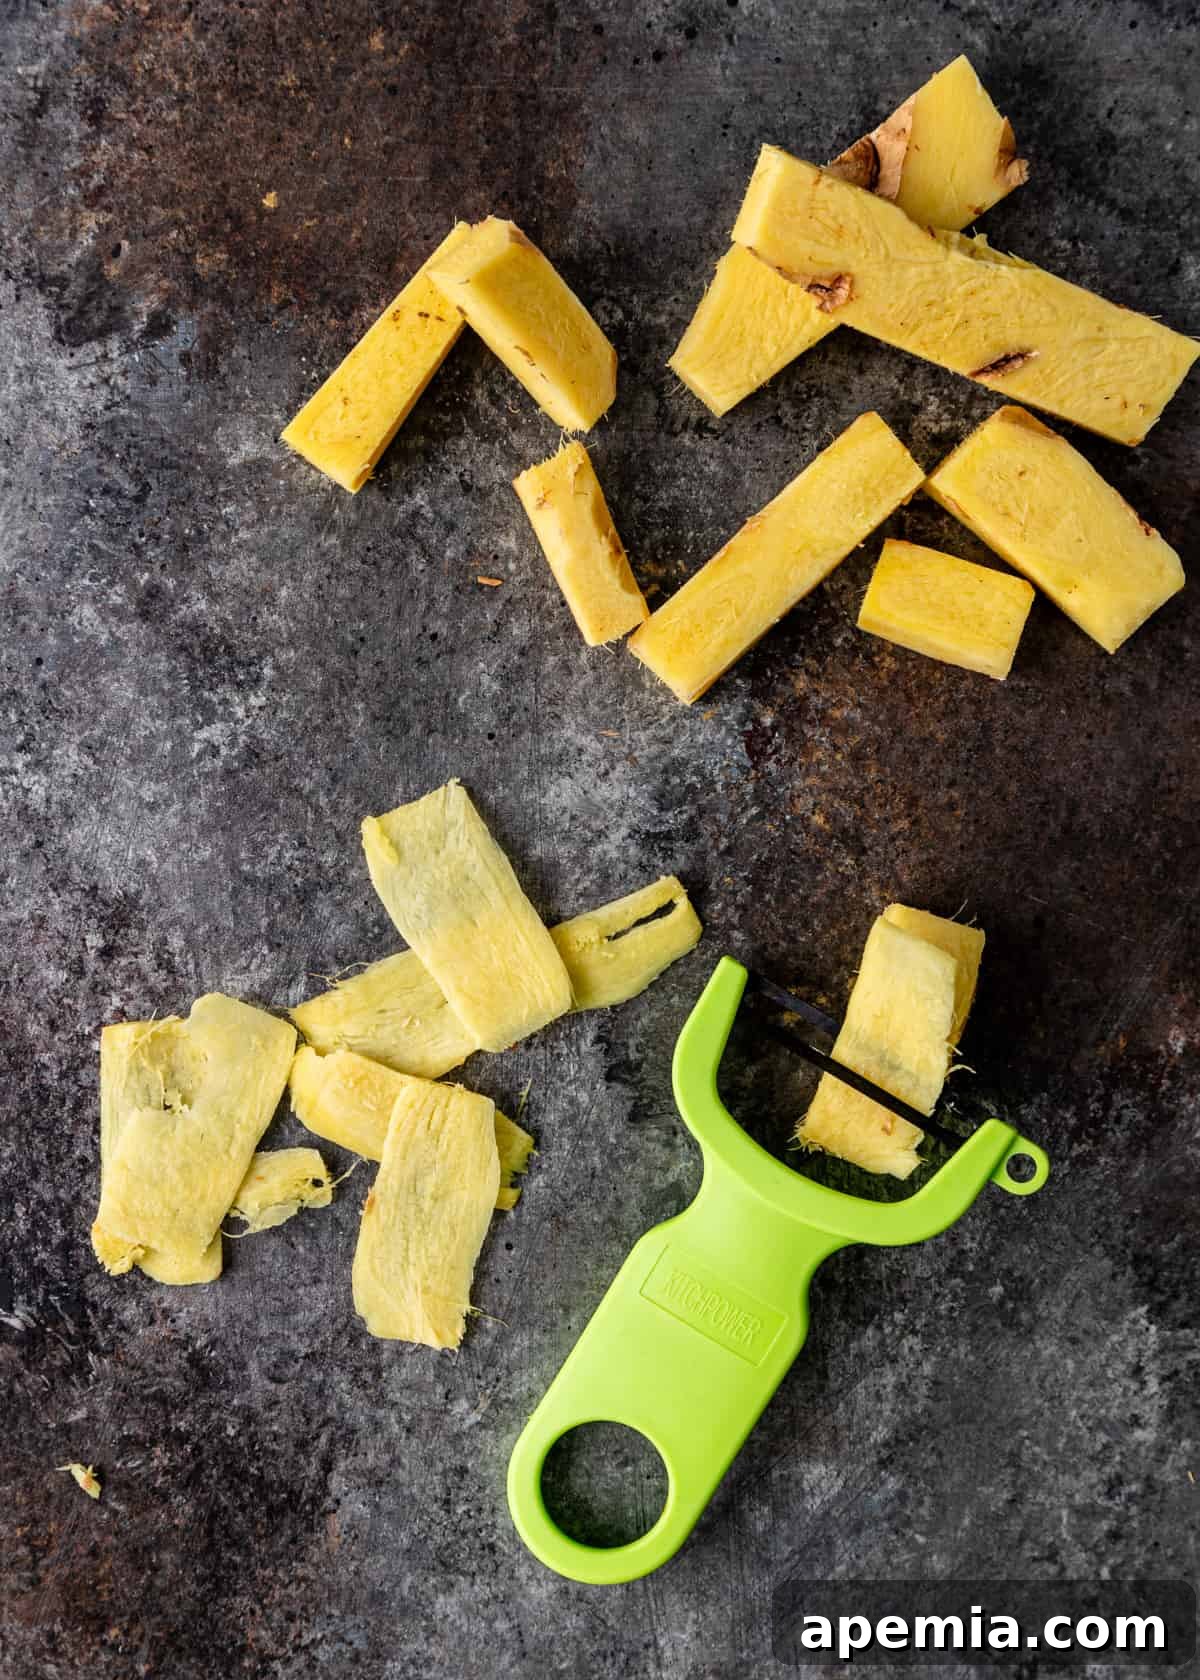
The key to perfect homemade pickled ginger lies in its delicate, almost translucent slices. This thinness ensures that each piece is tender-crisp and absorbs the pickling brine beautifully. I’ve found that a trusty vegetable peeler works wonders for this task – simply pull it along the length of a peeled ginger root to create elegant, paper-thin ribbons. Alternatively, a kitchen mandoline set to its thinnest setting will deliver consistently perfect slices with minimal effort. While possible with an extremely sharp kitchen knife, it requires a steady hand and considerable practice to achieve the desired uniformity and thinness. Whichever method you choose, prioritize safety and take your time for the best results!
How to Make Sushi Pickled Ginger: A Step-by-Step Guide
- Prepare the Ginger Root. Begin by thoroughly washing your fresh ginger root. Using the edge of a spoon, gently scrape away the thin outer skin. This method is often easier and wastes less ginger than using a peeler. Once peeled, choose your preferred slicing tool: either a very sharp chef’s knife for precise cuts, a vegetable peeler to create delicate ribbons, or a mandoline slicer set to its thinnest setting for consistent, paper-thin strips. The thinner the slices, the better the ginger will absorb the brine and achieve the desired tender-crisp texture for your homemade gari.
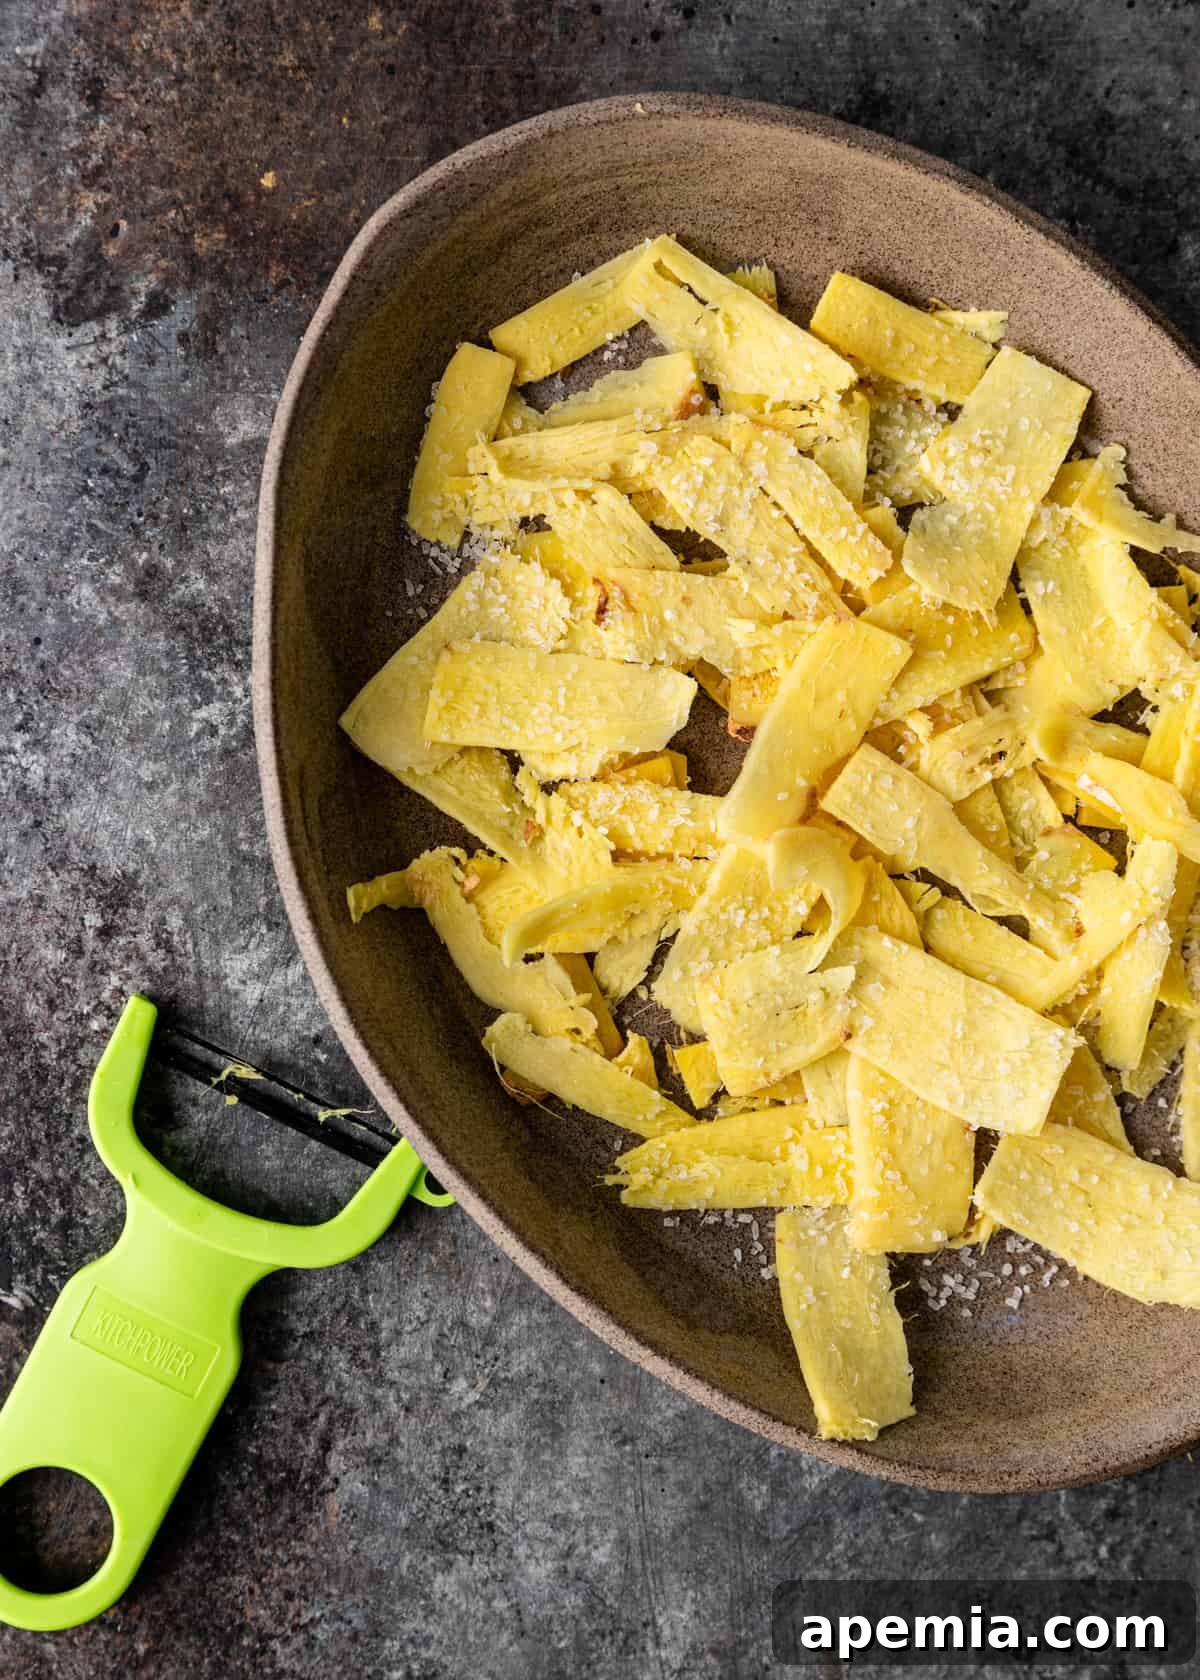
- Salt and Cure the Ginger. Transfer all of your thinly sliced ginger into a small, non-reactive bowl. Sprinkle the kosher salt evenly over the ginger strips. Using clean hands, gently massage the salt into the ginger for about 1-2 minutes. This crucial step helps to draw out excess moisture and some of the ginger’s initial harshness, resulting in a more tender and palatable pickled product. Set the bowl aside at room temperature for at least 30 minutes, or up to an hour, allowing the salt to work its magic. You’ll notice liquid pooling at the bottom of the bowl.
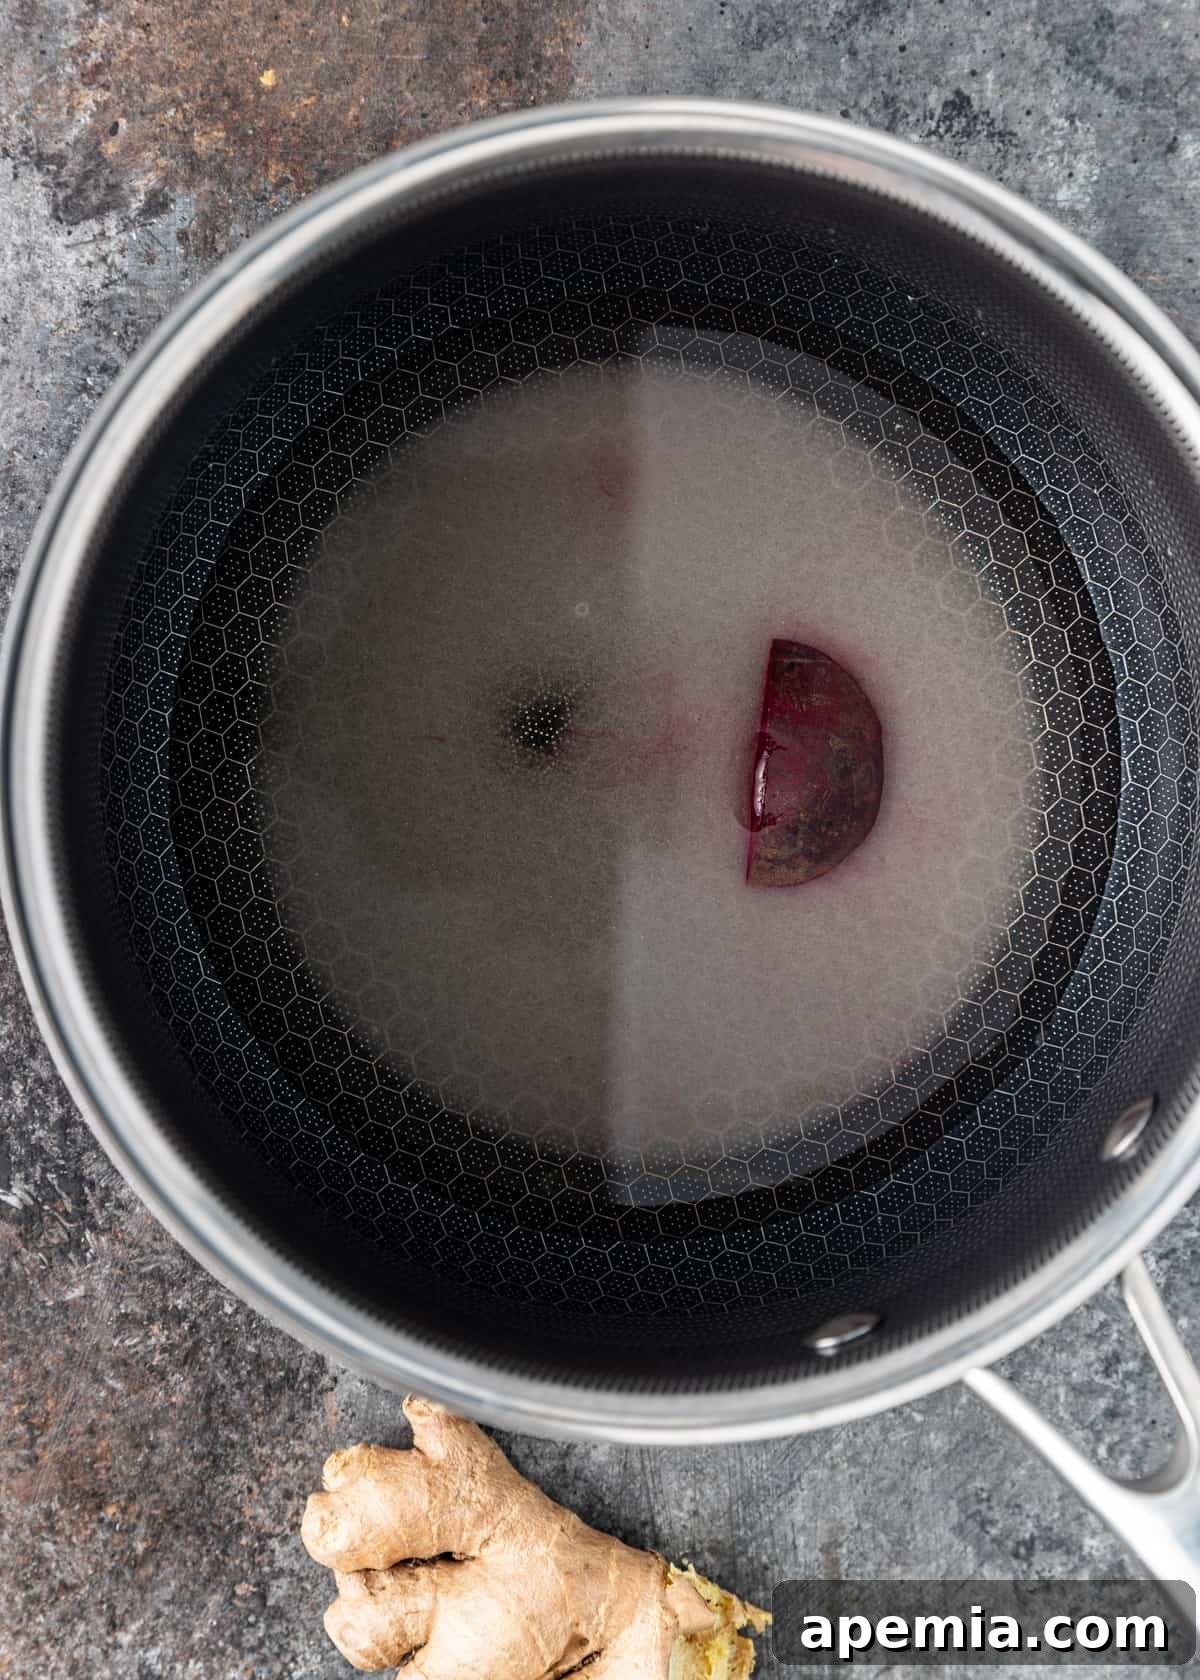
- Prepare the Vibrant Beet Brine. While the ginger is curing, prepare the pickling liquid. Slice off a small, thumb-sized piece of fresh beet – you won’t need much. Store the remainder of the beet for other culinary uses. Place the cut beet portion into a small saucepan, then add the rice vinegar, granulated sugar, and water. Bring the mixture to a boil over medium heat, stirring continuously until the sugar is completely dissolved. Allow the brine to gently simmer for one minute, infusing the beautiful color and subtle earthiness from the beet into the liquid. This creates the perfect pickling solution for your Japanese pickled ginger.
- Transfer and Brine the Ginger. After the ginger has cured, firmly squeeze out as much excess liquid as possible from the strips. You can do this by hand or by pressing the ginger between layers of paper towels. This step is vital to prevent the finished product from becoming watery and to ensure maximum flavor absorption. Transfer the squeezed ginger strips into a clean, sterile jam jar or any airtight glass container that is 8 ounces (approximately 240ml) or larger in volume.
- Pour the Hot Brine. Carefully pour the hot beet-infused pickling liquid over the ginger in the jar. Make sure the ginger is fully submerged in the brine. If necessary, use a clean spoon or a small piece of parchment paper to gently press the ginger down, ensuring it remains beneath the liquid. This prevents spoilage and promotes even pickling. Allow the jar to sit at room temperature until it has completely cooled down.
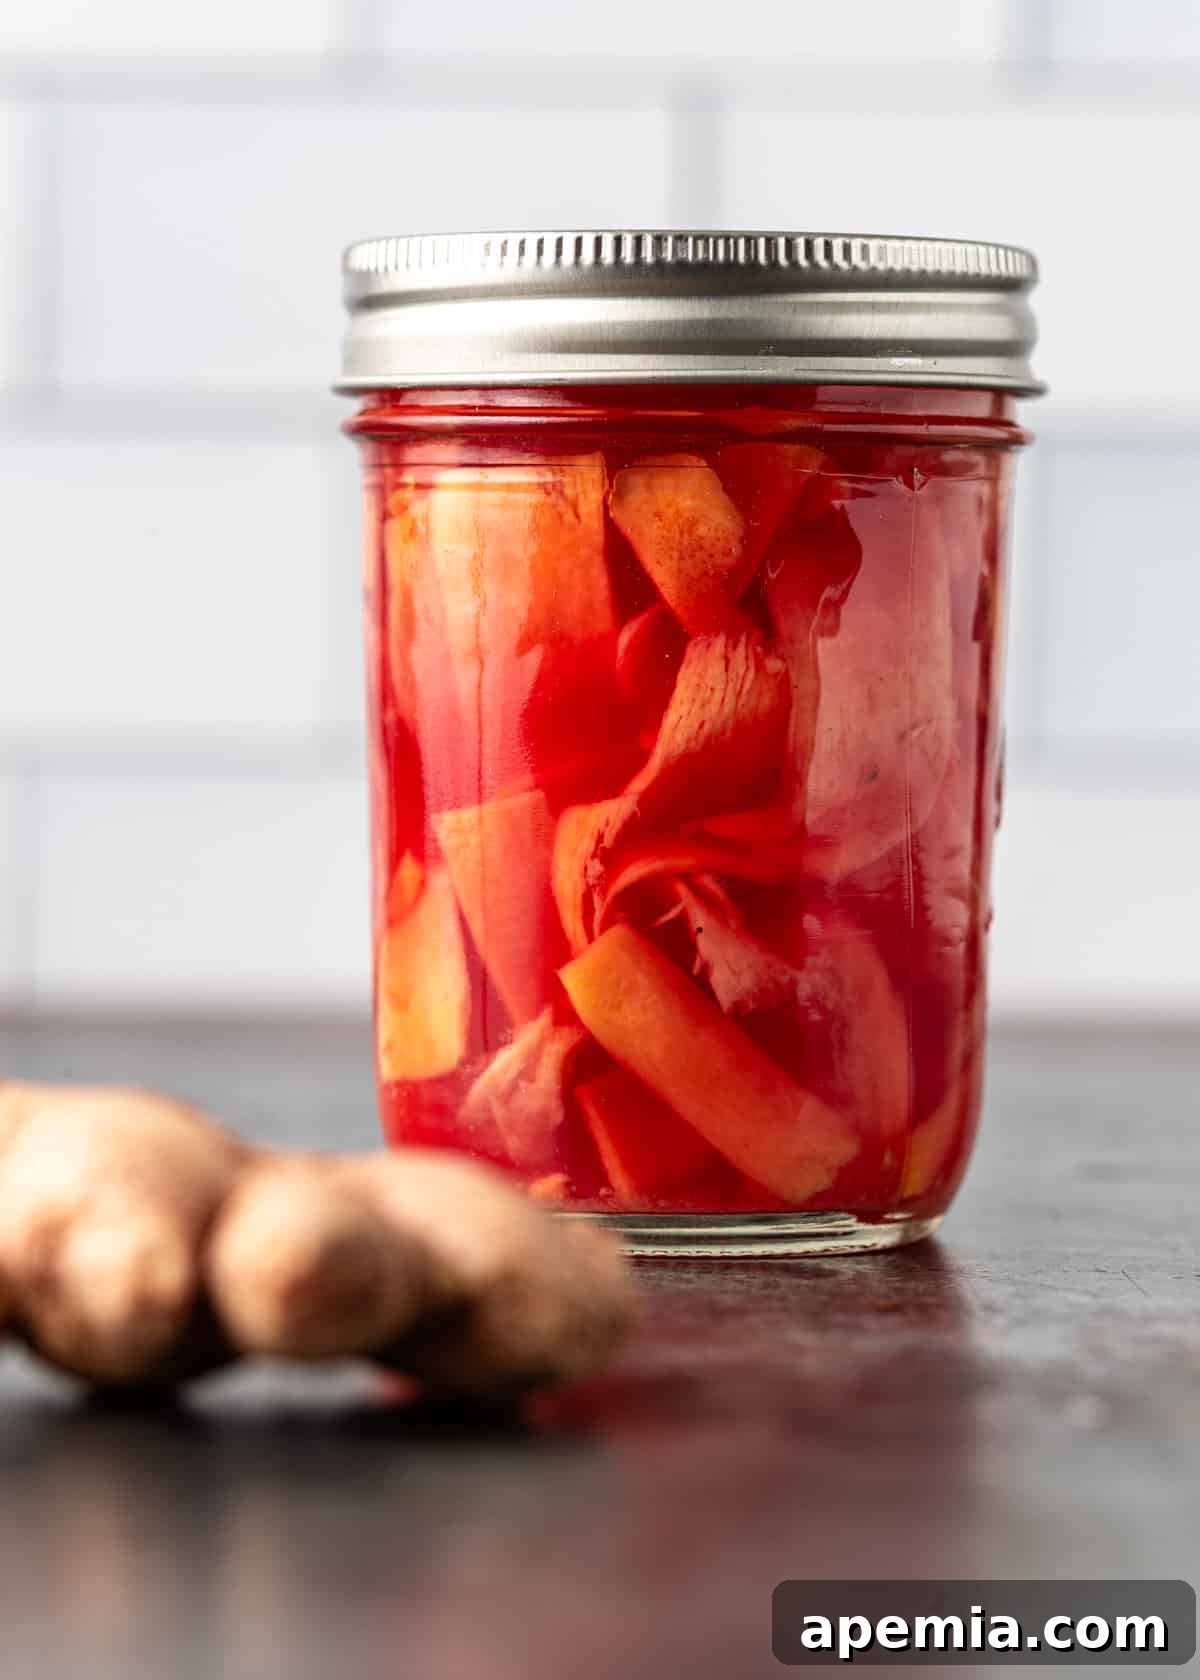
- Seal, Refrigerate & Enjoy. Once the jar and its contents have cooled to room temperature, use a clean spoon to remove the piece of beetroot from the jar. This prevents over-coloring and preserves the delicate flavor of the ginger. Seal the jar tightly with its lid and immediately transfer it to the refrigerator. Allow the pickled ginger to rest and the flavors to fully develop for a minimum of 24 hours before enjoying. The longer it cures, the softer the ginger will become and the deeper the pink hue will be. Your homemade pickled ginger will keep beautifully in the refrigerator for up to one month, ready to accompany your favorite meals.
Frequently Asked Questions About Pickled Ginger
Traditionally, authentic pickled ginger, or gari, can naturally turn a pale to dark pink color during the pickling process, especially when made from young ginger. This natural transformation is due to water-soluble pigments called anthocyanins, which are present in ginger root. These pigments react to acidity, and the pickling solution creates the perfect pH environment for the red spectrum to develop, resulting in that lovely pink hue. Younger ginger tends to have higher concentrations of these pigments, making it more likely to turn pink. However, if using mature ginger, or if the ginger lacks sufficient anthocyanins, your pickled ginger may retain a white or yellowish color, which is perfectly acceptable and does not affect the flavor.
In this homemade pickled ginger recipe, we’ve included a small piece of beetroot in the brine to give the ginger a guaranteed color boost, ensuring a consistently vibrant pink. If you opt for store-bought gari, it’s always a good idea to check the label, as some commercial brands use artificial coloring as a shortcut to achieve the desired pink appearance.
Pickled ginger boasts a truly unique and captivating flavor profile that is bold, bright, and wonderfully complex. It delivers a refreshing burst of tangy and sour notes from the rice vinegar, beautifully balanced by a subtle sweetness from the sugar. Underlying these dominant flavors is the characteristic gentle warmth and spice of fresh ginger. The intensity of the spice can vary slightly depending on the maturity of the ginger root used.
Beyond flavor, the texture is a key highlight: moist, thinly sliced pieces that offer a satisfying tender crispness with every bite. This multi-faceted sensory experience is what makes gari such an exceptional palate cleanser and a delightful accompaniment to a wide range of dishes.
While it’s most famously known as the ultimate palate cleanser served between courses of sushi, the versatility of pickled ginger (gari) extends far beyond the traditional sushi bar. Its bright, tangy, and spicy-sweet profile can elevate a surprising variety of dishes. Here are a few recipe ideas to get you started, inspiring you to incorporate gari into your daily culinary adventures:
- With Sushi & Sashimi: Naturally, it’s perfect served alongside any of your favorite sushi creations, from Sushi Stacks and traditional sushi rolls to intricate sashimi platters. It truly enhances the delicate flavors of raw fish.
- Lunchtime Delights: Transform a simple lunch into a vibrant meal. Serve a generous few slices with a steaming bowl of comforting Miso Soup and a fresh, flavorful Ahi Japanese Poke Bowl for a balanced and invigorating experience.
- Noodle & Ramen Enhancement: Brighten up hearty noodle dishes. Toss a few strips into a Shrimp Ramen Salad with Miso Dressing or as a refreshing condiment for a rich Pork Ramen. It cuts through the richness beautifully.
- Salad Topping: Add a zesty kick and delightful crunch to your salads. Pickled ginger pairs wonderfully with Asian-inspired salads like Sunomono Salad or even a Thai Mango Salad, introducing an unexpected layer of flavor.
- Sandwich & Burger Condiment: Think outside the box and use gari to invigorate your sandwiches and burgers. It provides a fantastic tangy counterpoint to rich meats, like in Pork Belly Sliders or a savory Thai Burger.
- Accompaniment to Asian Dishes: Beyond sushi, pickled ginger is a superb condiment for a vast array of Asian-inspired dishes. Serve it alongside Stir Fries, Beef Lo Mein, or any dish where you crave a bright, acidic, and slightly spicy counterpoint to rich or savory flavors.
Ginger itself is renowned for its numerous health benefits, and while pickling alters its nutritional profile slightly, many of these benefits can still be enjoyed. Ginger is a potent anti-inflammatory and antioxidant, known to aid digestion, alleviate nausea, and potentially boost immunity. The acetic acid in vinegar also has its own set of health advantages, including supporting gut health. While pickled ginger contains sugar, consuming it in moderation as a condiment means you’re still getting a dose of ginger’s goodness along with its fantastic flavor. It’s a delicious way to incorporate a beneficial ingredient into your diet.
Properly stored in an airtight jar in the refrigerator, your homemade pickled ginger will stay fresh and flavorful for up to one month. Ensure the ginger remains submerged in the pickling liquid to maximize its shelf life and prevent spoilage. Always use clean utensils when serving to avoid introducing contaminants. While it might last longer, the peak flavor and texture are best enjoyed within the first few weeks.
Share this recipe on Pinterest!
Love this recipe? Share it with the world on Pinterest.
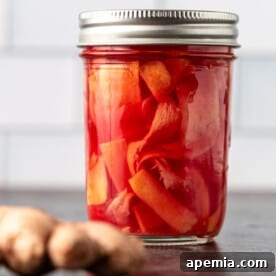
Homemade Sushi Pickled Ginger Recipe (Gari)
1
cup
15 minutes
1 minute
30 minutes
(+24 hours minimum for best results)
46 minutes
Saved
Pin Recipe
PrintRecipe
Ingredients
-
5
oz
fresh young ginger
(look for smooth, pale skin and pink tips) -
1
tsp
kosher salt -
1
small beet piece
(about thumb-sized, for color) -
1/2
cup
rice vinegar
(not seasoned) -
1/4
cup
water -
1/4
cup
granulated sugar
Metric
Instructions
-
Prepare the Ginger: Use a spoon to scrape the outer skin off the fresh ginger root. Once peeled, use a vegetable peeler or a food mandoline set to its thinnest setting to create very thin, almost translucent slices of ginger. A very sharp knife can also be used with care for thin strips.
-
Salt and Cure: Transfer the thin ginger slices to a small bowl and toss thoroughly with the kosher salt. Gently massage the salt into the ginger with your hands for a minute or two. Let it sit for at least 30 minutes at room temperature; this process draws out excess water and mellows the ginger’s strong flavor.
-
Prepare the Beet (for color): Cut off a small, thumb-sized piece of the beet. You only need this small amount for coloring. Store the remainder of the beet for other cooking projects.
-
Make the Brine: Place the small beet piece into a saucepan along with the rice vinegar, water, and granulated sugar. Bring this mixture to a boil over medium heat, stirring until the sugar completely dissolves. Allow it to cook for just 1 minute to infuse the beet’s color.
-
Combine Ginger and Brine: Firmly squeeze the cured ginger slices to extract all excess liquid. Transfer the squeezed ginger into an 8-ounce (or larger) clean, heat-proof jam jar with a tight-fitting lid. Carefully pour the hot beet-infused brine over the ginger, ensuring all the ginger is fully submerged. Gently press down on the ginger if necessary to keep it under the liquid. Let the jar cool completely to room temperature.
-
Seal and Refrigerate: Once cooled, use a clean spoon to remove the piece of beetroot from the jar. Seal the jar tightly with its lid. Refrigerate the pickled ginger for a minimum of 24 hours to allow the flavors to deepen and the ginger to soften to its perfect tender-crisp texture. For best flavor, wait 2-3 days. Your homemade pickled ginger will keep well in the refrigerator for up to 1 month.
Notes
For an even more vibrant pink hue, you can leave the beet piece in the brine for a few extra hours, but remove it before long-term storage to prevent an overly earthy flavor.
Always use young ginger if possible; its smoother skin, less fibrous texture, and natural pink tips are ideal for making authentic gari.
Nutrition
Carbohydrates: 83g |
Protein: 4g |
Fat: 1g |
Saturated Fat: 0.3g |
Polyunsaturated Fat: 0.3g |
Monounsaturated Fat: 0.3g |
Sodium: 2411mg |
Potassium: 859mg |
Fiber: 5g |
Sugar: 58g |
Vitamin A: 27IU |
Vitamin C: 11mg |
Calcium: 46mg |
Iron: 2mg
The information shown is an estimate provided by an online nutrition calculator and should not be considered a substitute for a professional nutritionist’s advice. Values may vary based on ingredients and preparation.
Condiment, Side Dish
Japanese, Asian
Kevin
Have You Made This Recipe? Let Me Know on Instagram!
Tag @keviniscooking or use hashtag #keviniscooking!