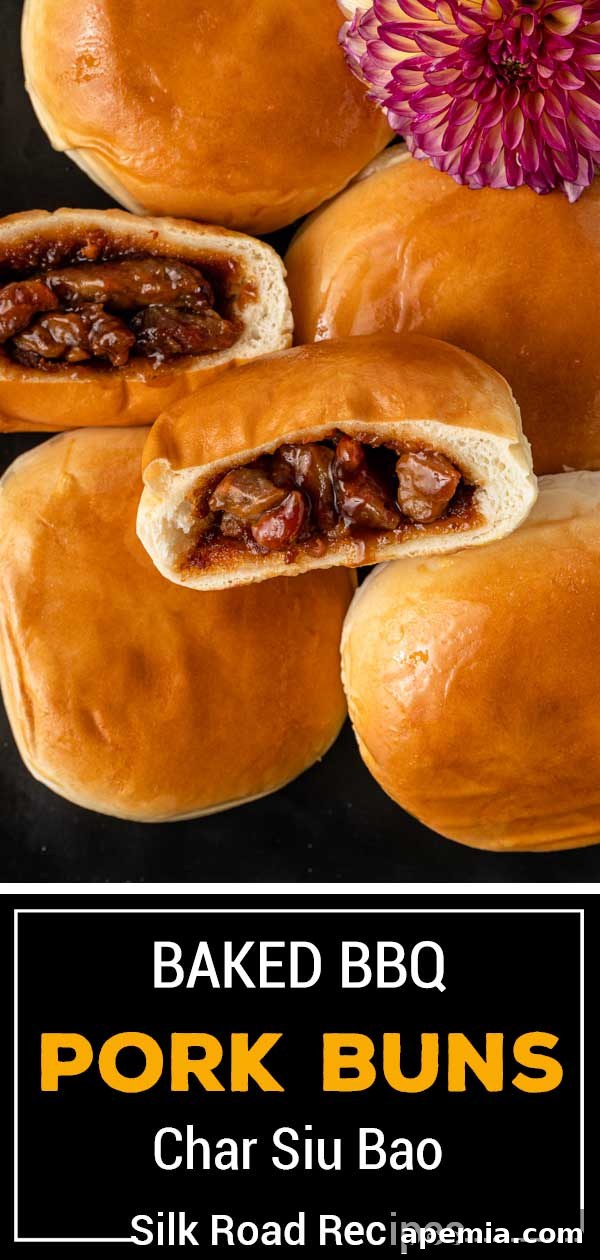
Authentic Baked Char Siu Bao: Your Guide to Perfect BBQ Pork Buns
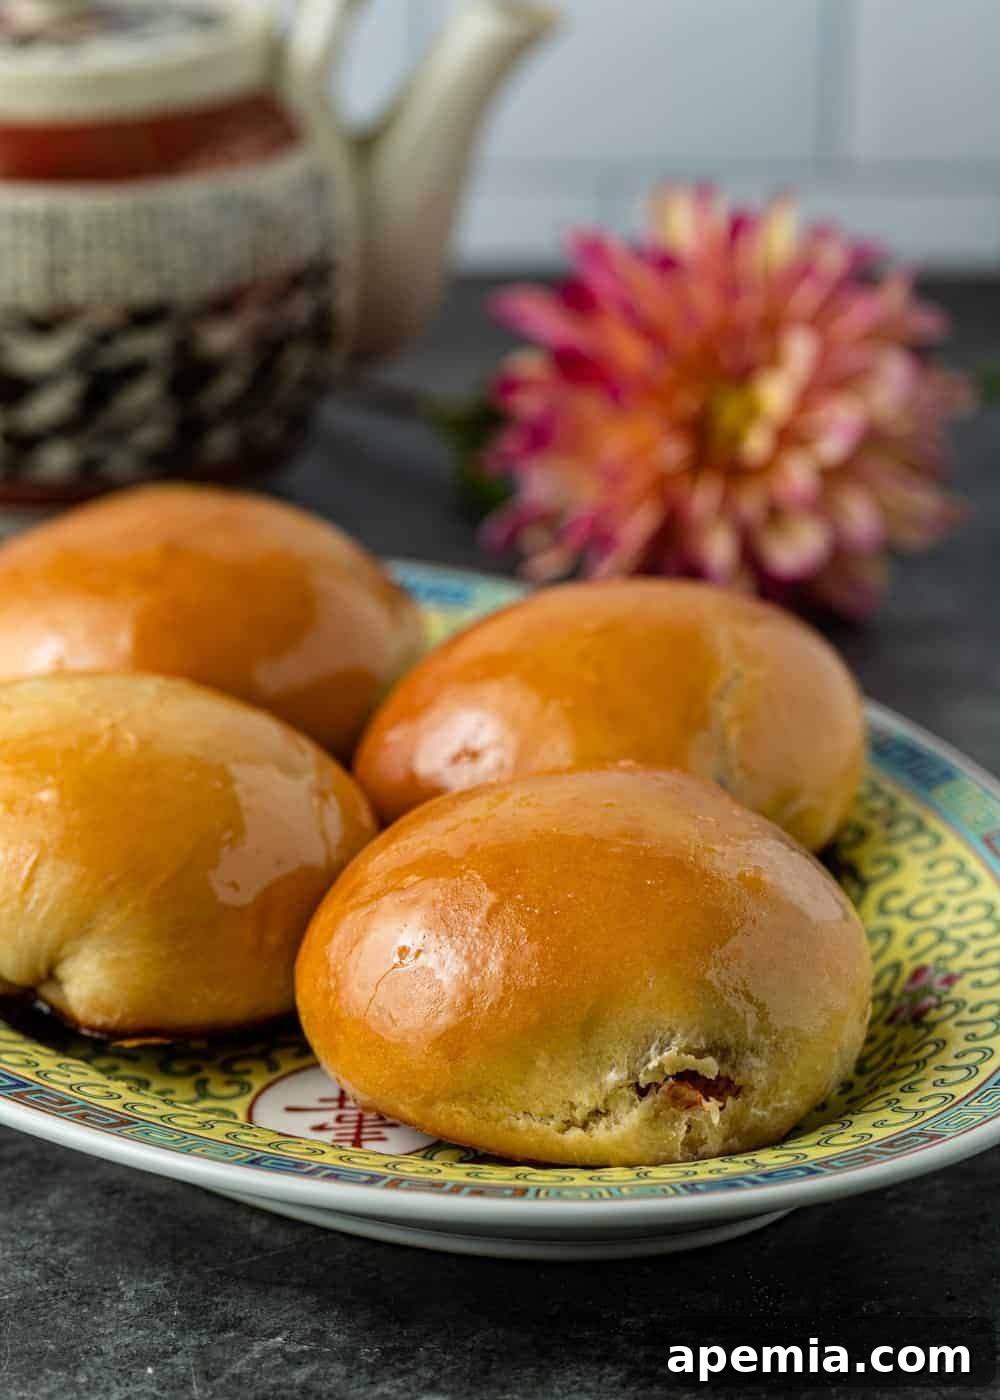
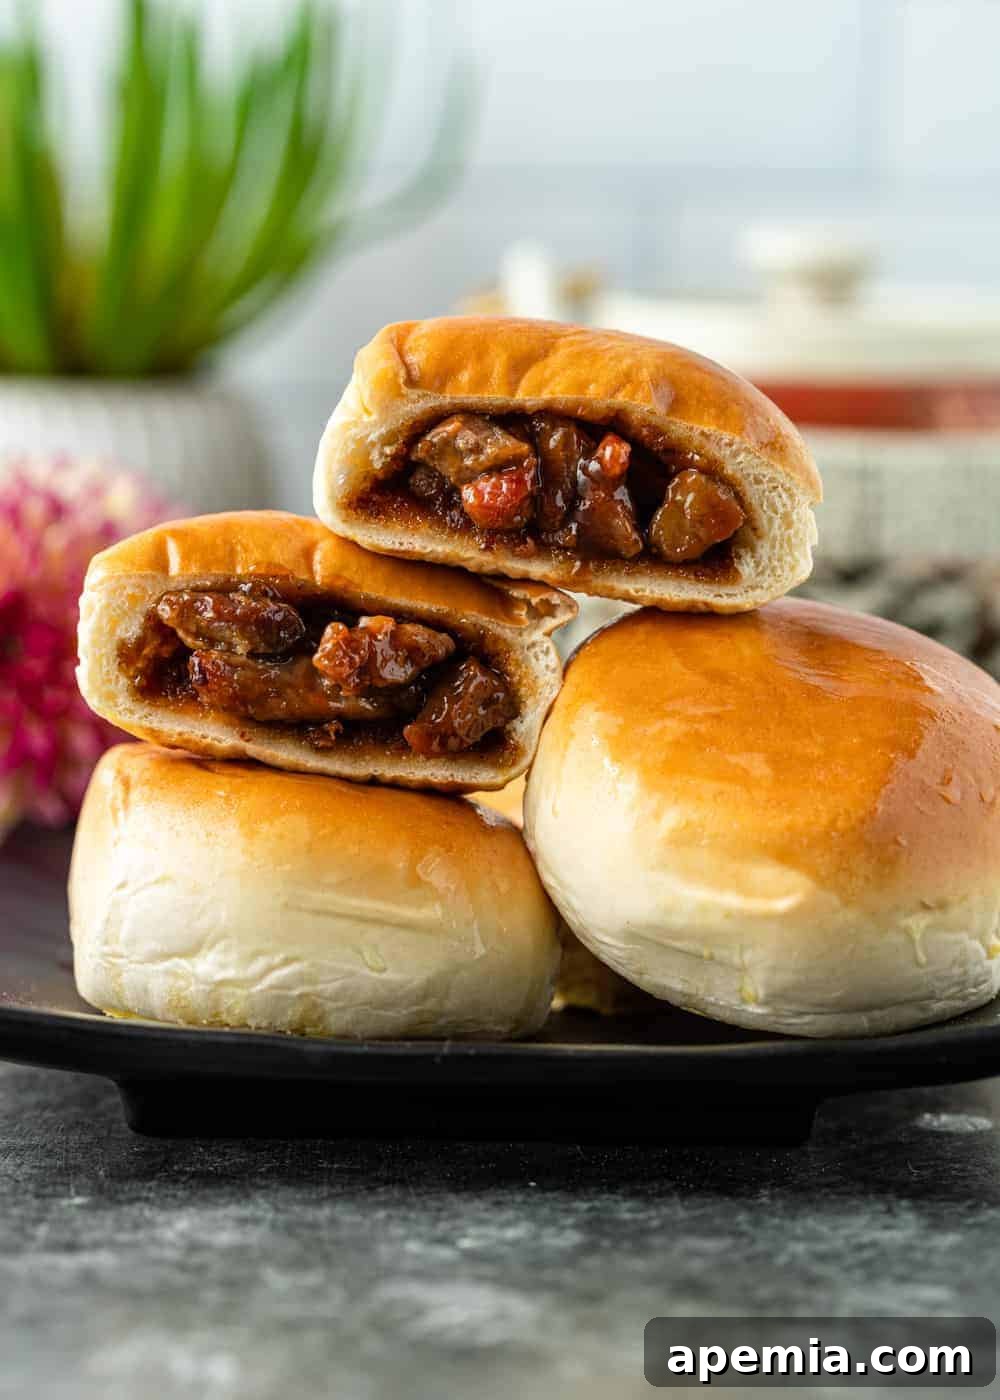
Prepare to embark on a culinary journey to create the most incredible char siu bao you’ve ever tasted. These Chinese BBQ pork buns are a true dim sum delight, featuring a pillowy-soft, slightly sweet dough enveloping a rich, sticky-sweet, and savory caramelized pork filling. Each bite promises an explosion of umami, leaving you craving more. This recipe will guide you to achieve that irresistible glossy, glazed finish and a melt-in-your-mouth experience that will make you wonder why you ever bought them frozen.
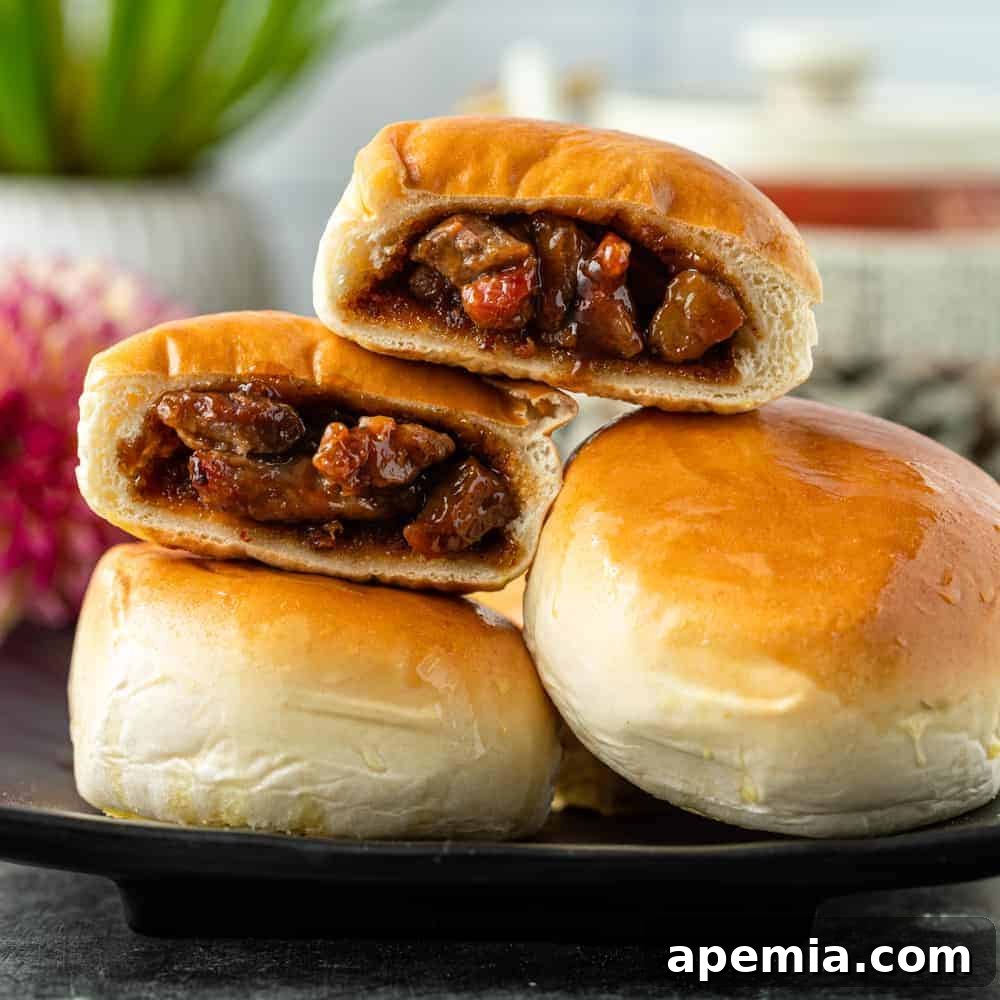
Dim sum is more than just a meal; it’s a cherished tradition, a vibrant experience filled with small, flavorful dishes designed to be shared. Among the myriad of choices, char siu bao stands out as a quintessential favorite for many, myself included. There’s a unique joy in tearing open a warm, fluffy bun, releasing the enticing aroma of tender, caramelized BBQ pork bathed in a wonderfully balanced sweet and savory sauce. It’s a sensory delight that perfectly encapsulates the magic of Cantonese cuisine.
While the bold, umami-rich pork filling is undeniably the heart of these buns, it’s the dough that truly elevates them to perfection. Our recipe focuses on creating a dough that is not only incredibly pillowy and soft but also boasts a delicate sweetness, providing the ideal counterpoint to the robust filling. These delightful pork buns are fantastic on their own, but for a complete dim sum spread, consider serving them alongside other classic dishes like Pork Pot Stickers, succulent Shrimp and Pork Shumai, or flaky Chinese Scallion Pancakes. Imagine a leisurely weekend brunch, filled with an array of homemade dim sum – a truly unforgettable culinary adventure.
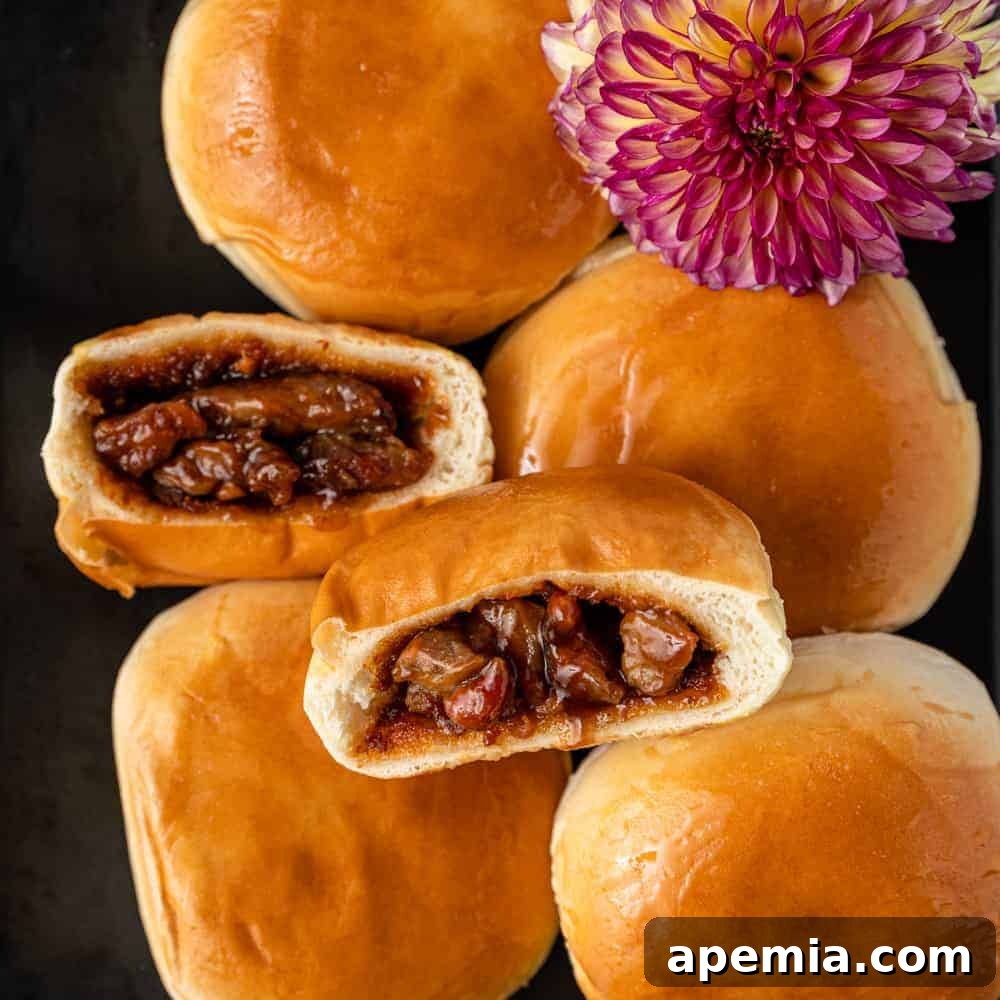
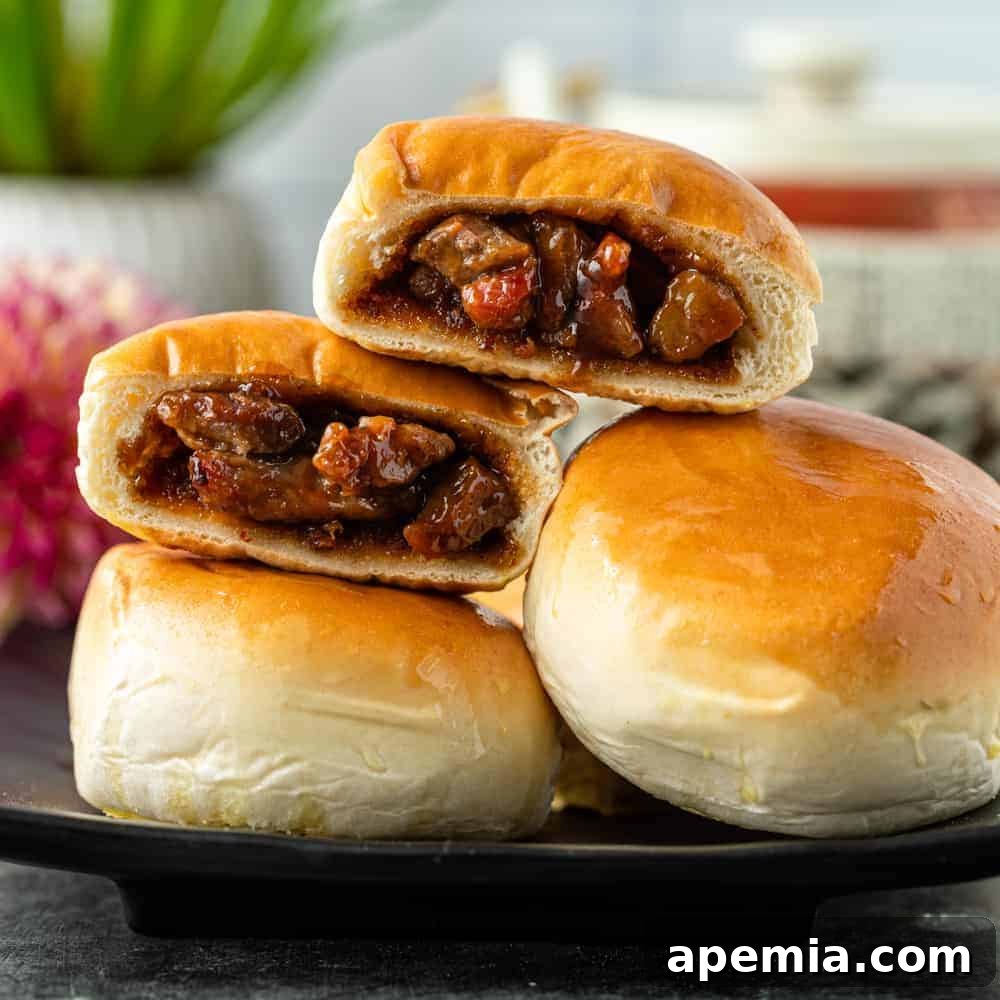
Traditionally, char siu bao are prepared either by baking or steaming. While steamed buns offer a soft, cloud-like texture, I find that baked char siu bao truly shines. The baking process creates a beautifully glossy, slightly crispy exterior that provides a delightful textural contrast to the soft, fluffy interior. This combination, along with the tantalizing aroma that fills your kitchen, makes baked Chinese BBQ Pork Buns the undisputed winner in my book, every single time.
Table of Contents
- Make Ahead and Freeze
- Key Ingredients and Smart Substitutions
- Step-by-Step Guide to Homemade Char Siu Bao
- Assembly and Baking Perfection
- Recommended Kitchen Tools
- Storage and Reheating Tips
- Frequently Asked Questions
- Char Siu Bao (BBQ Pork Buns) Recipe
You might initially think that creating this authentic char siu bao recipe at home is a task best left to professional dim sum chefs. However, you’ll be pleasantly surprised by how approachable and straightforward it is. With a little patience and the right guidance, you can achieve restaurant-quality results in your own kitchen. Whether you’re whipping up a fresh batch for immediate enjoyment or preparing them in advance to stash away for a future craving, these perfect pork pillows consistently deliver exceptional flavor and comfort.
Tip From Kevin
Make Ahead and Freeze for Later
This recipe, while requiring some effort, is incredibly rewarding. I highly recommend making a double batch and freezing half for later. You can freeze the buns after they’ve been fully baked. Once cooled, store them in an airtight container or a freezer-safe bag for up to 2 months. For a spontaneous “dim sum morning,” simply thaw them at room temperature and then reheat gently in the microwave for about 30 seconds, or in the oven for a crispier finish. This makes entertaining or enjoying a quick snack effortless!
Key Ingredients and Smart Substitutions for Perfect Char Siu Bao
(Be sure to check the recipe section for a full list of ingredients and precise quantities)
For the Dough: Achieving the Perfect Fluffy Texture
- Bread Flour: Essential for that signature chewy yet tender texture. Bread flour has a higher protein content, which develops more gluten, crucial for the structure of these buns.
- Hot Water & Milk: A careful blend ensures a tender, rich dough with a subtly creamy flavor. The warmth of the water helps activate the yeast effectively.
- Sugar & Salt: Not just for flavor, these ingredients also play a vital role in balancing the dough’s taste and aiding in optimal yeast activity and rise.
- Instant Yeast: The leavening agent that gives your baked char siu bao its wonderfully airy and fluffy rise. Ensure your yeast is fresh for best results.
- Egg: Acts as a binder, adding richness and contributing to a softer, more pliable dough with a beautiful golden hue when baked.
- Melted Butter: Incorporating melted butter significantly enhances the dough’s tenderness and adds a lovely richness to the overall flavor.
For the BBQ Pork Filling: The Heart of the Bao
Beyond basic vegetable oil and sugar, these ingredients create the complex flavors of our exquisite filling:
- Shallots: Provide a fragrant, savory base with a delicate hint of natural sweetness, elevating the aromatic profile of the filling.
- Dark & Light Soy Sauce: Using both types is key for a more complex flavor profile. Light soy sauce offers saltiness, while dark soy sauce adds a deeper color and richer, mellow umami.
- Oyster Sauce: A powerhouse of flavor, it brings together sweet, savory, and umami notes. If unavailable, fish sauce (use less due to intensity) or hoisin sauce can be suitable substitutes, though they will alter the flavor slightly.
- Rice Wine Vinegar: Adds a subtle tang that brightens the rich pork filling. White wine vinegar is a good alternative if rice wine vinegar is not on hand.
- Sesame Oil: Contributes a distinctive nutty and aromatic fragrance that is classic in Chinese cuisine.
- Five Spice Powder: The quintessential blend of star anise, cloves, Chinese cinnamon, Sichuan peppercorns, and fennel seeds. This spice mix is non-negotiable for authentic flavor. If you can’t find it pre-made, try my simple recipe to whip up your own at home.
- White Pepper: Offers a smoother, more subtle peppery heat compared to black pepper, which can be too aggressive. If using black pepper, reduce the amount.
- Chicken Stock & All-Purpose Flour: The flour acts as a thickener for the sauce, creating that luscious, clinging consistency, while the chicken stock adds another layer of savory depth. Vegetable stock can be used for dietary reasons.
- Char Siu Pork: The undisputed star of the show! This smoky, tender, and incredibly delicious Chinese BBQ pork is what gives these buns their iconic flavor. While you can buy it pre-made, making your own Char Siu Pork from scratch guarantees the freshest and most flavorful results.
For the Finishing Touches:
- Egg Wash: A simple mixture that, when brushed on, gives the buns a beautiful golden-brown, inviting crust as they bake.
- Corn Syrup & Water Glaze: This combination is crucial for achieving that signature glossy, slightly sticky-sweet sheen that makes baked char siu bao so visually appealing and even more delicious.
Step-by-Step Guide to Homemade Char Siu Bao
Prepare the Dough: The Foundation of Fluffy Buns
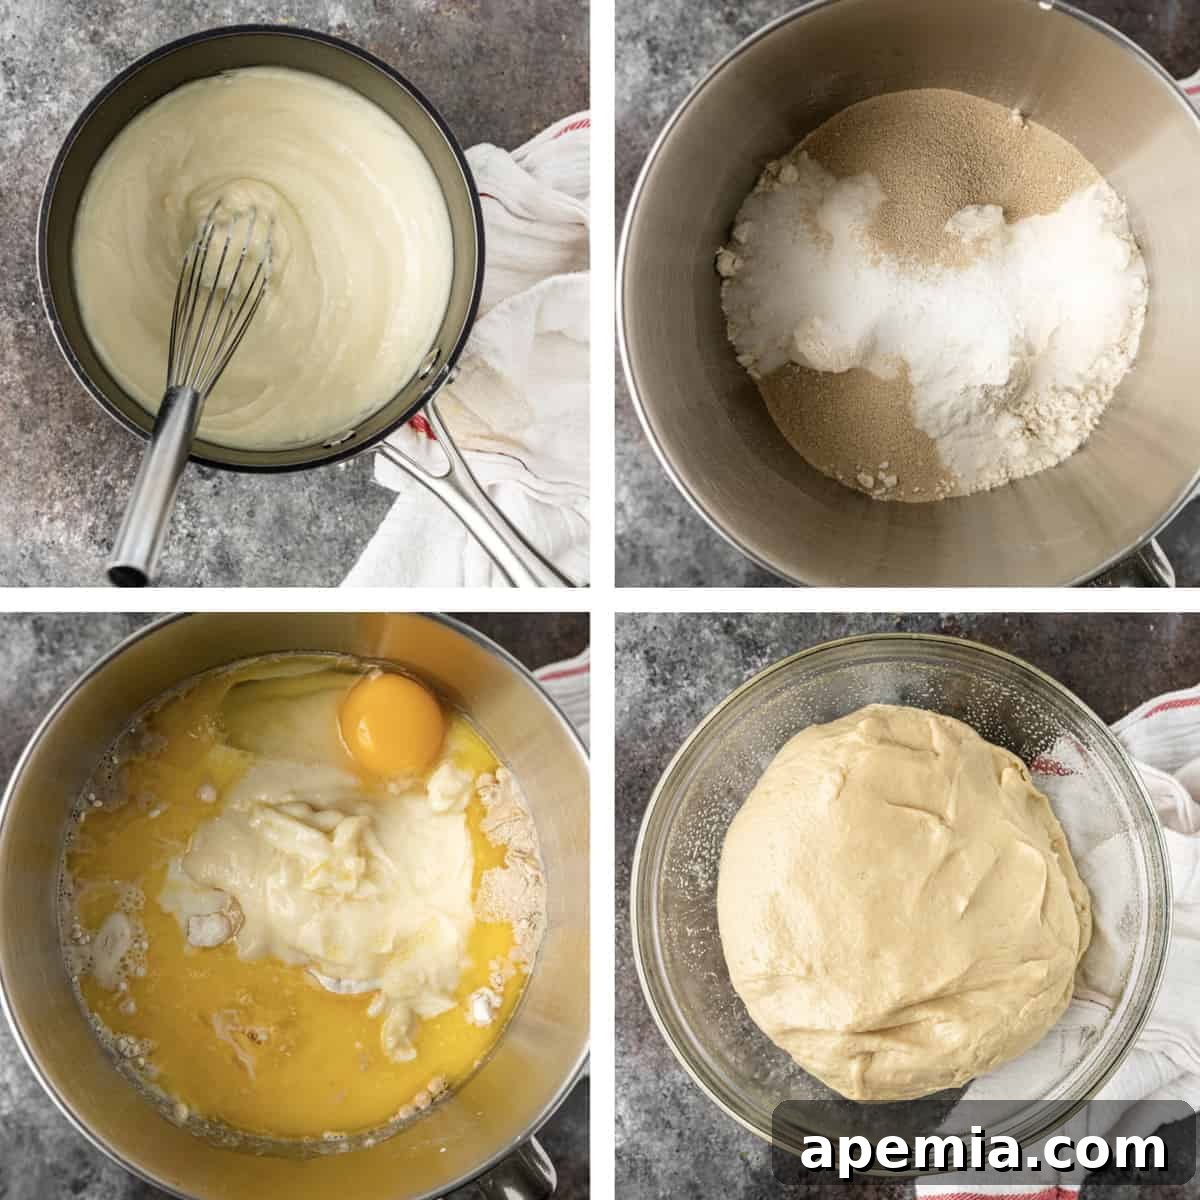
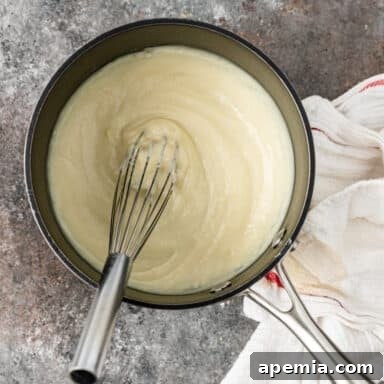
- Master the Tangzhong Paste: Begin by whisking together 1/3 cup of bread flour with 1/2 cup hot water and 1/3 cup milk in a small saucepan. Place over medium heat and continue whisking constantly. In about 4 minutes, the mixture will thicken into a paste-like consistency. This Tangzhong method is a secret to incredibly soft and moist buns. Set it aside and allow it to cool completely before incorporating it into the main dough.
- Prepare the Main Dough: In a large mixing bowl, combine the remaining 3 2/3 cups of bread flour, sugar, salt, and instant yeast. Make sure these dry ingredients are well mixed. Then, add the cooled Tangzhong paste, the remaining 2/3 cup milk, one large egg, and the melted butter. If you’re using a stand mixer with a dough hook, start kneading on low speed until the ingredients come together. Increase the speed to medium and knead for a full 15 minutes. This extended kneading is essential for developing the gluten and achieving that wonderfully smooth, elastic, and slightly tacky dough texture.
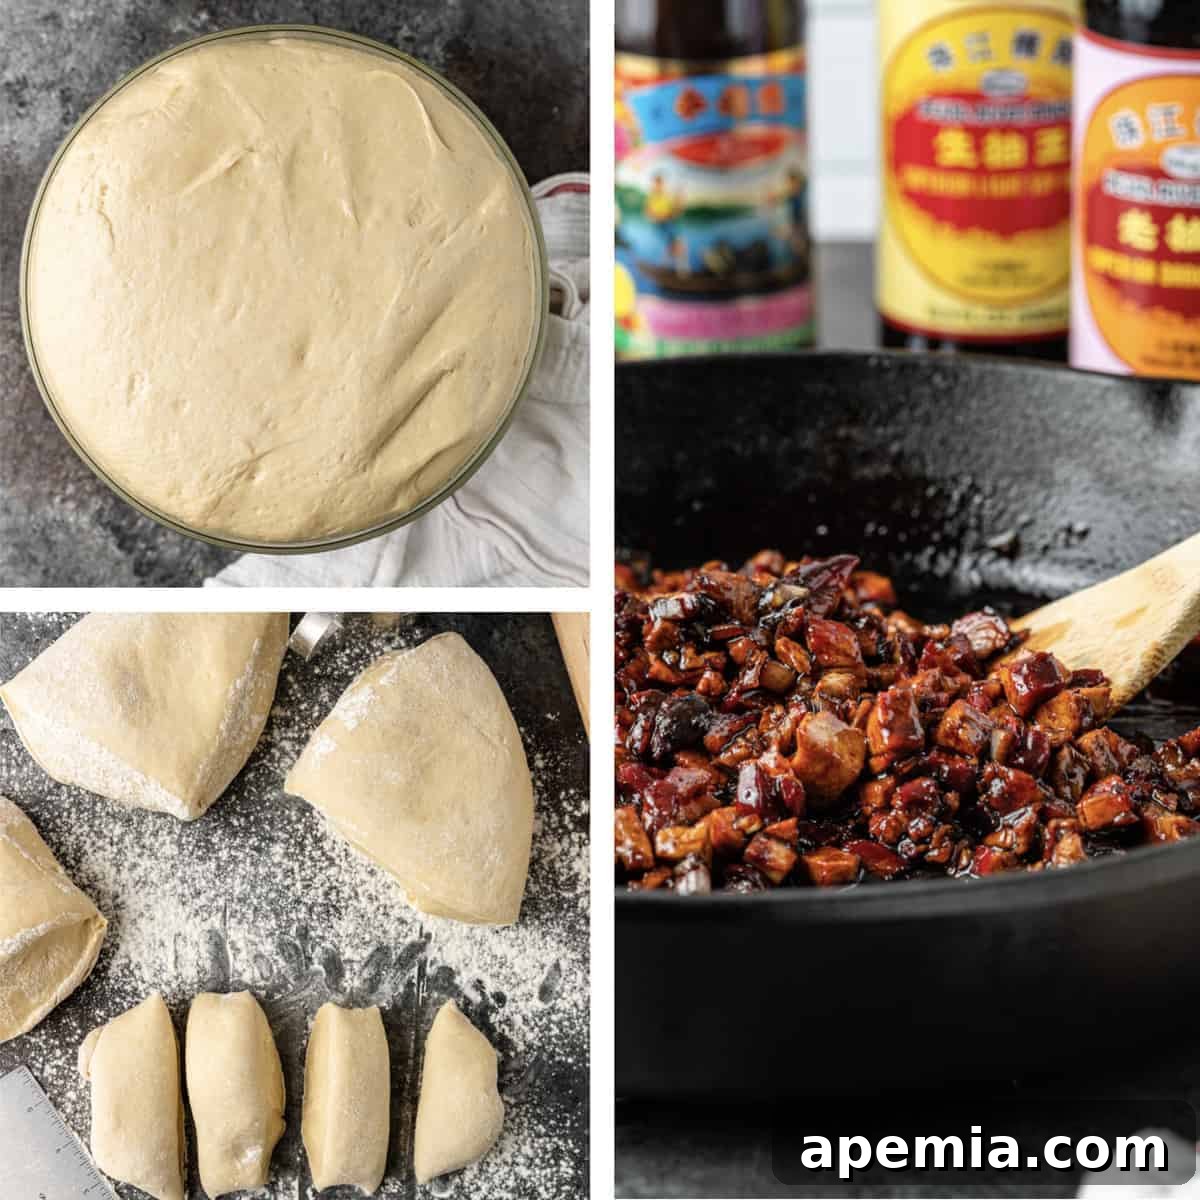
- Allow the Dough to Rise: Once kneaded, use a rubber spatula to gently scrape the dough into a cohesive ball. Place this ball into a lightly greased bowl, ensuring all sides are coated. Cover the bowl tightly with a damp tea towel or plastic wrap. Allow the dough to rise in a warm, draft-free place for approximately 1 hour, or until it has doubled in size. (See Note 1 for a helpful tip on proofing).
Prepare and Cook the Irresistible BBQ Pork Filling
- Sauté the Aromatics: Heat 2 tablespoons of vegetable oil in a large skillet or wok over medium-high heat. Add the minced shallots and stir-fry for about 2 minutes until they become fragrant and slightly softened.
- Infuse with Flavor: Reduce the heat slightly. Stir in the sugar, light soy sauce, dark soy sauce, oyster sauce, rice wine vinegar, sesame oil, Chinese Five Spice powder, and white pepper. Cook, stirring continuously, until the mixture begins to gently bubble, which should take about 1 minute. The spices and sauces will meld together, creating a rich aromatic base.
- Add Pork & Thicken: Toss in the diced Char Siu Pork, ensuring it’s well coated with the flavorful sauce. Sprinkle the 2 tablespoons of all-purpose flour over the mixture and stir well to combine, cooking for another minute. Finally, pour in the 1/2 cup of chicken stock. Reduce the heat to low and simmer, stirring occasionally, for about 3 minutes until the sauce has thickened to a luscious consistency. Remove the filling from the heat and allow it to cool completely before assembly. This prevents the hot filling from affecting the dough’s rise.
Assembly and Baking Perfection
- Divide the Dough: Once the dough has proudly risen, gently punch it down to release the air. Turn it out onto a lightly floured surface and knead it a few times to ensure uniformity. Roll the dough into a log and divide it into 12 equal pieces. To prevent drying, keep the pieces you’re not actively working with covered under a damp tea towel or plastic wrap.
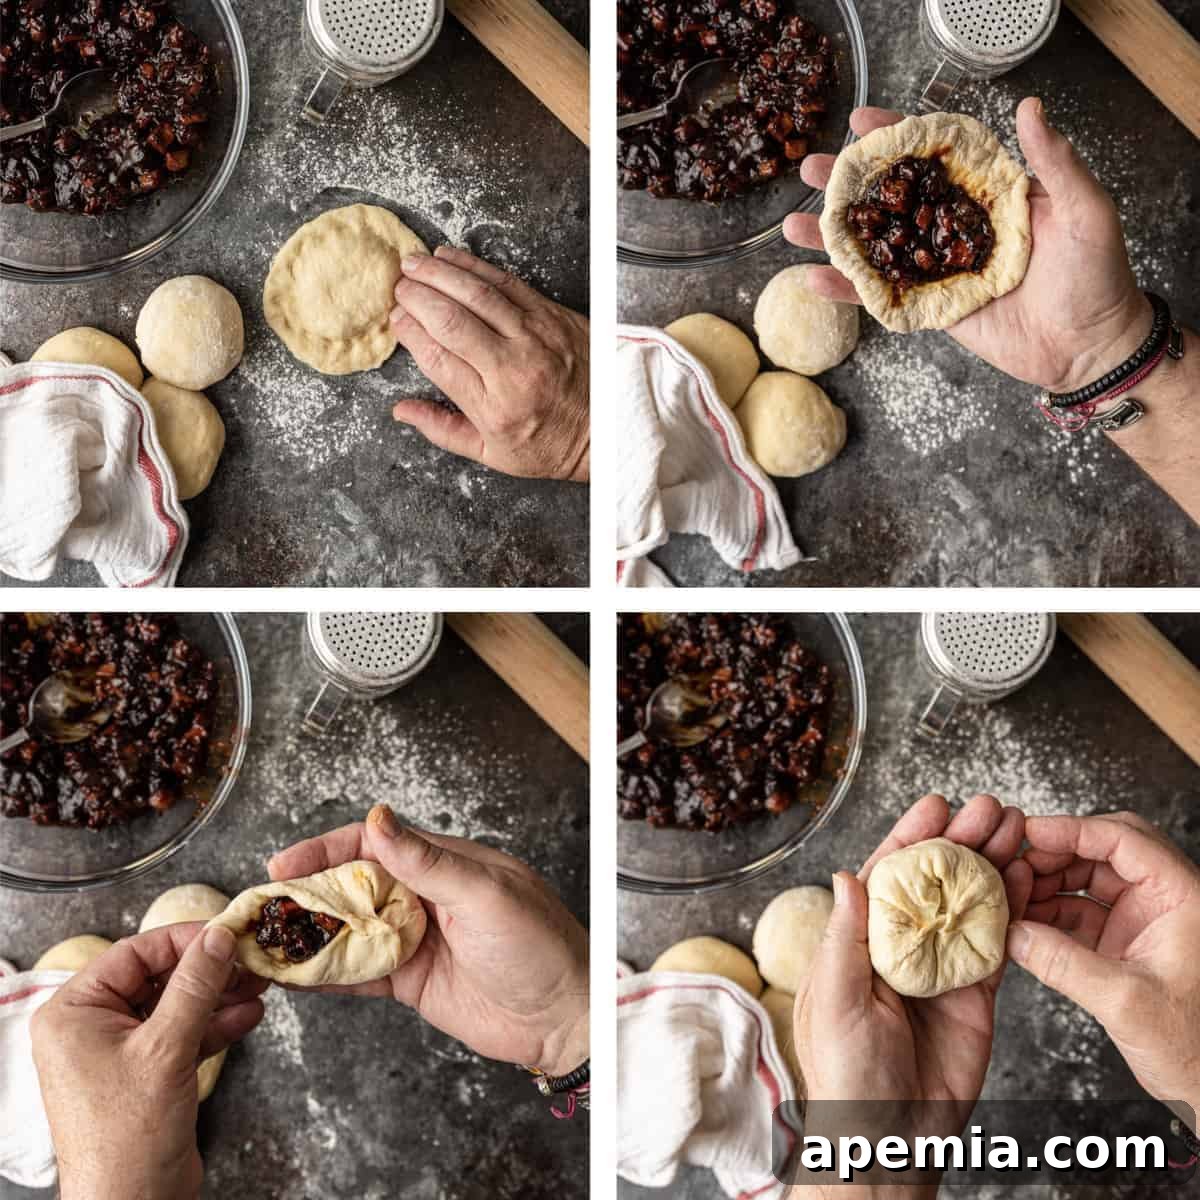
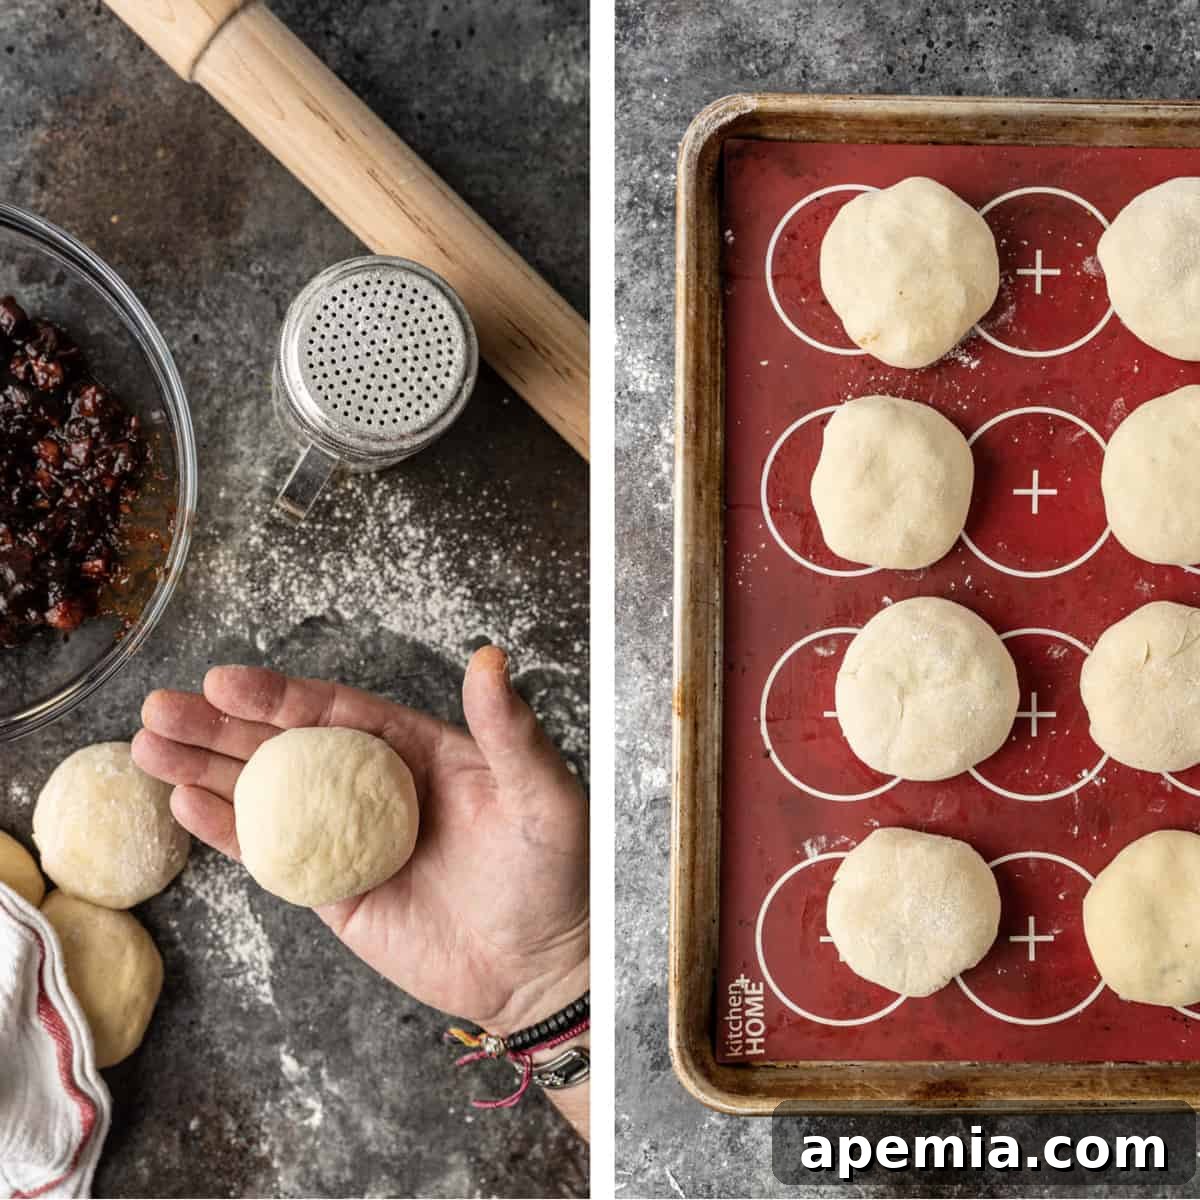
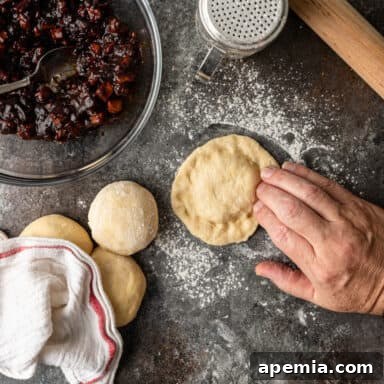
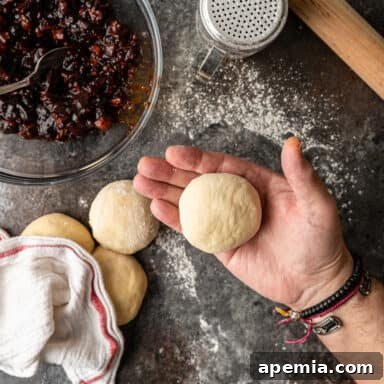
- Shape Each Bun Wrapper: Take one piece of dough and roll it into a small, smooth ball. Using the palm of your hand, press down to flatten it into a disc. For best results, press or roll the edges thinner than the center, creating a slightly mounded center. This technique helps hold the filling and creates a neat seal. I find using my fingers works best to achieve this.
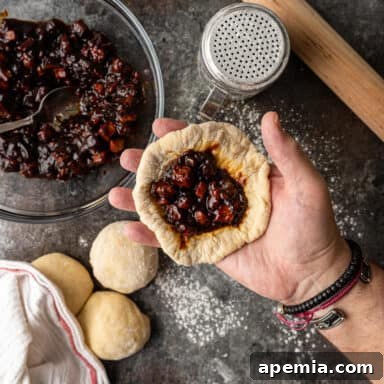
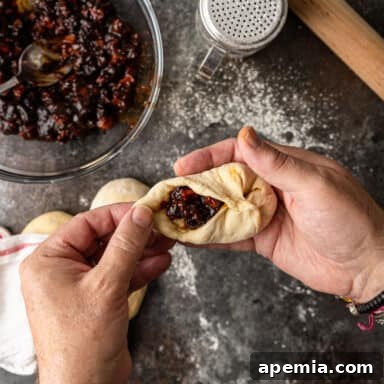
- Fill with BBQ Pork Goodness: Place a generous 2 (or slightly more) tablespoons of the cooled BBQ pork filling directly in the center of the flattened dough circle.
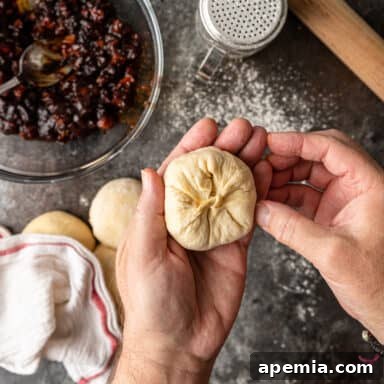
- Seal the Buns: Carefully bring the edges of the dough up and around the filling towards the center. Pinch the edges firmly together to seal the bun completely. If you find there’s a bit too much dough at the top after pinching, you can gently pinch off a small excess piece and re-seal to ensure a neat finish.
- Refine the Shape and Allow to Rise Again: Once sealed, place the bun seam-side down on a lightly floured surface. Gently cup the dough with your palm and fingers, moving it in a small circular motion. This helps to further seal the pinched bottom and create a perfectly rounded bun. Repeat this process for all remaining dough pieces and filling. Arrange the formed buns, seam-side down, on baking sheets lined with parchment paper or a silicone mat, ensuring enough space between each for expansion. Cover them once more with a damp tea towel and let them rise for another hour. (See Note 2 for freezing options). Preheat your oven to 350 degrees F (175 degrees C) during the latter part of this second rise.
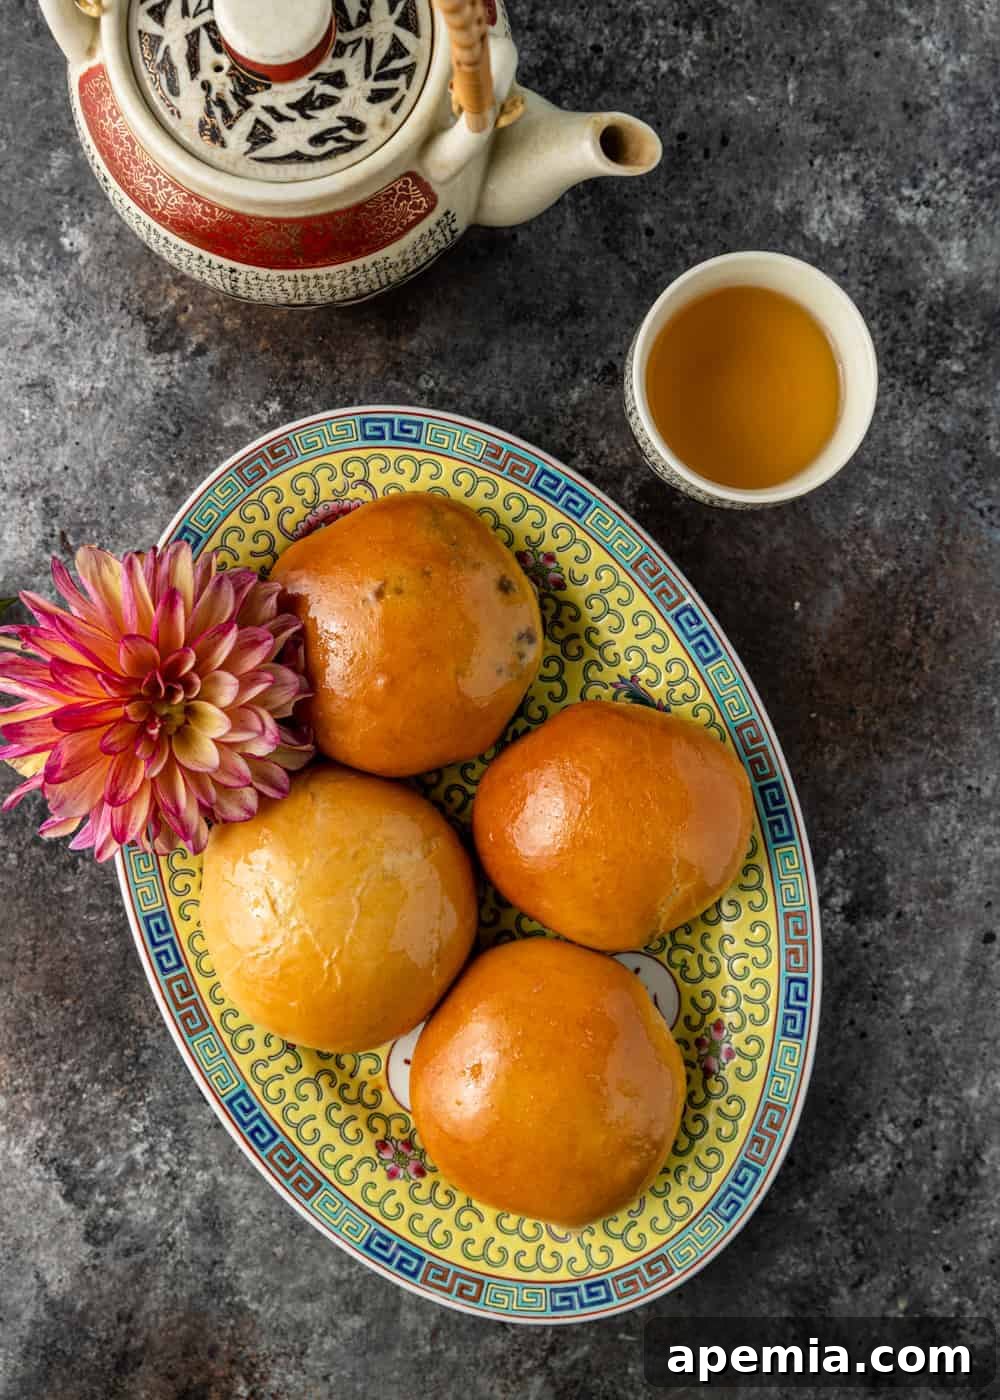
- Egg Wash & Bake to Golden Perfection: Lightly brush the tops of each risen bun with the egg wash. This will contribute to their beautiful golden-brown color. Place the baking sheets in the preheated oven and bake for approximately 20 minutes, or until the buns are gloriously golden brown and cooked through.
- Glaze for That Signature Shine: As soon as the buns emerge from the oven, while they are still warm, brush their tops generously with the corn syrup glaze. This final touch gives them that iconic glossy, sticky-sweet finish. Allow them to cool slightly on a wire rack before you dive in and enjoy!
Recommended Kitchen Tools for Char Siu Bao Success
- Stand Mixer with Dough Hook: This tool is an absolute game-changer for making perfect char siu bao dough. The dough requires thorough kneading to develop the gluten necessary for that uber-light, elastic, and chewy texture. A stand mixer takes the arduous work out of hand-kneading, ensuring your dough is perfectly conditioned and saves you significant time and effort.
- Large Mixing Bowls: Essential for both preparing the dough and allowing it to rise comfortably.
- Rolling Pin (optional, but helpful): While shaping by hand is possible, a rolling pin can help achieve more uniform dough circles.
- Parchment Paper or Silicone Mats: Prevents sticking and makes cleanup a breeze.
- Pastry Brush: For applying the egg wash and the final glaze evenly.
Storage and Reheating Tips for Freshness
Homemade char siu bao are best enjoyed fresh, but they also store remarkably well. At room temperature, in an airtight container, they will remain delicious for up to 2 days. If you wish to extend their freshness, refrigerate them in a similar airtight container or individually wrapped in plastic wrap for up to 5 days. For longer storage, these buns freeze beautifully for 2-3 months. To reheat frozen buns, allow them to gently return to room temperature before proceeding.
To reheat baked char siu bao and retain some of their delightful crispness, wrap each bun loosely in foil and bake in a preheated oven at 350 degrees F (175 degrees C) for 8-10 minutes. Alternatively, you can microwave them under a damp paper towel for about 30-60 seconds, though this method will make them softer and they will lose their crispy exterior. For the best texture, the oven method is preferred.
Share this recipe on Pinterest!
Love this recipe? Help others discover these amazing Char Siu Bao by sharing it with the world on Pinterest.
Frequently Asked Questions About Char Siu Bao
Yeast is a remarkable but somewhat sensitive organism. For it to perform its best, the temperature and environment need to be just right. Common issues include water that’s too hot (killing the yeast) or too cold (slowing it down), old or expired yeast, or a drafty environment. I’ve found that placing my dough in a small, draft-free space like an off-microwave or oven (without turning it on!) creates the perfect warm, consistent temperature for optimal fermentation and rise.
Absolutely! This is a fantastic time-saver, especially when entertaining. You can prepare the dough through the first rise, then punch it down and place it in a greased, airtight container in the refrigerator overnight. This slow, cold proofing can even enhance the flavor of the dough. The next day, simply remove it from the fridge, let it come to room temperature for about 30-60 minutes, then proceed with shaping and the second rise as directed in the recipe.
When you manually seal the filling inside the dough, it’s challenging to create a completely leak-proof seal every time. However, a common reason for splitting is the pressure of steam building inside the bun during baking, causing weak spots to burst. You can significantly reduce splitting by placing your buns seam-side down on the baking sheet. This allows gravity and the pressure from the baking surface to help keep the pinched seam closed and intact, resulting in beautifully formed buns.
A wet filling can make sealing the buns difficult and potentially lead to leakage. Ensure you’ve allowed the filling to simmer long enough with the flour and chicken stock to thicken adequately. It should be a spoonable, clingy sauce, not watery. If it’s still too wet after cooling, you can gently simmer it again for a few more minutes, or add a very small amount of cornstarch slurry (1 tsp cornstarch mixed with 1 tsp cold water) to help it thicken further off the heat.
This post, originally published on Silk Road Recipes Dec. 03, 2020, has been thoroughly updated with fresh content and detailed instructions on May 2025 to bring you the most comprehensive guide to making irresistible Char Siu Bao.
Char Siu Bao (BBQ Pork Buns)
Soft, fluffy milk dough packed with mouthwatering BBQ pork then baked. Char Siu Bao deliver the ultimate homemade Chinese dim sum experience.
16 buns
2 hrs 40 mins (includes rise times)
20 mins
3 hrs
Print Recipe
Recipe Video
Watch our video tutorial to see each step in action for making these delicious Char Siu Bao!

(Video coming soon or available on the original recipe page.)
Ingredients
Dough
- 4 cups bread flour (divided)
- 1/2 cup hot water
- 1 cup milk (divided)
- 1/4 cup sugar
- 1 tsp salt
- 3 tsp instant yeast
- 1 large egg
- 3 tbsp butter (melted)
BBQ Pork Filling
- 2 tbsp vegetable oil
- 1/2 cup shallots (minced)
- 2 tbsp sugar
- 2 tbsp light soy sauce
- 2 tbsp oyster sauce
- 1 tbsp dark soy sauce
- 1 tbsp rice wine vinegar
- 2 tsp sesame oil
- 1/4 tsp Chinese five spice
- 1/8 tsp white pepper
- 1/2 cup chicken stock
- 2 tbsp all-purpose flour
- 2 cups Chinese BBQ Pork (diced)
Egg Wash
- 1 egg (beaten)
- 1 tbsp water
Glaze
- 3 tbsp corn syrup
- 2 tsp water
Instructions
Dough Preparation
- Make the Tangzhong: In a medium saucepan, whisk together 1/3 cup flour with 1/2 cup hot water and 1/3 cup milk until the flour is dissolved. Cook over medium heat, whisking constantly, until the mixture thickens into a paste, about 4 minutes. Set aside to cool completely.

Making the Tangzhong paste. - In a large mixing bowl (with a dough hook if using a stand mixer), combine the remaining 3 2/3 cups of flour, sugar, salt, and yeast. Add the cooled Tangzhong paste, the remaining 2/3 cup milk, the large egg, and the melted butter. Mix on low speed until the dough comes together. Increase speed to medium and knead for 15 minutes until the dough is smooth, elastic, and slightly tacky. Form the dough into a ball, place in a lightly greased bowl, cover with a damp tea towel, and let rise in a warm, draft-free place for 1 hour. (See Note 1 below for a tip on rising).
BBQ Pork Filling Preparation
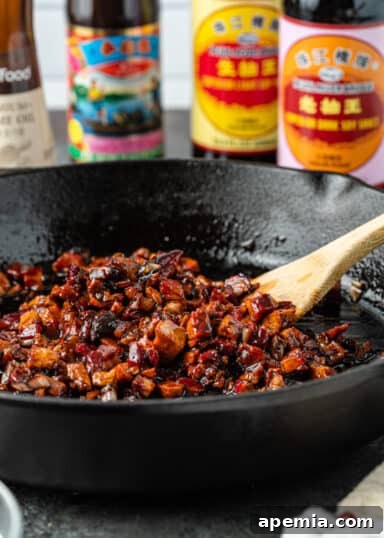
- Heat 2 tablespoons vegetable oil in a skillet or wok over medium-high heat. Add the minced shallots and stir-fry for 2 minutes until fragrant. Add the sugar, light and dark soy sauces, oyster sauce, rice wine vinegar, sesame oil, Chinese Five Spice Powder, and white pepper. Stir and cook for about a minute until it begins to bubble gently. Add the diced Chinese BBQ pork and sprinkle the all-purpose flour over it. Toss to coat and mix well. Cook for another minute.
Cooking the savory BBQ pork filling. - Pour in the chicken stock, reduce heat to low, and simmer, stirring occasionally, for 3 minutes until the sauce has thickened. Remove from heat and set aside to cool completely.
Assembly and Baking
- After the dough has risen, gently punch it down and turn it out onto a lightly floured surface. Knead a few times to de-gas, then roll it into a ball and cut it into 12 equal pieces. Keep the pieces you’re not currently working on covered with a damp tea towel or plastic wrap to prevent them from drying out.
- Shape each dough piece into a small ball. Using the palm of your hand, press down to flatten it into a disc. Then, using your fingers or a rolling pin, press and spread the dough outwards, keeping the center slightly thicker than the edges.
Shaping the dough for the buns. - Place 2-3 tablespoons of the cooled BBQ pork filling in the center of each flattened dough circle.
Adding the delicious filling. - Carefully bring the edges of the dough up and around the filling towards the center, pinching them together firmly to seal the bun. (If there is excess dough at the top, pinch it off and discard, then re-seal).
Sealing the Char Siu Bao. - Place each filled dough ball seam-side down on a lightly floured surface. Cup the dough with your palm and fingers and gently move it in a small circular motion to further seal and shape the bottom. Repeat with the remaining dough and filling.
Rounding and sealing the buns. - Arrange the formed buns, seam-side down, on baking sheets lined with parchment paper or a silicone mat, ensuring enough space between them. Cover again with a damp tea towel and let them rise for another hour. Preheat your oven to 350°F (175°C) during the latter part of this second rise.
Buns ready for their second rise. - Brush each bun with the prepared egg wash and bake in the preheated oven for about 20 minutes, or until they turn a beautiful golden brown.
- Remove the buns from the oven and, while still warm, brush their tops generously with the corn syrup glaze. Allow them to cool slightly on a wire rack before serving and enjoying.
Notes
- For an ideal draft-free environment to rise your dough, I often place the covered bowl in my microwave (turned off, of course!). It’s a small, enclosed space that maintains a consistent temperature, perfect for yeast activity.
- At this stage, after the second rise but before baking, you have the option to freeze half of the unbaked buns for another day. Or, you can bake all of them and freeze half of the baked buns. If freezing unbaked, wrap them individually in plastic wrap and then store in an airtight container or freezer bag. When ready to bake, thaw them at room temperature for an hour or two before egg washing and baking as directed. If freezing baked buns, seal them in an airtight container or freezer bag once completely cooled. Thaw and reheat in the microwave for 30 seconds, or in the oven wrapped in foil for 8-10 minutes at 350°F (175°C).
- This recipe has been adapted from “The Woks of Life,” a fantastic resource for authentic Chinese recipes.
Nutrition Information (Estimated Per Serving)
Calories: 214 kcal |
Carbohydrates: 35g |
Protein: 9g |
Fat: 5g |
Saturated Fat: 2g |
Cholesterol: 30mg |
Sodium: 614mg |
Potassium: 110mg |
Fiber: 1g |
Sugar: 10g |
Vitamin A: 59 IU |
Vitamin C: 1mg |
Calcium: 32mg |
Iron: 1mg
The information shown is an estimate provided by an online nutrition calculator. It should not be considered a substitute for a professional nutritionist’s advice.
Breakfast, Appetizer, Snack
Chinese, Cantonese
Kevin
Have You Made This Recipe? Let Me Know on Instagram!
Tag @keviniscooking or use the hashtag #keviniscooking!