
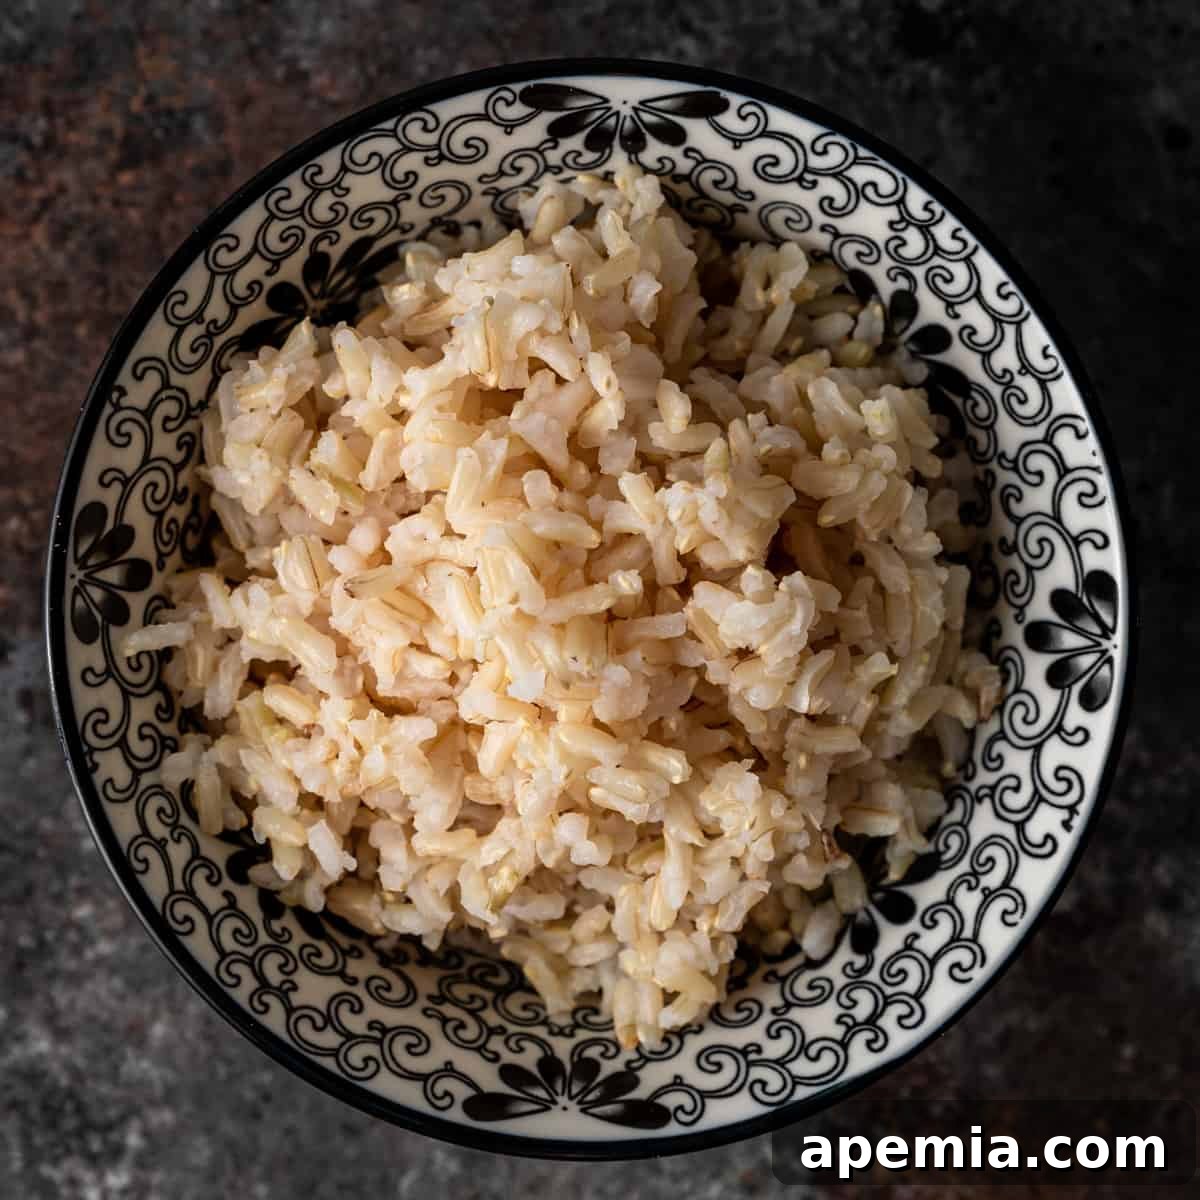
Rice holds a cherished place in kitchens worldwide, serving as an incredibly versatile and satisfying side dish that effortlessly complements an array of cuisines. While many gravitate towards the familiar comfort of white rice, opting for its wholesome cousin, brown rice, can elevate your meals with a deeper flavor profile and added nutritional benefits. Brown rice, with its delightful nutty, earthy, and warm notes, offers a more complex and engaging taste experience compared to its refined counterpart. Its less processed nature means it retains more of its natural goodness, making it a fantastic choice for a balanced diet.
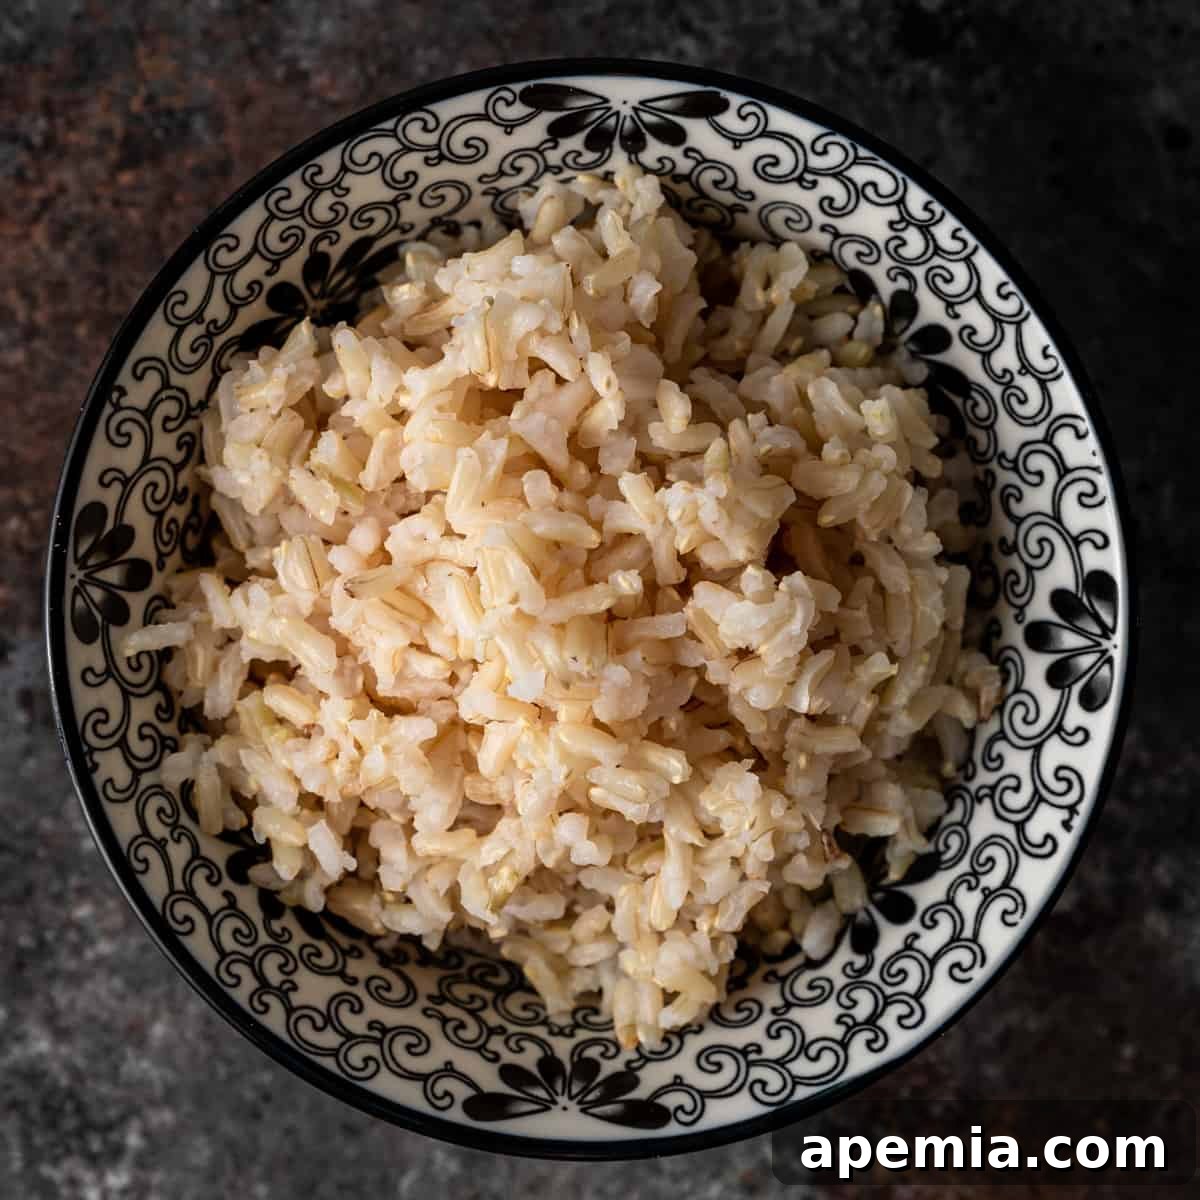
The robust character of brown rice makes it an ideal accompaniment for hearty dishes such as sweet chili glazed salmon, savory baked sesame chicken, or a vibrant broccoli beef stir fry. It’s more than just a filler; brown rice instantly transforms a simple meal into a more substantial and satisfying experience, infusing every bite with an additional layer of wholesome flavor.
If you’re already adept at cooking white rice, prepare to expand your culinary repertoire. Mastering brown rice is a straightforward journey, and this comprehensive guide is designed to make it simple and enjoyable. Here, you will discover:
- An in-depth look at the diverse types of brown rice available.
- Multiple effective methods for perfectly cooking brown rice every time.
- Inspiring serving suggestions and delicious recipes to incorporate into your home cooking.
Embark on your journey to perfectly cooked brown rice by reading on!
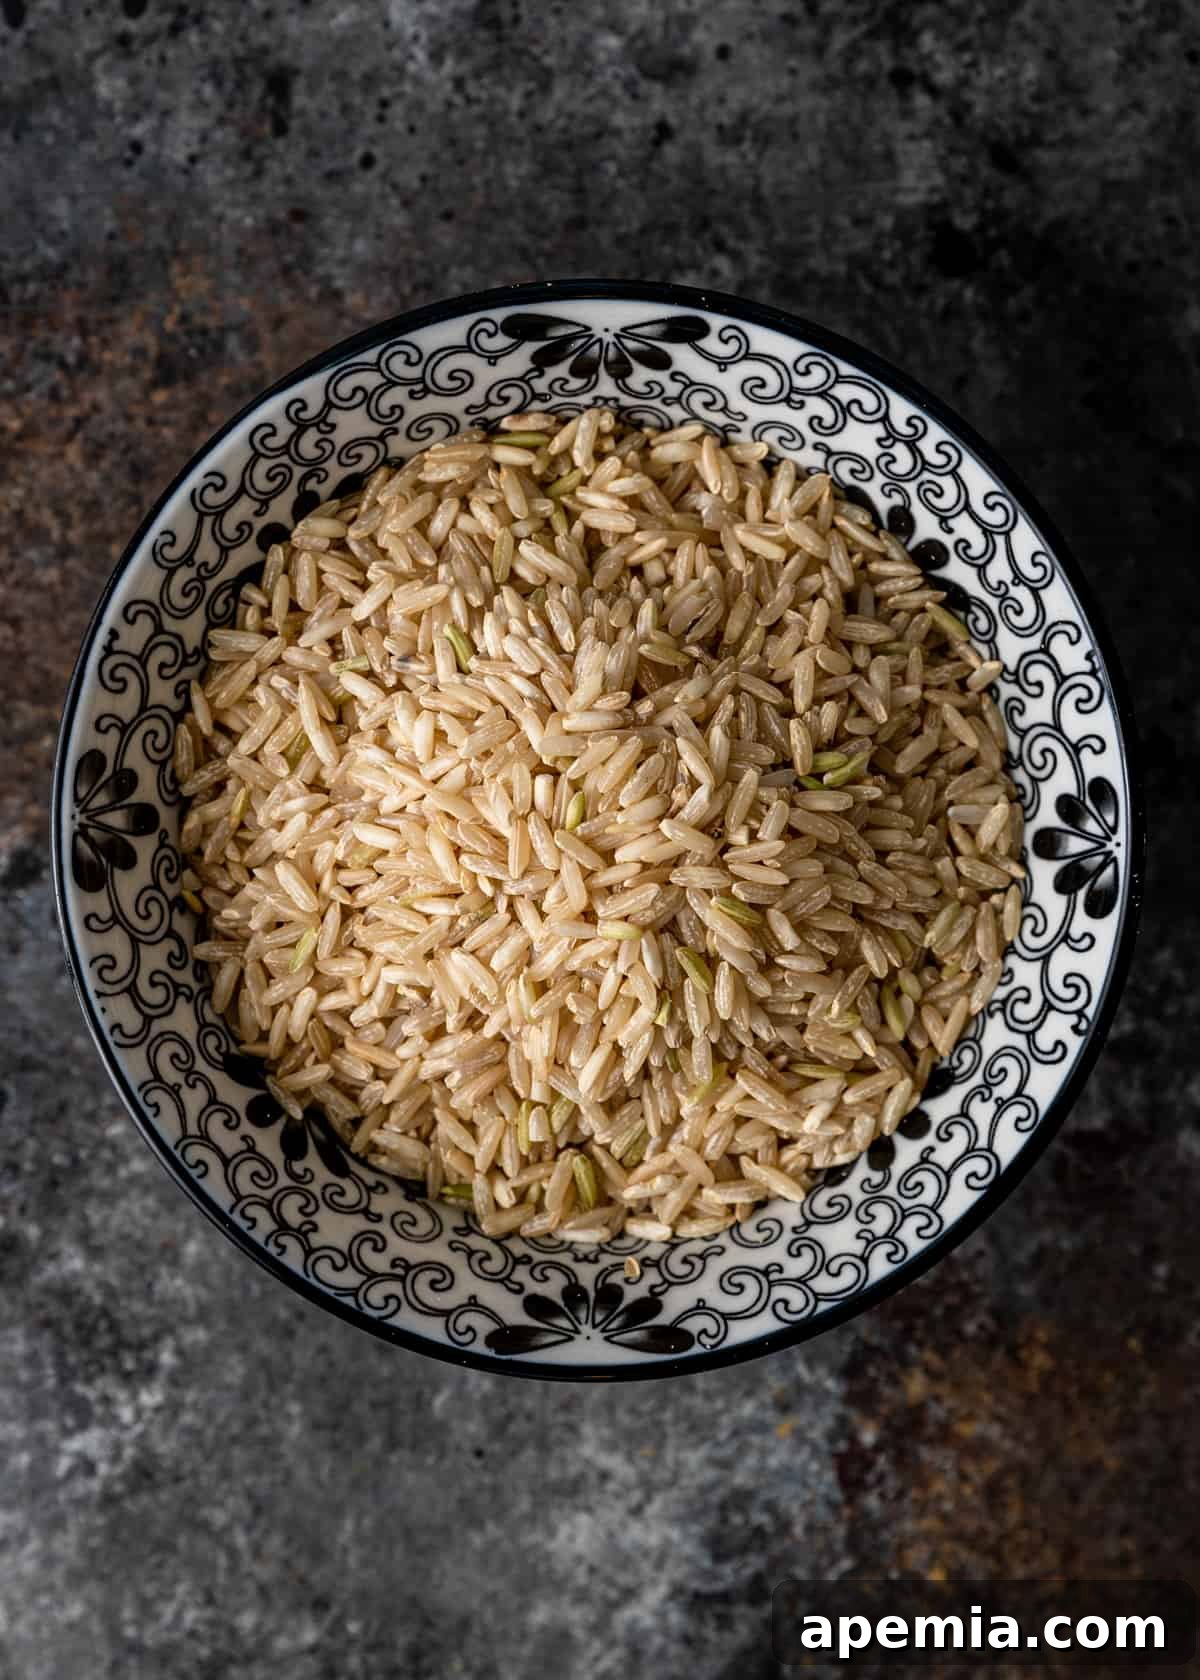
Understanding Brown Rice: What Makes It Different?
Brown rice stands apart from white rice primarily due to its minimal processing. Unlike white rice, which has its bran and germ layers removed, brown rice retains these vital components. This makes it a whole grain, packed with fiber, vitamins, and minerals. However, this also means it requires a longer cooking time and a different approach to water ratios compared to white rice. The key to achieving perfectly fluffy brown rice lies in understanding these differences and employing the correct cooking technique.
Many home cooks are familiar with the “absorption method” for white rice, where a precise amount of water is absorbed by the grains, leaving no need for draining. While effective for white rice, this technique often leads to sticky, gluey, or unevenly cooked brown rice due to its tougher outer bran layer. Brown rice benefits from a more generous water approach, similar to how pasta is cooked. This method, often referred to as the “boil and drain” technique, allows the grains to hydrate fully without becoming oversaturated.
My own discovery of this superior method was quite accidental, born from a mix-up in the kitchen. I mistakenly thought my brown rice was barley and proceeded to cook it by boiling. To my surprise, the outcome was revelatory: perfectly cooked, individual grains that were fluffy and tender throughout, with no mushy bits at the bottom. This serendipitous error taught me that boiling and then draining is indeed the secret to the best brown rice. This approach ensures an even cook, preventing the dreaded sticky clumps and yielding consistently fluffy results. This is now my absolute favorite way to prepare brown rice, and I’m confident it will become yours too!
The duration required to cook brown rice can vary, depending on the specific type of brown rice you choose and the cooking method you employ. Below, we’ll delve into the distinct varieties of brown rice and provide precise cooking times for each, ensuring you achieve ideal results every time. But first, let’s explore the wonderful world of brown rice types.
A Guide to Brown Rice Varieties
The term “brown rice” broadly refers to any rice grain that has had only its outermost, inedible hull removed, retaining its nutrient-rich bran and germ layers. This means that virtually any rice variety, from long-grain basmati to sticky short-grain, can exist in a “brown” form. However, to simplify our understanding and focus on what’s most commonly available, let’s explore the four primary types of brown rice you’ll encounter:
- Short Grain Brown Rice: True to its name, short grain brown rice features plump, compact grains. When cooked, it becomes notably sticky and chewy, making it an excellent choice for dishes where cohesiveness is desired. This is the variety you’ll typically find used in sushi, where its sticky texture helps the rolls hold together, and in rice puddings or other creamy desserts. Its satisfying mouthfeel and ability to absorb flavors make it a favorite for many comfort food applications.
- Medium Grain Brown Rice: Striking a balance between its short and long-grain relatives, medium grain brown rice is longer than short grain but shorter than long grain. It cooks up with a softer, somewhat sticky texture – less sticky than short grain, but more so than long grain. This makes it incredibly versatile, suitable for a wide range of dishes, from side dishes to casseroles. It’s often considered the most common and all-purpose type of brown rice, offering a pleasant chewiness that holds up well in various recipes.
- Long Grain Brown Rice: Characterized by its slender and elongated grains, long grain brown rice cooks to a wonderfully fluffy and separate consistency. It’s only minimally sticky, making it perfect for dishes where you want individual grains to stand out. Its light texture is ideal for pilafs, stir-fries, and as a base for vibrant salads, where it won’t clump together. This variety is often praised for its ability to absorb flavors without becoming mushy, providing a clean canvas for your culinary creations.
- Brown Basmati Rice: A distinguished member of the long-grain family, brown basmati rice is celebrated for its exquisite fragrance and distinct, firm texture. When cooked, it offers an aromatic experience and grains that remain separate and fluffy, rather than sticky. Originating from the Indian subcontinent, it’s a staple in Indian, Pakistani, and Middle Eastern cuisines, often paired with curries, stews, and roasted meats. Its unique aroma and delicate flavor add an authentic touch to exotic dishes. You can learn how to cook basmati in an Instant Pot in my dedicated post.
Mastering the Art of Cooking Brown Rice: Multiple Methods
Achieving perfect brown rice isn’t a one-size-fits-all endeavor. Different kitchen tools and grain types lend themselves to various cooking methods. Here, we outline the most effective ways to prepare brown rice, ensuring delicious results every time.
The Stovetop Method: Achieving Fluffy Perfection
The stovetop method, employing the boil-and-drain technique, is my preferred approach for cooking brown rice, especially for medium and long-grain varieties, including basmati. It’s incredibly straightforward and consistently yields perfectly fluffy, separate grains. This method eliminates the guesswork of precise water absorption and ensures the brown rice cooks evenly without becoming mushy.
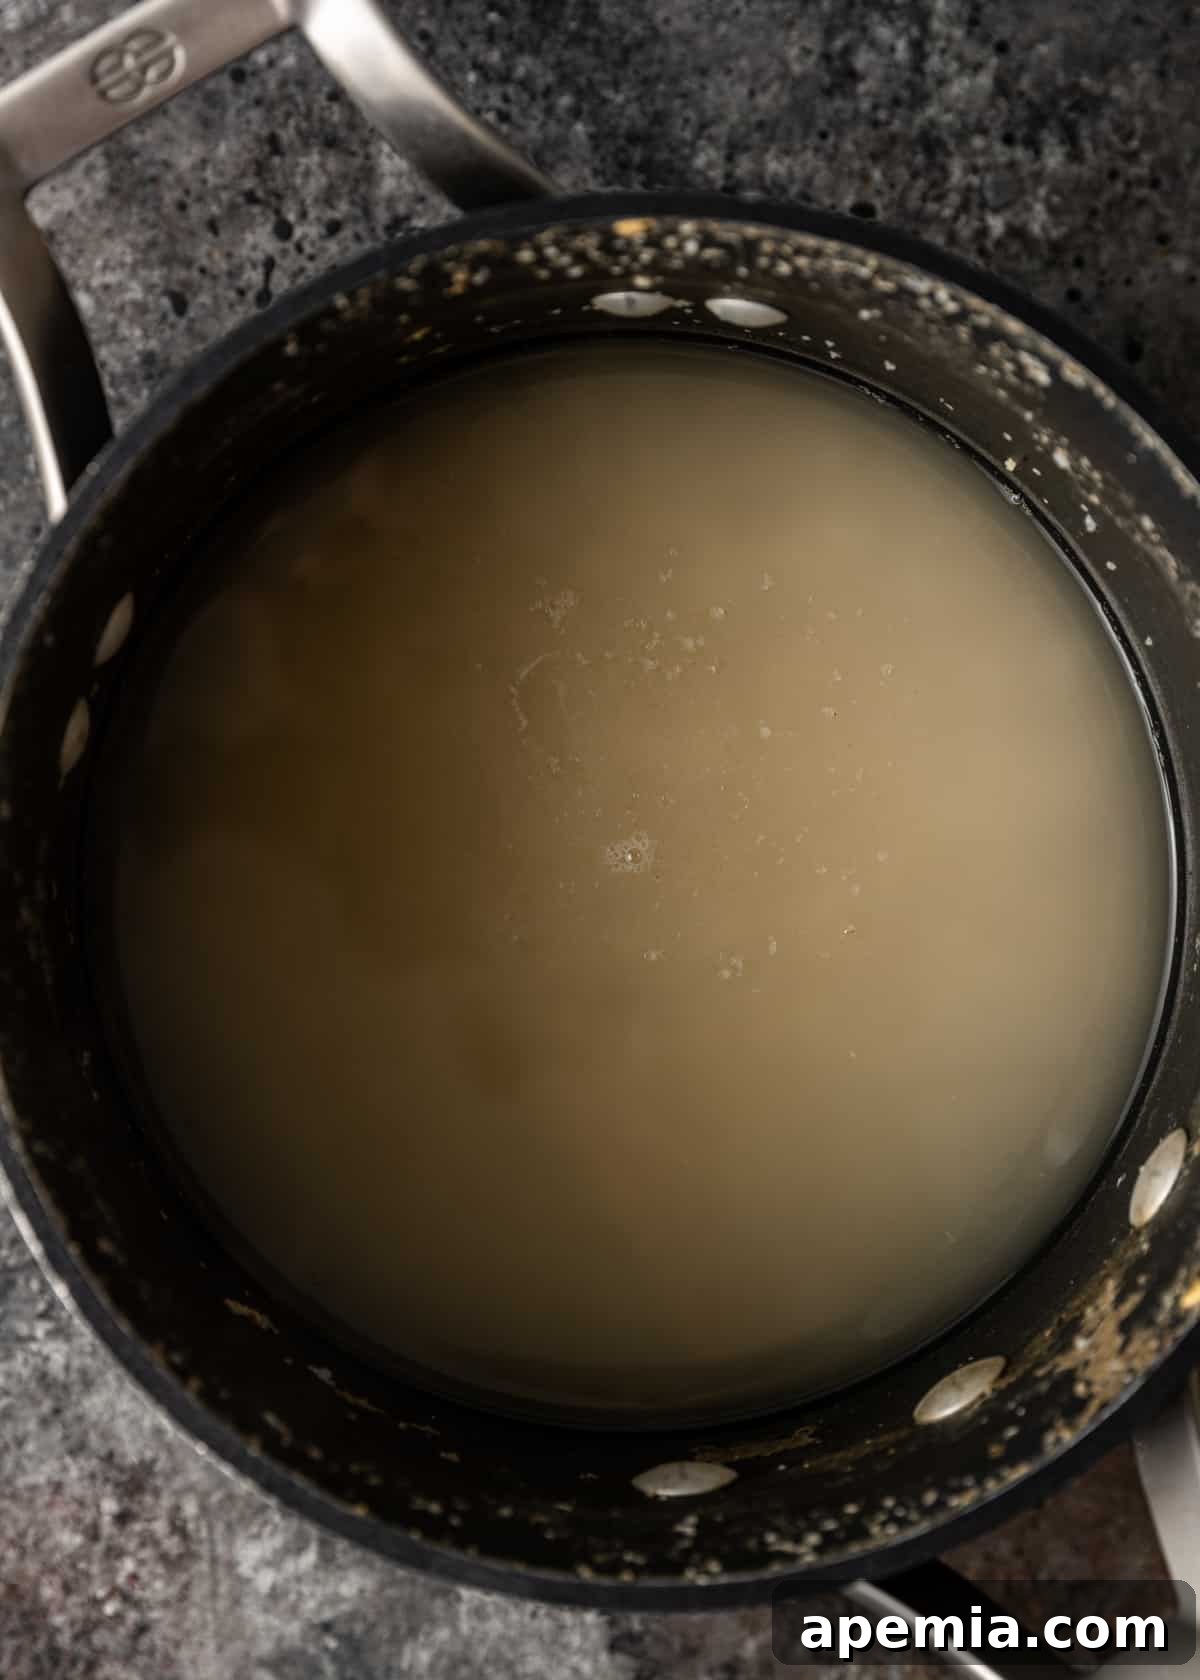
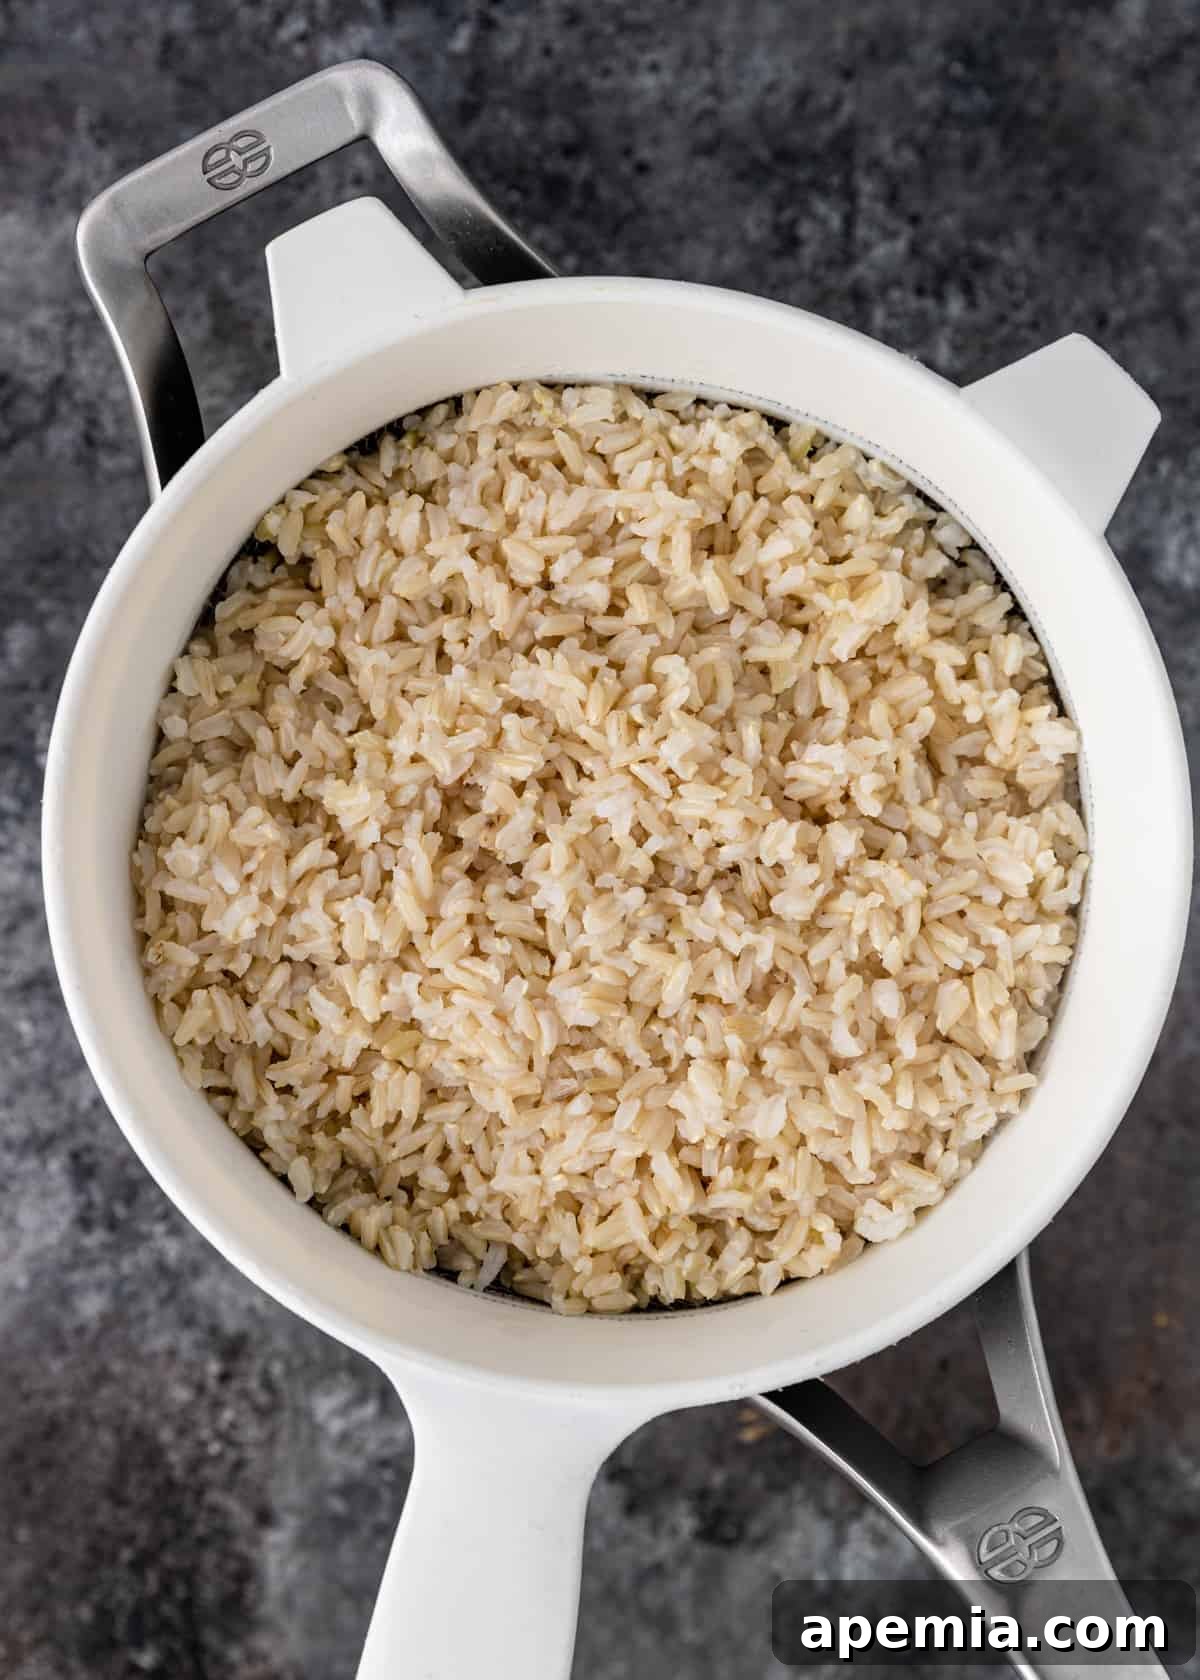
Step 1: Prepare for Boiling. Begin by pouring 8 cups of water into a large saucepan. Place the saucepan over high heat and bring the water to a rolling boil. For added flavor, you can stir in about ¼ to ½ teaspoon of salt into the boiling water.
Step 2: Boil the Rice to Tenderness. Once the water is vigorously boiling, add 1 cup of dry brown rice to the saucepan. Continue to boil the rice uncovered until the grains are just tender and cooked through. Medium and long-grain brown rice typically requires about 30 minutes of boiling. For brown basmati rice, the cooking time will be shorter, usually between 12-14 minutes.
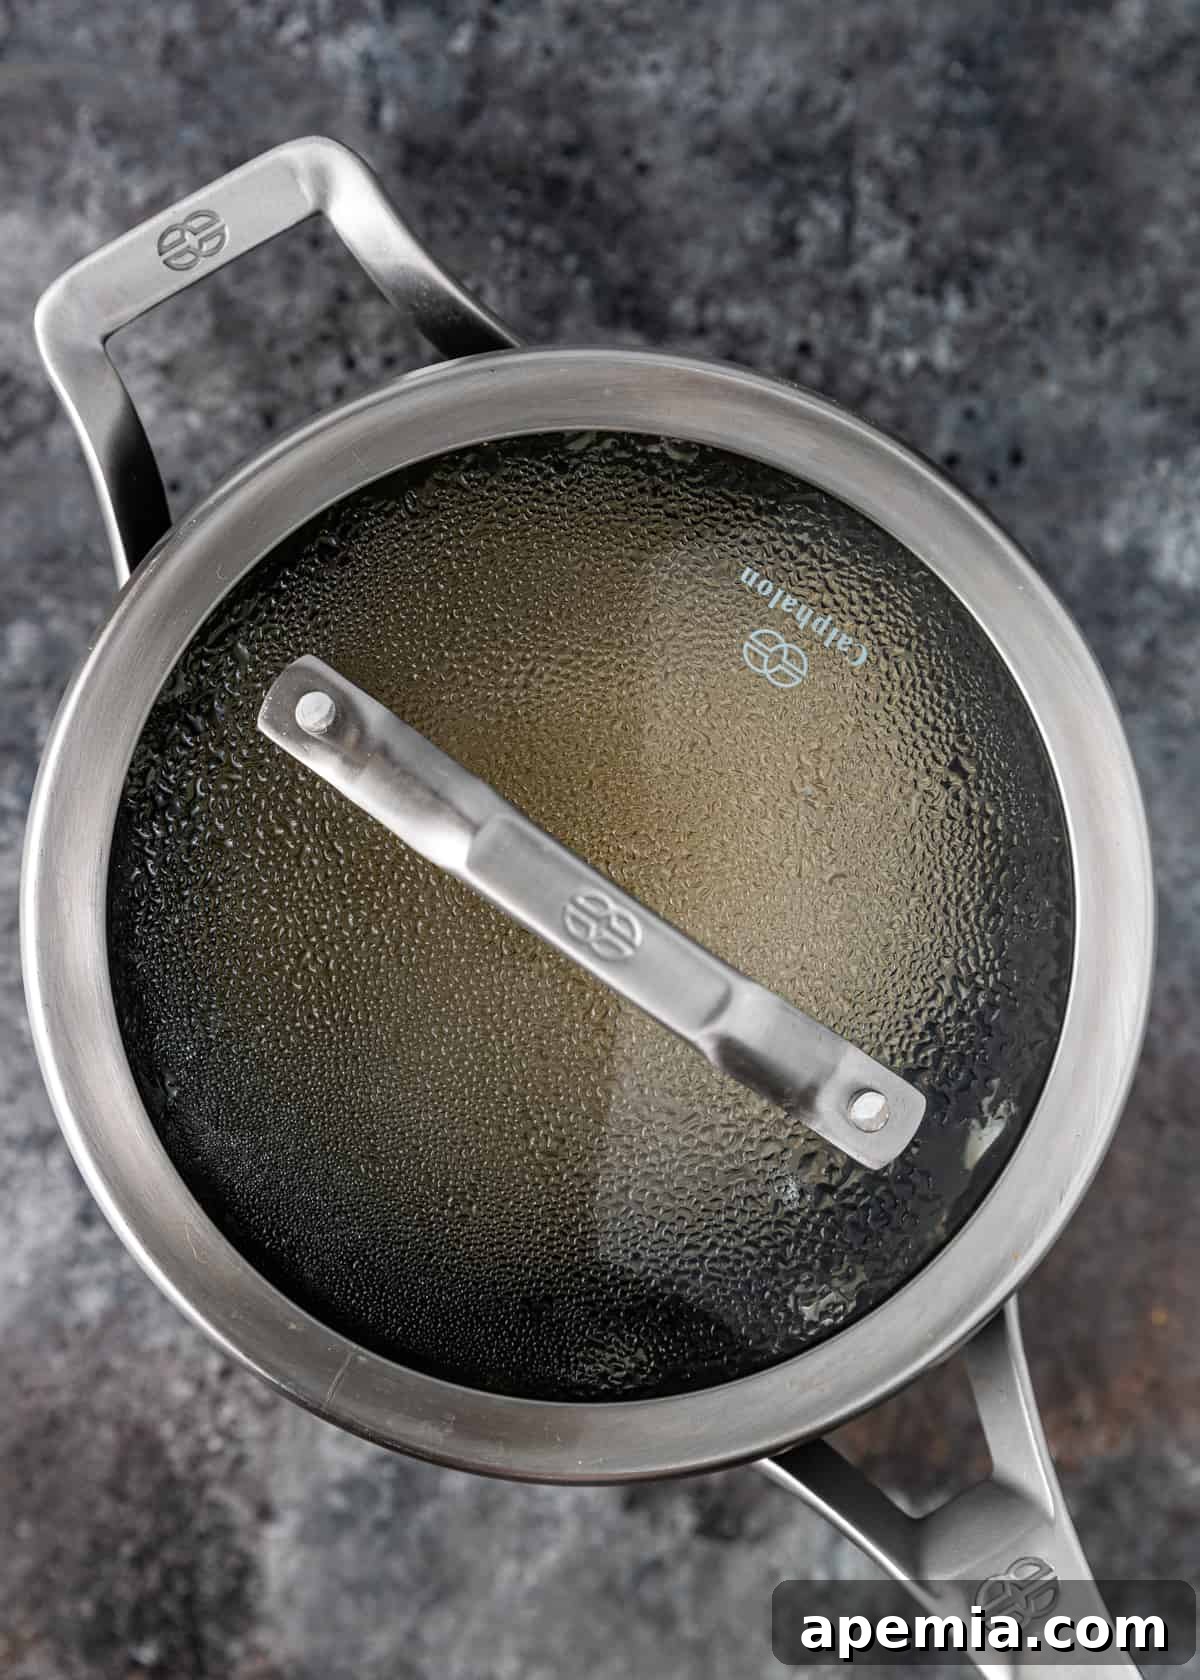
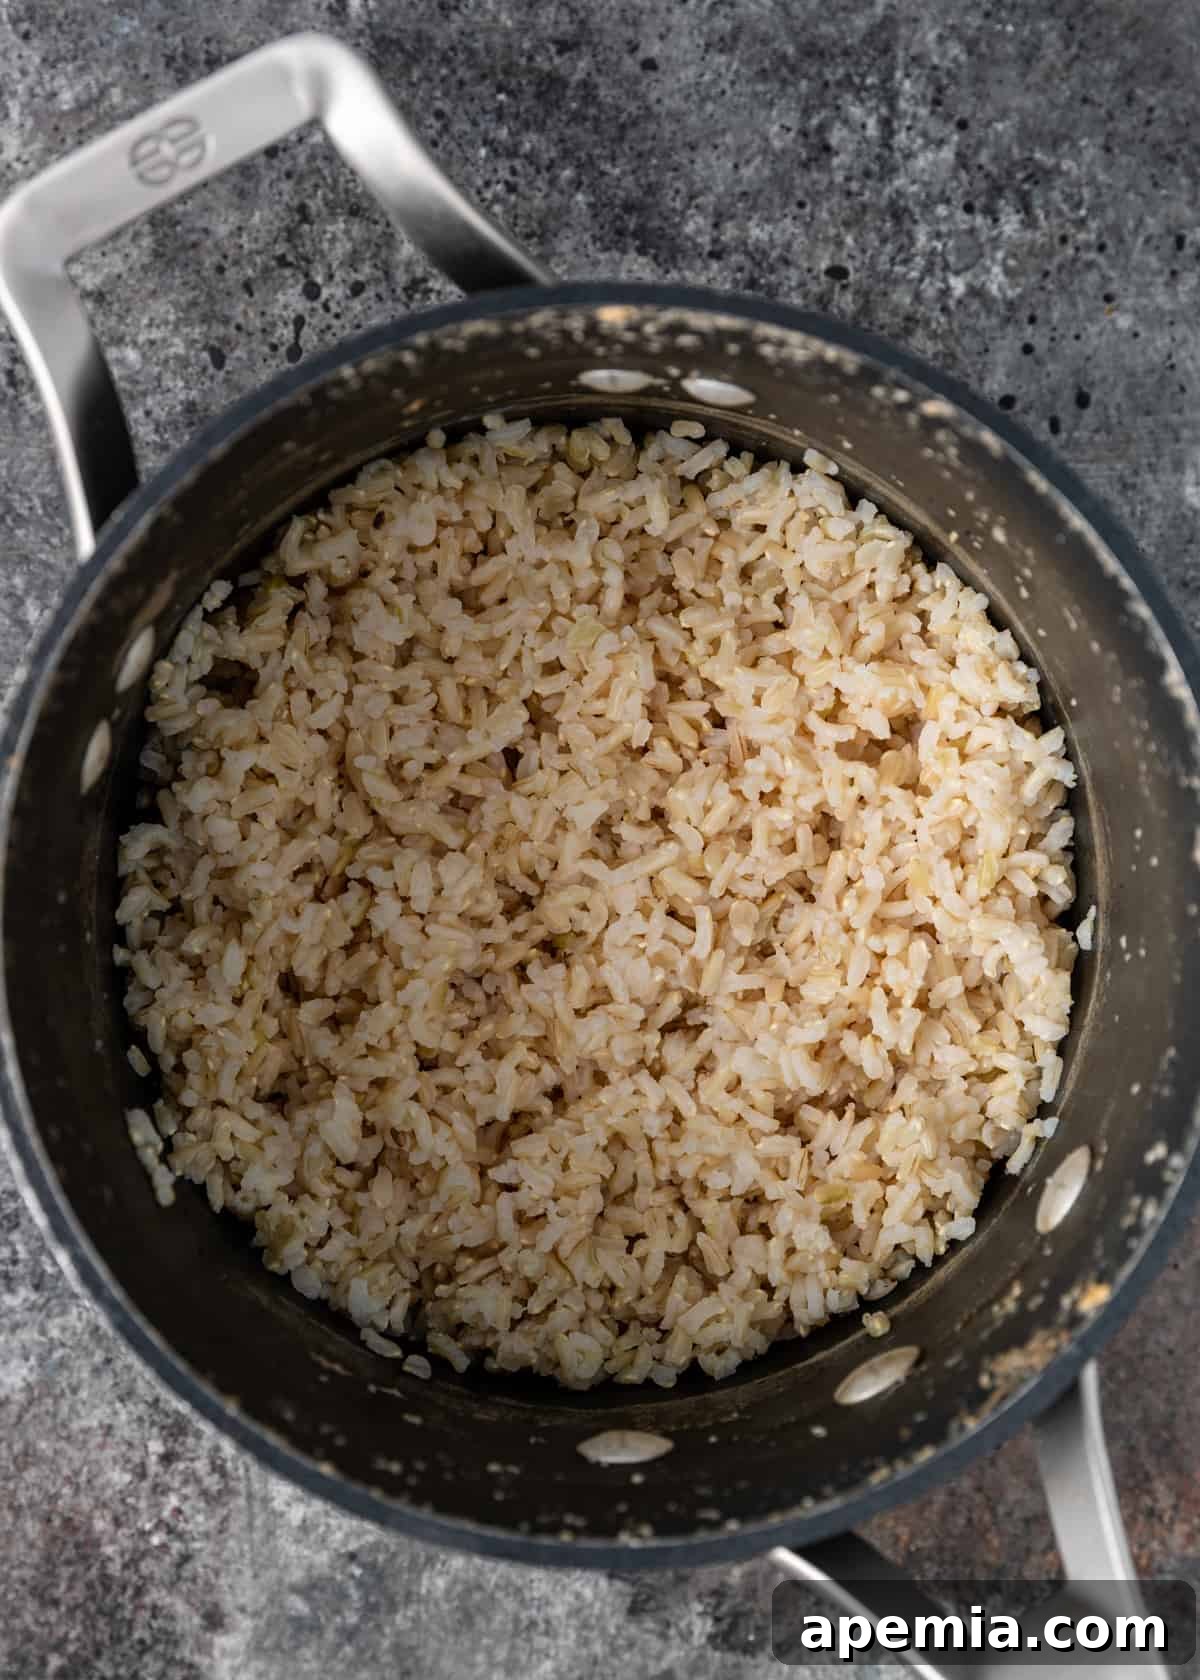
Step 3: Drain and Rest for Fluffiness. Carefully drain the cooked rice through a fine-mesh sieve, removing as much water as possible. It’s crucial to get rid of excess moisture to prevent soggy rice. Transfer the drained rice back into the warm saucepan. Cover the saucepan tightly with a lid and let the rice rest off the heat for 10 minutes. This resting period allows the steam to redistribute, resulting in incredibly fluffy grains. Before serving, gently fluff the rice with a fork.
Instant Pot: Speed and Convenience
For those who appreciate speed and consistent results, cooking brown rice in an Instant Pot or any pressure cooker is a game-changer, particularly for long-grain brown rice. While stovetop and rice cooker methods are excellent for other varieties, the Instant Pot excels at breaking down the tough bran layer of long-grain brown rice efficiently.
Step 1: Combine Ingredients. Place 1 cup of dry long-grain brown rice into the inner pot of your Instant Pot. Add 1 ½ cups of water. If desired, you can also include ¼ teaspoon of salt for flavor. Resist the urge to add too much water; pressure cooking requires less liquid.
Step 2: Pressure Cook. Securely lock the lid of your Instant Pot and turn the steam release knob to the Sealing position. Select the Manual or Pressure Cook setting and set the cooking time to High Pressure for 15 minutes. Once the cooking cycle is complete, allow the pressure to release naturally for 10 minutes. This “natural pressure release” is vital for the rice to continue cooking gently and achieve perfect texture.
Step 3: Finish and Serve. After the 10-minute natural release, carefully turn the knob to the Venting position to quick-release any remaining steam. Once the float valve drops, open the lid. Fluff the perfectly cooked brown rice with a fork before serving.
Microwave Method: Quick & Easy
When time is of the essence or you’re cooking a smaller batch, the microwave offers a surprisingly effective and convenient way to cook any type of brown rice. While short-grain brown rice might require a few extra minutes (typically 3-4 minutes more), this method is perfect for busy weeknights.
Step 1: Combine in a Microwave-Safe Dish. In a large microwave-safe dish (ensure it’s deep enough to prevent boil-overs), combine 1 cup of dry brown rice with 3 cups of water. It’s crucial to use a sufficiently large dish to accommodate the boiling and expansion.
Step 2: Microwave in Stages. Place the uncovered dish in the microwave and cook on High power for 10 minutes. This brings the water to a boil. After 10 minutes, reduce the power to Medium, cover the dish with a vented lid (or microwave-safe plastic wrap with a corner slightly lifted for venting), and continue microwaving for an additional 20 minutes.
Step 3: Rest and Fluff. Once cooking is complete, carefully remove the hot dish from the microwave. Allow the rice to rest, covered, for 5 minutes. This resting period helps the grains steam evenly and become fluffier. Finally, fluff the cooked brown rice with a fork before serving.
Rice Cooker: The Set-It-and-Forget-It Solution
For consistent, hands-off results, a rice cooker is an excellent investment, especially if you frequently enjoy rice. Most modern rice cookers have a dedicated “brown rice” setting, which adjusts cooking time and temperature automatically. The key to success here is adjusting the water-to-rice ratio based on the grain type.
Step 1: Combine and Stir. Add 1 cup of dry brown rice to your rice cooker pot. For short-grain brown rice, add 2 cups of water. If you’re using long-grain brown rice, use 1 ¼ cups of water. Give the mixture a gentle stir.
Step 2: Start Cooking. Close the lid of your rice cooker and press the “Start” button or select the “Brown Rice” program. The cooker will handle the rest, typically taking about 45 minutes to an hour, depending on the model and quantity.
Step 3: Rest and Serve. Once the cooking cycle is complete (the rice cooker will usually switch to “Warm”), allow the rice to rest in the cooker, with the lid on, for an additional 5-10 minutes. This critical resting period helps the steam redistribute and results in perfectly fluffy, separate grains. After resting, open the lid and fluff the rice gently with a fork before serving.
Creative Ways to Enjoy Your Brown Rice — Serving Suggestions
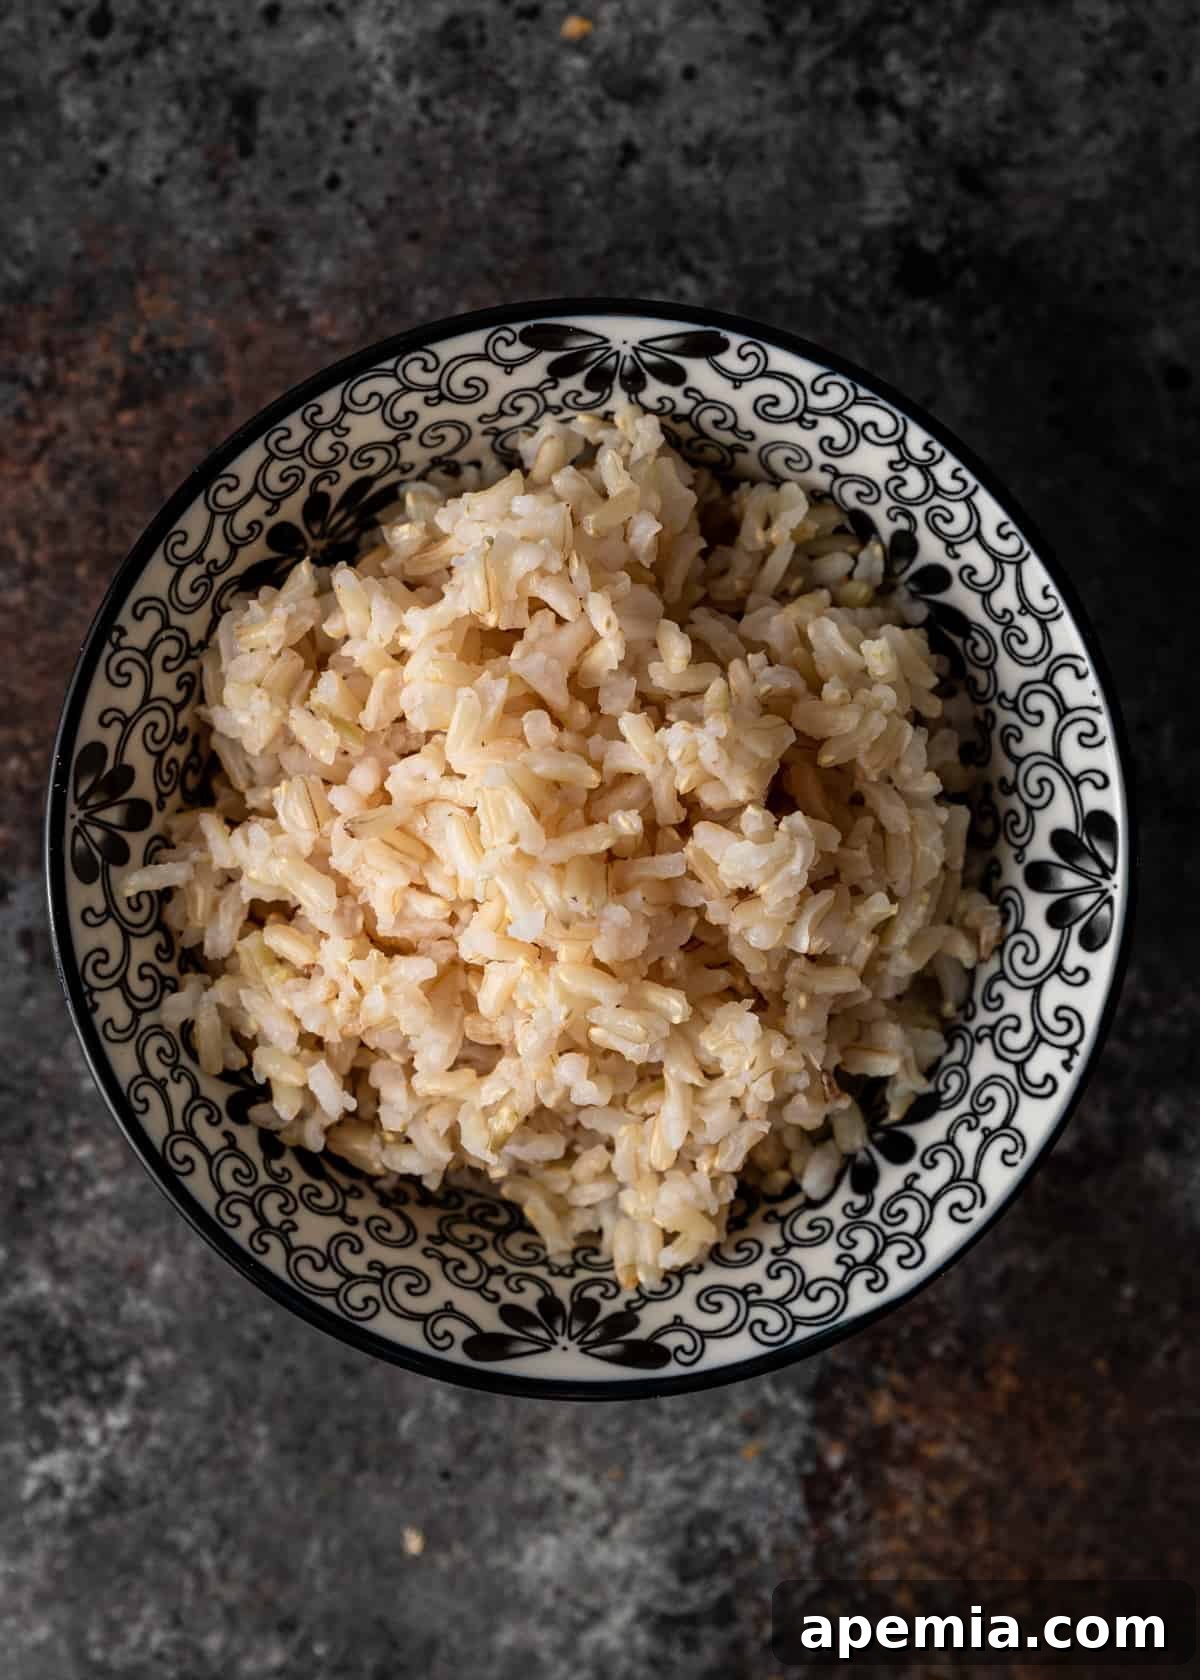
Now that you’ve mastered the art of cooking brown rice, it’s time to unleash its full potential in your kitchen! Its wholesome flavor and satisfying texture make it an incredibly versatile ingredient. Here are numerous ways to incorporate this nutritious grain into your meals:
- In Stir-fries & Fried Rice: Brown rice makes an exceptional, nutrient-dense base for all your favorite stir-fry and fried rice creations. Its slightly chewy texture stands up beautifully to bold flavors. Pair it with crisp vegetables, succulent seafood, tender meat, lean poultry, or your preferred plant-based proteins like tofu or tempeh for a complete and flavorful meal. It’s also fantastic for meal prepping!
- In Salads & Soups: Elevate your salads and soups by swapping out traditional noodles or croutons for brown rice. It adds a delightful chewiness, significant fiber, and a satisfying heartiness that makes any dish more filling and nutritious. Imagine a vibrant grain salad with roasted vegetables and a lemon-tahini dressing, or a comforting chicken and vegetable soup with brown rice.
- In Burritos & Wraps: Give your wraps and burritos a healthy boost and extra substance by including cooked brown rice. It provides a wonderful texture and helps create a more satisfying and complete meal, whether you’re making savory bean and cheese burritos or fresh veggie wraps.
- Wherever You Use White Rice: Challenge yourself to make a healthy switch! Brown rice can seamlessly replace white rice in almost any recipe. Use it as a side for curries, stews, or grilled dishes. Its nutty flavor often complements savory dishes even better than white rice, adding depth and complexity.
- Buddha Bowls & Grain Bowls: Brown rice is the perfect foundation for trendy and healthy Buddha or grain bowls. Layer it with fresh greens, roasted vegetables, lean protein, healthy fats (like avocado), and a flavorful dressing for a customizable, nutrient-packed meal.
- Breakfast Porridge: For an unexpected yet delightful twist, transform brown rice into a hearty breakfast porridge. Cook it with milk (dairy or plant-based), a touch of sweetness, cinnamon, and top with fruits, nuts, or seeds for a wholesome and energizing start to your day.
5 Great Brown Rice Recipes
Pair your perfectly cooked brown rice with any of these delectable international dishes for an unforgettable meal!
- Thai Gai Yang Chicken
- Filipino Chicken Adobo
- Hong Shao Rou (Pork Belly Recipe)
- Beef Rendang Curry
- Flanken Ribs with Bulgogi Sauce
Essential Tips for Perfect Brown Rice
Achieving consistently perfect brown rice goes beyond just following a recipe. A few key tips can elevate your results from good to truly exceptional.
Rinsing Brown Rice: To Rinse or Not to Rinse?
The debate over rinsing rice is a classic one. Some chefs swear by rinsing to remove excess surface starch, which can lead to stickier rice, and to wash away any potential dust or debris. Others argue it’s unnecessary, especially for brown rice, and can even wash away some beneficial nutrients. For brown rice, I personally find that rinsing is largely unnecessary, especially with the boil-and-drain method where excess starch is washed away during the boiling process. However, if you prefer to rinse, do so under cold running water until the water runs clear. If you choose to rinse and are using an absorption method (like a rice cooker or Instant Pot), consider reducing the cooking water by 2-3 tablespoons to account for the water absorbed during rinsing, preventing mushy rice. Ultimately, it’s a matter of personal preference, so feel free to experiment to see what works best for your taste and texture preferences.
Soaking Brown Rice: Benefits and Method
While not strictly necessary, soaking brown rice before cooking can offer several advantages. Soaking for 30 minutes to a few hours can help to soften the bran layer, leading to faster cooking times and a slightly softer, more tender texture. It can also aid in digestibility. If you choose to soak, reduce your cooking time slightly, especially for methods like the stovetop, and ensure you use fresh water for cooking, discarding the soaking water.
Adding Flavor
Don’t let your brown rice be bland! Adding a pinch of salt to the cooking water is essential for enhancing its natural flavors. For an even more aromatic result, consider cooking your brown rice in vegetable or chicken broth instead of plain water. You can also add a bay leaf or a few sprigs of fresh herbs like thyme or rosemary to the cooking water for subtle flavor infusion.
The Importance of Resting Time
Regardless of the cooking method, allowing your brown rice to rest, covered, for at least 5-10 minutes after cooking is crucial. This resting period allows the steam within the pot to redistribute evenly, ensuring that all the grains finish cooking uniformly and become fluffy and separate. Skipping this step can result in rice that is unevenly cooked or a bit too moist.
Storing and Reheating Brown Rice
Cooked brown rice is excellent for meal prep, but proper storage and reheating are key to maintaining its quality and safety.
Storage
Once your brown rice has cooled completely (within an hour of cooking), transfer it to an airtight container. Store it in the refrigerator for up to 3-4 days. For longer storage, cooked brown rice freezes beautifully. Portion it into freezer-safe bags or containers and freeze for up to 3 months. Thaw frozen rice in the refrigerator overnight before reheating.
Reheating
When reheating, it’s best to add a splash of water or broth to the rice to reintroduce moisture and prevent it from drying out. You can reheat brown rice in the microwave (covered, stirring occasionally), on the stovetop (in a covered pan over low heat), or even in a steamer. Ensure it’s heated thoroughly to a safe internal temperature.
Troubleshooting Common Brown Rice Problems
Even seasoned cooks can encounter issues. Here’s how to tackle common brown rice problems:
Mushy Rice
If your brown rice turns out mushy and gluey, it’s usually a sign of too much water or overcooking. Next time, try reducing the amount of water slightly or shortening the cooking time. The boil-and-drain method naturally reduces the risk of mushiness.
Hard or Undercooked Rice
If your rice is still hard and crunchy, it means it didn’t get enough water or wasn’t cooked long enough. Increase the cooking time or ensure you used the correct water-to-rice ratio for your chosen method. Resting time is also crucial for finishing the cook.
Sticky Rice
While short-grain brown rice is naturally sticky, if your long or medium-grain brown rice is overly sticky, it might be due to not draining thoroughly enough (if using the boil-and-drain method) or an incorrect water ratio in absorption methods. Rinsing before cooking can also help reduce stickiness.
Frequently Asked Questions About Brown Rice
Here are answers to some of the most common questions about cooking and enjoying brown rice.
What is the Water-to-Rice Ratio for Brown Rice?
The ideal water-to-rice ratio for brown rice varies significantly depending on the cooking method, as brown rice requires more liquid than white rice due to its bran layer. Here’s a general guide:
- Stovetop (Boil & Drain Method): Use a generous 8 cups of water for every 1 cup of dry brown rice. The excess water is drained off after cooking.
- Instant Pot (Pressure Cooker): A precise 1 ½ cups of water for every 1 cup of dry brown rice. The sealed environment requires less liquid.
- Microwave: Approximately 3 cups of water for every 1 cup of dry brown rice, allowing for evaporation in an uncovered or loosely covered dish.
- Rice Cooker: Generally 1 ¼ to 2 cups of water for every 1 cup of dry brown rice. Use 2 cups for short-grain (which absorbs more) and 1 ¼ cups for long-grain. Many rice cookers also have specific brown rice lines in the pot to guide you.
How Long Does it Take to Cook Brown Rice?
Brown rice generally takes longer to cook than white rice due to its tougher outer layers. The cooking time also depends heavily on the method and the type of grain:
- Instant Pot (Pressure Cooking): This is typically the fastest method, with pressure cooking taking around 15 minutes, plus 10 minutes for natural pressure release, totaling about 25-30 minutes of active time.
- Stovetop (Boil & Drain): Medium and long-grain brown rice will take approximately 30 minutes of boiling, followed by a 10-minute rest. Brown Basmati is quicker, about 12-14 minutes of boiling.
- Microwave: Expect around 30-35 minutes of microwave time (10 minutes high, 20-25 minutes medium), plus a resting period.
- Rice Cooker: This method typically takes the longest, ranging from 45 minutes to an hour, depending on the rice cooker model and the amount of rice, plus a 5-10 minute rest.
Do You Need to Wash Brown Rice?
The practice of rinsing rice is a topic of much discussion among cooks. While rinsing white rice can help remove excess starch and prevent stickiness, it’s less critical for brown rice, especially if you’re using the boil-and-drain method where starches are washed away during cooking. Some argue that rinsing brown rice can remove some water-soluble nutrients from the bran layer. However, if you prefer to rinse your brown rice to remove any potential dust or fine particles, it won’t harm the final product. If you do rinse, and are using an absorption method, remember to slightly reduce your cooking water (by about 2-3 tablespoons per cup of rice) to prevent the rice from becoming mushy. Ultimately, whether to rinse or not is a matter of personal preference and often doesn’t significantly impact the final texture of well-cooked brown rice.
Is Brown Rice Gluten-Free?
Yes, all types of rice, including brown rice, are naturally gluten-free. This makes brown rice an excellent choice for individuals with celiac disease or gluten sensitivity, offering a versatile and nutritious grain option.
Can I Freeze Cooked Brown Rice?
Absolutely! Cooked brown rice freezes exceptionally well. Once cooled, portion it into airtight, freezer-safe containers or bags. It can be stored in the freezer for up to three months. To reheat, simply thaw in the refrigerator overnight or use the microwave, adding a tablespoon of water or broth to help rehydrate the grains.